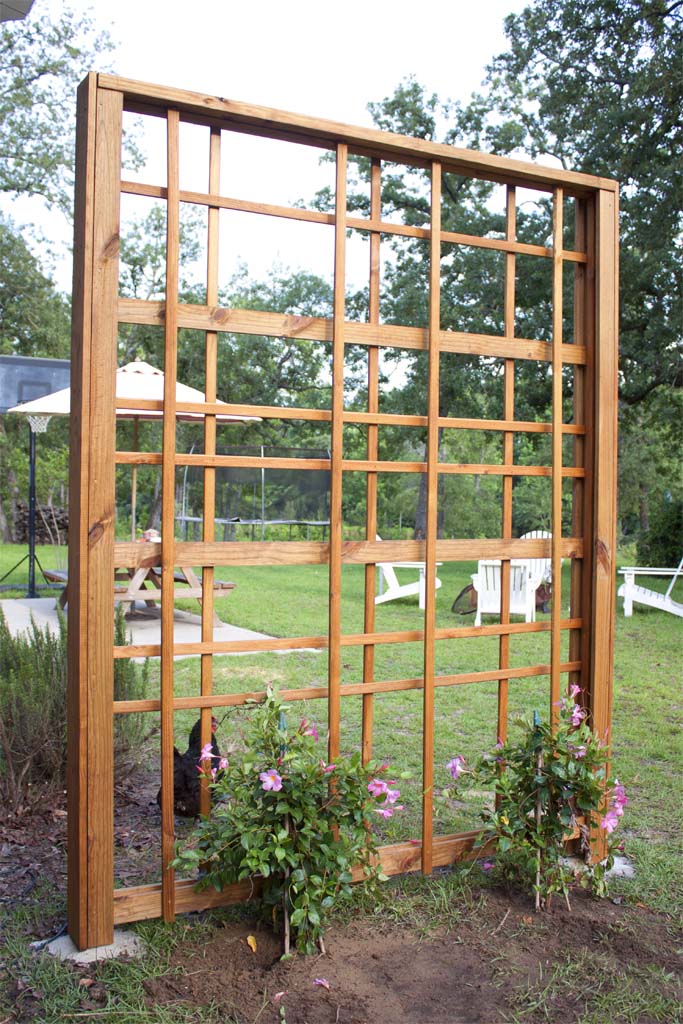
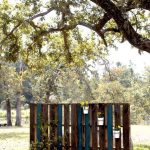
Build a DIY garden trellis that’s as beautiful covered in flowers as it is without! It’s one of the first projects we embarked on during the backyard makeover that we started last fall. Its intriguing design might look complicated but is so easy to replicate. In the background of this photo, you can still see our sad excuse for a backyard and our mundane concrete patio – which we eventually turned into a DIY cement tile patio. We’ve also built a DIY outdoor bench and a DIY garden box. Eventually, all of this will come together in our backyard makeover reveal and it will blow your mind how seamlessly it all goes together.
In the meantime, here’s how to make your own DIY garden trellis!
DIY garden trellis supplies
You will need:
- (1) 1-pound box 1 5/8-inch tan exterior screws
- (1) box 1 1/4-inch finishing (brad) nails
- (2) 50-pound bags of concrete (one for each post)
- (2) 2x4x10 wood, treated
- (1) 2x6x8 wood, treated
- (8) 1x3x8 wood, treated (appearance grade)
- (2) 1x6x12 wood, treated (appearance grade)
- (14) 1x2x8 wood, treated
- (4) 1x6x8 wood, treated (appearance grade)
- Shovel or post hole digger
- Bucket or container for mixing concrete
- Measuring tape
- Miter saw
- Brad nailer
- Drill
- Level
- Wood glue
- Exterior stain (I used Sherwin-Williams Super Deck transparent in Canyon Brown)
- Chip brush or sprayer
- Trailing plants (such a Mandevilla, pictured)
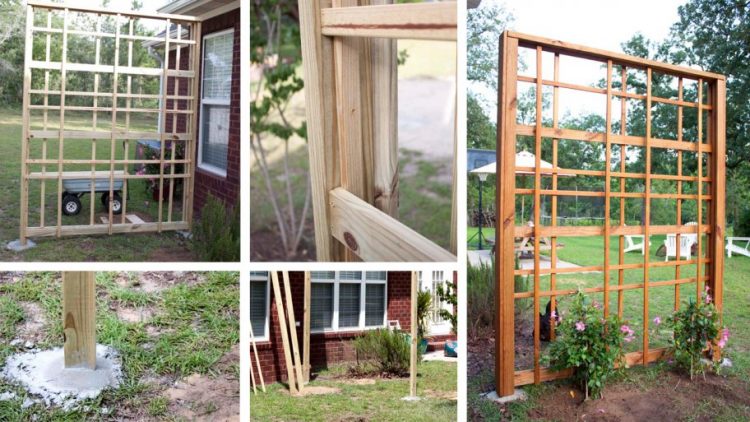
Step 1: Place trellis posts
Start by digging holes for your 2×4 posts with a shovel or post hole digger. Holes should be three feet deep and 72 inches apart. Place the posts into holes and fill each with one bag of 50-pound concrete per post.
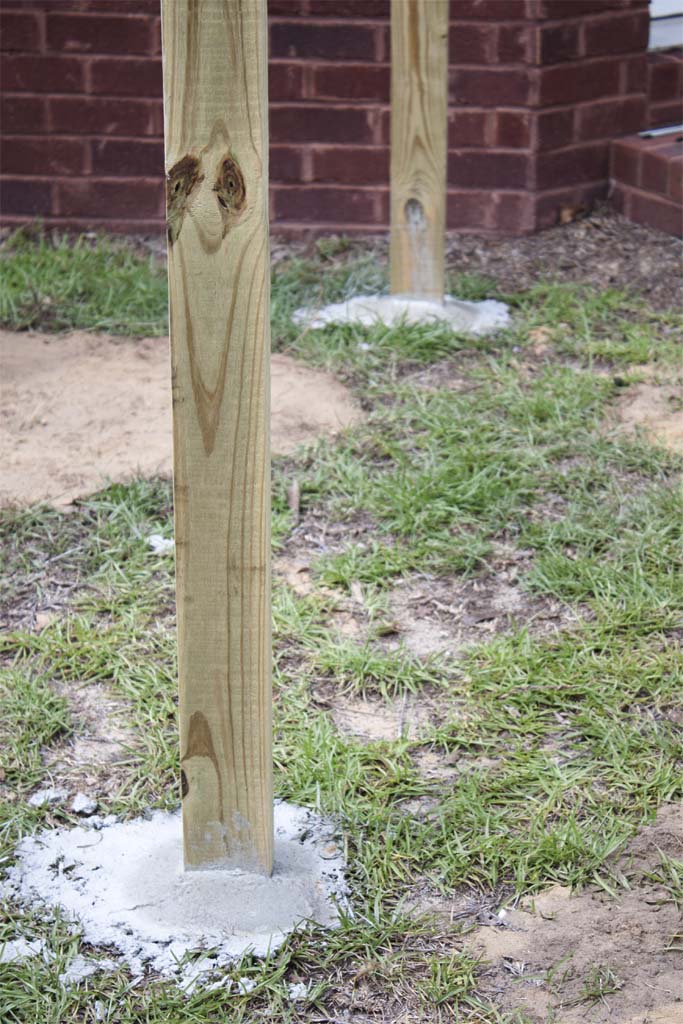
Level the posts
Level the posts by temporarily placing a 1×2 in between the 2x4s. Attach one end of the 1×2 to the post and use a level to determine the posts are level and attach the 1×2 to other the post to keep them level as the concrete cures.
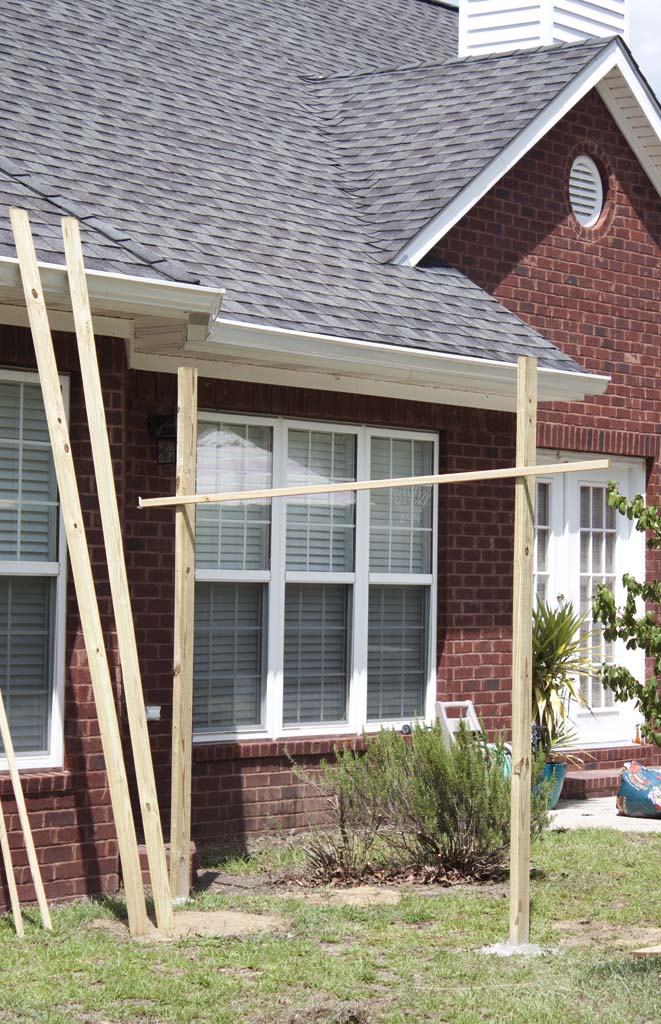
Once the concrete has cured, add a 1×2 down the center of each 2×4 post. Use a measuring tape to determine the length of each 1×2 and a miter saw to trim away excess.
This 1×2 is where you will attach center woven pieces of the trellis. Use 1 5/8″ tan exterior screws to attach each piece.
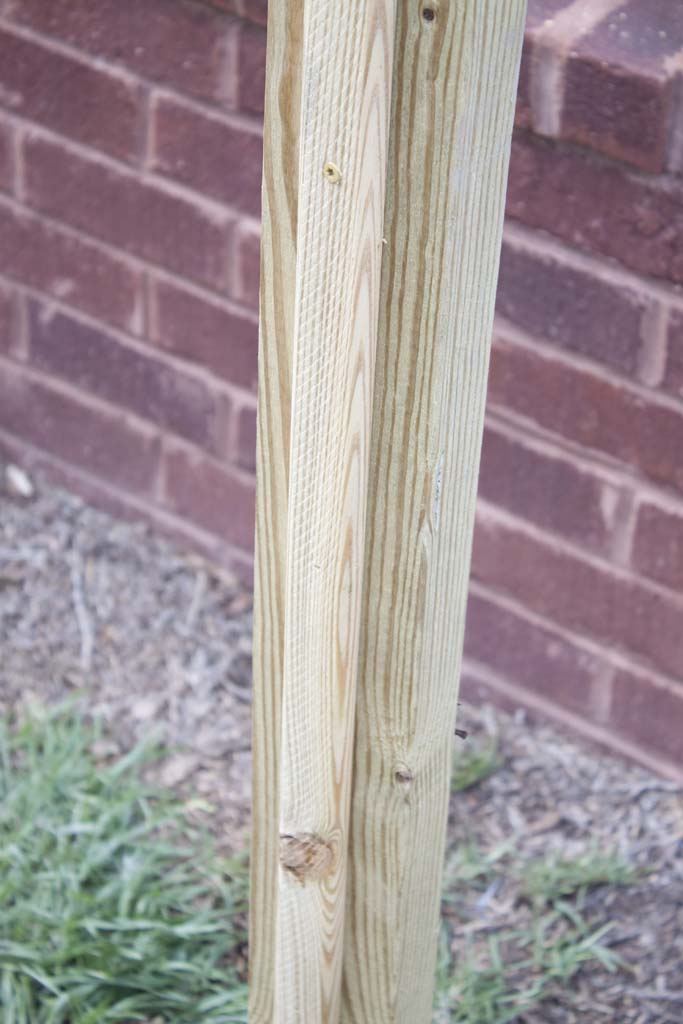
You will add vertical 1x3s to the fronts and backs to each of the 2x4s to form a casing. If you are unable to find treated 1x3s you can purchase treated 1x6s and rip them to make 1x3s. That is what we’ve done here.
You will also add a 2×6 to the top of the trellis to complete the casing look. For each piece you add to the trellis you will need to measure and trim excess with a miter saw.
The 1x2s are attached using 2″ brad nails whereas the 1x3s are attached using 1 5/8″ tan exterior screws. You could just use screws to attach each piece, if desired, or if you don’t have a brad nailer.
Add a dab of exterior wood glue to each piece you add for extra durability.
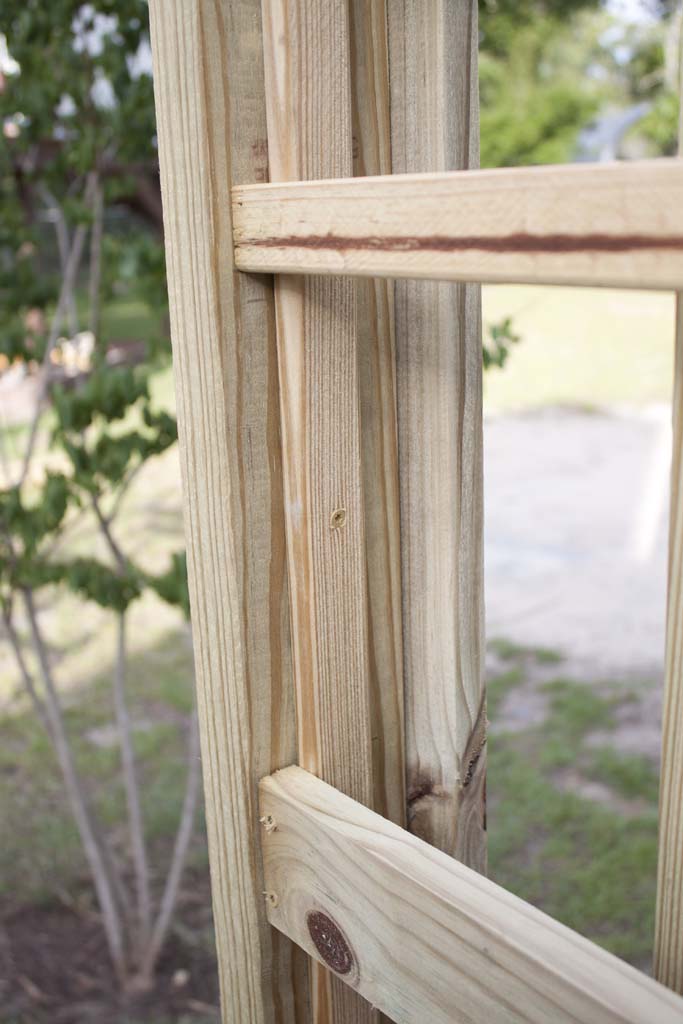
The tan exterior screws blend well with the wood and don’t stand out once stained. Each of these boards is attached to the 1×2 running down the center of the 2×4 posts.
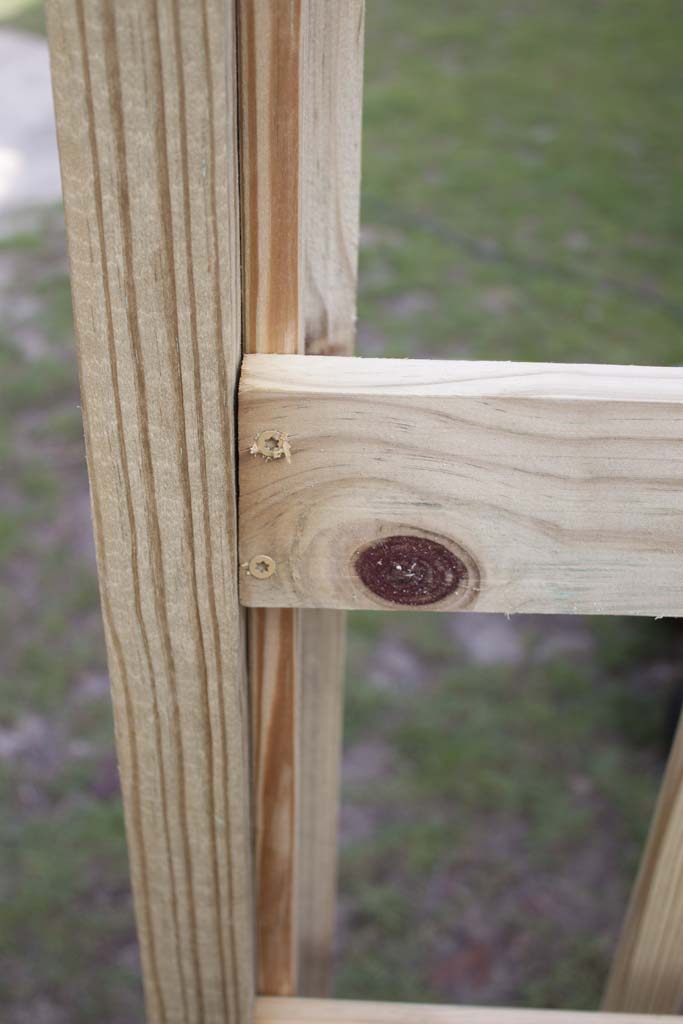
Step 2: Weaving the trellis
Spacing for weaving the wood pieces onto the trellis is purely preferential.
There are two horizontal 1x3s placed in the center of the trellis and attached to the front of the 1×2 that run down the center of the posts. (See below photo)
There are also two more horizontal 1x3s at the bottom. One is attached from the front and the other is attached at the bottom forming the bottom frame of the trellis.
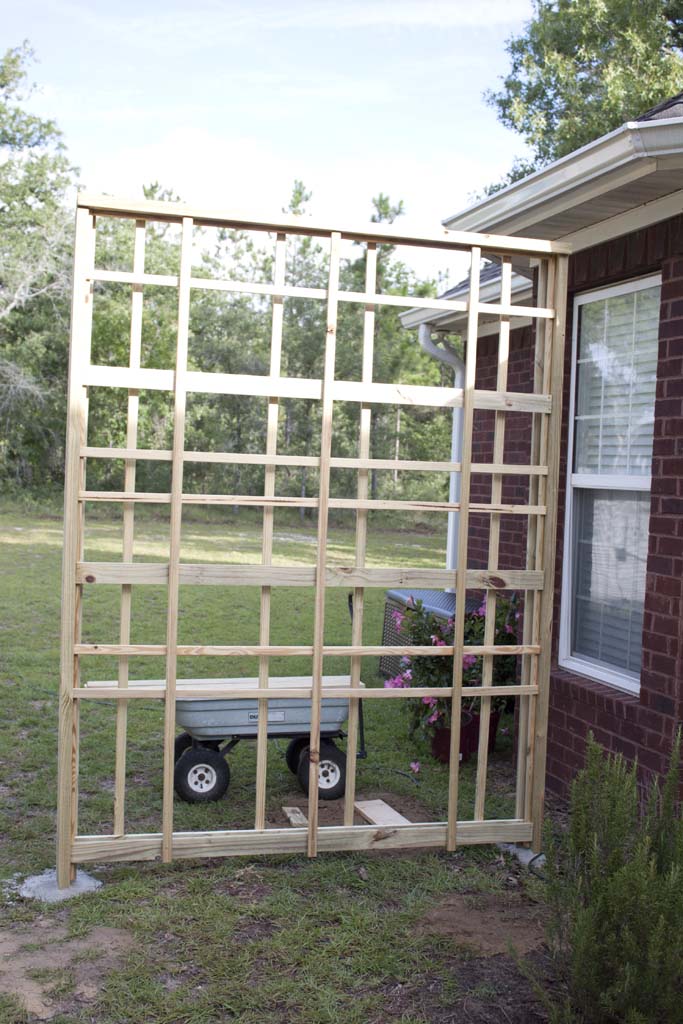
Next, there are five horizontal 1x2s placed on the same plane as the 1x3s.
Finally, there are three vertical 1x2s placed on the plane in front of the previous 1x3s and 1x2s. The bottoms of these attach to the bottom front 1×3 and attach to the top 2×6 using brad nails.
On the back, there are four vertical 1x2s placed on the same plane as the vertical 1x2s on the front. These also attach to the bottom 1×3 and into the top 2×6 using brad nails.
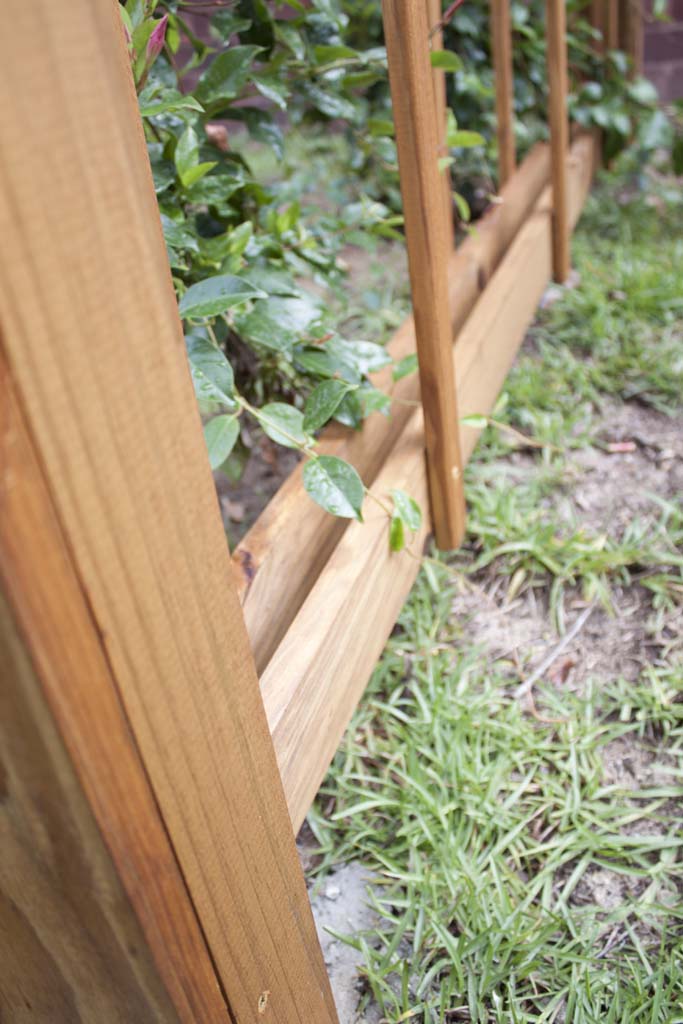
You will also add a 1×6 to the backside of each 2×4 to give it a finished look. The casing is best added after the center of the trellis has been assembled. This allows you ease of access to attach wooden pieces to the center 1×2.
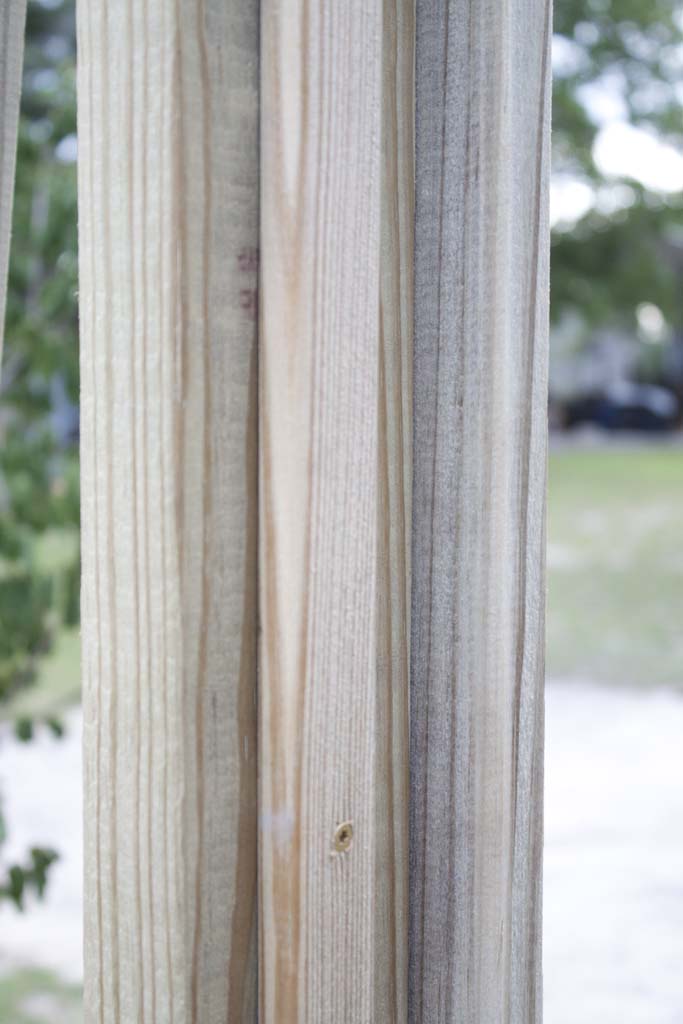
And that’s it!
Step 3: Stain & Protect
You can choose to stain your trellis as you go using a chip brush, or sprayer, or you
can stain it once assembled. Allow at least 24 hours for the stain to cure before exposing to water. The stain is cured when water beads on the surface.
Stain pictured is Sherwin-Williams SureDeck transparent in Canyon Brown.
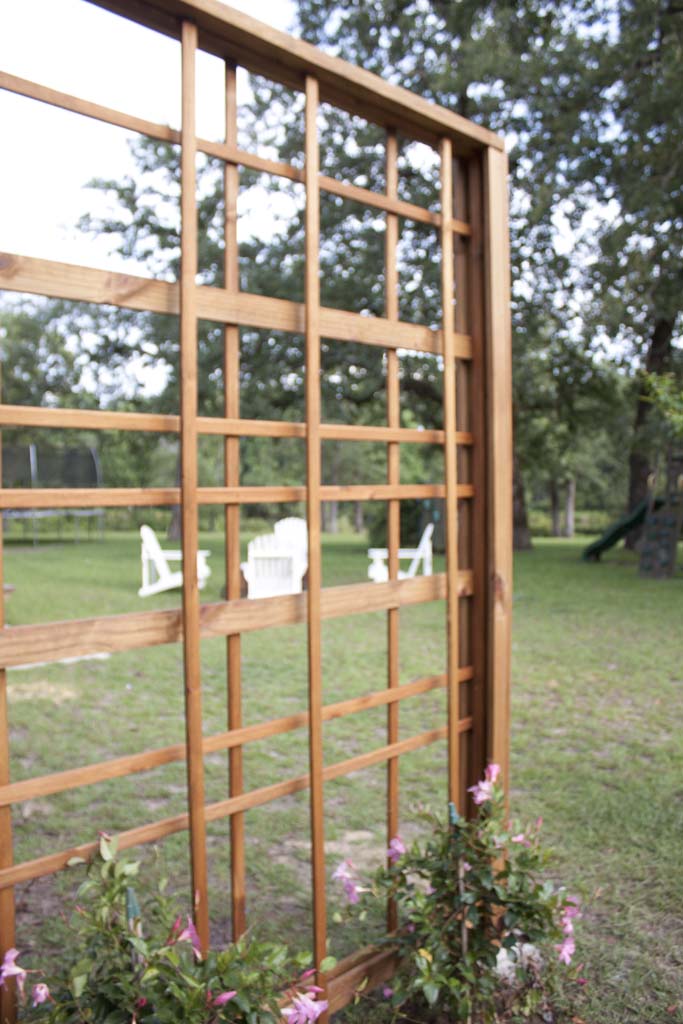
Step 4: Add Plants
Add trailing vines, like the Mandevilla pictured, or a climbing shrub such as a climbing rose (which I went back and added this year because the cold killed my “tropical” plants – lesson learned!). Train your plants onto the trellis in the beginning and then allow them to continue up it, forming a beautiful piece of garden architecture.
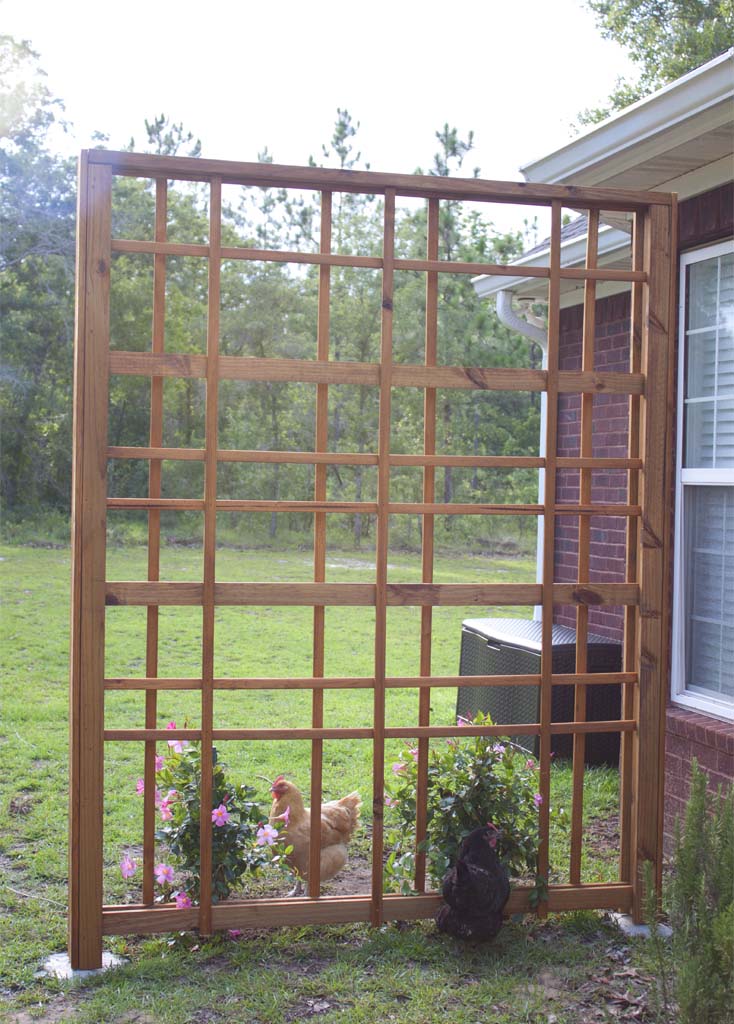
I seriously cannot wait to share then entire backyard with you. It’s coming in August! And after that get ready for some





Is there a 1×2 that runs along the top 2×6 that you nail the vertical 1×2’s into?
Hi Nathan,
A 1×2 along the top isn’t necessary. In the pic you might notice that we do have one but we only used it for the backside before we realized we could just screw or nail them in from the top. I hope that makes sense! Thank you!
Is there a particular spacing pattern for the 1×2 lattice pieces
Hi Chuck,
No particular spacing. I just laid out the pieces and determined what looked best to me as I went along.