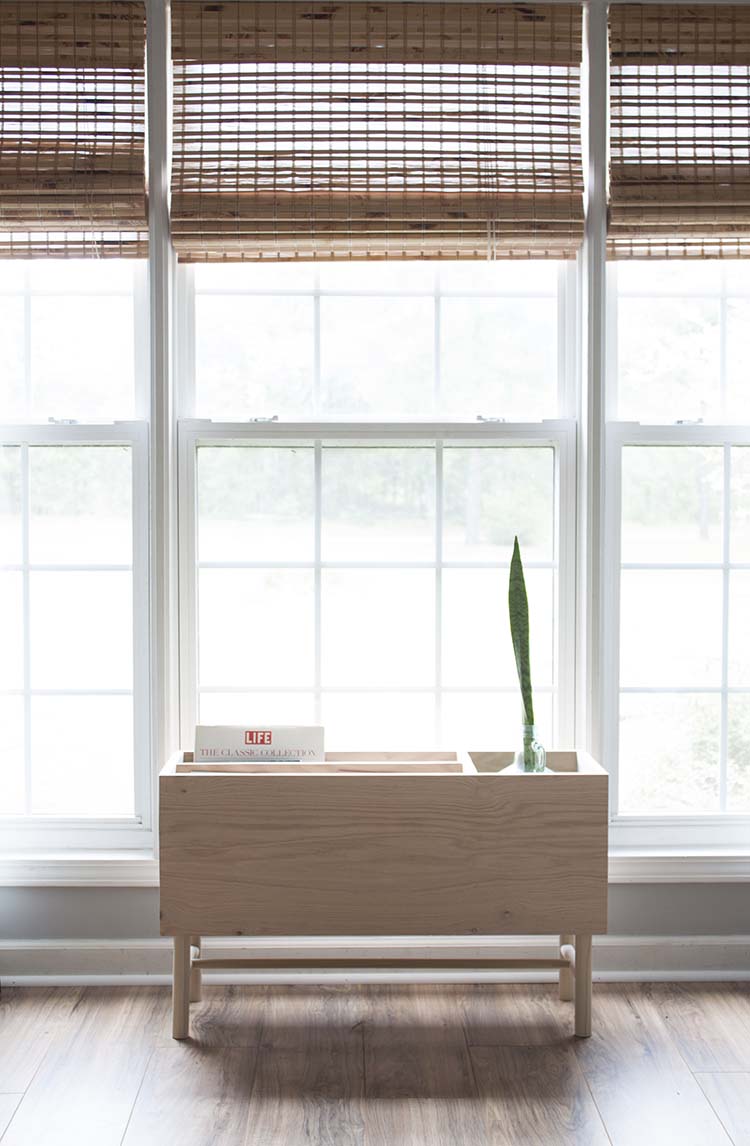
Welcome to the One Panel Challenge for this month’s Fab Furniture Flippin Contest. I’ve created this Modern DIY Indoor Plant Stand Magazine Rack that can also hold vinyl albums, books or whatever your little heart desires. The best part is, it looks amazing while doing it.
If you’ve been around here for even a minute, you’ll know that I definitely have somewhat of a farmhouse aesthetic. I mean, I just built this amazing chicken coop and now I have a yard full of chickens (that just started laying eggs last week!) and I’m surrounded by acres of farmland in southern Georgia. So, farmhouse certainly makes sense.
What you might not have realized is that I have a serious love for modern and minimalism. It’s so clean and simple, and that’s somehow good for my anxious spirit. But it’s also got this kind of sophistication that isn’t overly fussy. In fact, I think it might be unfussy by definition. And can we talk about functional design?! The problem is, it’s usually expensive in an unobtainable kind of way.
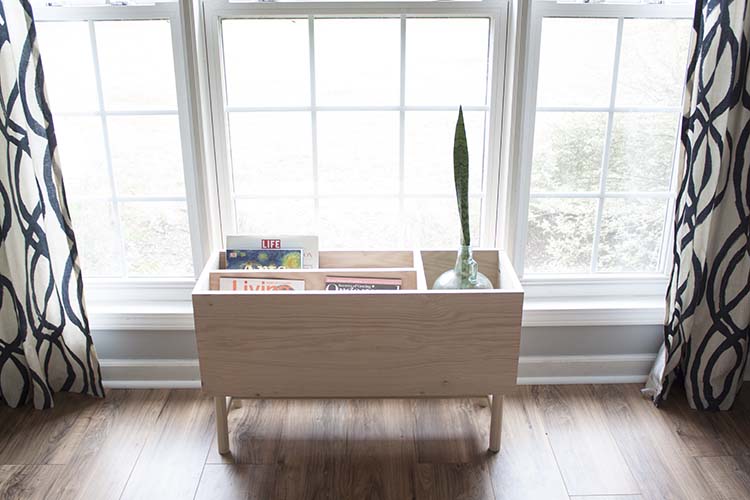
Take this natural oak indoor planter magazine rack (or vinyl album holder!) that I found on a Dutch website where I can’t even find the price (or a local retailer because apparently, it’s not even available in the U.S.) but if it were, I’d wager I couldn’t afford it. It’s not the first time I’ve fallen in love with Dutch design and had to DIY my own. My DIY Stick Chairs were my first foray into Dutch design and it’s been a design love affair ever since.
So this is my take on a modern DIY indoor plant stand magazine rack and how you can make your own!
Modern DIY Indoor Planter Magazine Rack Tutorial
Supplies:
- 1 sheet of 3/4″ Purebond Oak Plywood (Get a FREE sample here: http://purebondplywood.com/about/contact/sample-request/ )
- 1 1/4″ dowel for legs (approx 32″)
- 1″ dowel for short braces (approx 18″)
- 3/4″ dowel for long brace (approx 32″)
- table saw
- chop saw
- Kreg Jig
- Drill
- Forstner bit set
- Drill
- Angled drill (or angled drill attachment)
- Screws for legs
- 1 1/4″ pocket hole screws (26)
- 2″ wood screws (8)
- Wood glue
- Fine sandpaper
I first heard of Purebond plywood back in 2013 at a blogger’s conference and was so impressed by its formaldehyde-free, soy-based assembly technology. It wasn’t something I’d even thought of before but imagine you’re making a headboard or something for your child’s room. You don’t want that stuff in there, amiright?! It’s sourced and manufactured in the U.S. and Canada and it comes in finished and unfinished options. I’ve chosen to use a 3/4″ unfinished oak panel.
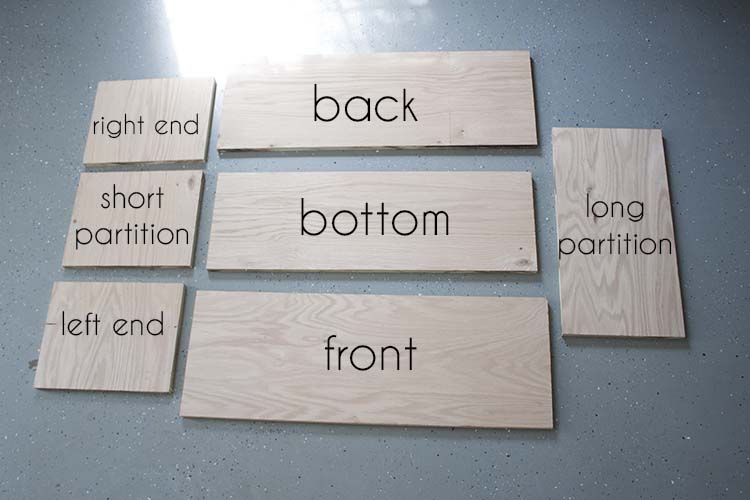
Here are the panel cuts you’ll need for you modern DIY indoor plant stand magazine rack.
Panel Cuts:
- Front + Back panel – 33″
- Bottom panel – 31 1/2″
- Right + Left panel ends – 10 1/2″
- Short Partition – 10 1/2″
- Long Partition – 21 3/4″
Leg Cuts:
- Legs (4) – 7 3/4″
- Short braces (2) – 8 1/4″
- Long brace (1) – 29 1/4″
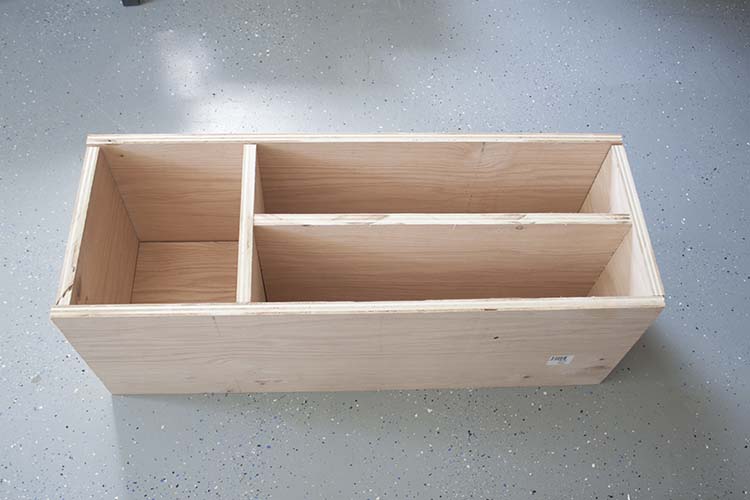
Cut the panels using a table saw and do a mock assembly. Then, using a Kreg jig, create pocket holes on each panel. (See below for pocket hole placement)
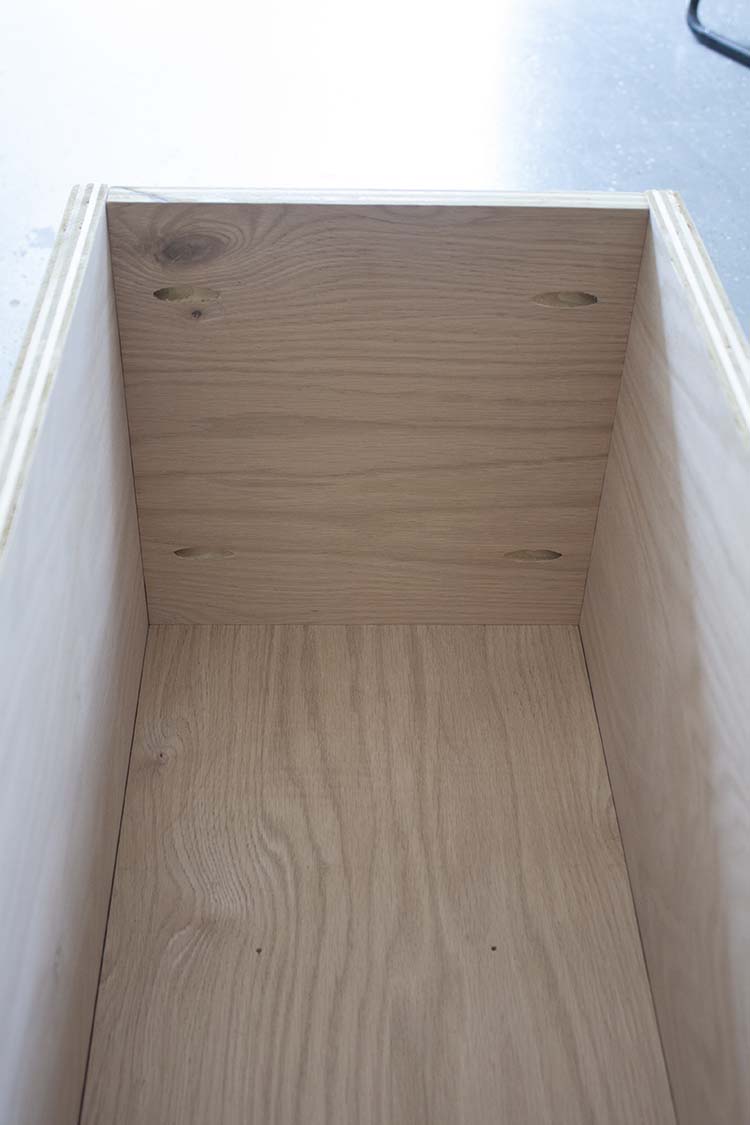
Note also the pre-drilled holes in this picture as well. We pre-drilled holes for the leg screws as well as screws that we added from the bottom for added security for each panel.
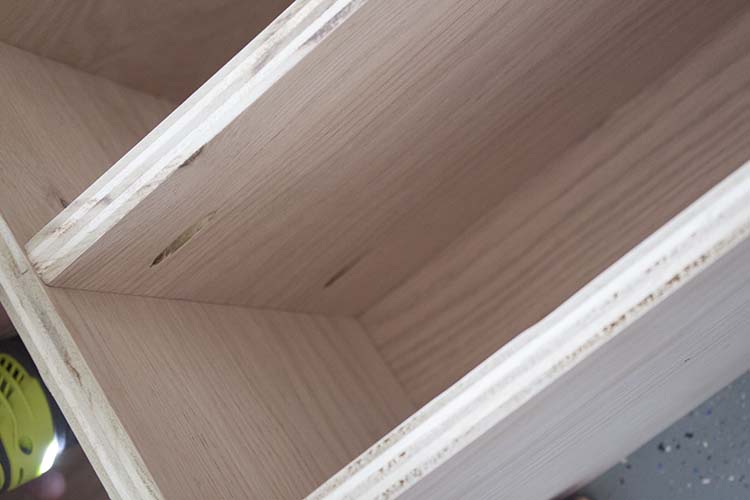

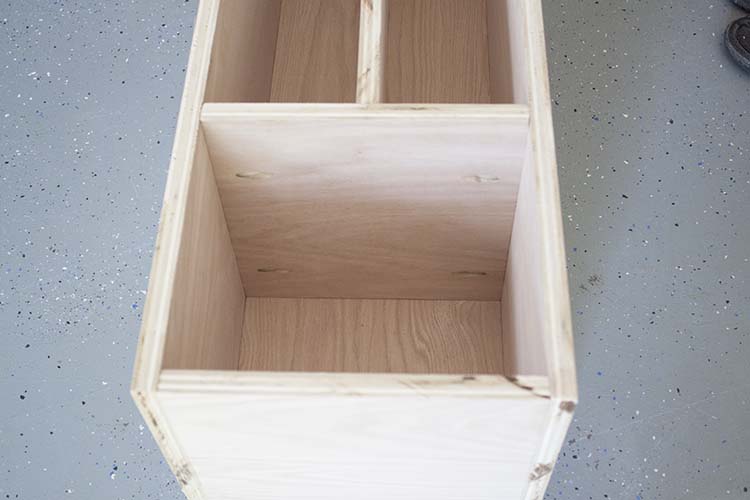
All the pocket holes are on the inside of the panels so that they won’t show from the outside. Each panel has four pocket holes, for a total of 16 pocket holes on the inside of the planter.
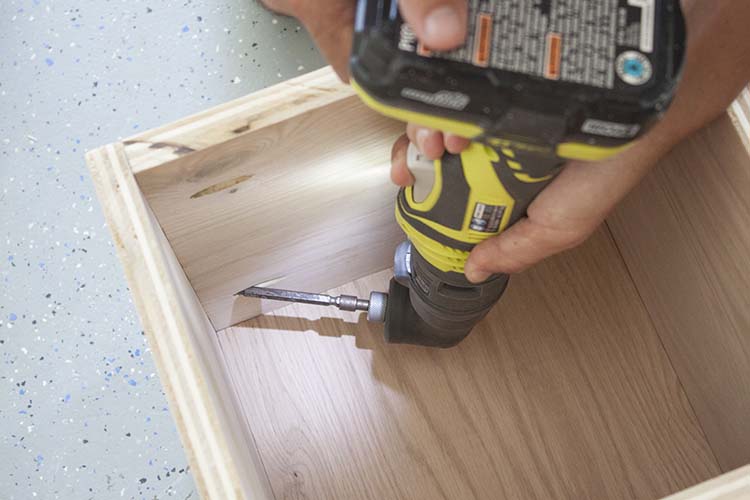
We used an angled drill to install the 1 1/4″ pocket hole screws but you can also use a ratchet if you don’t have one. We started by putting the box together first, sides, bottom and then adding the partitions.
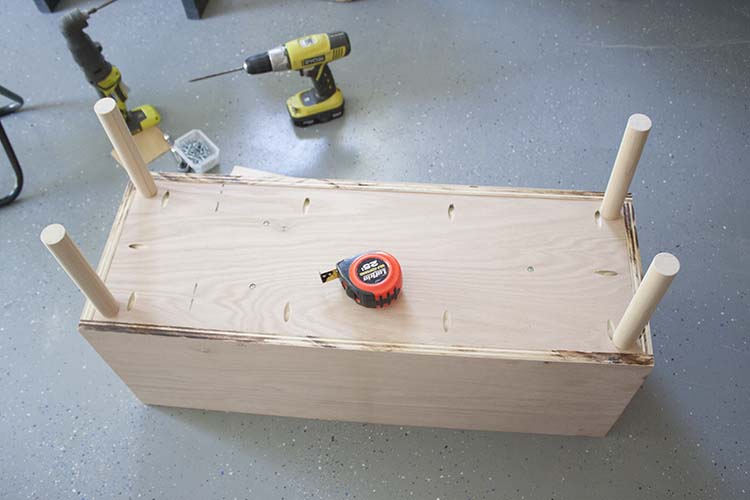
I call my husband Overkill-Eddie because he’s always erring on the side of caution which is why the bottom of the box has 10 additional 10 pocket holes that secure all four sides PLUS 4 screws, 2 screws from the bottom into each partition. The legs are screwed in from the top. Each screw hole was pre-drilled to prevent splitting.
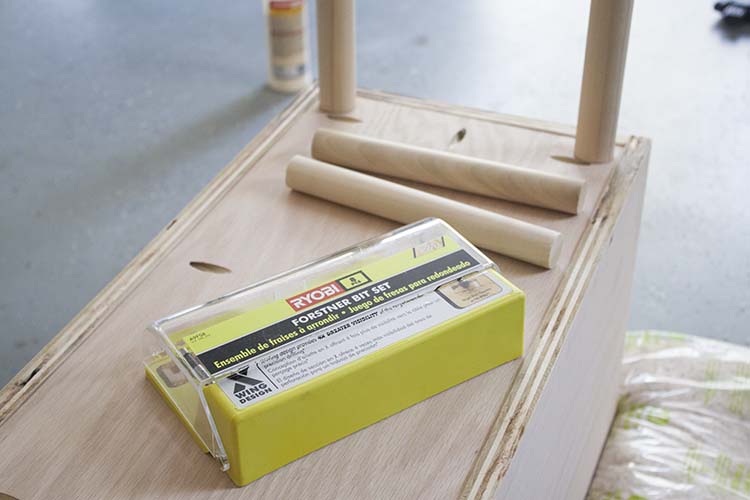
I’ve been dying to make something with the Forstner bit set I got last year and I would have made a mid-century modern plant stand for my fiddle leaf fig but, after having it for TWO YEARS, it died! And I am so sad about it.
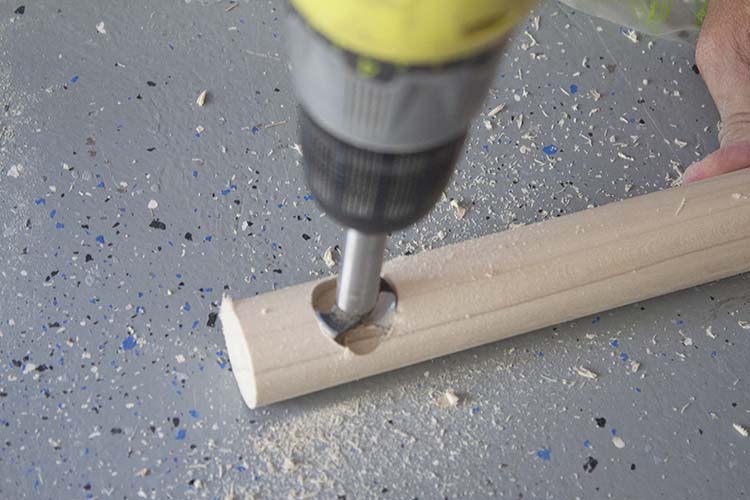
But I finally get to use them for this modern DIY indoor plant stand magazine rack so it’s almost the same thing, right?
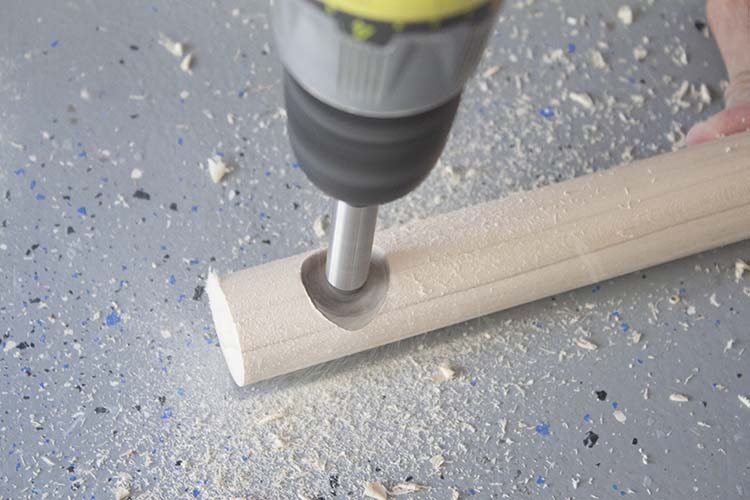
We put the legs on the bottom of the planter first and then determined where we wanted to place the brace, just above center, and then we took the legs off again to drill the holes for the braces. We practiced on the above piece to make sure we had the correct size Forstner bit. You want the hole to be large enough to accommodate the brace dowel but also a little tight and not too big.
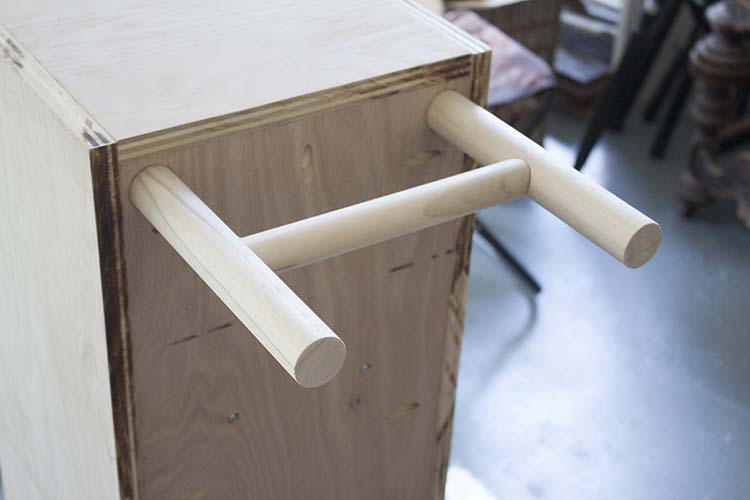
After drilling the holes in the legs with the Forstner bit for the brace, we put the legs back on with the brace in place to make sure it worked. Then took them off again to drill another hole in the short brace to accommodate the long brace. We went back and forth like that until all of the dowel pieces were cut and we were sure everything fitted together correctly.
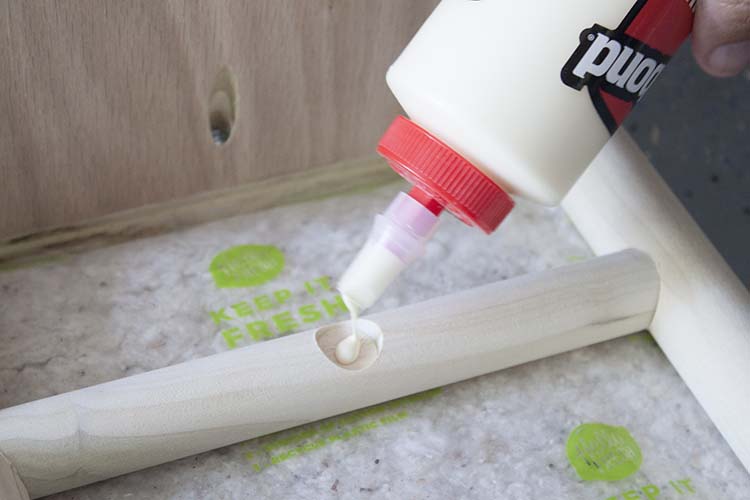
We put the legs back on but before tightening them up we put all of the braces in place using wood glue.
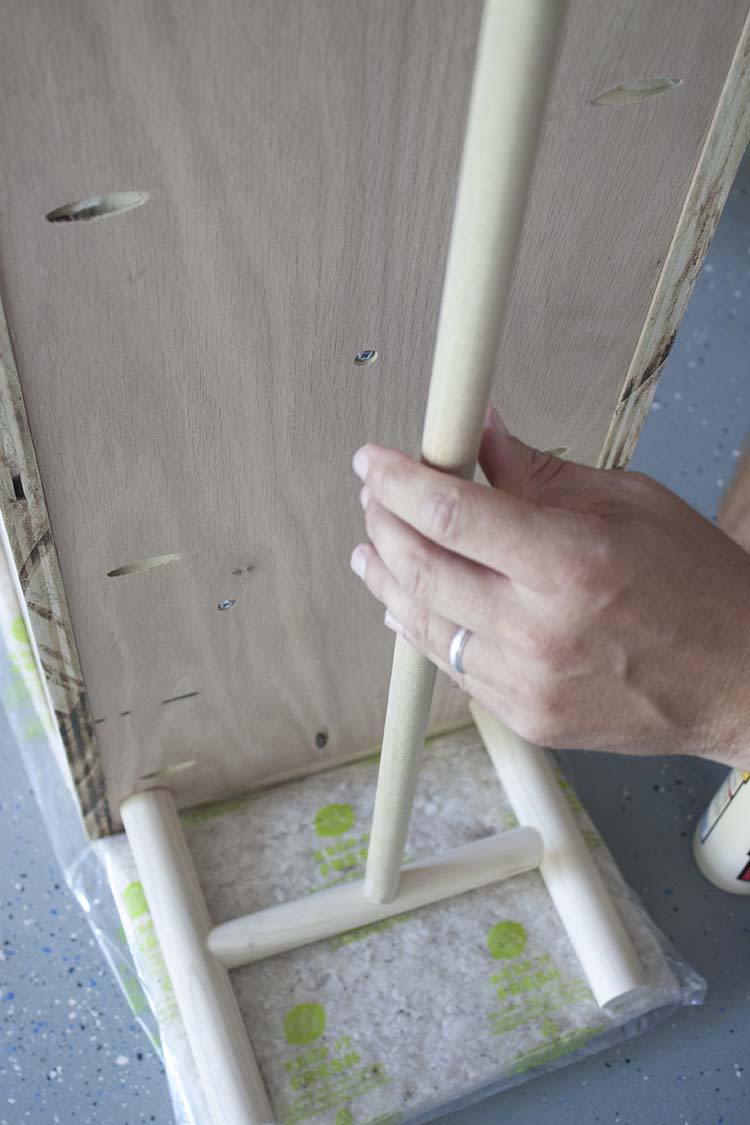
With all of the braces glued and in place, we tightened the legs and turned the planter onto its legs to allow the glue to dry.
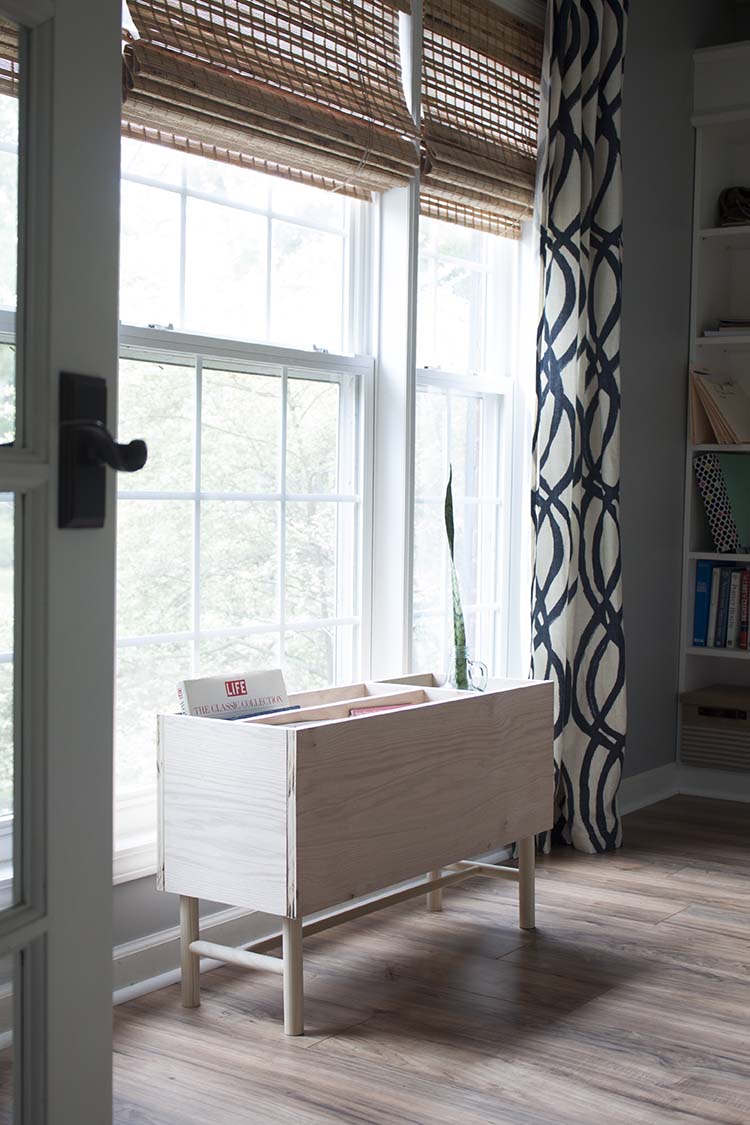
And then it was ready to use.
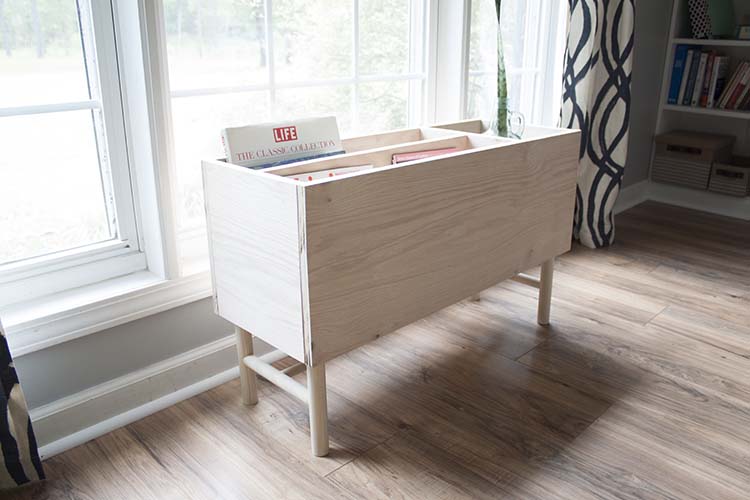
I put an old wine jug with a snake plant cutting on the planter size and a few of my favorite books and magazines on the magazine rack side.
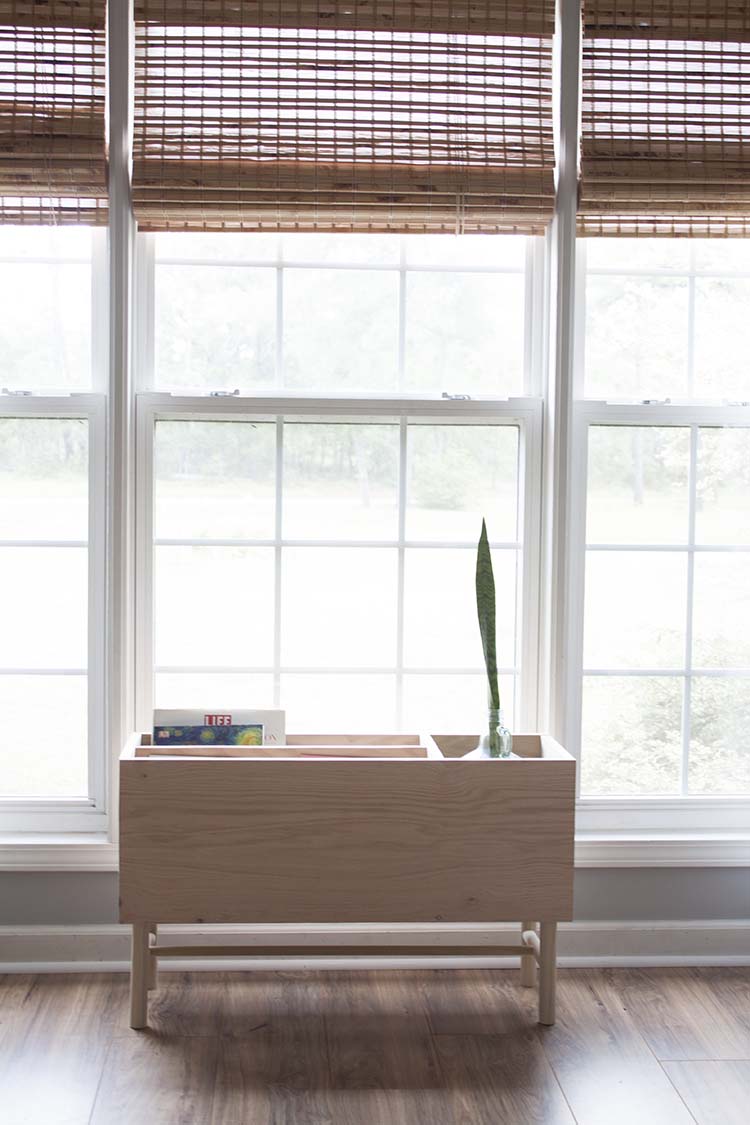
And I am so in love with this modern DIY indoor plant stand magazine rack! It’s beautiful, functional, and it didn’t cost me a fortune. I’m also a really big fan of getting to leave it in its natural state. Isn’t this plywood beautiful? I can’t even believe it is plywood. Do you love it?
Also, this post is hiding, in plain sight, a very exciting secret. Can you spot it? I’ll be sharing more soon!
Special thanks to this month’s host, Glittered Barn Designs. If you’re interested in participating in future contests, please contact [email protected]
in future contests.





Leave a Reply