Updated: It’s finally here! The Office Makeover Reveal.
If you’ve been following me on Instagram then you’ve probably noticed I’ve been all consumed by our office makeover these days. I recently took a poll across my various social media to see what you guys preferred – a reveal, then how-to posts or how-to posts, then a reveal? I’d have to say the results were kind of split but mostly leaned toward reveal, then how-to posts.
So you’re probably asking yourselves right about now, where is the reveal? And you’re right. This isn’t the reveal. But I also feel like it doesn’t give too much away either. You guys essentially told me that you liked seeing the beauty shot first and then the behind the scenes. And what I’m telling you today is, I’m still in the decorating phase so the reveal isn’t quite ready. And if I don’t share something with you soon…I think I might burst.
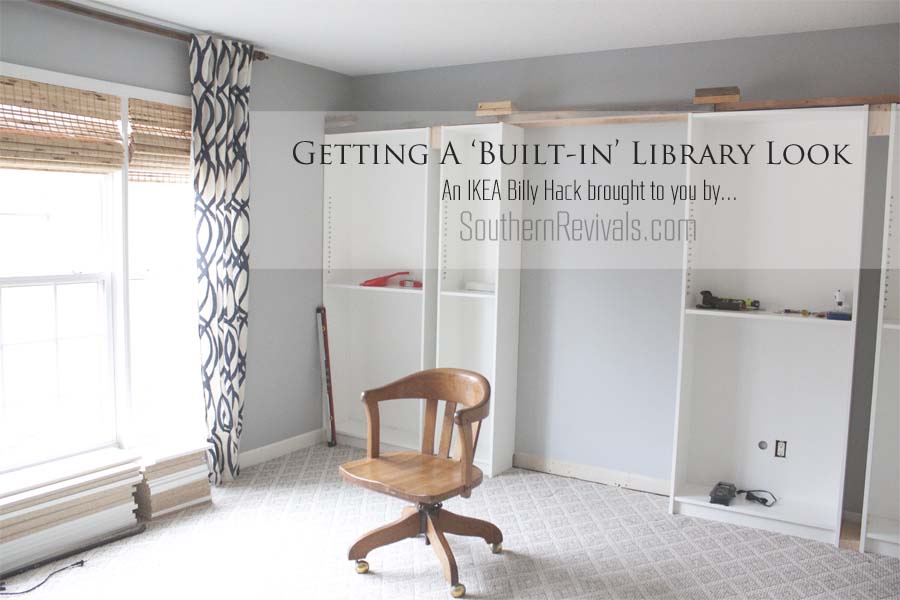
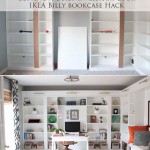
So…SPOILER alert. Today you’re getting a behind the scenes look at how we installed these billy bookcases and got a quick start on our built-in home office/library. But, like I said, I don’t think it gives away much more than my Instagram photos so maybe you won’t be too disappointed about the order of things (you’ll have to let me know in the comments below!). The good news is, the reveal is next!
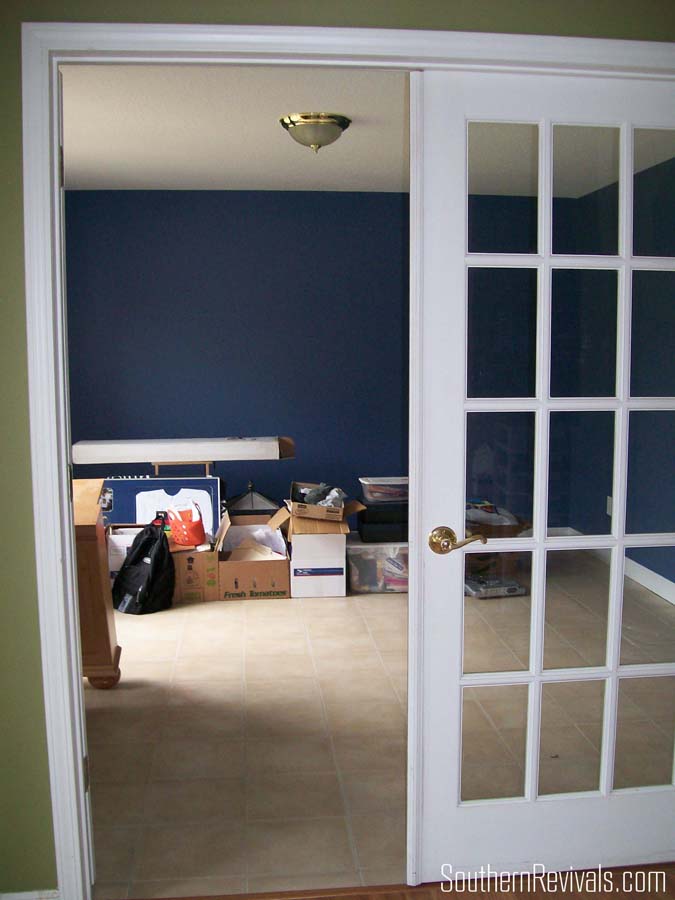 Something that is always fun to see is a room’s humble beginnings. This is actually a picture of the day we moved into The Revival House. This is just to the left side of our front door as you walk into our home. That immediately makes it an important room because it’s one of the first people see when the come in.
I’m not sure how you feel about this color. At the time it was a little overwhelming for me. As you can see the foyer (and the rest of the living room) was done in a Granny Smith Apple Green, our kitchen in Burgundy and a guest bath in Lavender. I just needed things to be a little more cohesive and so I was turned off by the color in here initially. And while I still don’t think it was the right color for this particular room, I did use something very similar in my son’s Star Wars Themed Big Boy Room.
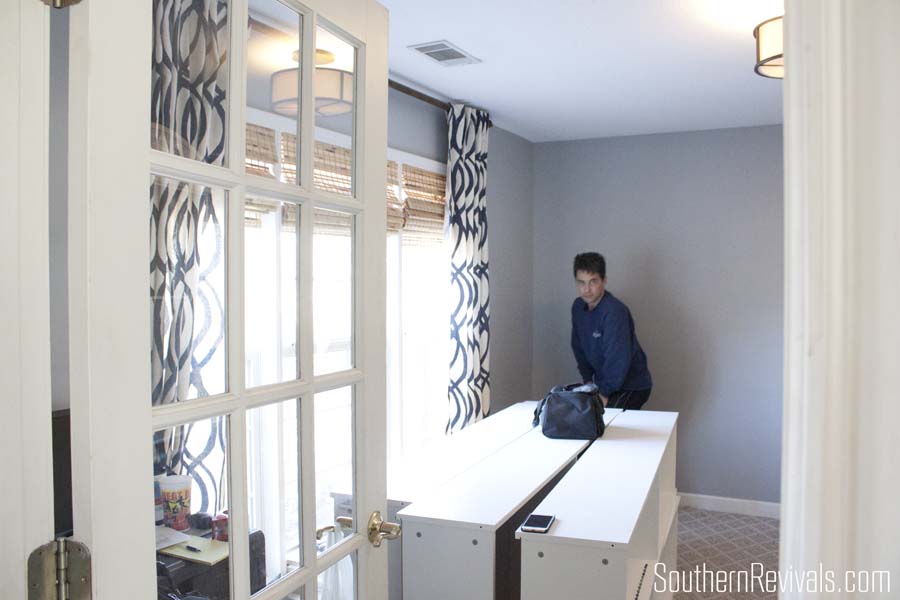
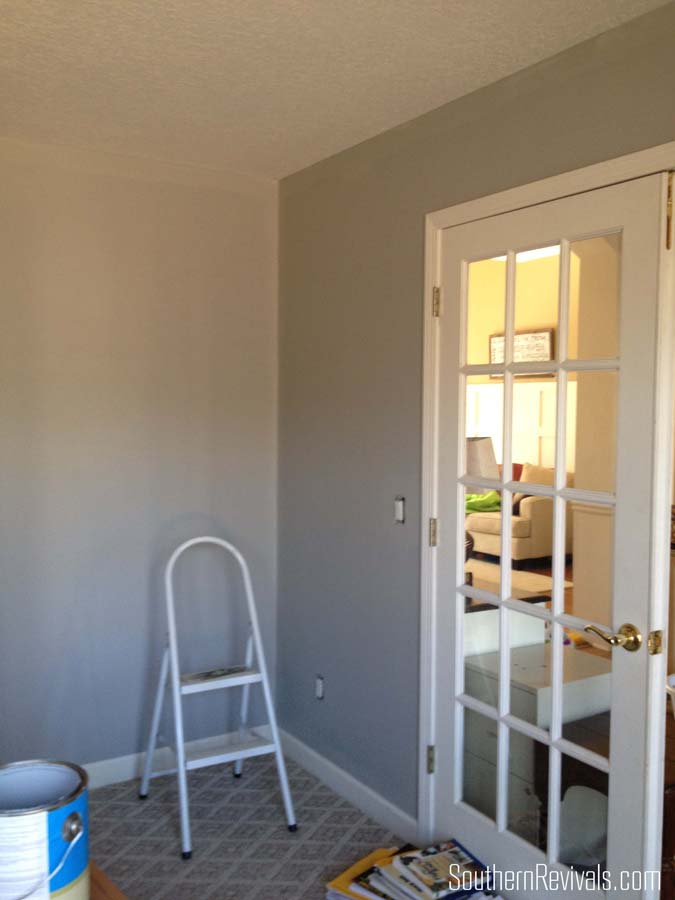 The first thing I did for this office (which was probably two years ago now) was paint it a soothing gray color. This is Coventry Gray from Benjamin Moore. And I loved it! So much so that it was the basis for my color palette for the rest of the house. You can see through the french doors there that my living room, at this point, is a Khaki color. It was much better than the Granny Smith Green when we’d first moved in but it still wasn’t what I truly wanted. Thankfully after painting this room I realized gray was a definite contender and I finally achieved the cohesiveness I desired by figuring out the perfect gray color palette for my home.
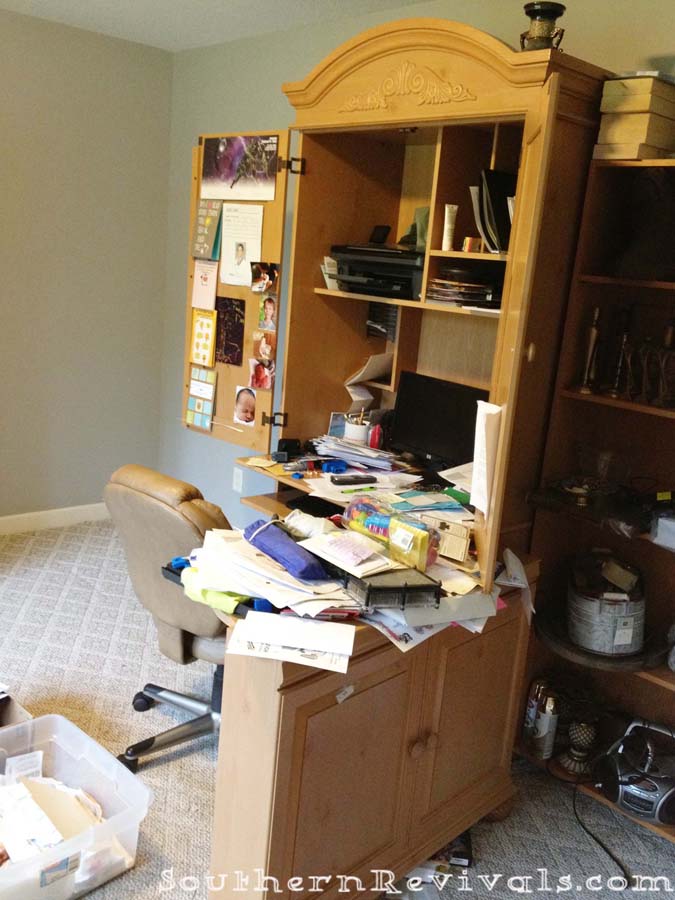 Then there was this. Our out-of-a-box office furniture that we got for our first home, which had actually cost us a pretty good bit, so we held onto it when we moved.
And let’s not ignore the elephant in the room. Do you guys have husbands? Or messy partners in general? I guess you could call me a neat freak. My mom was one but then again she also went behind you continually collecting your drinking cup so that when you went for your next sip it no was no where to be found and you always had to go and get another drink. I’m not that bad. But I like for everything to have it’s place and get put there occasionally.
 After painting the office I lived with the out-of-a-box furniture for as long as I could before the color of them go to me. I felt like painting them would not only give me the look I was going for but might also dress them up a bit. Make them a little more upscale looking. After all, these were really solid pieces so I felt like I owed it to them to give it a chance. Why do I act like furniture have feelings??
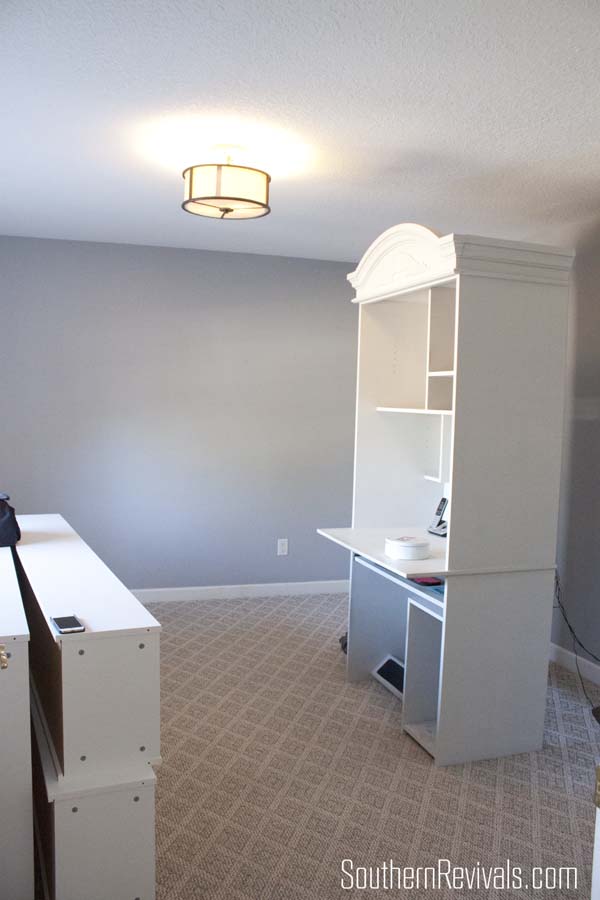 And painting them did help. For a time.
I read an article recently about the link between clutter and depression and I totally get that. It’s not necessarily your everyday clutter that bothers me. I mean, I do have kids. And a husband. So some clutter is to be expected. But it’s that constant putting away of things only to have them in complete chaos every time you turn around that really brings me down. I realized that our biggest problem in the this office wasn’t color but organizational structure. It’s important. Like this article from Apartment Therapy that talks about how not having a rock solid organizational system in place makes it difficult to impossible to keep your things organized. And that was important not only for the look of the room (or the house in general since this is one of the first rooms people see) but also my state of mind and efficiency. So while painting had been a definite improvement I knew this system wasn’t going to work for us. We’d had these office pieces for about 14 years and so I finally gave myself permission to get rid of them.
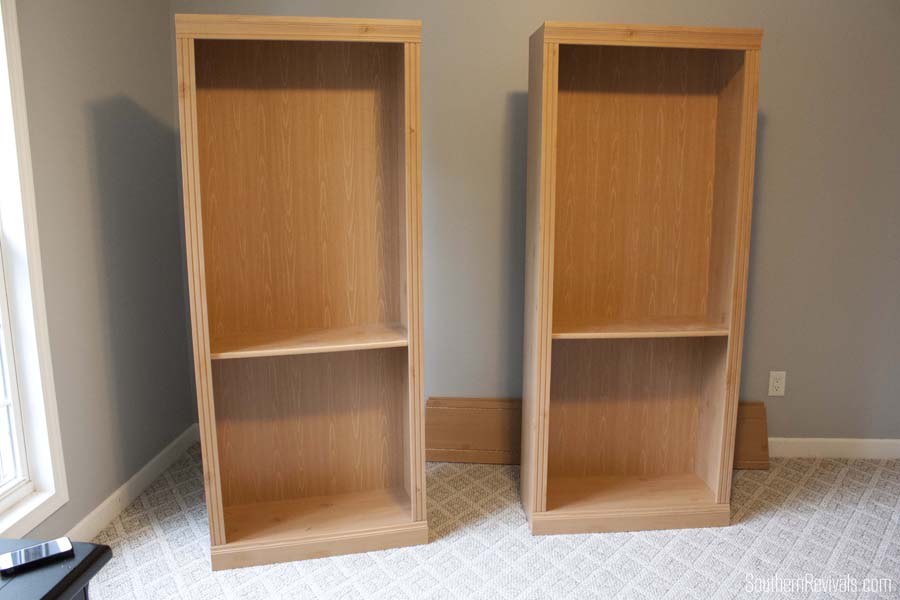
 But you know me, I like to do big things on a little budget. Plus, we would have been kidding ourselves to think that built-ins from scratch would have gotten done any time this decade. So we went to IKEA and for about $200 less than what we’d paid for that out-of-a-box furniture 14 years ago, I got 4 regular white Billy bookcases and 4 mini Billys. This was the same method we used for our under $100 IKEA Hack built-in closet system for our son’s room so knew these would be sturdy.
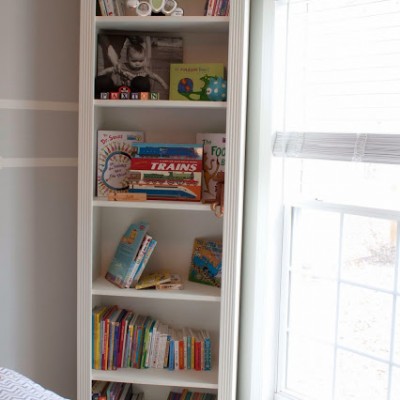
 The first thing we had to do was remove the baseboards where we were going to be placing the bookcases. That way they’d have the look of a wall unit and not just bookcases placed up against a wall.
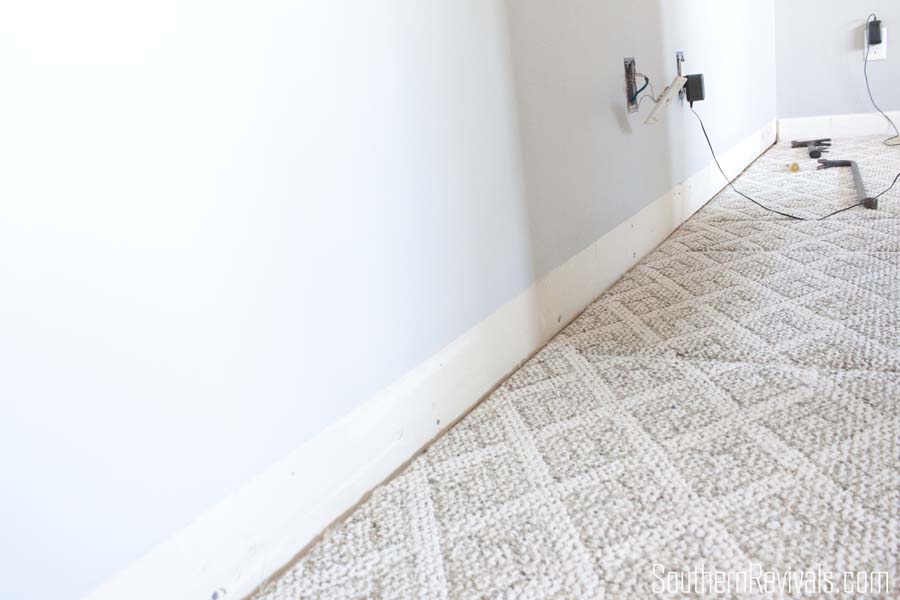 We didn’t remove the baseboards in the other parts of the room. After we had everything in place, we added the baseboards back in and tied them into our existing baseboards which you will notice in the reveal.
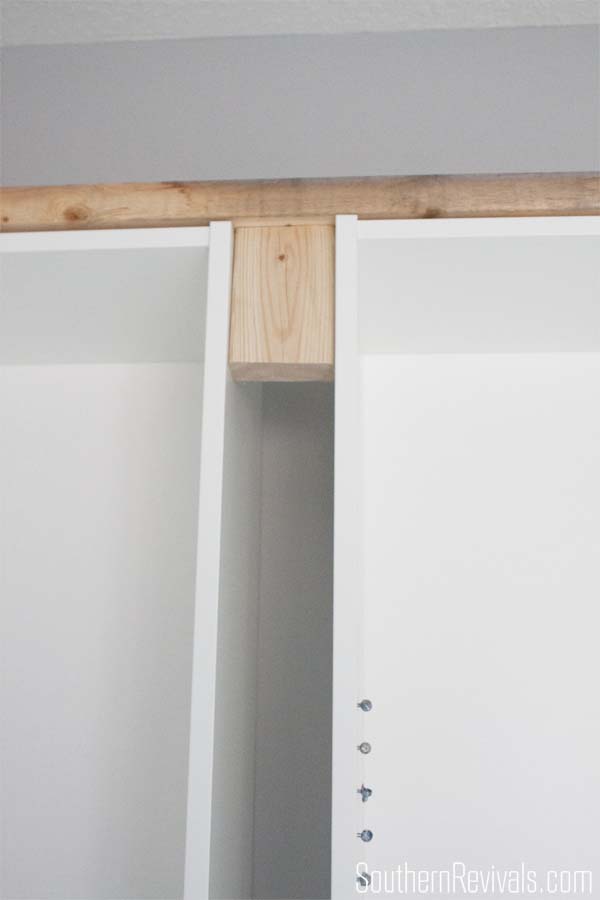 The first thing we did, after getting our bookcases put in place, was attach them to wall behind them using L-brackets. Then we placed 2×4’s along the tops to stabilize them and short sections of 2×4’s at the top….
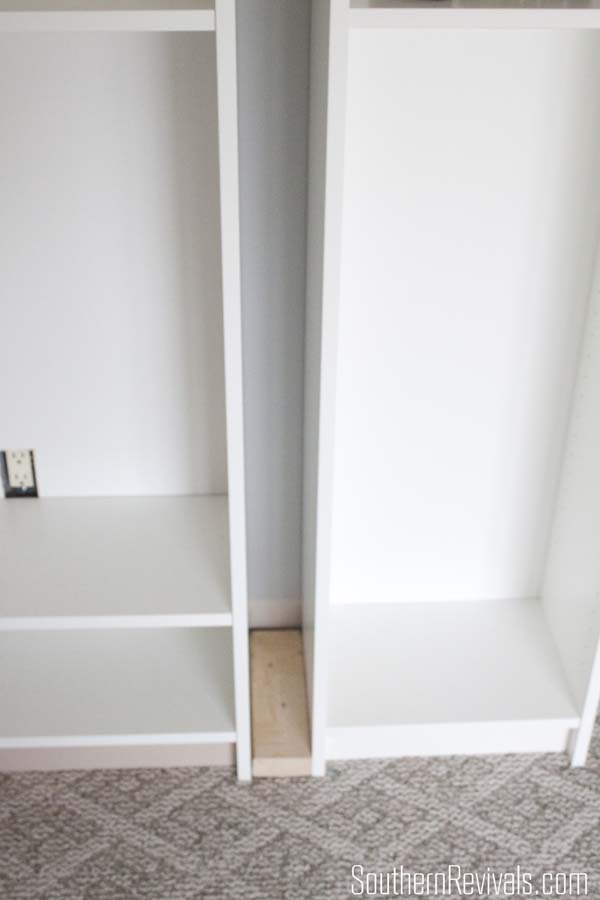 and bottoms, for spacing.
 We also had to make cut outs in the bookcases for outlets, cords and here so we could get to the box where our fiber optic cable for internet comes into our home.
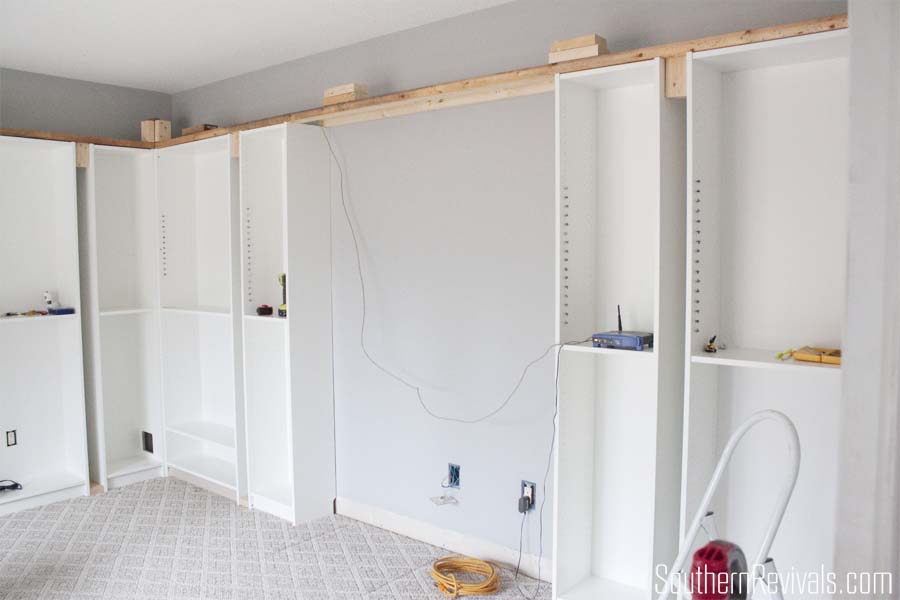 We used scrap 2×4’s that we had left over from other projects. That’s why they look like they’ve been hiding out in my wood pile in the garage. Because they have. But that saved us even more money and no one will ever see it because all of this will be disguised later. I’ll show you how we did that after the reveal.
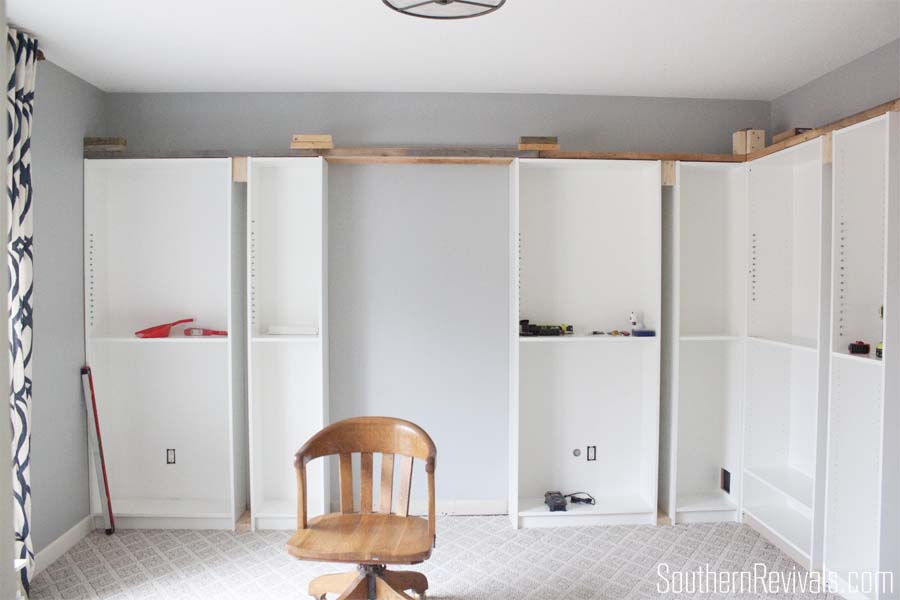 In addition to driving to Atlanta to our closest IKEA, putting together all 8 Billys and installing them onto the wall it took us a grand total of 24 hours. Can you believe that? We were well on our way to a brand new, amazing space and the weekend wasn’t even over yet!
But as is always the case, the dressing up stage can sometimes take longer than the grueling work phase. Why is that? So now, while I wait for a few more trinkets I’ve ordered to arrive and continue my search for the perfect sized this and that you can chew on this for a few days and try and decide if you think I’m a genius or maybe I’ve just make some really poor decisions for the sake of saving money. I’m not big on self-esteem but this is one time I can safely say you can bet on me and win this time around!
Other Posts in this Series:
-
IKEA Hack Office Makeover – The Reveal
-
Part 1 Building in Billy
-
Part 2 Building in Billy
-
Part 3 Remote Control Lights & New Outlets
-
Part 4 Shop the Look – COMING SOON
-
Giant Framed Postcard – COMING SOON
-
Affordable Library Lighting
-
Office Ceiling Light Fixture
-
$20 File Cabinet Makeover
-
Turning a Photo in a Giant Watercolor Wallprint


Now that you gave a sneak peek, I can’t wait for the reveal! I might have to make an office space after seeing this!
It really makes me wish I’d done it long ago! We are really enjoying it. Thank you!
I can’t wait to see how it will look! I really like how it has come along…I’ll bet this is another SR winner! 🙂
Thank you Karla! You made my day!
Just found your blog and I read your bio. I love the quotes you shared and how you shared your experience of losing your mother with your readers. Sorry for your loss. The heart would have no rainbow if the eyes had no tears. I can see you are a beautiful woman on the outside but your story and vulnerability shared in your writing style reveal your heart and inner beauty.
You are gifted and blessed.
Like you, I love to “save” unwanted furniture and give it new life. We need to evolve and giving furniture a new life helps to remind us that we all need a second, third or fourth chance in life to shine.
Blessings,
T.
What a beautiful comment. Thank you!
Hi Jamie,
This is the first article that I have read after stumbling across your blog by following a friend’s ‘pin’, and I’m enjoying it. I can’t wait for your final revelation of your study/library make-over.
My husband and I are also embarking on a makeover of our study, which is now so cluttered with papers ever since he brought home his personal documents after retirement. He’s quite a bit of a disorganised hoarder, and I have to ‘close an eye’ to all the mess or I’ll tear my hair out, which is tough as I’m also quite a neat-freak.
Cheers,
June
I know just what you mean. My husband is the same way and he hasn’t yet retired. What will I do when he does? I like your “close and eye” advice! 😉
I hope to have the reveal up very soon!
Can’t wait to see part 2. This would solve a problem in my home.
hiya~ just found your blog thru this pin, love it, can’t wait to peruse more. right up my alley. just wondering if you have posted the reveal to this post yet, i can’t seem to find it on your blog…? if so, would you mind updating this post with a link to the reveal, for people like me? or did i miss it? my apologies if you already did, i am in the drowning state of clutter… trying to fix it!
thanks for sharing your work!
I love this post so much! We have been thinking about doing something like this with billy bookcases in our front room to turn it in to a playroom. Can’t wait to see the final reveal!
I can’t wait to see it either! LOL It’s coming, I promise! Thank you!
I would love to see how this office turned out!
Will there be a part 2?
Yes! And I’m sorry I haven’t posted it sooner.
I can’t wait to see part 2! I’m thinking of doing this myself, but I need to figure out how to make it work with all the little plugs and wires.
Gorgeous! Hope we get to see Part 2 soon. 😀
This is looking so good! I love the idea of using these bookshelves as a base and the way that you’re securing them together is such a great idea, now I need to look through your site to see it all completed!
Thanks Robyn! Part 2 will be posted in Jan!
Where did you find those curtains?
West Elm! 😉
I Love it. So happy I found you. I can’t wait for the second part.
Thanks Cheryl! I am posting it this weekend!
Hi Jamie,
Is part 2 coming up? Can’t wait to see the result 🙂
Here you are! https://www.southernrevivals.com/2016/02/office-makeover-reveal-ikea-hack-built-billy-bookcases.html
Do we have a reveal??
Finally! https://www.southernrevivals.com/2016/02/office-makeover-reveal-ikea-hack-built-billy-bookcases.html
Please can you link to part 2 as I have searched and searched and cannot find it and I am wanting to do a similar thing here in Australia.
Cheers
Sandie
Here you are! https://www.southernrevivals.com/2016/02/office-makeover-reveal-ikea-hack-built-billy-bookcases.html
Please post! I need to see it!
Here you are! https://www.southernrevivals.com/2016/02/office-makeover-reveal-ikea-hack-built-billy-bookcases.html
Have you posted the final reveal, if so where?
Here you are! https://www.southernrevivals.com/2016/02/office-makeover-reveal-ikea-hack-built-billy-bookcases.html
Waiting for the reveal! 🙂
Here you are! https://www.southernrevivals.com/2016/02/office-makeover-reveal-ikea-hack-built-billy-bookcases.html
Hello. I can’t find Part 2 – the reveal. Is it on the site? Looks like Part 1 was almost a year ago, so i’m thinking it must be here? Thanks! Very excited to see it as I have this planned for my office.
Here you are! https://www.southernrevivals.com/2016/02/office-makeover-reveal-ikea-hack-built-billy-bookcases.html
It’s February… I’ve searched the site and can’t find the reveal so I’m joining the chorus of comments! Please reveal 🙂
Here you are! https://www.southernrevivals.com/2016/02/office-makeover-reveal-ikea-hack-built-billy-bookcases.html
Thank you!
Can you tell me what the carpet is? I LOVE it!
I can’t tell you what the carpet is because I can’t remember (had it installed over 9 years ago!) BUT I can tell you that I got it from Lowe’s and it was still there most recently when I looked. Great price, too!
Thanks!
Hi, Just wondering what the dimensions of your room are? Or how big your desk top was? We have a very similar office/den in the house we just bought and I’m trying to determine how this could work. But we end up with a desk of just 20 inches if we do 2 large Billy and 2 small. But I want to balance it, and not do 2 on one side and 1 on the other 🙂 Your measurements may give me perspective!
Hi Jess,
Our desk is 40.5″ wide. Our office is 13′ x 14.5′ or about 189 sq ft. Hope this helps with you project!
I’ve enjoyed reading your blog. May I ask about the existing electric outlets lower on the wall? Since the backing of the Billy bookcases is approx 1/2 inch inside, from the back edge of the bookcases, how do you manage to pull your electric outlet forward, or out, that distance so it will look ‘finished’ when looking at it? I’ve removed the receptacle plate and can’t work out the best wait to avoid having a hole or gap between the book shelves and the outlet. Thank you!!
Hi Monnie,
Thanks so much! We removed our baseboards so we didn’t have that much of a gap and then we just put the outlet plates on the backing of the bookcases. They make outlet box extenders that you can you can use if you don’t want to remove your baseboards or still find that you need them even if you do. Hope that’s helpful!
Doing a similar project at my house. How did you attach the 2×4 to the ikea bookshelves. Don’t want to split the ikea “fake wood.”
Hi Natalie
We used screws just make sure to pre-drill your holes beforehand to prevent splitting. Good luck with your project!