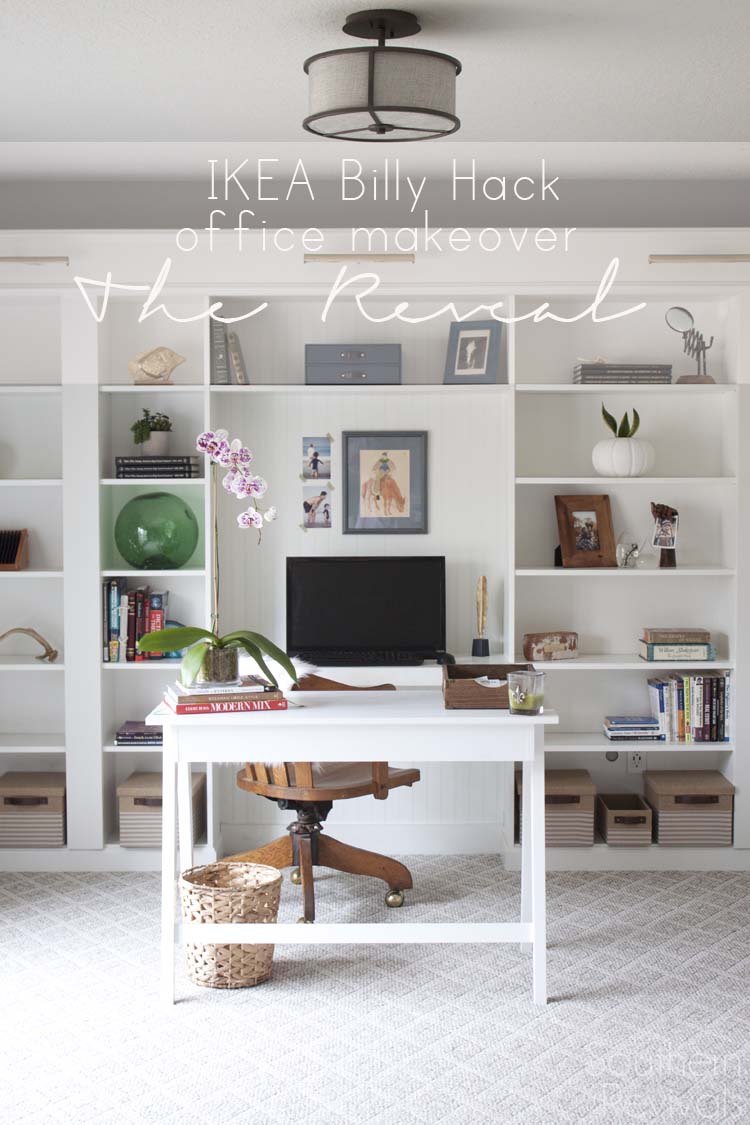
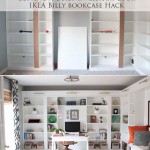
Can we just pretend this never happened? Or that it’s still 2015 and I’m not actually late posting this Office Makeover Reveal, but early. It’s been complete since March. 2015, that is. But between life, an apparent pipe dream of a magazine feature and waiting to find the perfect pillows (and making myself make the bench cushion because I’m too cheap to pay someone else to do it..) and here we are. The IKEA Hack Built-in Billy Bookcases Office Makeover Reveal. In 2016.
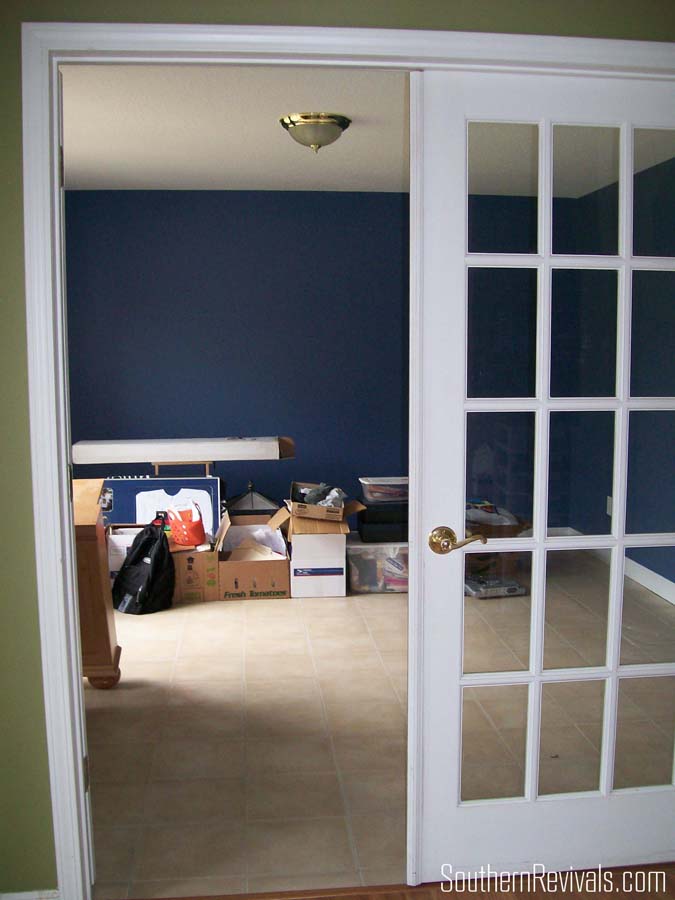
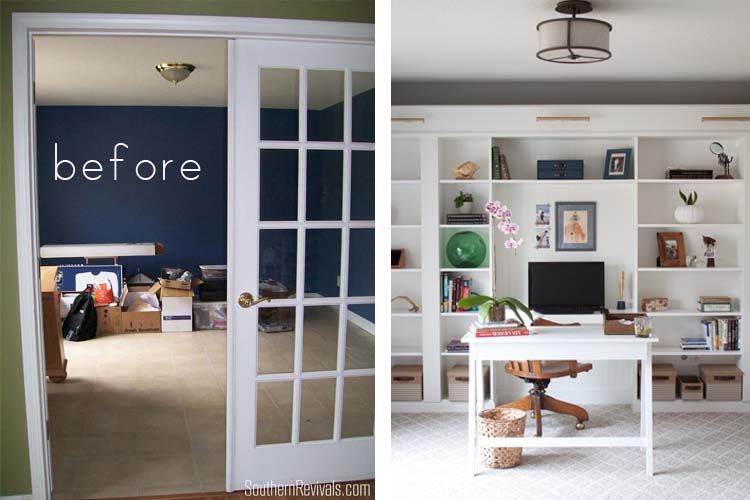
Even though you saw a brief glimpse back in 2015 of us installing the Billy bookcases, office makeover Part 1, that was last year so you might need a reminder of how things looked before, before. Soon after we moved in way back in 2007. And no, that is not tile!
This was the view directly to the left of our front door, standing in the foyer.
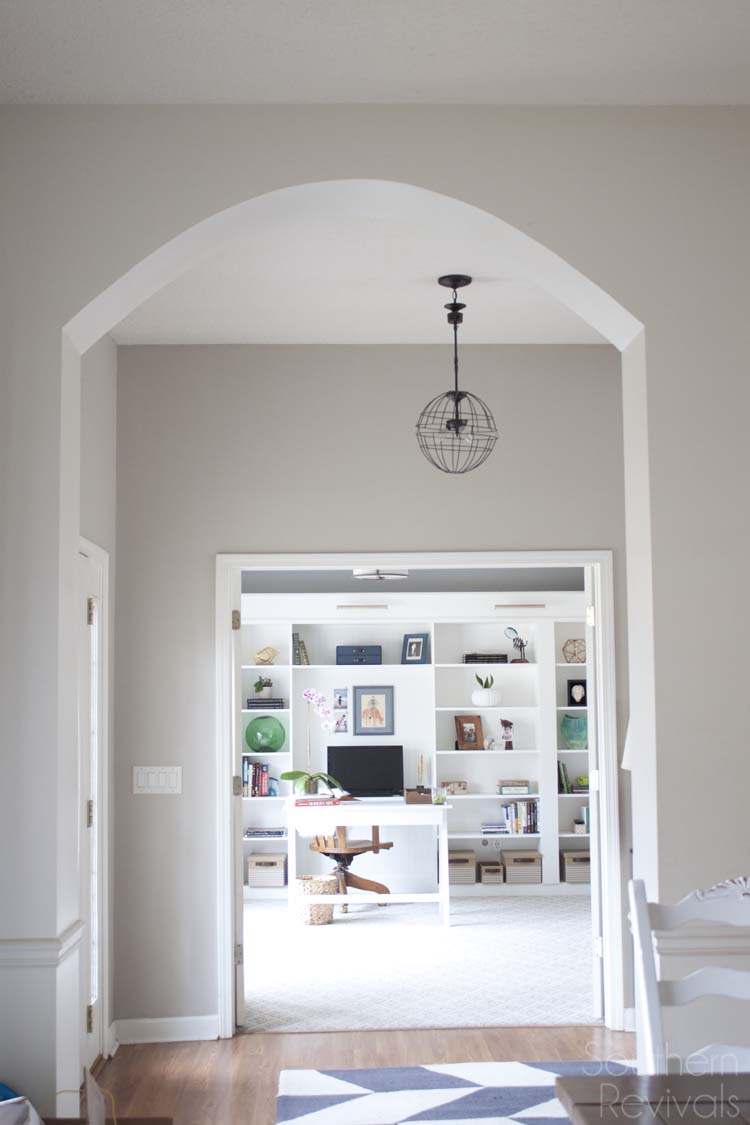
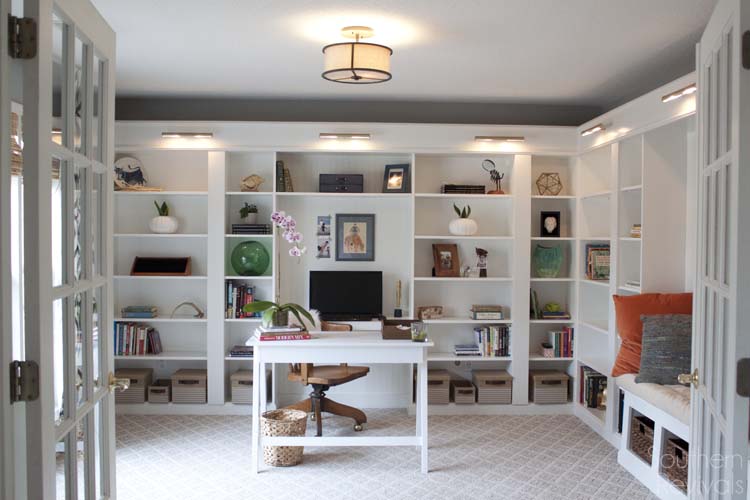
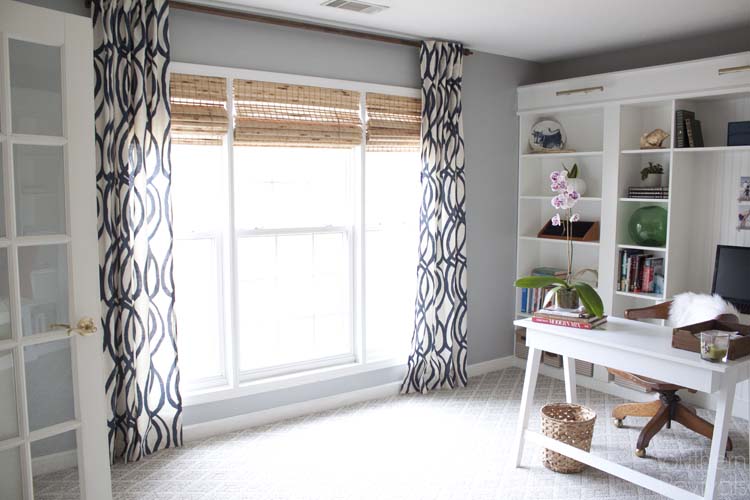
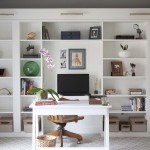
Believe it or not, this is that same view, to the left of the foyer. Isn’t that insane? I mean, the room looks twice as big now even with twice as much stuff in it.
And y’all, we did it ALL for under 2 grand! Minus the books, some of the trinkets we already had and I shopped my house for things here and there. But all in all, the major bulk of this project, including decor, under 2 thousand dollars. I’ll break it all down in an upcoming post.
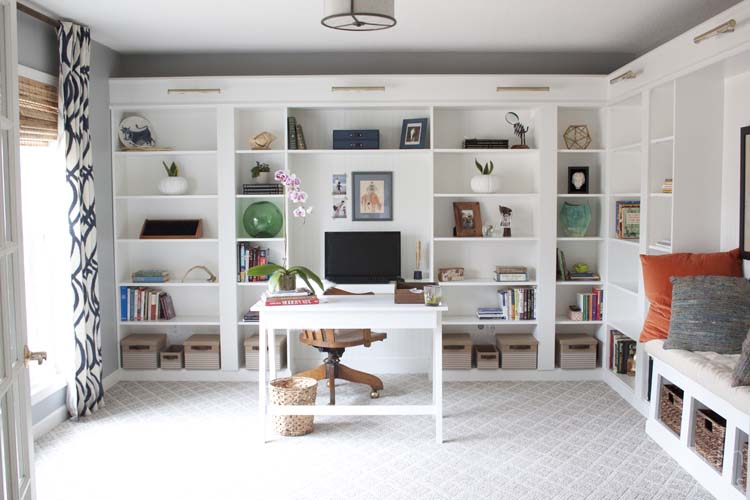
And I want you to know, even though it took me an eternity to post the reveal, we were done in just over a month and that was with working only on the weekends. That’s thanks to the IKEA Billy Bookcases in all their pre-built fabulousness.
It isn’t the first time I’ve taken advantage of that and used some pre-fab IKEA furniture. I used them in our Under $100 Closet Makeover for the closets in my oldest’s room. That was after I spent over $1k on his baby brother’s closet (of relatively the same size) and I thought, there has got to be a better way. And there was.
That’s why when I did the Man Closet Makeover in the His closet in the master bathroom I went with Billy again.
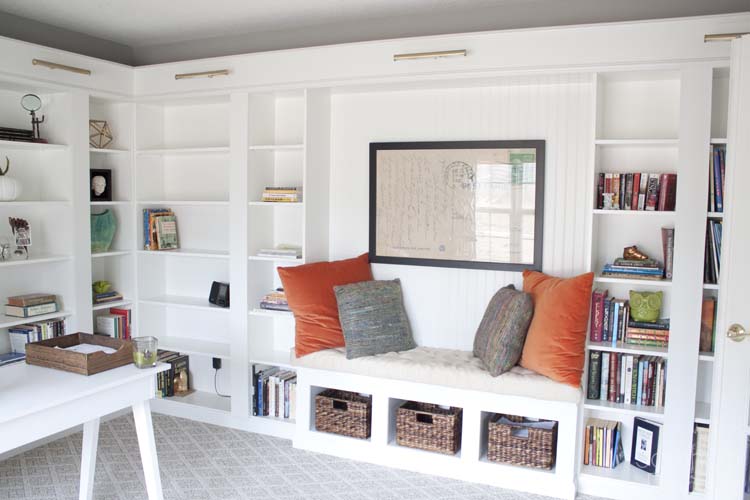
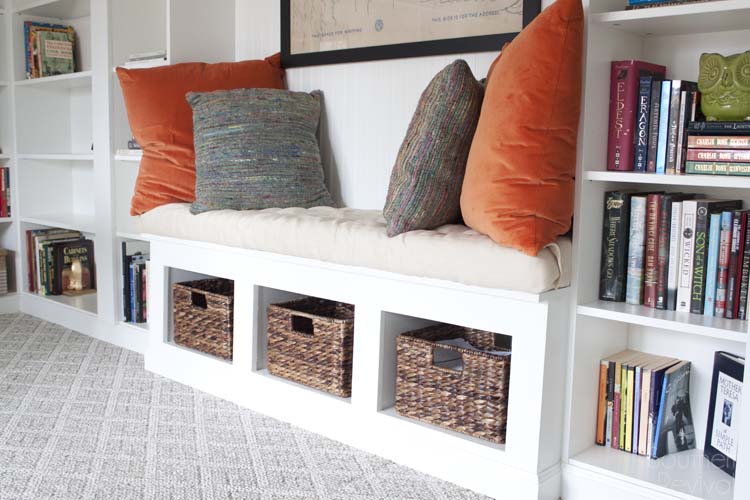
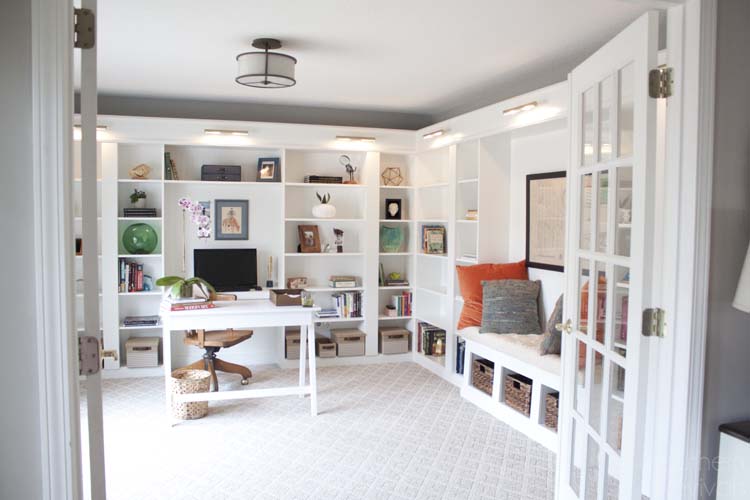
The only thing we really had to build, build was this reading bench. On this side of the room we placed two small or half size Billys on either side of the bench. On the Desk side we alternated Big Billy, Little Billy because doing so meant that the pieces fit together perfectly in the corner of the room without any extra work on our part.
This is one of those times we planned well ahead and knowing the size of our room paired with the size of the Billys told us in advance how much space we’d have left over. Using just 8 Billys (4 big, 4 small) left us enough room for a bench, a desk area and the spaces between the cases for molding – more on all of this in Part 2.
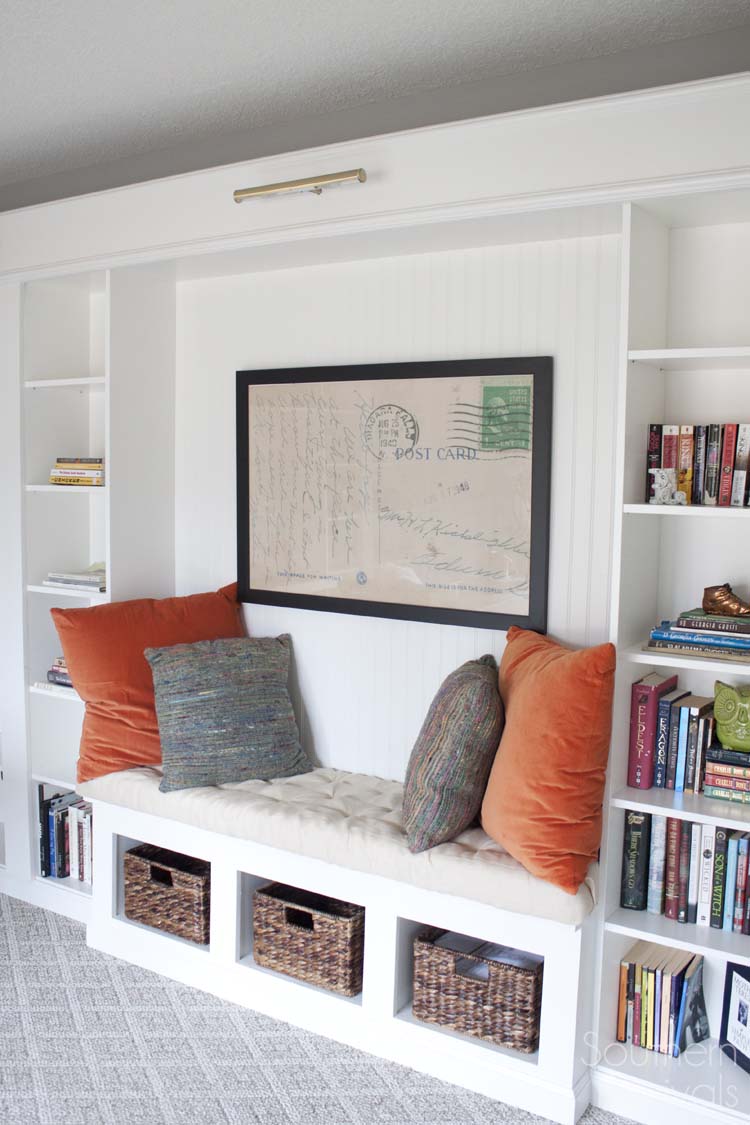
We used beadboard on the walls between the bookshelves to keep the look cohesive but interesting. And we intentionally didn’t carry the cases all the way up to the ceiling for a variety of reasons, which I will also discuss in Part 2, but not the least of which being that it makes the room look taller and less crowded. Plus, I love the gray color on the walls and I didn’t want that on just two walls in the room but all four.
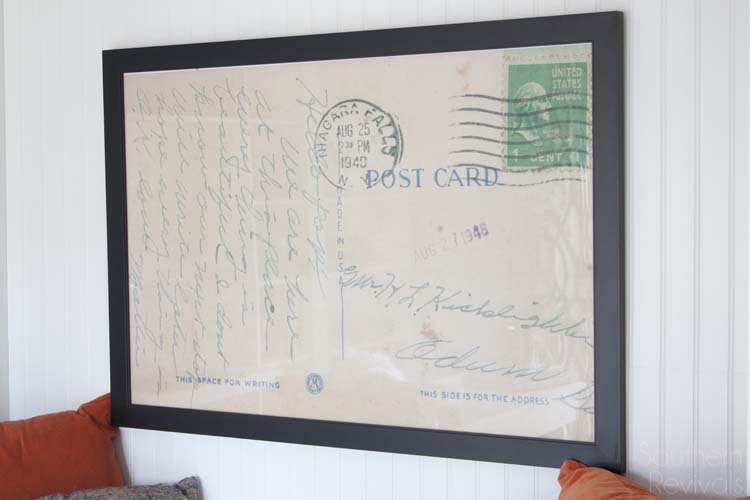
This framed post card is actually from my great grandmother to my great grandfather as she traveled through Niagara Falls in 1948. Just like that photo I took in Toronto and turned into a giant framed watercolor print, this has meaning. And I love that.
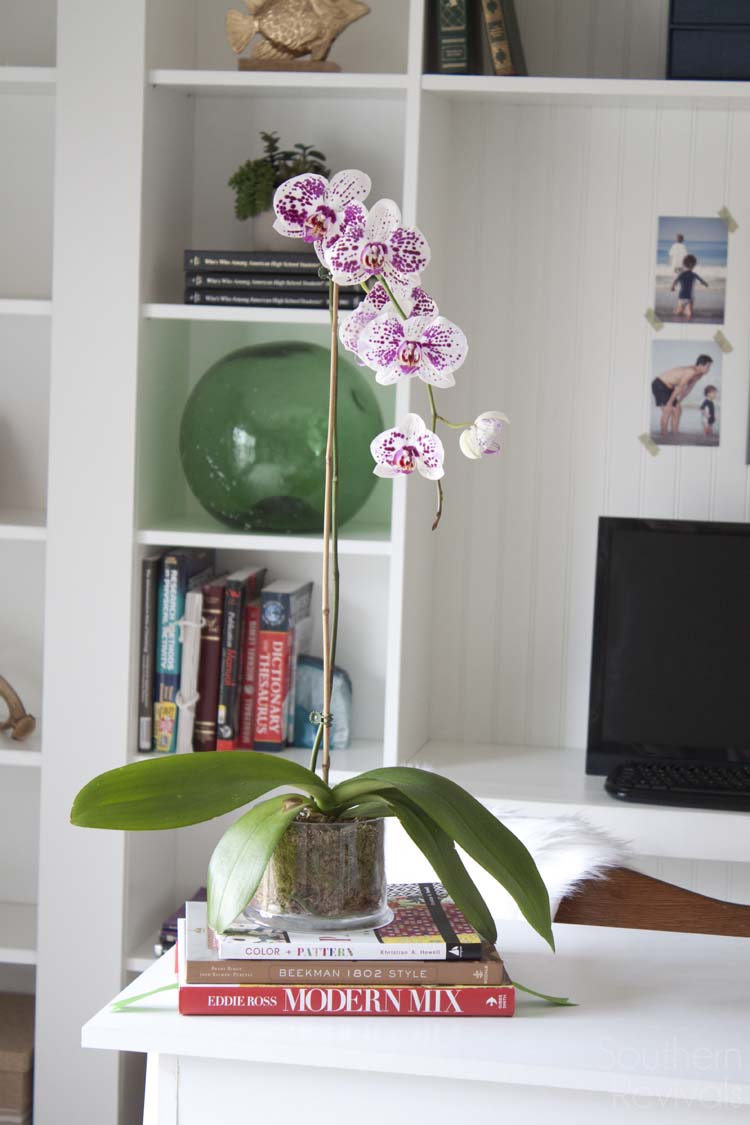
Actually, everything in this office has function or meaning. I’m not big on having stuff for the sake of having something to fill a space.
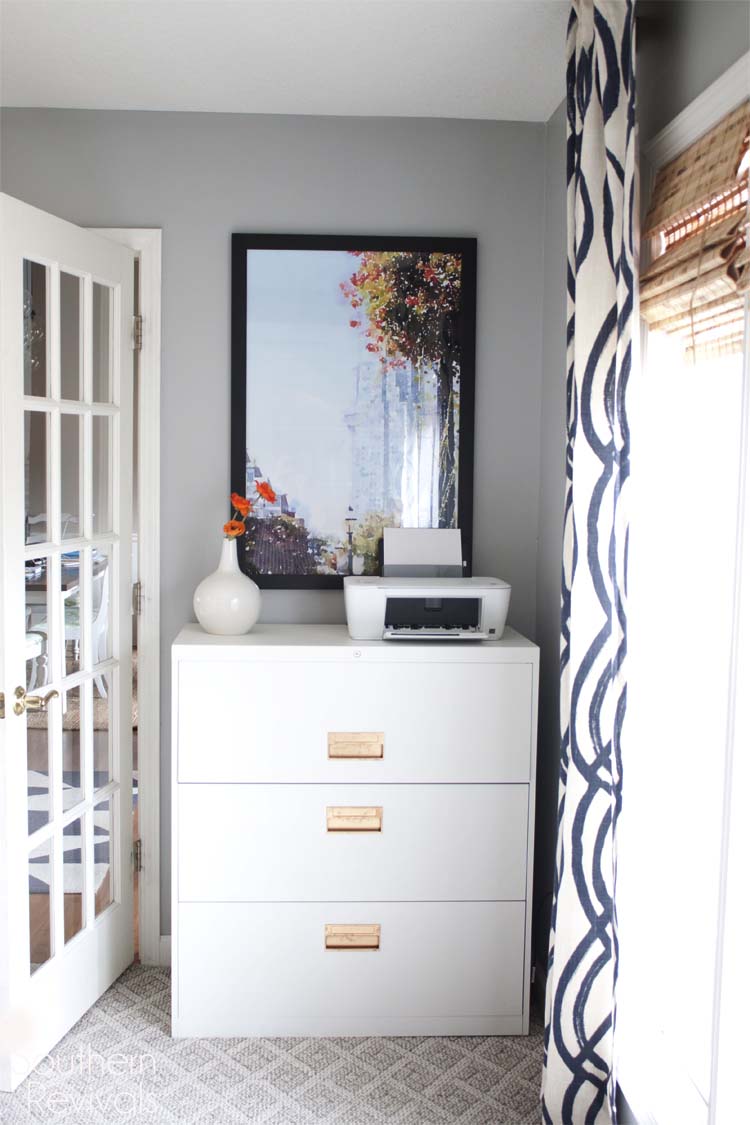
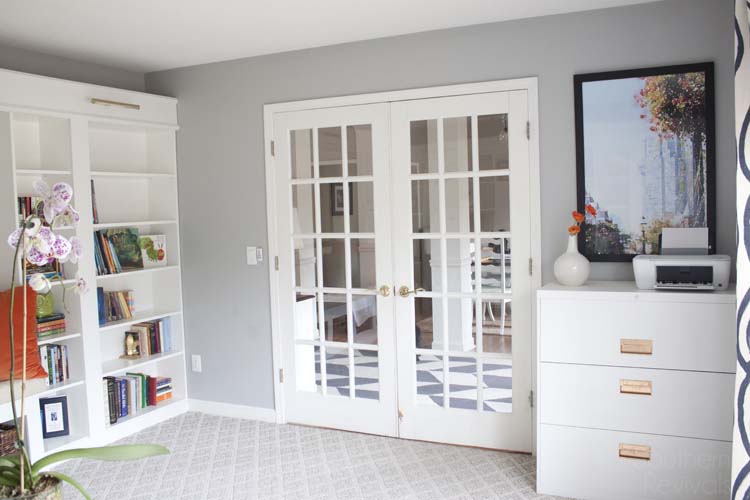
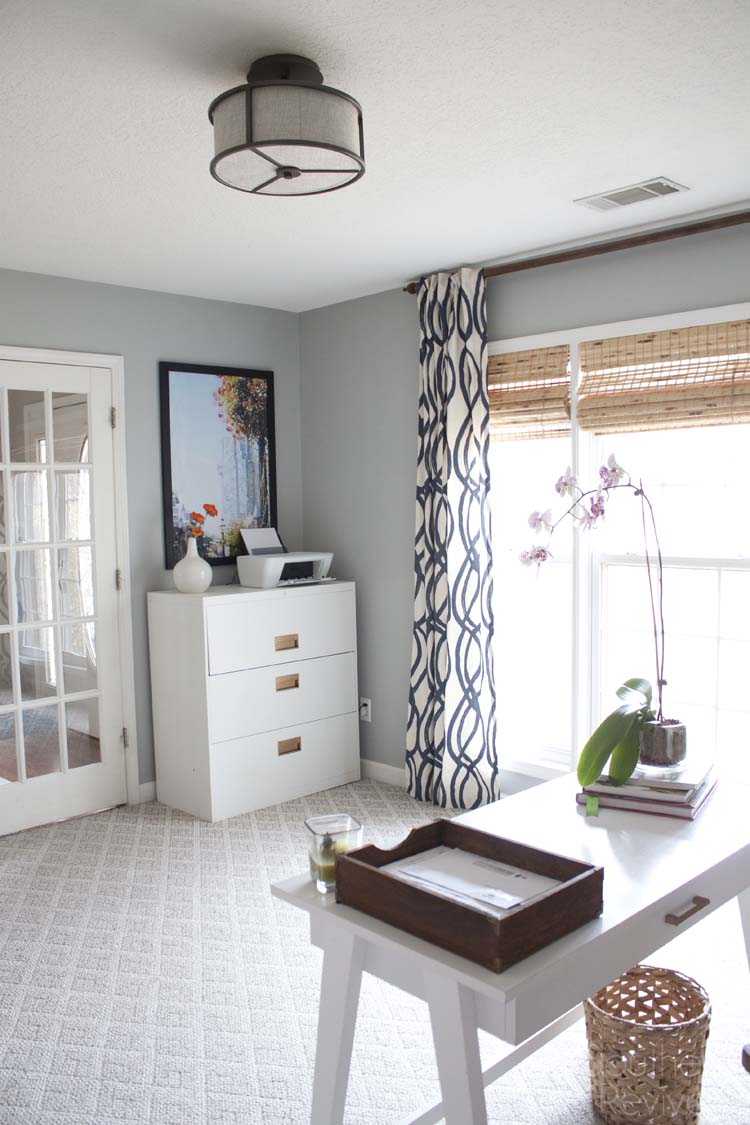
Speaking of that photo turned giant watercolor print, here it is above that awesome $20 file cabinet that I recently gave a makeover to. It holds all of our important documents, users manuals and such. Plus, there’s room left over for extra printer paper and ink in there.
The boys have their little section over by the doors even though they have their own bookshelves in their rooms: The Star Wars Big Boy Room and The Modern Big Boy Room. We have a lot of books, y’all! And we even go rid of several when we started this makeover. I don’t care how technologically advanced we get I will still love a good book. The actual kind not the virtual kind.
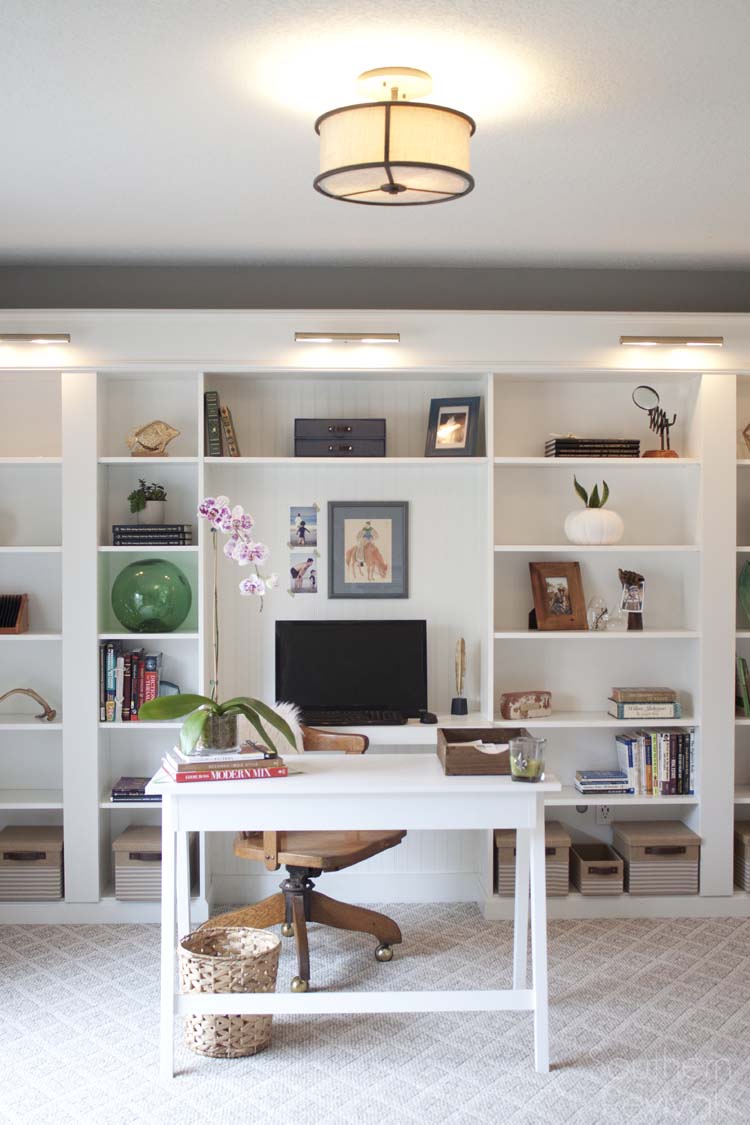
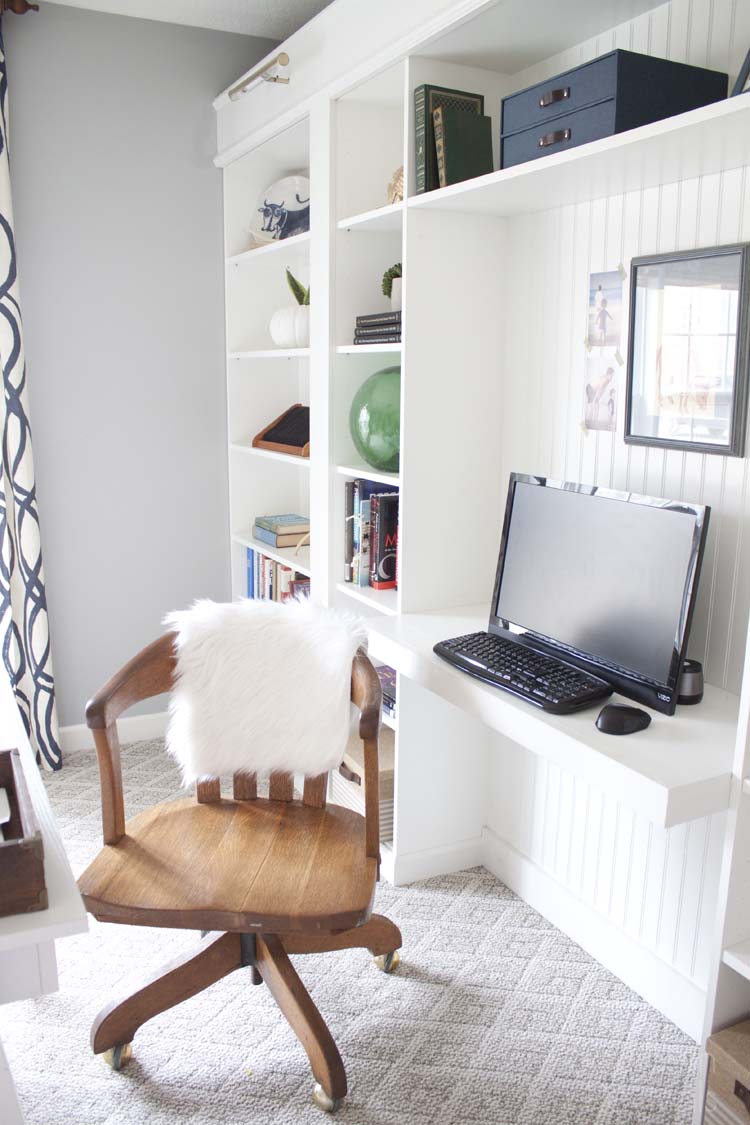
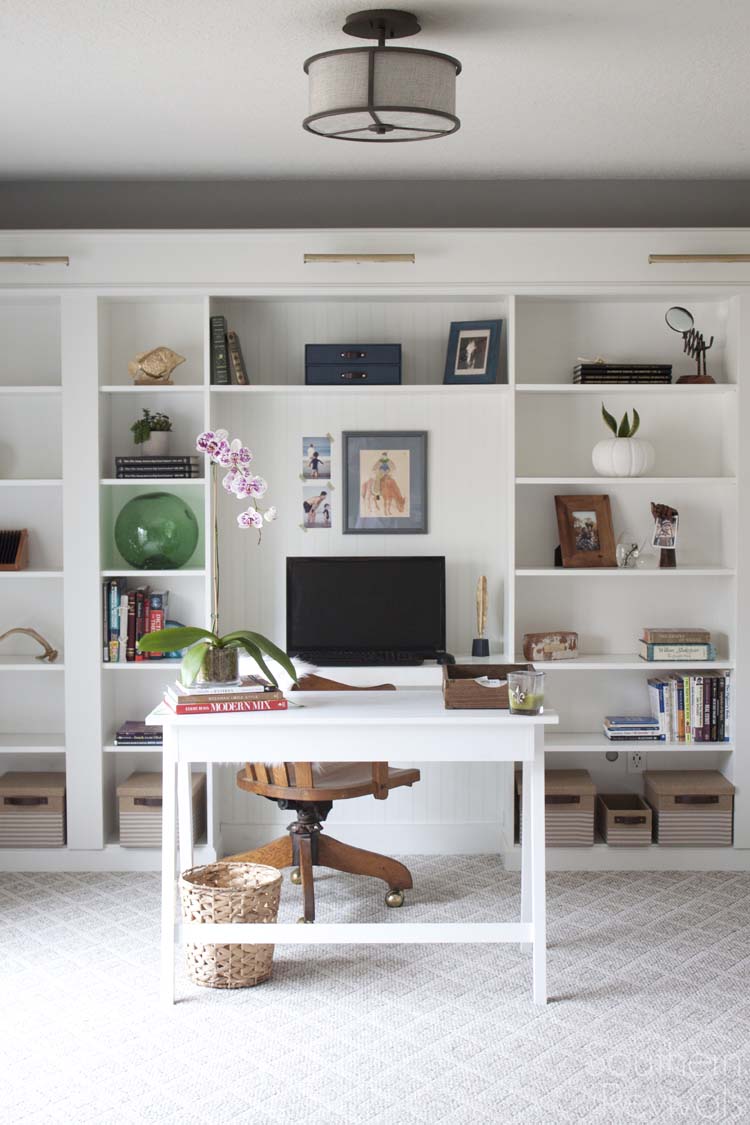
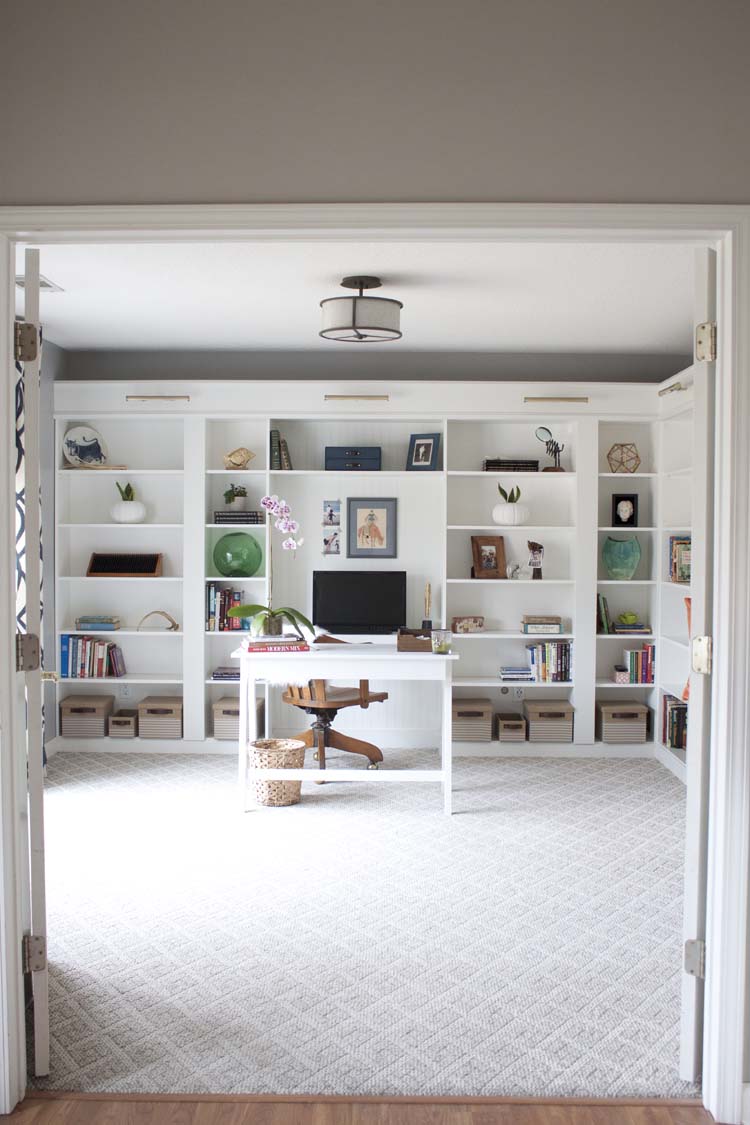
In addition to having a desk out in the room we also placed a desk ledge between the bookcases for the computer. This way the computer has its space without taking up work space. And also there’s no trying to figure out how to run cords along the floor. You can just hide them in clever ways down the back and alongside the bookcase, but more on that in Part 2.
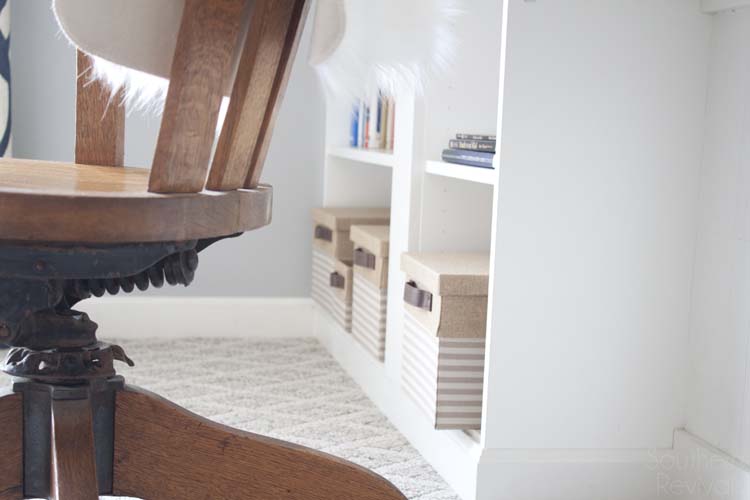
Like I said, I’m not big on stuff. I wanted this home office library combo to be both beautiful and functional. I added lidded boxes to the bottoms of the bookcases on the desk side to control clutter.
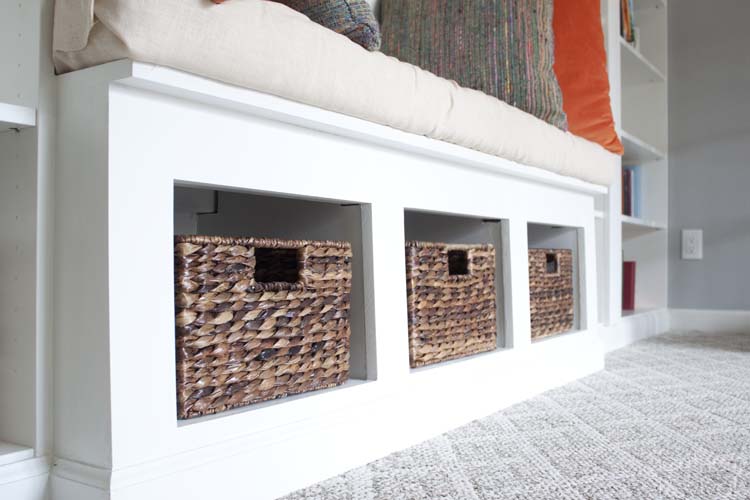
And these baskets under the bench for storing the things we want to keep out of sight but easily at hand. Paired with the file cabinet we have all the space we need for storage without having too many excuses to hang on to stuff we don’t need.
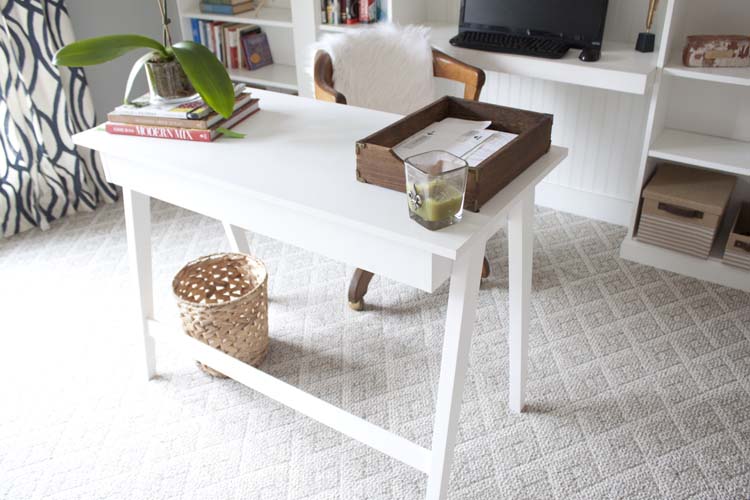
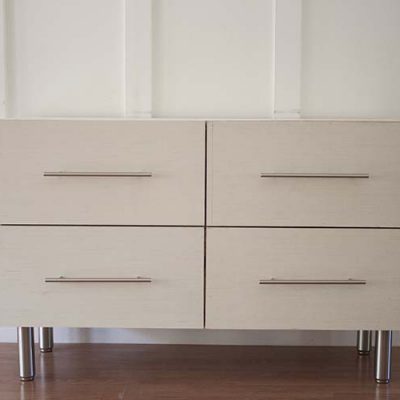
I didn’t even bother with trying to build a desk. I just wanted this project started and completed so we could go back to using it right away. I thought about finding a vintage desk and painting it but in the end I knew I wanted something modern. Something open and less bulky. This way the room would flow better and it wouldn’t feel like there was just something sitting in front of something else. In the end, I found this little desk and it was perfect.
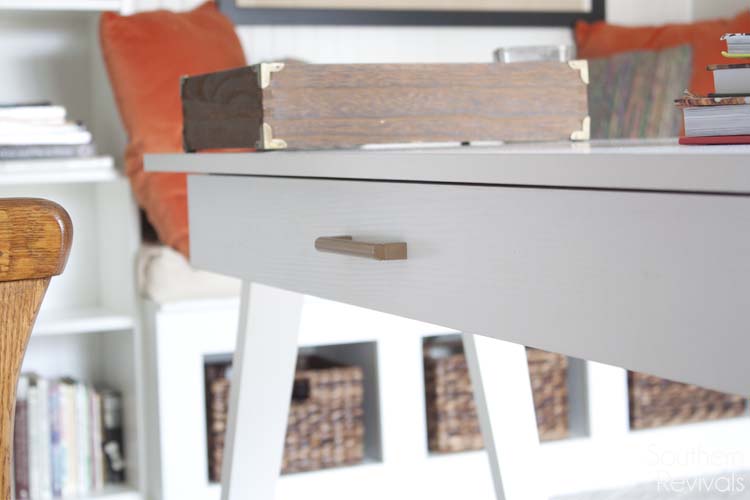
The only thing I changed was the silver handle. That I did paint.
And this is it. Pictures taken just the other day so you can see it how it really is everyday. Well, almost everyday. At the moment there’s a stack of papers on the desk and a giant Imaginenext truck, courtesy of Aunt Sonja, in front of it but otherwise…she functions as you see her. With room left over for more books!
Enough rambling from me. You came to see pictures, right? Here’s one more side by side reminder and a promise to bring you the rest of the in-between and how we did it posts every Monday, starting on the 29th. Four more parts, in all. Already written and scheduled to post. But if you have any questions in the meantime feel free to post in the comments or email me and I’ll make sure they’re addressed in the upcoming posts.
My Favorite Part? Lights on!
Other Posts in this Series:
-
IKEA Hack Office Makeover – The Reveal
-
Part 1 Building in Billy
-
Part 2 Building in Billy
-
Part 3 Remote Control Lights & New Outlets
-
Part 4 Shop the Look – COMING SOON
-
Giant Framed Postcard – COMING SOON
-
Affordable Library Lighting
-
Office Ceiling Light Fixture
-
$20 File Cabinet Makeover
-
Turning a Photo in a Giant Watercolor Wallprint

What a fantastic makeover. Looking forward to reading all the diy details.
Thank you so much, Shelly!
What a transformation! So beautiful! We are literally about to paint our bedroom gray – what is the wall color? It’s perfect! I love the carpeting & the drapes! Hope you provide the sources! I love it all & as a new subscriber look forward to touring the remainder of your home!
Thanks so much! It is Coventry Gray by Benjamin Moore. It’s a great color!
So. Much. Storage!! Love this transformation. You’ve really maximized the space and I love that you had enough room for the desk and bench. The small details – the beadboard, the lighting – make all the difference. You must be thrilled (and more productive) in your new space!
Thanks so much, Jen! Yay for more storage! And yes, we are thrilled with our new space. Now if I can just whip the rest of the rooms in the house into shape. 😉
Love love love it! I could definitely get more work done if my office looked that neat and pretty! I really love the curtains – where did you get them?
Thank you, Karen! They’re from West Elm.
This entire room is AMAZING! I love it! That’s the type of room makeover I would keep walking back into just to stare at everything, haha. We moved into our house in 2007 and I would be thrilled just to have a room that’s totally finished like this one. I feel like there are constant projects in an old house like mine. I love how your white and gold file cabinet looks, I remember that makeover! Well done!
Thank you so much! You know that Angie’s List commercial where the Mom keeps going into the kitchen and turning on the lights? And the little girl is like, Come on Mom, the kitchen needs its rest…that’s totally me! LOL
Haha! Yes! That’s hilarious
I love this whole room. It’s light , airy, and inviting. 🙂
Thank you so much! That’s my favorite part, too.
You did a wonderful job on your makeover!
May I please ask where you got your overhead light from? I love it!
Thank you! And absolutely. You’ll find the info on it here: https://www.southernrevivals.com/2014/09/finding-perfect-light-fixture-home-office.html
Shut the front door!! This is amazing. Uggg now I need this in my house! 😉
Thank you so much, Jenny! It was definitely a game changer for us!
Beautiful, personal and classy! I love the giant framed postcard.
Thanks so much!
Wow I love this; there’s some great ideas here! Can I ask how deep and wide the desk part is where you have the computer? Also, where did you find the desk in front of it?
You’ll find all the info on what we used and dimensions for the computer desk here: https://www.southernrevivals.com/2016/02/office-makeover-part-2-building-billy-ikea-hack.html
The other desk we got from Target! Thank you!
Your office is just breathtaking. You did a wonderful job. I love the curtains in your office. Where are they from? Thank you!
Hi! Thanks so much! The curtains are from West Elm.
I love the look of your carpet what kind is it? Where did you find it?
Thanks Jessica! I get so many compliments on this carpet. It’s from Lowe’s. I’m sorry I cannot remember any details. I’ve had it for almost a decade!
Beautiful! Was the bench the Billy too? Or how did you make that? Looks great.
Thank you, Kristin! The bench is not a Billy. We made that using 2x4s and MDF. You can see how we did it here: https://www.southernrevivals.com/2016/02/office-makeover-part-2-building-billy-ikea-hack.html
I love the look of your office, Jamie. My husband and I did a kitchen/great room remodel earlier this year, and I used your Billy bookshelf posts as a reference for the bookshelves I wanted in the great room. I’m just now doing the styling of the bookshelves, and saw the baskets you have on the bottom shelves. Where did you get them?
Hi Kristin! Oh I hope you’ll share pics! Those baskets are from Target. I’m not sure whether they still have these or not. Finding baskets, for me, was the hardest part! 😉
Thanks Jamie! I actually found the perfect baskets yesterday at JoAnn Fabrics, and they were 40% off! I’ll be taking “after” pics this coming week/weekend, and will post them soon after.
Hello
This is FABULOUS, what paint did you use on the bookcase….? I believe you said it was from Lowe’s Olympic One, but was there a specific color added?
Hi Janice,
Thank you! Yes, I used Olympic One and had it color matched to the IKEA Billy. I took one of the shelves with me to the store. You can find more info on that part of the process in this post: https://www.southernrevivals.com/office-makeover-part-2-building-billy-ikea-hack/
Love this so much!
Thanks so much, Kari!
I am in awe of your gorgeous home office and so inspired. I’m repurposing my 2 sons’ old bedroom Expedit and Billy Bookshelves throughout our small home so far as a a banquet, a room divider and laundry shelves. I painted them added hardware and such but your project has my mind spinning with possibilities. Thank you for your generous and thorough post. I’m looking forward to reading more and signed up for your site. God bless & thanks again! ????♀️???
Aww thanks so much, Missy Jo! I’m so glad you’re here!
Hi, absolutely love the office makeover. Will you be adding a cost analysis and breakdown? Thank you for the inspiration. I look forward to reading all of your posts.
Hi Kimberley,
I really need to sit down and get a post together on that. But I can tell you that we spent just under $2k on the whole makeover. Thank you!
I absolutely love this project and I’m trying to do something similar, but this is very new to me! Did you paint all the wood and MPF panels ahead of time or after you attached them? Did you have to do much prep work for those? I’m just nervous that it won’t look as nice as yours!
Hi Rebecca, I usually paint everything once it’s in place. It’s easier than trying to find a place for things to dry without getting scuffed, scratched, or covered in pet hair! Plus, you’ll have holes that you’ll need to fill and sand after things are attached so, even if you do prep, you’ll still have to put on your final coat once everything’s in place. Someone once told me, it’s just paint. If you make a mistake just repaint it! 😉
I love it!!! I want to copycat your project but have to do it on my own…. yikes! Wish me luck!!
Thank you! Best of luck! You can do it!