
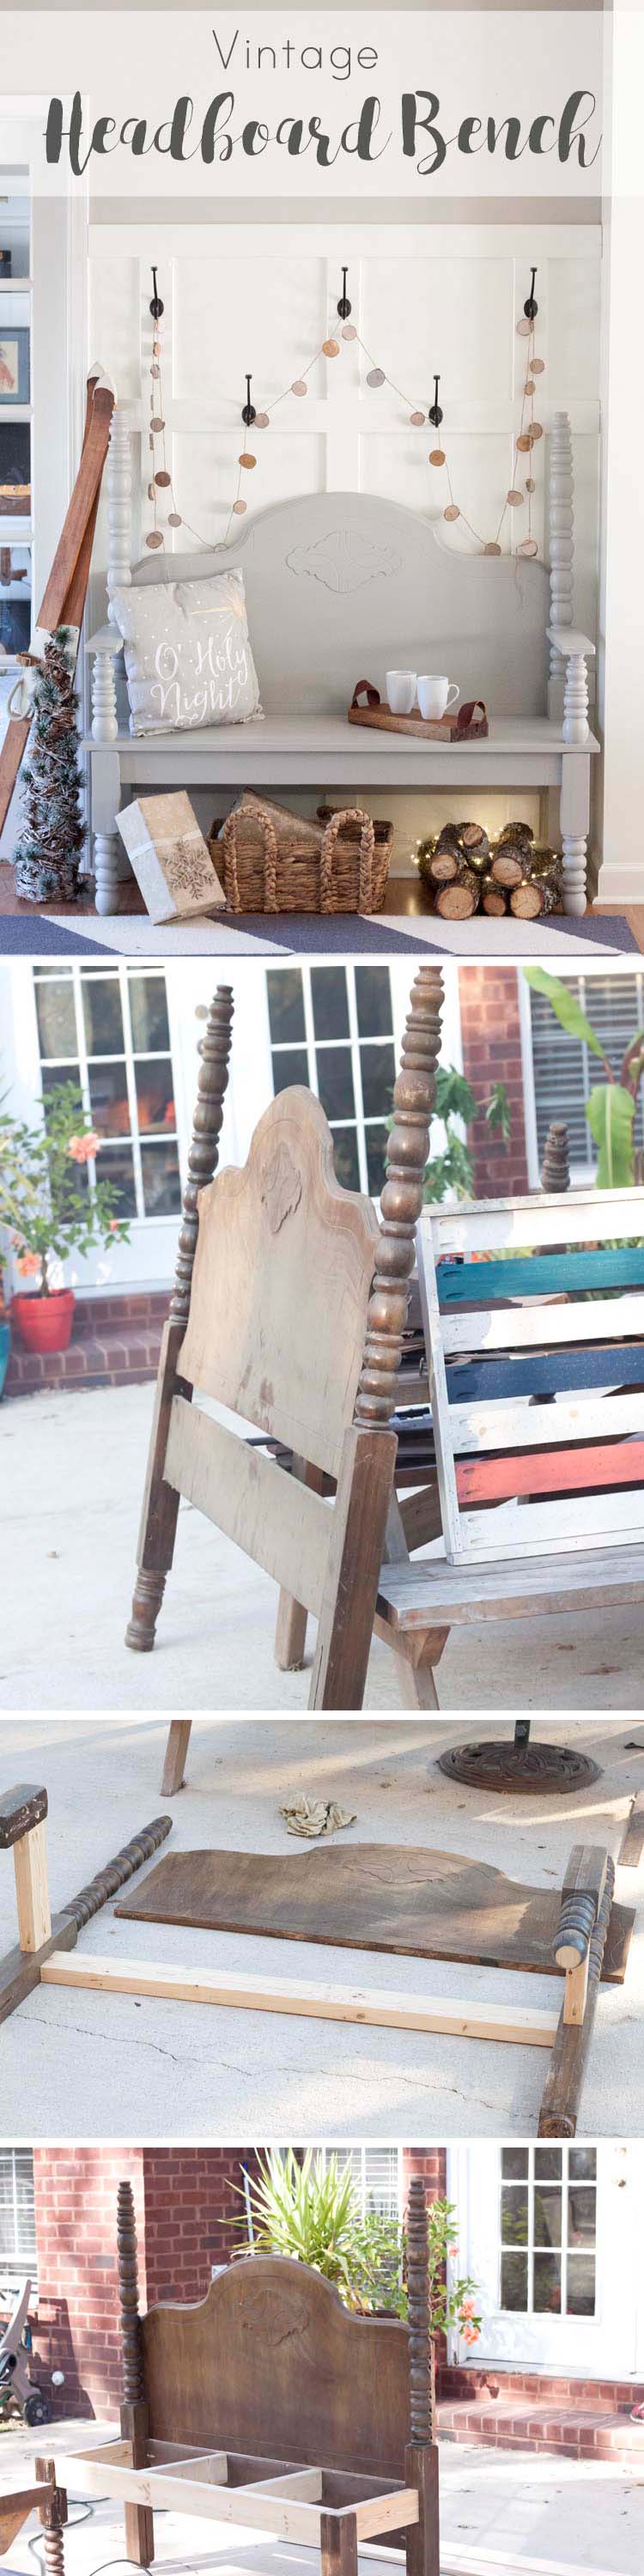
I’ve had this vintage headboard and footboard in my storage building for far longer than I care to admit. Recently I went on a purging mission and got rid of most everything I was “planning” a project with. But then there was this and it was just too pretty not to turn into something great. I figured turning them into a headboard bench as part of a Christmas entryway would be putting them to good use.
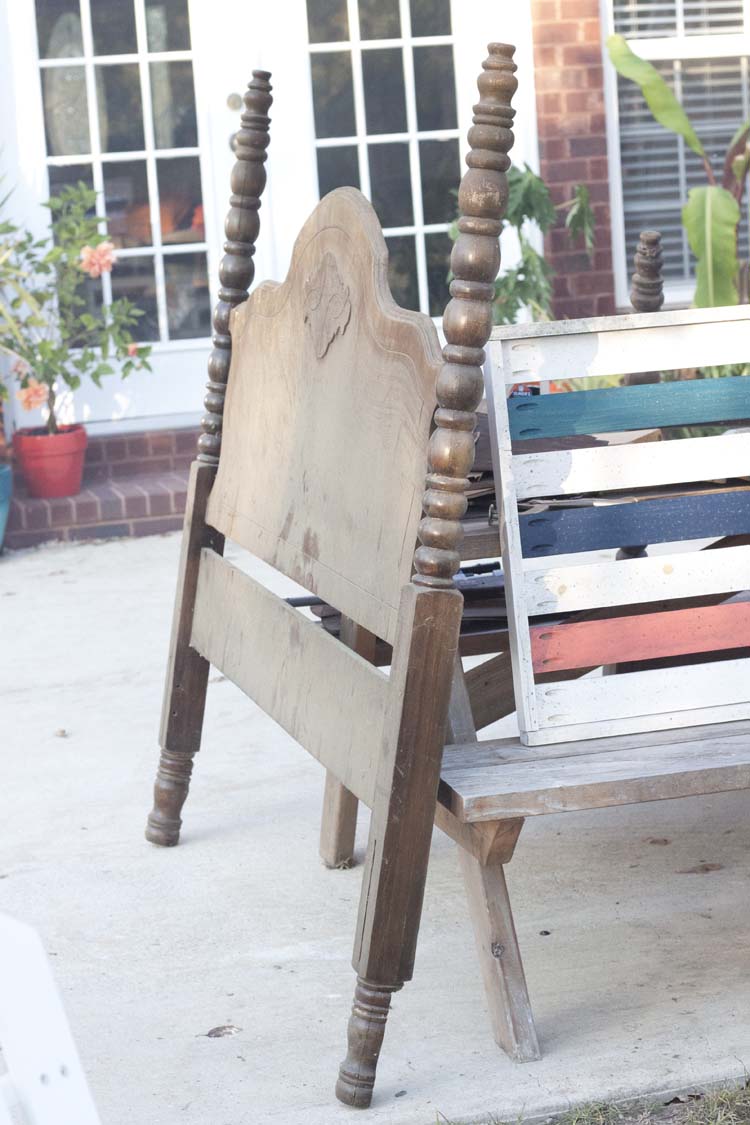
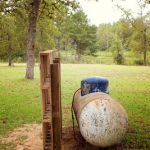
The problem with this idea was two fold: 1) the pieces were in disrepair from being in a non-climate controlled storage for too long and…
2) the pieces were too wide and used as they were would make the bench too wide for the space. And then I had to ask myself, was it really worth it to go forward?
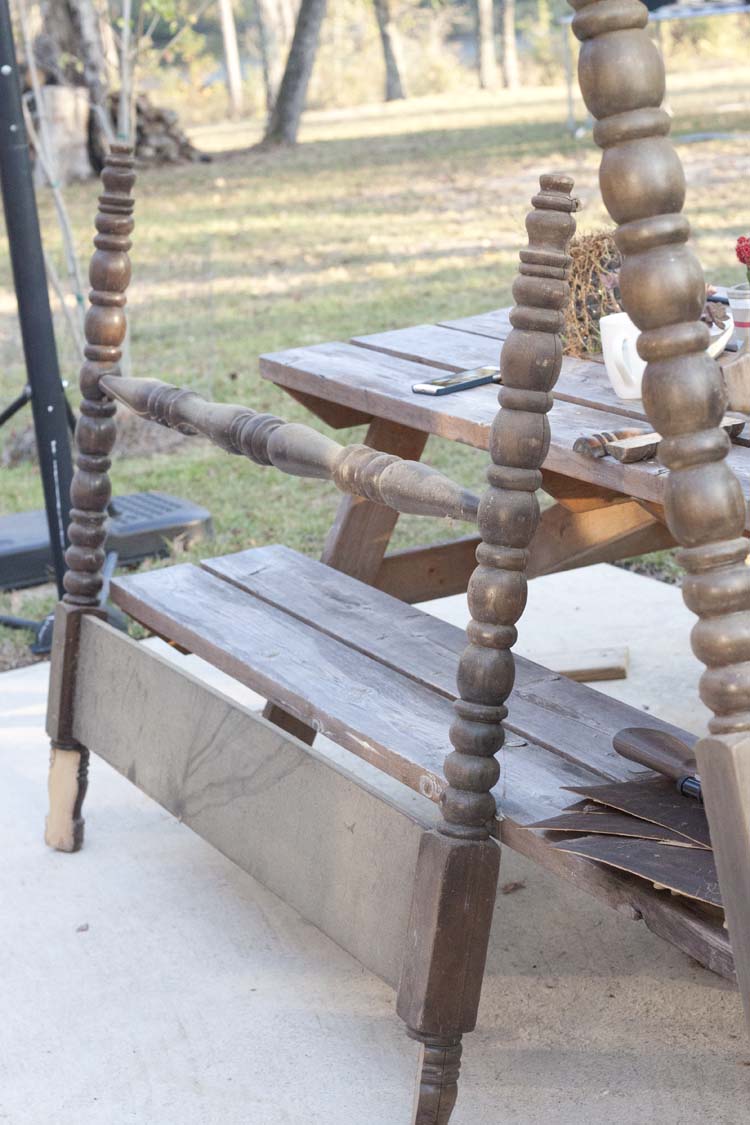
Then I figured all I really had to lose was time, so I dove in head first and just kind of formed a plan as I went along. I started by cutting the headboard away from the posts because that was the only way to reduce the width of the bench to make it accommodate the space.
I honestly had no idea how it would look to attach the headboard back onto the back of the posts but I plugged away anyway and hoped for the best.
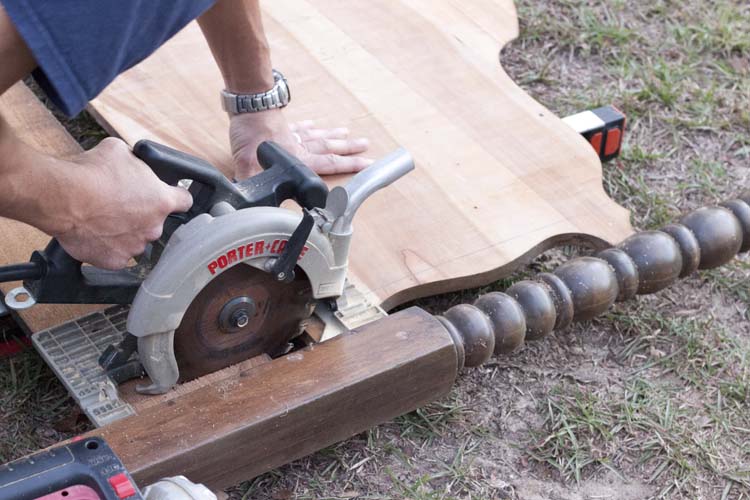
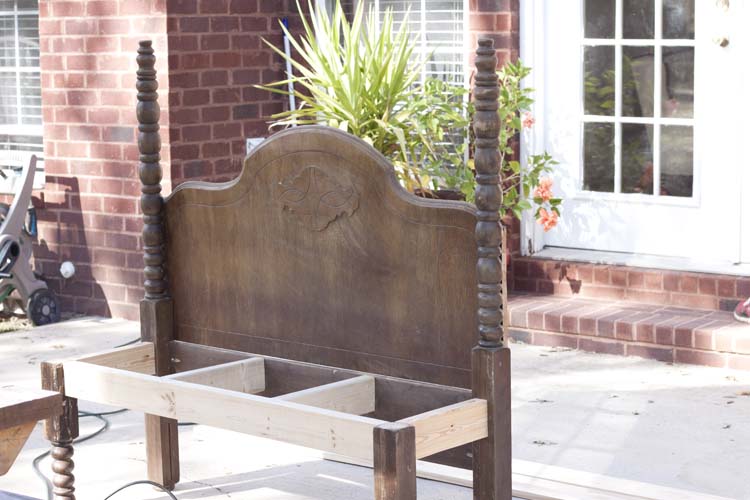
I cut the headboard away from the headboard posts and used those pieces for the back of the bench. For the front legs I used the bases of the footboard legs.
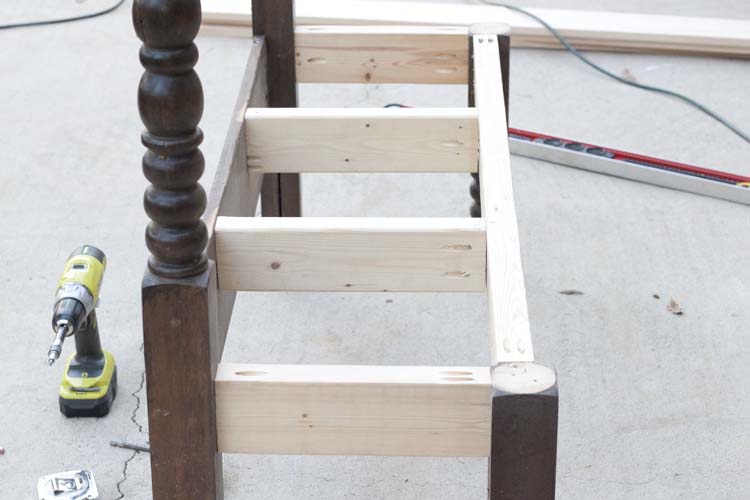
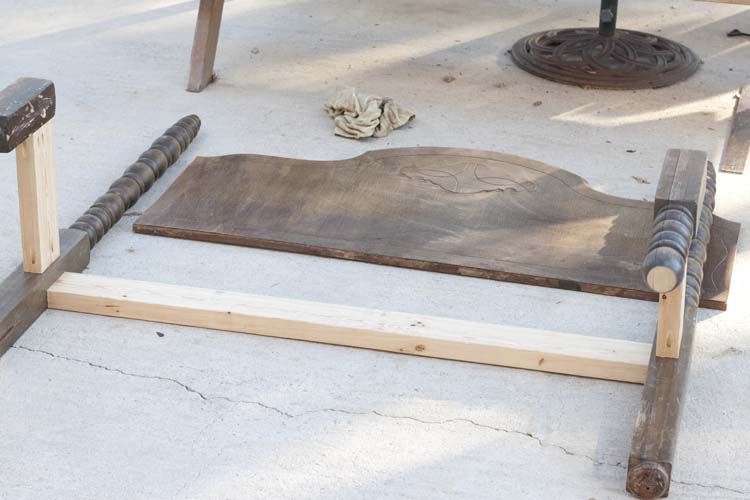
I cut scrap 2x4s to create a base for the bench to the depth and width I wanted. I used my Kreg jig to attach the 2x4s to the headboard and footboard pieces to one another.
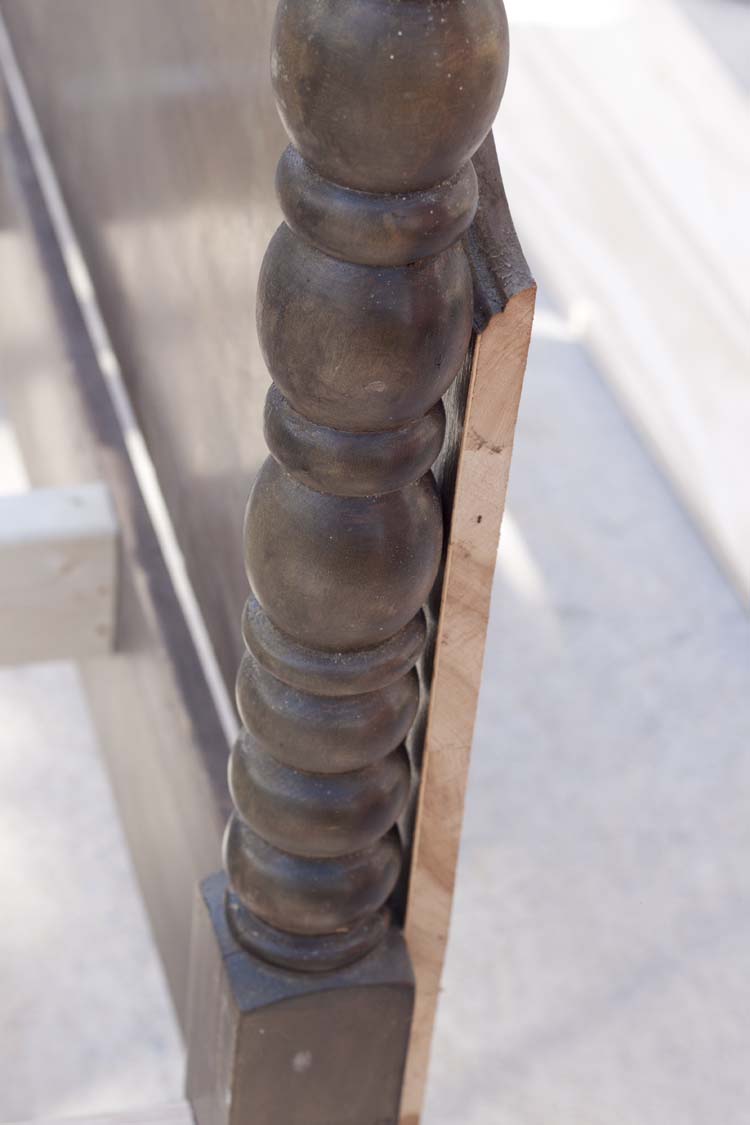
And then I used my brad nailer to attach the headboard back on to the posts from the back.
And to my relief my vision was coming to together as well or better than I expected.
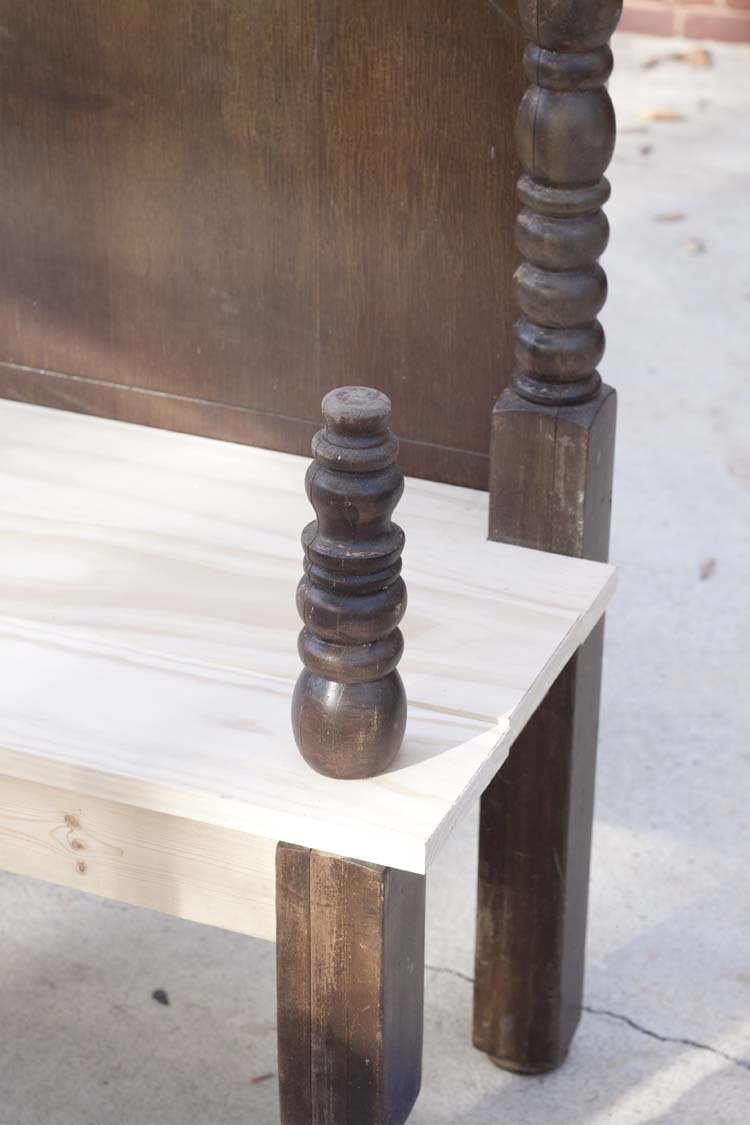
I used select pine 1x4s for the seat of the bench and notched the back one out to accommodate the back posts. I attached them to the base with my brad nailer and wood glue.
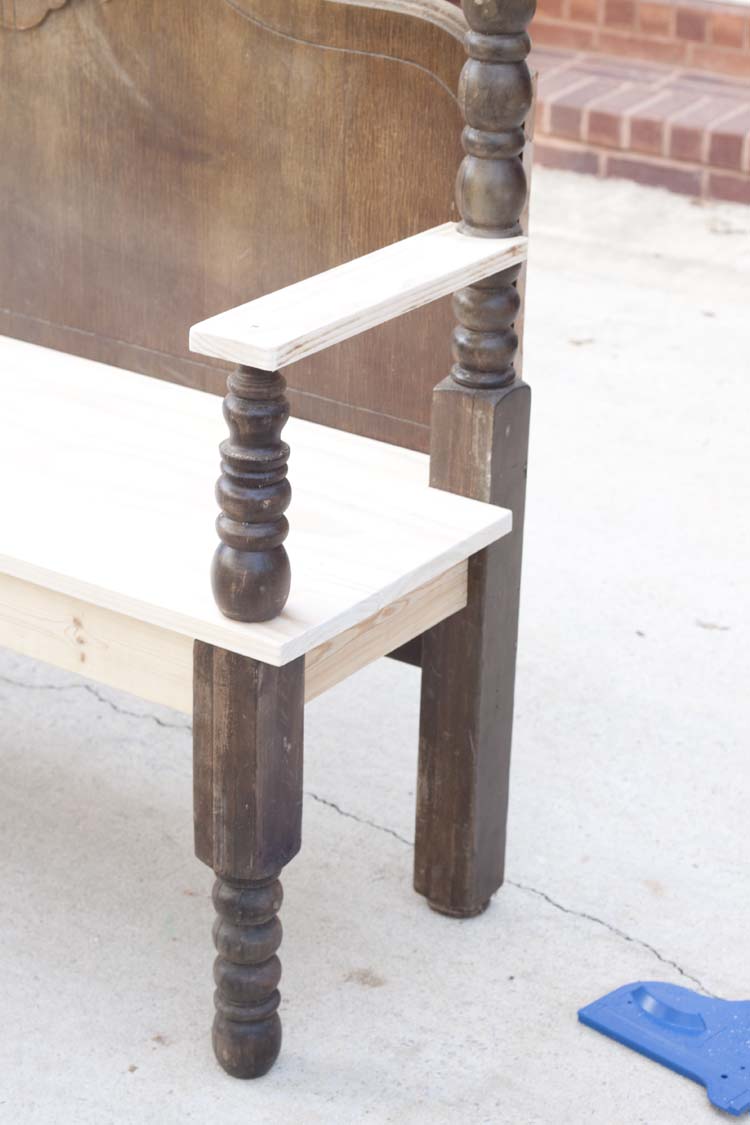
Then I used the tops of the footboard posts for armrest posts and scrap 1x4s from the seating planks for the armrests. I did have to rip those down a bit to get them the right width. I also had to cut out the backs of the armrests with a jigsaw to curve around the back posts.

After all of that work it was time to find out whether painting it would bring it all together. And whether all of that sad, dry and thirsty wood could be brought back to life.
This time I was using a new-to-me paint called Velvet Finishes by Kellie Smith. I used Ready, a kind of deglosser, to clean up the piece and knock off any shine from the bed pieces that might prevent the paint from sticking. I originally thought I’d use a color called Moody because I wanted something with a little more contrast. But in the end I decided that Moody, a gorgeous color by the way, was a bit too blue and bit more dark than I wanted. So instead I opted for a color called Opulent and it was perfect. Then I used Protect to seal the piece.
It’s highly pigmented, I honestly could have gotten away with just one coat, without being too thick. Accidental brushstrokes will not happen with this paint.
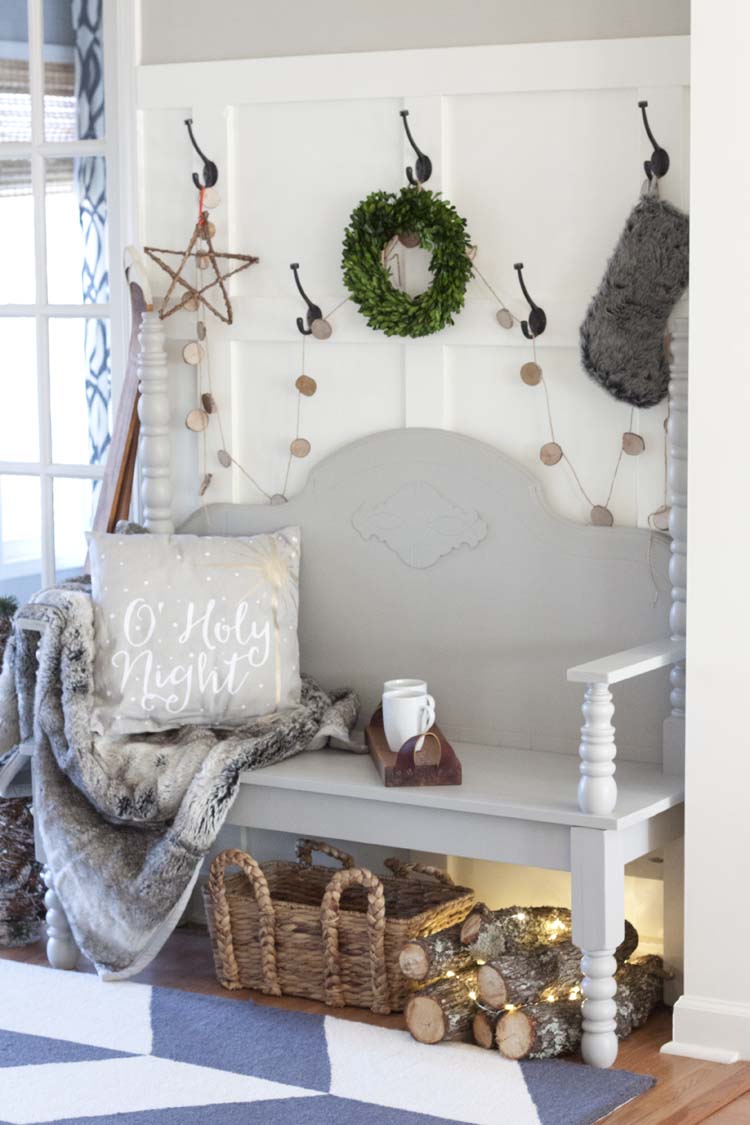
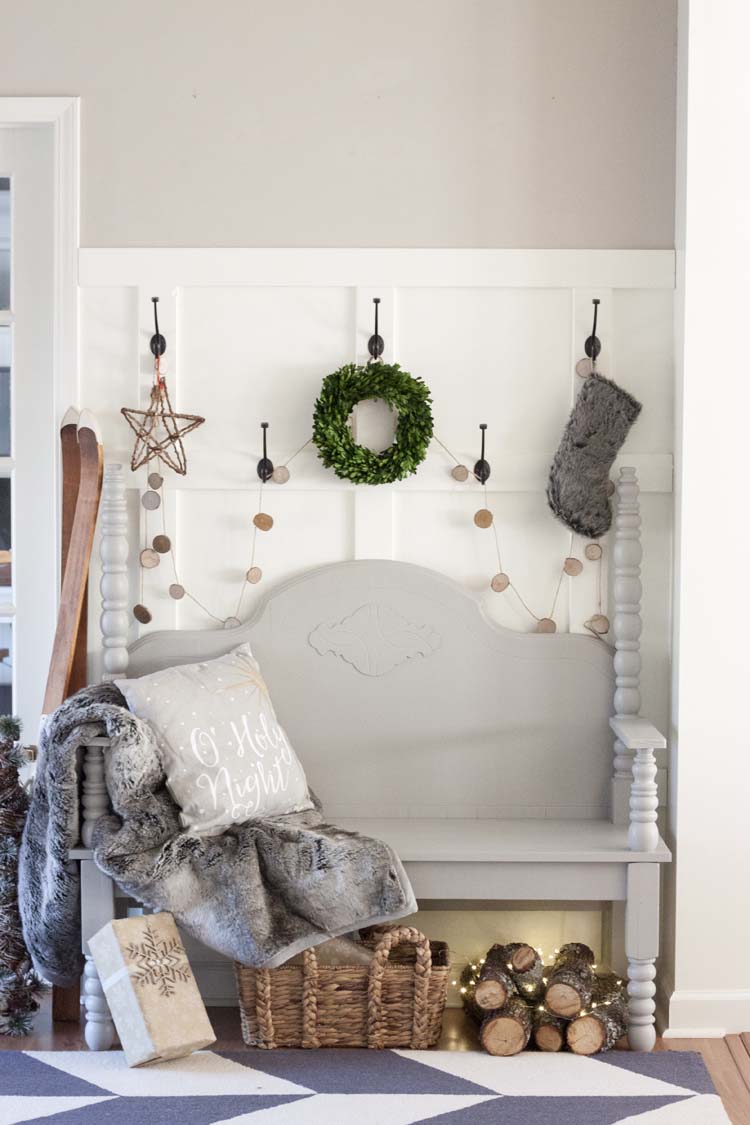
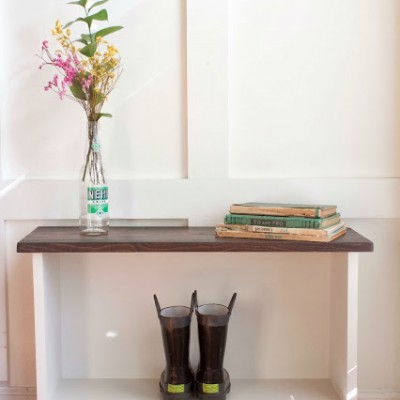
And oh my gahhhhh!! Isn’t it stunning (even if I do say so myself)!

I cannot believe how polished it looks, not at all that that sad, tired wood from before. And it’s so silky smooth! Not to mention that it fits the space like it was, well, custom made for it.
To see more about how I styled it, visit my Farmhouse Christmas Entryway post.


This is awesome! There are a couple of DIY projects that I usually never like, headboard benches is one of them. I think the fact that the back of the bench is attached behind the rails really sets this apart from all of the other headboard benches I’ve seen, the ones I wouldn’t look twice at. Great job!
What a great compliment! Thank you so much, Andrew!
It turned out BEAUTIFUL! Thank you for sharing it.
Thank you!
I love this! You did an awesome job on the entire project and the color is perfect. Really, really nice!
Thanks so much!
I love this! Great job!!
Thanks Meg!
I love bed refabs it’s the perfect solution for that weird size of those vintage beds that never quite fits a mattress properly. Wonderful repurpose project Jamie!
So true! I’m just glad I got to put it to good use! Thanks Brenda!
Wow! How did I miss this? Once again, Jamie, you pulled it off! Gorgeous!
I only have only question – how much is shipping to Canada? 😉 haha!
Free! All it’ll cost you is room and board for a family of four desperately seeking snow! 🙂 Thanks Aubrey!