This shop, DIY Linen Closet Makeover, has been compensated by Collective Bias, Inc. and its advertiser. All opinions are mine alone. #WinterizeYourClosets #CollectiveBias Thank you for supporting the brands that make Southern Revivals possible.
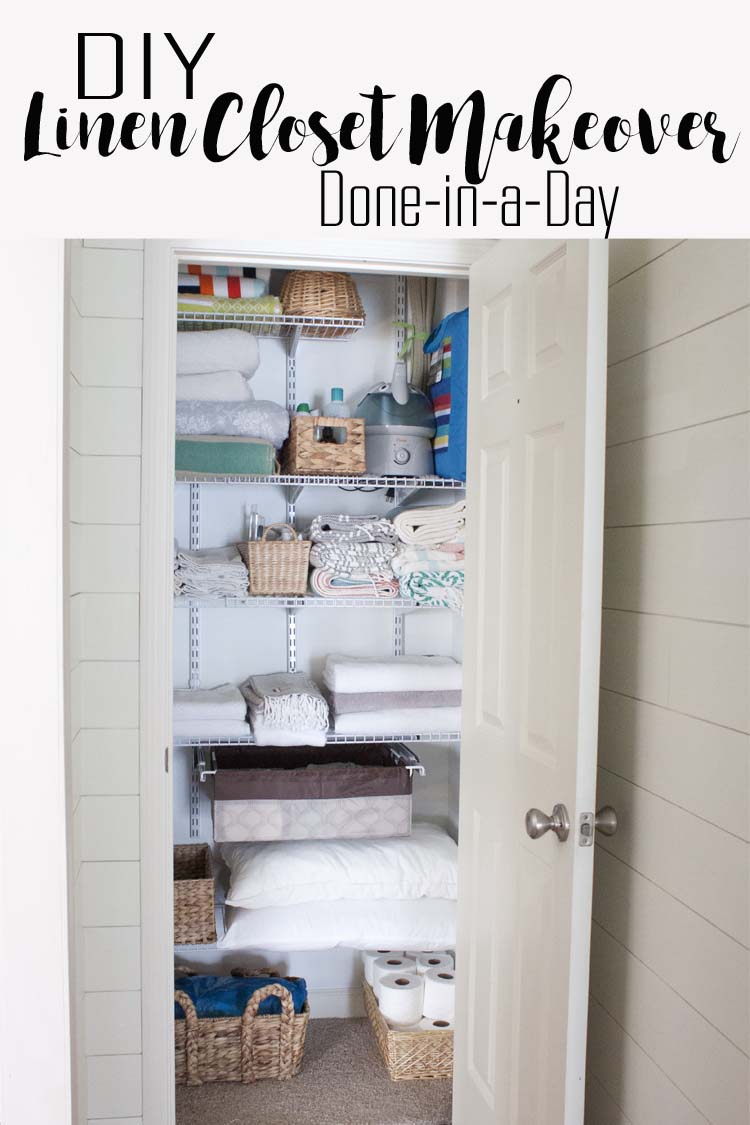
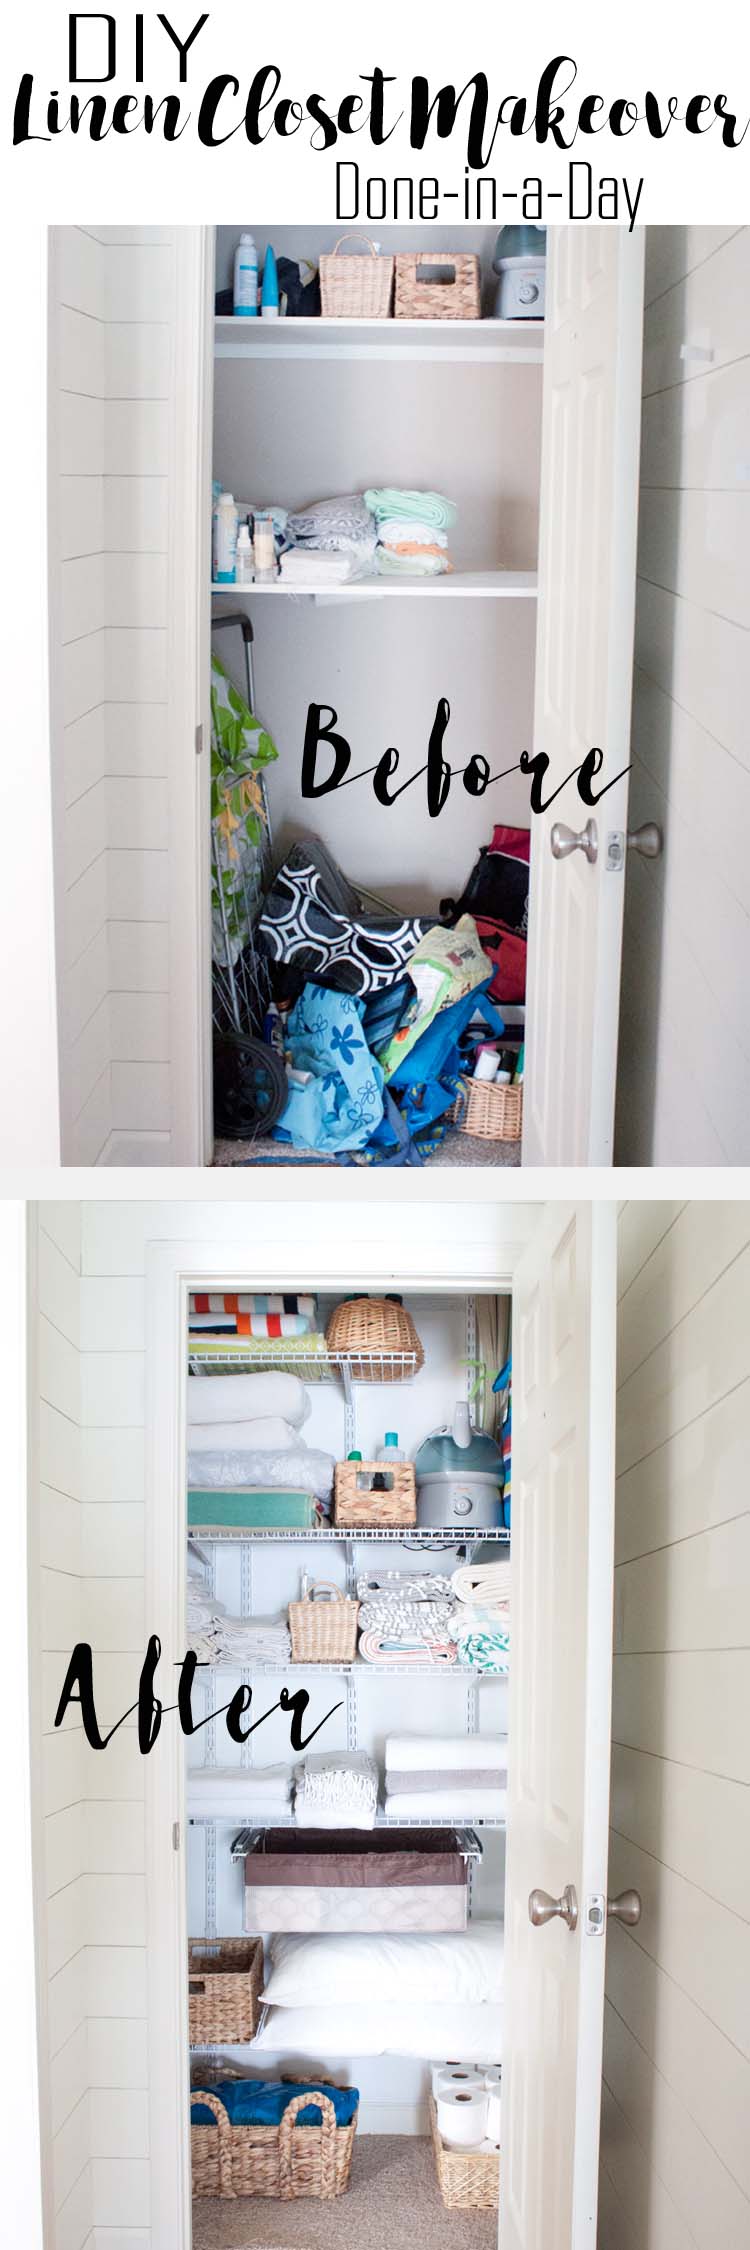
Everything can’t be pretty all the time. My former linen closet is proof of that. But I was tired of living with an ugly, not to mention dysfunctional, linen closet. Because sometimes when the things in your home don’t do their job properly it can make you a little dysfunctional, too. The holidays are just around the corner and the guests are coming. It was now or never. This DIY Linen Closet Makeover can be done in a day. Go rescue your own linen closet and your sanity!
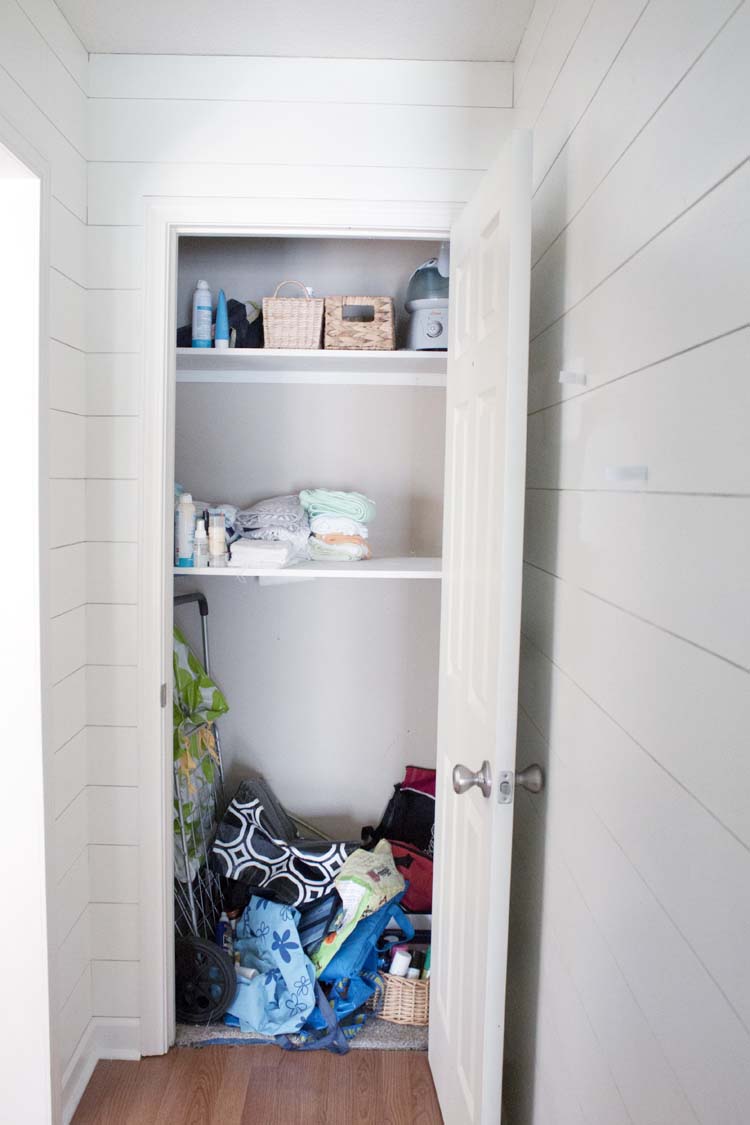
When we moved into this former foreclosure it was void of anything functional. No appliances, no mirrors and nothing but empty space in the closets. Might not sound overwhelming until you have 11 empty closets (alone) to tackle. Of course I took on the most pressing of spaces like our boys’ closets first and then I got a little fancy in our master with the Man Closet Makeover.
But sometimes you just need something nice and functional and you need it now.
I’m all about big, over-the-top makeovers. Just look at our Office Makeover. But it doesn’t have to be big or expensive to be functional and exciting. I wanted to have this closet done without spending a lot of time or money on it. And since it’s the linen closet that’s just off of our Boys’/Guest Bathroom we wanted it to be as functional and guest-friendly as we make the bathroom a few years ago.
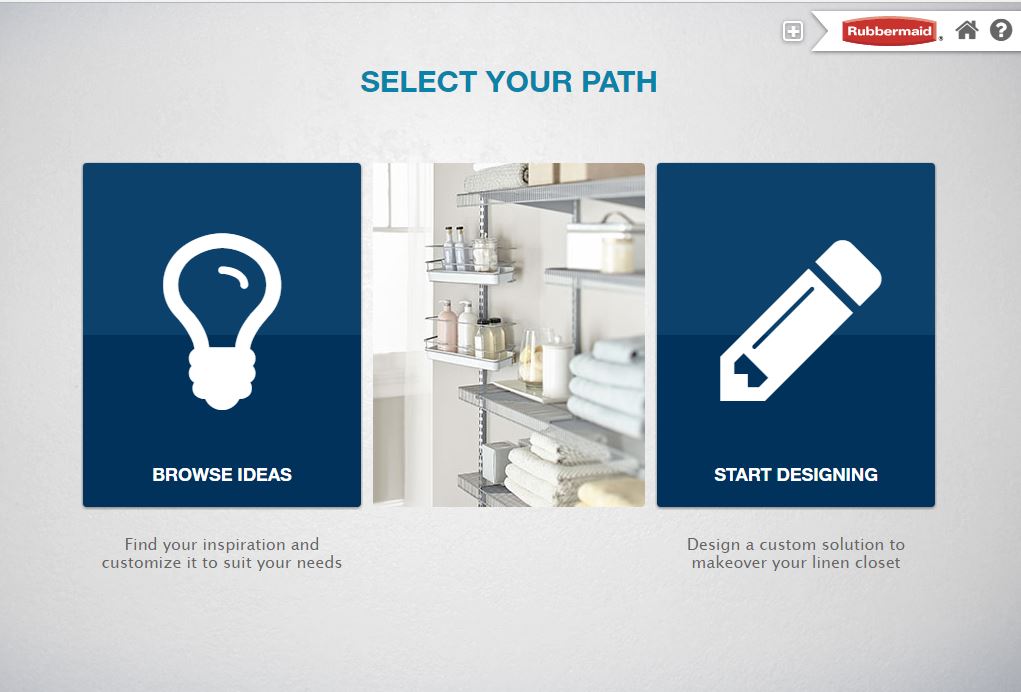
I used the Rubbermaid® Storage Planner to plan out our new linen closet.
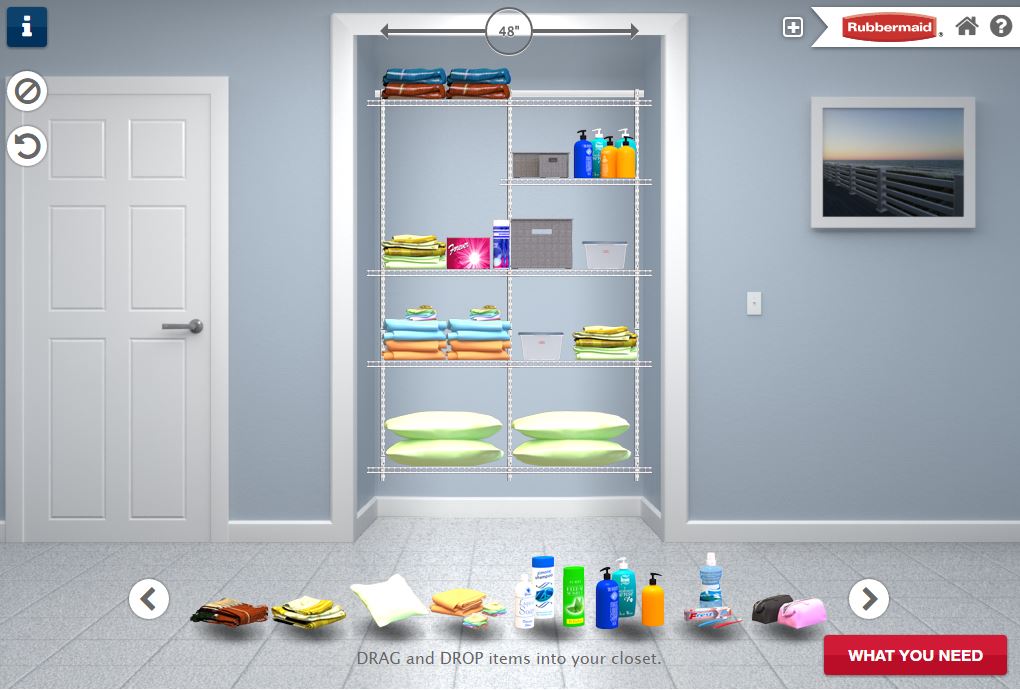
It not only allows you to browse for inspiration but it also allows you to choose your closet style, size and closet needs. You can even drag and drop the kinds of things your closet needs to hold to help you plan for storage. Then you just click the ‘What You Need’ button for a customized list of products you’ll need to complete your project.
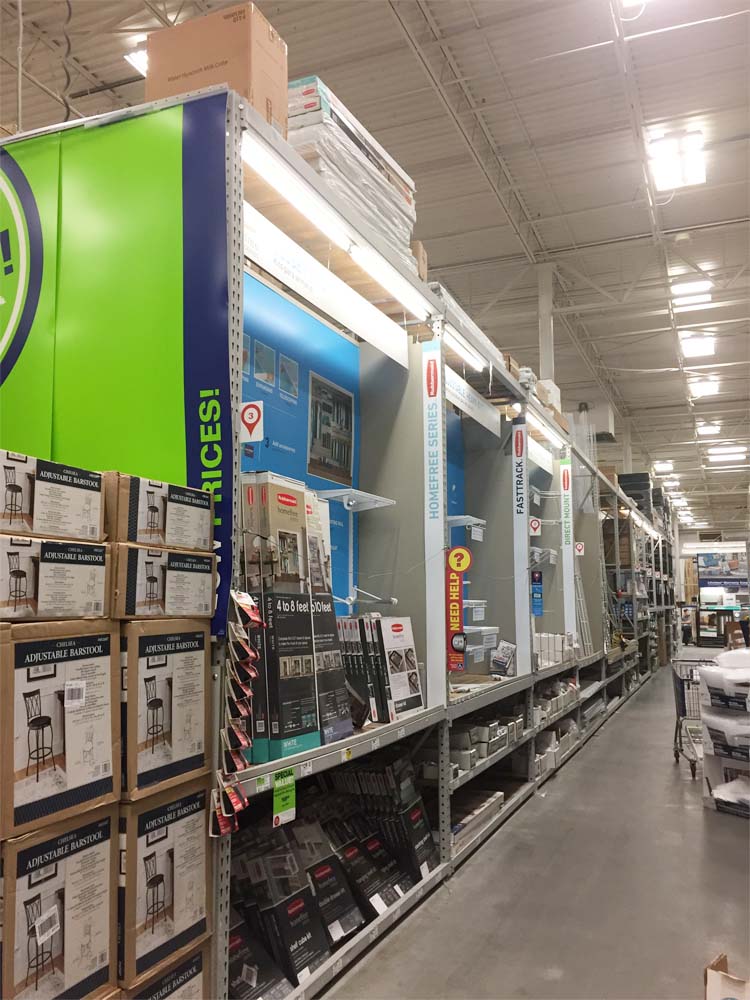
I took my customized project planner to Lowe’s where I purchase the following:
- 246441 Rubbermaid® HomeFree Series™ 3-ft to 6-ft White Adjustable Mount Wire Shelving Kits: $93.98
- 675356 Rubbermaid® HomeFree Series™ Beige Canvas Sliding Divided Bin Kit: $29.98
- 670704 Rubbermaid® HomeFree Series™ White Wire Add-On 2-Shelf Kit: $29.98
To see the entire product line visit Lowe’s Product Page.
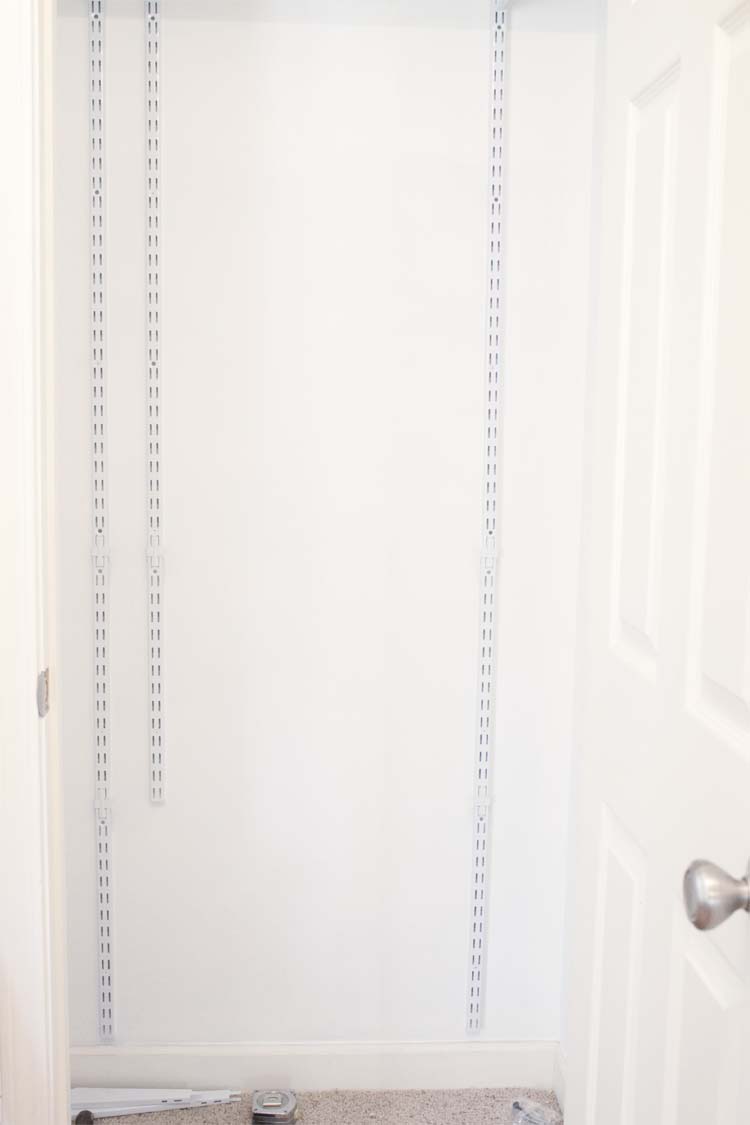
The closet kit comes with everything you need to get started: A rail (at the top), the uprights (that hang from the rail) and 2 wide shelves and 3 smaller shelves. The great thing about this closet system is that it is completely customizable and adjustable. For example, you can slide two of the smaller shelves into one another to create on large shelf. The kit you choose is based on your closet size and needs.
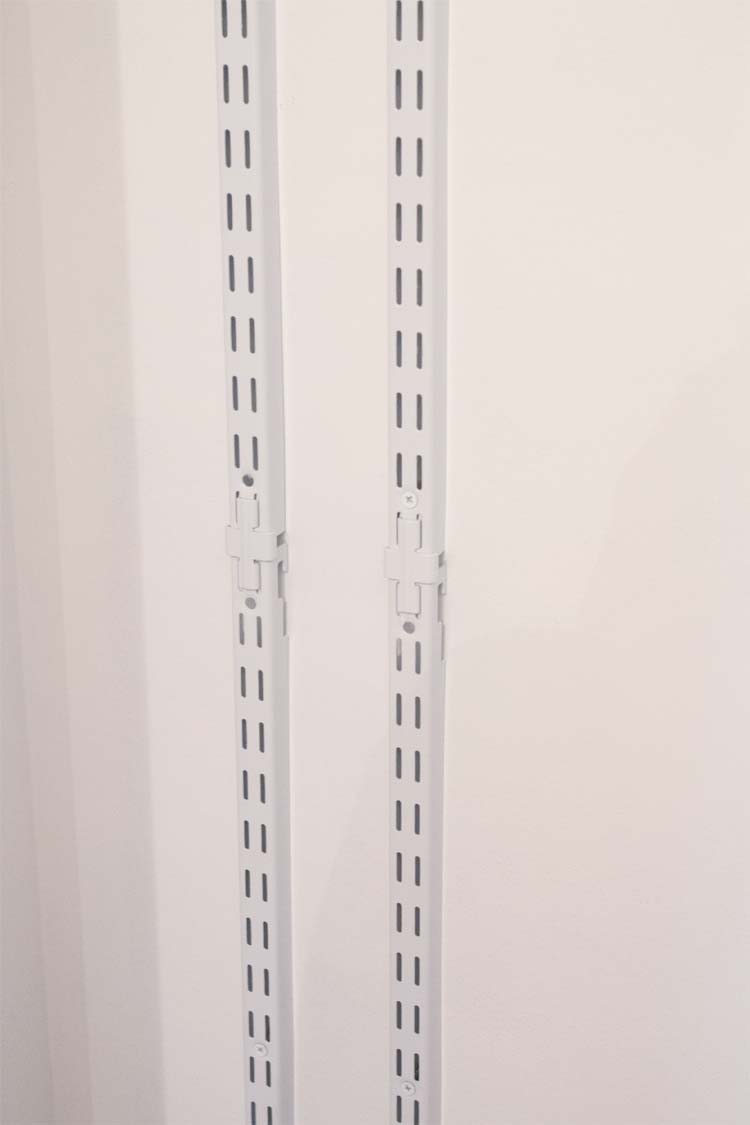
Also, the additional accessories I purchased came with upright extenders that allowed me to carry the uprights all the way down to the bottom of my close to maximize storage capacity.
Before attaching the uprights to the wall, with the provided hardware, I played around with placement to make sure the spacing accommodated the accessories I purchased and to make sure my original plan for the closet would best serve my needs. The beauty of this system is that since it’s so easily adjustable you can switch things up a bit as you work to create the most functional space possible.
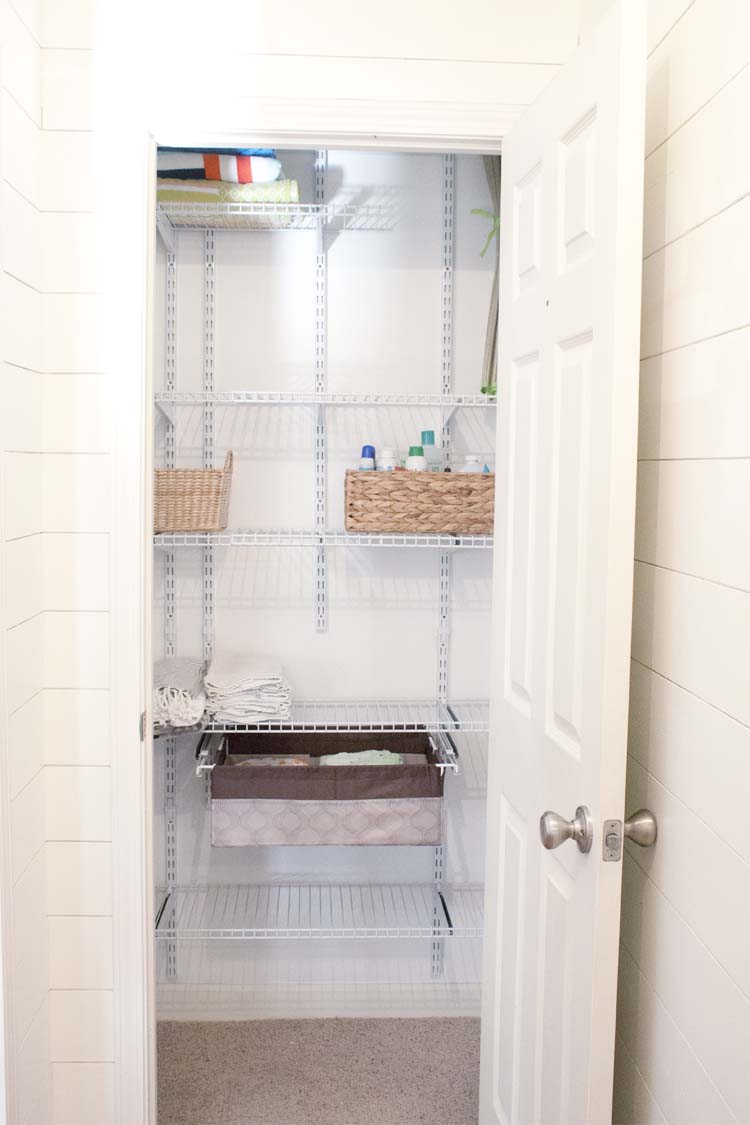
Once I was sure of placement I secured the uprights to the wall and got to work putting in the shelves and basket. I used the sliding basket towards the center bottom of the closet to keep it in easy reach of our smallest since it holds his towels. But it is also in easy reach of everyone else and slides out to easily grab washcloths.

To put the shelves in place simply slide them on to the brackets and lock them into place.
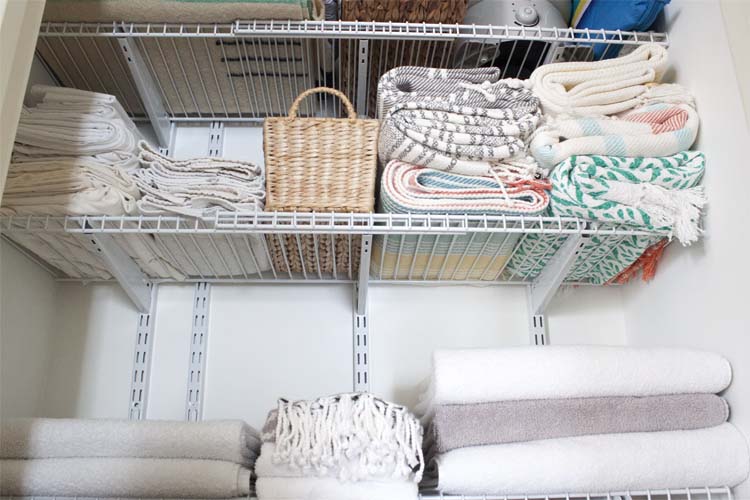
Like I mentioned earlier, you can take smaller shelves and create one large, longer one. The instructions are easy to follow and tell you exactly how to slide the shelves into one another. Just be sure to have 3 uprights behind any adjustable shelf since you will need 3 brackets to hold them in place.
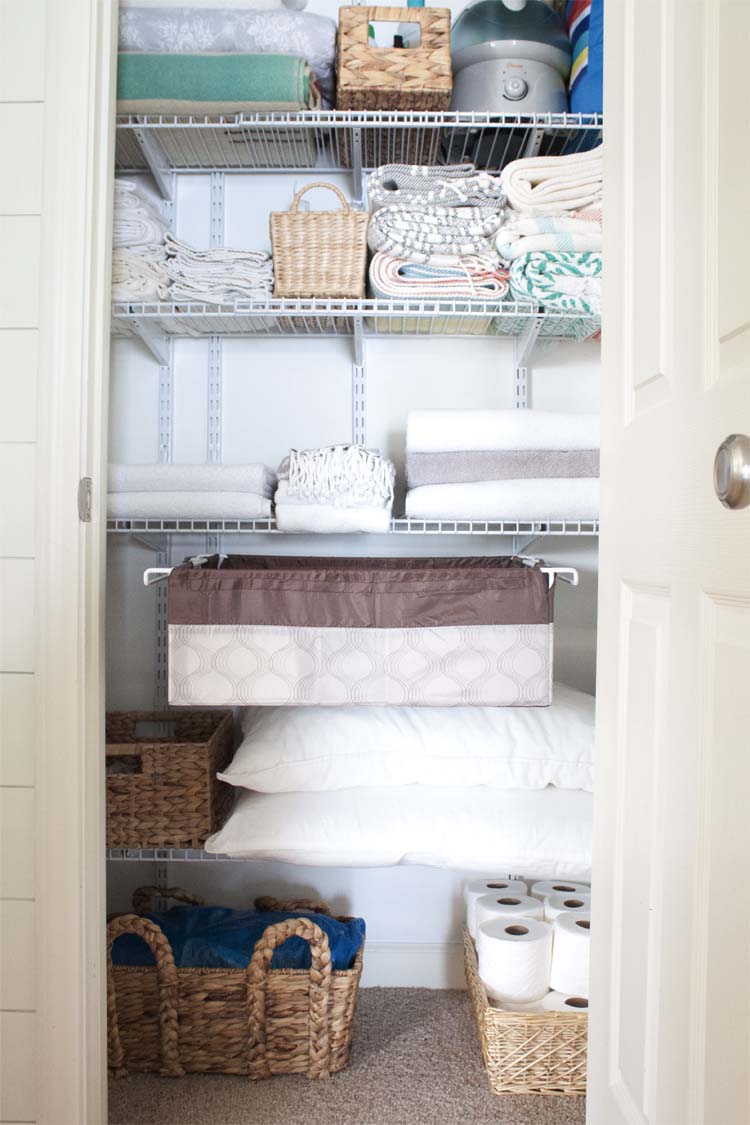
It took a day, start to finish, and I was finally done. This wa a project that I had put off because I dreaded it and I just knew it would take all weekend to finish just one.
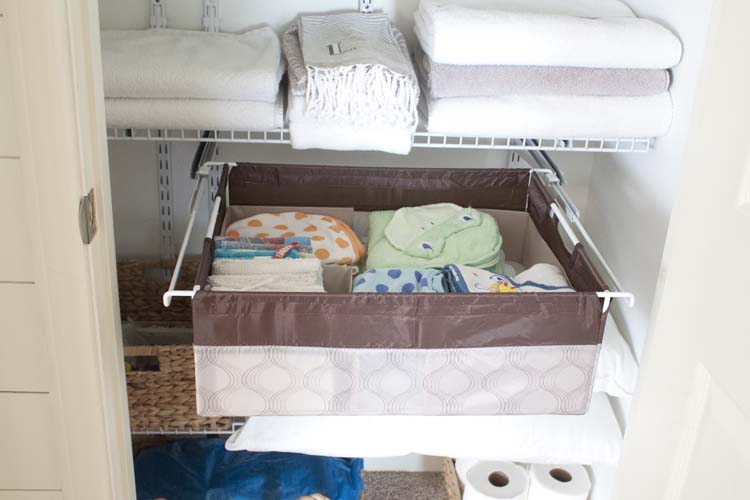
Not only was it quick and painless but it was also pretty fun.
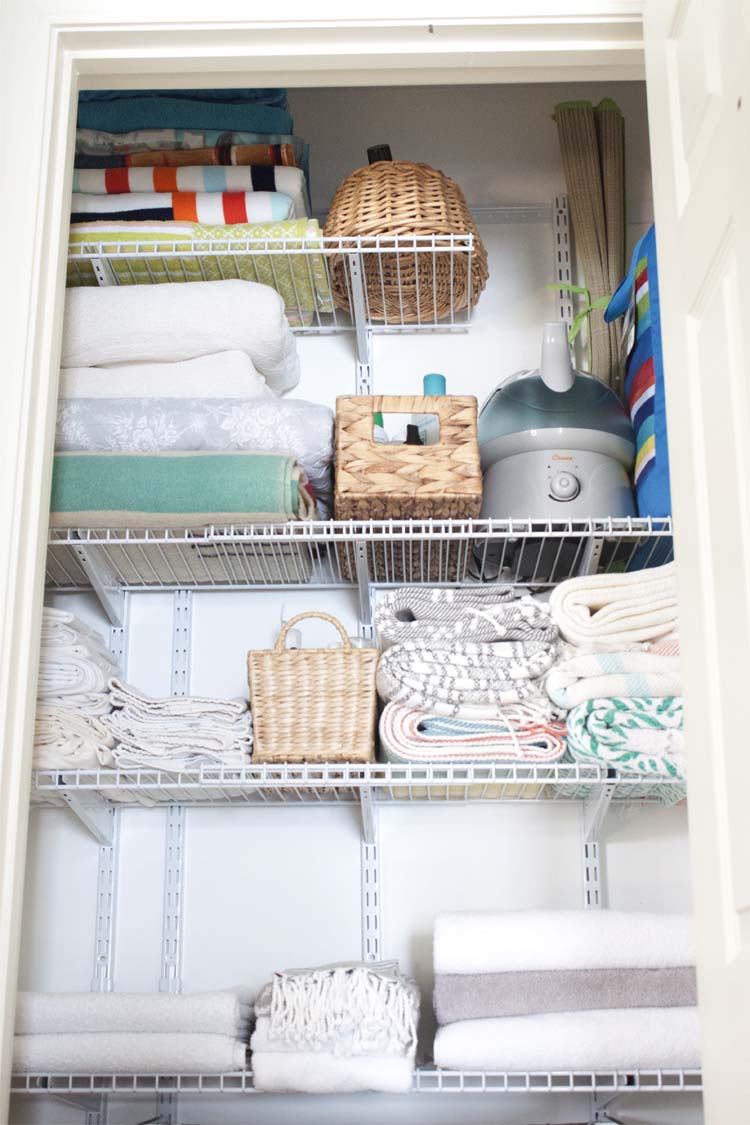
Not only does my closet hold everything that it did before, but now it holds half of what was in my upstairs linen closet, too!
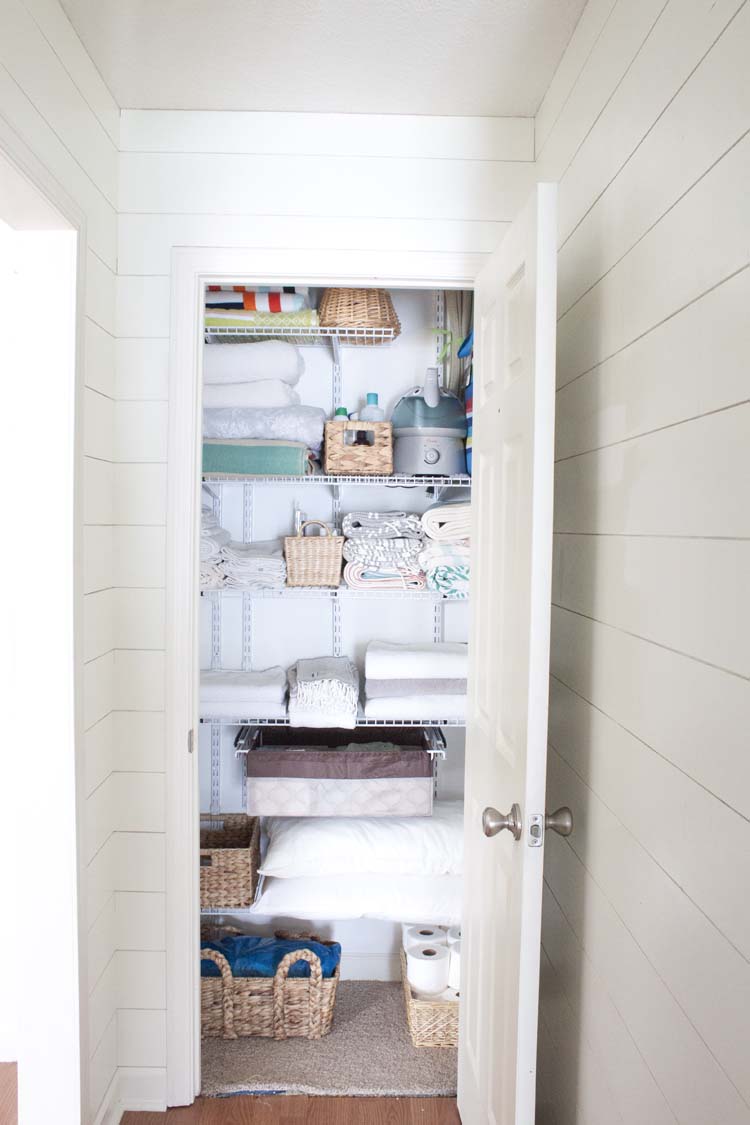
And the best part is I can reconfigure, change it up or add to it as my needs change. I got it done just in time for “guest season” but the truth is every time I walk past it I open the door and have a look because I enjoy it so much. It’s small but it is so exciting to finally have it done. I cannot wait to tackle my two other closets with this system. Do you have a closet that could use some intervention before this holiday season?
P.S. We’ll talk about that horrid carpet scrap meets tacky, mismatched and poorly installed flooring another day. Not. My. Fault.







what a great looking linen closet!! You’ve inspired me to tackle my own — it’s a hawt mess right now! #client
Hello! This has me thinking since my linen closet is slightly unorganized!!! You are so talented. Love this idea. Thanks for always coming up with beautiful and smart ideas and projects!!!
Hi Beverly! Thank you so much. And thanks for being so supportive. It is so appreciated!