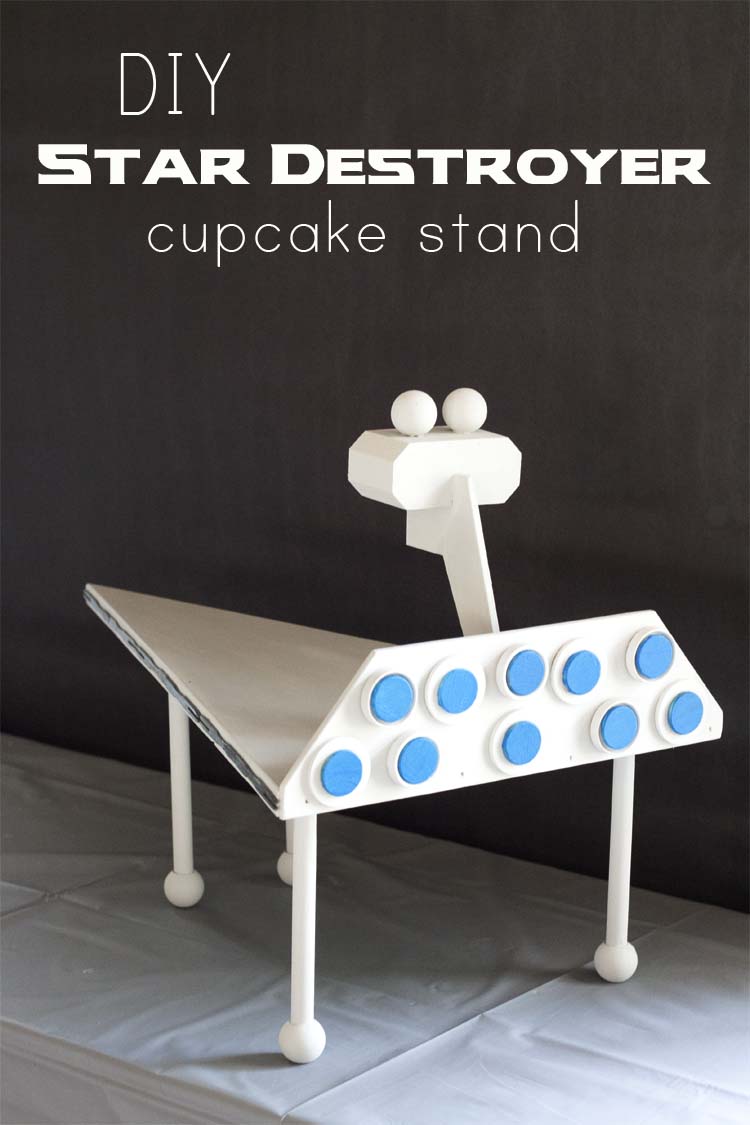
If you’re as big a Star Wars fan as my family and I are, I know you’re just as excited about the release of the newest movie, Rogue One on December 16th. In celebration, every Friday until its release I’m showing you how to create some awesome entertaining pieces. This week is: How to build your own Star Wars inspired DIY Star Destroyer Cupcake Stand. Next Friday I’ll show you how to build a Millennium Falcon Cake Stand!
Let’s get our nerd on!

I have been a Star Wars fan all of my life. I wasn’t even quite a year old when the first movie, A New Hope, was released. By the time Return of the Jedi was released I was 6 years old and, thanks in large part to my big brother, I was a die-hard fan. I even had a 4 ft tall Darth Vader. What can I say, he was always my favorite.
The irony of all of that is that by the time I had my first child they were wrapping up the prequel movies and by the time my first born was my age, he was a die-hard fan, too. Fast forward another almost 7 years and I now have a teenager and my own 6 year old, both die-hard Star Wars fans. And my youngest can probably thank his big brother (and his nerd of mother) for that.
Last year found us at a VIP viewing of The Force Awakens a day before its official release, fresh off a bout with the stomach flu (I promise we weren’t contagious) and just before we found out a couple of us had Hand, Foot and Mouth (we probably were contagious, but I swear I didn’t know!). And now, just like deja vu, there’s another little Dark Side lover in the house. In the end, I feel like my love of Darth Vader was justified. I’m not sure how this Kylo Ren thing is going to work out, though. Boy is cray! Might be a little too much dark in that one.
So for my youngest’s sixth birthday it had to be a Star Wars theme. It wasn’t the first Star Wars party I’ve thrown by an means, see my other Star Wars Party Ideas here and then there’s our ever popular Star Wars Big Boy Room Makeover. But this might be the most fun yet!
How to Build a DIY Star Destroyer Cupcake Stand
You will need:
- 21 x 11 1/2″ triangle wood cut (I used scrap wood but a 1 x 12 will work)
- 1/4 plywood
- Scrap 2 x 4 piece
- Star Destroyer Pattern Cut Outs
- 5 – large wood craft circles
- 10 – small wood craft circles
- 5 – unfinished wood checkers
- 2 – Round wooden balls
- 4 – Round wooden balls with flat-ends
- 2 – 1/4 x 2″ long dowel pieces (make sure the diameter of these small dowels fit into the holes of your round wooden balls)
- 4 – 1/2 x 6″ long dowels for legs (make sure the diameter of these dowels fit into the holes of your round wooden dowels with the flat side)
- Wood glue
- Paint – I used a light gray for the ship and a metallic for the trim, the same colors and paint that I used on my Pottery Barn Knock-off Outdoor Table. For the Exhaust Dampers, I used Americana Multi-Surface in Neon Blue.
- Painter’s tape
- Beeswax furniture polish
Tools:
- Jigsaw
- Router
- 1/4″ roundover router bit
- Drill
- Assorted bits (in dowel rod diameters)
- Brad nailer
- Table saw
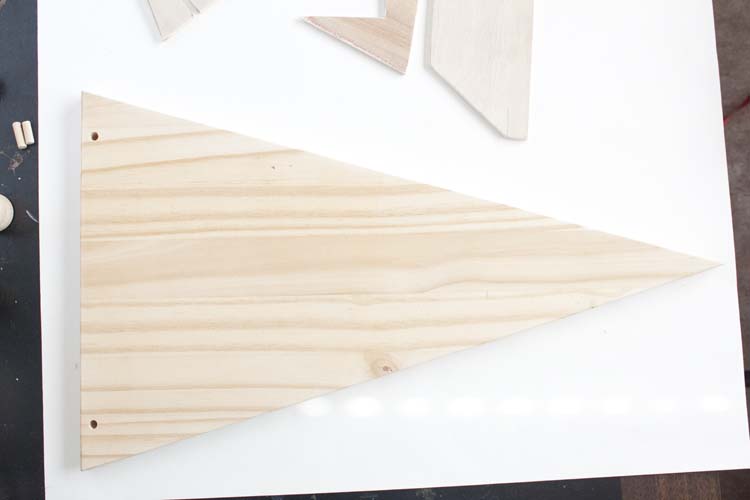
Step #1
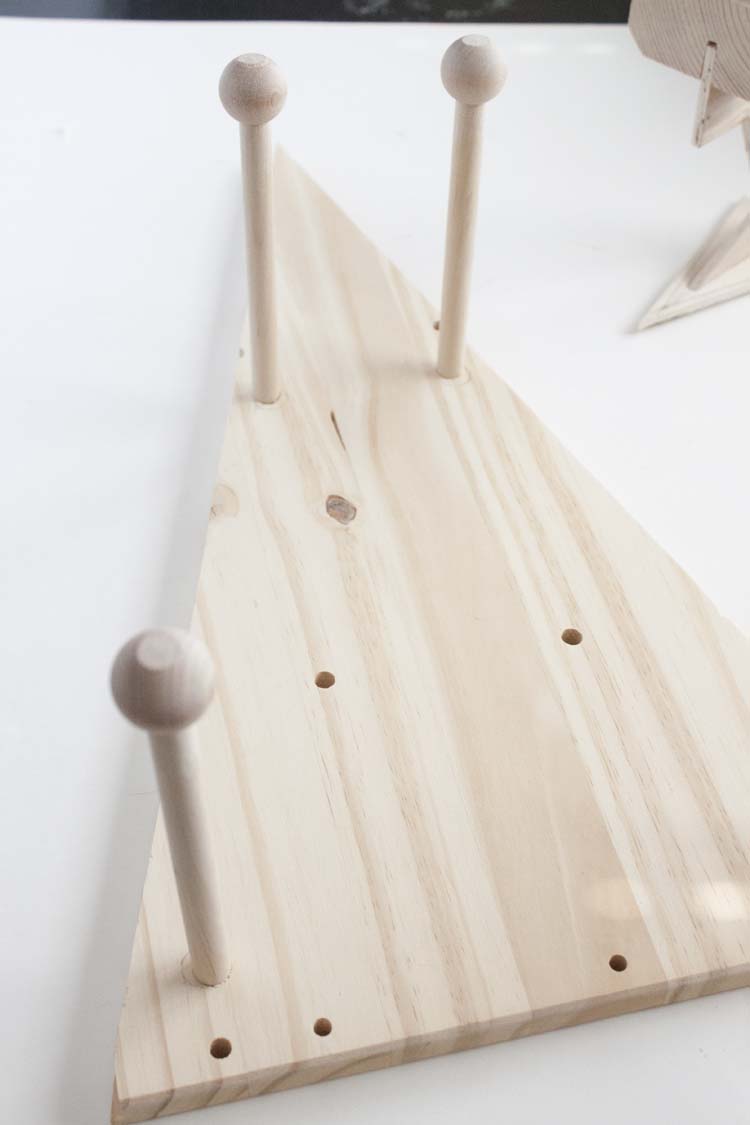
I started by cutting out an 11 1/2″ by 21″ triangle. I used the leftover piece from this Dining Room Buffet IKEA Hack, that’s why you see those pre-drilled holes but they won’t be used for this project. If you don’t have scrap wood, a 1 x 12 is what you’ll need.
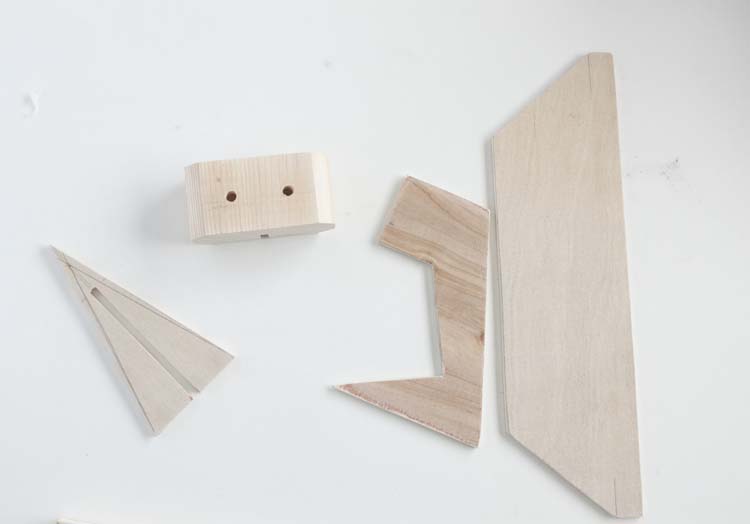
Step #2
Cut the the pieces (shown on the right in this picture) from 1/4 plywood, see above list for cutting template, using a jigsaw. Again, I used scraps from my DIY Faux Shiplap so be sure to check your workshop for scraps that might work. I also cut a small triangle (as seen on the left) from the 1/4″ plywood scraps. I do not have a template for that but that part is pretty straightforward, just a triangle that works in scale with the other pieces. Run this small triangle piece through the table saw (or any tool that you have to do the job) to create a slit, as shown, to put the pieces together. See further below for assembly.
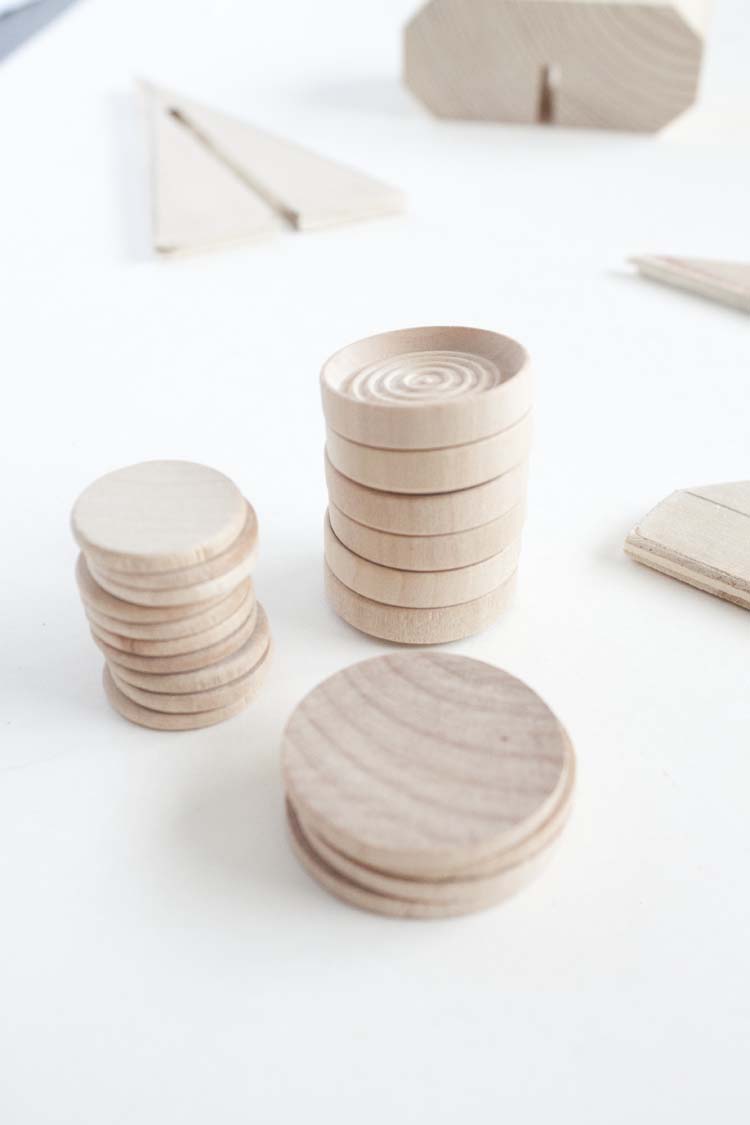
You’ll find the wood pieces found in the supply list, including round balls and dowels, at most any hobby or craft store. I got mine from Hobby Lobby. They will come in packages with several pre-cut pieces. I got a package of large rounds, small rounds and a package of unfinished checkers because I thought these would make awesome “exhaust dampers”!
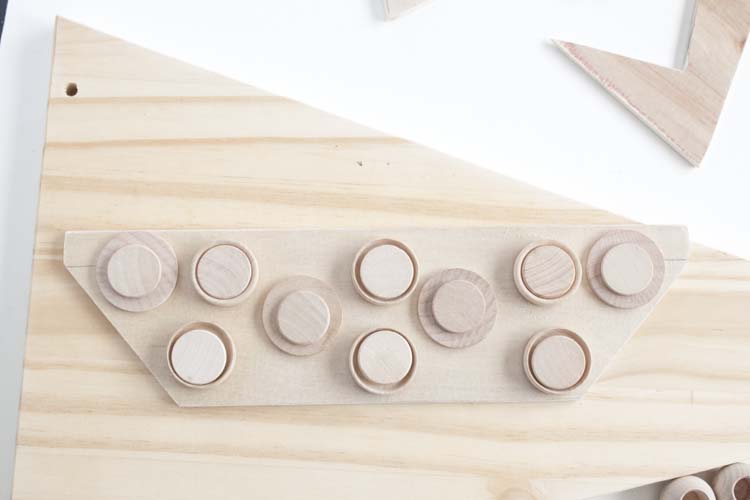
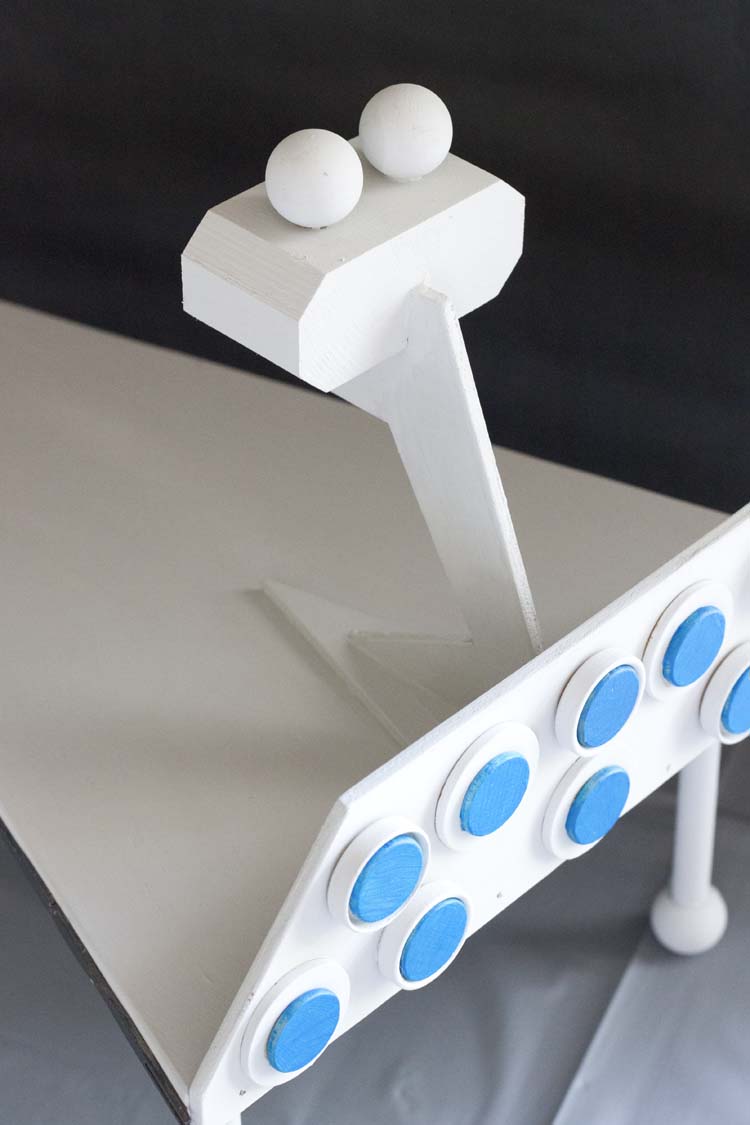
Step #3 – Assembling Exhaust Dampers (Back end of ship)
Layout the wooden rounds and checkers onto the piece shown for the back of the ship. I would recommend gluing on all of the pieces, except those painted blue, and allow to dry. Paint the blue pieces separately and attach those at the end, after assembling the ship and painting all of the light gray.
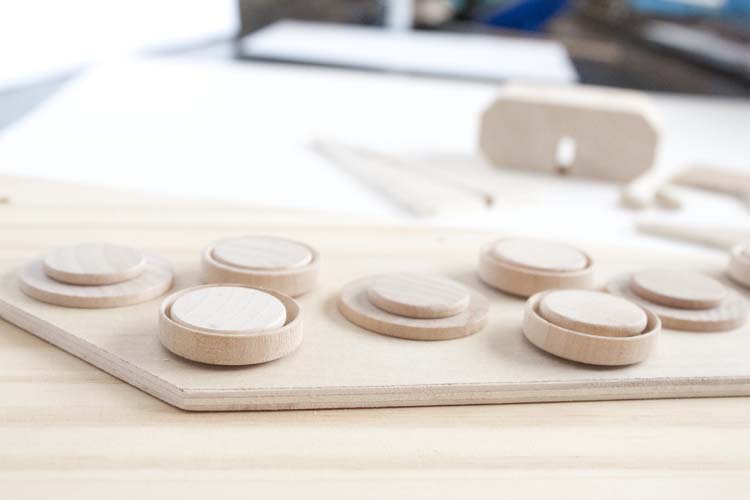
Play around with the “exhaust damper” placement until you have it how you like or place them as I did mine.
Step #4
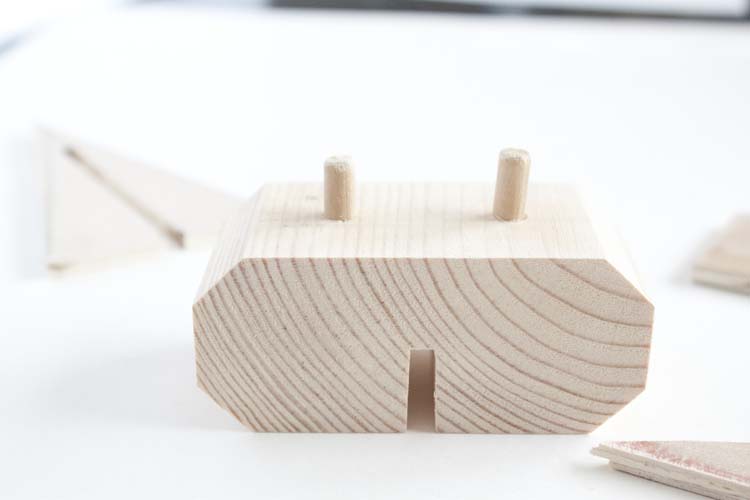
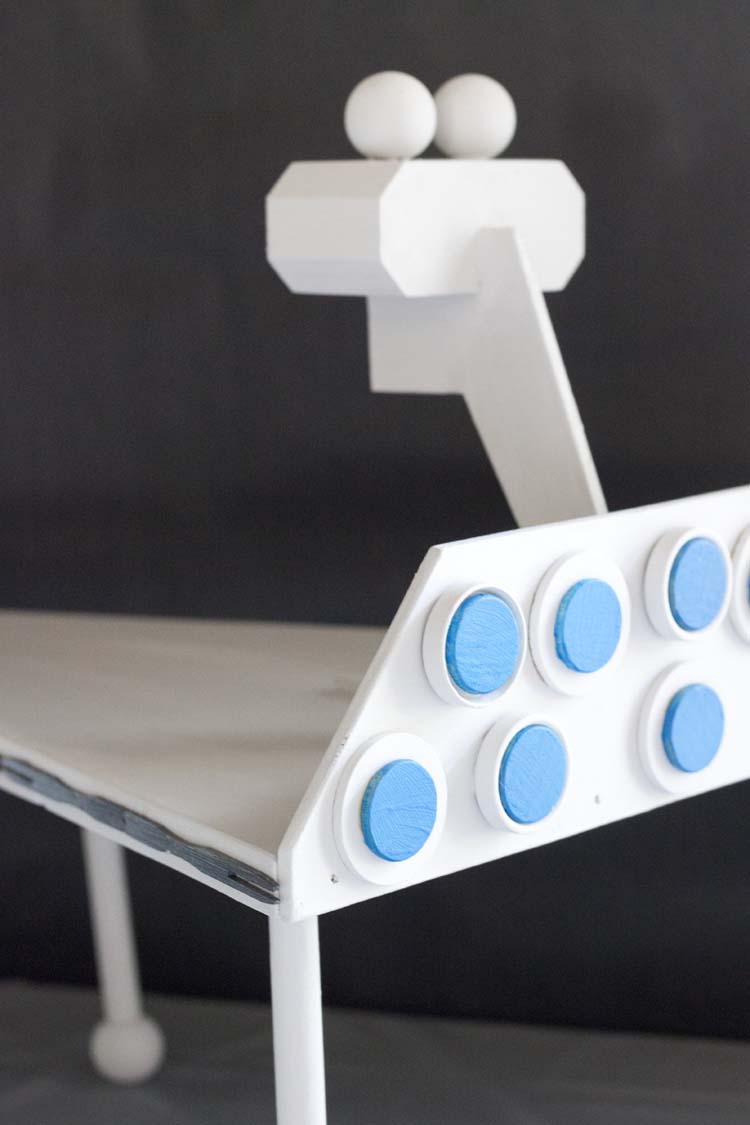
This is step is a bit more ambiguous than the others but don’t let that intimidate you. It’s just a scrap 2 x 4 piece that’s approx an 1 1/2″ in length. I routered all four edges with a 1/4″ roundover bit. If you don’t have a router, some clever sanding, planing or whittling will give you a similar effect. Then, set the depth of your table saw to 3/4″ and run this small 2 x 4 piece through to create a slit (bottom). Drill two small holes on opposite side (top) for the small dowels.
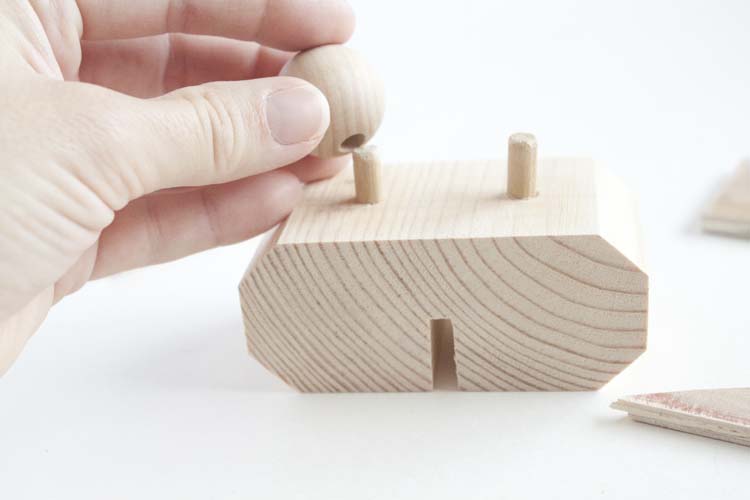
Place the two round wooden balls on top of the dowels and use wood glue to keep in place.
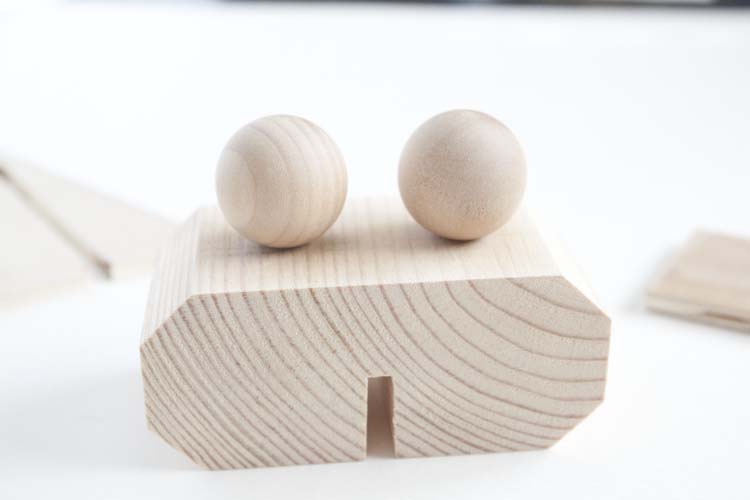
This is what it should look like when done. Allow to dry.
Step #5 – Assembling the Bridge
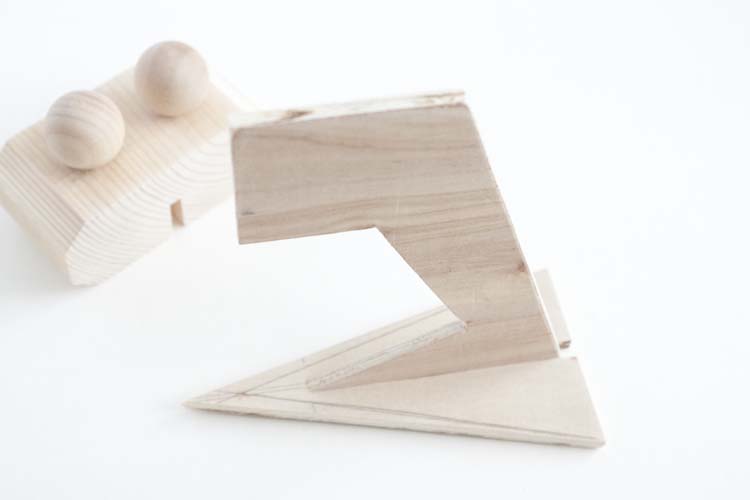
Assemble your 1/4″ triangle and other piece cut from pattern by sliding it into the slit you created in your triangle, use wood glue to keep in place. Allow to dry.
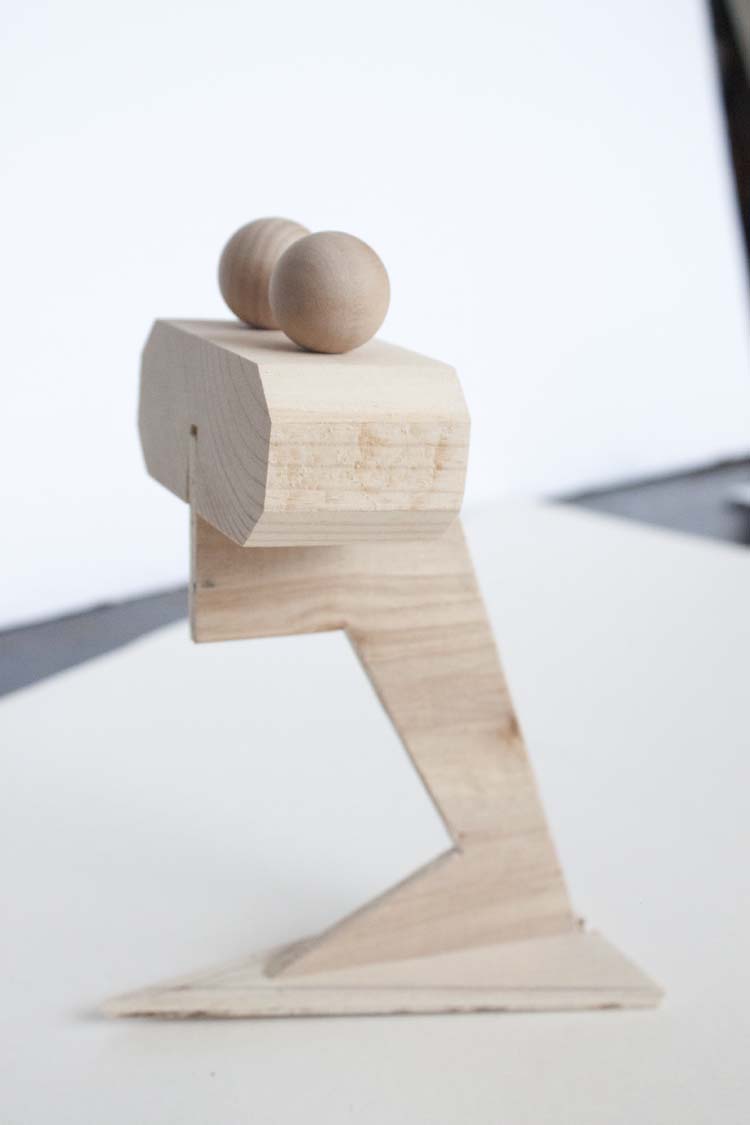
Now add your scrap 2 x 4 piece onto the top by sliding the pattern piece into the 2 x 4 piece. Affix with glue, allow to dry.
Step #6
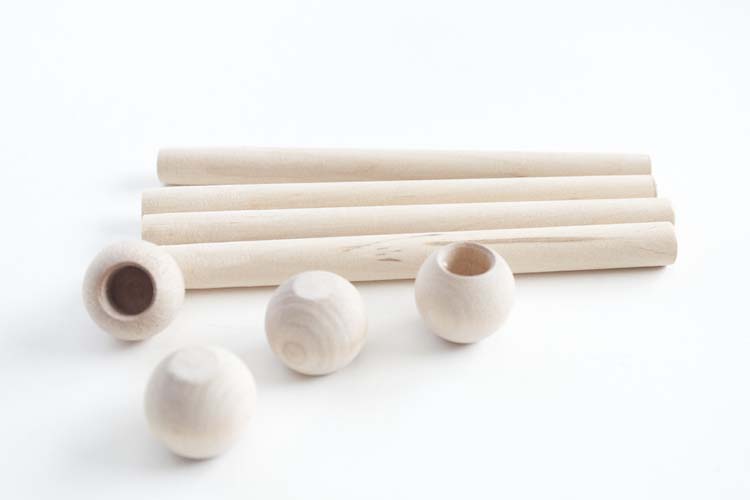
It’s likely that you’ll need to cut your 1/2″ (diameter) dowel rod into four 6″ pieces for the legs. Once you’ve done that, you’re ready to assemble.

Add a dab of wood glue into the 4 round wooden balls (with flat end) and insert dowels. Allow to dry.
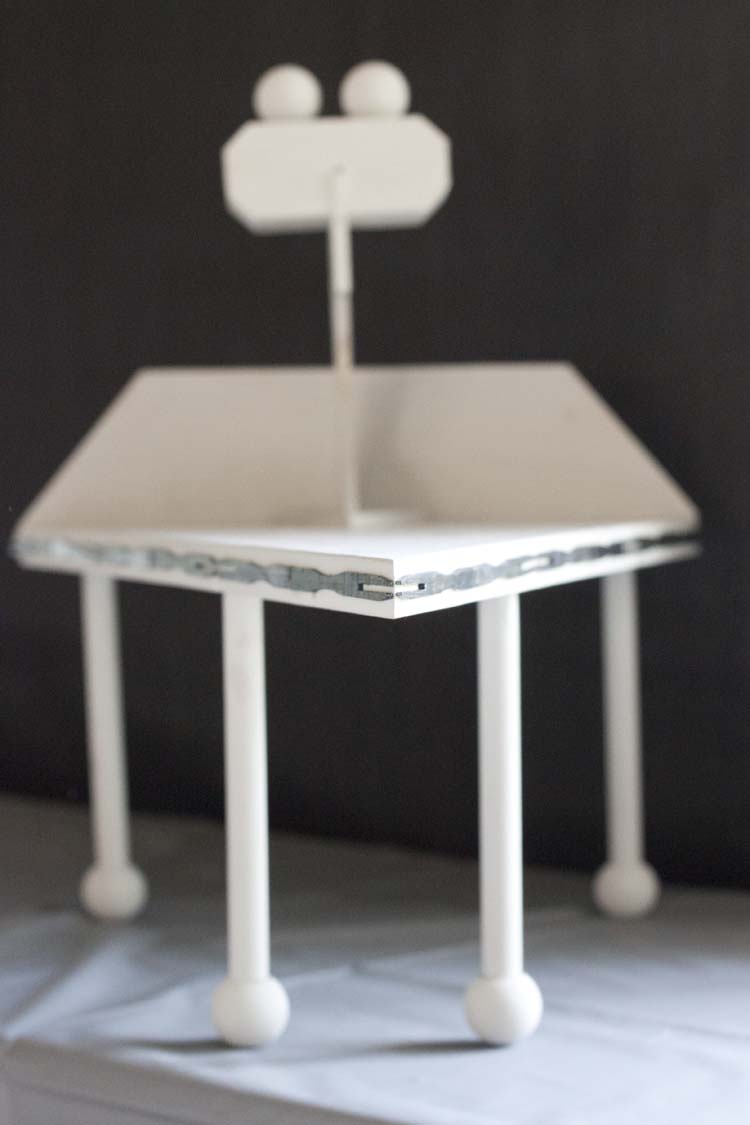
Step # 7 – Assembling the ship
Drill hole to accommodate legs into the underside of your 11 1/2″ x 21″ triangle, as shown. Add a dab of wood glue into the holes and attach legs. Allow to dry.
Turn ship over to stand on legs. Attach the back of the ship (Exhaust Dampers) using wood glue and a brad nailer. Allow to dry
Place Bridge in position at back end of ship and use wood glue to hold in place.
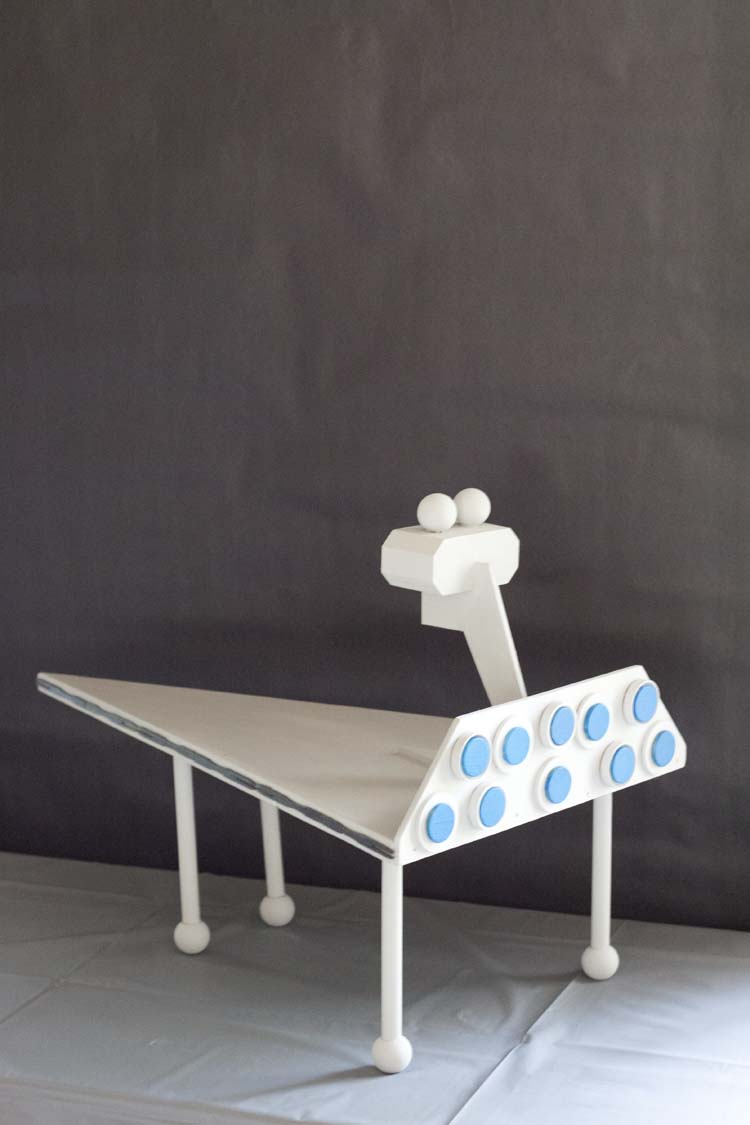
Paint entire structure in light gray. Paint Exhaust Dampers in neon blue, allow to dry and then attach using wood glue.

Step #8 – Missile Silos
Never in a million years would I have thought that I’d some day use bamboo cocktail skewers as missile silos but that day has come. And honestly, now I can’t image a better use for them!
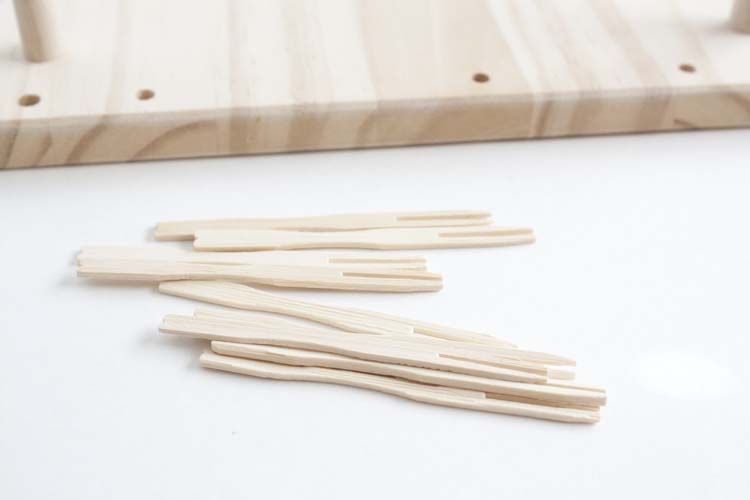
Paint them in a dark metallic gray (see above for link to paint I used), allow to dry. Then attach them to ship using wood glue. Hold in place with painter’s tape. Rather than attach them end to end, I attached them front to front then back to back in an alternating pattern to add interest. And to keep them from just looking like cocktail skewers.
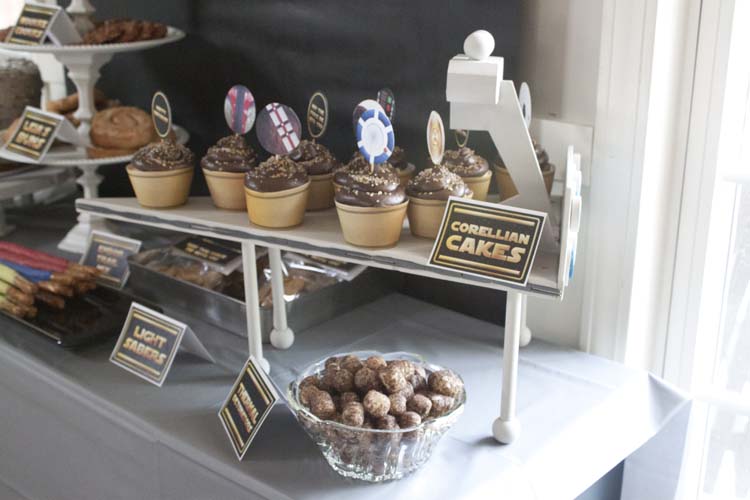
I’d say it turned out pretty well. It’s basic enough that anyone can do it but impressive enough that everyone can enjoy it.
To make it easier to clean after use, I coated with a natural beeswax furniture polish. This also creates a barrier between the paint and the food.
Room for around a dozen cupcakes at a time and while you could probably find another cupcake stand that could hold a lot more….
It probably won’t do it with as much style. Or nerd power!
So what do you think? Want your own DIY Star Destroyer Cupcake stand now?
Don’t forget, next Friday is a DIY Millennium Falcon Cake Stand!


Leave a Reply