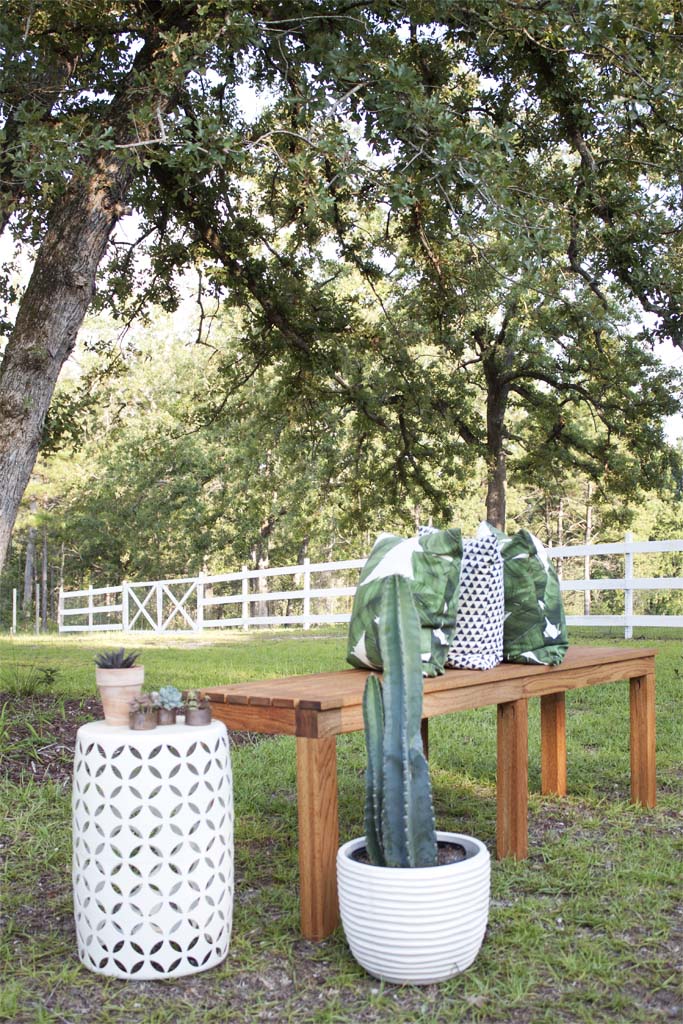
Last year we started our backyard makeover with the DIY cement tile patio and I continue to be amazed (to this day!) at what an enormous difference this little trick made. But we didn’t stop there! We put in a pergola, garden wall and floating decks, too! All by ourselves! Our backyard has never been more inviting. Before I share the reveal, I’m sharing each of the little DIY projects and the tutorials that got us there. Like this DIY Outdoor Bench, that’s currently sitting on one of those decks in front of a pretty terrific backdrop – our DIY modern garden trellis, which I’m sharing next!
Nice outdoor furniture can be quite expensive but creating your own DIY outdoor bench means you can have quality furniture for a fraction of the cost and custom-fit for your space. Top it off with custom paint or stain to create the perfectly customized outdoor oasis.
This post contains affiliate links. Please see my disclosure/privacy policy for more information.
DIY outdoor bench supplies:
- (6) 1x3x8s, red oak
- (8) 3x3x3 posts, red oak
- Wood glue
- Fine grit sandpaper
- One box Kreg 2-inch coarse pan head screws
- One box 1.25-inch finishing (brad) nails
- Brad nailer
- Kreg jig
- Drill
- Miter saw
- Exterior stain (I used Sherwin-Williams SuperDeck transparent in Canyon Brown)
- Chip brush, rag or sprayer
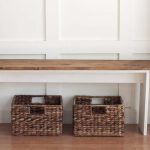
The pictured bench is 72.5-inches long, 17 inches deep and 21.25 inches high. You can adjust the measurements to make a smaller bench if desired.
Note: For this project, I used red oak protected with an exterior stain. Red oak is readily available in convenient 3x3x3 posts. If your bench will reside in a predominately wet location, using cedar or treated wood may be a better choice. Or purchase a cover for your bench when not in use. You can create 3×3 posts by sandwiching three 1x3s of these other wood species together using clamps and wood glue. From there, follow the directions normally.
Step #1: Cut leg pieces
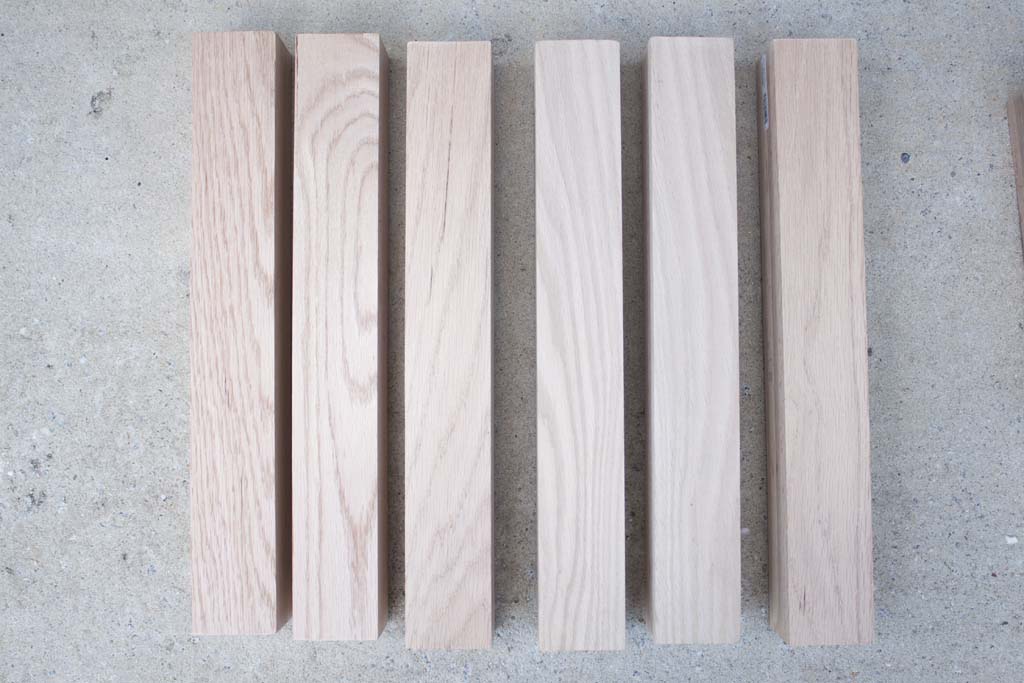
Start by cutting three 3x3x3 posts into six equal 18-inch sections with a miter saw. These will be the bench legs.
Step #2: Cut frame pieces
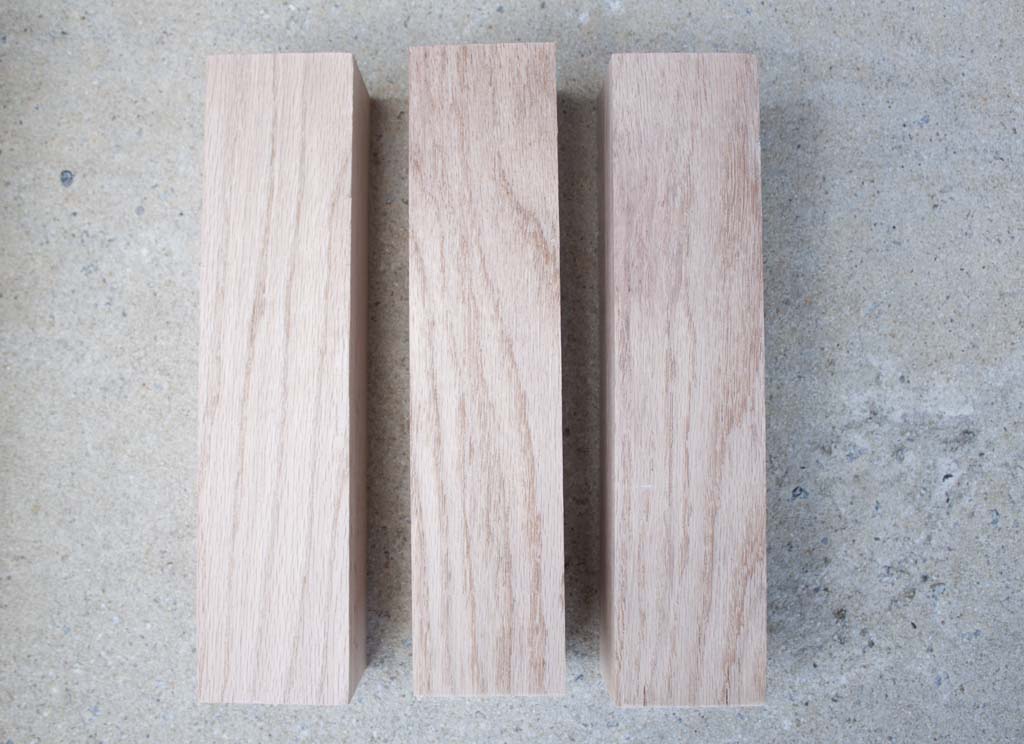
Cut one 3x3x3 post into three equal 11-inch sections. Two of these will form the short ends of your frame and one will form the middle brace for your bench.
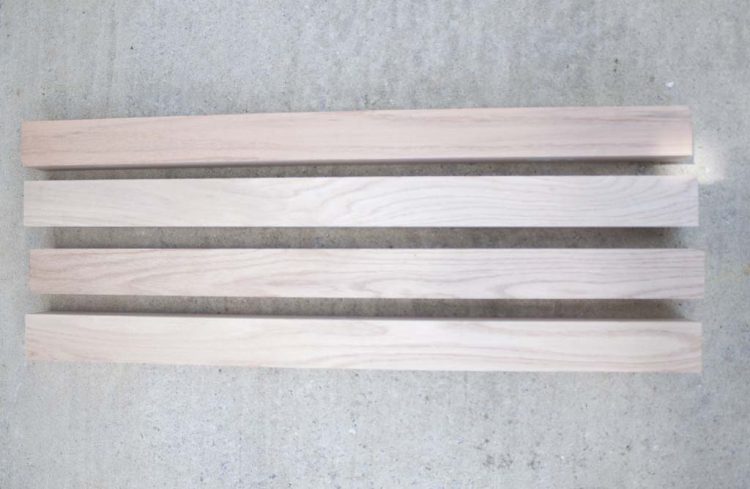
The remaining four 3x3x3 posts will be used to frame the bench.
Step #3: Drill pocket holes
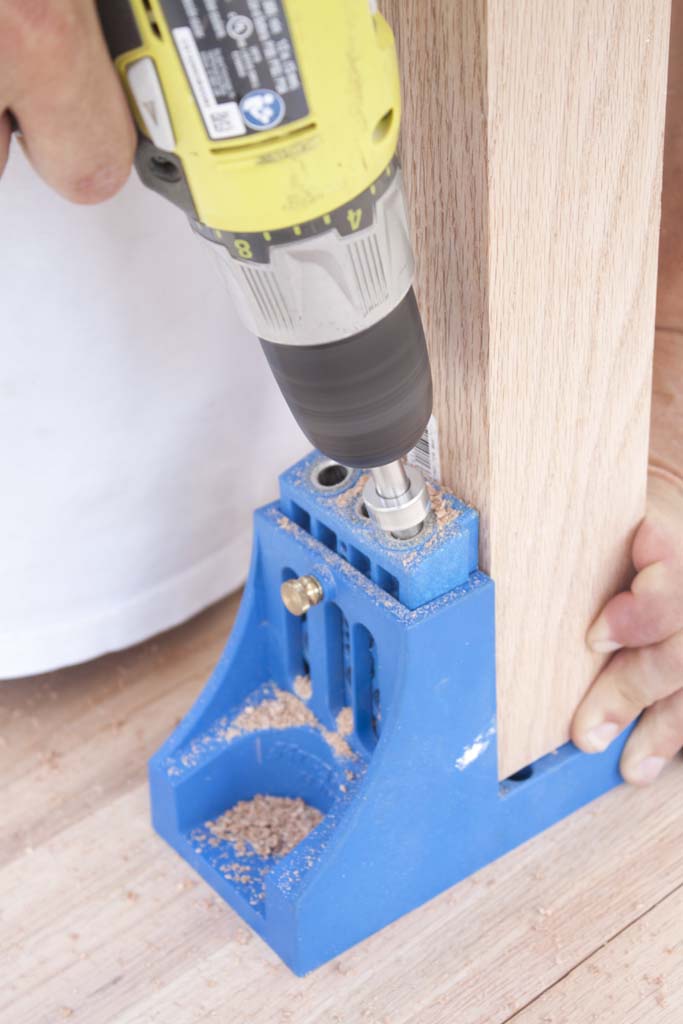
Use a Kreg jig to create pocket holes for each of the sections. See below for pocket hole spacing. Remember, you will also need to place the middle brace slightly off-center to accommodate screws.
Step #4: Assemble
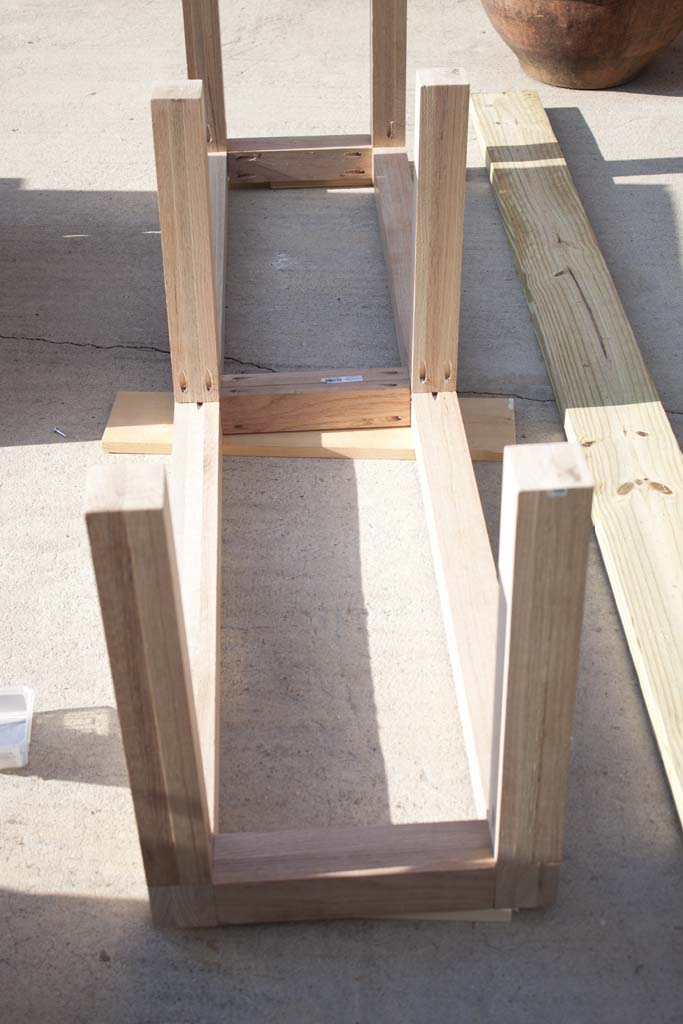
Make sure to assemble your bench on a level surface and take care to place pocket holes on the inside of each piece so that they don’t show once your bench is complete. Assemble the bench pieces using 2-inch pocket hole screws. Take care to off-set your alternating or opposing pocket holes to prevent the screws from hitting one another during assembly.
Close-ups of pocket holes for easy assembly:
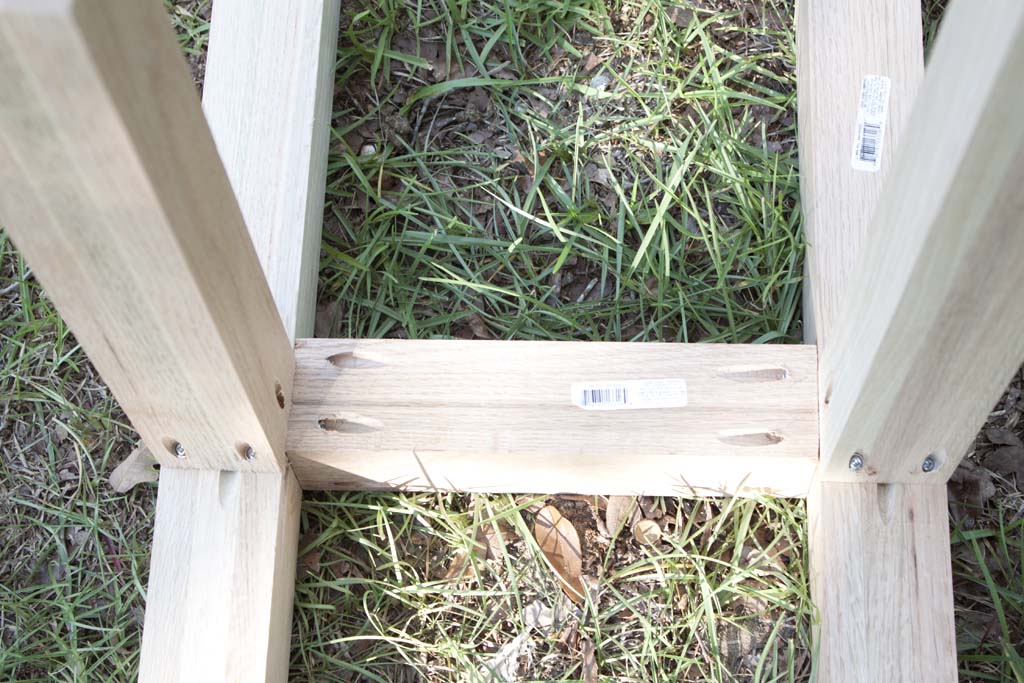
Center brace and legs as viewed from under the bench.
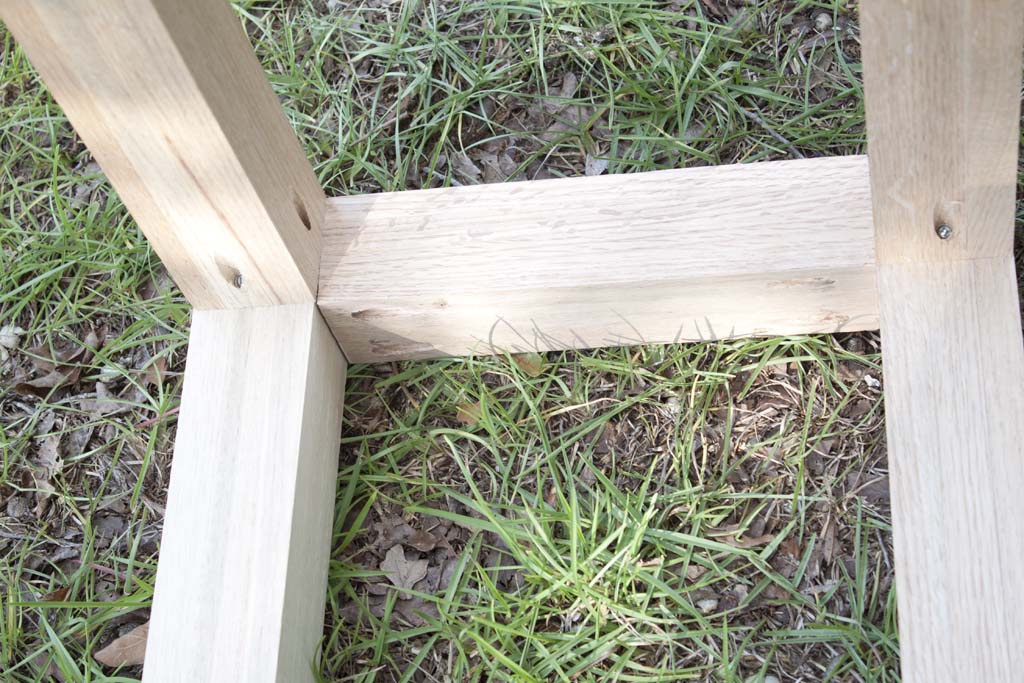
Short frame (end) pieces and legs as viewed from underneath.
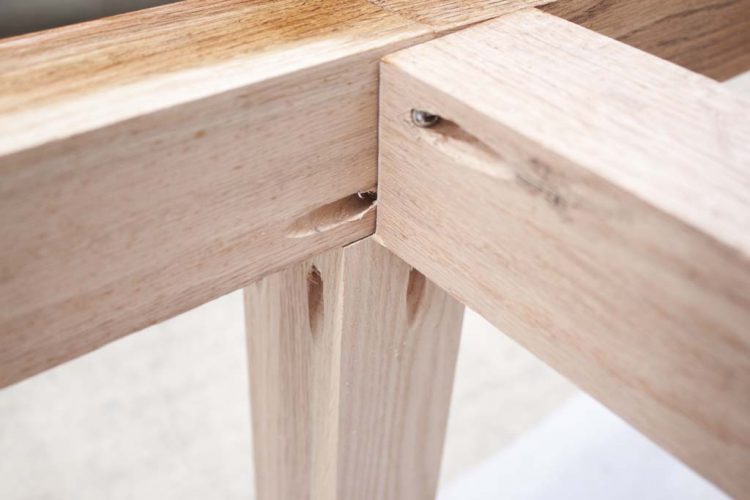
Center brace and long frame pieces as seen from above. Also, center leg piece where it connects to the frame, as seen from above.
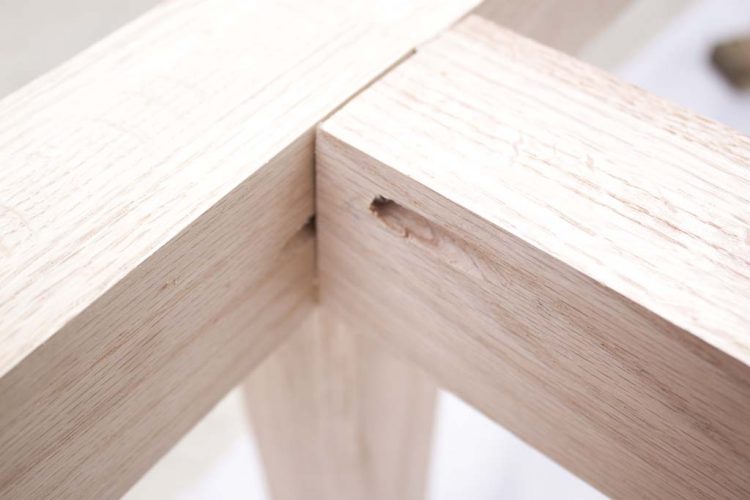
Same as the above section but from the opposite side. You’ll have to play around with your pocket holes to ensure that none of the screws run into each other.
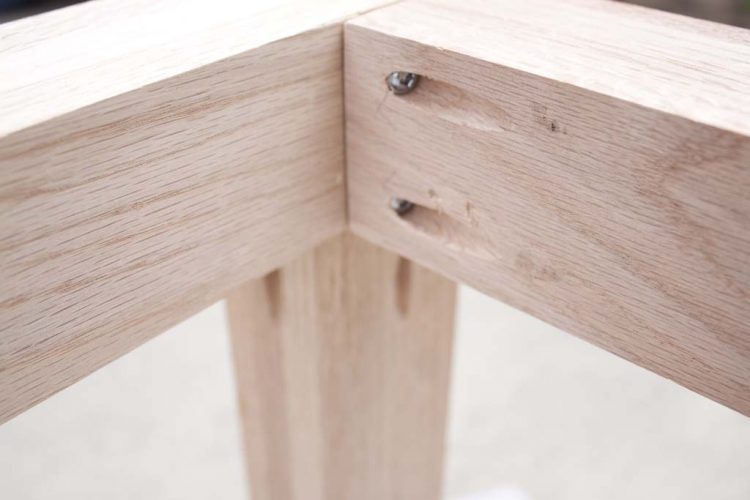
Long frame and short frame piece joined together, from above, with end leg attachment also as seen above.
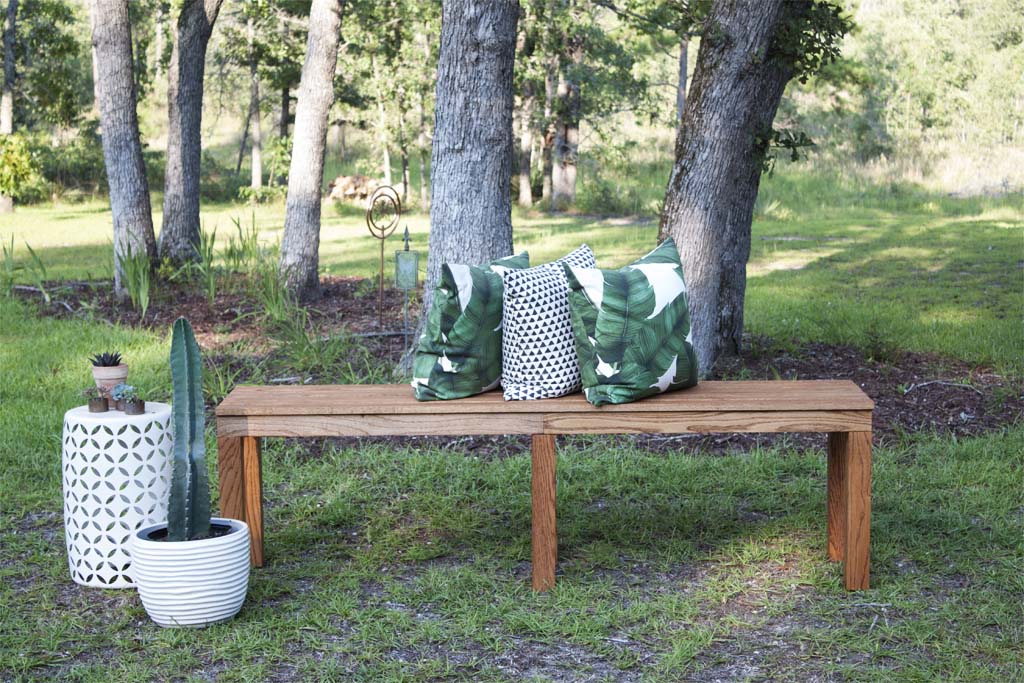
Assemble the finished bench and you’re ready to add a bench top.
Step #5: Add benchtop
Cut all six 1x3x8s so that they overhang 1/4-inch on each end, or overhang as desired. Attach each piece to the frame to create a slatted top, leaving a gap between each slat of equidistance. Attach using exterior screws or brad nails and wood glue. I used the latter. Either way, make sure to get the stain and/or sealer into all the nooks and crannies to ensure your piece will weather the elements.
Use fine grit sanding paper to sand any rough edges and to prepare the wood surface for staining. Wipe away any wood dust.
The stain is cured when water beads on the surface. Consider covering the bench when not in use or during inclement weather. If you do, it’ll last longer!
Can’t wait to share the rest of our backyard makeover with you!


Leave a Reply