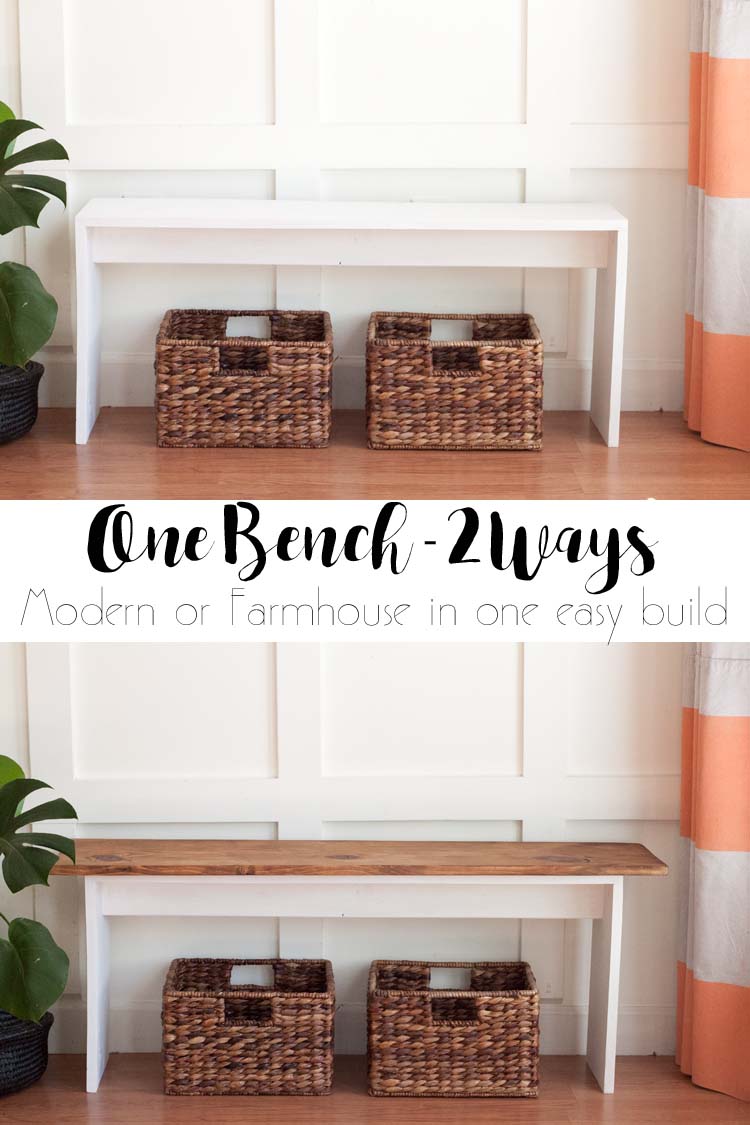
Make this easy to build DIY bench with only a few boards for around $20. You can make it sleek and modern or rustic farmhouse with one easy bench build. It’s one bench two ways. Here’s all you need to get started.
You will need:
- 1 – 1x10x6
- 1 – 1x4x4
- 1- 1x12x4 (as top, only for farmhouse style)*
- table saw or miter saw
- Kreg jig
- 1 1/4″ pocket hole screws
- drill
- paint and/or stain
- wood glue
- clamps (for securing farmhouse-style top)*
- sandpaper or sander
To build the base of your DIY bench you’ll cut the 1×10 into three pieces: 1 – 39 3/4″ long (top) and 2 – 16 1/4″ pieces (legs). Cut the 1×4 into one 38″ long piece. Discard excess.
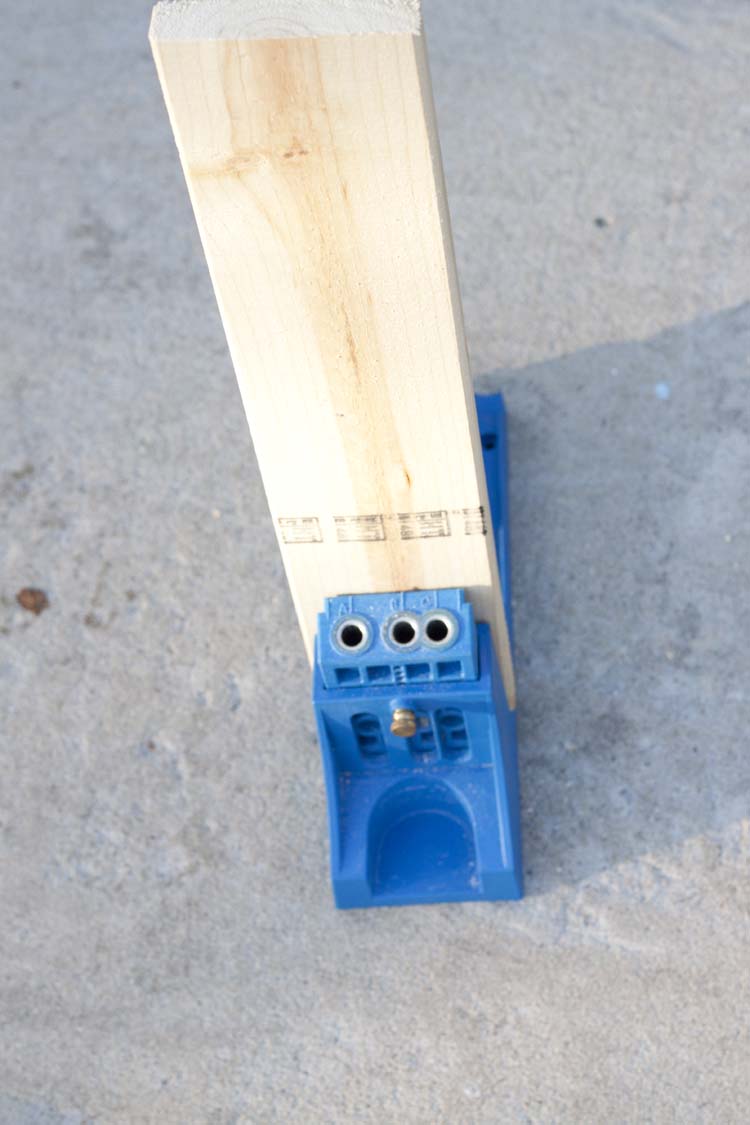
Set your Kreg jig for 1/4″ pocket holes.
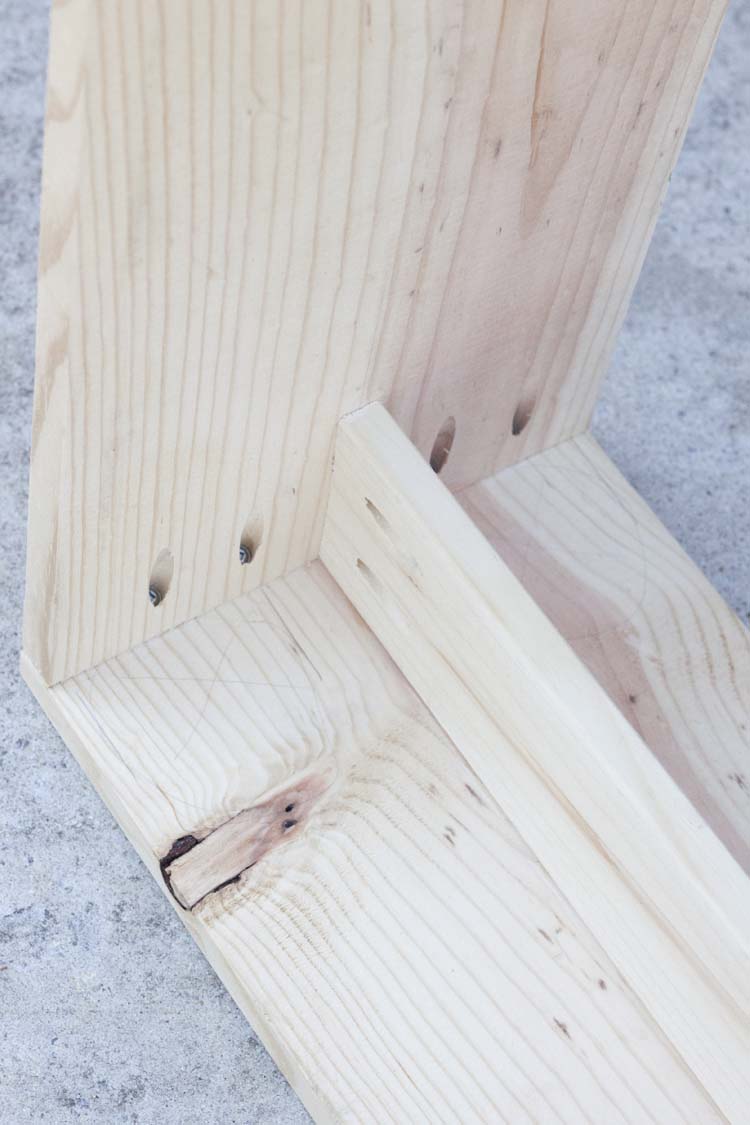
Drill 4 pocket holes on the inside of each of the two legs – this will allow you to attach the legs to the top.
Drill two pocket holes on each end of the 1×4 to allow them to attach to each of the legs. Be sure to keep the pocket holes all on one side. This will make them less visible from the front view of your bench.
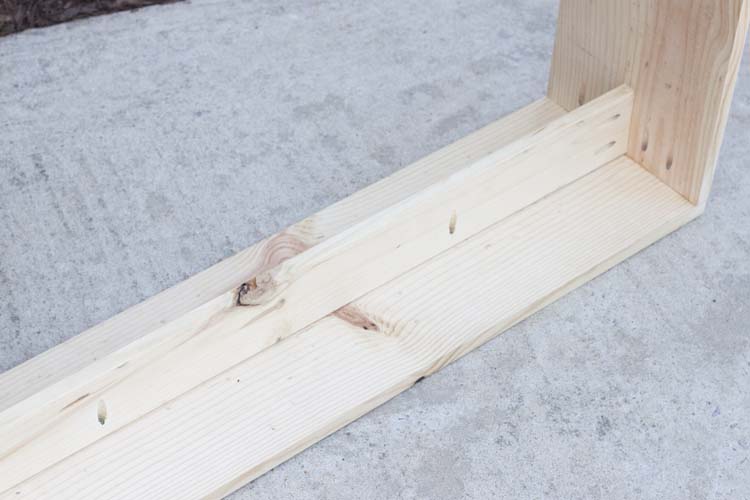
Also drill two additional pocket holes along the 1×4. These will allow you to secure it to the top of the bench as well as the legs.
Using the 1 1/4″ pocket hole screws attach the legs of your bench to the top and then finish by attaching the 1×4 as the brace down the center of your bench. Use wood glue when attaching each piece to make your bench more secure. Allow glue to dry and sand as necessary.
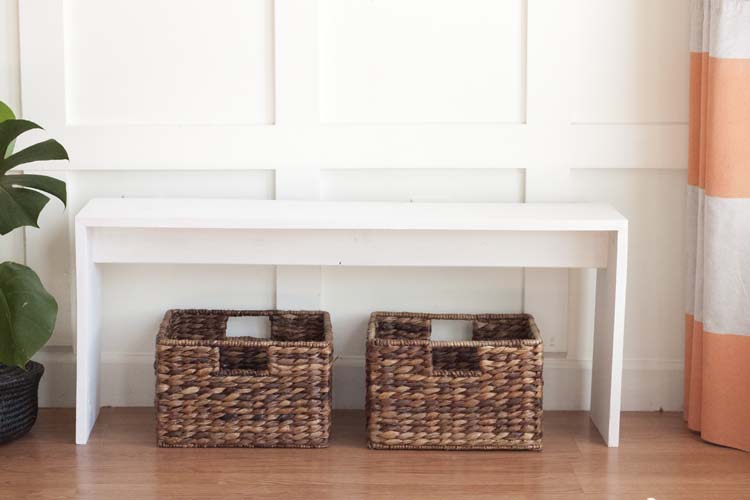
If you’re going for more of a modern look you can stop here and either paint or stain your brand new DIY bench.
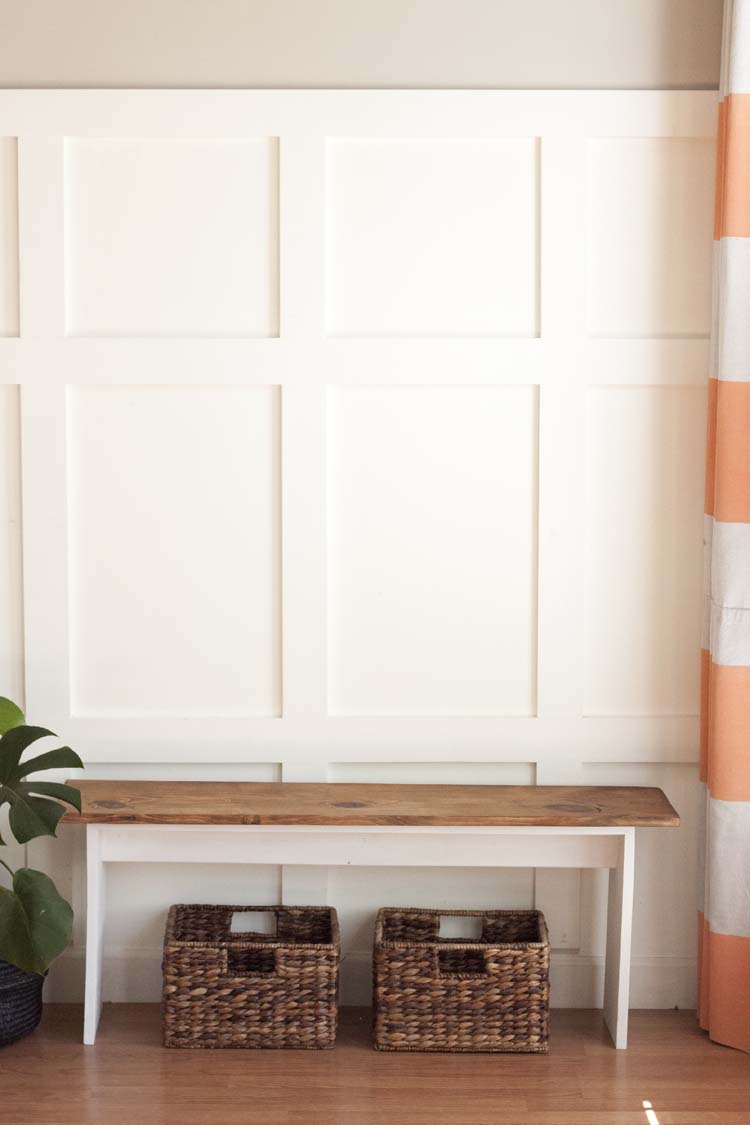
If you prefer, you can add an extra board as a top to give your bench more of a rustic or farmhouse look. Cut a 1×12 to 45 1/4″ and use wood glue and clamps to attach. Allow to dry at least 24 hours prior to use. Enjoy your new DIY bench!



Leave a Reply