Some or all of the hosts of The Fab Furniture Flippin’ Contest receive monetary and/or product compensation from the sponsoring brand, Saltwash, in order to complete their themed projects. Saltwash and their sister company, Saltwater Salvage Designs will also provide the prize package for the contest winner. This post also contains my Amazon affiliate links for your convenience. Please see my full Disclosure policy for additional info.

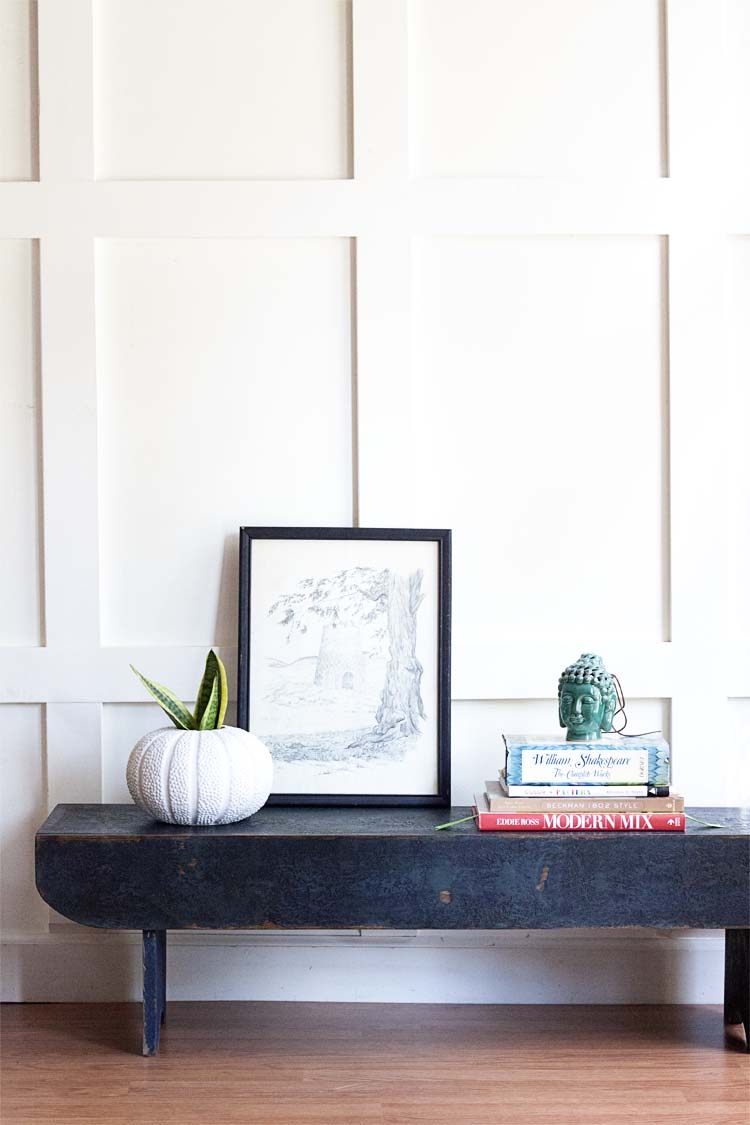
You know how sometimes you see antique things that other people have and sometimes they’ve brought them back from a trip to France or something and you’re like, I couldn’t even afford the cost of getting that thing back (no matter how small it is) much less a trip to France? But you want the thing anyway (duh) because it’s old, it’s beautiful and it has a story. That kind of thing happens to me all the time. One of these days I’m going to be able to afford a trip to a Parisian flea market (and bring the stuff back). Until then I’m going to go on making DIY Farmhouse style milking bench like this one for $25 bucks and making it look really old with, what I have to say, is a pretty awesome new paint technique I learned recently.
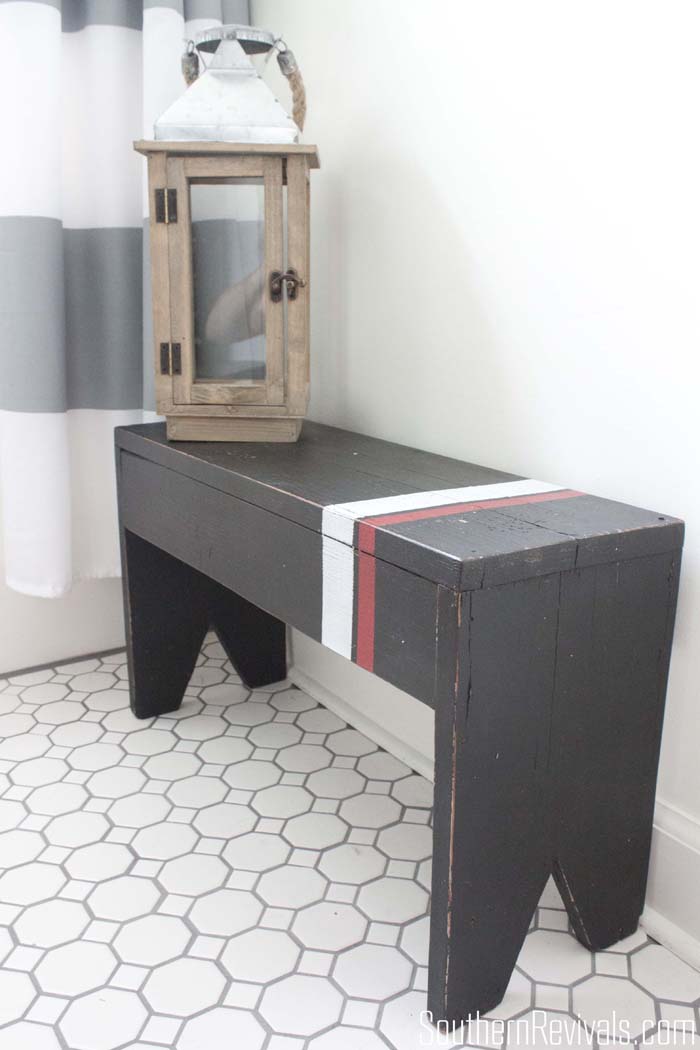
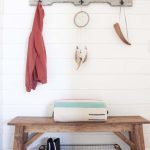
I was inspired, in part, by this one in our Guest Bathroom that I found in my great aunt and uncle’s barn after they’d passed away. But for this bench, I wanted something a little bigger.
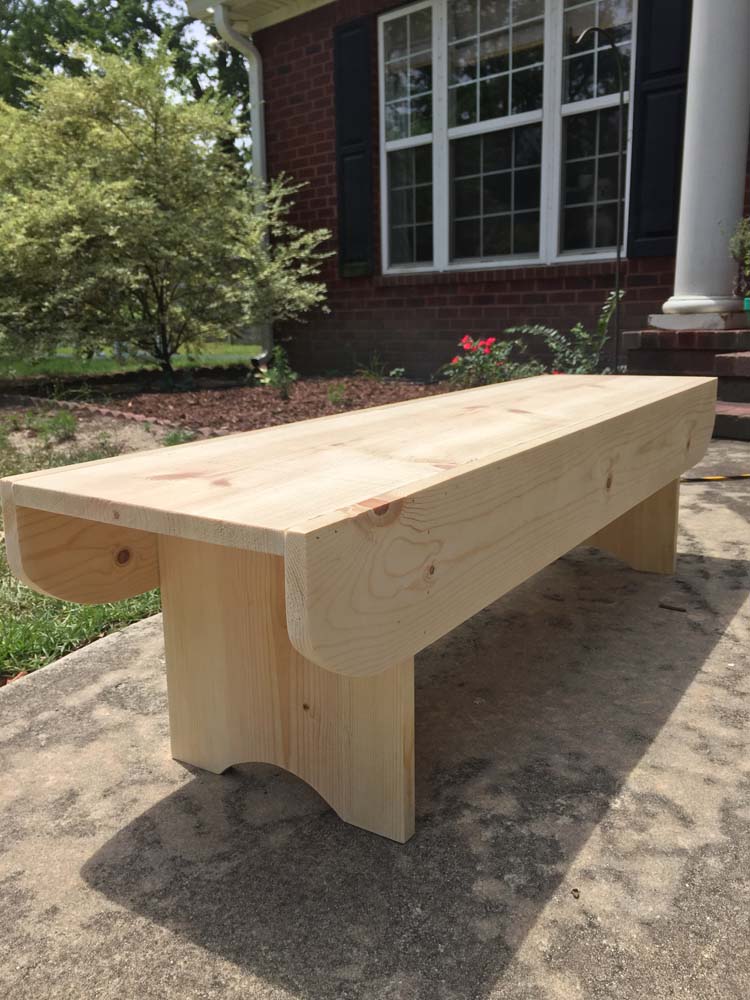
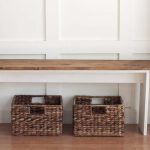
We knocked this bench out in about an hour. No real plan, just an idea of how I wanted it to look. We used random paint cans to get the curves on the front flaps and legs. The bench is 4′ ft wide and with two 1′ ft tall legs. The legs are set in at 6″ on either side. It was put together using my Ryobi Airstrike brad nailer and wood glue, starting with the top and then adding the sides. The sides nailed into the top as well as the legs. Then we used bar clamps to hold everything together tightly as it dried. After that, it was time for some fun!
For bench, you will need:
- 1 – 1x12x6
- 2 – 1x6x4
- Skil saw
- Jig saw
- brad nailer
- wood glue
- bar clamps
- Saltwash
- Two paint colors of your choice
Step 1 – Stain
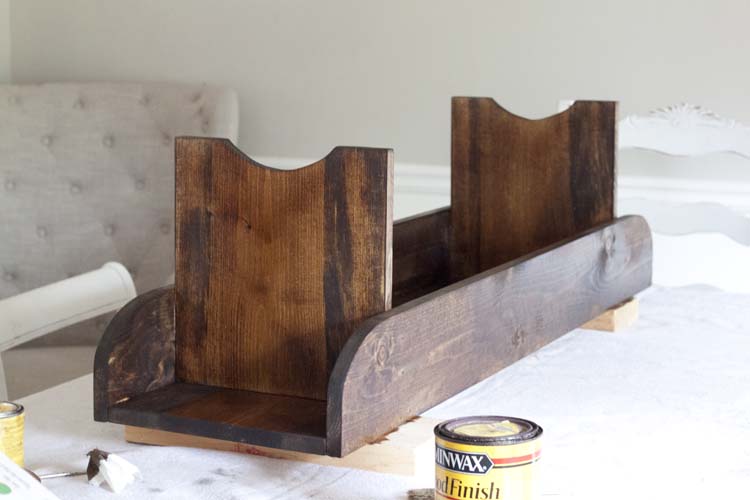
Since I knew I’d be sanding down in some areas to bare wood, I wanted it to have a good undercoat of stain first.
Step 2 – Saltwash
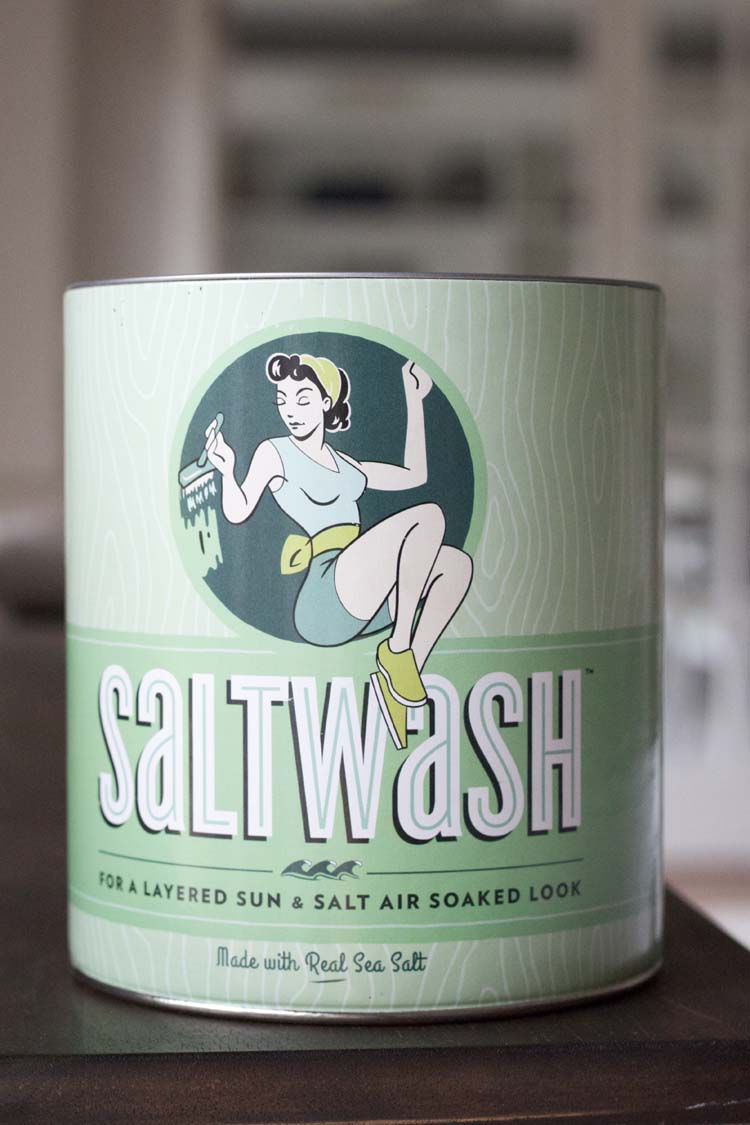
Once the stain was dry I mixed this new product, Saltwash, into my first paint layer.
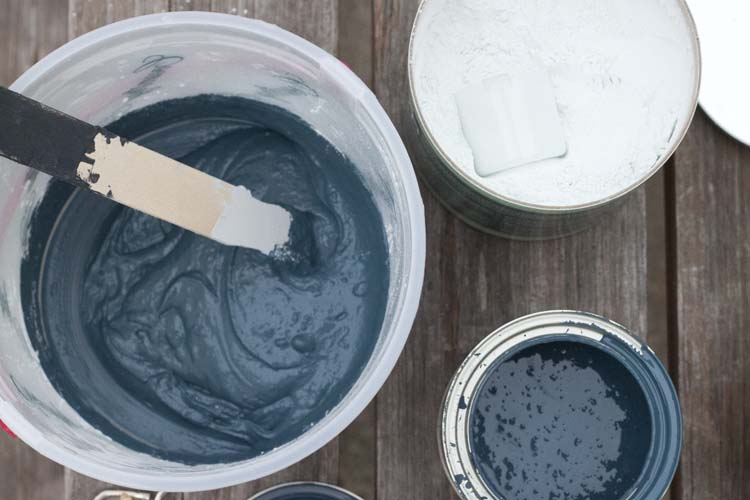
It’s a powder that goes directly into most any paint of your choice.
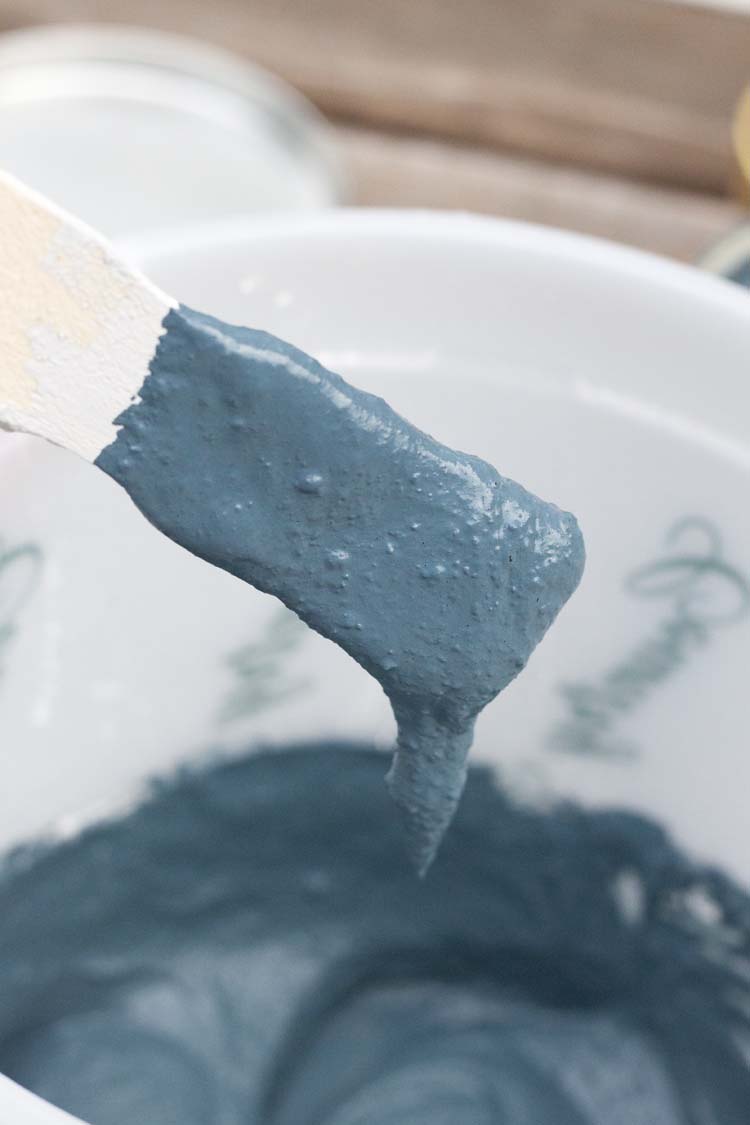
Mix to the consistency of thick cake icing and then…
Glob, yes, I said glob, it onto the surface of your piece. Allow it to dry until tacky and then gently, and slightly, smooth it down with a paint brush. Think of it like a knock down ceiling technique.
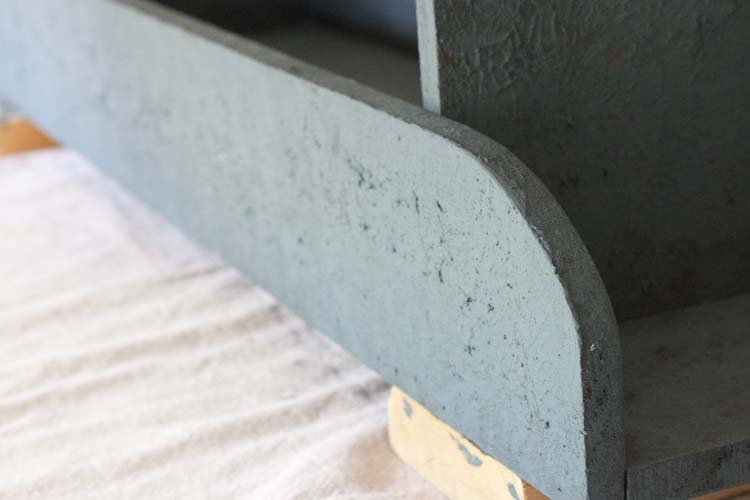
Step 3 – Paint 2nd coat, contrasting color (minus the Saltwash mixed in)
I let the Saltwash layer dry overnight before applying my second, non-Saltwash layer, in a contrasting color. I chose two blues. The darkest on top.
Step 4 – Sand
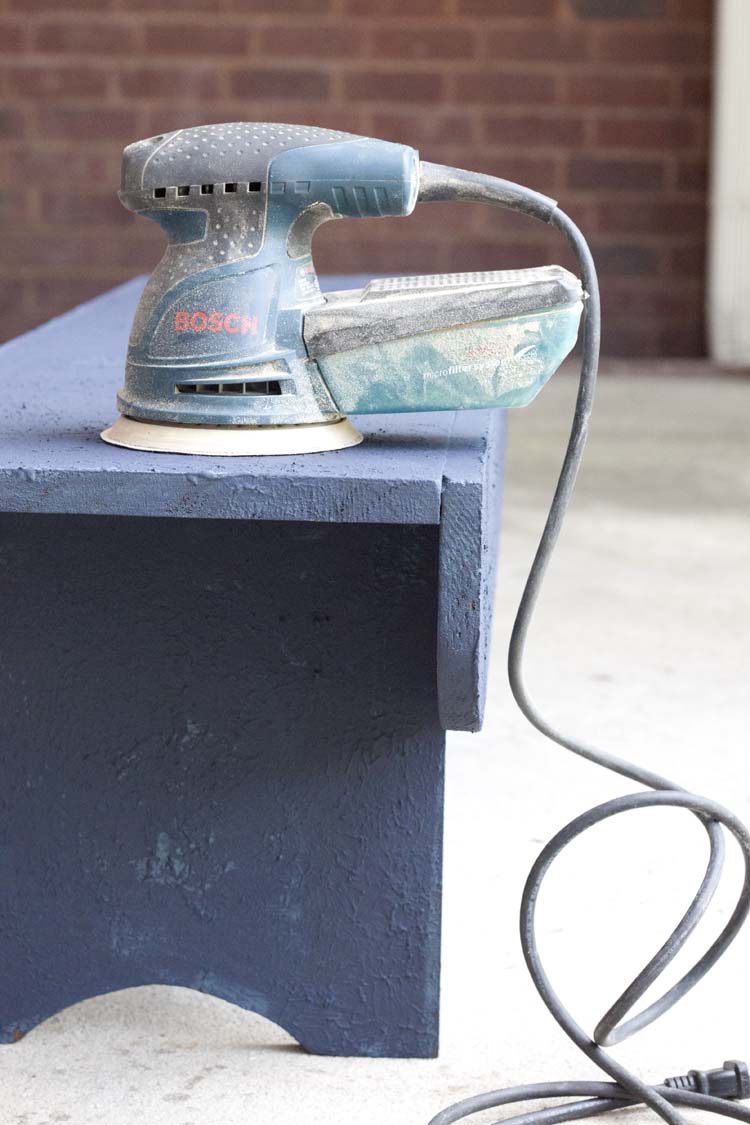
After that dried thoroughly it was time to sand.
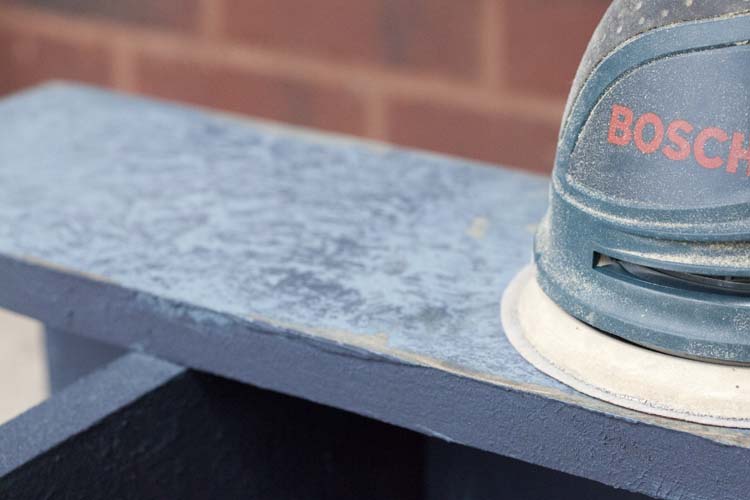
I sanded everything to a smooth finish and down to bare wood in some areas. I’m going for that fresh-from-a-Parisian-flea market-without-the-cost look, remember?
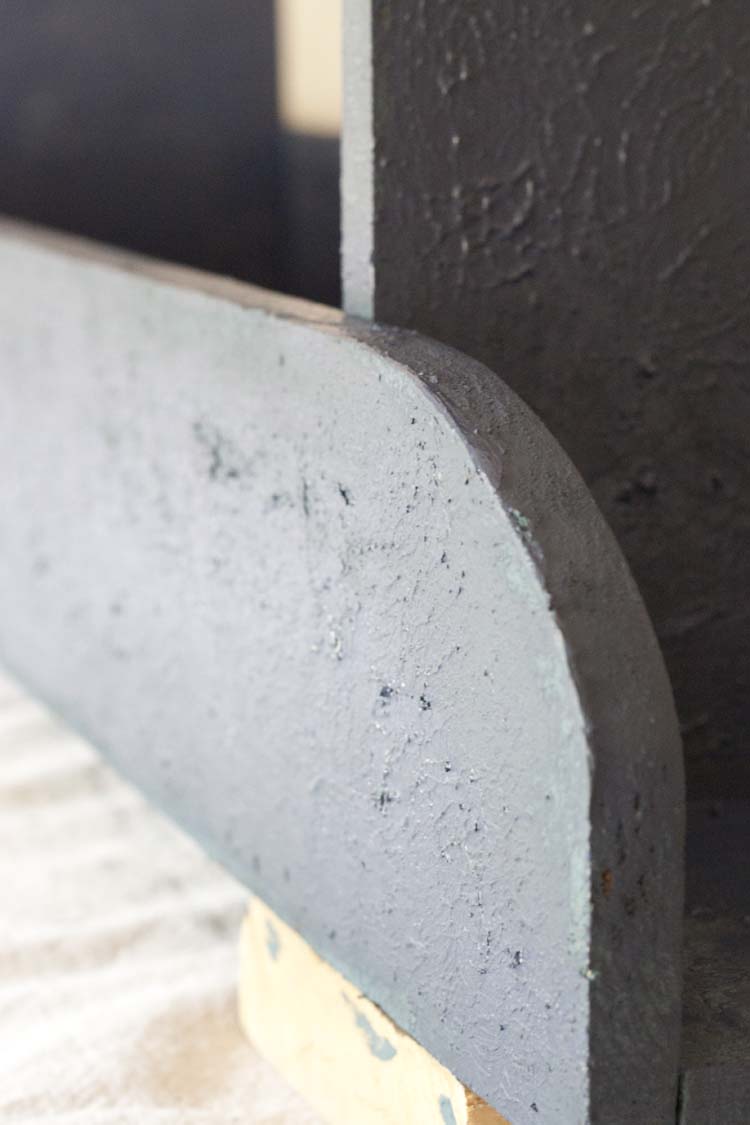
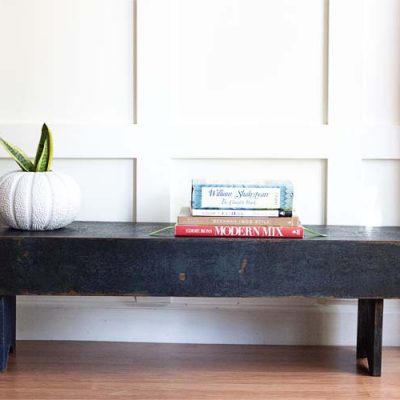
Step 5 – Seal
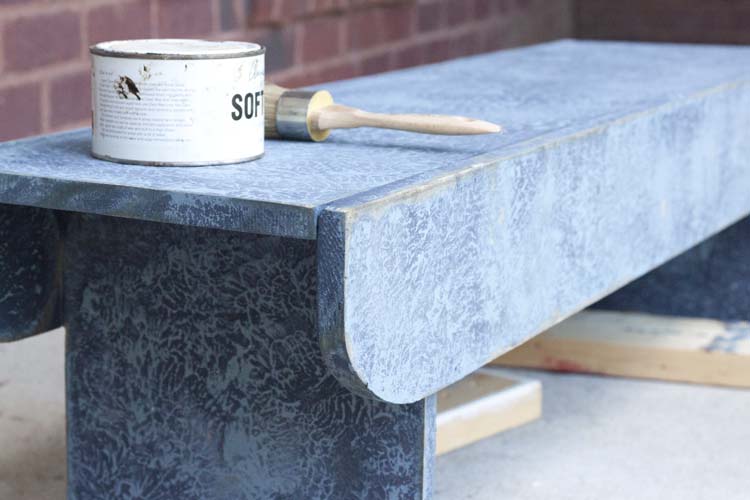
I’m not going to lie. This is a completely new technique to me and I had not ever used it prior to this. And it was at this stage that I thought…oh no. It kind of looks like a stonewashed pair of jeans from the 90s. Or one of those sponge painted walls.
This product is designed to give you a beachy, saltwashed look but I was going for more of a farmhouse, I’ve-been-in-a-French-barn-for-200-years, look so I hadn’t used those bright beach-inspired colors. Apparently, I had gone more for a denim inspired palette. But I remind myself there’s always an ugly stage and keep going.
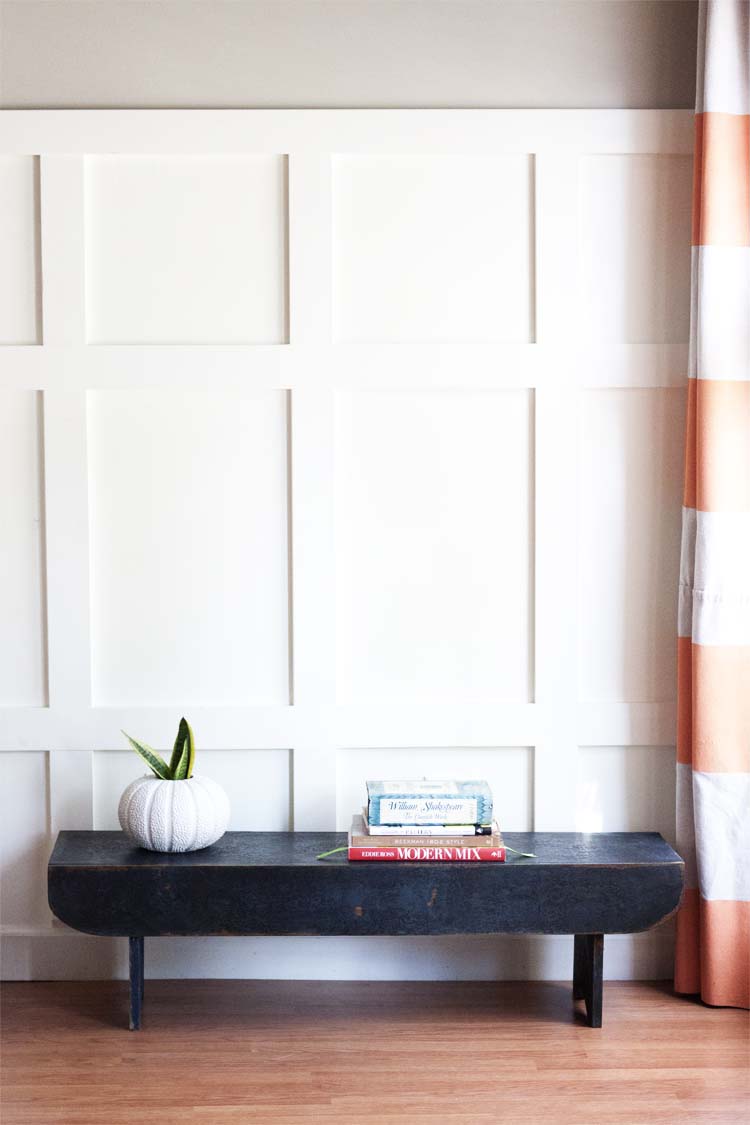
Because then, once I’d added a clear wax and gone back over that with a dark wax, it was no longer a bad pair of jeans leftover from the 90s.
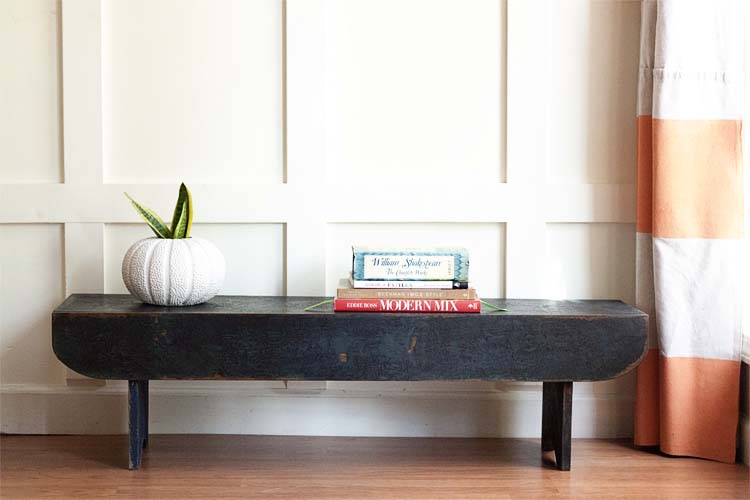
It looks like I went to a French flea market….
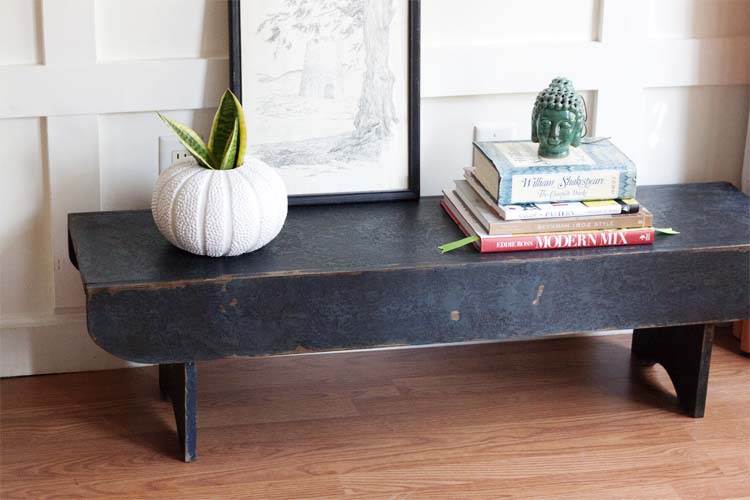
And had enough money left over to bring something back.
And for now, I can live with that!
Please take a moment to visit this month’s hosts: Carrie at 38th Street and Colleen at 58 Water Street and if you’re interested in participating contests please contact [email protected]


I really enjoyed this post, especially how you made the “boo boo” wih the paint treatment and how it ended up being just lovely. I will be building he bench and thinking about you the whole time and how generous you were to share the idea. Thanks again!
OH! How lovely. I’d love to see a photo once you’re done. Thanks so for much for sharing with me!
What a lovely little bench! Very sophisticated!!
Well done!
Maxine
Thanks so much Maxine! I truly appreciate it!
LOve LoVe LovE this bench! Beautiful construction…one of a kind! And that finish! C’est magnifique!
Merci beaucoup! 🙂
Jamie, thanks so much for sharing! Love the bench and you did such a great job explaining the Saltwash technique!!!
Jamie you really pulled off the look you were going after, really looks like it came from a parisian market! Wonderful finish, and great build … I really need to get my own nail gun!
That nail gun, possibly the best purchase ever! Thanks so much Brenda!
Wow! I love your different spin on Saltwash…it turned out great! I had to chuckle about the sponge-painted look…and the fact that there is always an ugly (and scary!) stage!
Yes! Always and ugly and scary stage! LOL Thank you!
Well, this is just the most awesome thing I’ve seen all day. It’s simple, sophisticated and covered with awesomesauce. The trifecta of farmhouse yummy. Thanks so much for sharing. Susie from The Chelsea Project
You’re so sweet Susie! I’m going to use this for my marketing and PR from now on! LOL Thank you!
Love how you used the saltwash and your paint selection was awesome for the bench. Will you be using saltwash in any future projects?
Hi Mike! Thank you! I don’t have any specific plans but I’m sure I will. 😉
Would you please share the brand and colors of paint that you used? I love how the color turned out! I never would have guessed that wax could change the sponge painted look the way it did! Thank you.
Hi Anne,
I’m so sorry! I just cannot remember. It was just a couple of colors of leftover paint I had on hand. I tried reading back through the post to see if it would jog my memory but no luck. All paint projects seem to have an ugly stage and wax really does finishing things off beautifully. Good luck on your project!