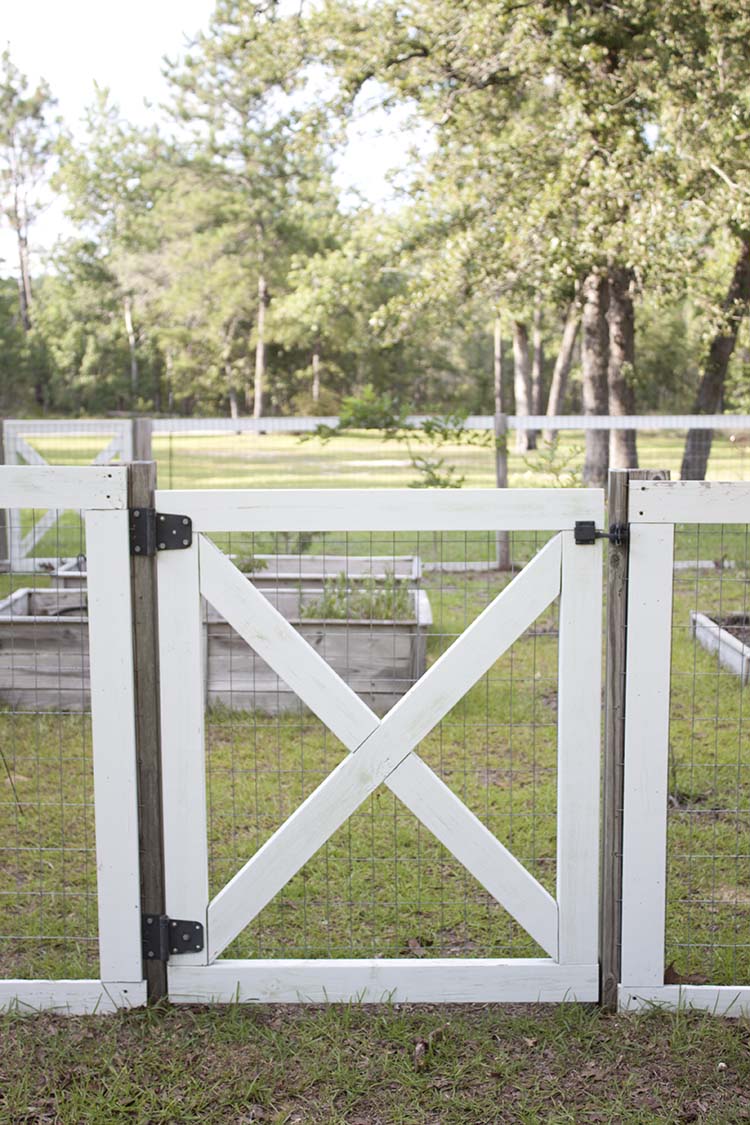
A few years ago we inherited a rabbit and since I didn’t want to put it in a cage, I just decided we would fence in our garden with a DIY garden fence so he could live there instead. Sort of like a more friendly Peter Rabbit/Mr. McGregor’s garden kind of situation.
We also had chickens and keeping them out of the beds was challenging. Keeping bunnies out of raised garden beds is tricky, too, but at least they can’t fly. It was a quick fix but it was quickly ugly. While my fenced-in garden was working well for the bunny and the garden, it meant that my chickens just circumvented garden and went straight up to the front yard to rummage my flower beds.
Now I had two problems: my newly fenced-in garden was ugly and I needed more fence. With 10 acres, 5 of which are wide open space, fencing can get really expensive. Here’s how I dressed up our existing fence, plus added more fence, all on a budget.
DIY Garden Fence Supplies
- 4x4x6 (treated) posts (amount will depend upon fence length)
- 80-pound bags of concrete (1 for each post)
- 1x4x8 (treated) planks
- 2-inch exterior wood screws
- Exterior paint or stain
- Brush, roller or sprayer
- Fencing roll
- Tin snips
- Measuring tape
- Staple gun or crown stapler
- Miter saw
- Drill
- Level
- Reciprocating saw
- Brad nailer
- 2-inch finishing (brad) nails
- Bucket or container for mixing concrete
DIY gate supplies
- 2x4s, treated
- Gate hardware, hinges and latch
- Kreg jig
- 2.5-inch pocket hole screws
- 3-inch exterior wood screws
- Angle finder tool (optional)
Step 1: Set the posts
For a four-foot high fence, use 4x4x6 boards. With a shovel or post hole digger, dig holes approximately six to eight feet apart and approximately two feet deep. The closer your posts are to one another, the less warping you will experience of your fence boards between posts. Take care that each hole is as precise as possible so that the posts are level. Set posts in holes and mix one bag of 80-pound concrete for each post. Pour concrete into each hole and use a level to make sure posts are level and straight.
Allow the concrete to cure according to package directions.
Note* Be sure to account for gate opening(s) when setting posts.
Step 2: Paint your posts
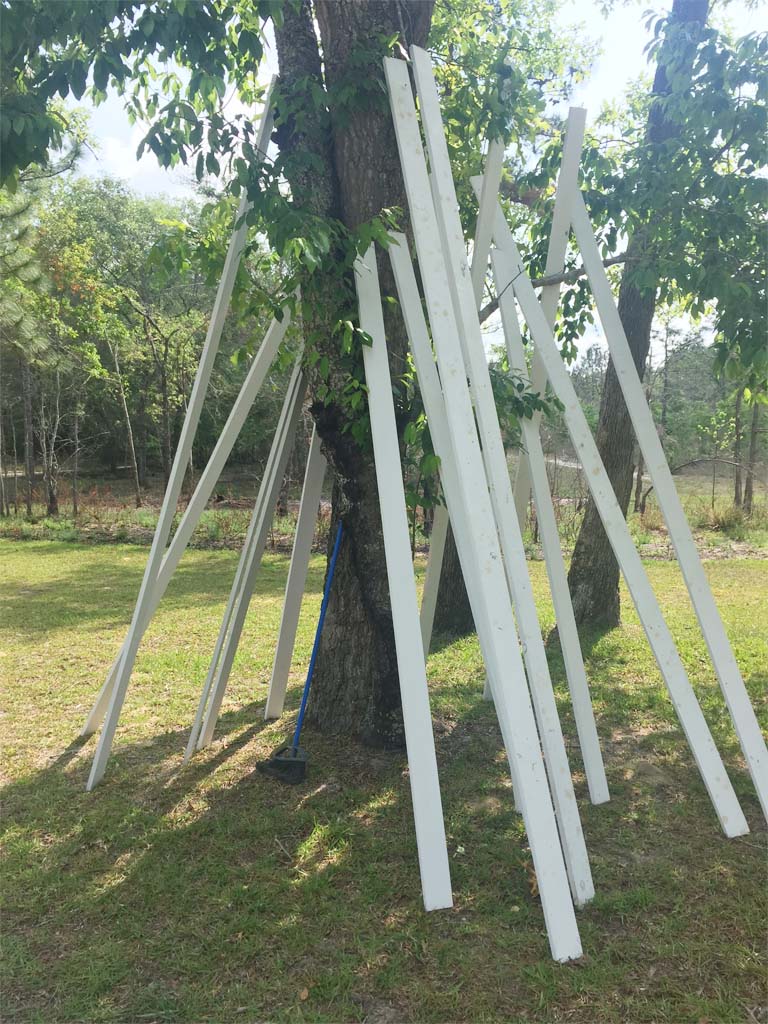
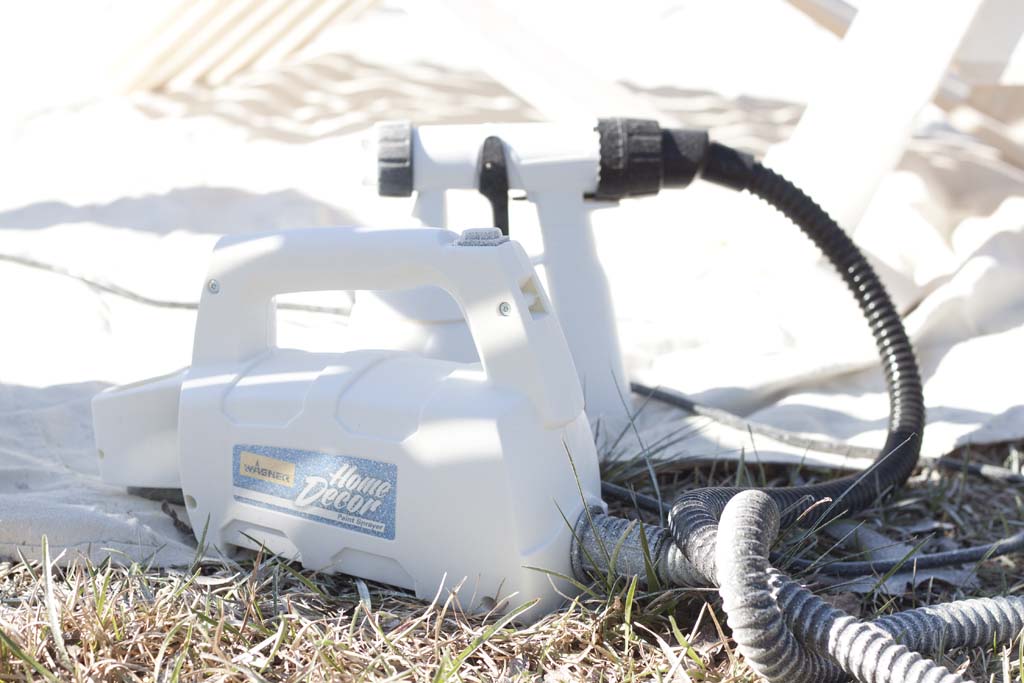
While the concrete cures, use a sprayer or roller to paint the 1×4 planks with quality exterior paint in the color of your choice and allow the boards to dry.
The number of 1x4s needed will depend upon how large the fence will be. 1x4s will be needed for the tops and bottoms of each fence section as well as a “cover” for each 4×4 post.
Step 3: Attach fencing
Adding fencing around your 4×4 posts to keep unwanted visitors out of your garden and will also help to keep pets in.
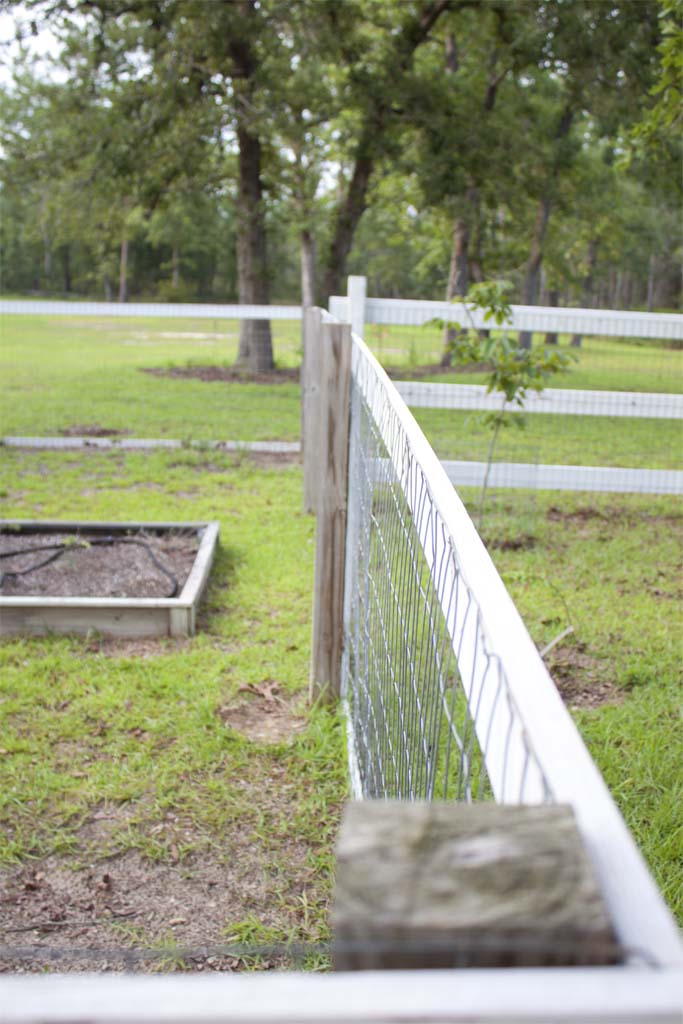
While the painted 1×4 boards are drying and after the posts are cured, attach fencing to 4×4 posts using a crown nailer or staple gun. Use tin snips to trim away excess fencing. 4x4s may also be painted if desired, but be sure to do so prior to adding fencing. Keep in mind maintenance painting on the 4x4s will difficult because of the fencing.
Meanwhile, 1x4s are easily removable for maintenance or can be replaced entirely, if necessary, without affecting the integrity of your fence.
Step 4: Attach the bottom
Use a miter saw to cut 1x4s for fence bottoms. Be sure to measure between each post prior to making cuts, since there are bound to be discrepancies. Paint the ends of each board prior to attaching. Attach bottom boards to the center of each 4×4 with a drill and 2-inch exterior screws.
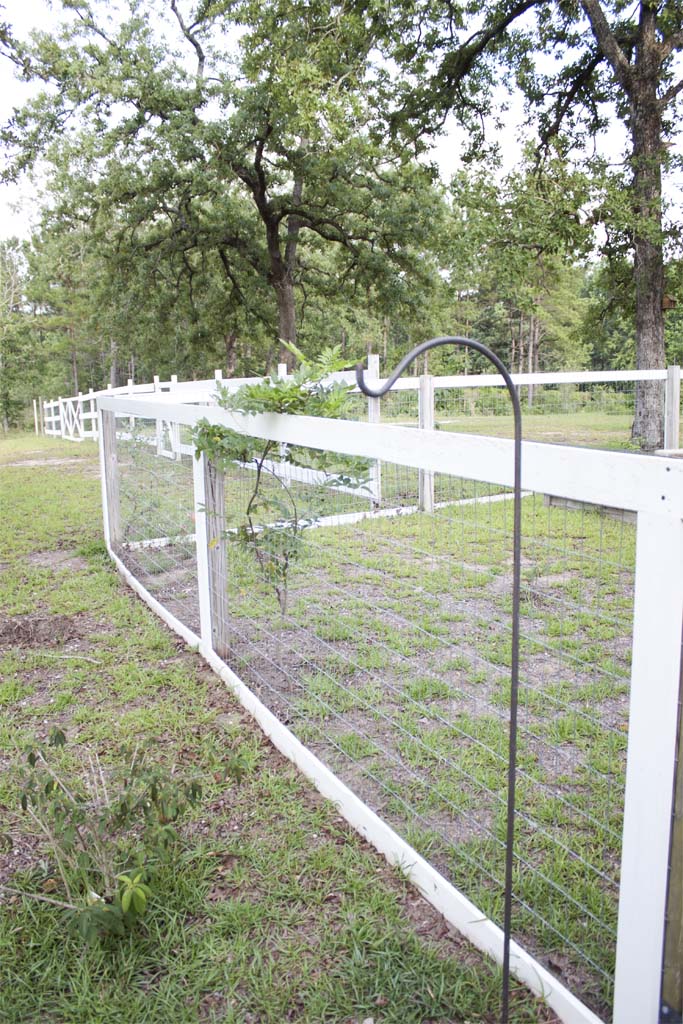
Next, follow the same process for adding the top boards, but this time make sure these boards are level. Attach with 2-inch exterior screws. If you find that any of your posts are uneven, simply trim off the tops using a reciprocating saw. This allows your fence to slope with the ground while giving the appearance of being level.
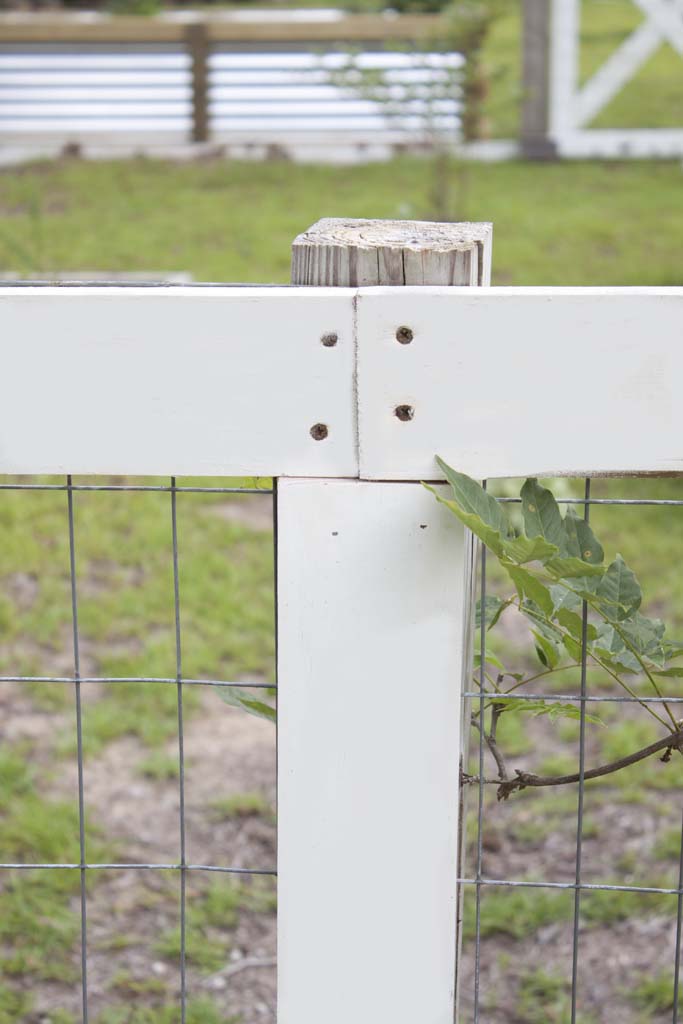
Finally, measure between the bottom and top boards for each of your 1×4 post covers and attach them using a brad nailer and 2-inch brad nails. You could also use 2-inch exterior screws instead.
Build a gate
When planning out your fence, determine the number of gates you’ll want and space your 4x4s for gate openings accordingly. For each gate opening, add a 2×4 to the inside of each 4×4 post using 3-inch exterior screws. These 2x4s will hold your gate.
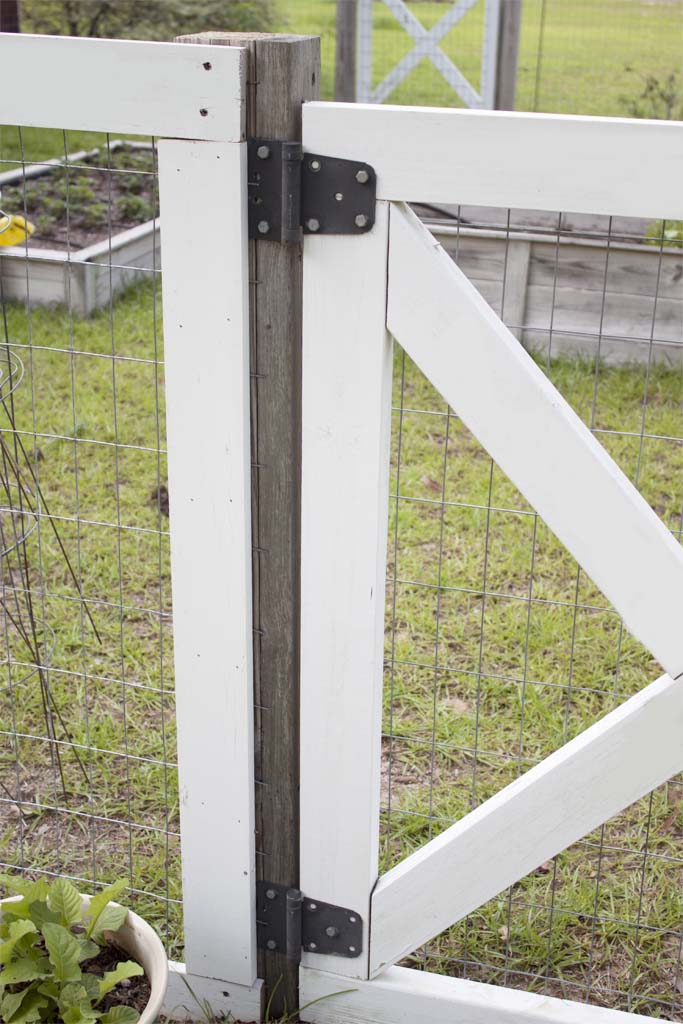
For gates measuring 36-inches wide by 46-inches high (pictured), you will need to space out your 4x4s 39.25-inches wide to accommodate the finished gate. Also, leave 3/4-inch spaces on either side for ease of opening and to accommodate the gate hardware.
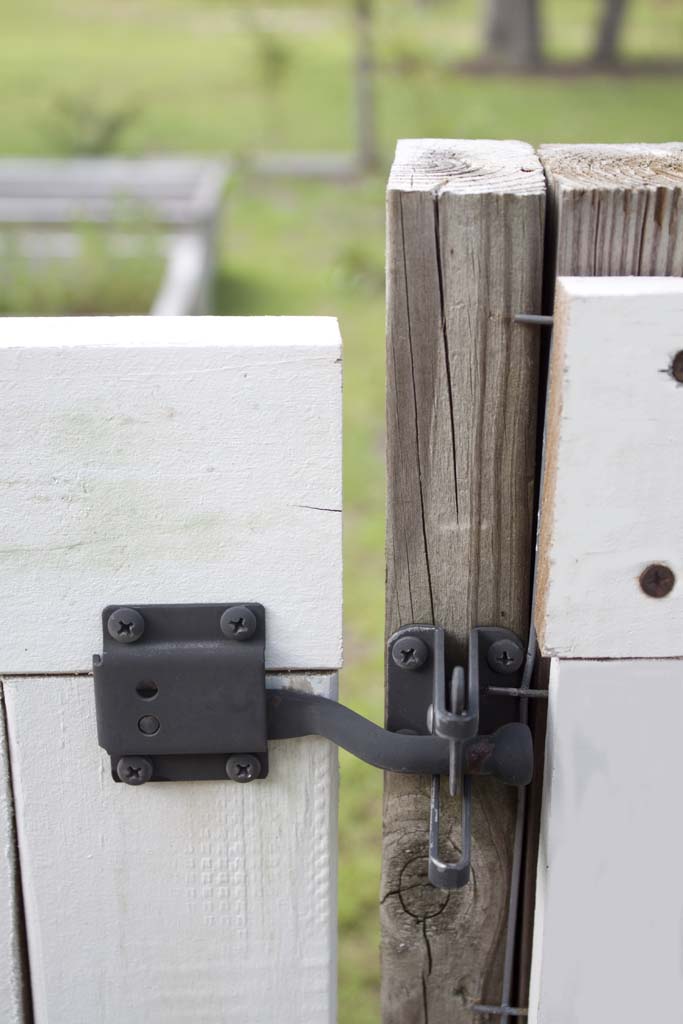
For each gate, cut two 36-inch sections for the top and bottom of the gate and two 42.25-inch sections for the sides. Using the Kreg jig, drill two pocket holes on the tops and bottoms of each side piece.
Lay pieces out on a flat surface and determine they are square. Assemble gate rectangle with 2.5-inch pocket hole screws.
Using an angle finding tool, find the angle for the initial diagonal cross piece. You may also do so without the use of an angle-finding tool by laying an additional 2×4 diagonally across the gate rectangle and marking the angles with a pencil. Cut the angles with a miter saw. Attach a long diagonal piece to the gate rectangle with 3-inch exterior screws driven in at an angle to the gate frame.
Determine the angles for the two additional cross pieces. These will attach to the middle diagonal piece. Add each diagonal piece and attach pieces with 3-inch exterior screws, driven in at an angle.
You will need approximately 24 feet of 2×4 for each gate plus eight additional feet, four on each side, for each gate opening.
Paint the gates and add fencing to the back.
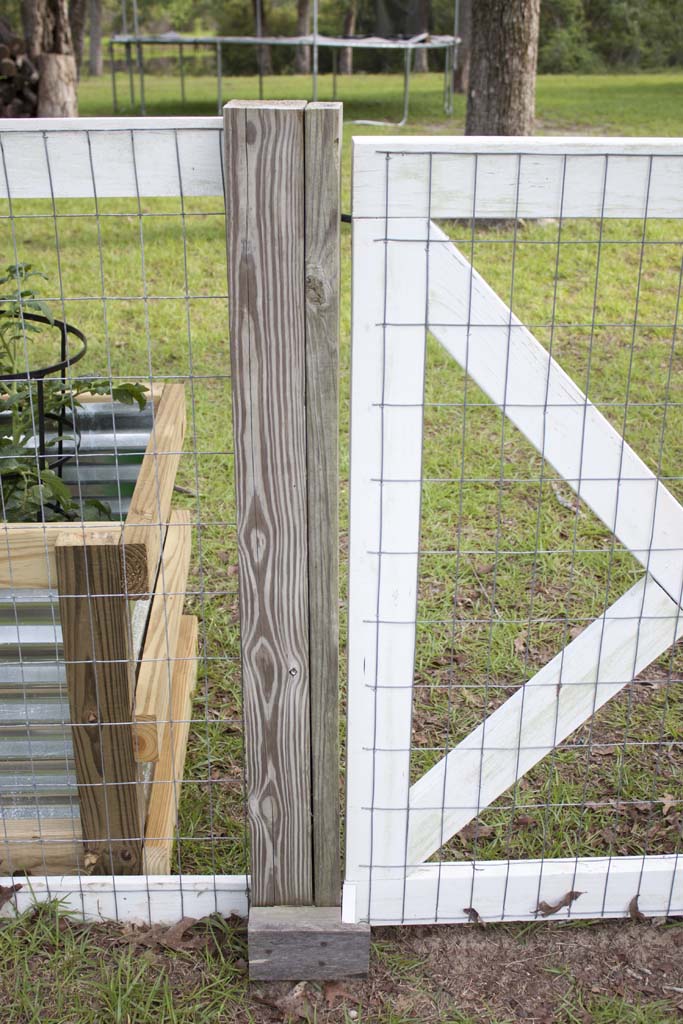
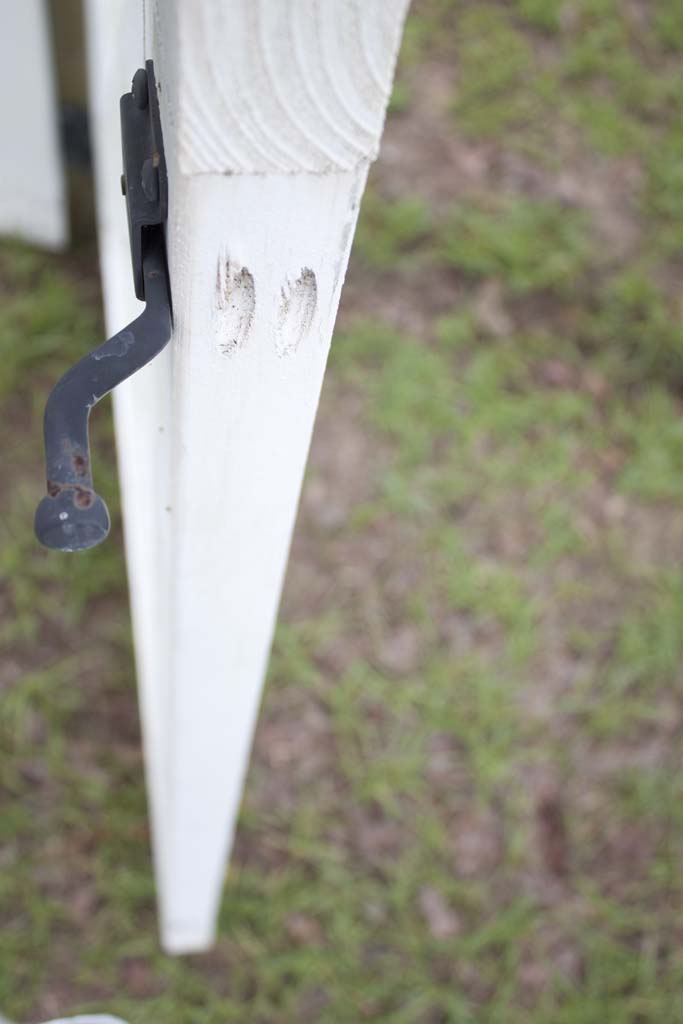
Attach the gate hardware, hinges and latch to the gate and to the 2×4 in the gate opening. Hang the gate and add a 2×4 scrap to the inside bottom of the gate opening to prevent overswing, which could damage the hinges.
And that’s it! Now my garden fence isn’t an eyesore and my chickens don’t murder my flower beds and poop all over the sidewalks. Even better, it was budget-friendly! It’s the perfect project for this month’s DIY Challenge – Make It Pretty Outdoors, tackling an eyesore in your yard and making it pretty. Check out this list below for more great outdoor projects inspiration.




What a fun and creative idea! There are so many details for even the smallest project, aren’t there? Your garden fence is going to be the envy of all your neighbors!
Thanks so much, Meegan! Your comments always brighten my day!
I really like how simple this fence is, what a great and inexpensive way to build a fence. Thanks for sharing!
Thank you, Megan! That’s my favorite part, too.
oh gosh our gate is broken right now and this is a great solution and even better timing! awesome job 🙂
Hi Carmen! Thank you! I’m glad it comes in handy!