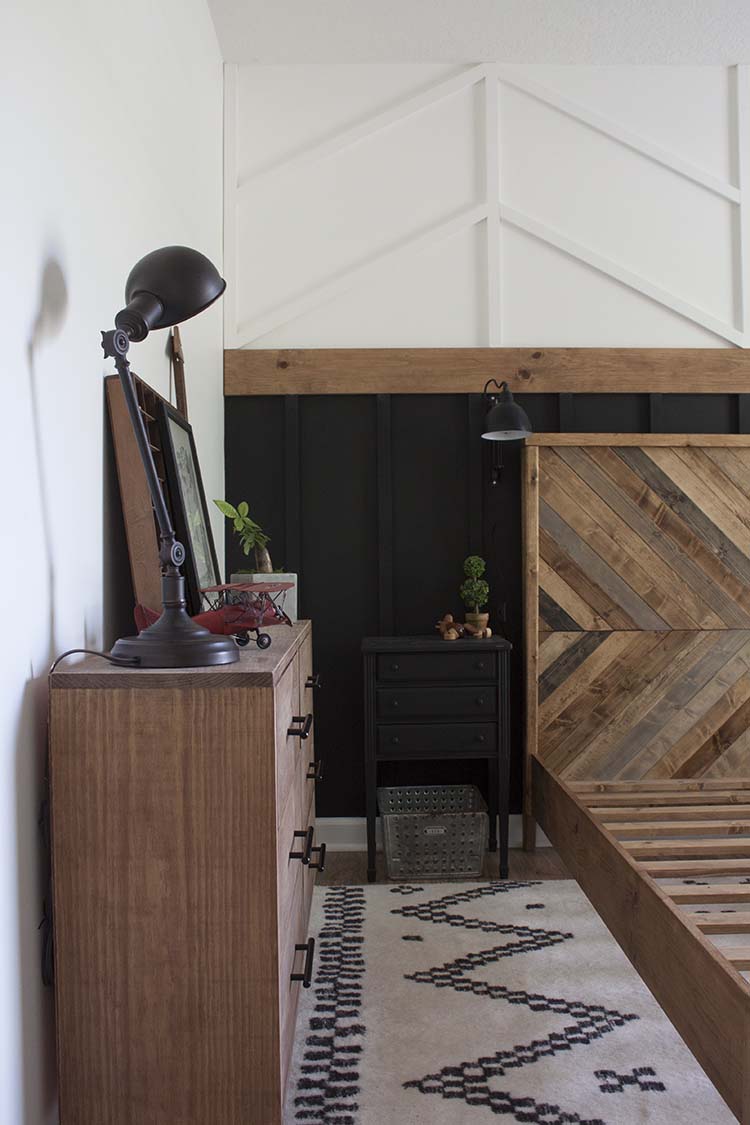
Only one more week left before the One Room Challenge ends and the reveal of Pax’s new big boy room begins! My final big project for this room makeover is this DIY modern farmhouse dresser. It’s a quick and easy build with simple, clean lines and a lean profile that works perfectly for small spaces. If you missed the other projects so far, check out our DIY reclaimed wood bed with its herringbone headboard and our board and batten, herringbone combo wall treatment.
In keeping with this entire process, I let my 8-year-old pick out what he liked for his room and, as it turns out, he’s a lot like his mom – caviar taste on that cliched beer budget. He picked out a dresser from Urban Outfitters that rang in just under $800.
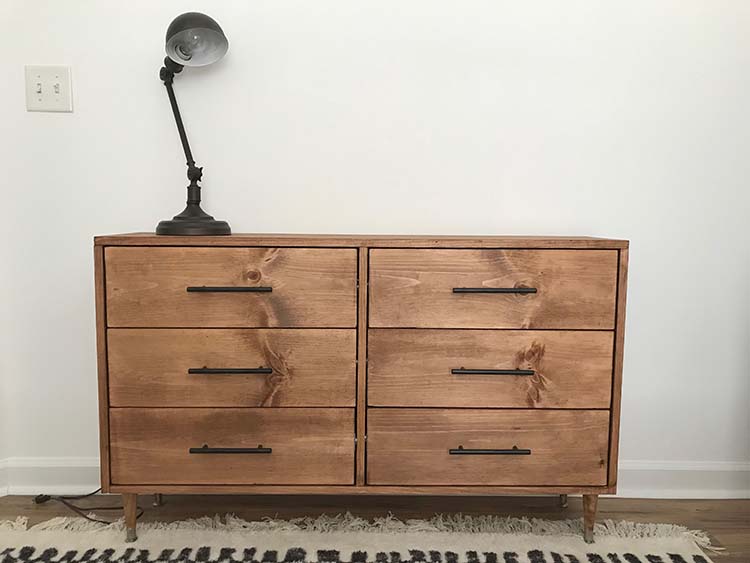
Knowing what he wanted though helped us to create something perfect for the space. And save money by doing it ourselves.
We had to have something with a slim profile. His room is so small, and we’ve added a larger bed, so we couldn’t afford to take away any more floor space than absolutely necessary. But, we still needed the benefits of a dresser. It’s much easier to get what you want or need by just creating it yourself as opposed to trying to track down something really specific. Here’s how we created it…
DIY Modern Farmhouse Dresser
Materials
- (2) 1x12x8 $20.09 each = $40.18
- (1) 1x8x12 $15.48 each = $15.48
- (2) 1x6x12 $ 8.78 each = $17.56
- (1) 4×8 sheet of 5mm Poplar Plywood (luan) $15.98 each = $15.98
- (12) drawer slides $ 4.29 each = $25.74
- (6) pulls $ 5.59 each = $33.54
- (4) legs $ 2.89 each = $11.56
Stuff you might have on hand…
- Stain $ 4.98 each = $ 4.98
- Glue $ 2.98 each = $ 2.98
- 1 ½” brad nails $ 5.98 each = $ 5.98
- ¾” leg x ¼ narrow crown staples $ 6.18 each = $ 6.18
Total ($160.04) $180.16
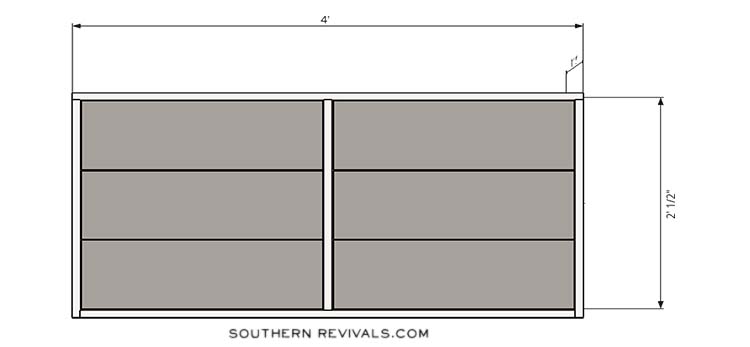
Cut from (2) 1x12x8
- 1 Top 4’
- 1 Bottom 3’ 10 ½”
- 2 Sides 1’ 11 ¾”
- 1 Partition 1’ 11”
Cut from (1) 1x8x12
- 6 Drawer Faces 1’ 10 ⅝”
Cut from (2) 1x6x12
- 12 Drawer Sides 10 ¼”
- 6 Drawer Backs 1’ 8 ⅜”
Cut from (1) 4’x8’ 5mm Poplar Plywood (luan)
- 6 Drawer Bottoms 10 ¼” x 1’ 9 ⅞”
- 1 Dresser Back 2’ ⅜” x 4’
Full downloadable plans coming soon…
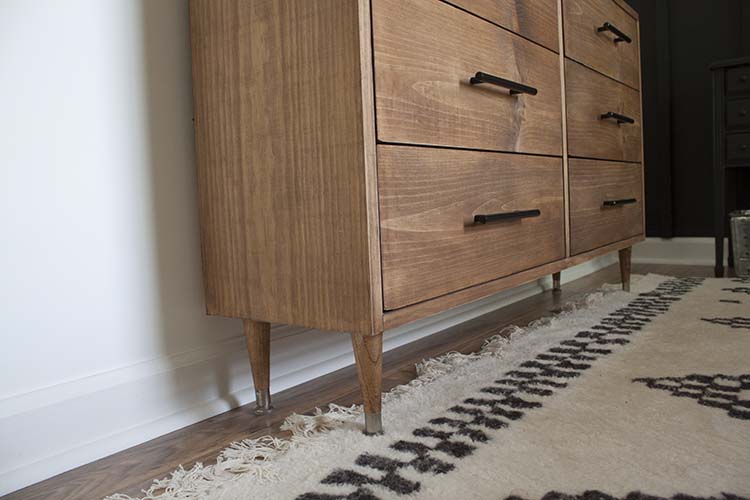
After building the dresser frame and drawers ourselves, we opted to buy readymade legs. We simply pre-drilled where we wanted the legs to go and then attached them with the built-in screw, adding some glue for extra security.
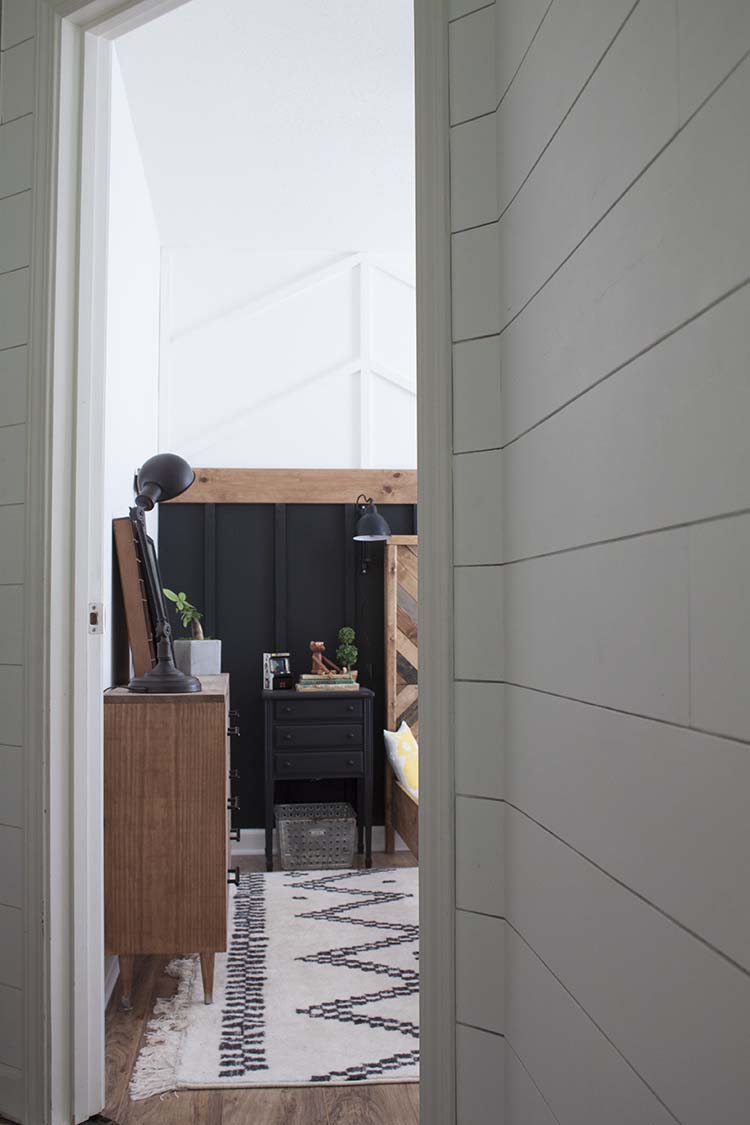
Now we have a slim, but functional, dresser with handsome, modern lines that doesn’t take up the precious walking space beside his new bed.
With all the projects complete you’d think it would be smooth sailing from here but I always find the finishing touches to be the most daunting. You want it to be just right, just right but not too much, and that’s a lot of pressure! How would you finish off this space?
MAKEOVER TIMELINE
- Week 1 – The Plan (April 4th)
- Week 2 – The Wall Treatment (April 11th)
- Week 3 – The DIY Bed (April 18th)
- Week 4/5 – The DIY Dresser (May 2nd)
- Week 6 – The Reveal (May 9th)
Join me each Thursday from now until May 9th for each new installment to this makeover challenge! Next week, the wall treatment.




hi! do you have the plans for this dresser available?
Coming soon! Thank you!
Hi! I would love to know what kind of stain (color and brand) you used for the dresser?! It is EXACTLY what I am looking for for our nursery dresser and crib! Also, did you seal it with anything or have any tips on making the crib ‘baby-proof’?
Hi, just wanted to see if you had the plans for this yet? Love the dresser.
Hi Tanner,
We are using this downtime to finish up several sets of plans. If you are subscribed to my mailing list, you’ll be the first to know once they’re available. Thank you!
Do you have the plans available for this piece?
Hi Kyle,
Short of the diagrams and measurements in the post, no we don’t. I’m sorry!