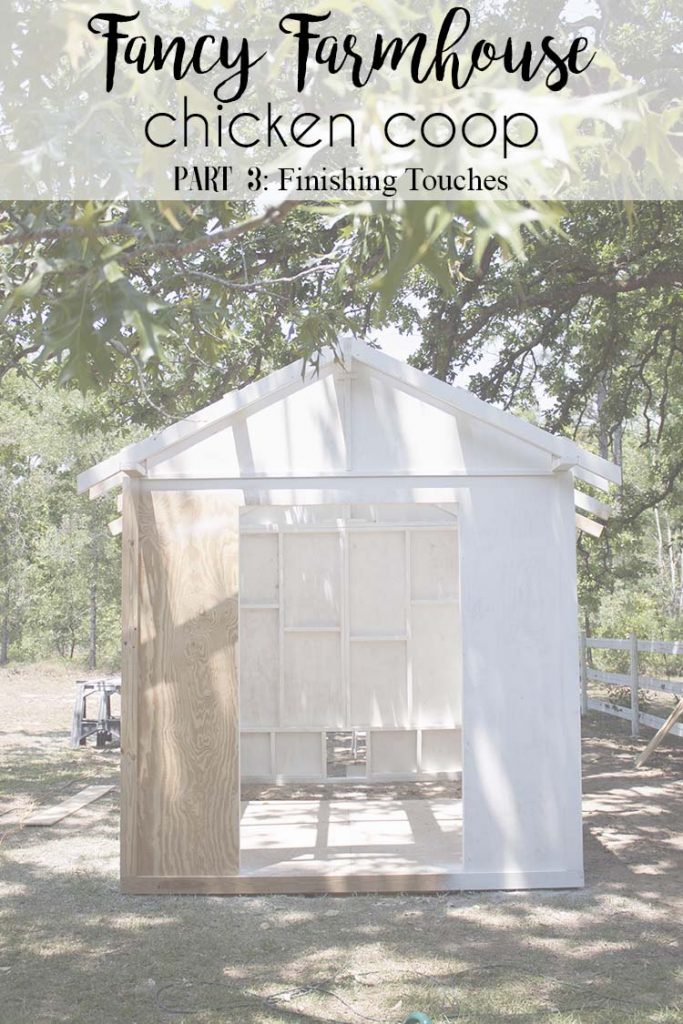
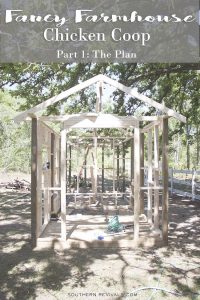
I didn’t want to give away too much before the big reveal of the fancy farmhouse DIY chicken coop, but I did want to share a progress update with you because all this is so very exciting and I can’t help myself! We’ve had three weekends to work on the coop and while it’s hard for me to believe, the reveal is right around the corner. This update, however, is all about the finishing touches – from paint, fencing, decor and more. In case you missed them, here’s The Plan – Part 1 and Framing Out – Part 2.
This post contains affiliate links. Please see my disclosure policy for more information.
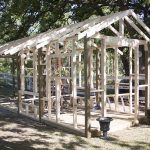
We’ve been lucky that it hasn’t rained for the vast majority of the time we’ve been working on the coop. Our grass is not lucky but that’s another story. Most of the building was done by the end of the second weekend, we’ve still got doors and a coop/storage dividing wall to finish but we needed to get the painting done before the rain came. Because I knew it would. It started today and it isn’t supposed to stop until sometime next week.
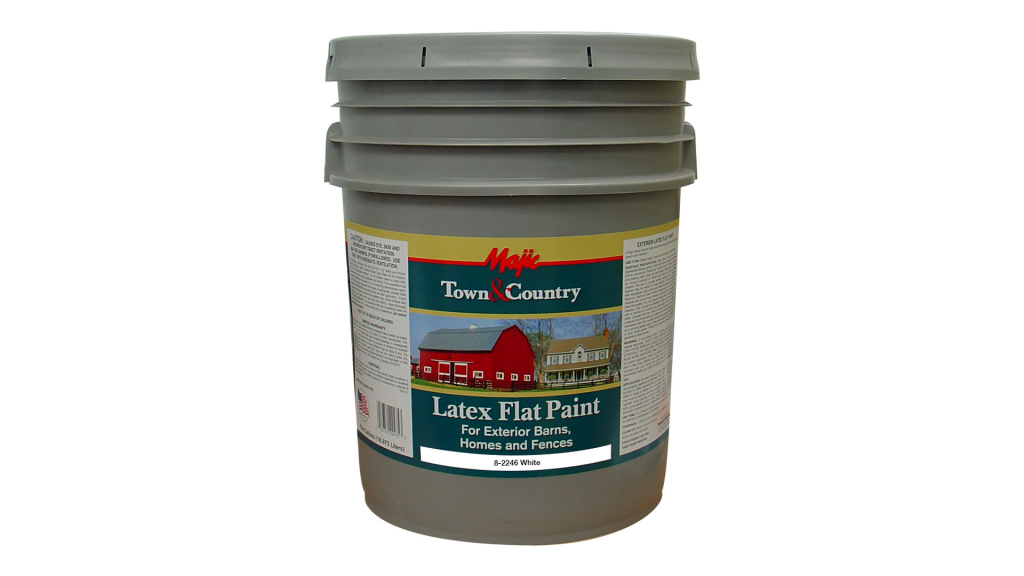
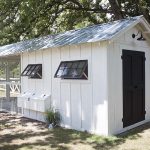
I am so thankful that I got that painting done this past week. Approximately 8 gallons later and the only things I have left to paint are some decorative trim and the doors I mentioned above. I found this 5-gallon bucket of exterior paint in flat white from Tractor Supply. It at least half the cost of the least expensive paint that I could find anywhere else. Which is a good thing because I ended up needing two buckets for this chicken palace!
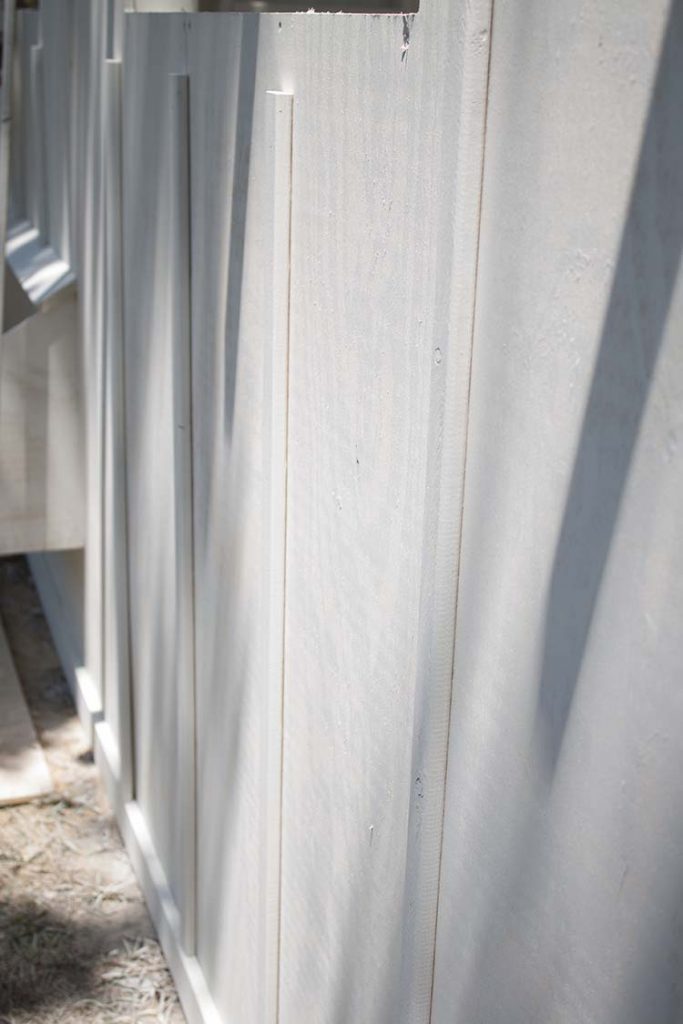
We sprayed this coop, the trim, and the run for TWO DAYS STRAIGHT! My hand was stuck in the trigger position for approximately 24-hours afterward and, as much as I love to paint, I’m in no real big hurry to paint anything else anytime soon. But, I have to say, it really is stunning.
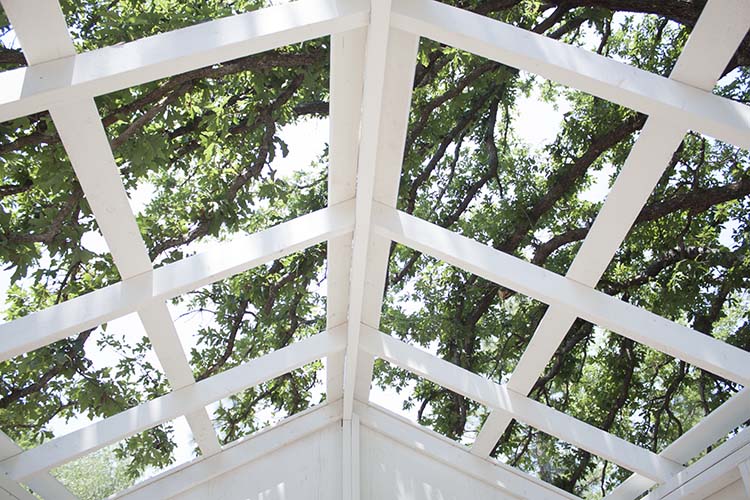
See what I mean? I almost hate to put a roof on it but that’s what’s next. That, along with installing the hardware cloth around the run, and in other strategic places, to keep the predators out.
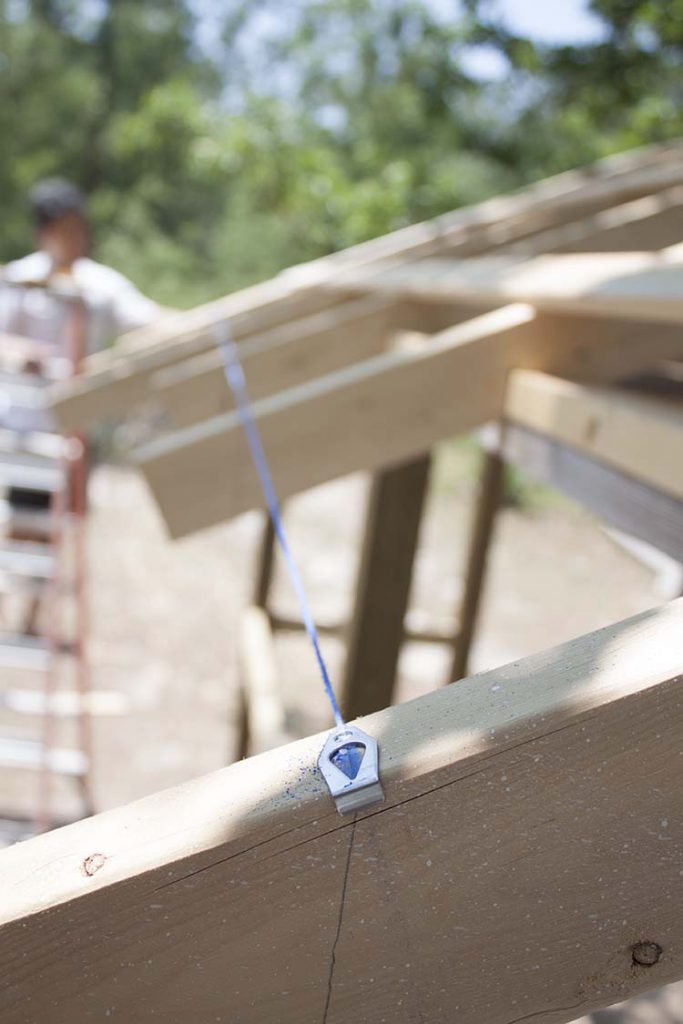
Speaking of rafters, in order to keep the cuts even on the outside, we popped a quick chalk line to mark the cuts. It’s super quick and this way they all line up nicely under the tin roof.

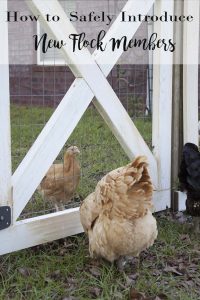
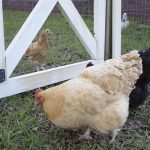
We’re using 48″ x 100′ – 1/2″ hardware cloth. It’s the perfect length and width to fit our coop run and the small squares help to keep predators out. Like I mentioned in the Part 2 Update, we also put fencing down around the outside of the coop and run to keep anything from digging underneath. You might also decide to bury fencing, or hardware cloth, vertically as added protection against digging predators.
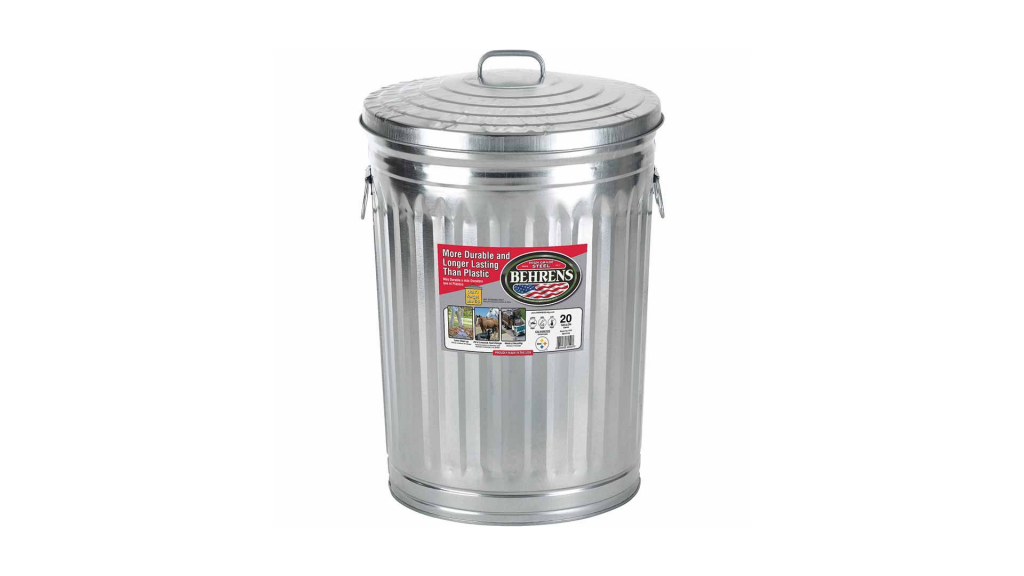
The reason I’ve divided the coop into coop and storage sections is so that I can keep things like feed and cleaning supplies right in the coop. That frees up room in my garage, where it’s currently being stored, and allows me easy access to almost everything I need to care for the coop and the chickens. I use these galvanized trash cans to store feed because their tight lids keep predators and insects out. I use a large one for feed and a smaller one to store oyster shell supplement.
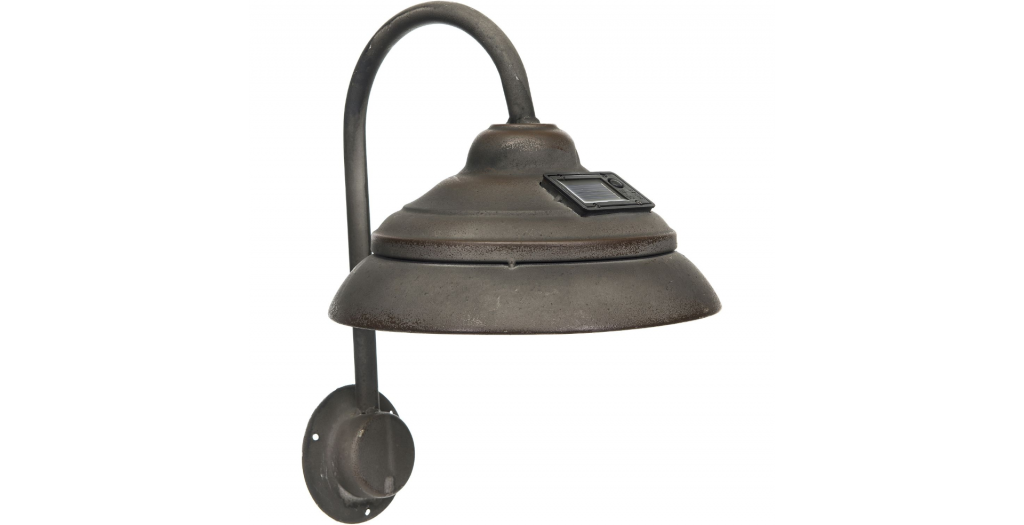
After functional choices come my favorites – decorative choices! I’ve decided to opt for black accents for the coop and I’d love to add something like this gooseneck solar LED light fixture to the outside of the coop. It adds a bit of extra light when needed but it’s also a beautiful accent.

And since one side of the coop has windows, and the other does not, I’ve decided to add a barn star on that side instead. It’s the side that anyone who pulls up to our house will see so I thought it needed a little “something”.

Finally, I know I’ll be adding some plants around the coop. In the past, I’ve done hanging baskets and I think I’ll definitely add some of those around the coop run this time around, too. But I’m also going to add a couple of planters, like these sqaure cedar planters, just outside the door. And I think I’ll paint or stain them black. The only questions is, do I put them outside the run door or the outside the storage door? Maybe both!
Finally, I’d love to build a wood mat for just outside the coop storage door. We’ll have to see how much I can squeeze into this next week!
Things Left to Do…
- Build 3 doors
- Build diving wall
- Paint doors, windows & decorative trim
- Install hardware cloth
- Install doors
- Install windows
- Install roofing panels
- Install flooring in storage area
- Install feeding and watering stations
- Install roosts
- Install chickens 🙂
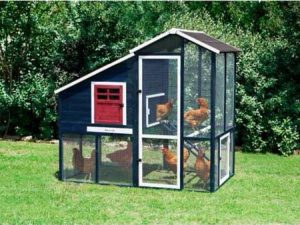
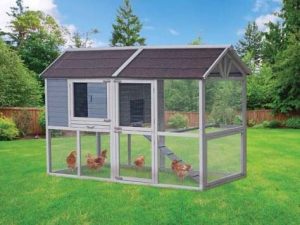
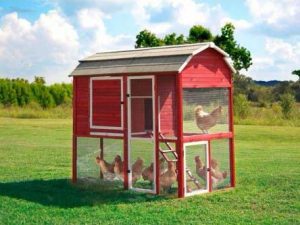
If you’re not down to DIY your coop, these are my fav pre-fab coops.
This is a sponsored post written in collaboration with Tractor Supply. Thank you for supporting the brands that make Southern Revivals possible.
Please join me for a series of posts all about our new coop build as well as basic chicken care all leading up to the reveal of the DIY fancy farmhouse chicken coop! Here’s what you’ve missed so far:


How much did the whole project end up being? Do you have floor plans for your coop? I love it and want to start saving!!
Hi Lauren,
We are working on floor plans (including a modification for just a She Shed version!) and I will get that posted ASAP. We hope to have it done and posted by the end of the month.
Do you know when these plans will be ready? I have been patiently (not so) waiting for them! 😉
Hi Brittany,
The plans are already available! You can find them here: https://www.southernrevivals.com/fancy-farmhouse-diy-chicken-coop/
Scroll down to the bottom of the post and you’ll find a link to purchase. Thank you!
Hello! Are the plans available yet?
We are finalizing them this week and I will post an announcement everywhere once they’re available. Thanks so much!
Hey there — this is absolutely amazing inside and out. Did you happen to have an estimate on total cost? Convincing the husband to make this our 4th of July project! I couldn’t love this more. Amazing work!
Hi Arianna,
The total cost of our coop was around $2700. Total cost analysis and breakdown is also included with the plans. Thanks!
Hi,
I am new raising chicken and purchased a prefabricated coop for 4 chicken. When I put it together, I noticed there are areas that have 1/8 – 1/4 “ gap. Do you have any suggestions how to fix them or what to use to chalk them? Thanks for your advice.
Best Regards,
Liping
Hi Liping,
It really depends on where these gaps are. Since it’s outside you’d want to use something rated for outdoors and moisture. Keep in mind though, chickens are curious and will peck at most anything. If you use caulk or silicone you’ll want to make sure they don’t peck at it and eat it. Finally, and, again, depending on where the gaps are, you’ll want to make sure it’s something any potential predators can’t make quick work of and get into your coop. If it’s feasible you might consider covering these gaps with wood or additional wire. Hope this is helpful and welcome to chicken keeping!
Would you mind letting me know where you got the windows from?
Sure! They’re just old wood windows I collected on random junking expeditions.
Hi!
We are building our coop and I was looking at using the same paint as you from Tractor Supply. I read mixed reviews. Some love it. Others say it chipped and flaked off within a year. Just wondering how your paint has held up so far. Thanks.
Hi Kelly,
Ours is two years old now and holding up. I will probably touch it up this fall though but mostly for aesthetics. If you’re uncomfortable using this brand though, any brand rated for outdoor use will do. Just keep your climate in mind because that will help determine how often maintenance will be necessary. It is either wet and humid or hot and dry here so our climate is pretty harsh. I hope this helps!
I like your outside light black light. Is it solar? Where did you get it? Thanks for sharing.
It is not solar, I wish it were! And I honestly don’t remember where I got it but I want to say Amazon. Thank you!
What color black paint did you use?
Hi Melissa,
No special color, just black. We got a can of outdoor paint in black. I know that’s not very specific but it’s basically a true black. Any paint store can mix a true black for you or you should be safe in picking up a pre-mixed one as we did.