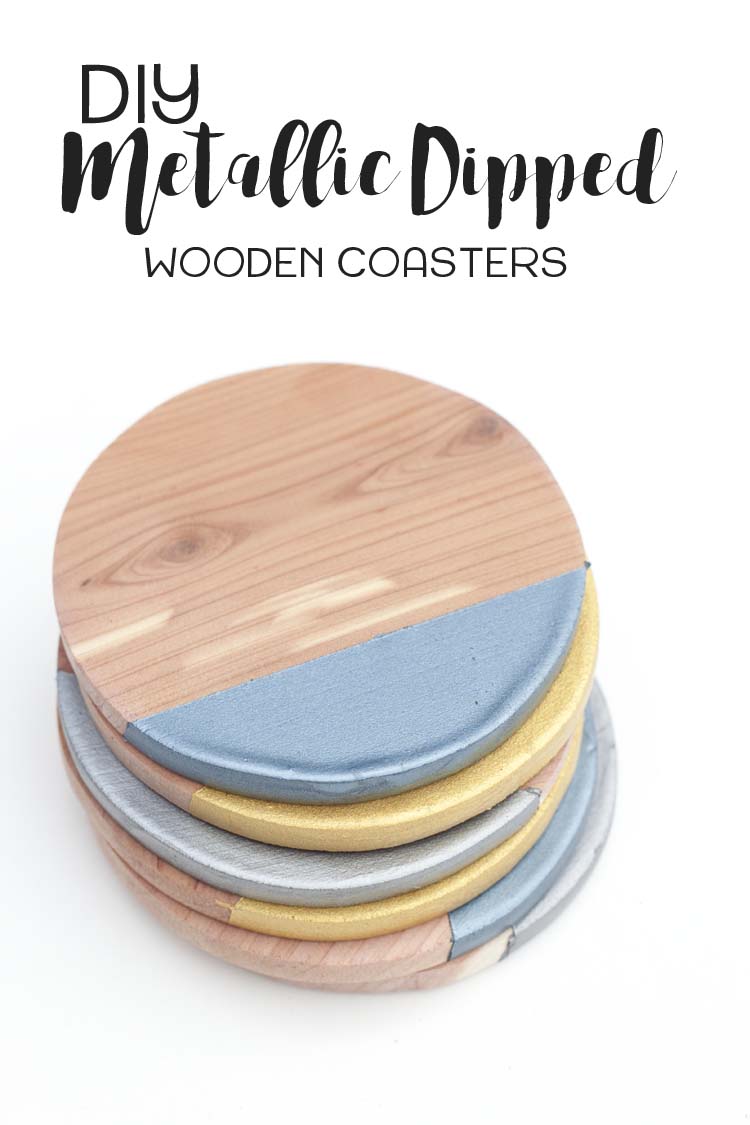
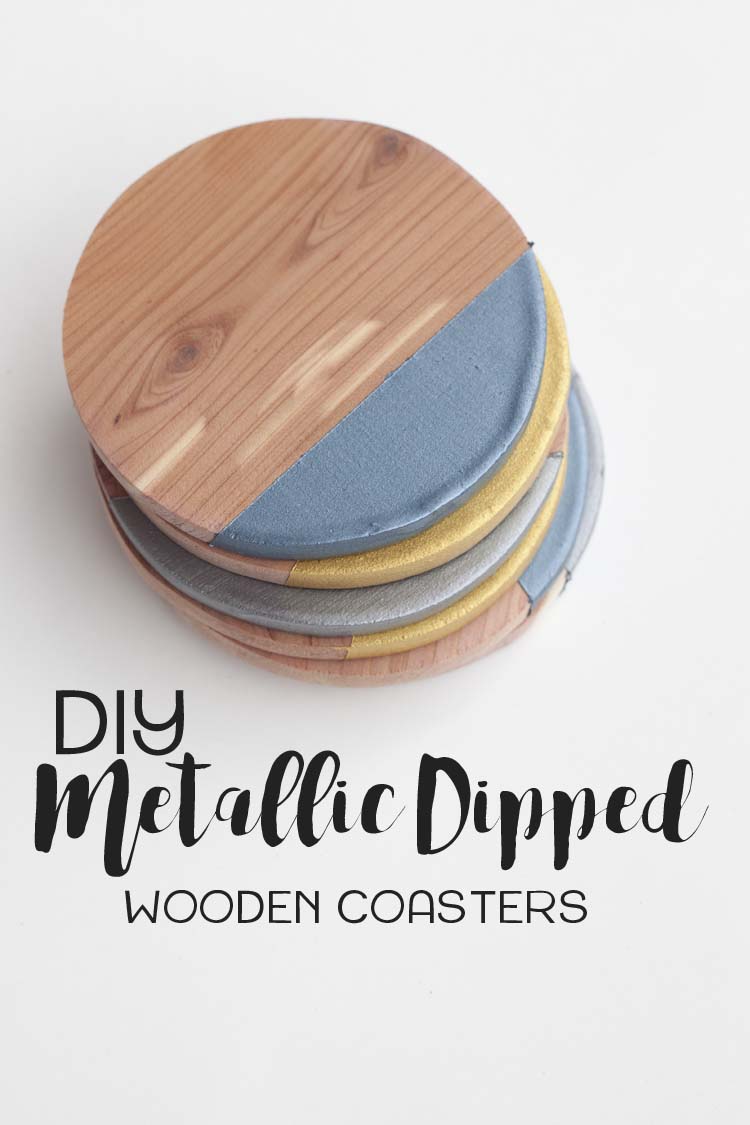
Make your own DIY Metallic Dipped Wooden Coasters with this step by step tutorial. They’re perfect for Father’s Day gift-giving and all of your summer celebrations.
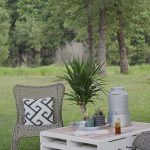
Our outdoor living room project started last year with the Outdoor Pallet Coffee Table Makeover. We’d been fine-tuning it this past year with things like the Wooden Planter turned Beverage Cooler until we got to the bigger parts of the project, our DIY Pergola, and Floating Decks.
Finally, we get to enjoy coming together in our little outdoor oasis. In order to celebrate these small victories (plus Father’s Day is right around the corner!), we decided to use a few more of those cedar plank leftovers originally from our Man Closet Makeover to make metallic dipped wooden coasters.
These will come in handy at our annual Dad’s Day BBQ and they make the perfect gift, too. Here’s how to make your own.
Items needed:
- Thin wood or prefab wood coasters
- Jig saw (if cutting your own)
- Template
- Pencil
- Sander or sandpaper
- Painter’s tape
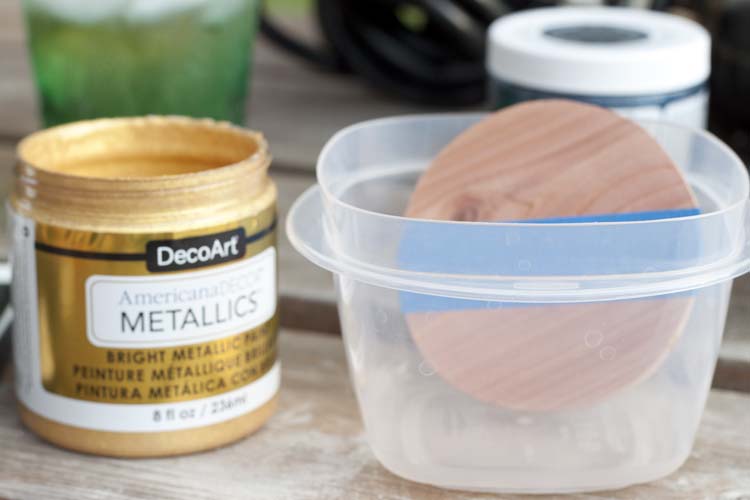
- Americana Decor® Metallics paint (We used 25 k gold, Pewter and Tin)
- Small deep bowl (for dipping)
- Adhesive-backed Cork Roll
- Scissors
- Drying rack
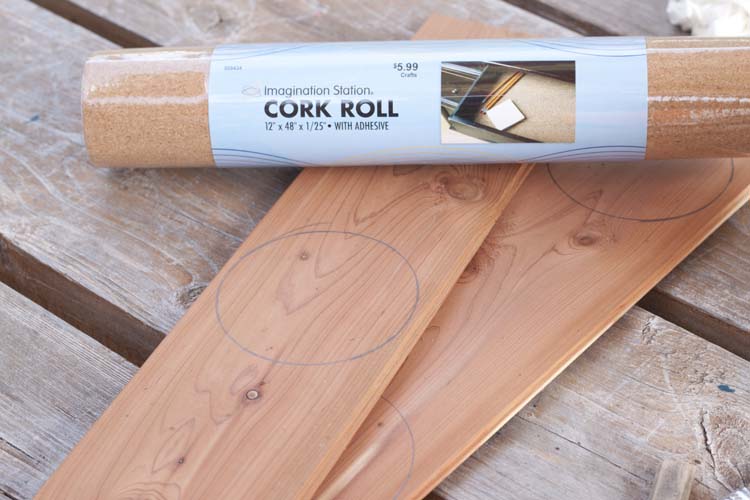
We used leftover cedar planks for our project but any thin planks of wood will do. I drew out our coasters by tracing out the bottom of a small planter onto the wood planks.
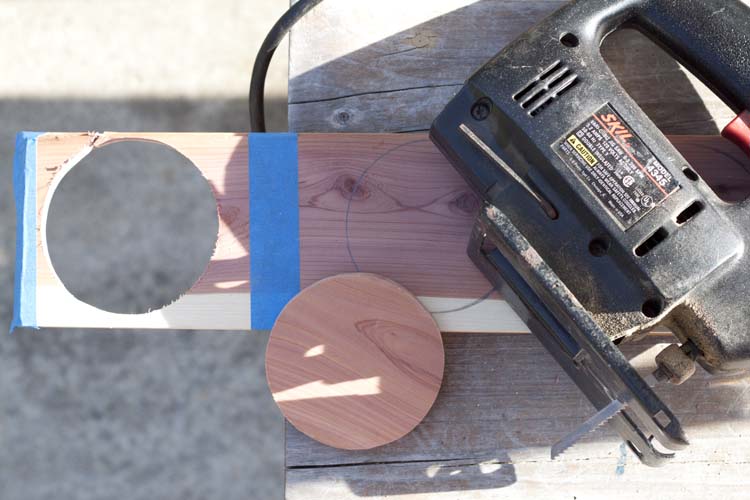
To keep the wood from splintering I sandwiched two planks onto top of one another, secured them with tape and cut them out from the top. Then, using a sander, sanded the edges smooth. The coasters from the bottom plank will be the smoothest and the least likely to splinter around the edges. The top disks can either be smoothed with sandpaper, discarded or used for another purpose if they splinter too much.
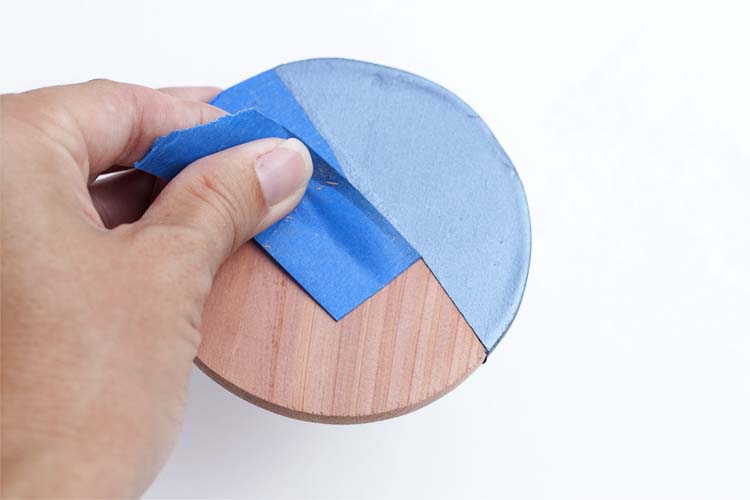
Tape a small section of the coaster off with painter’s tap.
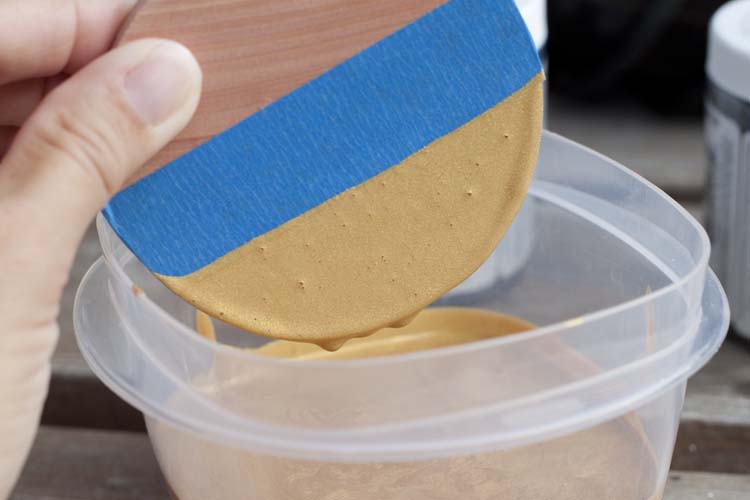
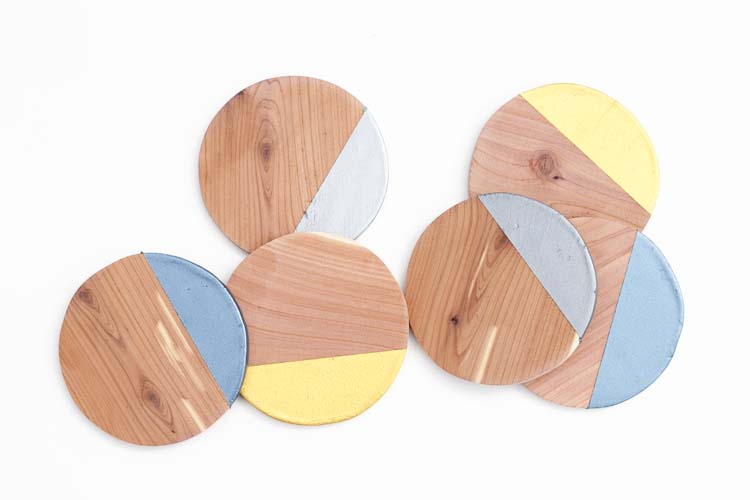
Pour paint into a small plastic container and dip each disk in until the exposed area is covered with paint. Then tap gently and thump to remove excess paint and any bubbles.
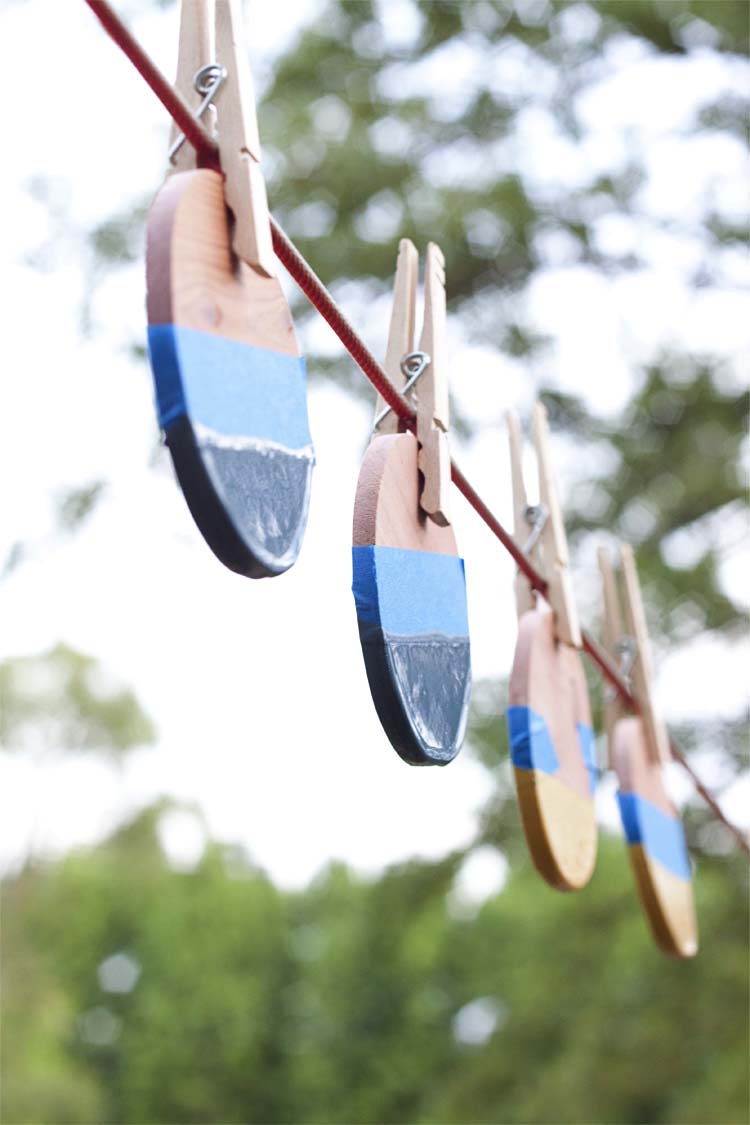
Hang or place on a rack to dry. Catch any drips with a very gentle swipe of a paintbrush from the bottom.
Once dry to the touch (approx 12 hours) remove the tape.
Allow approximately 24 hours to thoroughly dry before handling further.
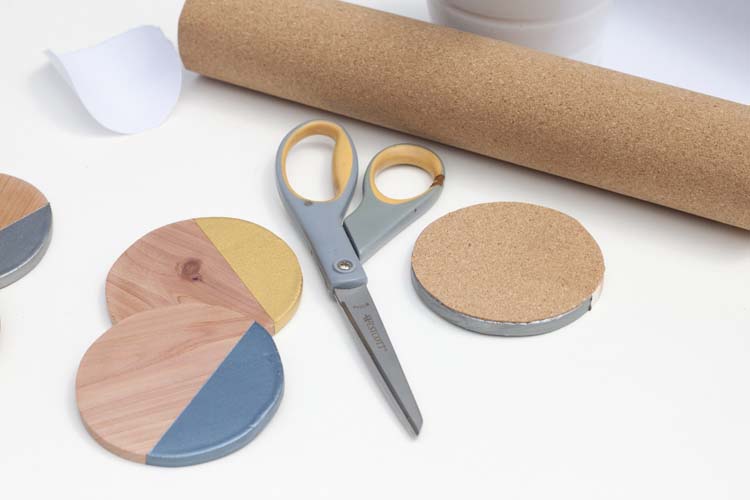
Using the same template, cut disks from cork and adhere to the back of your coasters.
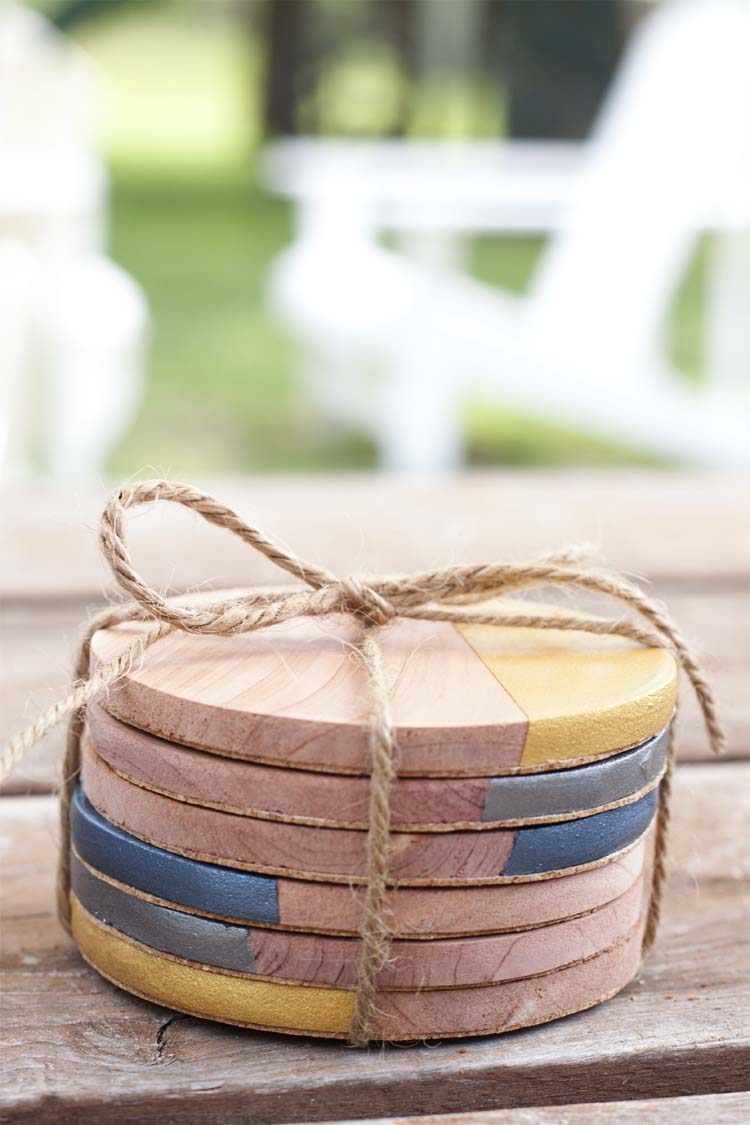
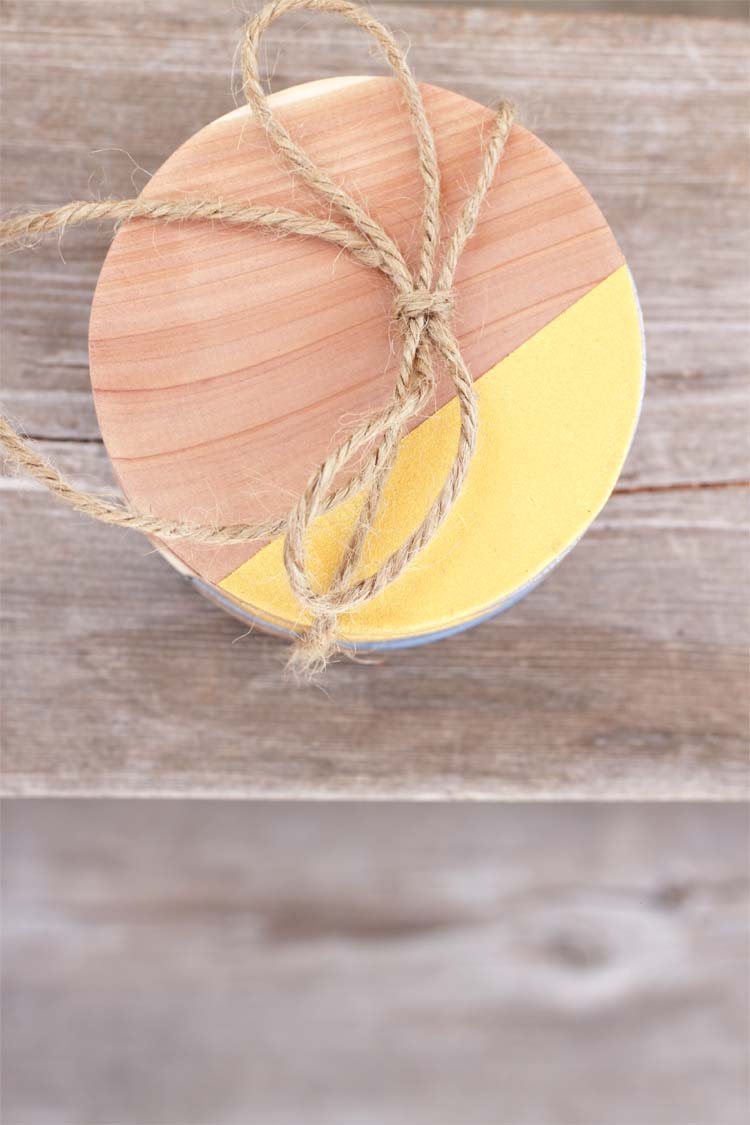
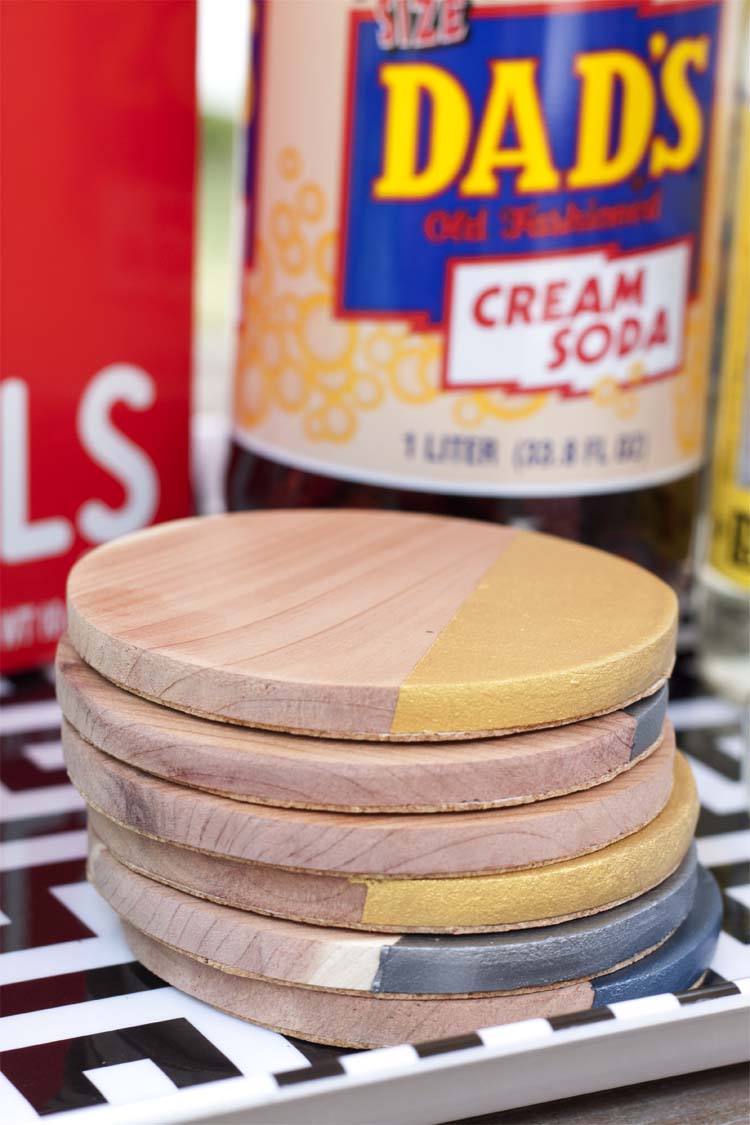
Tie them up with some string for gift giving.
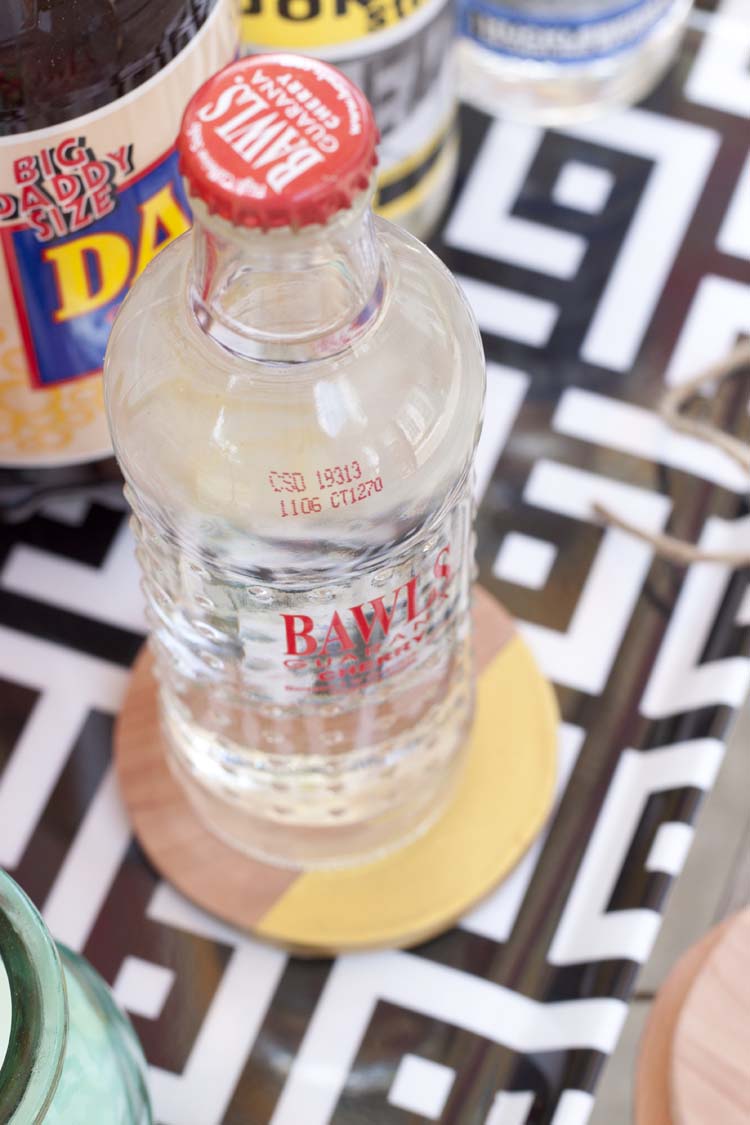
Or enjoy them right away!
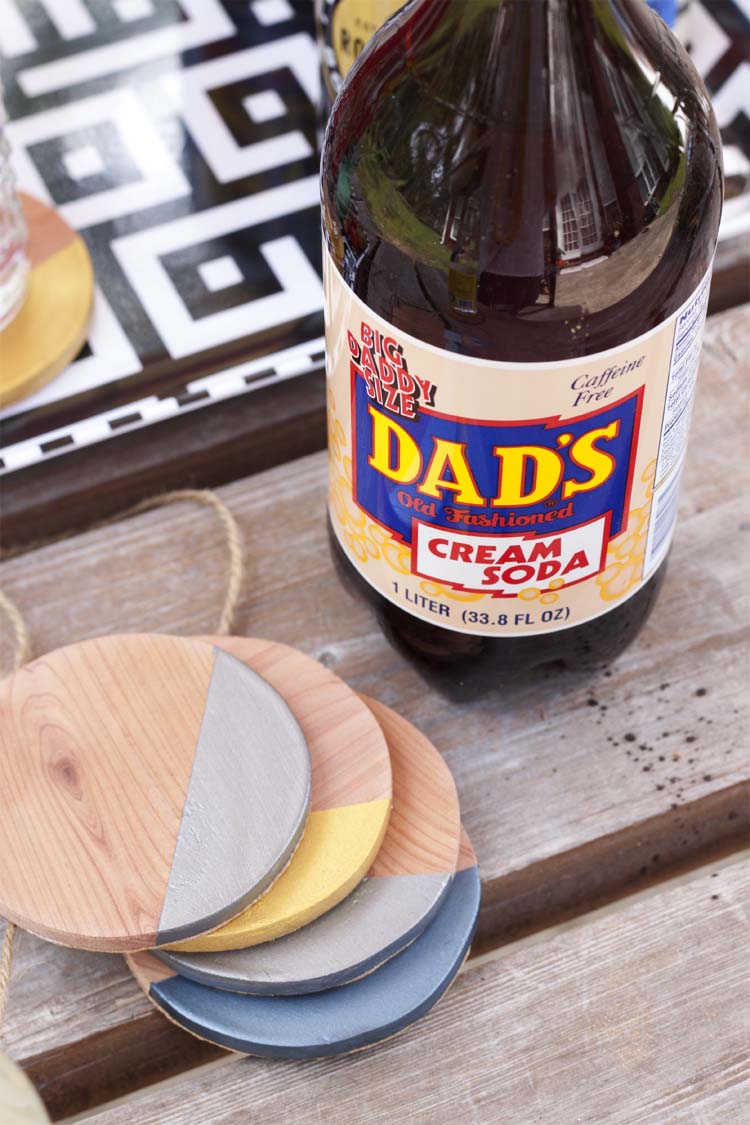
They’re handsome, useful and a great gift for the guy who has everything.
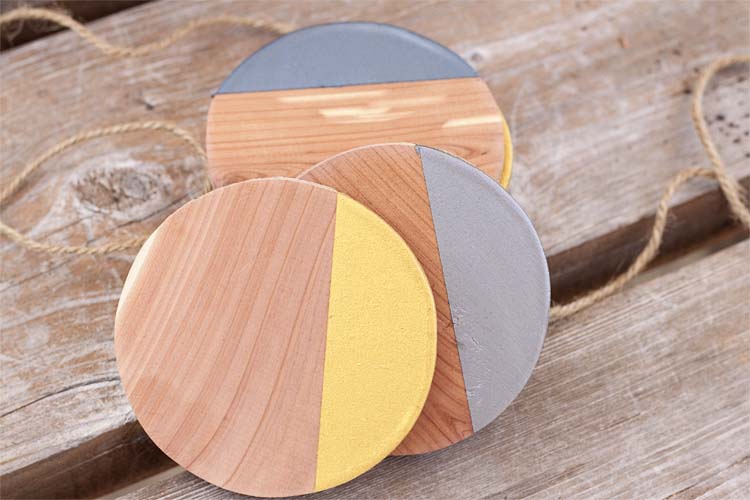
And they’re pretty, too but you don’t have to tell them that!


Leave a Reply