This shop has been compensated by Collective Bias, Inc. and its advertiser. All opinions are mine alone. #SunsOutSpoonsOut #CollectiveBias
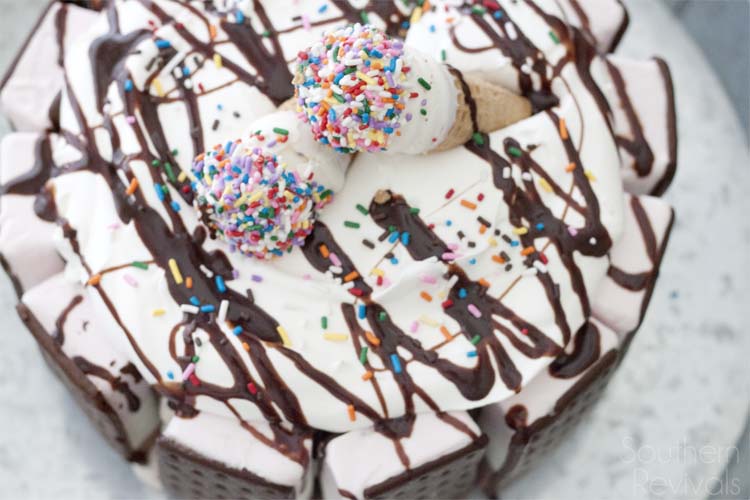
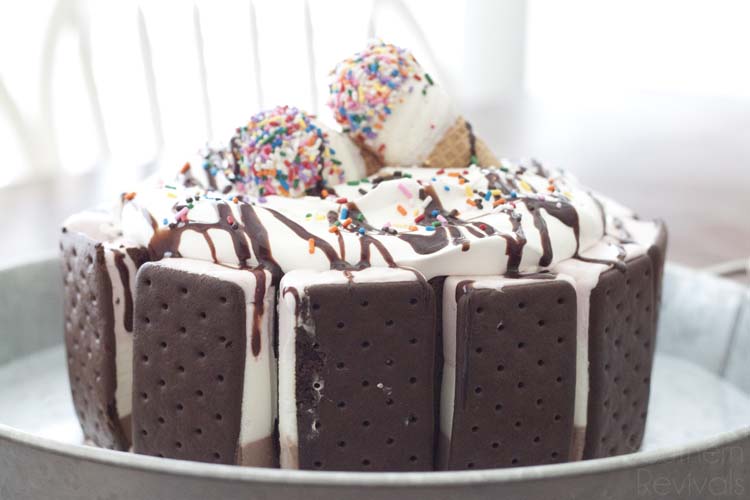
I really like to bake. Maybe you already know this about me. Something you may not know is how much I dislike this Southern heat. It was 112 degrees here yesterday. 112!! So no baking for me! This challenged me to come up with a new cake idea that didn’t make the house any hotter than it already was. Now I think I just might like this cake in favor of baking every time! It’s a 3-Layer DIY Ice Cream Cake filled with vanilla ice cream and fudge layers, topped with whipped cream, mini cones, chocolate sauce and wrapped in ice cream sandwiches. Here’s how to make it…
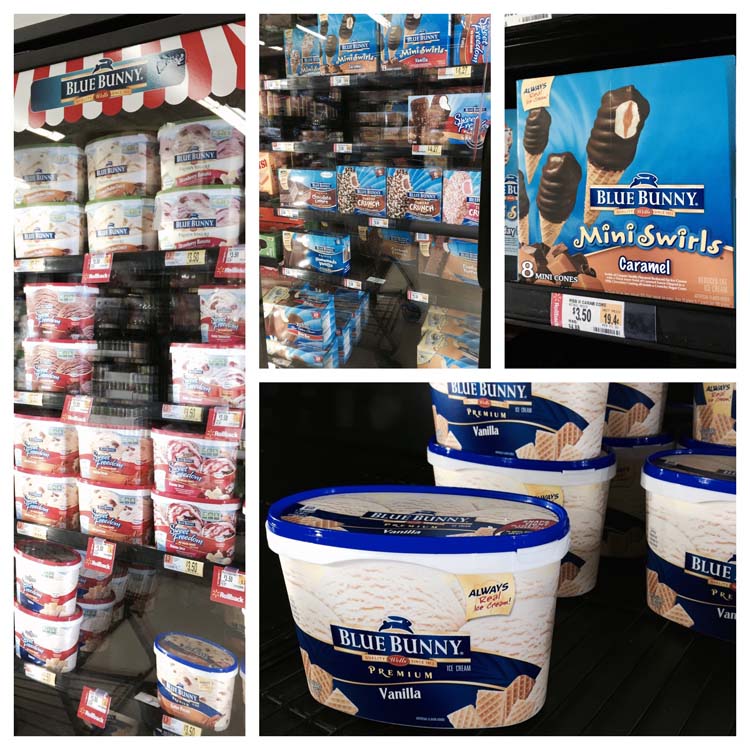 Blue Bunny has these amazing ice creams and novelties like mini swirl cones and ice cream sandwiches. So as I walked down the ice cream section at Walmart I was thinking to myself, how many of these delicious things can I incorporate into this cake? All of them? Maybe.

Supplies Needed:
- Springform Pan
- Waxed paper
- 2 quarts Blue Bunny vanilla ice cream, softened
- 2 boxes of Blue Bunny ice cream sandwhiches
- Hot Fudge Sauce ice cream topping
- 8 oz container Whipped Topping, thawed
- Chocolate Sauce (for drizzingling)
- 1 box Blue Bunny Mini Swirls cones
- Sprinkles (optional)
 You’ll probably be amazed at just how easy this is. In fact, when I made it for Father’s Day my husband just assumed I’d bought it. He said, I knew it wasn’t your style [to buy a cake] but it just looked so good! I NEVER buy our cakes. Like, ever. I guess it just looked that good to him. That’s good for us though right? It’s easy but it doesn’t look it!
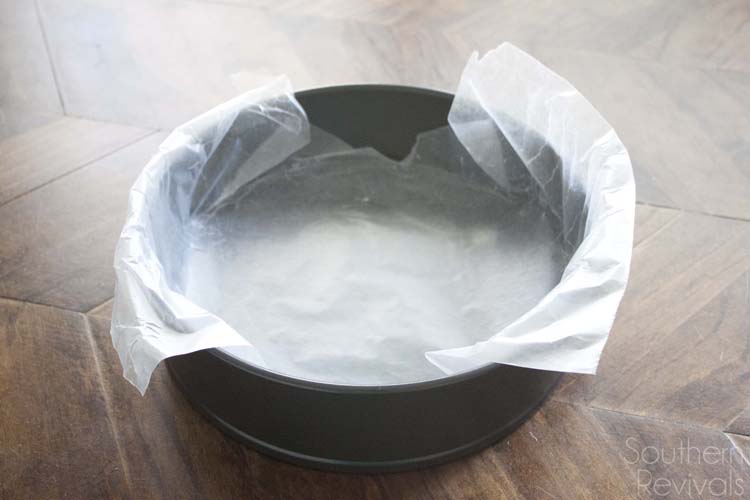
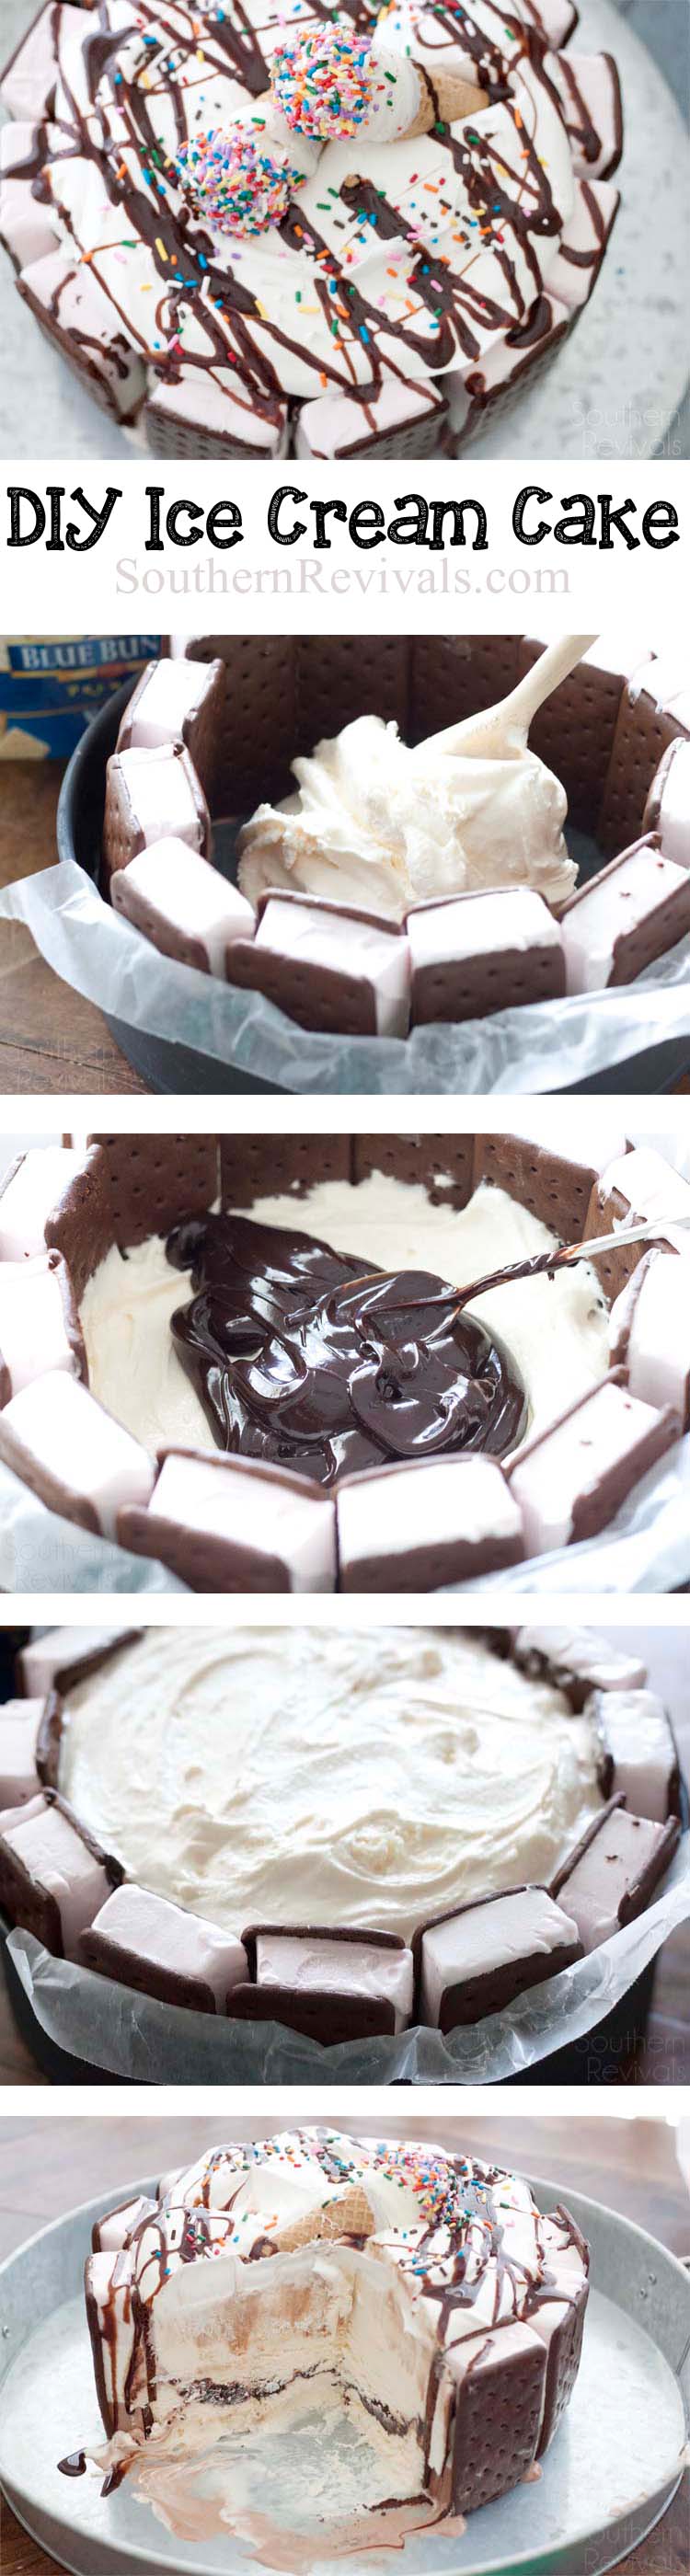
Step 1 Line a Springform Pan or cheesecake pan (the ones with the side release) with wax paper overlapping the sides by an inch or two. I used the large 10″ pan but the size you use is up to you.
 I played around with the amount of ice cream sandwiches I’d need before I got started. That way I don’t have melting ice cream while I’m trying to figure things out. I used 14 ice cream sandwiches.
 Then I quickly unwrapped each one.
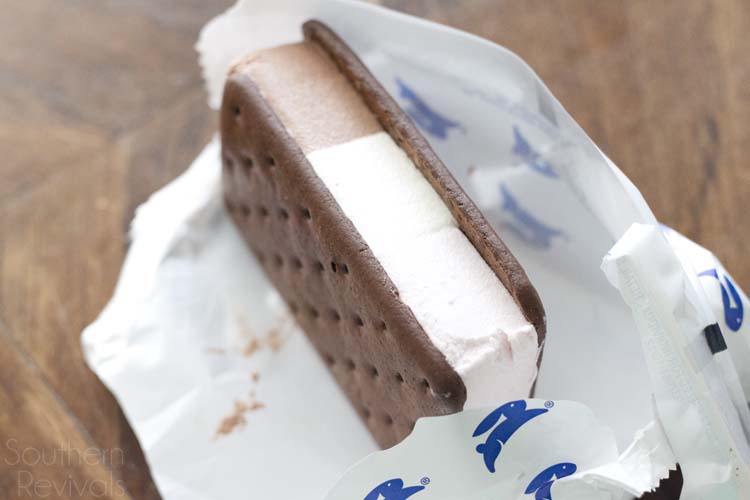 These are not dinky little sandwiches. They are thick and delicious all on their own. I chose to use Neapolitan but you could use the original vanilla, too.
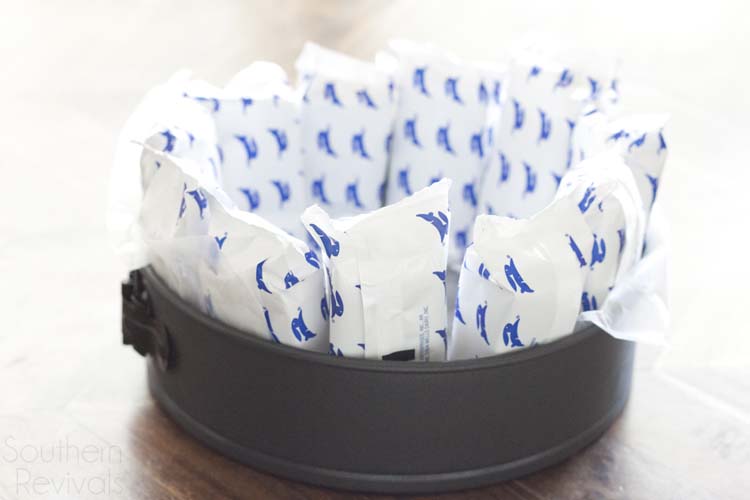
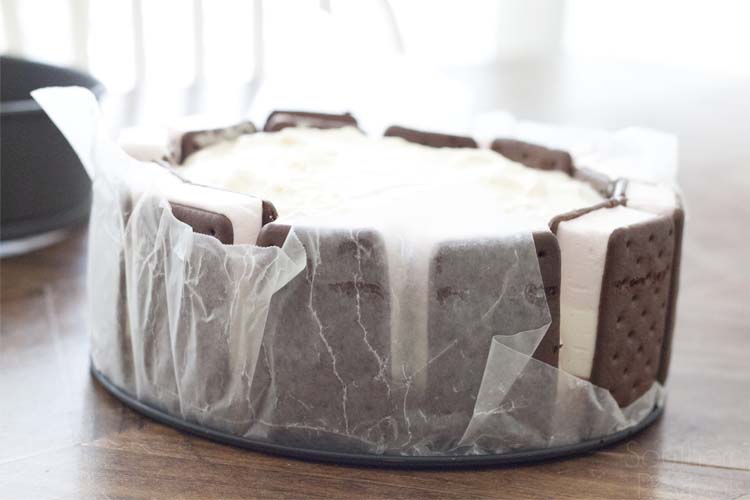
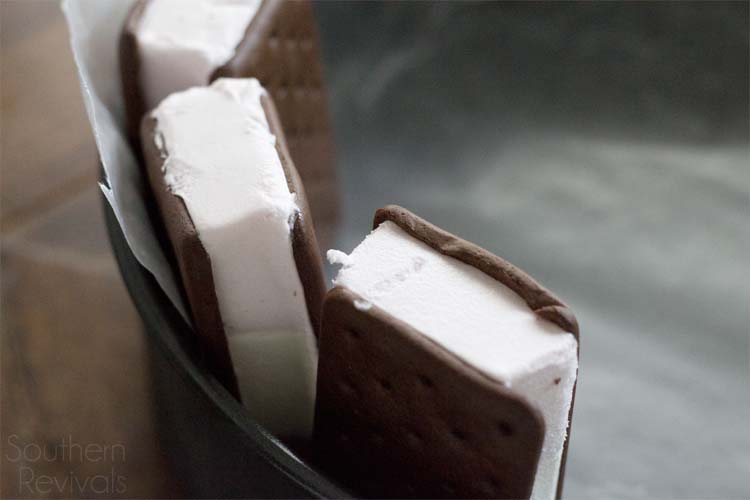 Step 2 Quickly line the outside of your pan with ice cream sandwiches.
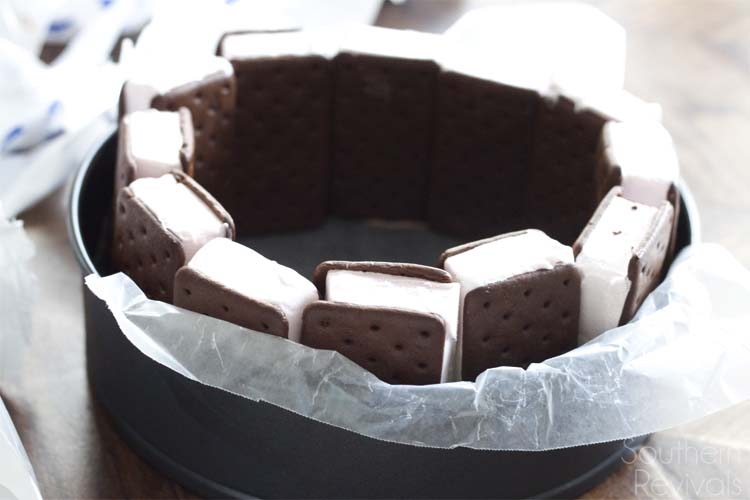 You’ll squeeze them in but not too much. It’s okay if they get a little soft or wonky while you’re trying to stand them up. We’ll take care of that later.
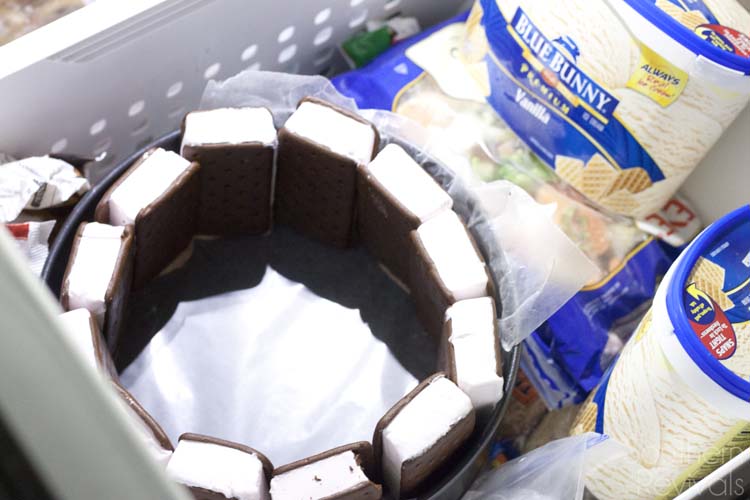 Pop it in the freezer to chill for 10-15 mins. Set out your vanilla ice cream to soften while you wait.
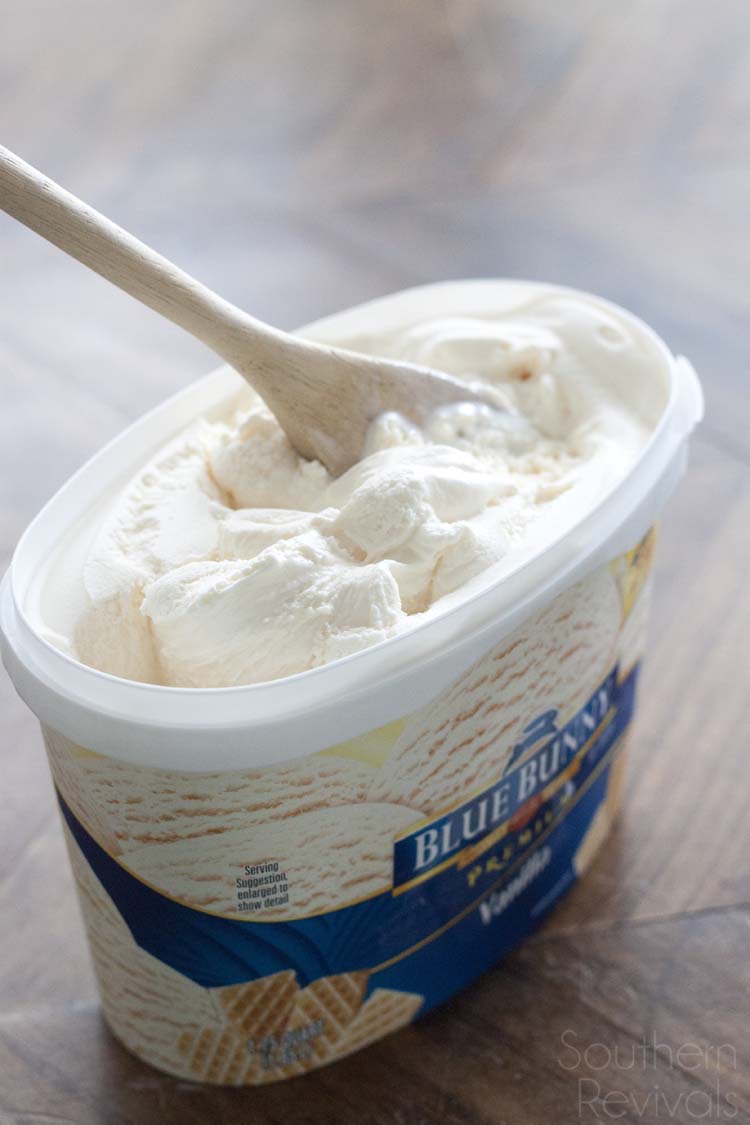 Give it a good stir to determine if it’s softened up enough. You don’t want it melted, just softened.
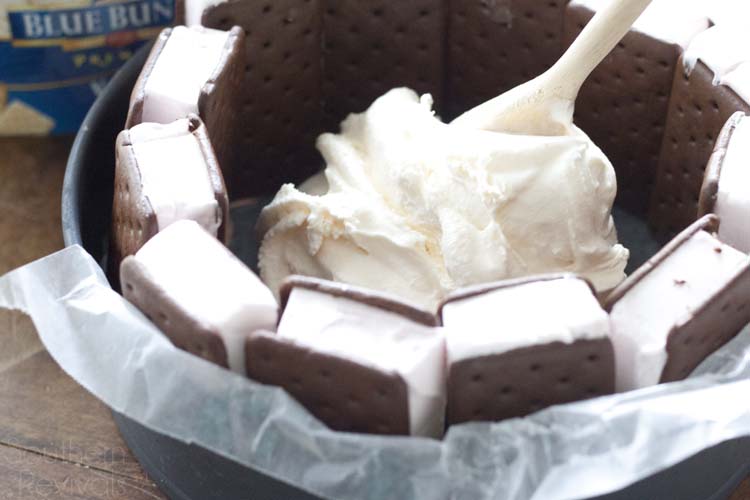 Step 3 Once your ice cream has reach a just spreadable consistency it’s ready to drop in. I used about 3/4 of a quart for each layer.
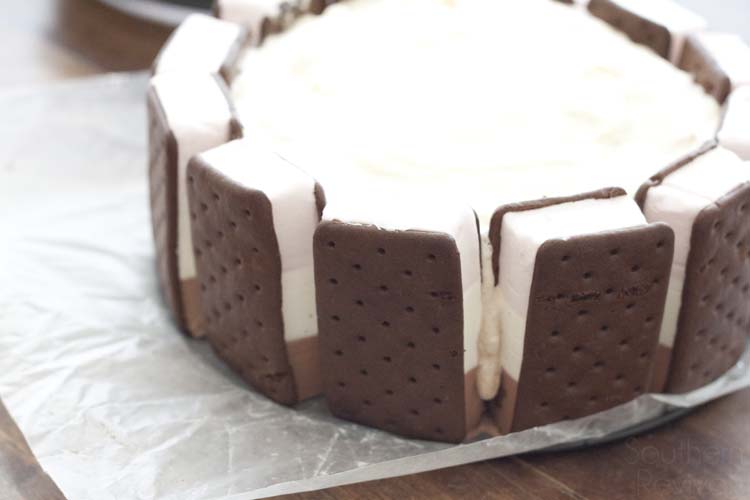
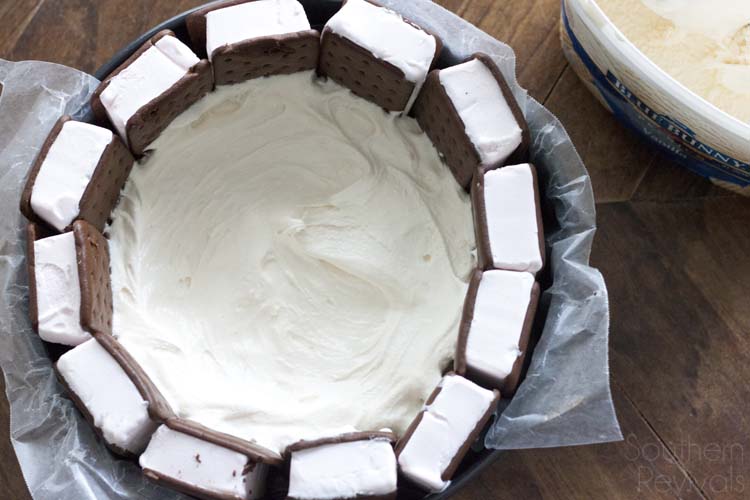 Press the ice cream as far over to the ice cream sandwiches as it will go. This will help keep your sandwiches pressed firmly against the sides and help them to stand up. Smooth it down and pop back into the freezer for 10-15 mins to harden.
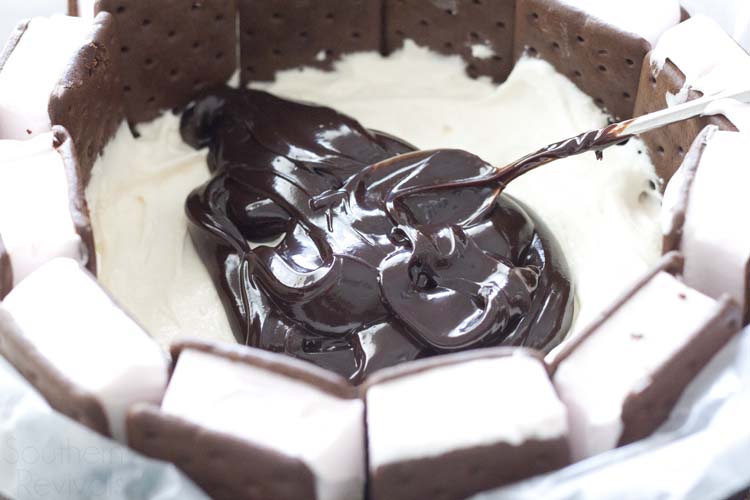 Step 4 Now it’s time for the hot fudge sauce! You’ll use it straight out of the jar, no need to heat. Spread contents of the jar along the top layer and pop back into the freezer again for 10-15 mins.
 Who loves hot fudge? WE do!
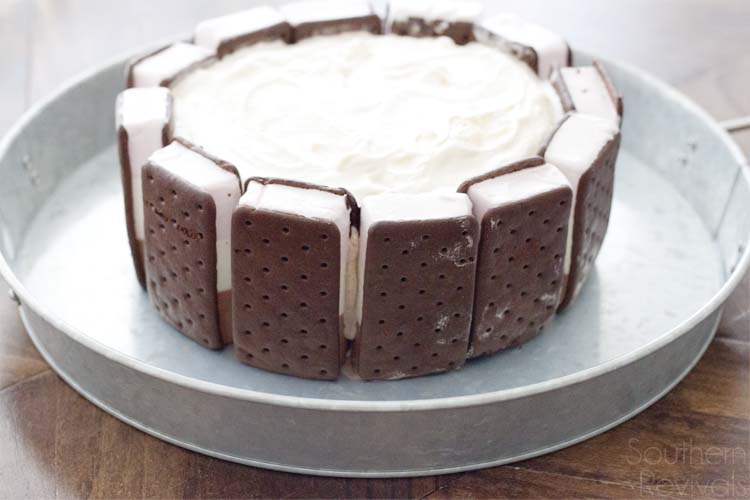
 Step 5 Add another layer (again, approx 3/4 of a quart) onto your fudge layer.
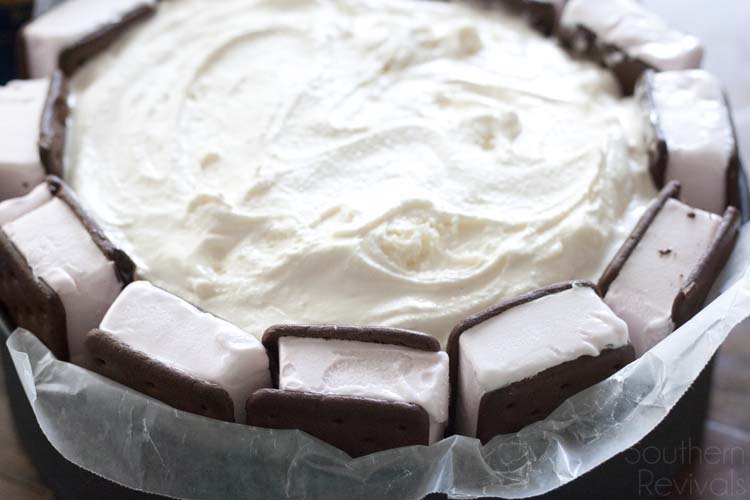 Smooth it down and put back into the freezer. I left mine overnight but you could totally use the same day. I would suggest doing this part earlier in the day and taking it out after several hours and topping just before serving.
 Once your cake has had enough time refreeze any softened layers it is time to remove it from the pan and add your toppings.
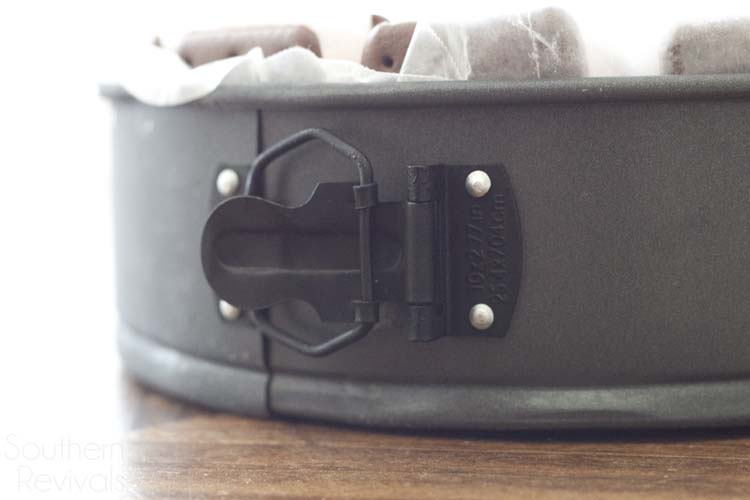 This is where your springform pan comes in handy. Simply unlatch the side and remove it.
Pull the wax paper down from the sides. Lift it up using the sides of the wax paper as handles and place onto your serving plate.
 Use a spatula or your hand to lift the cake from underneath to remove the wax paper. Looks pretty good already, huh?
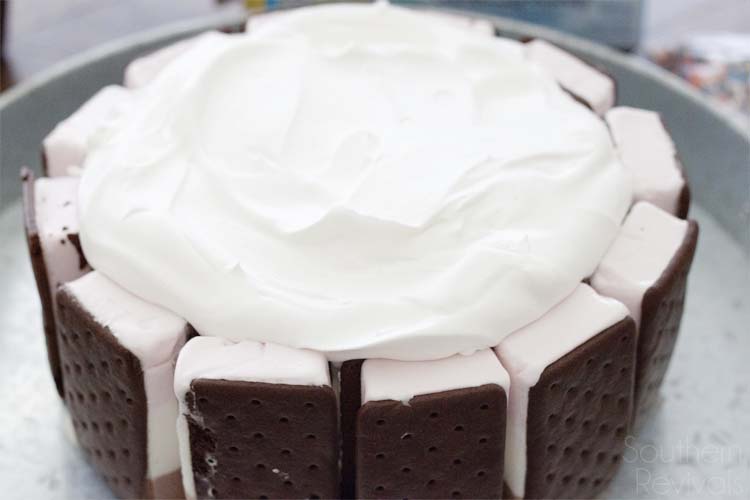
Add your container of whipped topping and spread along the top of your cake.
 Time to decorate!
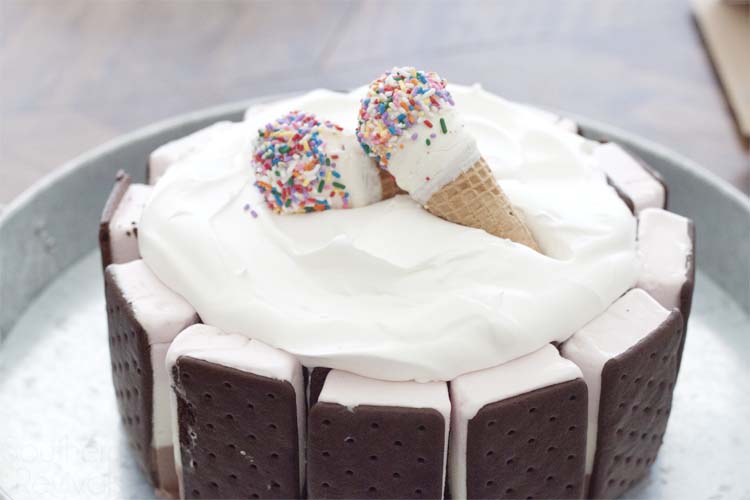
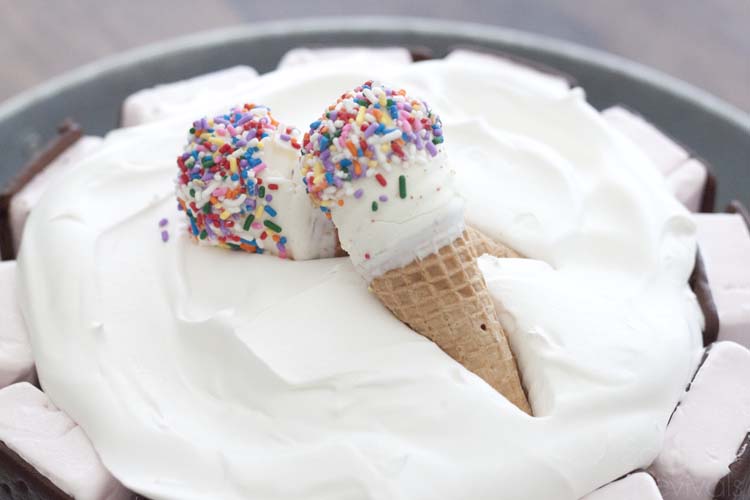 Why not make the decorations MORE ICE CREAM?! These Mini Swirls cones are birthday cake flavor but you could choose any flavor you like. How about caramel!
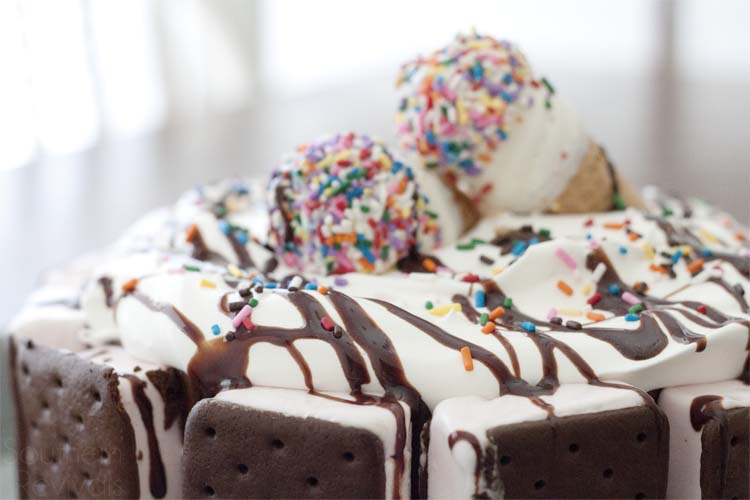
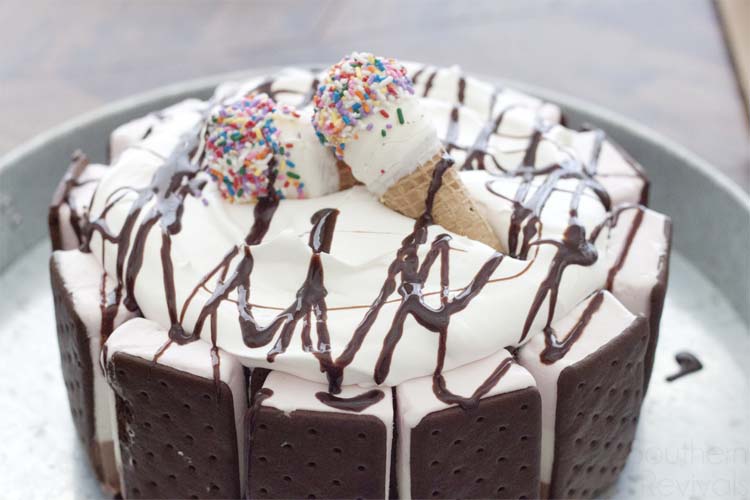 Drizzle with some chocolate sauce…
Add some sprinkles for even more fun!
 And it’s ready to serve!
 We did good, right?!
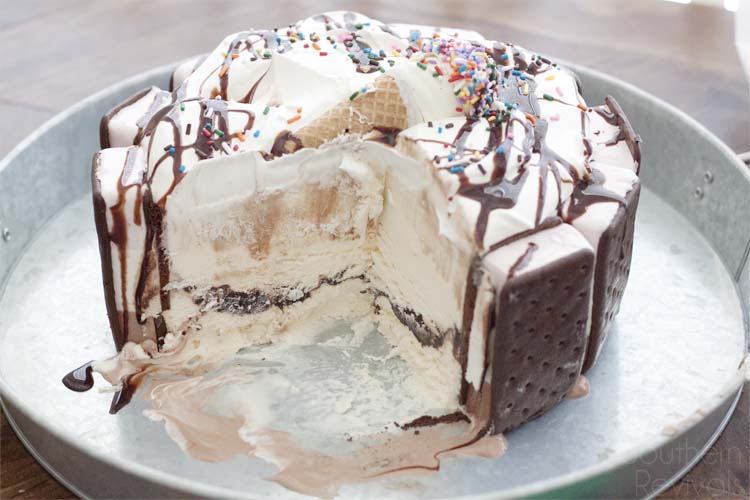
 So if you’re having a summer shindig or even if it’s a particularly warm winter day there in Australia, you should totally try making this different kind of cake. It is so easy and so delicious.
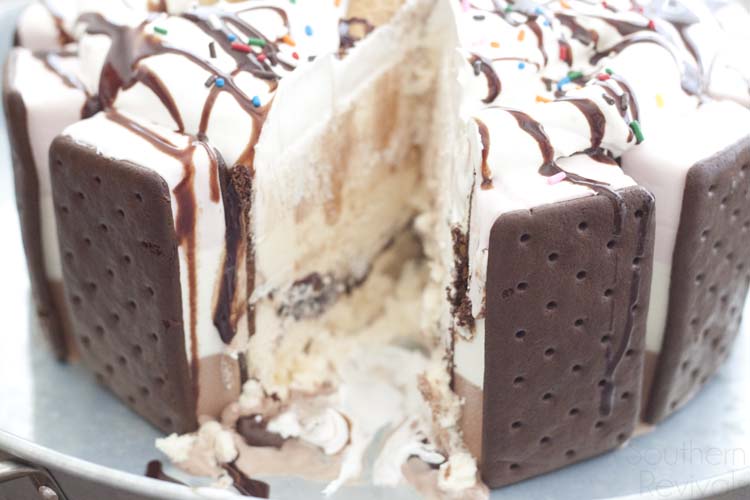
 It’s easy to serve and refreeze. Just take it out of the freezer a few minutes before you’re ready to serve and it slices like a dream! Thanks to all of that REAL ice cream.
What’s your favorite Blue Bunny flavor? Can’t decide? Blue Bunny will be teaming up with Chips Ahoy for a delicious 4th of July demo at Walmart. Is your store on the list? Want to make a simple sundae or an elaborate dessert? Click here for more amazing dessert ideas with Blue Bunny ice cream.

A special thank you to Blue Bunny for sponsoring this post and to all of my sponsors for allowing me to share with you delicious ideas and fab DIYs all free of charge to you. And, as always, it is my pleasure to bring to you the products and services that work best for me and my family. Opinions and ideas are 100% my own. Thank you.


This totally needs to be made in my house TODAY! I’m drooling. #client
Thanks Carolyn!
OMG that looks so good and really creative.
Thank you! I won’t lie, it was delicious! 😉
Looks delicious! I’ve never made an ice cream cake before, but I can’t wait to try this one! Yum! Have you ever made an ice cream pie? So yummy! Thank you for the wonderful share.
Hi Susan! Thanks so much! I haven’t made an ice cream pie in a long time and now you have me hungry for one. 😉