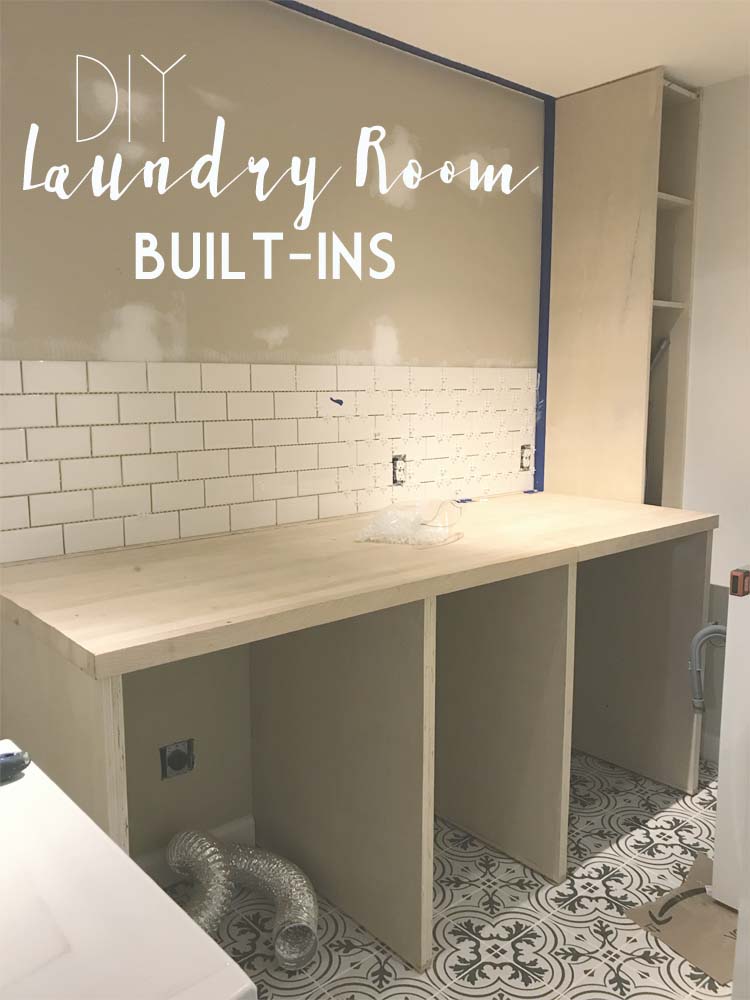
It’s at this point during a project that I am questioning my life’s choices. Questioning whether, if I ever win the lottery, I’ll continue to DIY all the things. At this point, I just want to. be. done. But even if the room isn’t finished, and I want to laugh maniacally when thinking about whether it will actually be done by next week, the DIY laundry room built-ins are done.
Mostly.
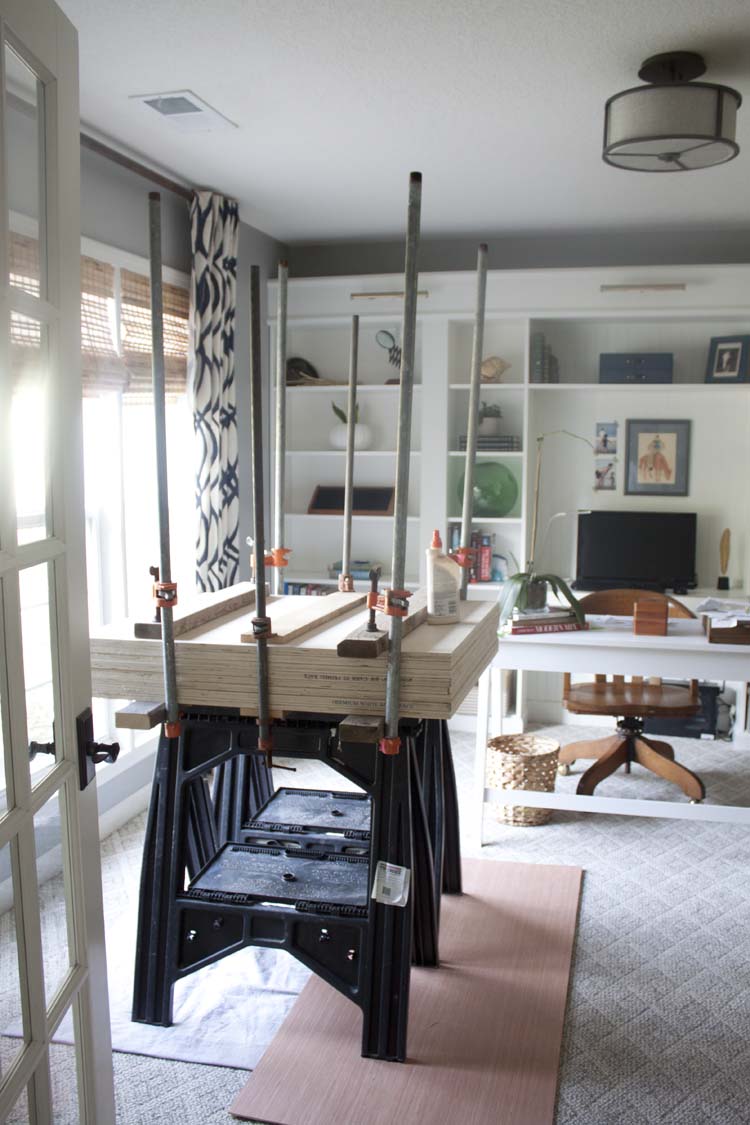
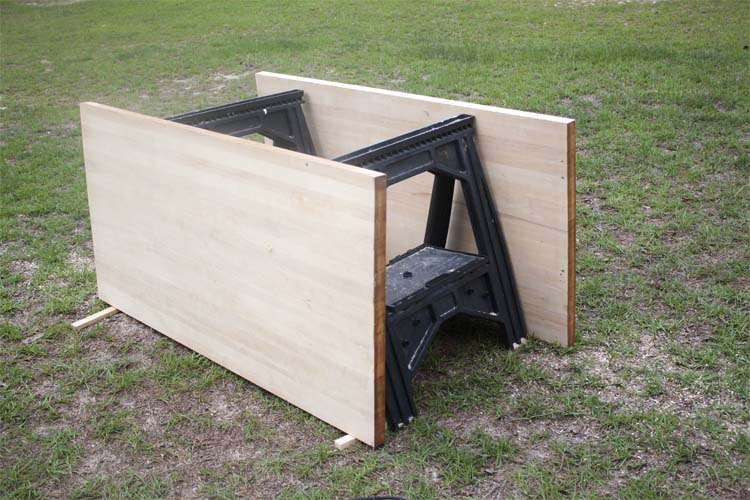
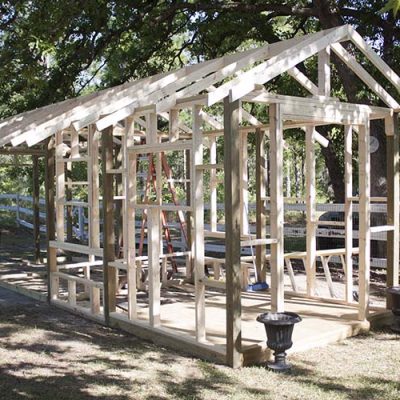
So, it’s week #5 of the One Room Challenge and this was the scene in my office last week. In order to make the partitions, and make them affordable, we bought 4 panels and premium plywood. And while that wasn’t a cheap venture it was the cheapest way to get custom DIY laundry room built ins.
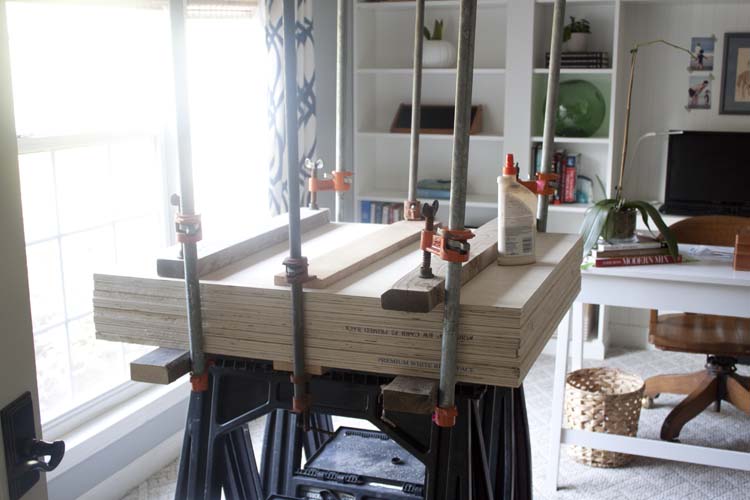
We cut 8 square pieces from the plywood sheets and sandwiched them together using clamps and wood glue to create the four custom sized partitions.
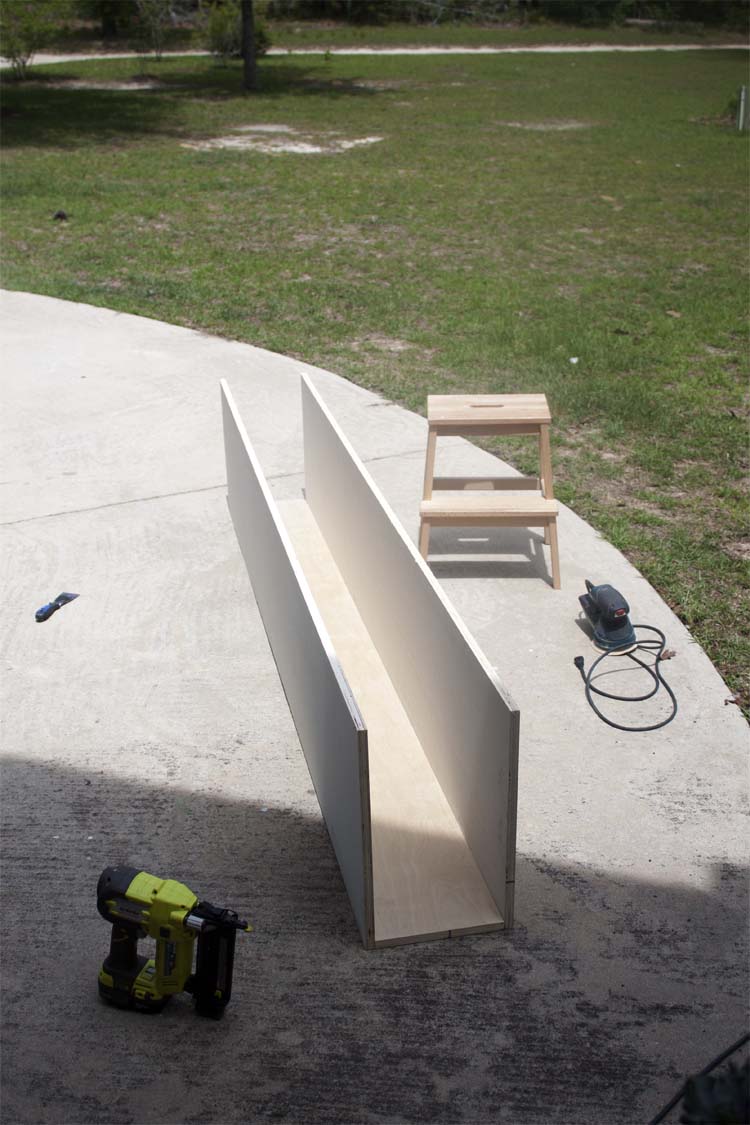
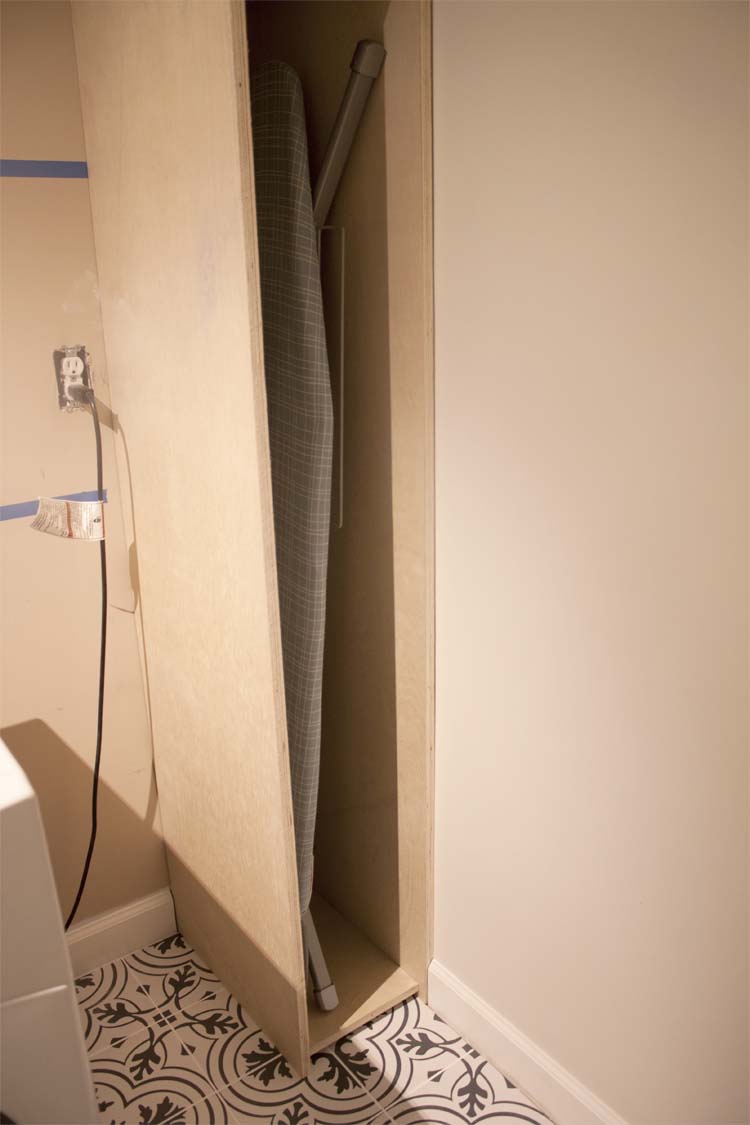
We used the remaining plywood to create a storage cabinet for the iron, ironing board, and other laundry room type things that need storage.
Then we used those reclaimed desktops that I told you about in my plan in ORC Week #1. First I sanded off the heavily shellacked surfaces with my belt sander so that I’d have raw wood to start all over with.
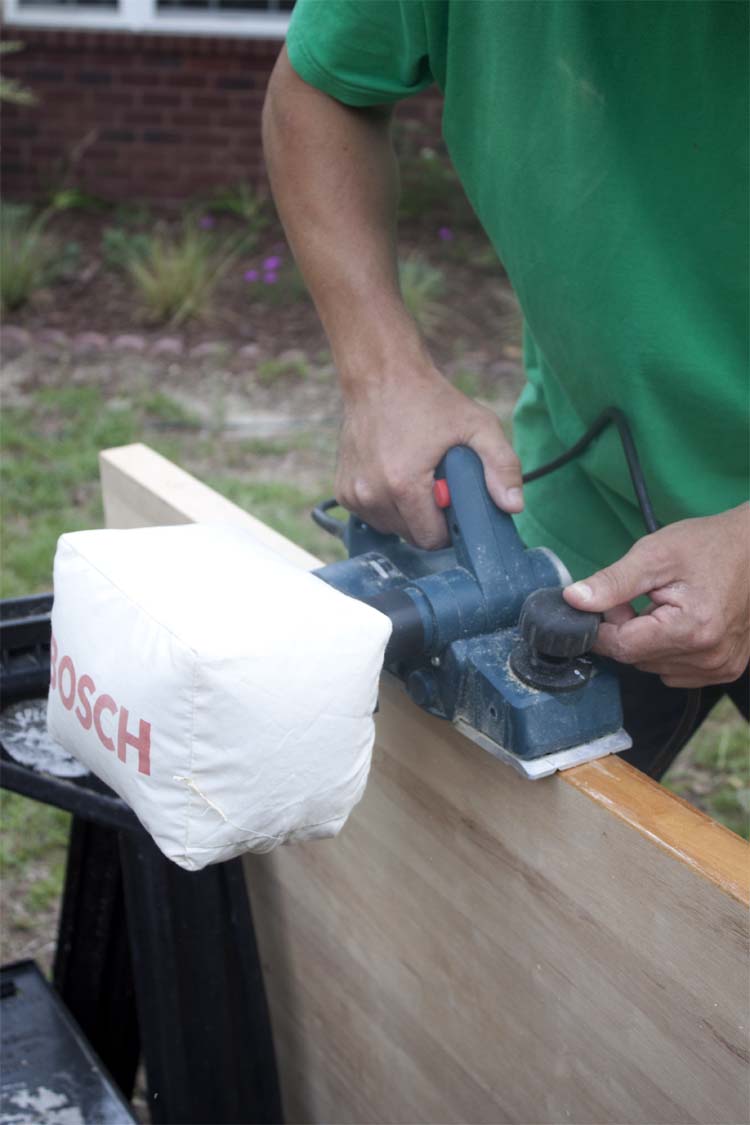
Then, because it’s easier and because we’ll be joining two desktops together because one wasn’t long enough and we’re trying to make the seam as least noticeable as possible, we planed the edges. This gave us a really straight edge to work with and will make it easier to piece the two desk sections together, hopefully making the seam less noticeable once it’s all said and done.
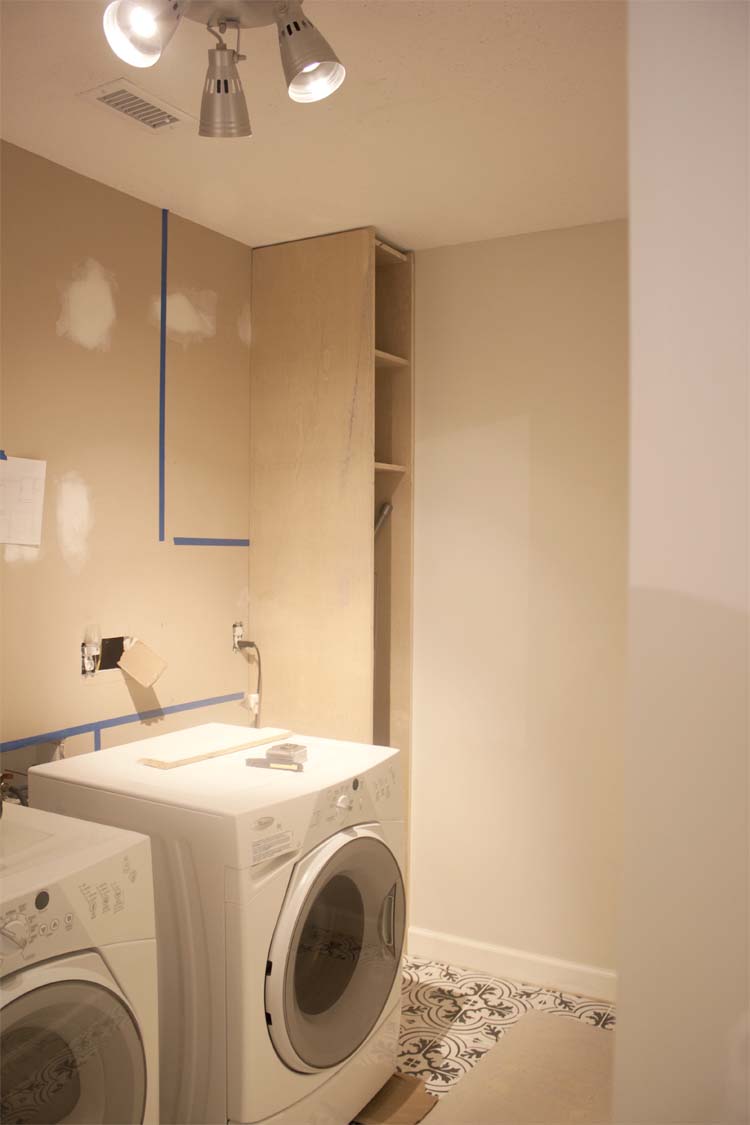
We installed the ironing board cabinet first and worked our way from there. We’d already done the measurements, the ones I’d taped out onto the wall, so we already knew the measurements for everything. Still, we wanted to be careful because we knew we only had room to spare in the space between the washer and dryer and a little space to spare where the sink will go.
After the ironing board cabinet was installed we attached a 2×4 the length of the partition onto the back wall. This gave us something to anchor the partition sections to. We notched out the baseboards for each of the sections so they would be flush with the wall and we also notched them out at the top to fit flush to the wall and around the 2×4. For added security, we anchored them with L-brackets and with pocket holes into studs in the wall, where possible.
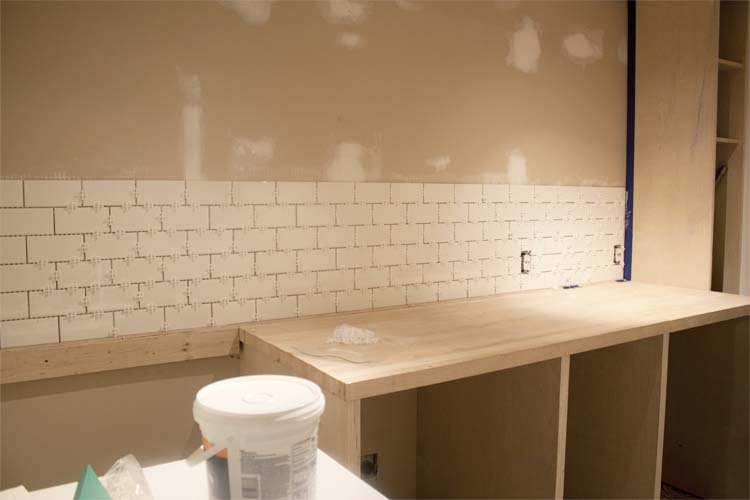
Once the partitions were attached the 2×4 we placed the countertop sections on top of the 2×4 and partition sections. We attached the countertops to the partitions and to the 2×4 using L-brackets.
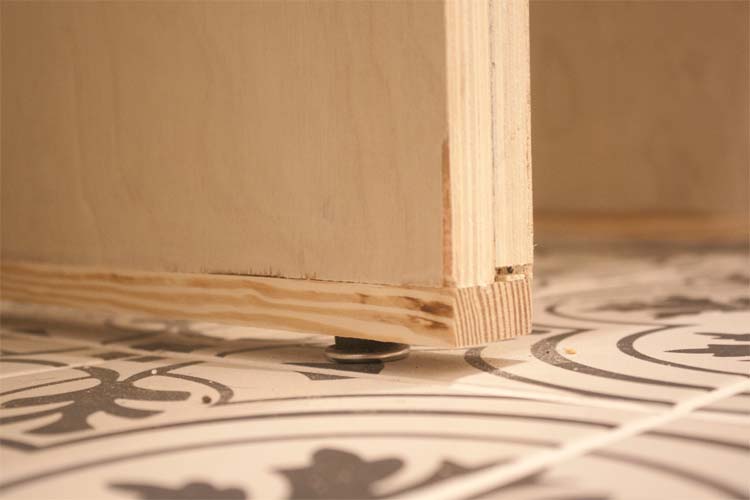
Because we didn’t want to damage the new floor, rather than securing the partitions to the floor, we added leveling glides to the bottoms of each of the partitions instead, two per each panel.
I still have some trim work to do in order to cover up the edges of the plywood on the partitions and the ironing board cabinet.
Then I’ll need to paint the partitions and cabinet and stain/seal the new folding table countertop.

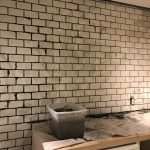
But first I’ll need to run out and buy more mastic and 1200 more tile spacers so we can get the remaining (approximately 400) subway tiles on the wall.
And then grout.
Build the sink stand, install the sink and faucet.
Install the new wall cabinets and replace a few sections of baseboard where we removed the old sink cabinet re-outfit the entire room with quarter round.
In a week. For the reveal.
{Insert maniacal laughter here}


Hey! I am working on a similar project and cannot for the life of me figure out how to attach the “partitions” to. I know you mentioned a 2×4 but I have no idea how this would pan out… wouldnt that push them away from the wall that amount? I have been trying to find ideas on how to do this but coming up short. let me know if you have any further guidance you could offer! thanks! Brandie
Hi Brandi!
So your partitions will go all the way back to the wall. Your 2x4s won’t go behind your partitions. The 2x4s will go in between the partitions, mounted at the top to the wall so they won’t show. I hope that makes more sense. I will try to get a better picture from underneath so it makes more sense. Let me know if you have any more questions!
Hi Brandi!
What did you use between your cabinets to hang your clothes?? Wanting to do a similar project! Your laundry room looks amazing!
Thanks!
Erica
I have a tall plastic laundry basket that hides behind a wooden stool. Thank you!