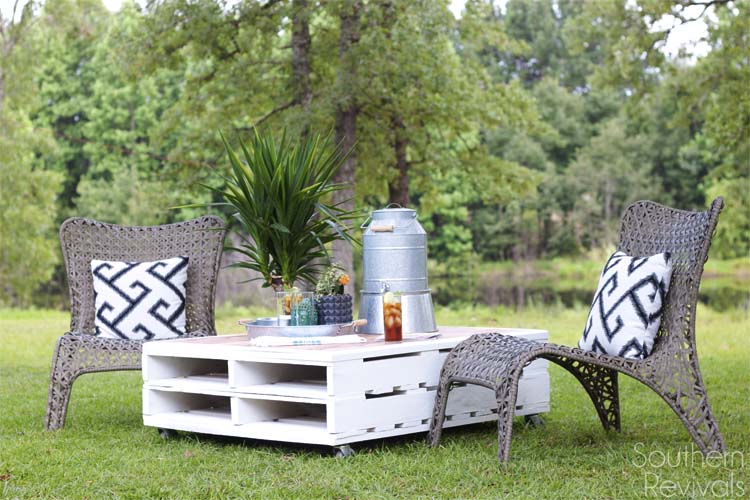
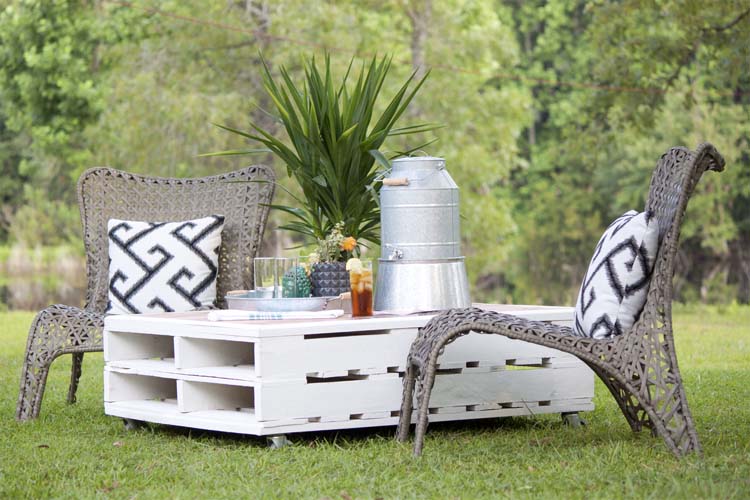
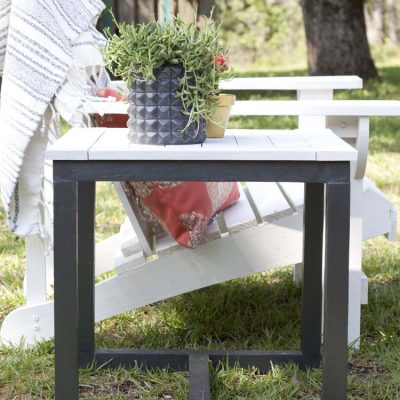
 This is the story of a DIY Pallet Coffee Table that we built over 5 years ago. It used to live in our living room and I was in love with it. Then, I sort of fell out of love with it until I gave it an outdoor makeover. Now, I love it more than ever and I’m wondering why I didn’t do it like this in the first place!
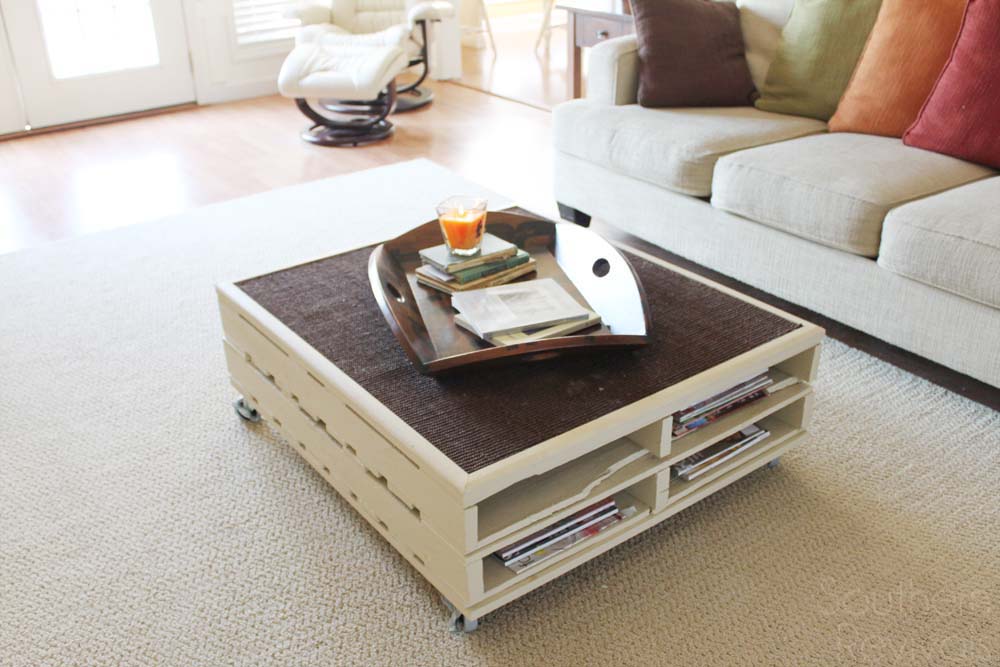 Our pallet coffee table has made an appearance once or twice on the blog, but never in a how-to. We made it well before the blog. I was very pregnant, nesting and just wanted the thing done already. So, I did some settling on things like the paint color and the top and I think that’s how my love affair with it fizzled out so quickly.
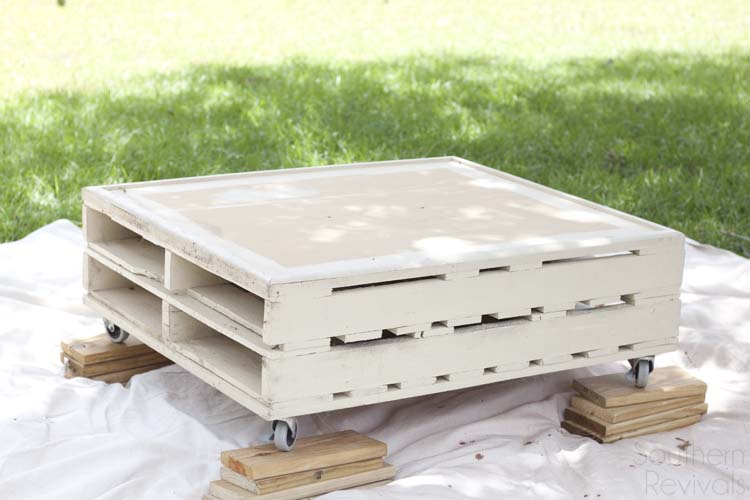 So for the last few months or more she’s been sitting, sans top, in our storage building. Gathering dust and mold and looking all forlorn. We’ve been doing some updating outdoors, like building the boys’ a clubhouse, and we have plans for a more adult space soon. That’s what gave me the grand idea to get out the old pallet coffee table and give it another go.
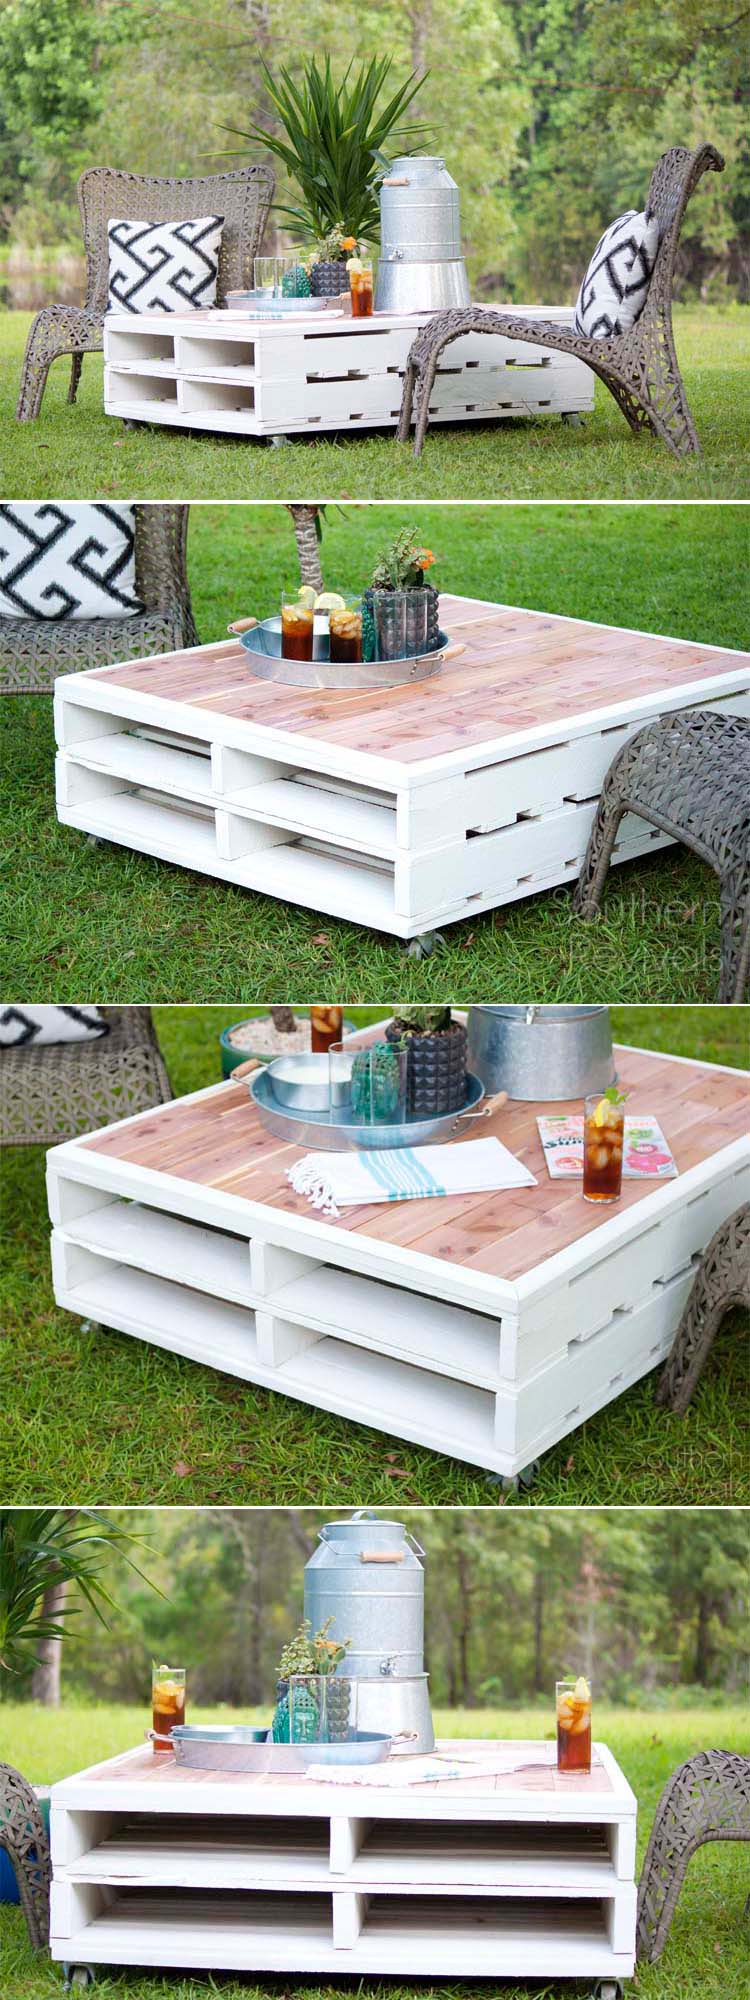
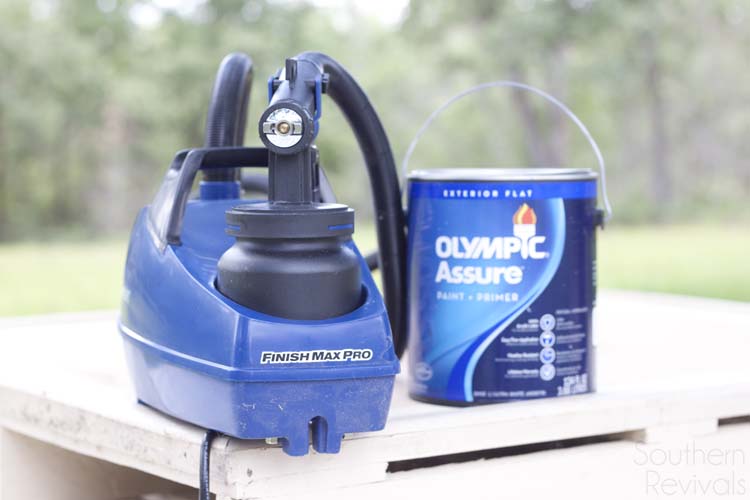 I cleaned her off. Wiped her down and even vacuumed her up. Then, I used my HomeRight Finish Max Pro sprayer and some leftover paint, Olympic Assure Exterior Flat in Crumb Cookie, from the boys’ clubhouse to give her a fresh and brighter coat of paint. I was never very in love with the color she was before. But this time, her crisp white finish makes my heart skip a beat. And this amazing sprayer couldn’t be easier to work with. 10 mins and one coat of paint later, I was D.O.N.E. Except, now it needs a new top.
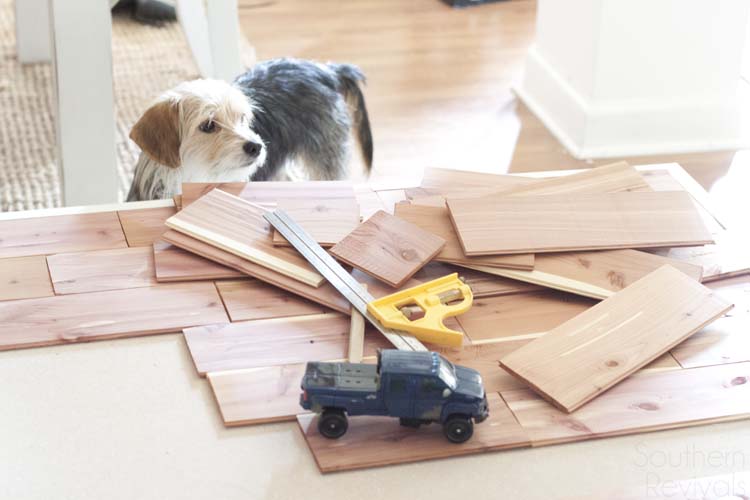 I just recently finished up an amazing guy’s closet makeover with Cedar Safe® cedar planking (coming this month) and because of the way we did the wall with the planking, we had some scraps leftover. This planking is gorgeous and I was so excited to get to use the scraps in some meaningful way. I still have some more and my brain is wild with possibilities.
So the first thing we did was lay out the scraps and get them fitted. I only had to trim the ends. Luckily the pieces fit without having to rip any of the planks.
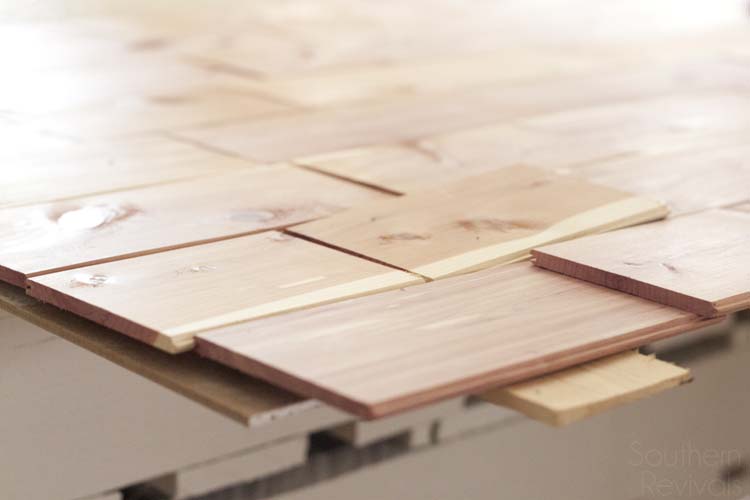 Once I got this giant puzzle piece put together (all except the last, bottom row) I slid some long wood strips under that planking and slid all of it off the table and onto another scrap of hardie board.
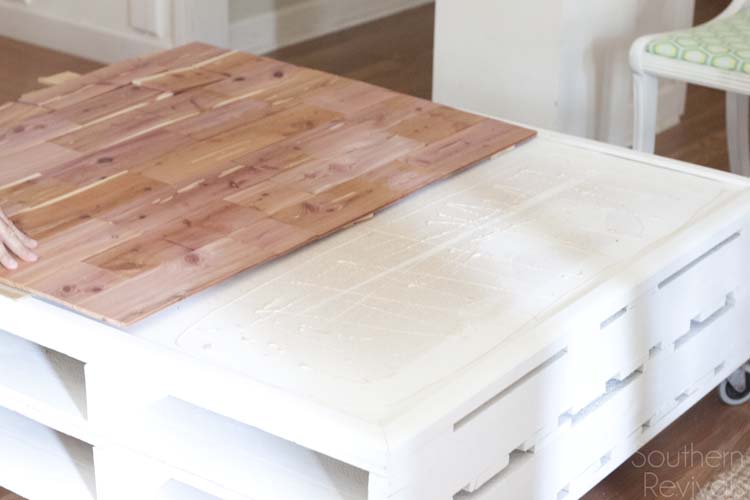 That way I didn’t have to take all off and start over again to get the glue down. I put down the wood glue and then slid the planking back in place. I did have to re-secure a few pieces but this made the process quick and easy.
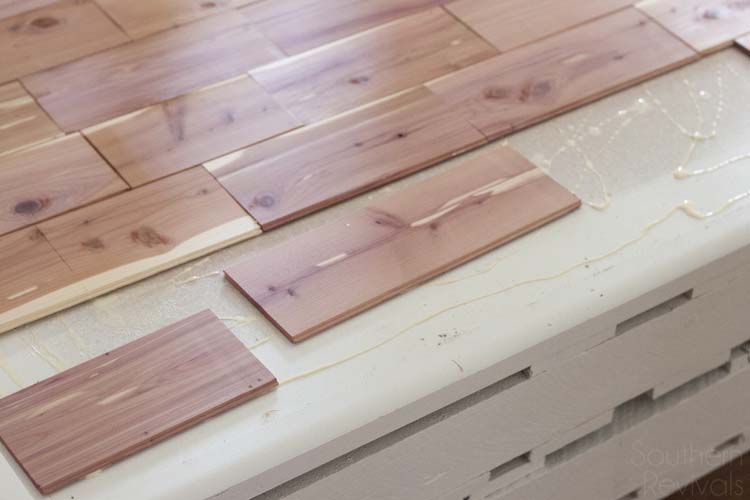 From there, I added the pieces to the last row, applied some heavy objects to press everything down and hold it in place and then allowed it to dry thoroughly.
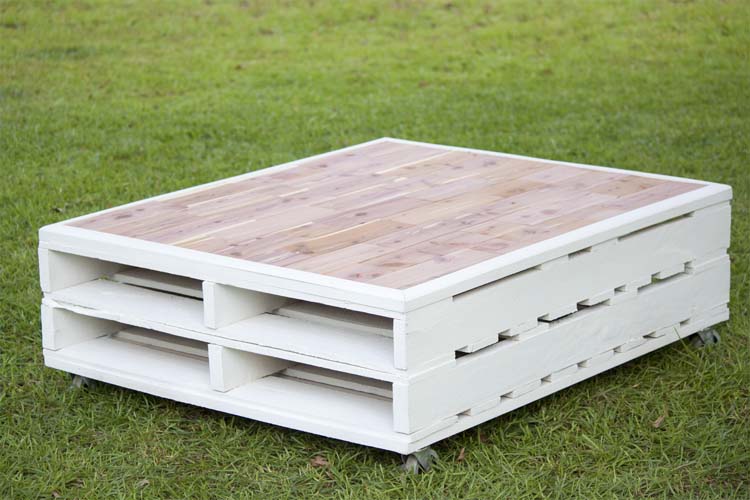 That was it! This whole thing could be done in a weekend or less from start to finish even if you weren’t starting with a pre-built table.
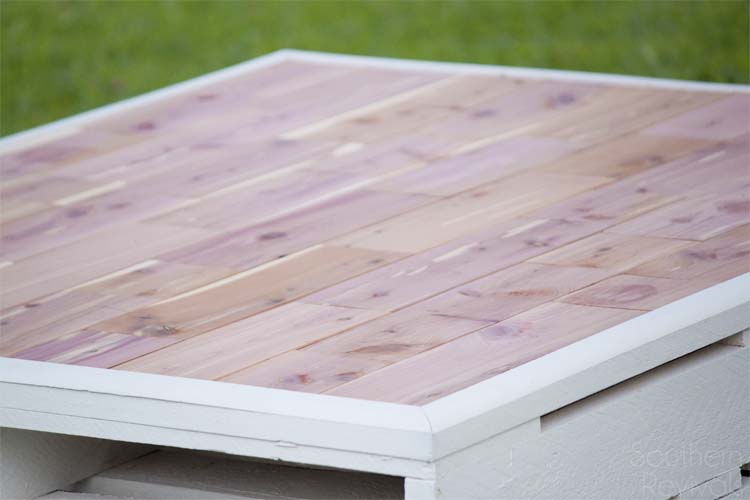 And, you guys, I don’t know how it conveys on screen but it is stunning in person. I am kicking myself for not having done it sooner. I am grateful that I waited though because it just wouldn’t have been the same without that cedar planking.
 I am going to go ahead and apologize now for the overload of pictures you are about to experience.
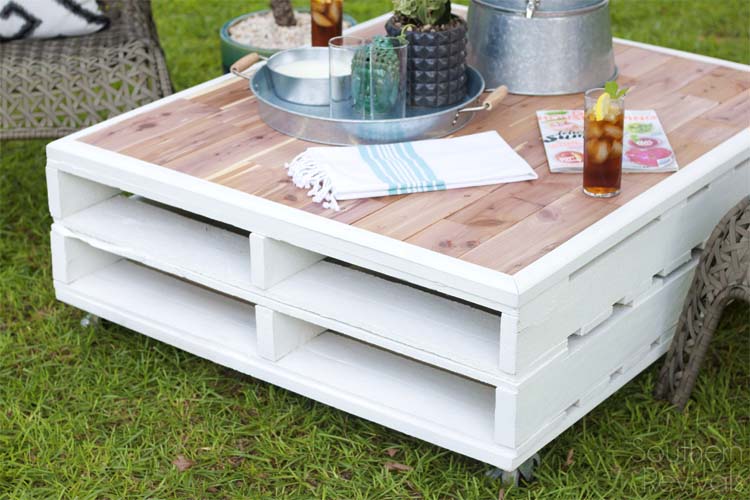 I am just so excited, after spending so much time on the outside, to finally be able to get to the outside. We have 10 gorgeous acres and a beautiful pond. It’s nice to finally have a space to sit and enjoy it.
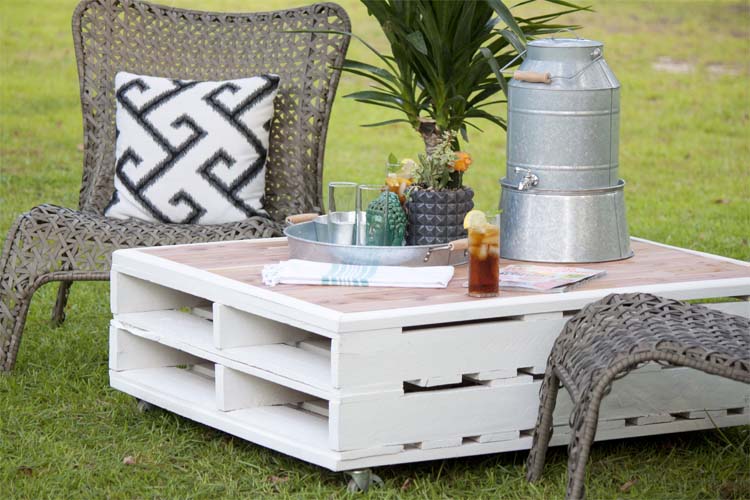 The truth is we won’t leave it exactly where it is now, it wouldn’t be safe sitting out here in all the sunshine and rain. It’ll soon find a home under the new pergola we start building this fall. In addition to using an exterior paint, I’ve also sealed the cedar planking with Tung oil to protect it outdoors.
*Chairs, pillows, and plants from Lowe’s
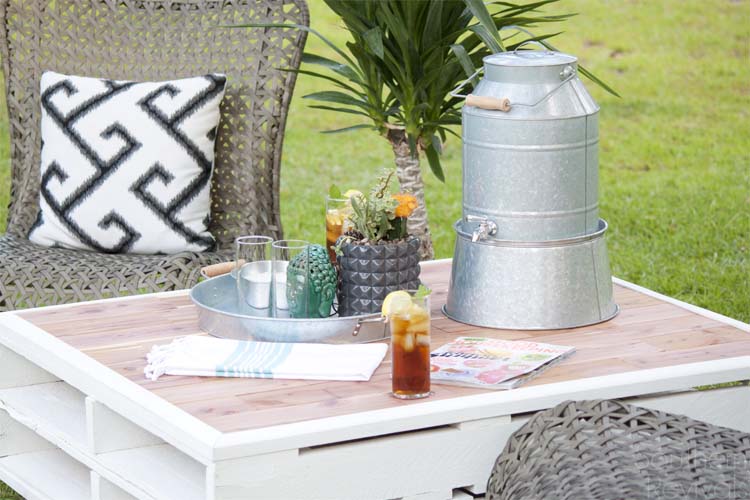 For now, I’ll just be enjoying it right where it’s at.
*Drink dispenser and tray from WalMart, part of the Better Homes & Gardens collection. Other do-dads from TJ Maxx
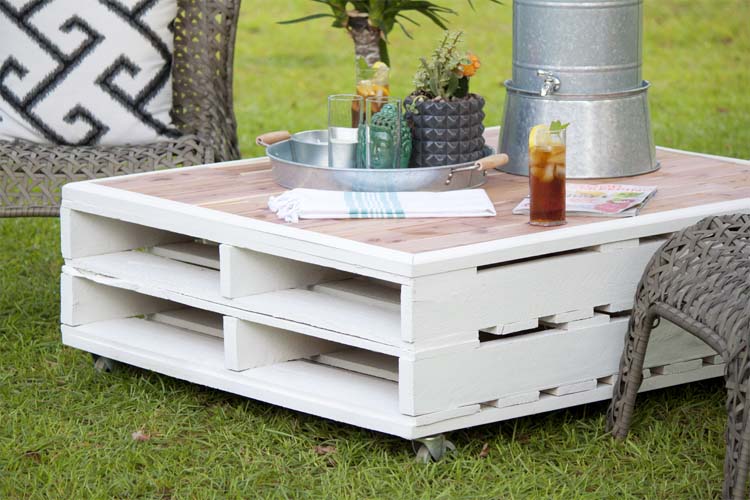 If you’re interested in exactly how we put this table together, from the beginning, I’ll be glad to put together a tutorial. It really is pretty simple though. A good paint sprayer like mine is a must. You don’t want to go brush painting a pallet. Not to mention the time saved.
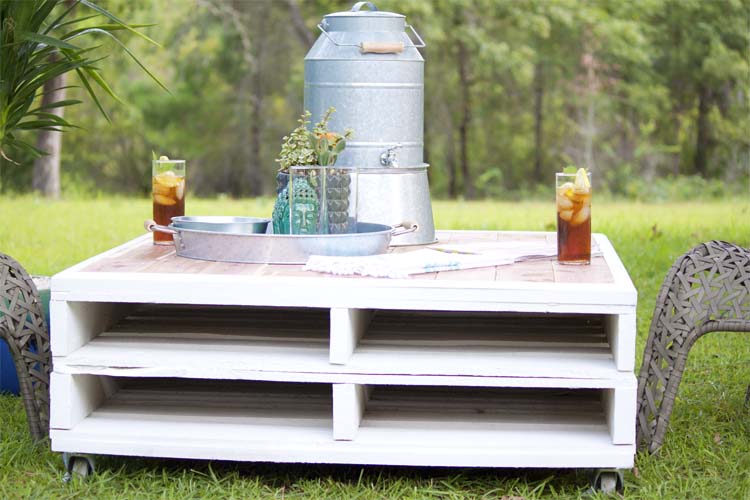 It comes with built in storage cubbies for magazines, books or whatever.
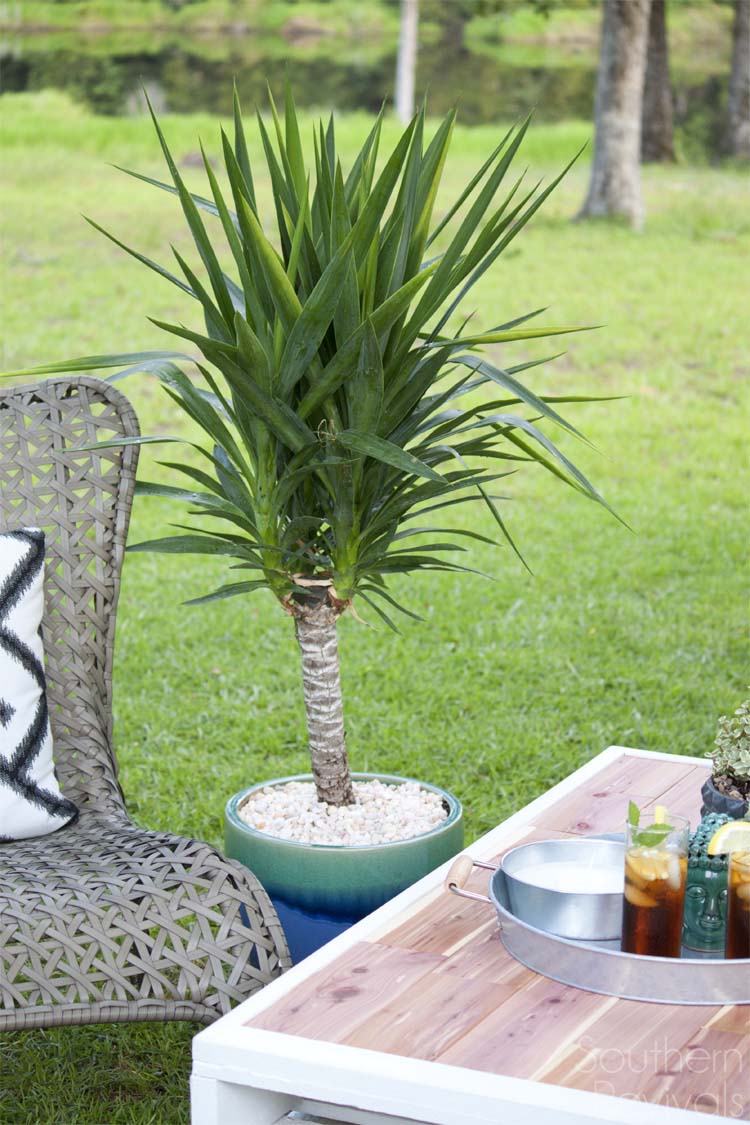 Having a large yard sounds wonderful in theory and it is. But it can also be difficult to put together little spaces for kids, adults, dogs, chickens, the pool and then bring them all together in a beautifully cohesive way. I’m working on it though!
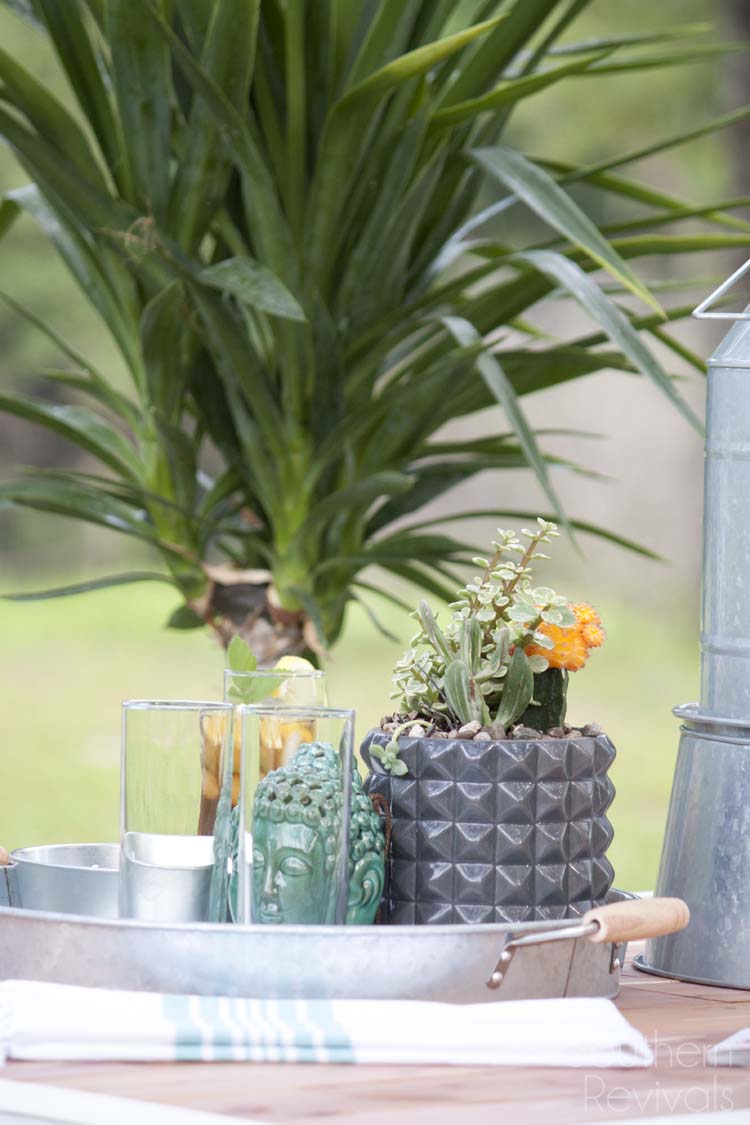 So it feels nice to finally be able to start on this, the outdoor, part of my home.
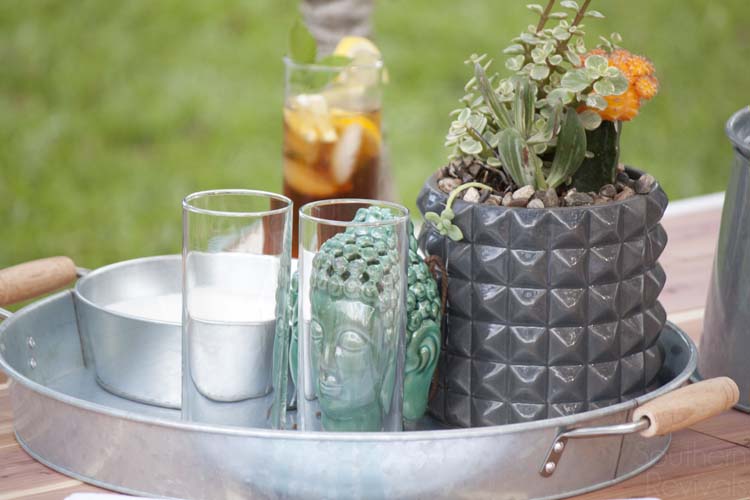 Not that I’m completely done with the inside.
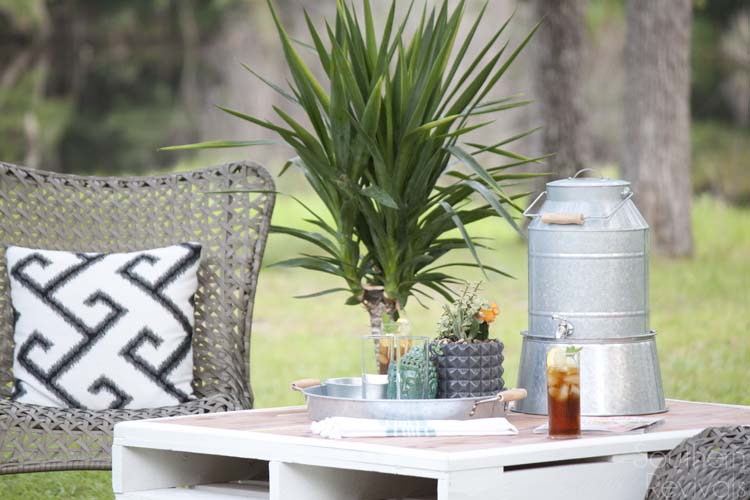 Far from it actually. But when your outdoor view is this nice, no one can fault me for wanting to go ahead and take advantage of it.
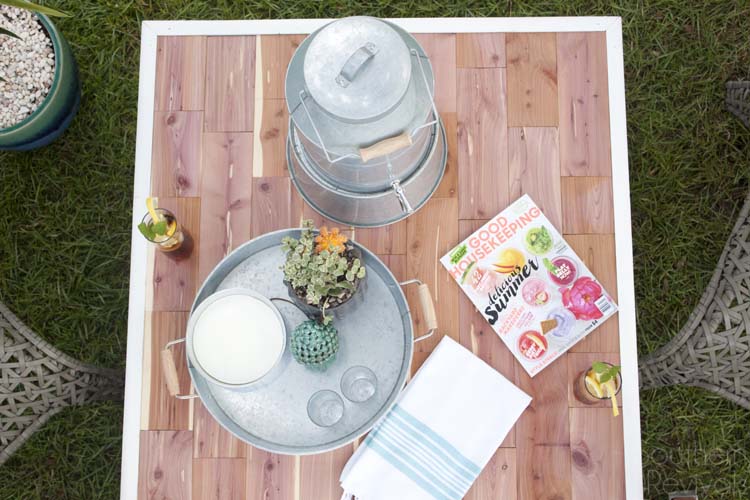 For me this photo says it all. Just look at that magnificent top!
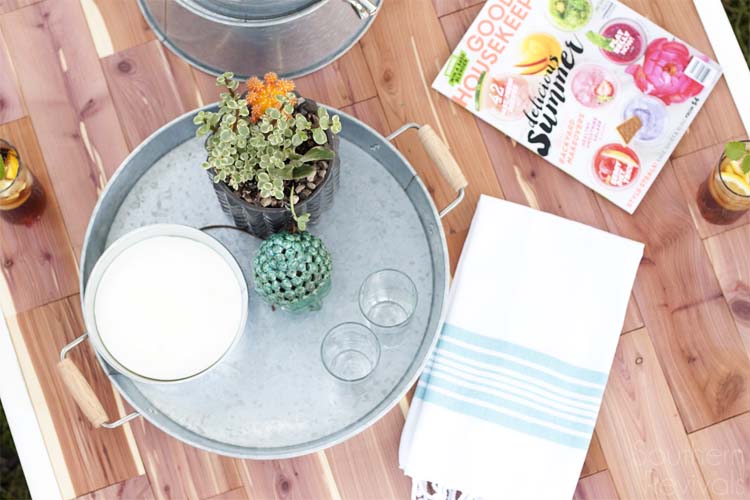 It has all the beautiful elements of Summer.
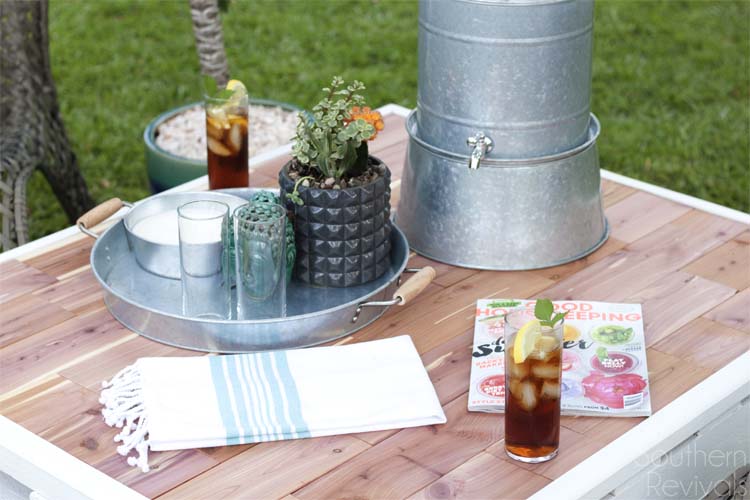 With a backdrop that I sometimes take for granted.
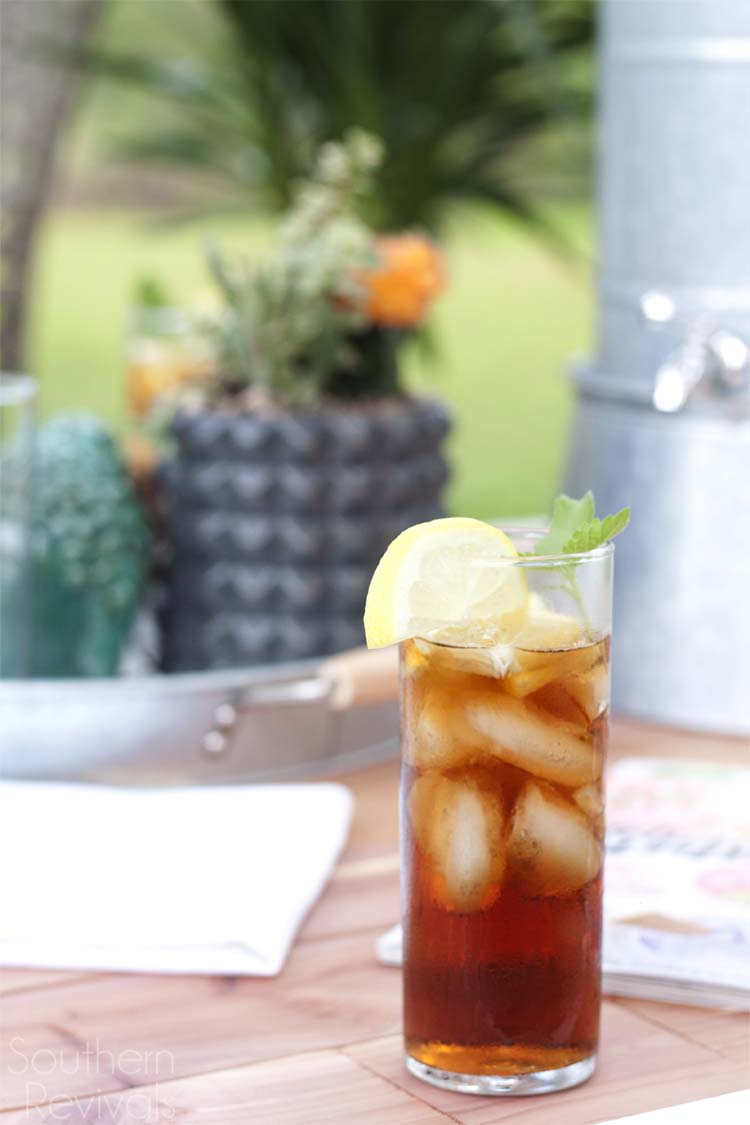 It’s summertime in the south so naturally sweet tea is a must, Tipsy Peach Sweet Tea if you’re adventurous!
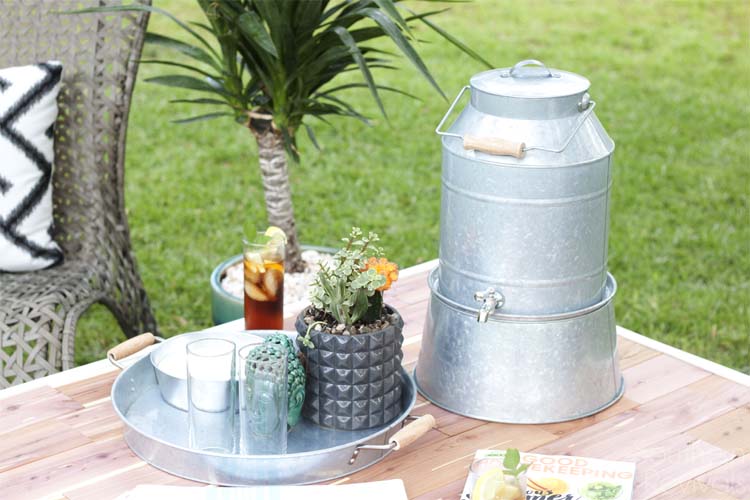 Then, if you’re lucky a cool breeze will blow in after a nice cool rain.
 The gnats will leave you alone, the kids will play without fussing and supper will cook itself.
 And even if that day dream doesn’t come true, you still have this lovely oasis to sit and ponder the purpose of gnats and whether anyone would miss them if they just spontaneously fell off the face of the Earth.
Could you use an outdoor coffee table or retreat space? Tell me about your dream outdoor oasis!



Yes, I would love for you to post a tutorial of your pallet table.
Thank you!
PLEASE post tutorial on how to make this gorgeous table out of pallets! I have a deck that is crying out for a table (or two) like this. Thank you for this great idea!
Will do! 😉
did you ever post from start to finish? Im just wondering if you put plywood on top of the two stacked or what. I need a block/train type table for the play room :p
I’m sorry, I did not. It’s basically two pallets stacked on top of one another. I used MDF for the top, since I didn’t originally plan on using it outside, but you can use plywood as well. MDF would be great for a train table top because it’s so smooth. Totally up to you though!
please post a tutorial for this
Hi Alex! Thanks for your input. I will definitely try to put something together on this. Thanks again!
I would love to have a full tutorial on this project! My furniture just finally gave out and love this look!
As soon as I can find some suitable pallets I’ll put one together. Thank you!