This post brought to you by Faultless/Bon Ami Company. The content and opinions expressed below are that of Southern Revivals
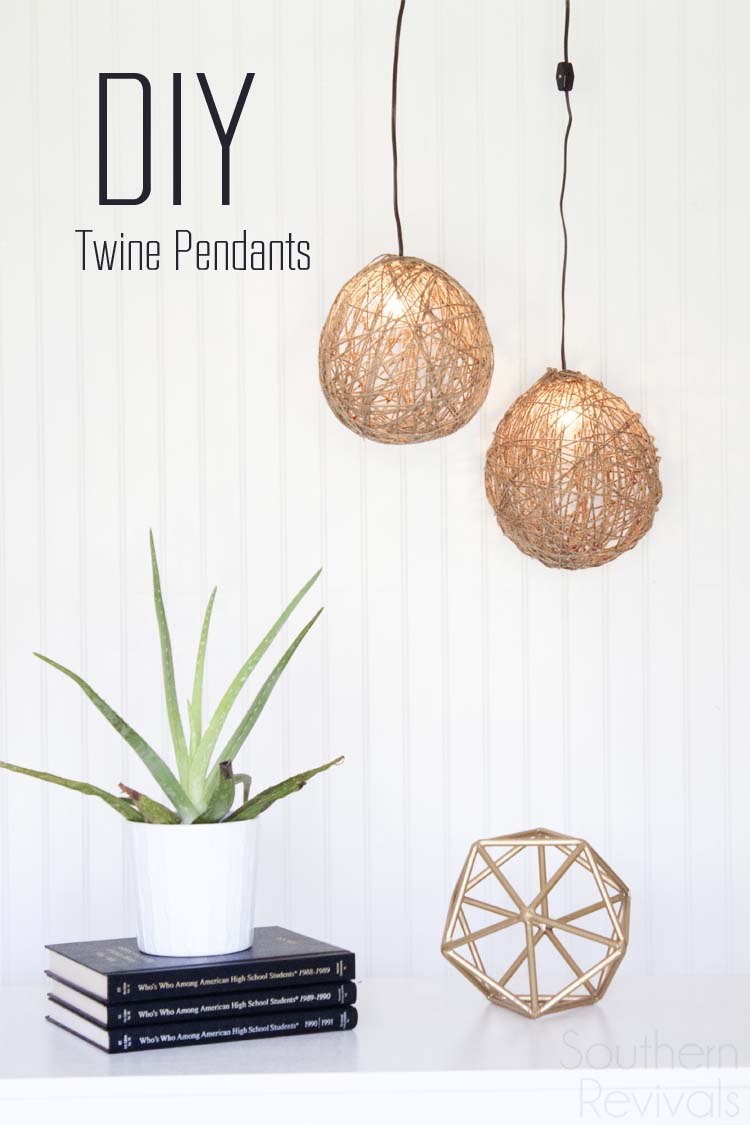 Starch can make your iron work wonders. Turns out, it can also work wonders with a balloon and some twine, too. Here’s how to save yourself some time on ironing and how to create a stunning and modern DIY Twine Pendant Light. All with a little help from Faultless Starch.
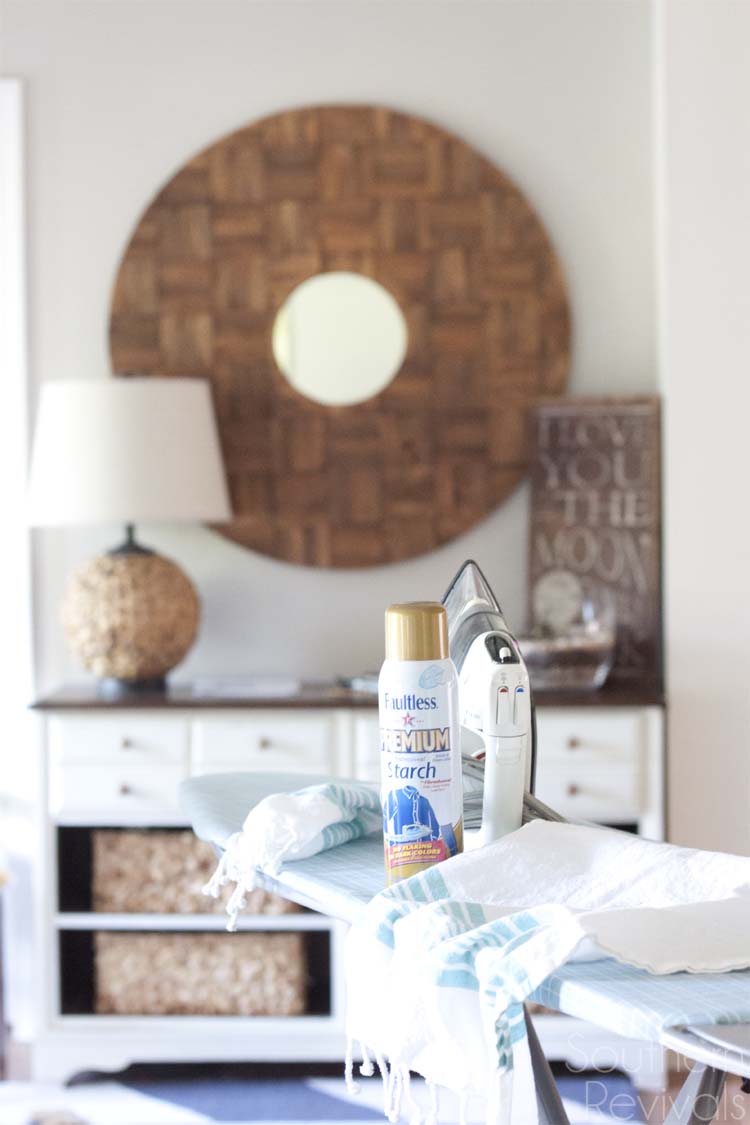 Ask anyone in my house and they’ll tell you I’m not necessarily the best iron-er in the house. That’s Daddy. Up on Sunday morning ironing out the wrinkles my tricks with the dryer couldn’t manage.
 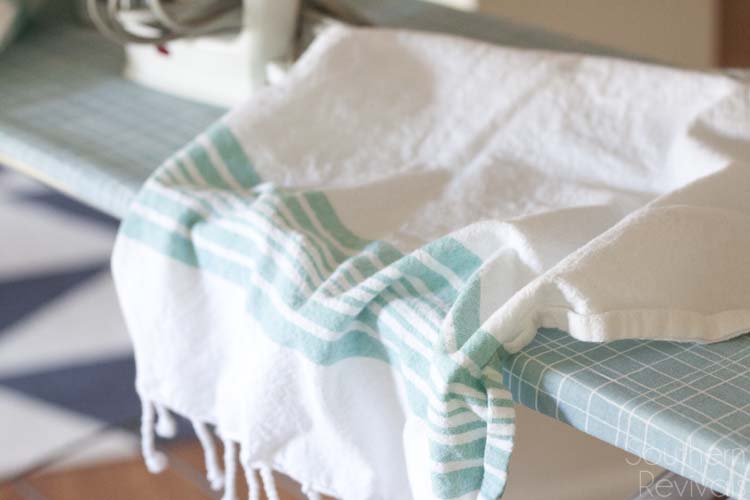 Like these jacked-up collars. You could always send your kid to church or school and pretend they’re popping their collars on purpose. Or you could iron and iron and iron them only to have them slowly shrink back in just like the Wicked Witch in The Wizard of Oz after water was poured on her. Or….or you could starch those bad boys back into their taken-for-granted subservient positions and save yourself a little time with Faultless Premium.
Growing up we always had Faultless starch on hand. My mom was the ironing queen. She actually liked it! And I cannot image why since it had been her job growing up to starch the family’s linens and her father’s underwear!Then I became a mother and a blogger and these collar incidences kept cropping up and I hated that they were getting the better of me. Then I remembered my mother’s starch. Always sitting on the side of her ironing board. Every. Single. Time. 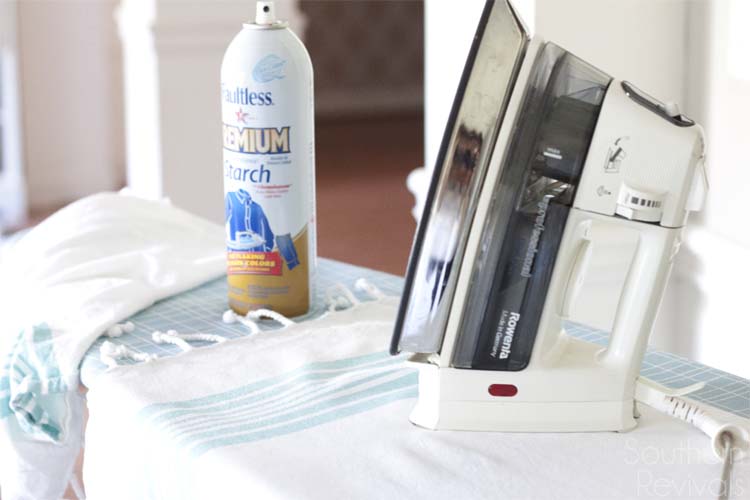 I worried it would make everything stiff. It would gunk up my iron or flake off the fabrics. Or, the bottle would clog and I’d spend my time trying to fix that instead of ironing. But that isn’t what happened at all. It made our clothes look new and smell even better. Plus, ironing took less time. That might be my favorite part. And I had no idea starch came in varieties!
  All of those cute Turkish towels I’d buy and dread washing because “they’d never look the same again” had the crisp, clean and fresh from the store look all over again. Then I was a convert. And suddenly I worried next I’d be starching my husband’s drawers, I might be liking this a little too much.
Then I realized, as any DIYer worth her salt does, that everything has at least two purposes, if not a thousand. And starch is no exception. Especially since there are varieties for every different kind of job you could want them to do. From linens, delicate clothing, Turkish towels, jeans…to DIY! 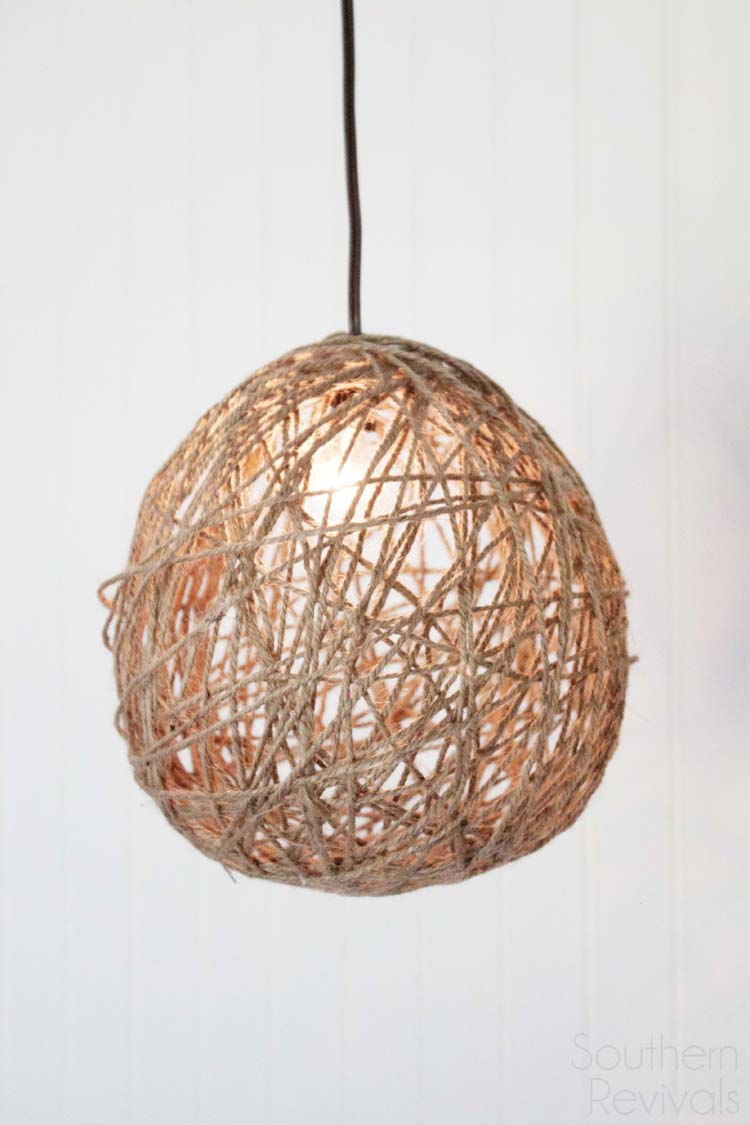 Supplies:
- Balloons, blown up to varying sizes
- Twine
- Faultless Starch Heavy
- Scissors
- Needle
- Pendant light kits
- Globe bulbs (10w)
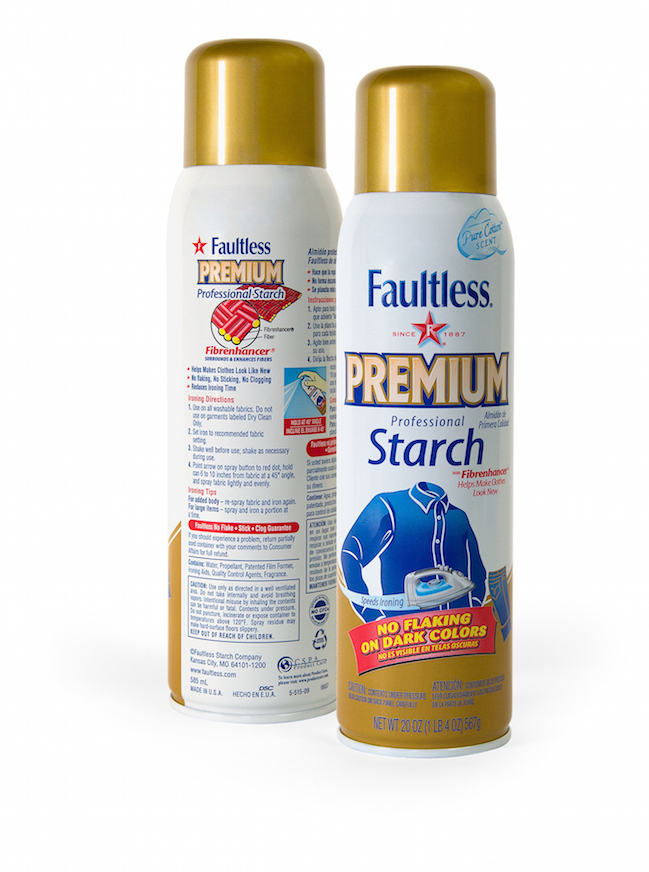
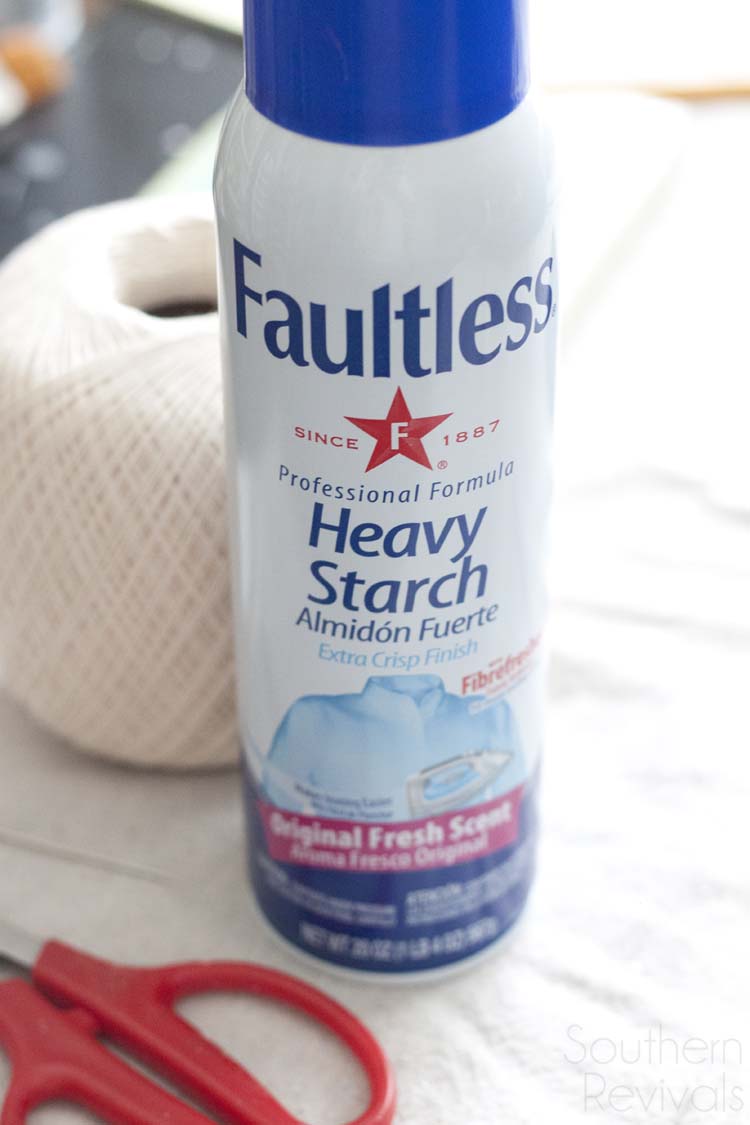 For this job you’ll need the Faultless Starch in Heavy.
 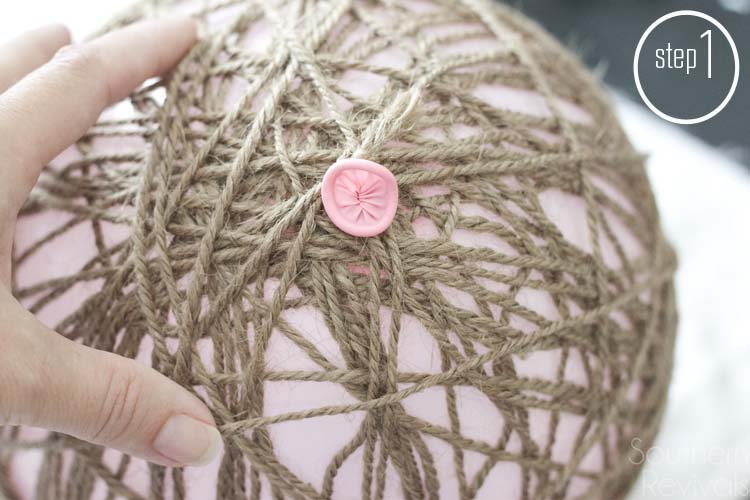 Start by blowing up your balloons to various sizes. The larger the better but not too tight. Then tie the end of the twine to the end of the balloon. Spray the balloon with starch and begin to wrap your balloon from top to bottom with twine, not too tight though or it will pop.
Then once you’ve gone around several times it should be secure enough to start moving in a random pattern. Don’t over think it. It should be really easy. Spray, spray, spray thoroughly with starch each layer and thoroughly again once done. 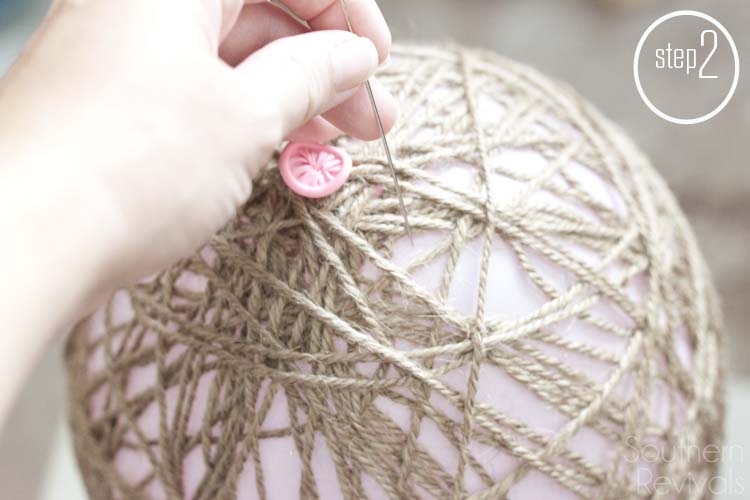 Allow to dry overnight then, using a needle or sharp object, pop the balloon.
 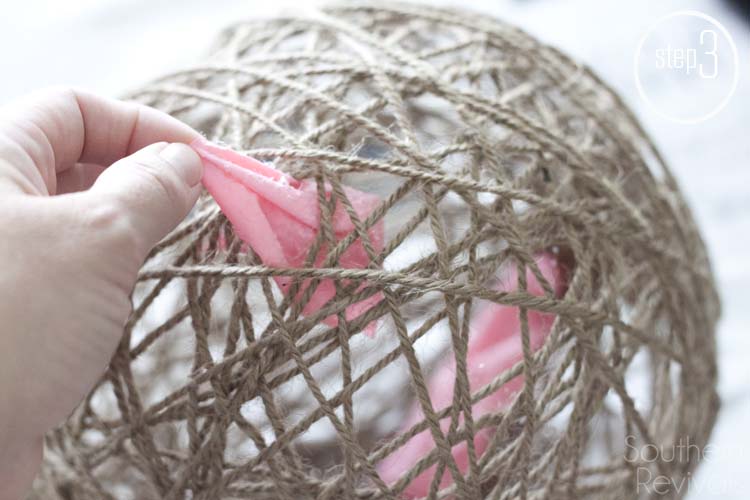 Pull out fragments, discard.
 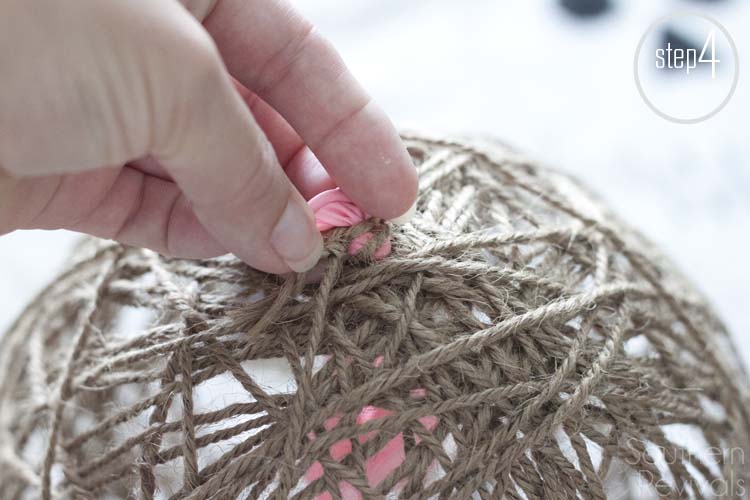 You’ll be left with the end of the balloon where you initially tied the twine. Snip the top of this off to make it easier to pull the remaining though.
 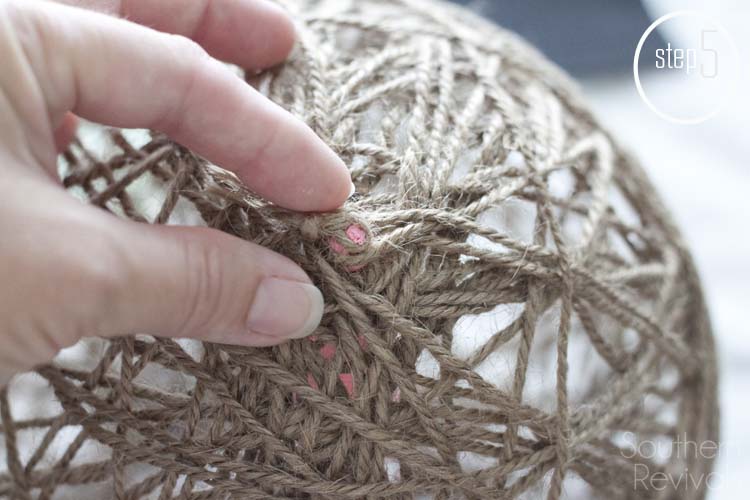 It should like this. You may have to work a little to loosen it from here but it should pull out pretty easily.
 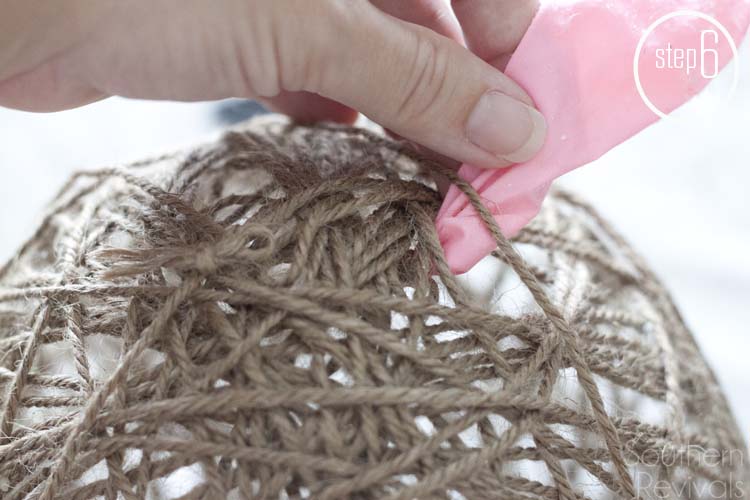 Pull out and discard remainder of balloon.
 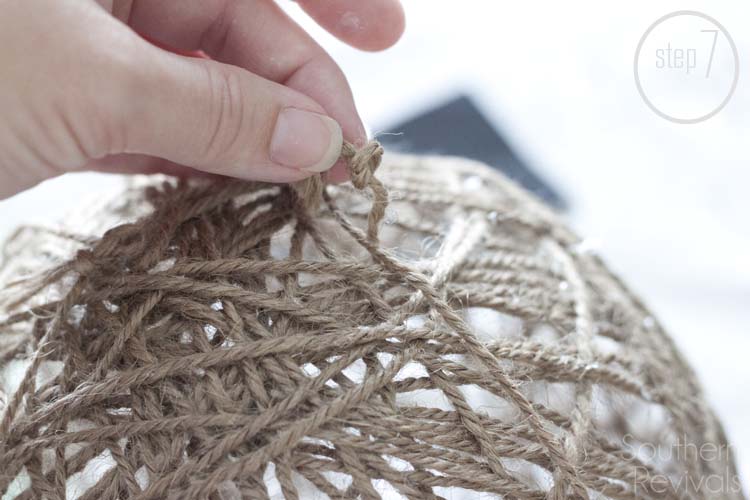 You’ll be left with a the little knotted end. Simply tuck it in…
 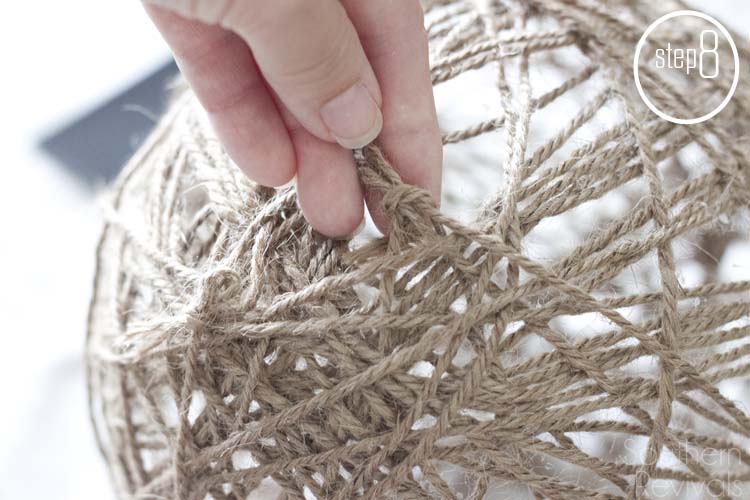 Wrap it around another thread, if necessary, to keep it in place.
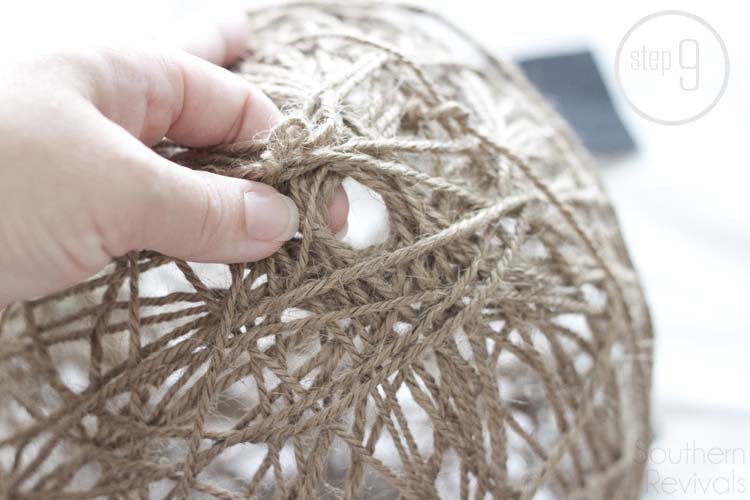 Gently pry the area where we just removed the remainder of the balloon apart to create a small hole.
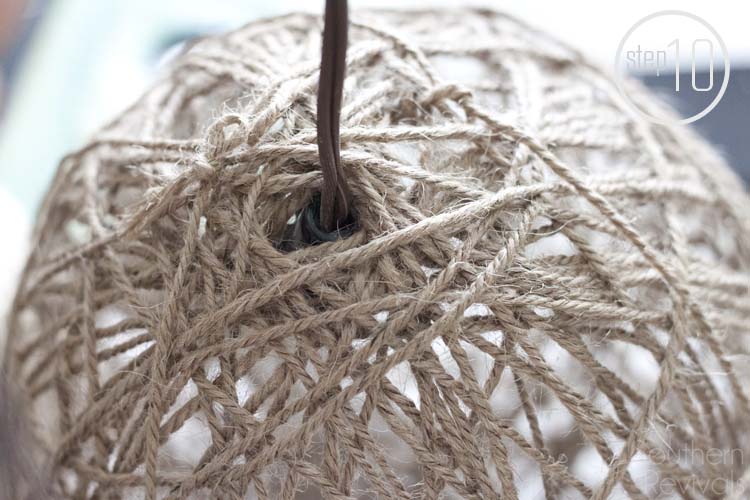 Insert your pendant lighting kit saving the bulb for last and adding it in through a larger opening around the side. This will save you from having to create too large a gap here.
 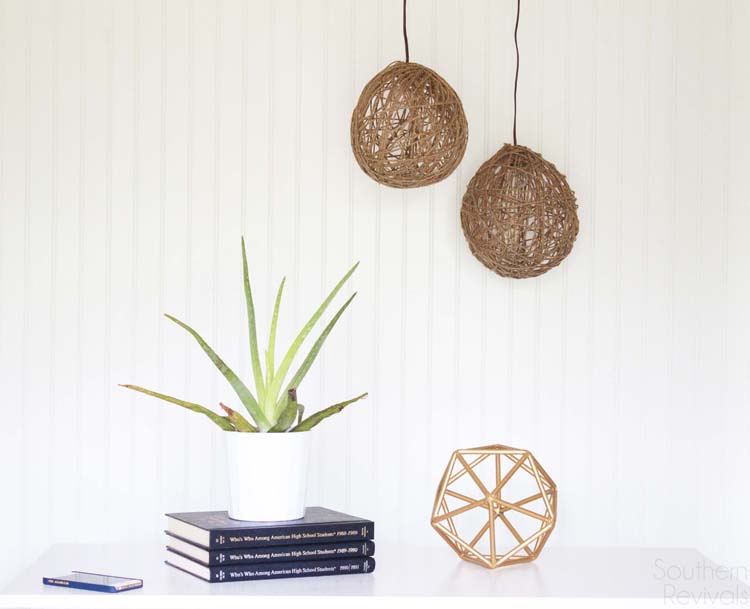 Now, all you’ve left to do is hang and enjoy!
  Still no sticky mess or clogged up nozzle.
 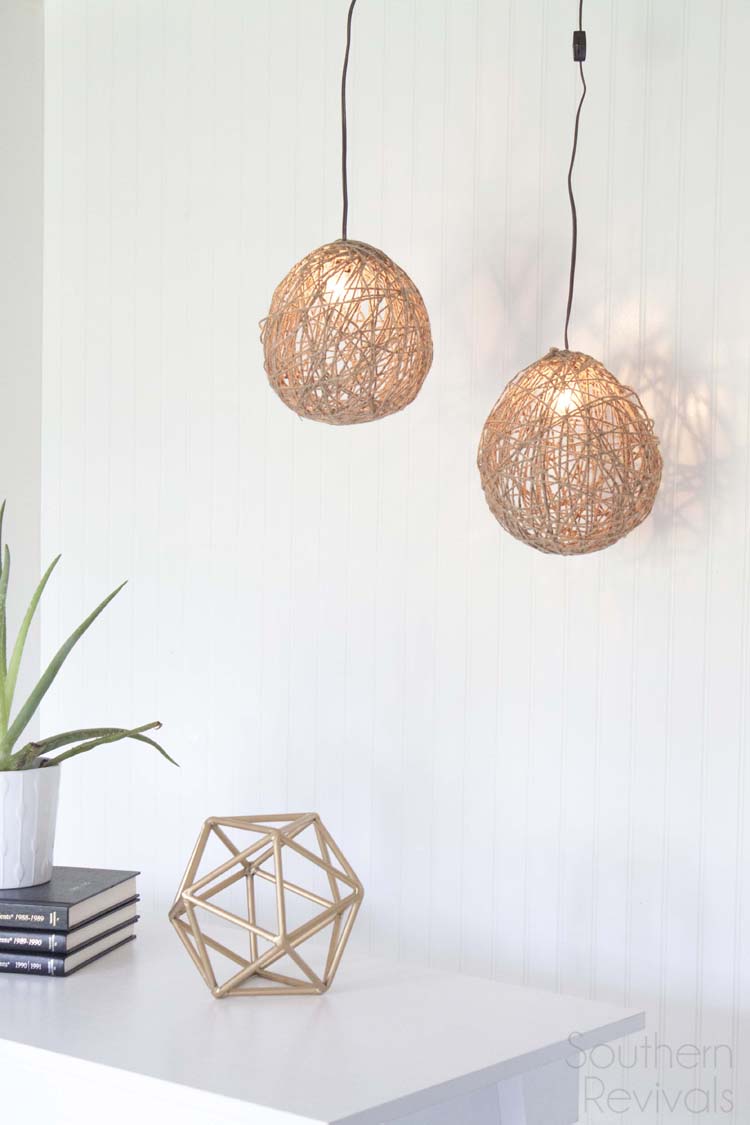 But plenty of hold for these stunning beauties!
 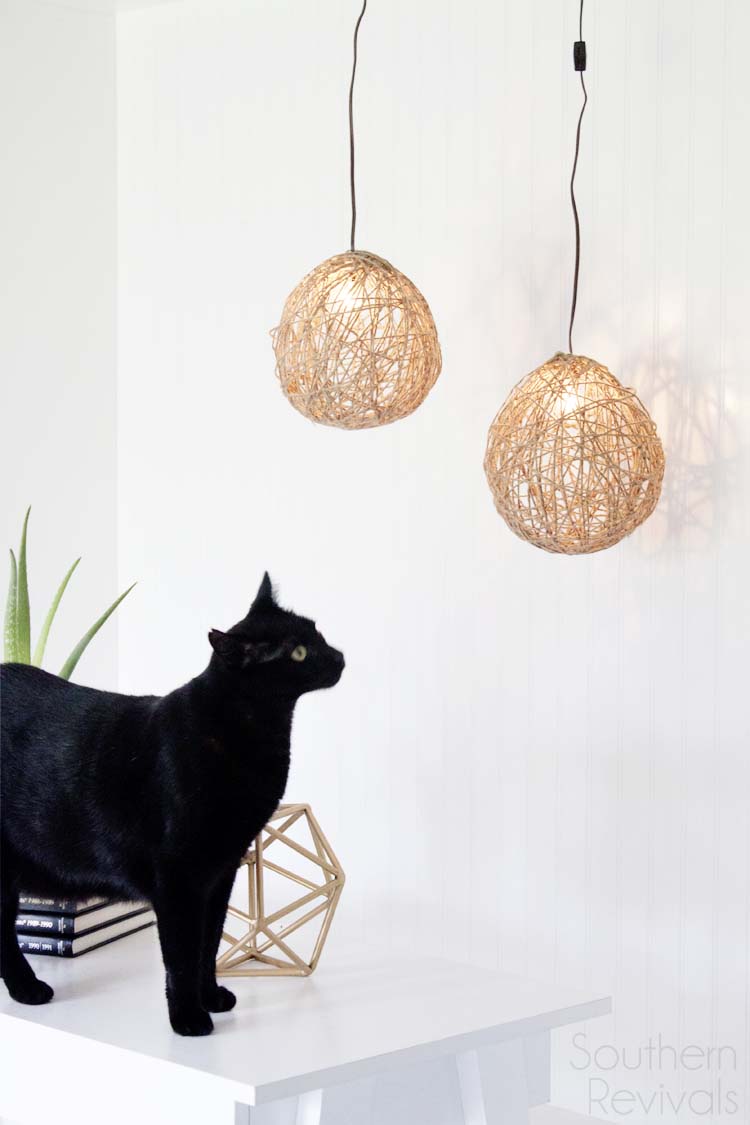 Cat approved.
 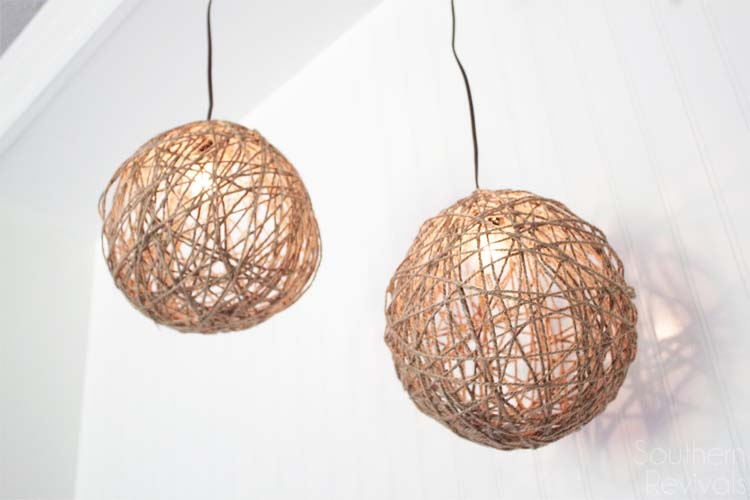 DIYer approved.
What about you? Want to save some time on the dreaded task of ironing? Check! Want to make some really cool DIY Twine Pendant Lights for around $10 or less, each? Check! Faultless has you covered.


These are so cool, Jamie! And so much less messy than the glue version you see floating around on Pinterest. Love ’em!
Yep. I did this bare-handed! No sticky mess. Thank you!