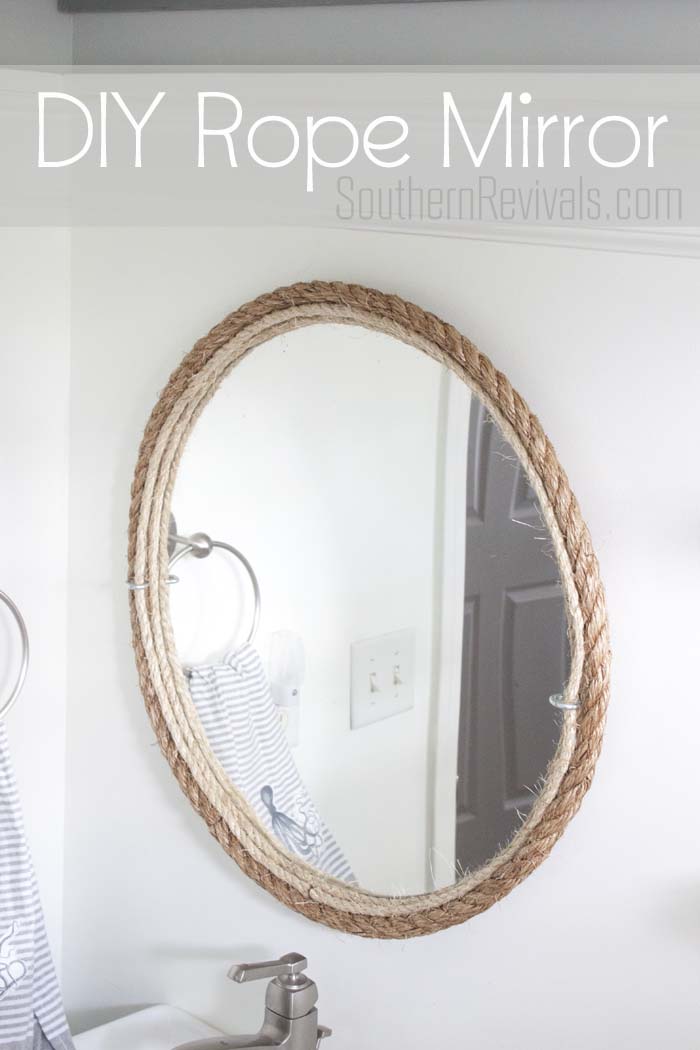
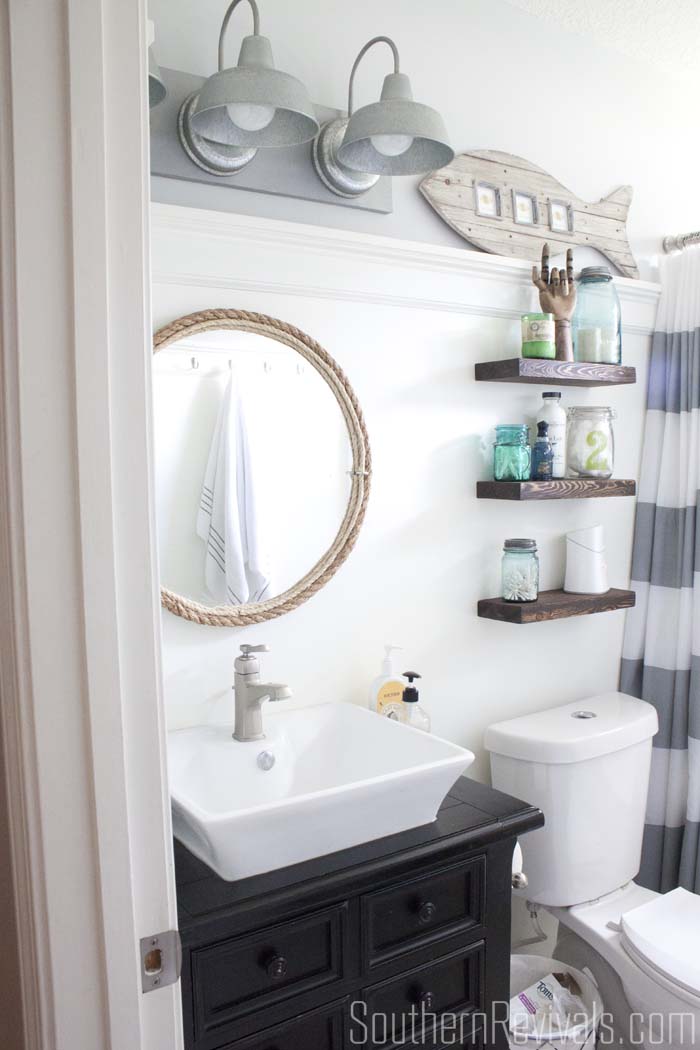
 I had searched everywhere for the perfect mirror for our boys’ nautical style guest-friendly bathroom makeover. I wanted something nautical without being over the top. I always wanted something that didn’t cost a fortune.
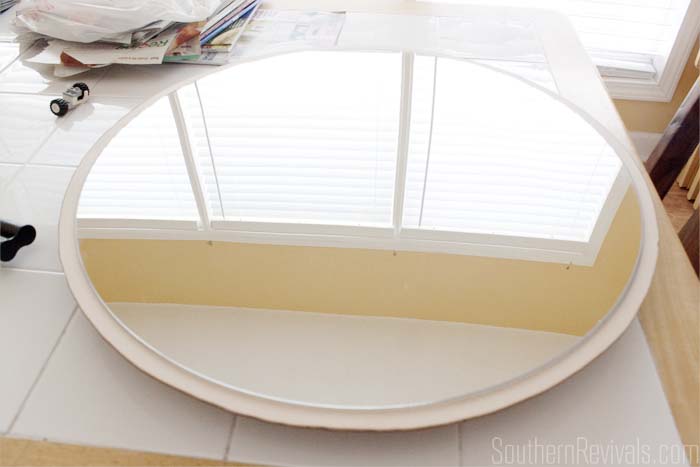 Then one day I was driving past a junk store on the side of the road and I spied a rectangular mirror propped up on the outside of the building. I didn’t want a rectangular mirror but I decided to stop anyway. It was $5 so needless to say, it was a done deal. I spent more having it cut ($15) into a circle. The rest of the supplies I pretty much already had on hand.
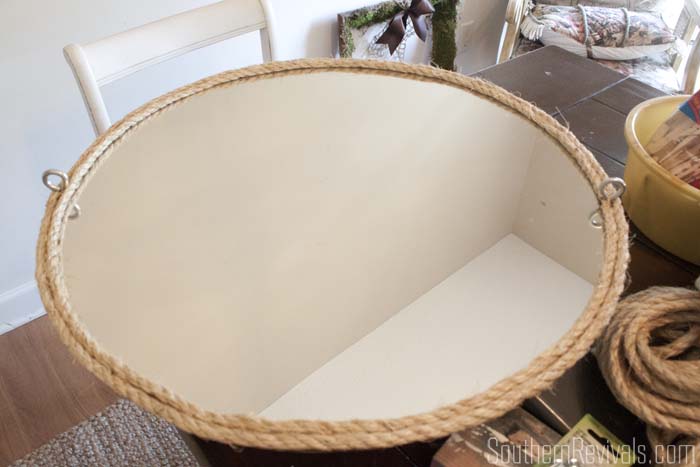
I used the 1/8″ plywood that I had on hand from my niece’s entertainment center turned play kitchen. I used a jigsaw to cut a circle just slightly larger than the mirror itself. I attached the mirror to the plywood using construction adhesive. I also added two strips of scrap wood to the back to allow it stand away from the wall a bit. I added two d-hooks to those for hanging.
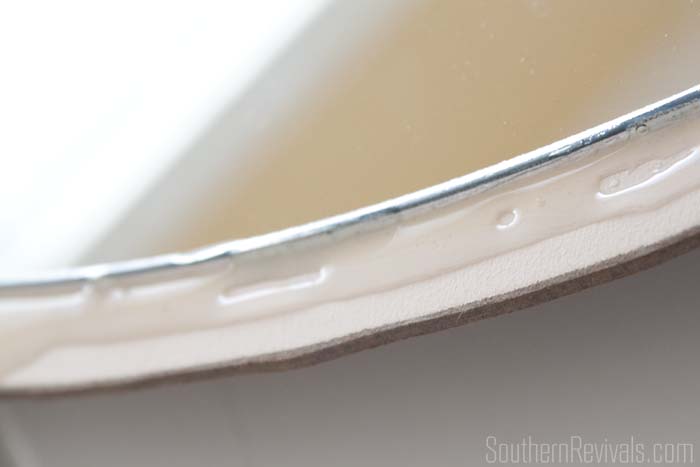
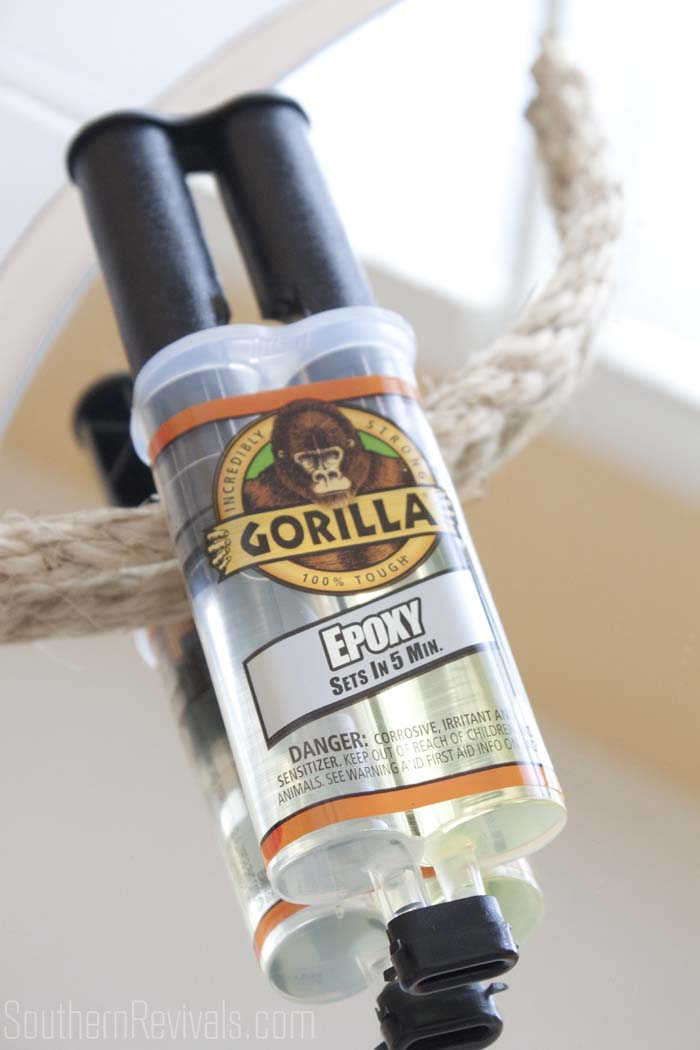 I added a bead or two of Gorilla Epoxy on the wooden edge around the mirror.
 I had some rope on hand already and pre measured it into strips that fitted around the outside of the mirror.
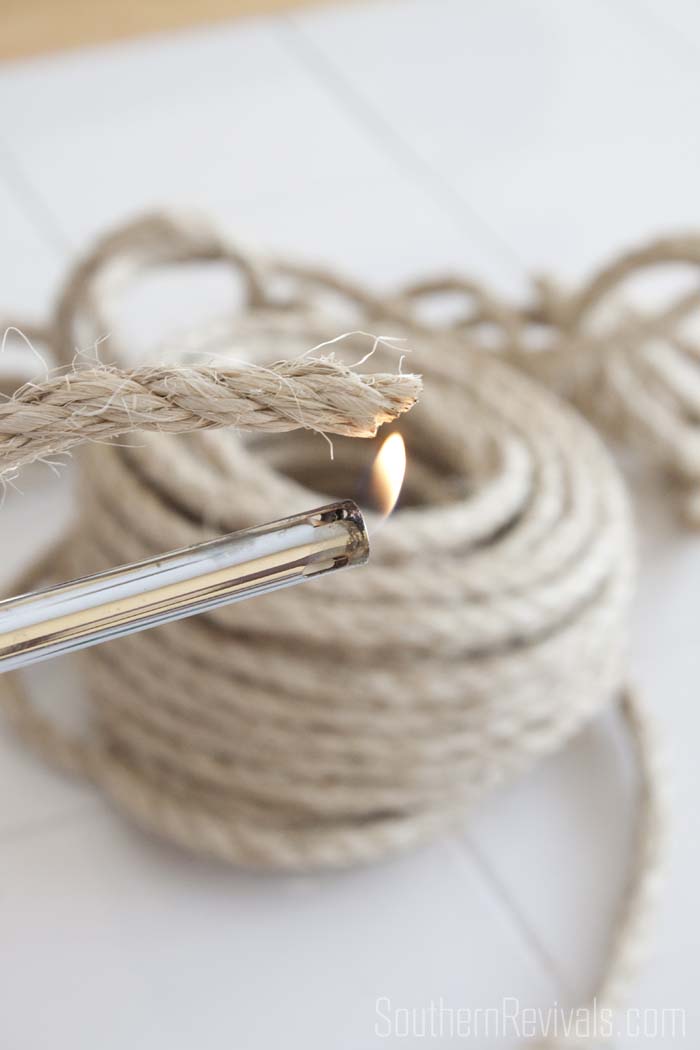 After I cut each of the rope strips I heated the ends to keep them from fraying.
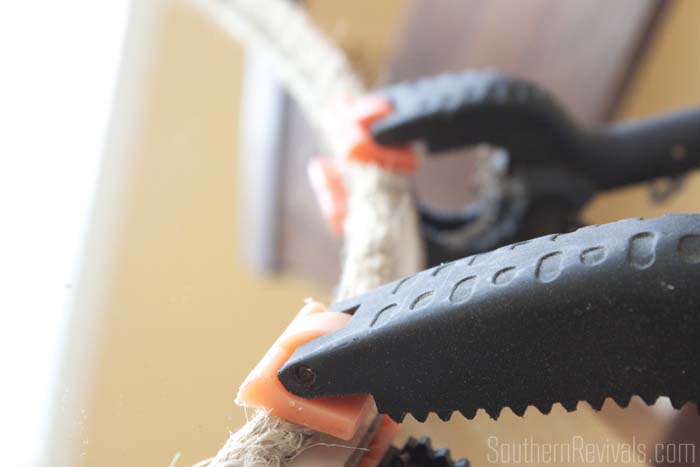 I clamped each strip down and allowed it to dry before applying the other.
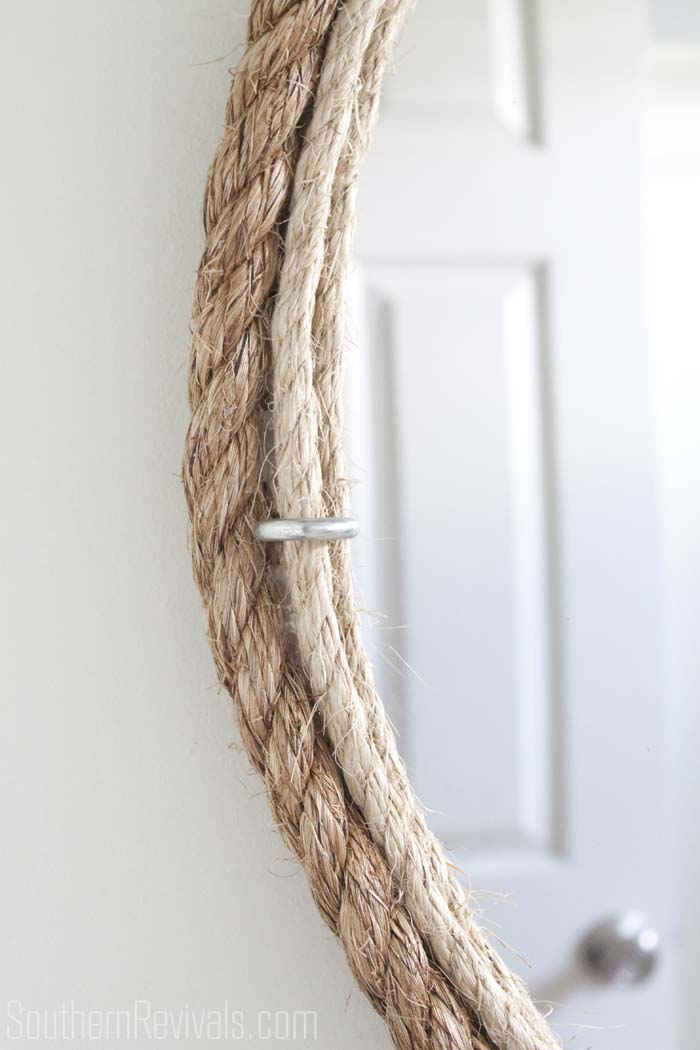
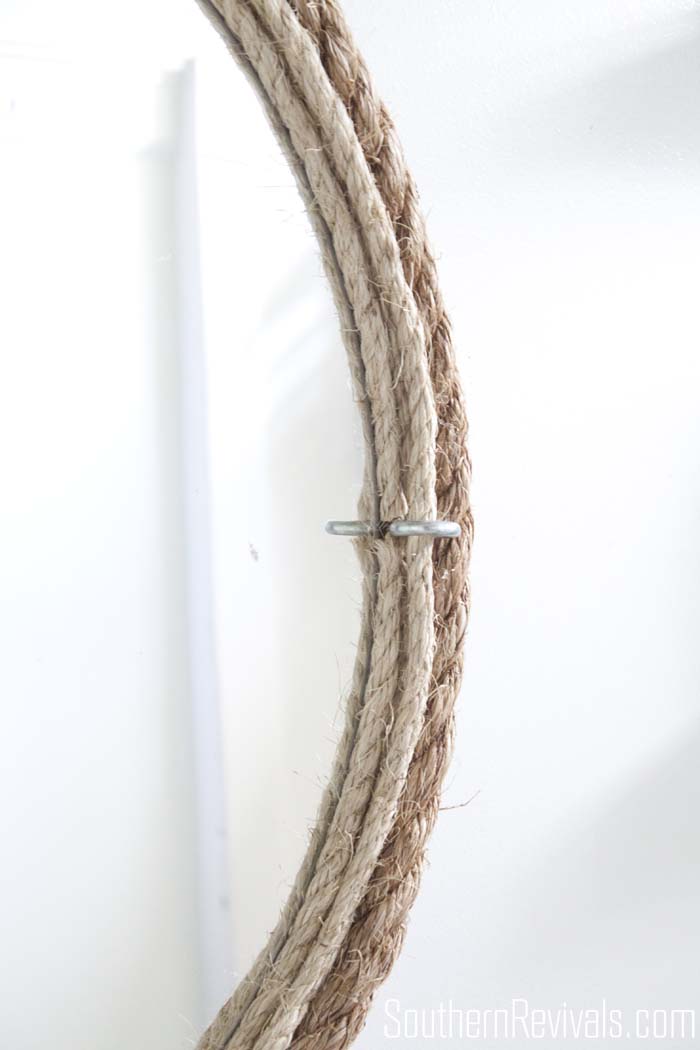
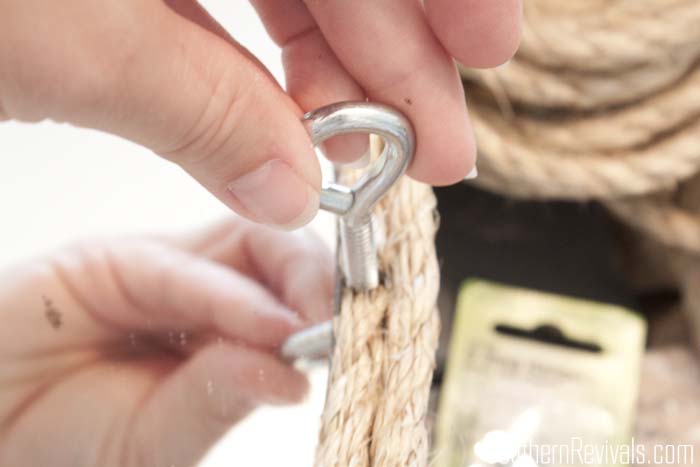 Once all of the ropes were in place and dry I drilled a hole for some eye hooks and attached them.
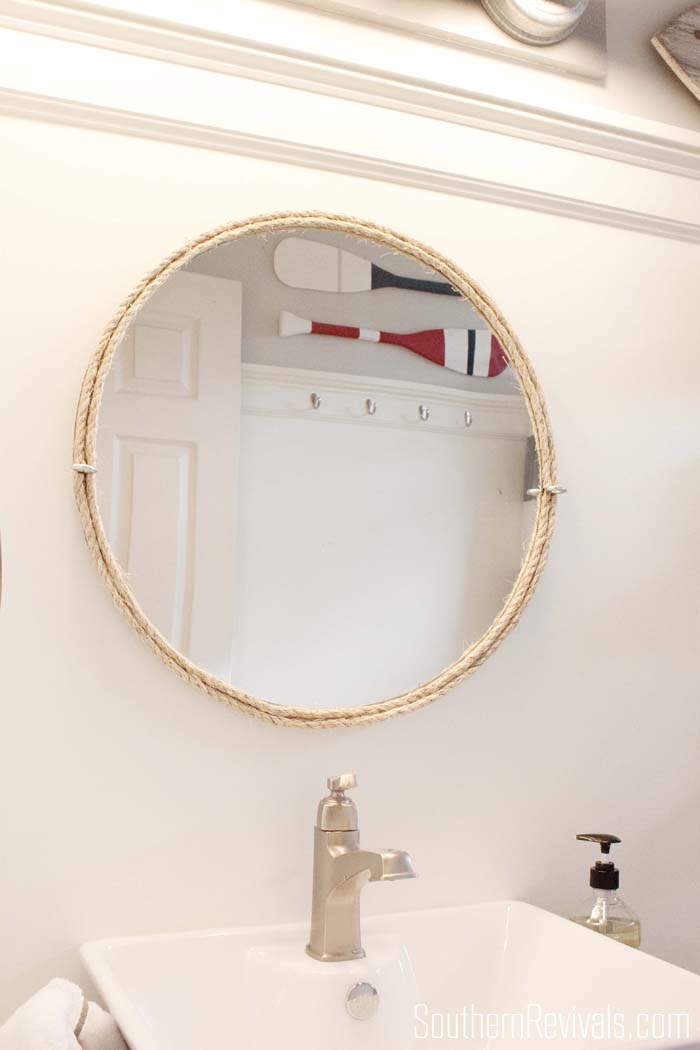
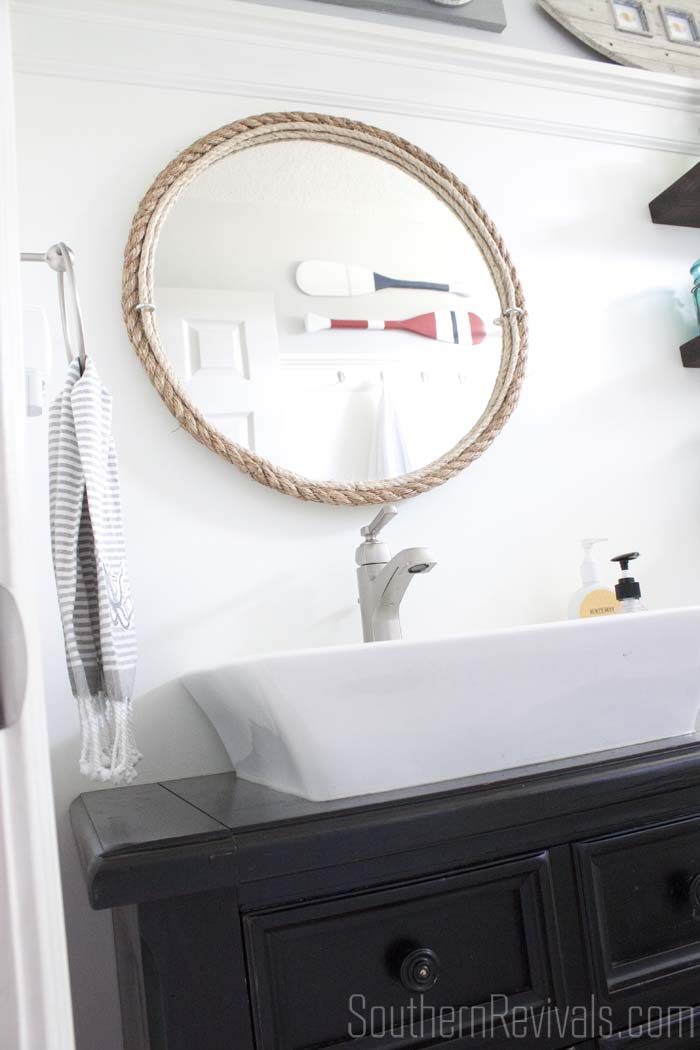
 I wasn’t sure if I was done with it yet but I decided to hang it anyway.
 I liked it, but it needed…..something. I lived with it for as long as I could. Then one day while I was at Lowe’s I had an idea.
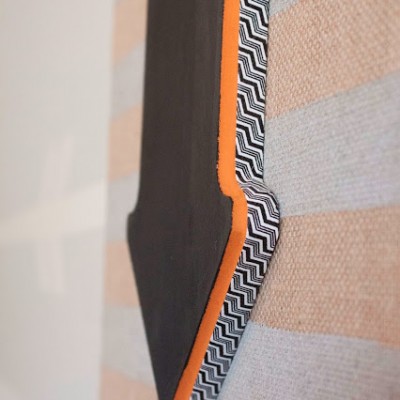
 It was a larger, thicker and slightly darker rope than what I had used initially. 6 ft of it only cost me a little over three bucks.
 I added the new length of rope as well as another strip of the original rope.
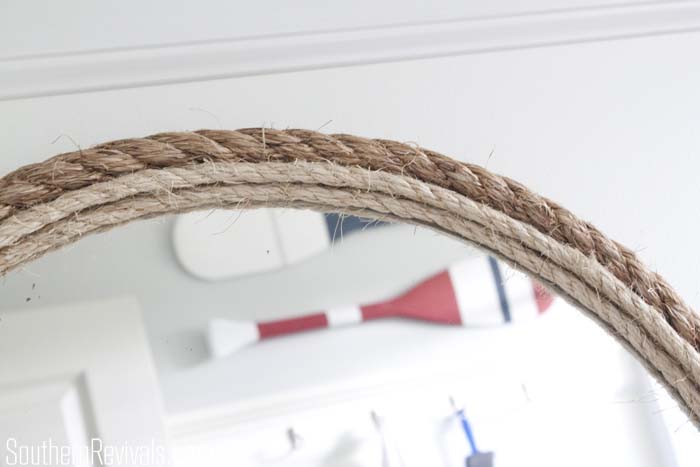 It looks so much more substantial and finished. Not to mention that the variation in color adds interest.
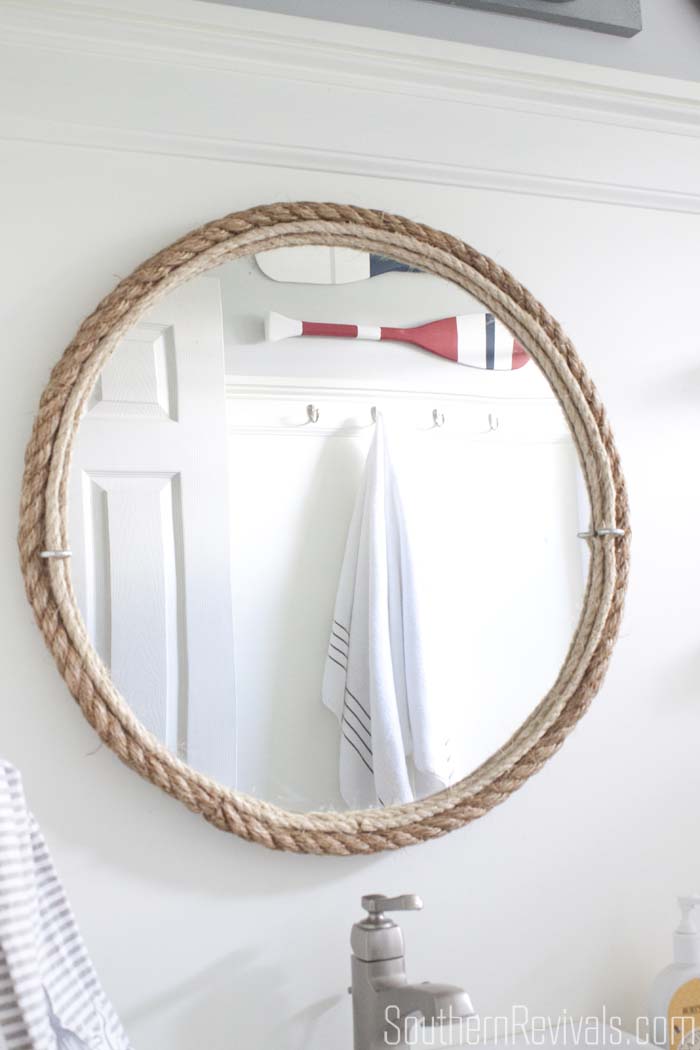 I am finally satisfied with it.
 That doesn’t mean I’m finished with it mind you, but I do like it ever so much better.
 And it still only cost me around $20!
 That’s a pretty good deal if you ask me!
I like to save money every chance I get but I don’t like to sacrifice style to do it. What about you? What your favorite way to save money without making too much of a sacrifice with your design?


I love this, the whole bathroom is such a stunner, but I totally want to make a mirror like this… I even have an old round mirror hanging out in my garage. Pinning and sharing on my FB page this week!!
You are so sweet to me! Thank you!
Btw, I wanted to try your ideas so I got this great little galvanized dock cleat. It didn’t work for me to hang the mirror from but I did use it on the back of the door for a robe hook. I love it! 😉
Hi I want to know how you attached it to the wall. Did you glue it?
Tnx
Rose
Hi Rose,
I attached D-hooks to the back of the mirror and hung it onto anchored screws in the wall. Hope that helps!
Hi Jamie
lovely mirror thanks fir inspiration!
i was wondering what are the eye hooks for?
Cheers:)
Ewa
Thanks, Ewa! The eyehooks are for the rope to go through and help hold it in place. But they’re really just decorative.