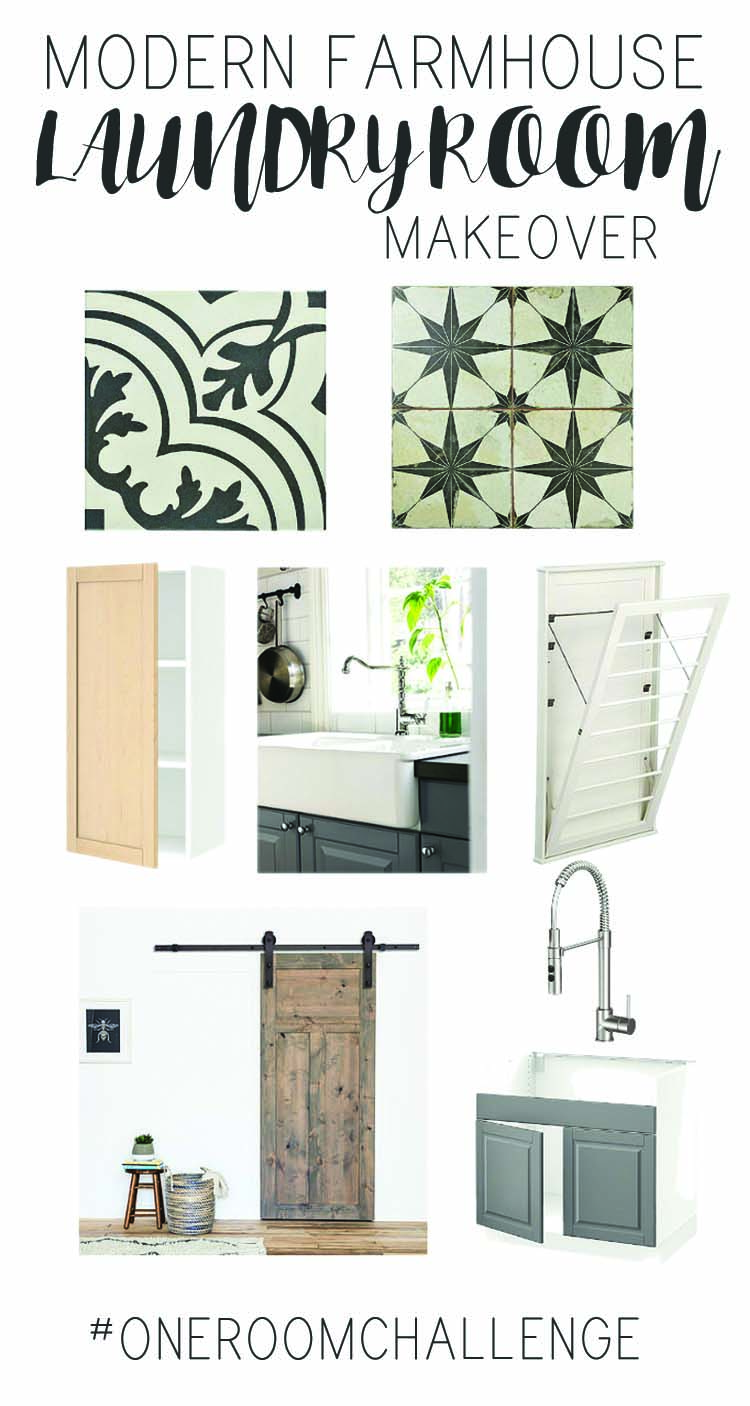
I will warn you now, there’s a lot more ugly than there is pretty in this post. But this is a really intriguing process since it deviates entirely from the way that I normally share a room makeover. Usually, you get all the pretty first in a reveal along with a few not-so-pretty befores. Then you get all the details and DIYs in follow-up posts. But for this modern farmhouse laundry room makeover I’m joining the One Room Challenge by Calling it Home and for six weeks you get to follow along as I tackle this makeover. You’ll get every detail…starting with the not-so-pretty befores.
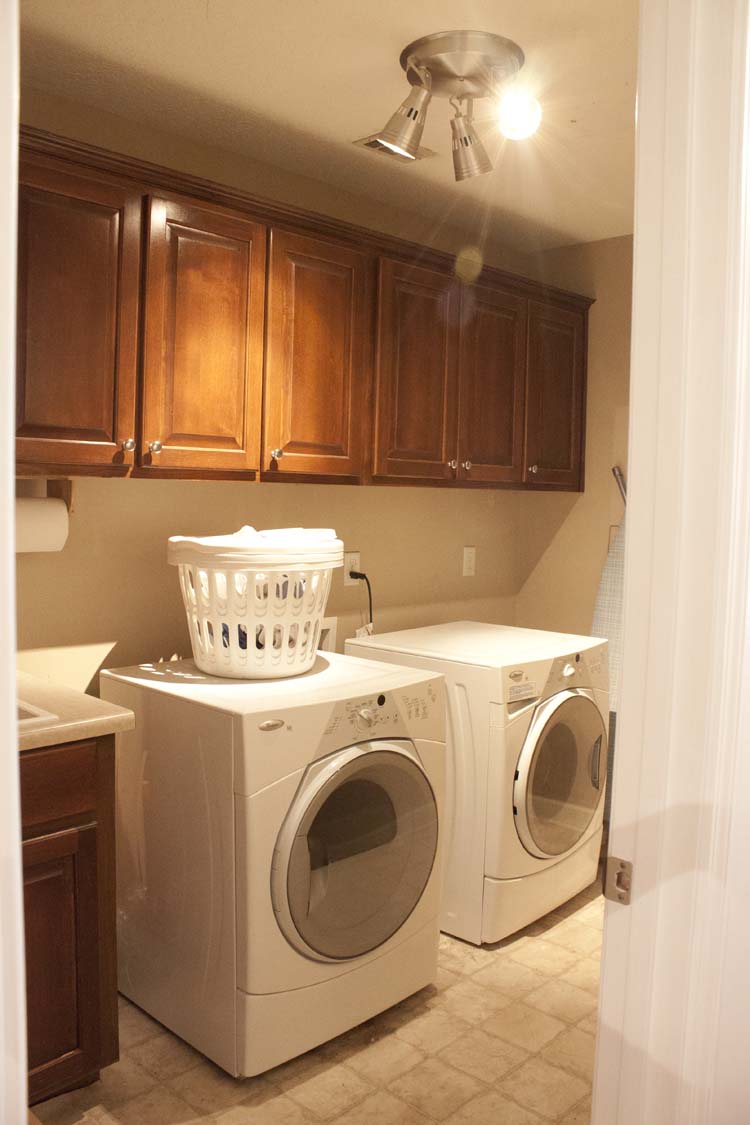
Aside from knowing that the very first picture is the prettiest one you’ll see in this post, you should also know that I am notorious for changing my mind. Repeatedly. That’s probably the reason I always show you the after first. But it’s also the reason I find this challenge so intriguing and I hope you will, too.
And possibly even a little frightening since you’ll get a pretty good glimpse of my mind works during the process!
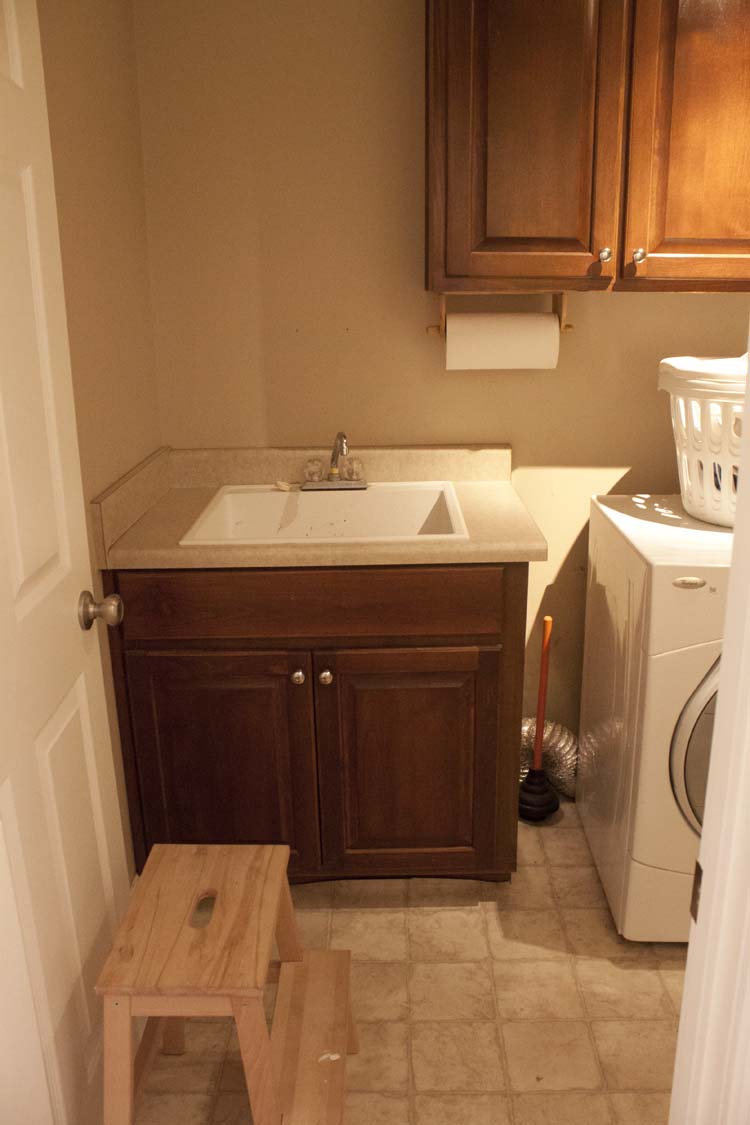
As soon as I shared a couple of these pics in a blogging group my fellow bloggers commented on the generous amount of cabinets which immediately made me nervous since, in my mind, these were the first things to go.
Don’t get me wrong, I love good storage as much as the next girl but I find that this room has way more cabinets than I need at the expense of some other practical laundry room solutions.
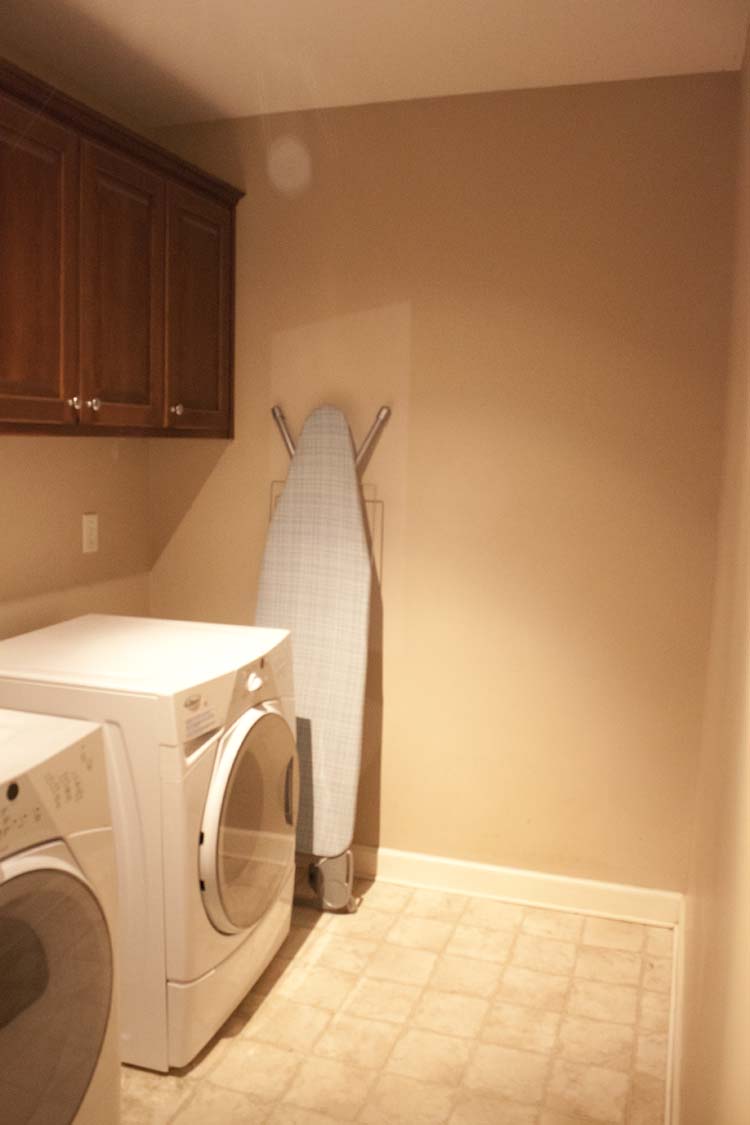
Like a place to put this ironing board…
I’ve noticed the more storage I have the more stuff I don’t need that I have. So in an effort to get organized and minimize my stuff, I’m looking for just the right amount of storage and better overall function.
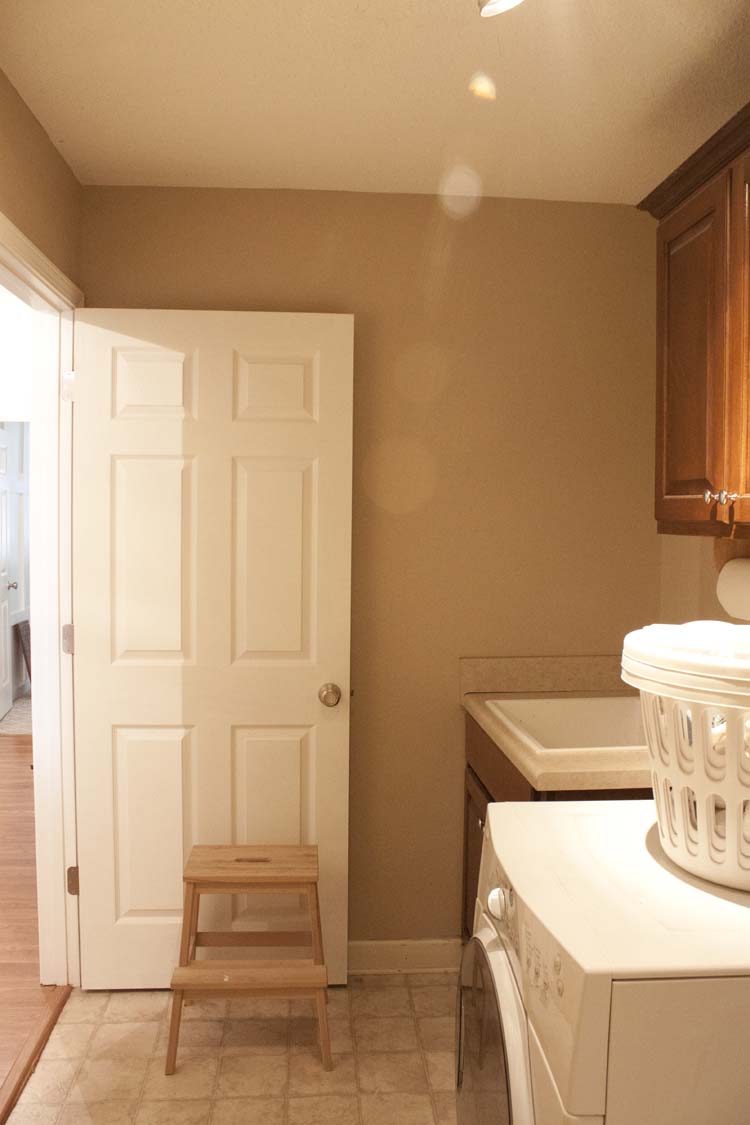
There’s a lot of wasted space in this room, too. I look forward to making every inch of it count.
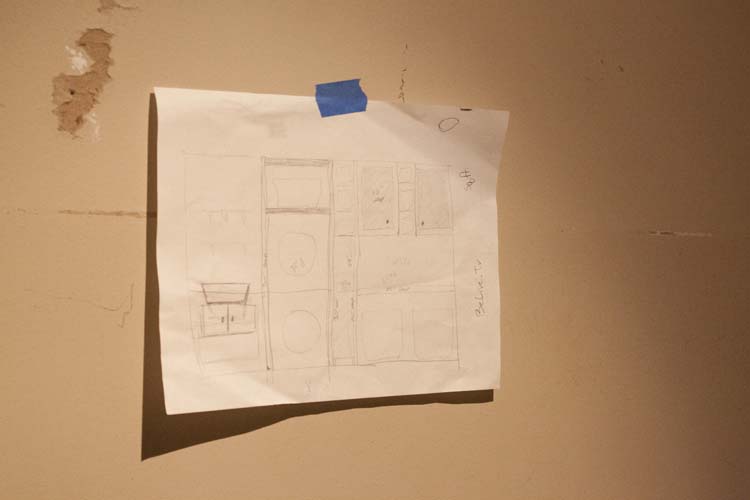
I’ve already told you that me changing my mind is pretty much a given. The above is the original plan that we drew up of the space.
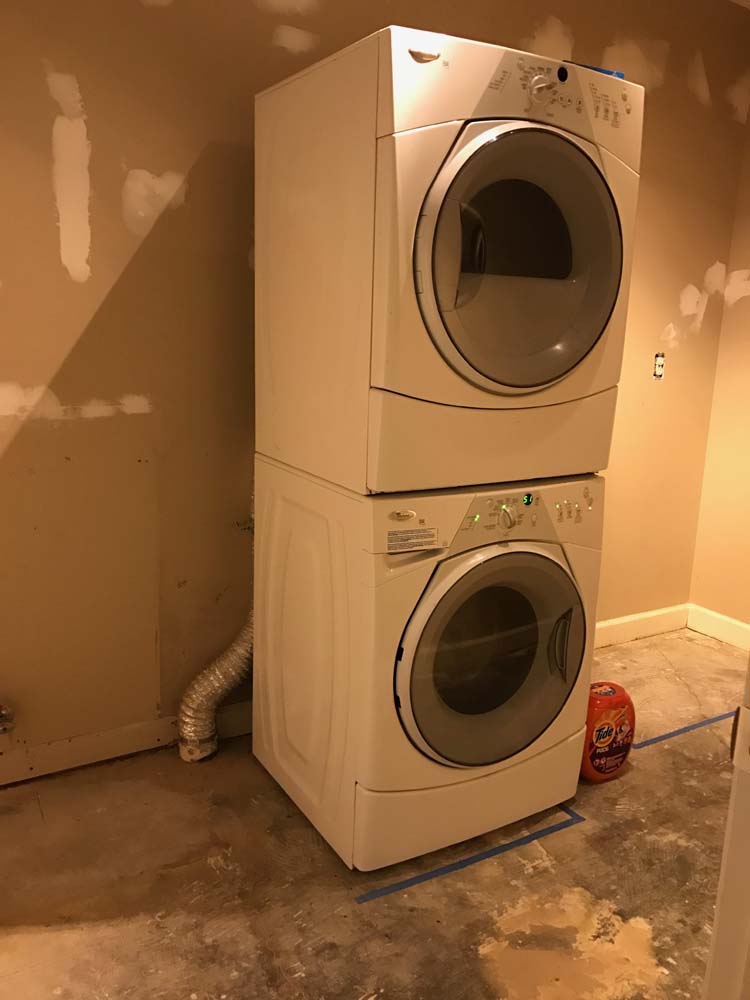
I have ALWAYS wanted to stack my washer and dryer. I lived with it approximately 12 hours before I realized it wasn’t going to work. I was sad but at the same time I had to stand on my tip-toes to put we clothes in the dryer, which got old fast, and something about their dominating presence immediately made the room feel smaller even though they were the only things in it.
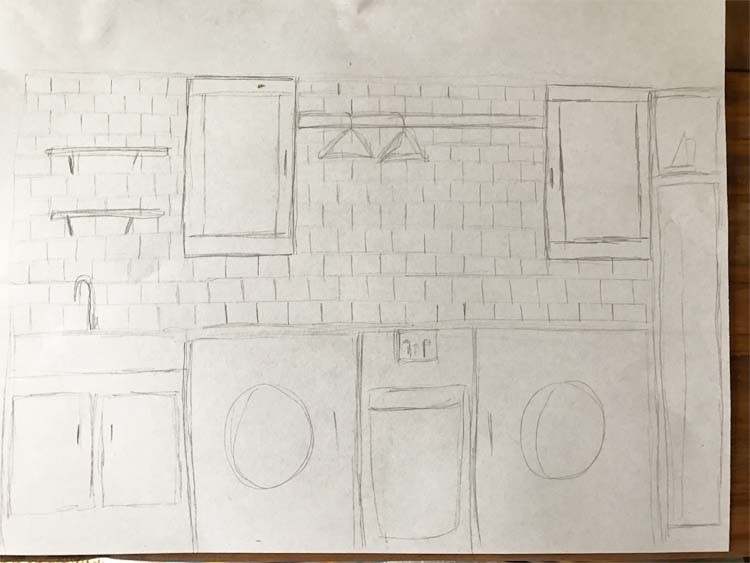
So…a new plan quickly formed and that got excited all over again.
MODERN FARMHOUSE LAUNDRY ROOM MAKEOVER | THE PLAN
*The following contains affiliate shopping links for your convenience which means I get a small commission from sales at no additional cost to you.
WHAT WE’VE DONE SO FAR:
- Made a plan
- Scrapped it
- Made another plan
- Removed linoleum – this wasn’t fun but my heat gun made it so much easier.
- Patched concrete and prep for tile
- Removed cabinets
- Patched walls
- Painted walls
- Removed old door and door casing
WHAT’S LEFT TO DO:
- Tile/Grout floor
- Tile/Grout wall
- Build/Paint hanging racks
- Build/Paint breaker box cover
- Makeover/Install sink cabinet
- Install sink
- Install new cabinets
- Build/Paint/Install washer and dryer surround
- Build/Stain/Install countertop
- Build/Paint/Install ironing board/broom cupboard
- Build/Stain/Install shelves
- Build/Paint/Install new door casing and molding
- Build/Stain/Install barn door
Phew!!! And I think that’s it!
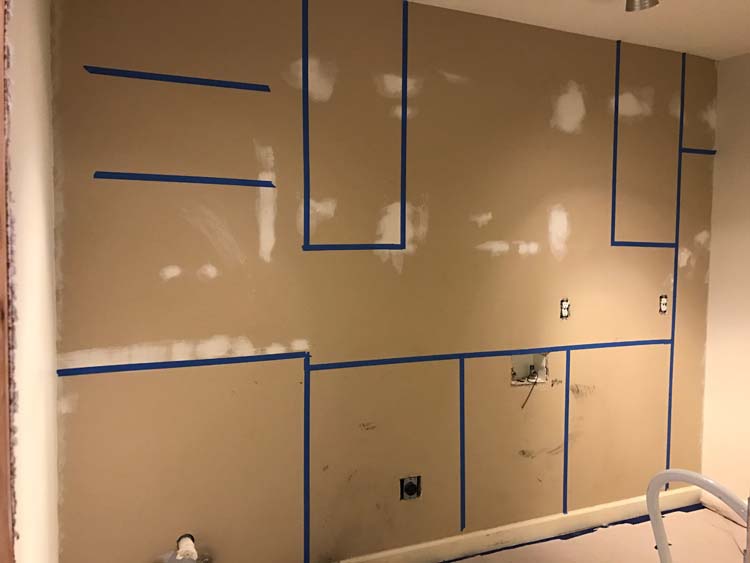
Something I’ve learned over the years is if I tape out the plan onto the wall, using exact dimensions, it not only gives me a really useful visual but it also helps to cut down on mistakes.
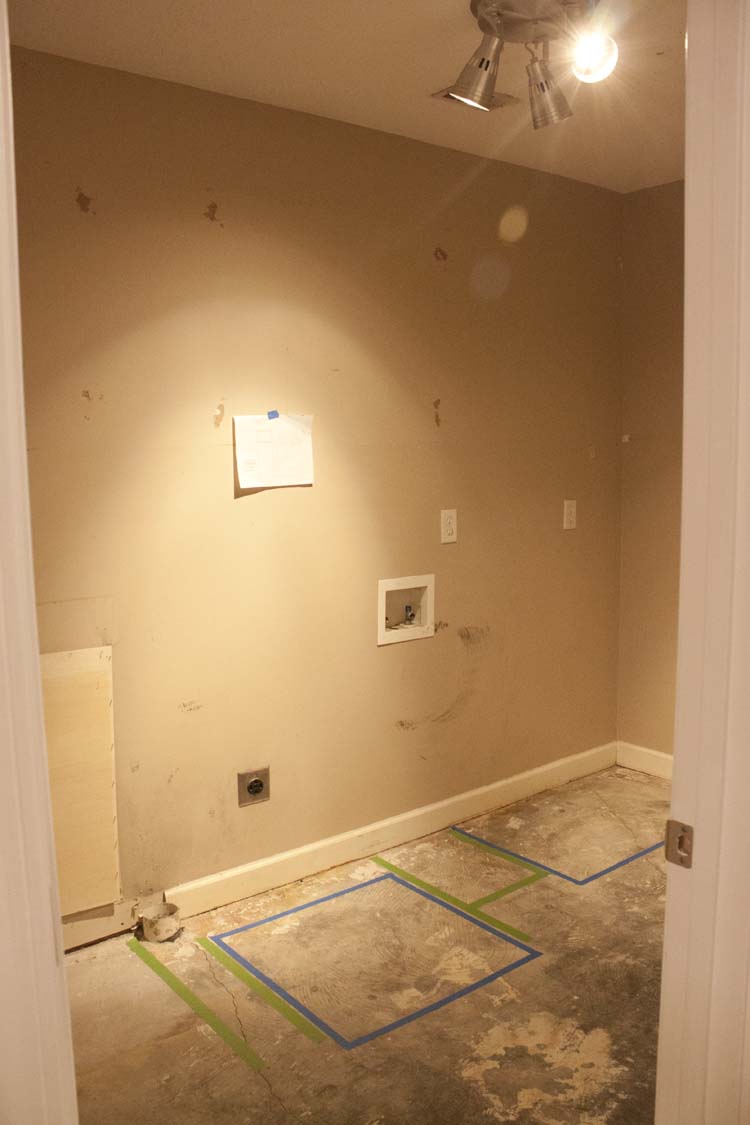
Something else I’ve learned is that if I don’t also do the same thing on the floor I’ll get used to the 1-dimensional version and be really super disappointed at how little floor space is left over after it’s all said and done.
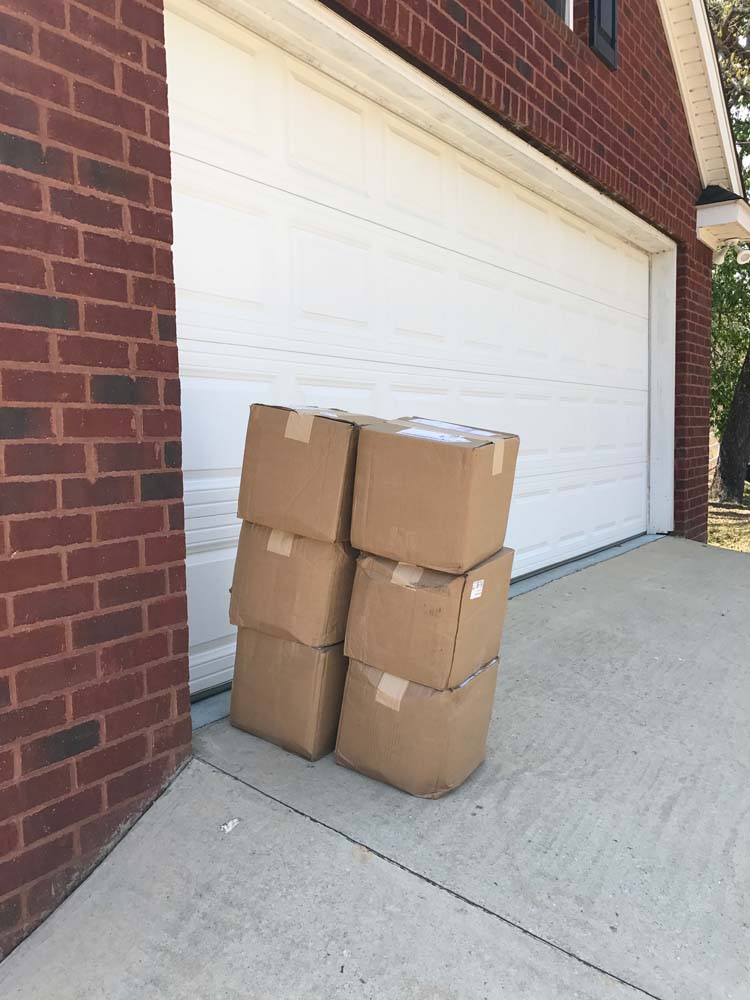
And just for fun, I’ve shared my top two choices for floor tile on my mood board above. Care to take a guess on which one I chose? My poor UPS man is over this room makeover already!





Leave a Reply