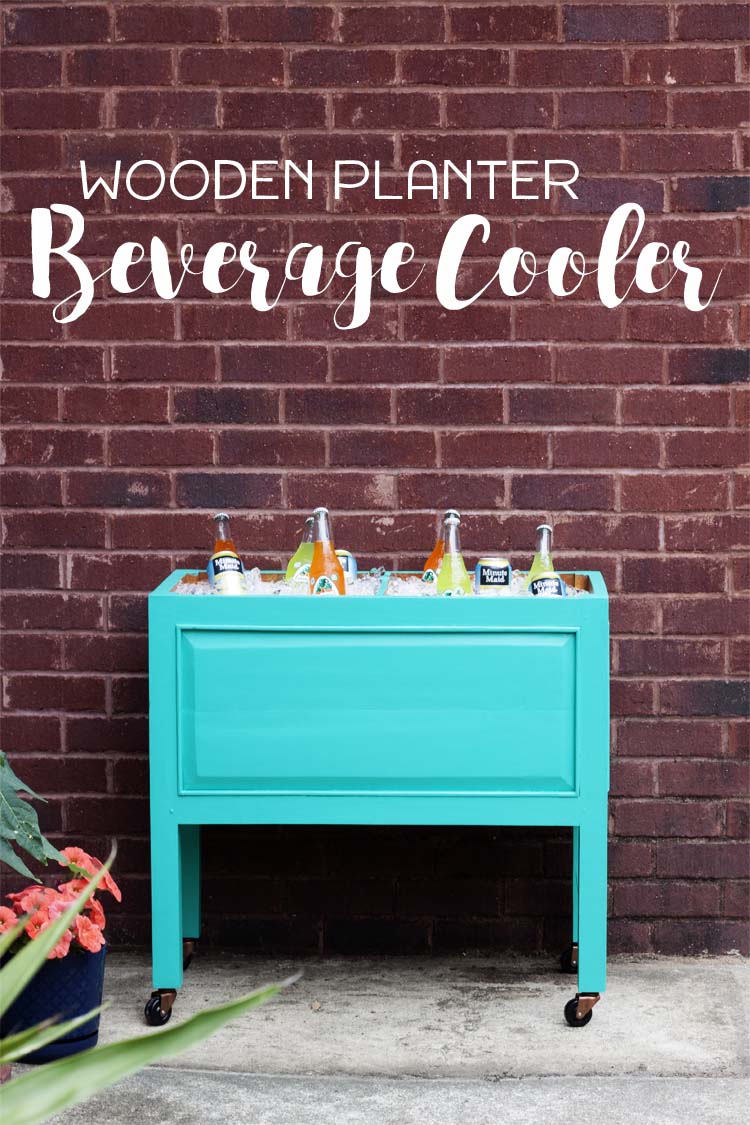
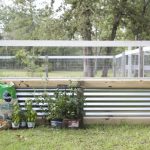
Years ago I was given this wooden planter. Only I didn’t even think about it being a wooden planter at the time. It had been used as a store display and as the store was closing they thought I might like to have it. {Imagine that!} I’m glad I didn’t give too much thought about what its intended use was because I would have happily popped some plants into it, I love plants, and called it a day. But then I might never have looked it one day, while trying to decide how many things I could cover in one of my new favorite paints, Americana Decor® Outdoor Living, and thought, that would make a fantastic Wooden Planter Beverage Cooler!
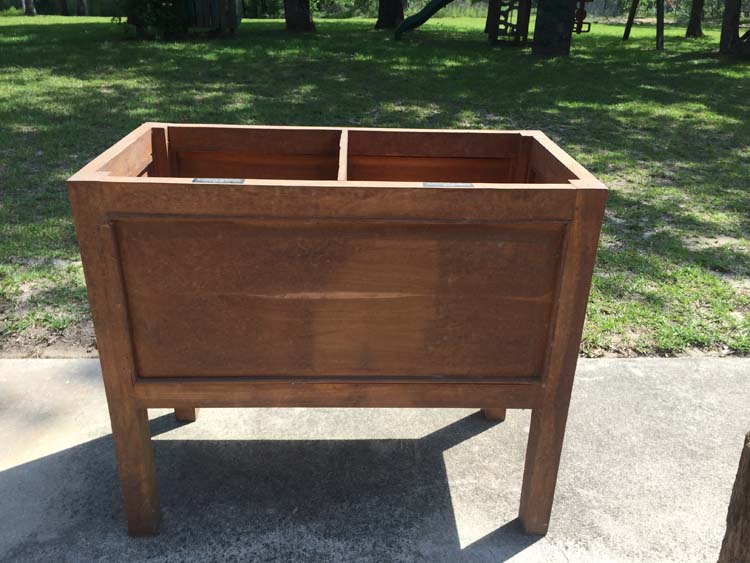
You know how sometimes an idea hits you and you know immediately it’s the best idea in the whole world and you can’t wait to get started, that was this. I can’t believe I’d let it sit for so long but now I realize i was just waiting for the right paint to come along.
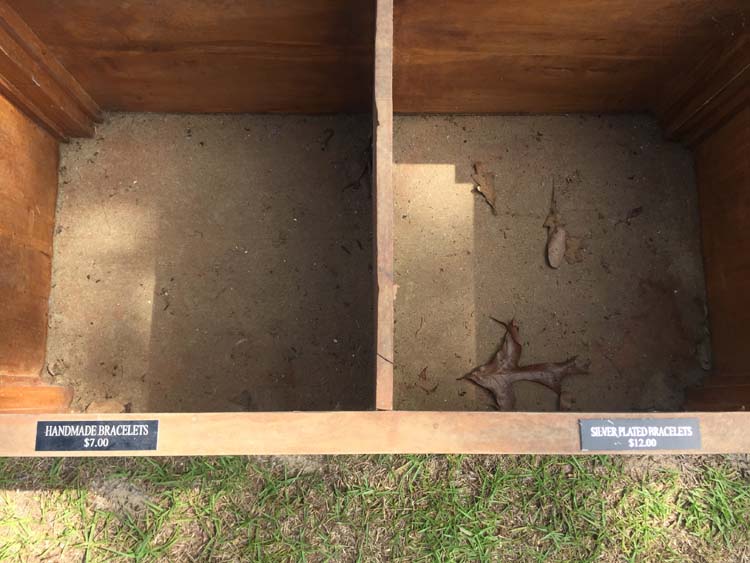
But because it had been sitting for so long the first thing I had to do was clean it. A lot.
I like to use a warm water and vinegar solution.
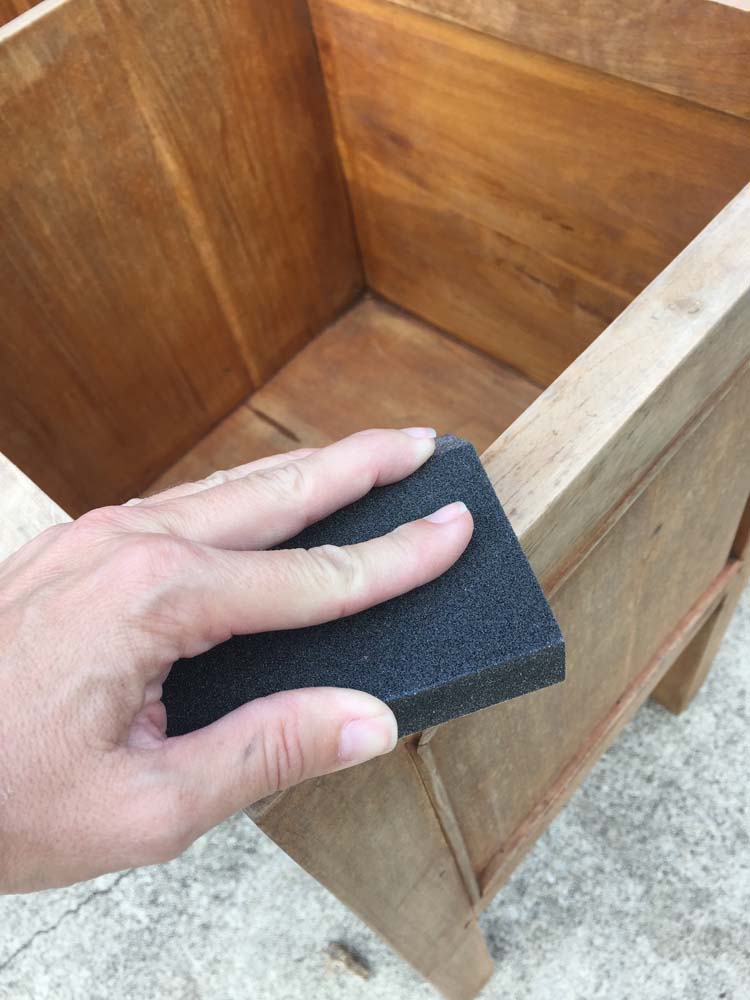
Then I sanded it lightly. Not because it need it for adhesion but just to make the exterior smoother. Then the real fun began!
Wooden Planter Beverage Cooler
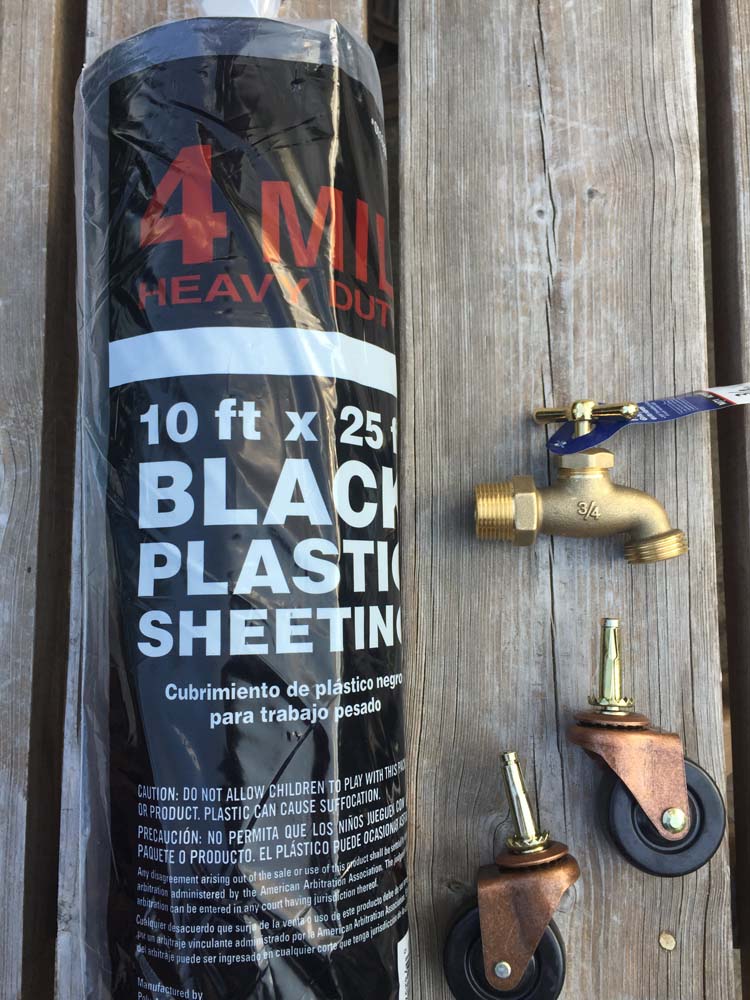
What you will need:
- Elevated Wooden Planter (thrifted is best)
- Americana Decor® Outdoor Living paint (I used Adirondack)
- Casters
- Drill & bit (for installing casters)
- 3/4″ Garden hose faucet
- 3/4″ Conduit Locknut (found in electrical)
- 1″ hole saw or spade bit
- 4 – 6 mil black plastic sheeting
- staple gun
For Top:
- 2 – 1x4x6s
- 1 – 1x2x4
- 1 1/4 wood screws
- pulls
- stain
- spar urethane
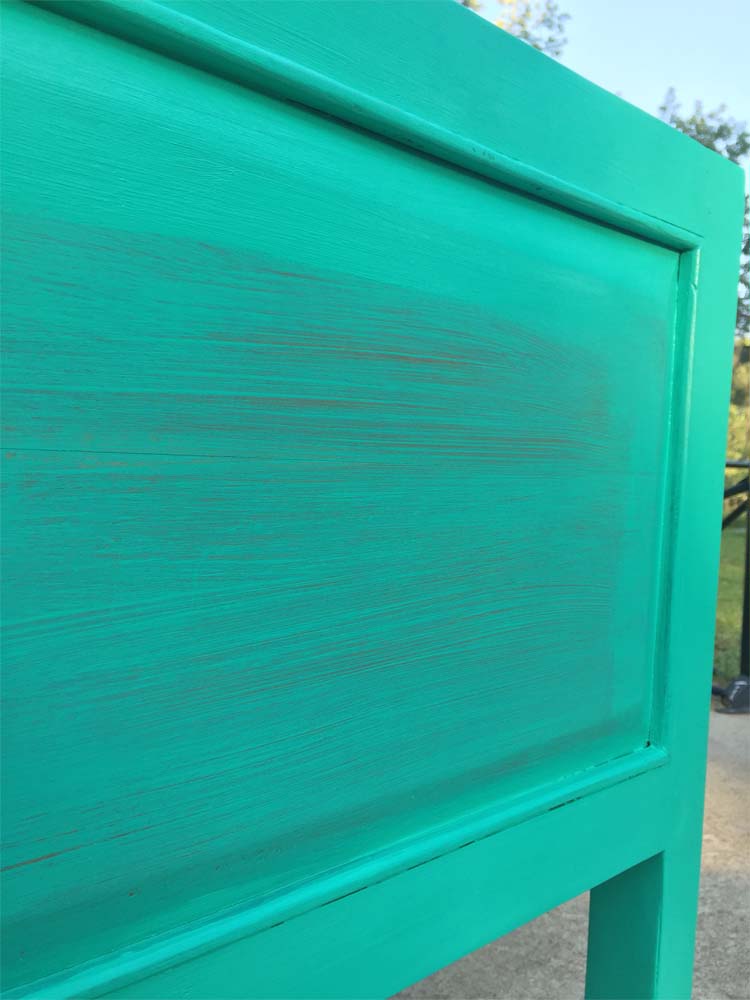
I painted two coats of the outdoor paint to achieve desired coverage. It is self-sealing so there’s no need for a top coat. I am extremely impressed with the finish on this paint. It looks and feels as if it’s baked on and once cured it’s ideal for outdoors. I am wholly and completely in love.
P.S. This is a great shot of the color. In some of my pics it comes off as a little more blue when in reality it is more green. The 2 pics below are also an accurate representation of the color.
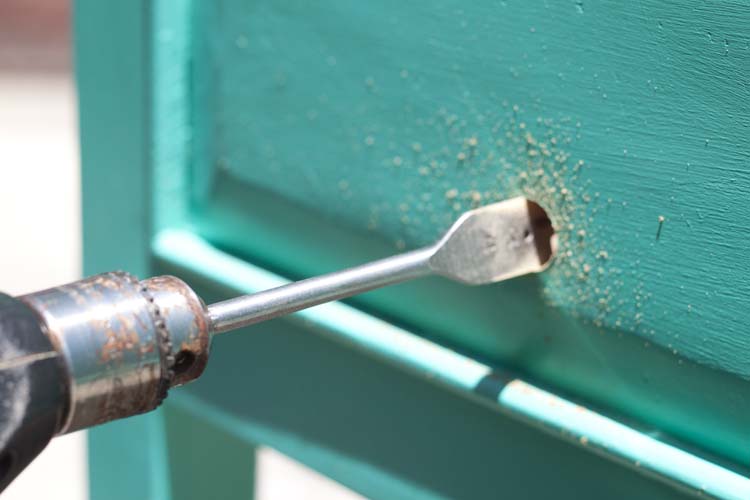
I gave the paint 24 hrs to dry before using a 1″ spade bit to drill holes for the faucets. Since the planter has two compartments I just decided it would be easier to install two faucets rather than try to remove the partition in the center.
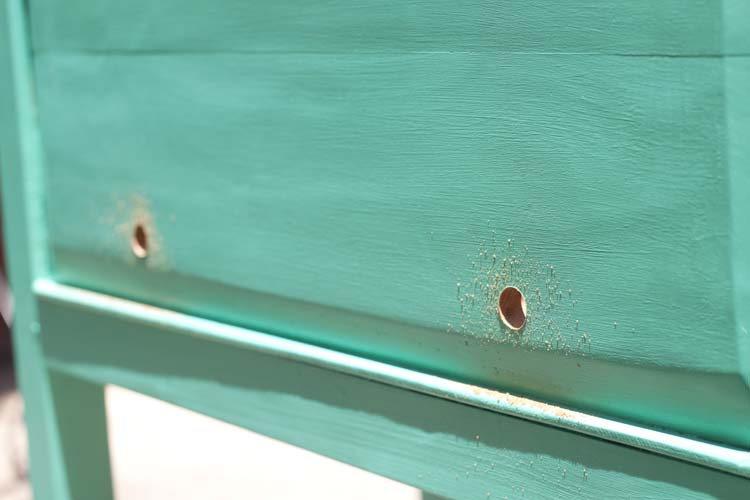
The holes will still be tight and will probably require a little more wallowing out before the faucets will fit it. But not too much because you still want the fit to be very tight. This will keep them from leaking.
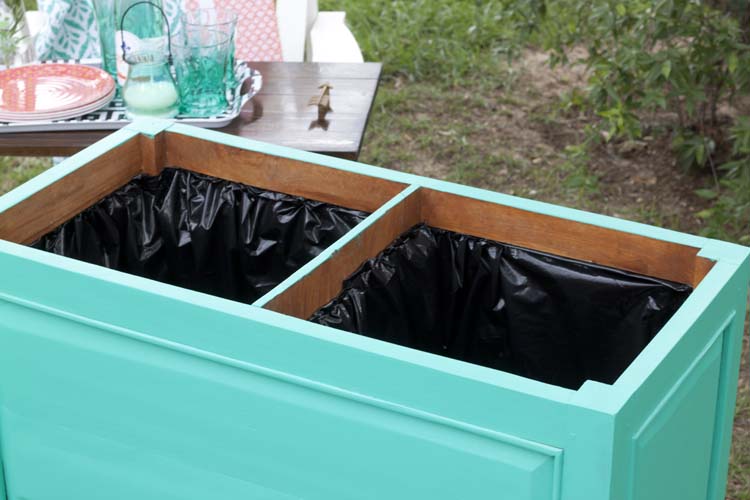
I used doubled 4 mil black plastic sheeting and staple gun to line the insides of the cooler. Even though it’s a planter I still want to protect it from excess moisture. Also, it would’ve just leaked all over the place without it. I won’t lie, trying to figure out how to successfully get rectangular plastic sheets to fit nicely into a square hole was a bit like an SAT Geometry problem.
Basically, if you’ve ever sewn before and done gathers, you’ll be just fine. If not, you’ll eventually get the hang of it like I did.
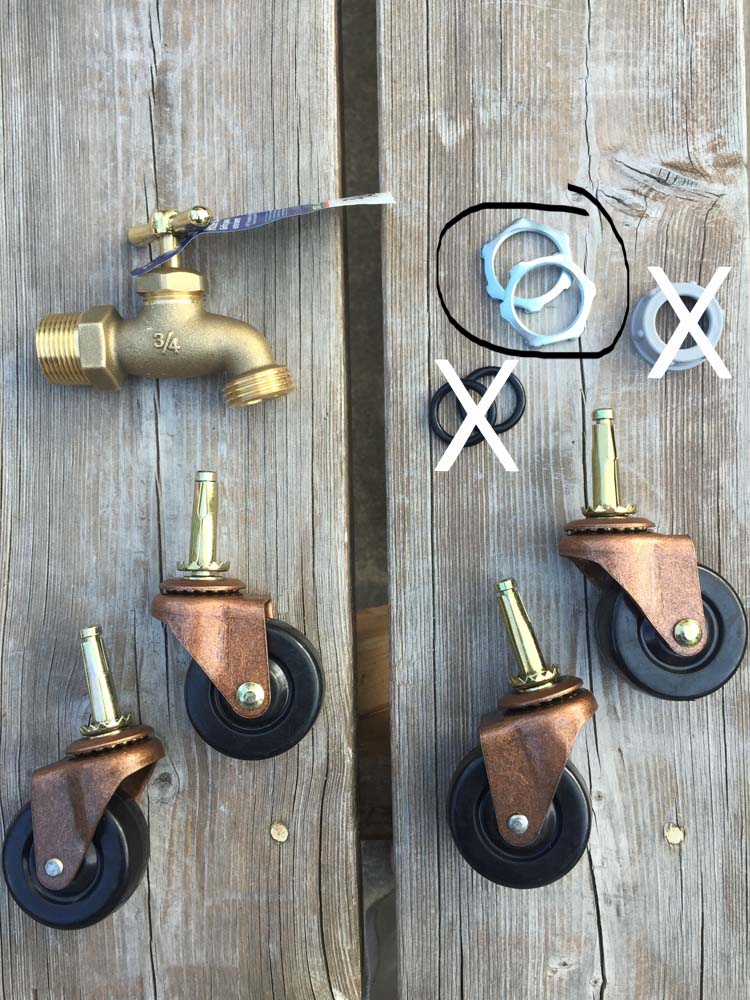
I got all of these extra nuts and o-rings thinking I might need to use them but I wound up only using the faucet and a conduit nut (found in the electrical dept) to secure the faucet to the cooler.
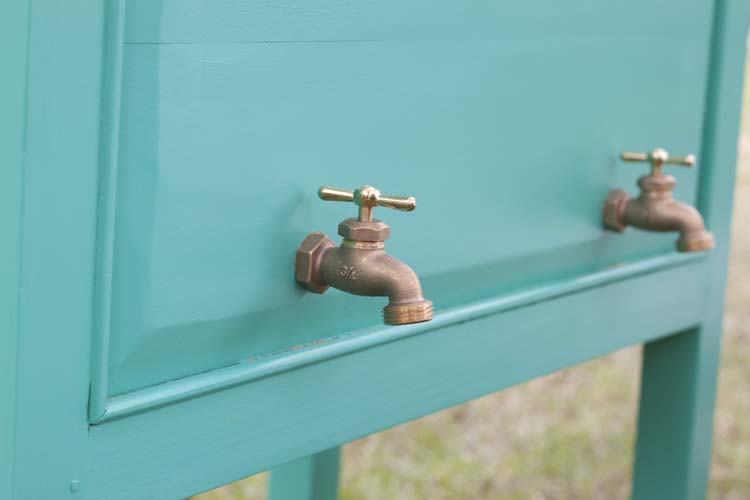
Once I had each of the faucets on I poked small holes in the plastic with a knife just over the faucet holes, then screwed on the conduit nuts. The conduit nut fits right over the plastic and screws onto the end of the faucet. This helps to keep the seal tight. That’s all there is to it.
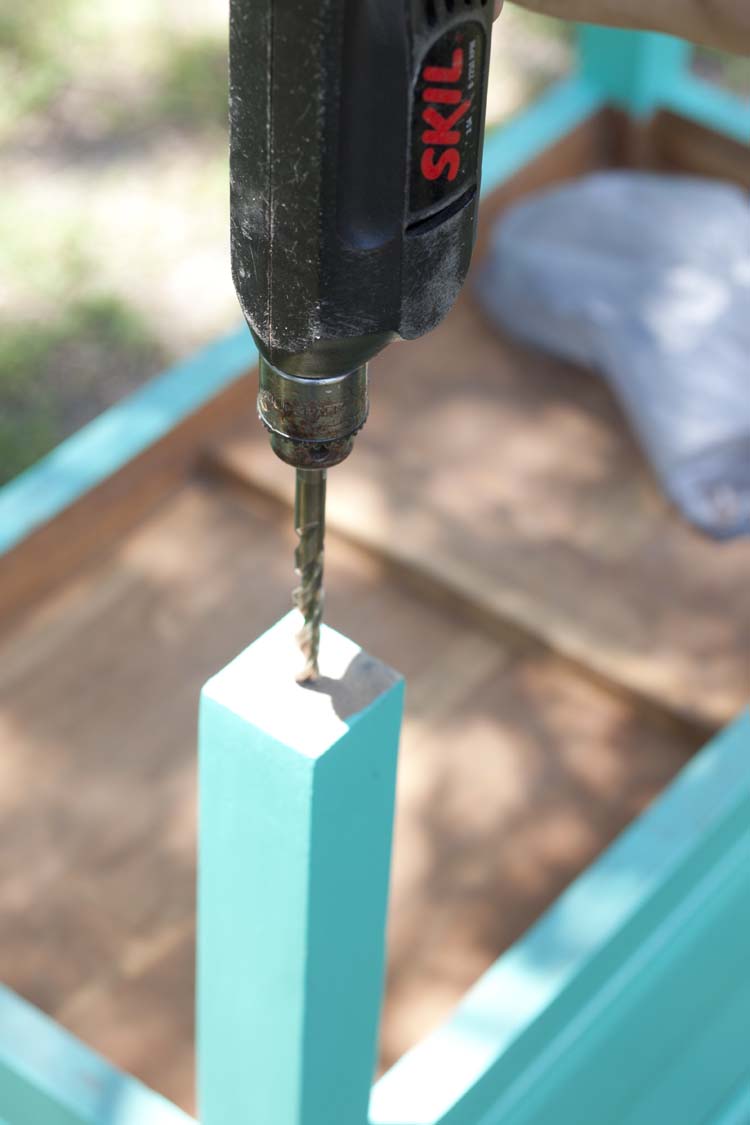
Then I used a drill bit (the side will depend on the shaft of your casters) to make a hole for the casters.
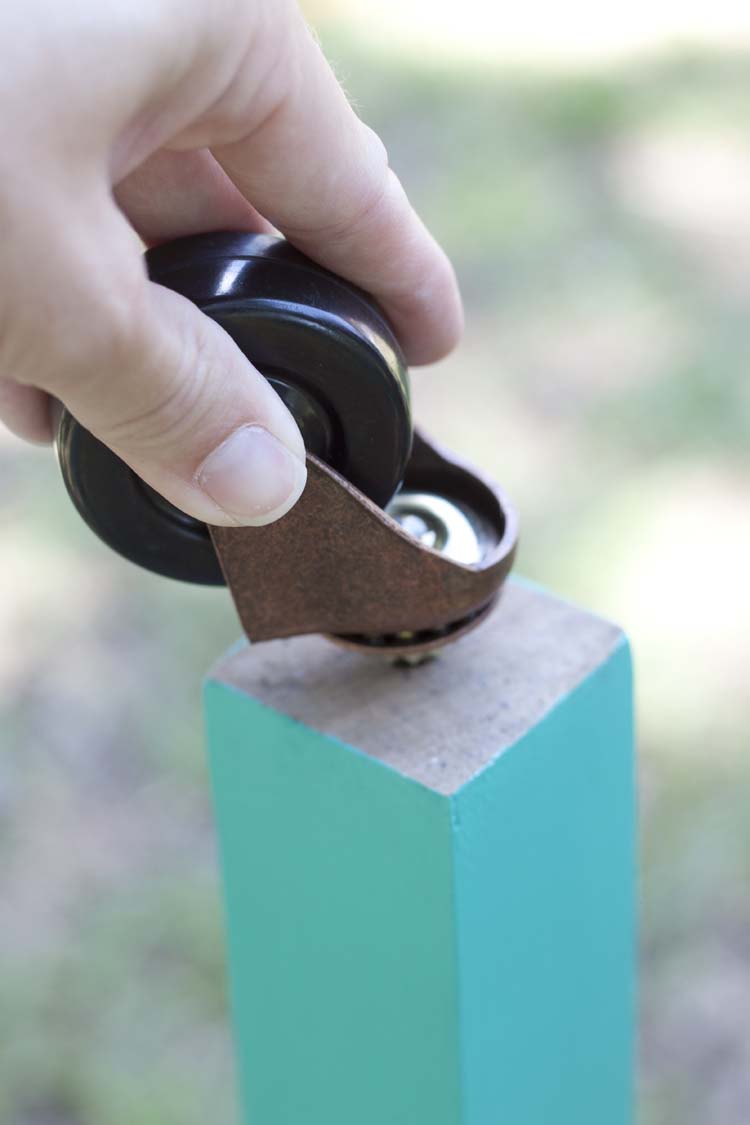
Then I popped them on, turned the cooler over and it was ready to fill!
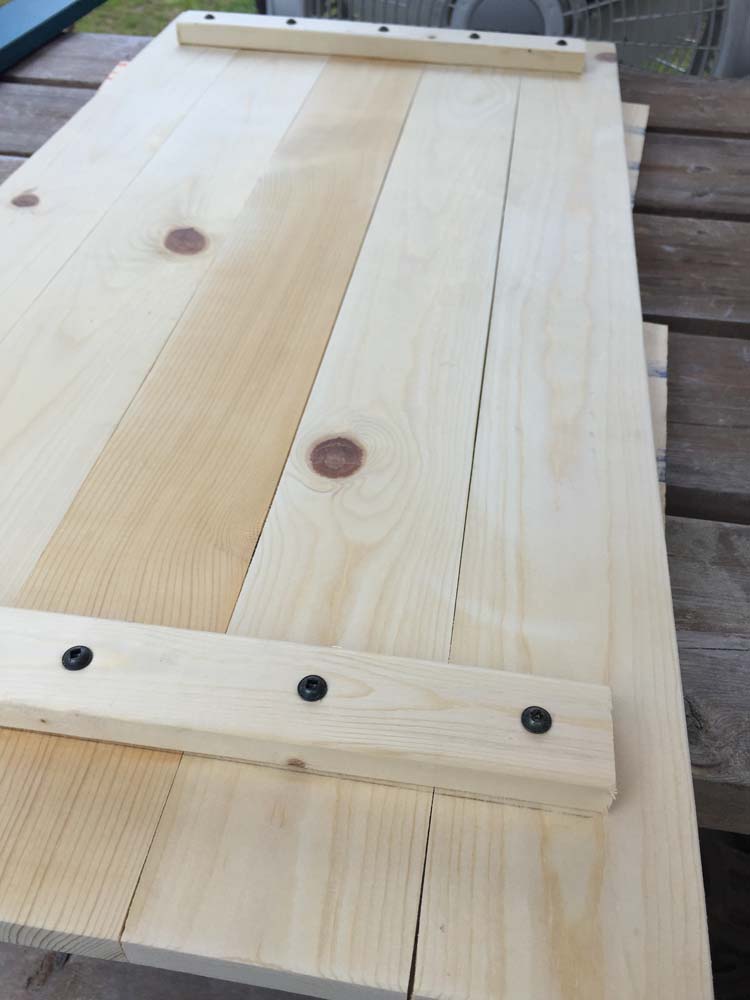
But then, as I am wont to do, I decided that the cooler would be even cooler if it had a top. That way the cooler can double as an ice chest and the top can double as a tray. And when not in use it’s just a pretty cover.
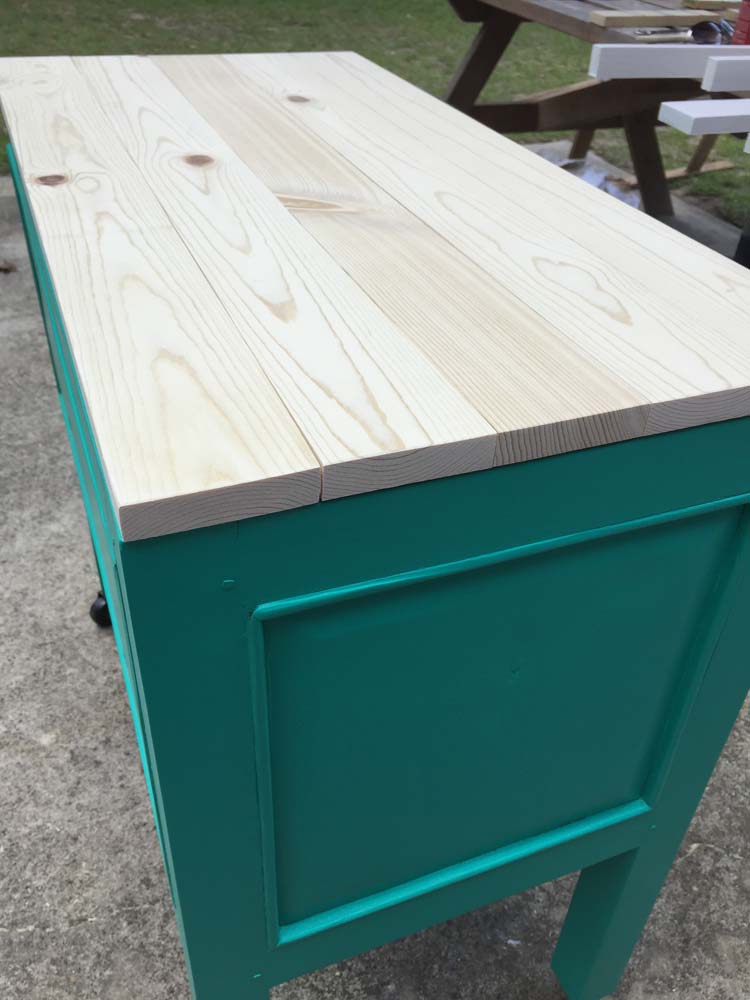
I ripped each of the 1x4s to just over 3″ each because I wanted the top to fit without any overhang. That’s just a personal preference. I wound up with 5 slats, at just over 3″ wide and 31 1/2″ long each. I secured them on the underside with 1×2 braces, that fit down into the cooler, with 1″ wood screws. I stained the top and 24 hours later I top coated with a spar urethane. If I had it to do over again I would have gone with a Tung oil instead.
Then I added pulls to the top for handles.
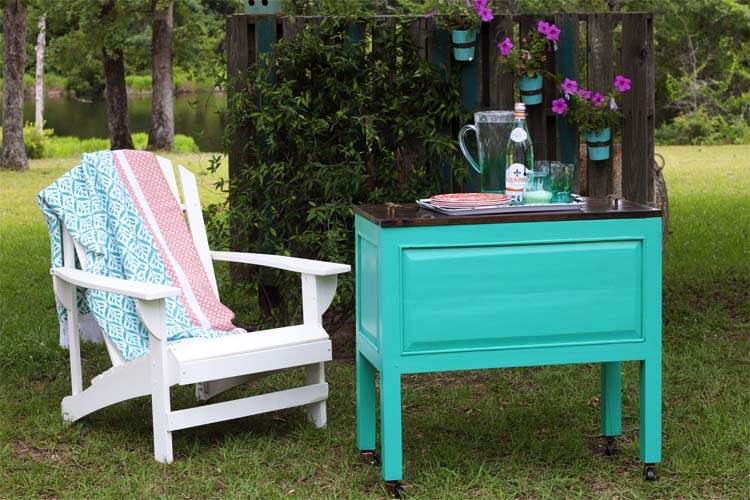
I am so excited with how this turned out.
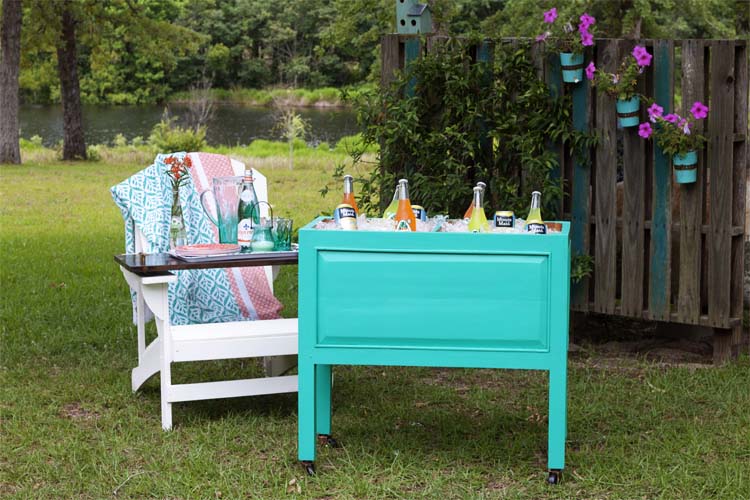
I can’t wait for the next get together to use it.
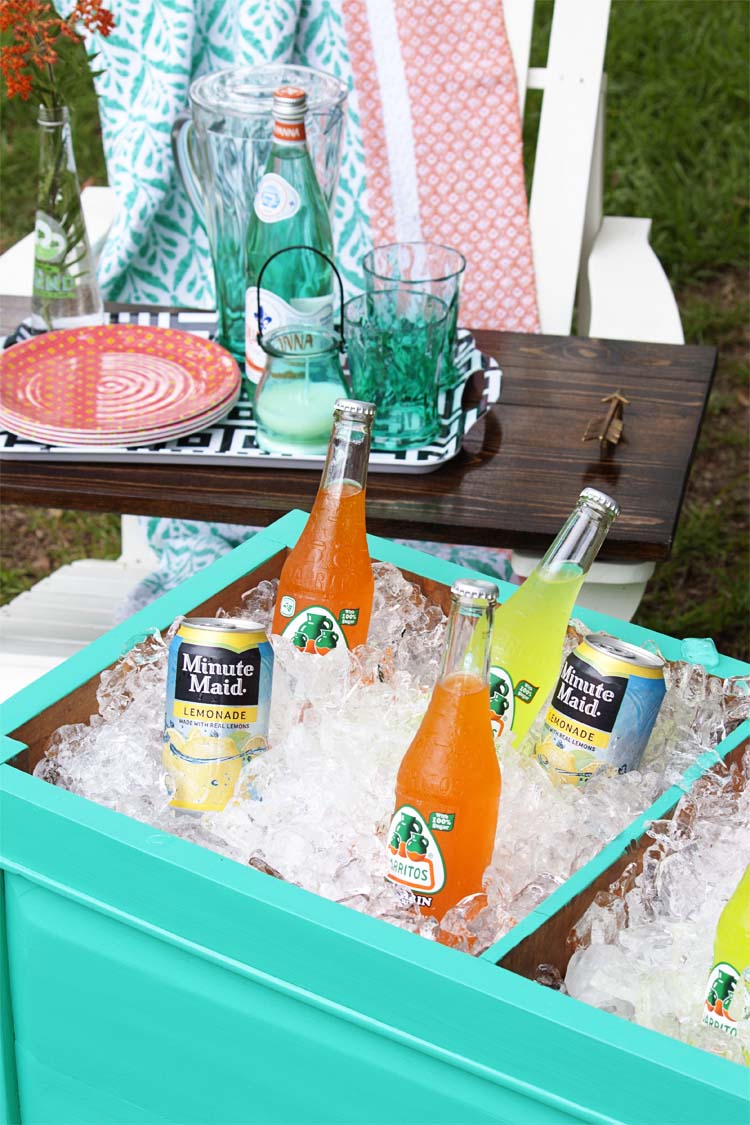
Ah who am I kidding? I’ll probably use it everyday just for us. I love it that much!
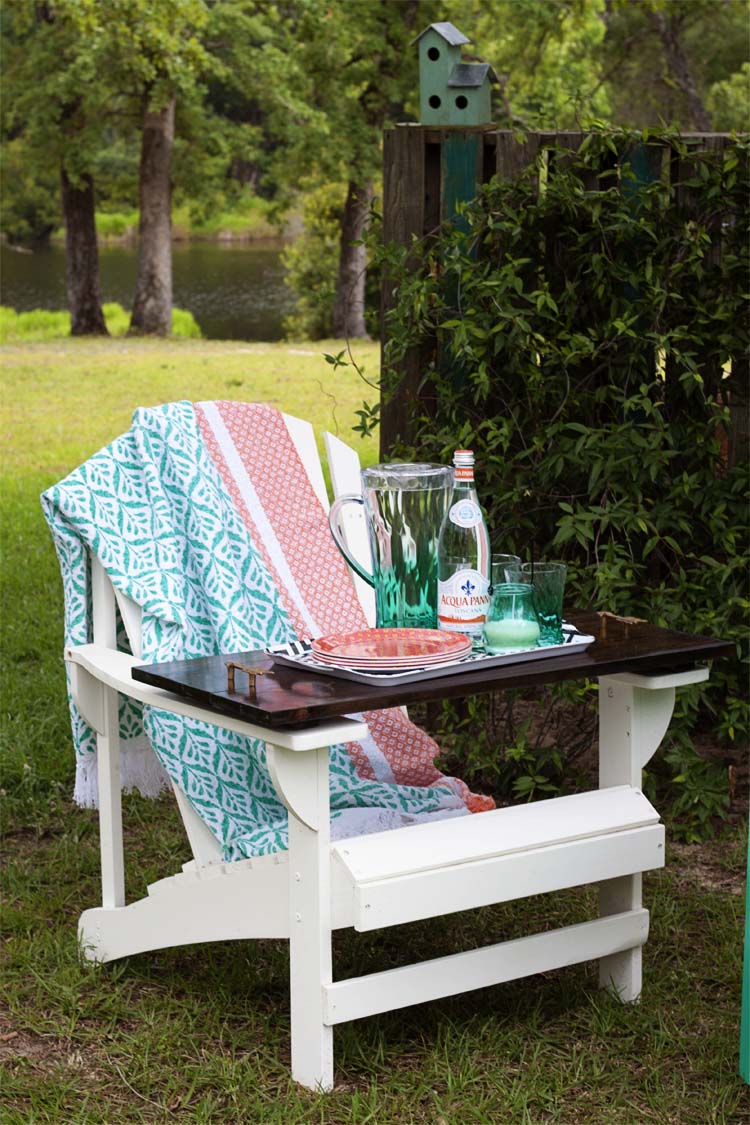
And the top makes the perfect tray for those Adirondack chairs I recently finished.
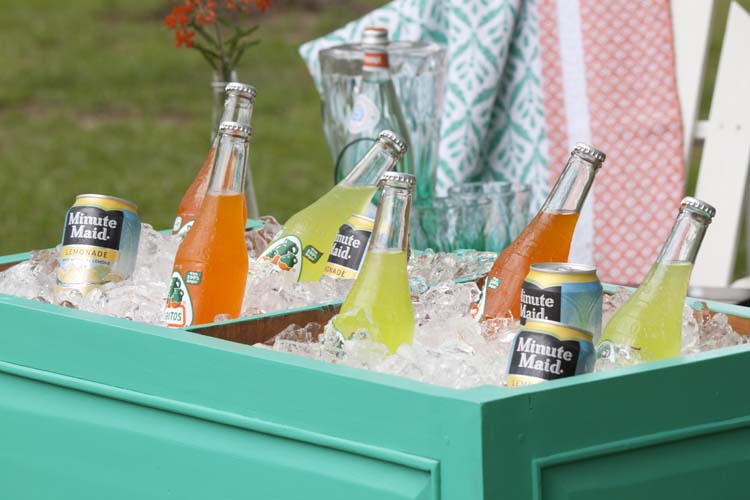
I mean, is it just me or is this just the prettiest little cooler you ever did see?!
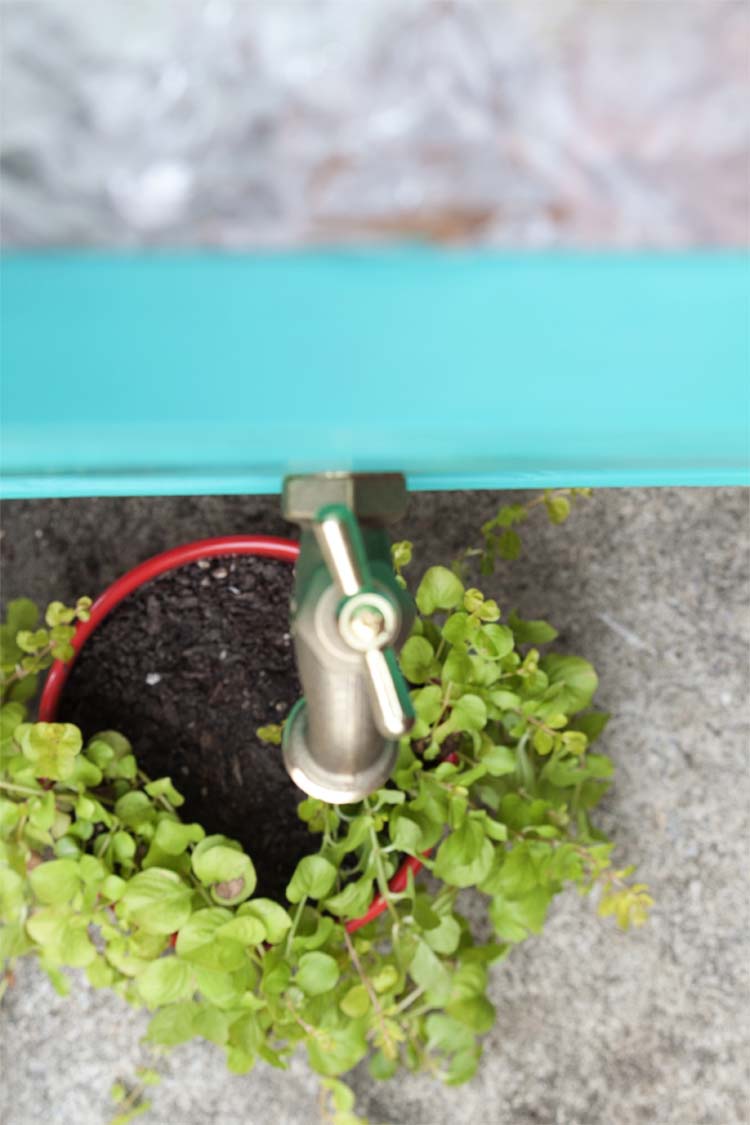
Know what else? Once I’m done with the cooler, and all of that ice becomes water, it’s the perfect way to water the plants on my back patio.
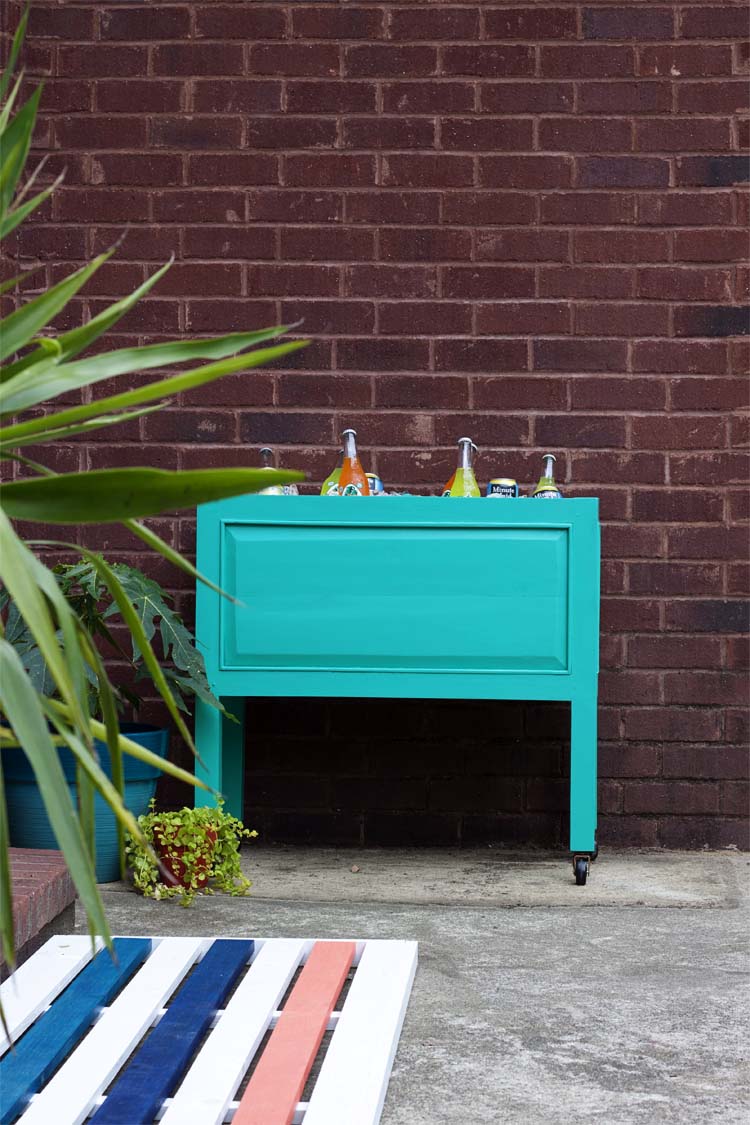
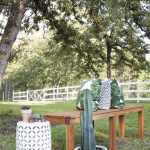
Pretty cool, right? And do you see that wooden mat?
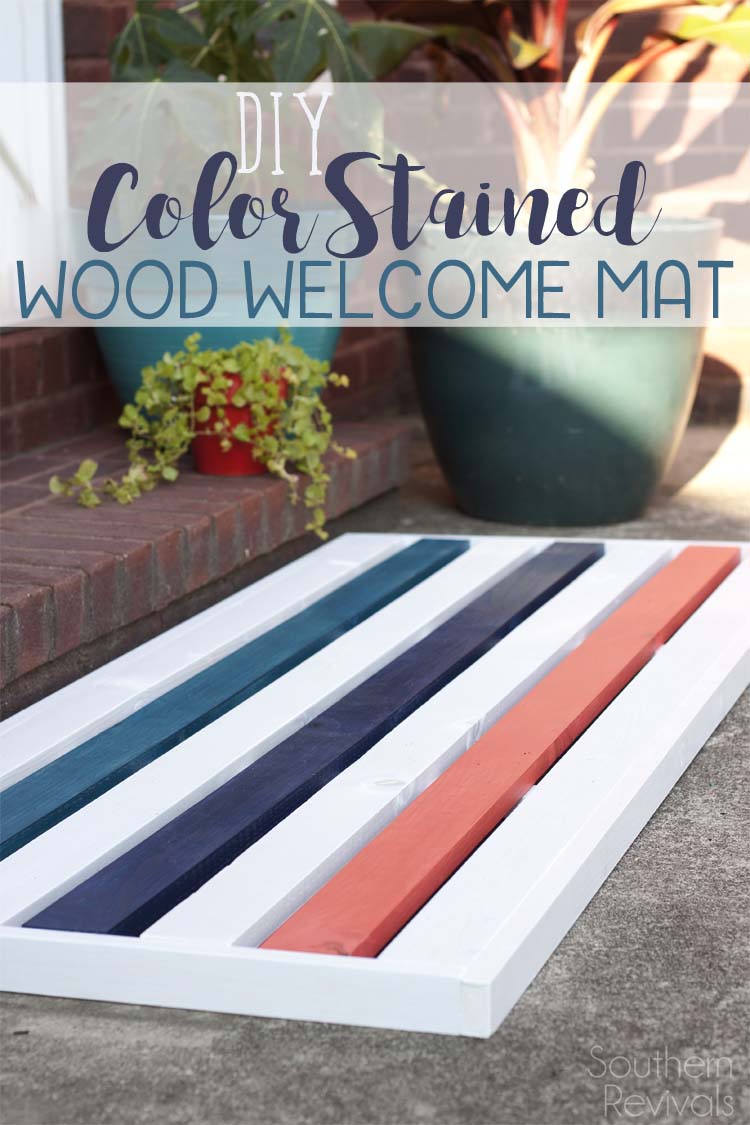
I made it, too, using Americana Decor® Color Stain. The tutorial is coming soon. You’ll find it on the Deco Art Blog.
Between these two great new products, Americana Decor® Outdoor Living paint and the Color Stains I want to add color to everything this season. What projects do you have in mind for them?


This is gorgeous! You are so creative to find another use for this planter. How cool to have an outdoor cooler. I am going to check out this paint as it looks to have a really good finish! From your ‘boro friend!
Thanks so much Beverly! It’s always a pleasure having you stop by!
Amazing work as always! I love the color you chose, and the dark top really finishes it off nicely!
I was so nervous about the dark top. Sometimes I go back and forth over whether I should have gone lighter or not. At the end of the day I’m pretty excited about the total package though. Thanks so much Andrew!