

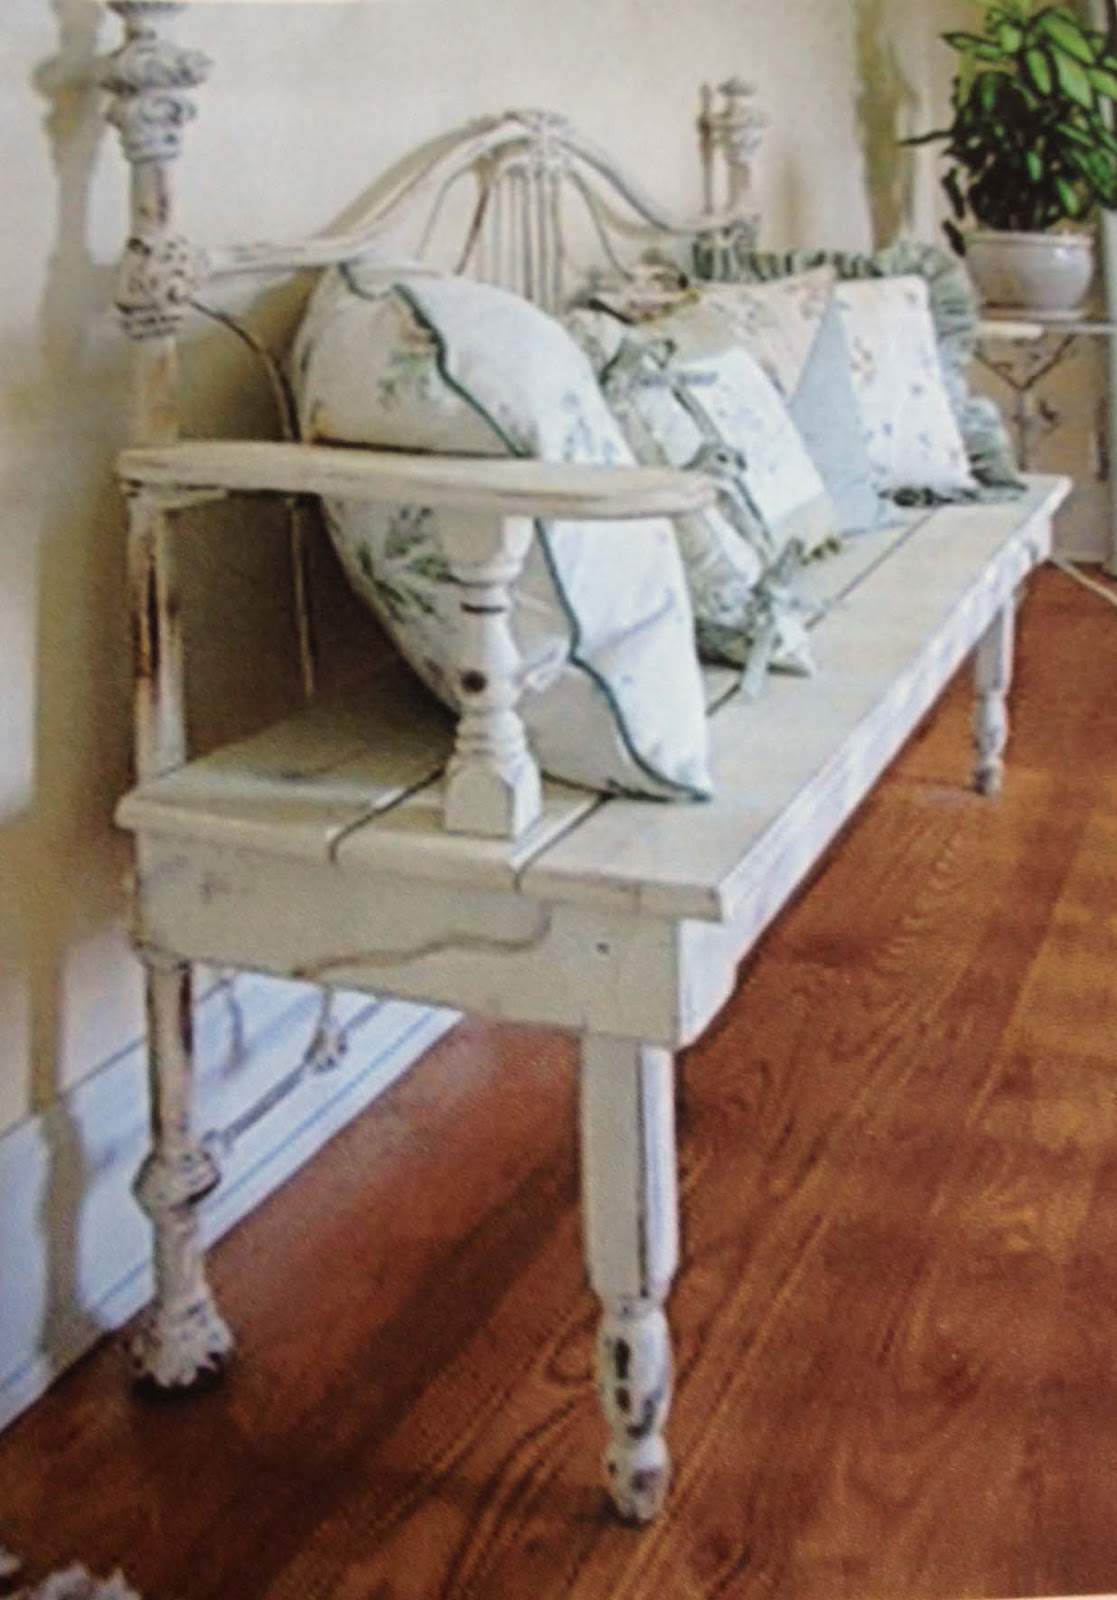
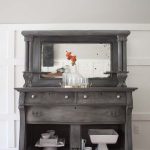
I have wanted to build a repurposed metal headboard bench for more years than I can remember. In fact, I have had the picture below saved to my phone so long I can’t even remember where it came from.
.JPG)
What I do know is that when I had a client ask if we were interested in building one for her, I was all over it!

The thing about turning a metal headboard into a bench isn’t so much about the level of difficulty as it is about the details.
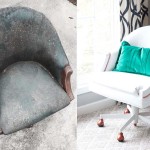
(This is actually the footboard of her grandmother’s metal bed! Can you imagine how tall the headboard is?!)
It’s like Johnny said to Baby in Dirty Dancing (one of my most favorite movies of all time!) – “You gotta hold the frame”!
Without a good square frame, the legs are uneven and everything is off. Nobody wants a wobbly bench just like nobody wants a wobbly dance partner.
“It’s a feeling; a heartbeat.”
The bench’s seat should feel buttery smooth. After all, someone’s bottom will likely sit there repeatedly and you don’t want them thinking of all the things they wish you’d done differently when they do.
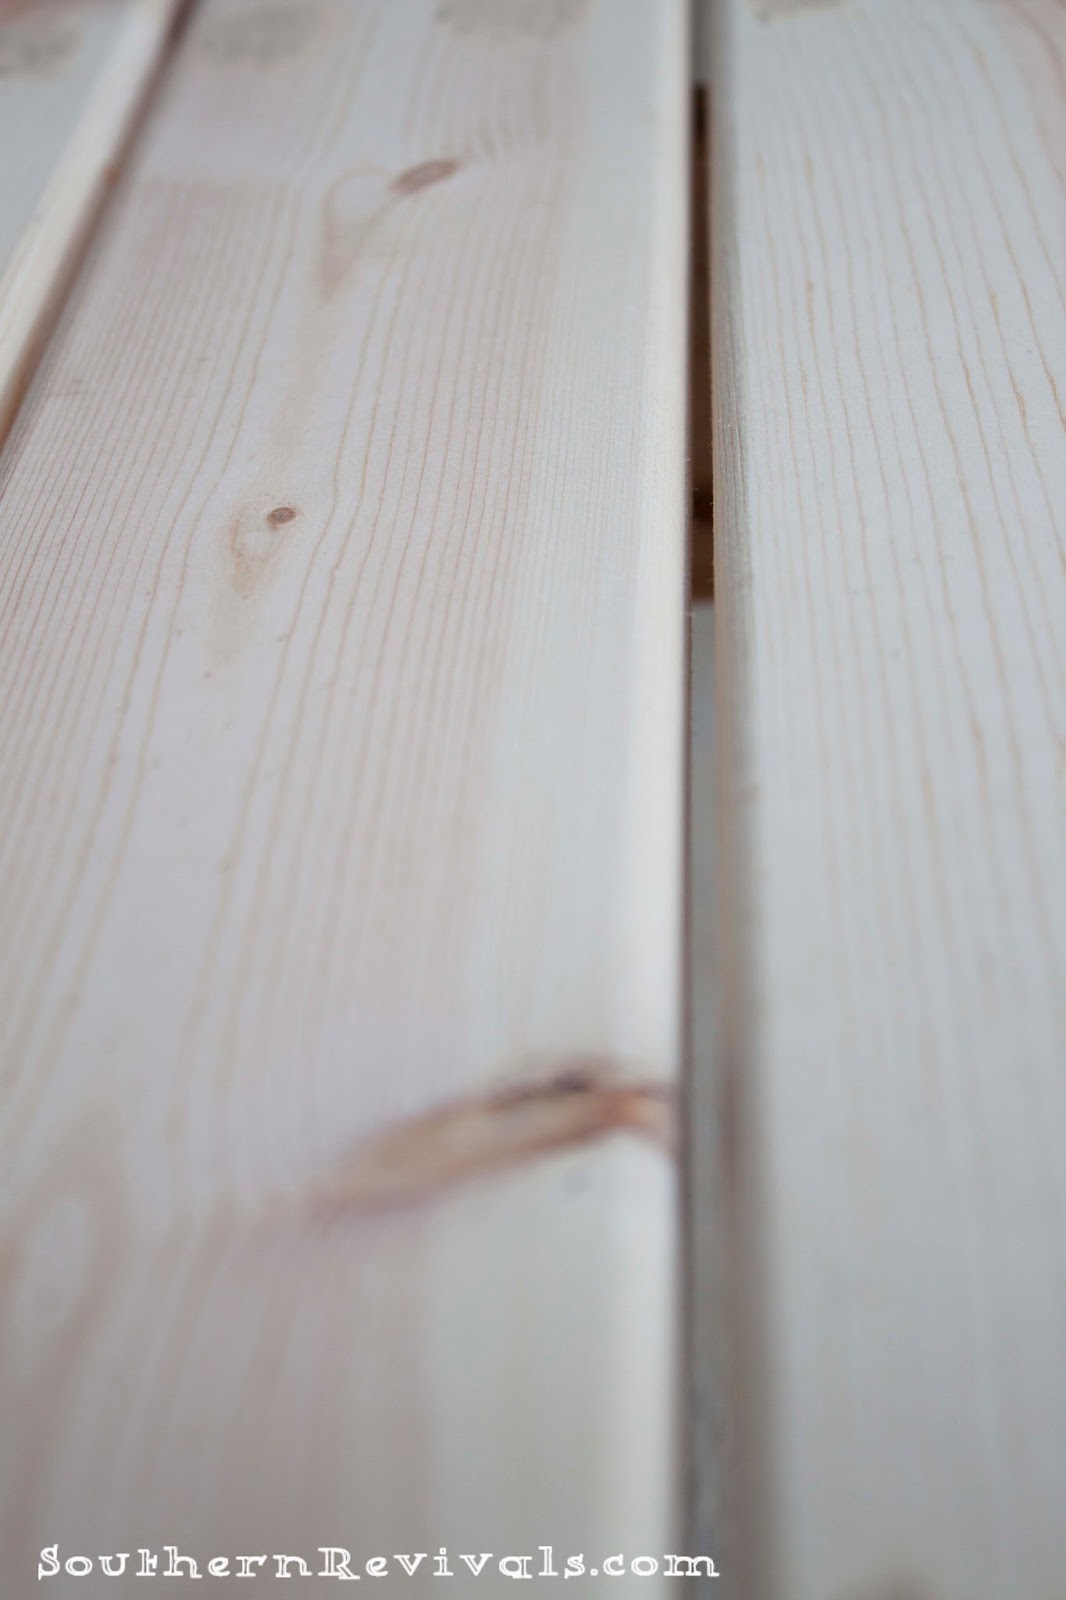
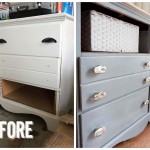
The edges of each board were routered to give them a smooth rounded finish. Then each board was sanded until completely smooth.

Maybe nobody puts Baby in a corner but if you’re doing corner pieces they should be mitered. Check out that perfect seam!
And don’t forget to fill in all of those tiny nail holes.
” A little precision please, Baby”
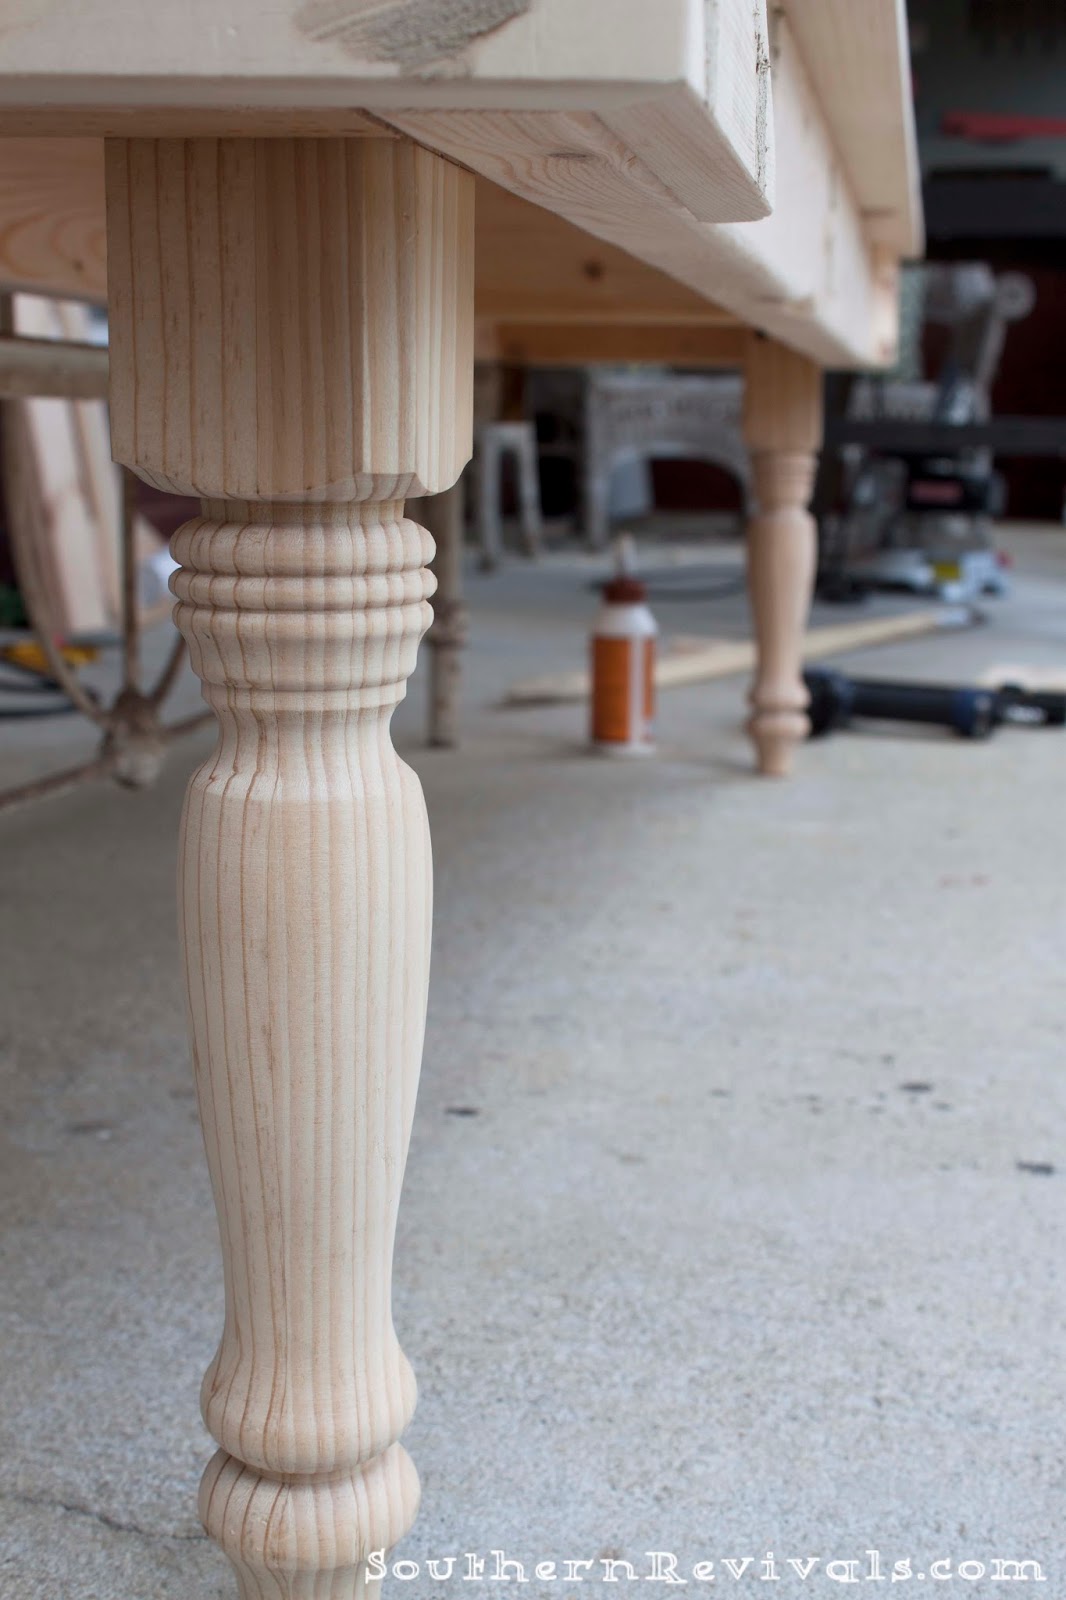
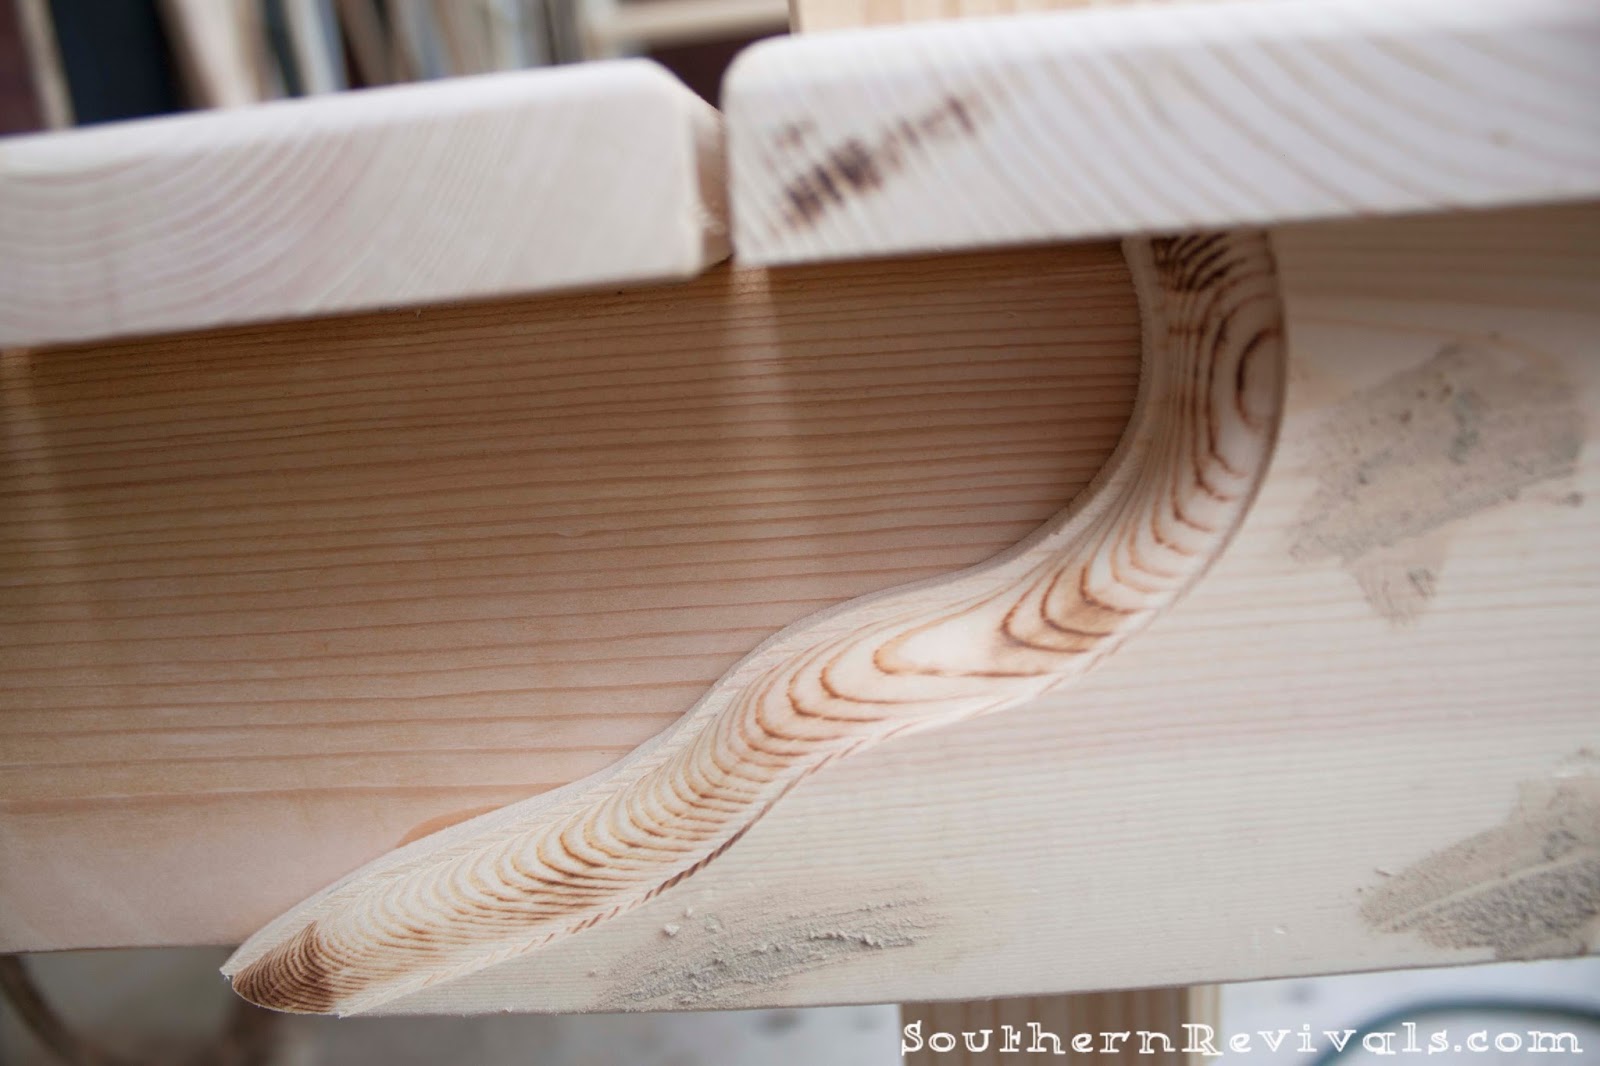
Attention to detail is never more important than when you’re making something beautiful. Take these fancy routered decorative pieces, for instance. These were hand drawn and then routered to give them the decorative edges.

Lag bolts for extra security
“We’re supposed to do the show in two days, you won’t show me the lifts, I’m not sure of the turns, I’m doing all this to save your ass, what I really want to do is drop you on it! “
In addition to beauty, safety is also a top concern. You never, never want to drop a client on his or her arse. Never.
We used our Kreg Jig to make our joints extra sturdy.

“I have to say it. I’m known as the catch of the county.”
I have to say, I totally agree!

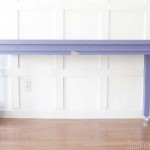
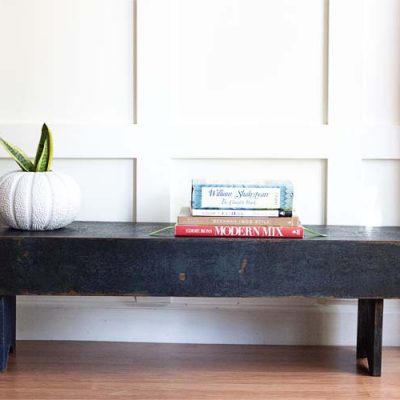
I love the way this bench turned out.

I am sort of sad to see it go. It looked great sitting in front of my pallet garden wall.

It looked great sitting on my front porch…

I adore the look of layering paint. There’s brand new wood under there but you’d never know it.
And I can almost hear Lisa Houseman saying
“Where’s my beige iridescent lipstick?” when she looks at it.

“Max, our Baby’s gonna change the world.”
I may have felt like this about the bench once we were done. It was hard to send her to her new home. But I know she will be loved.

It was a lot of hard work but “I’ll never be sorry”.
Do you love this bench (or Dirty Dancing!) as much as I do?

What a great bench.you Love all the details. I recently made my first bench from a headboard too and am already looking forward to the next one. Have a great weekend.
Susan
Love them both, dancing and the bench. Perfection!
Debbie
That was a fun way to start off the morning and I really think the bench is adorable. Thanks.
Love the Dirty Dancing commentary and the little bench is nice too!
i absolutely love both. I have the bed frame i just got from the ReStore so gonna make it….
thanks for the idea. was gonna make a gate from it but have my eye on another iron bed for
that now haha.
love re cycling
joe-anne
Love the extra details on the bench and the dirty dancing quotes….well, clever addition. I loved the movie too, even with the corn ball “Nobody puts baby in the corner” comment. Getting ready to build my first iron bed bench. thanks for sharing yours.
Eric
Ahhh that comment gets us gals every time! LOL Thanks for stopping by, Eric. Be sure to share pics of your bench. I’d love to see the finished product!
I LOVE IT! I have a headboard and footboard sitting in my garage, waiting to be “done up” proper. Just not sure I have the know how to do it. Thanks for the inspiration.
I love this bench very much. I have a white wicker headboard, I am going to try and make a bench. Thanks for the great idea. love the legs and arms.
It would be gorgeous with a wicker one! I want to see pics when you’re done!
I just found this post on pinterest this morning. I love the bench. I have a headboard that I want
to do the same thing with. My question is, how did you attach the wood to the headboard? The rest
of it I think I can figure out,
Thanks!!
Hi Mary,
We drilled into the metal and used toggle bolts to attach it to the wood. Hope this helps! Thank you!
Hi, love the bench and all of the detail work. I do have a couple of questions. First question, what size of headboard did you use? Second question, how wide did you make the seat of the bench?
Hi Yolanda! I would say that it was a full-size bed frame. As far as dimensions go, I honestly cannot remember and since this was for a client, I no longer have access to it. Thanks so much!