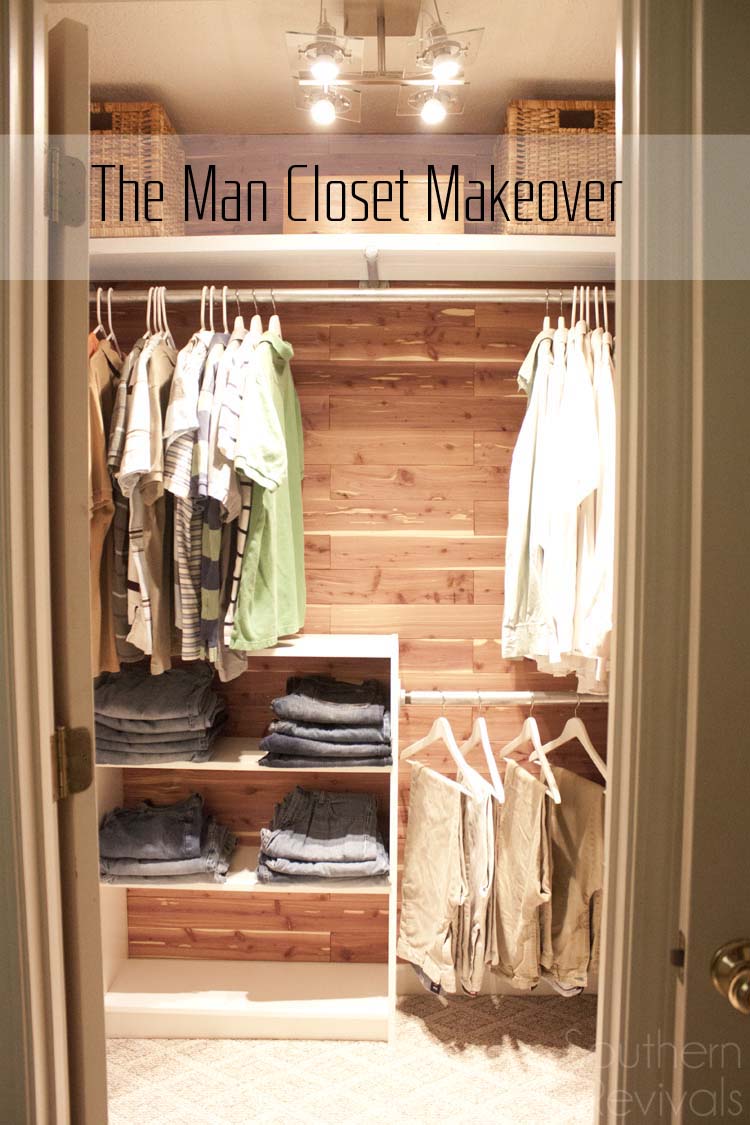
 I’ve mentioned before that when we moved into this foreclosure home it was stripped to the bare walls. No appliances, no mirrors and certainly nothing helpful in the closets. We took care of our oldest’s closet with a clever IKEA Hack for under $100 but we’ve taken FOREVER getting to our own. Today, however, I finally bring you – The Man Closet Makeover.
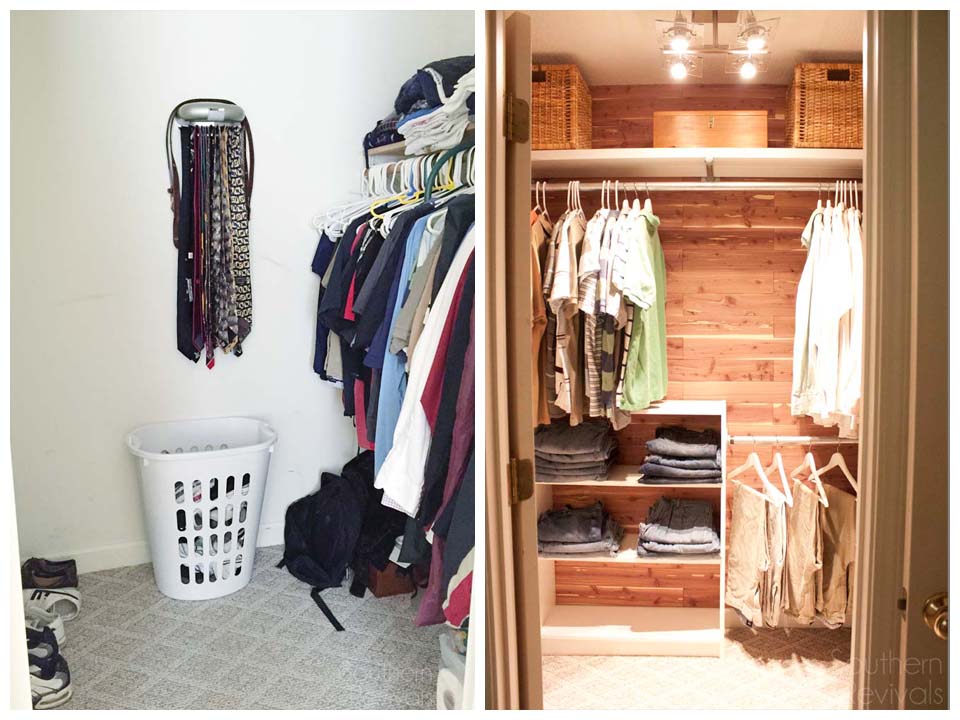
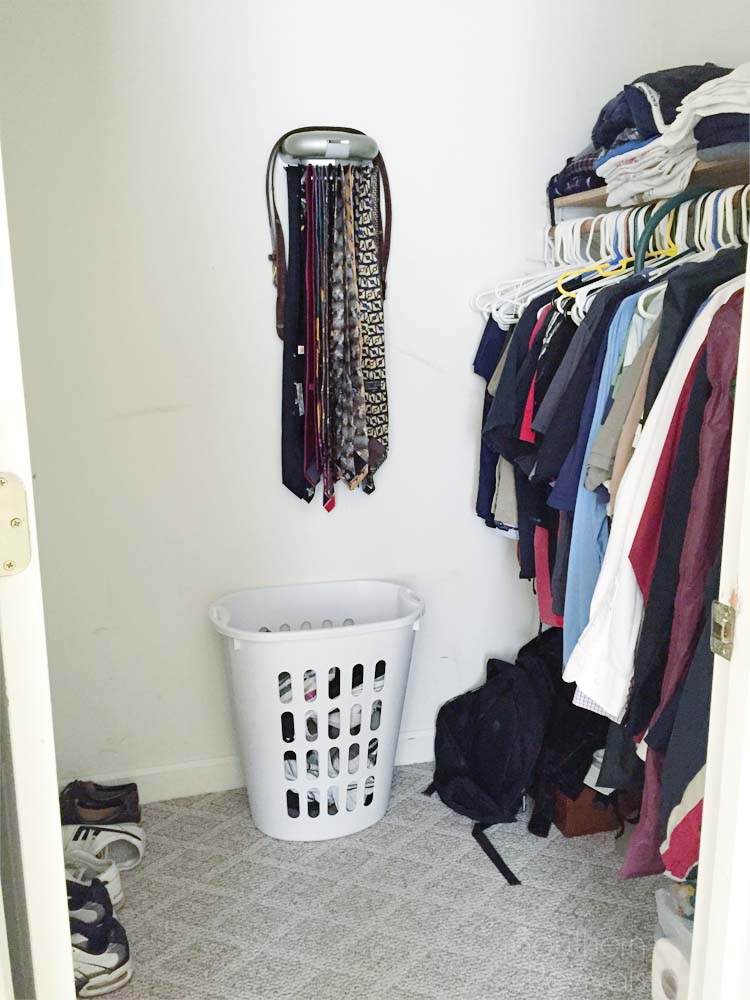 With so much to do when we moved in (including covering up the hideous linoleum throughout the master suite) the best we could do at the time was throw up a couple of those triangle bar holder brackets and add a shelf on top. And we lived like that far too long.
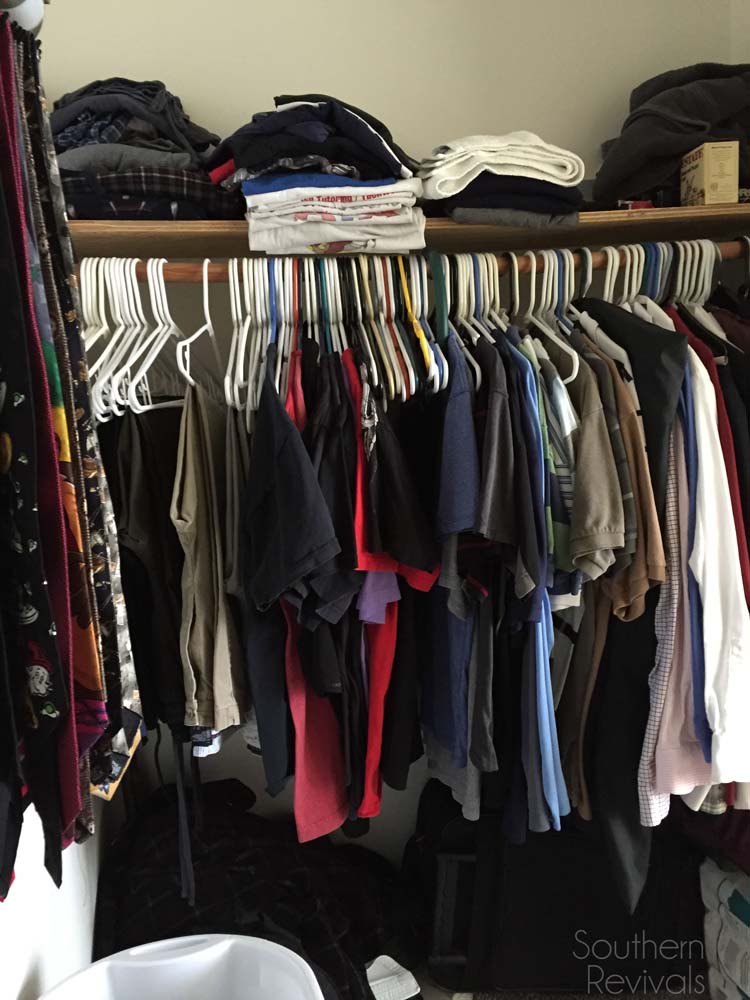 He only had the one bar with the shelf on top for most of his clothes. This isn’t a large closet but this was definitely not the best use of the space available. Not to mention that so dark and gloomy in here.
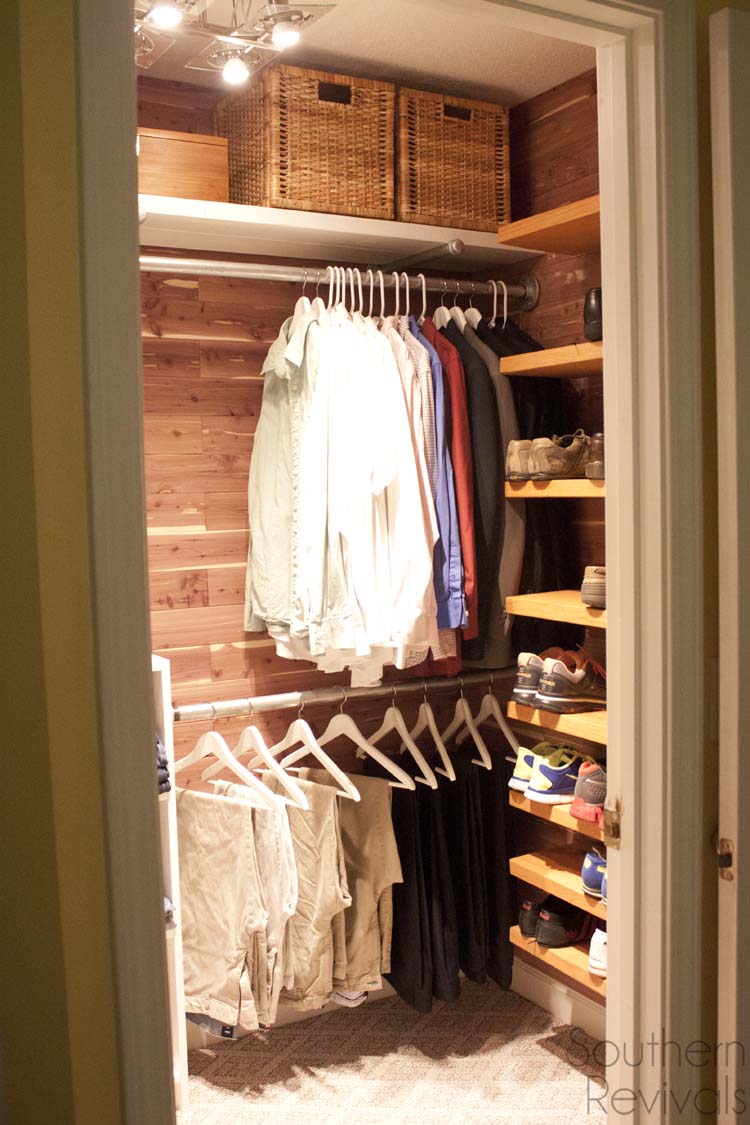
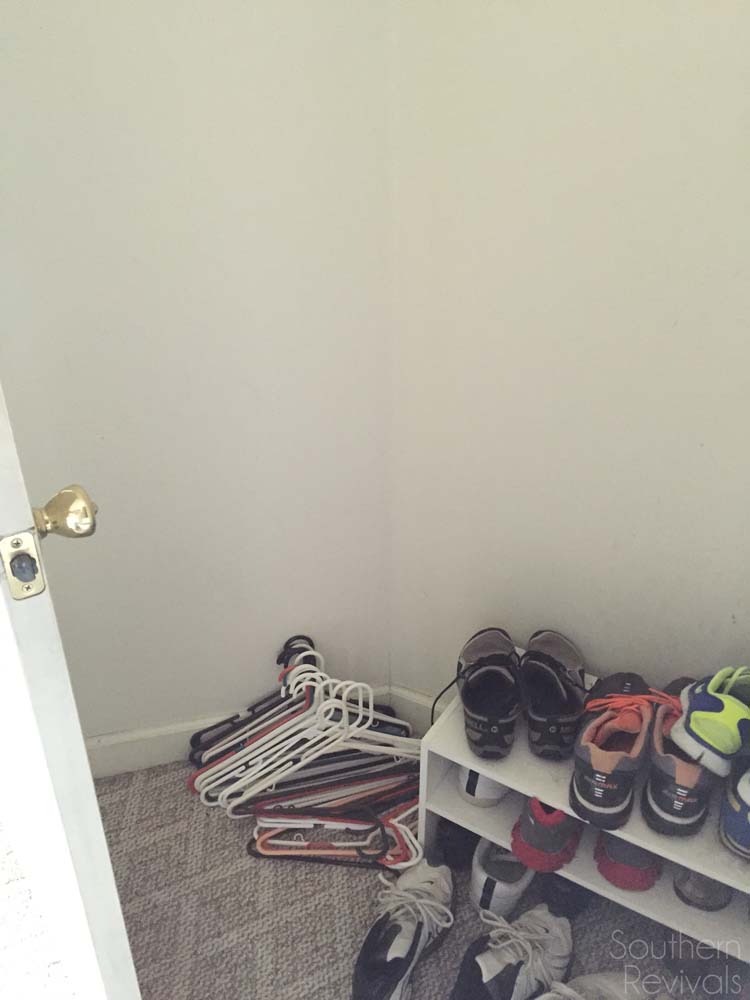 Shoes. He has a lot of them. And they certainly didn’t fit on this tiny little shelf.
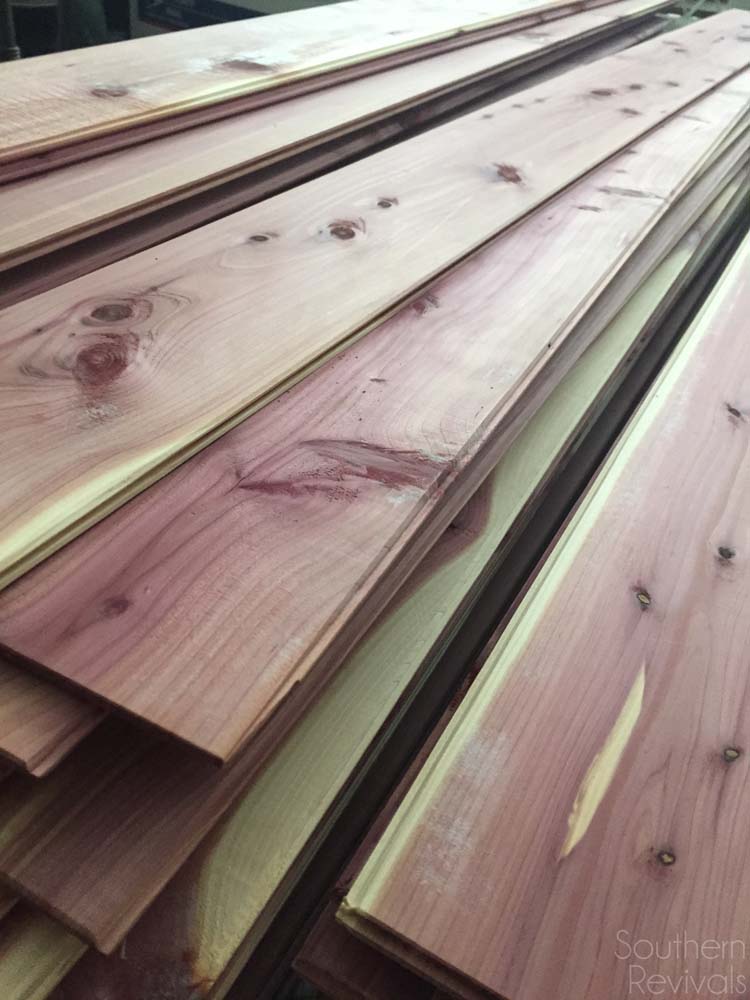
So the day I was contacted by the good folks at Cedar Safe who wanted to know if I’d like to makeover a closet with cedar planking, I was like, Psssh! YES!
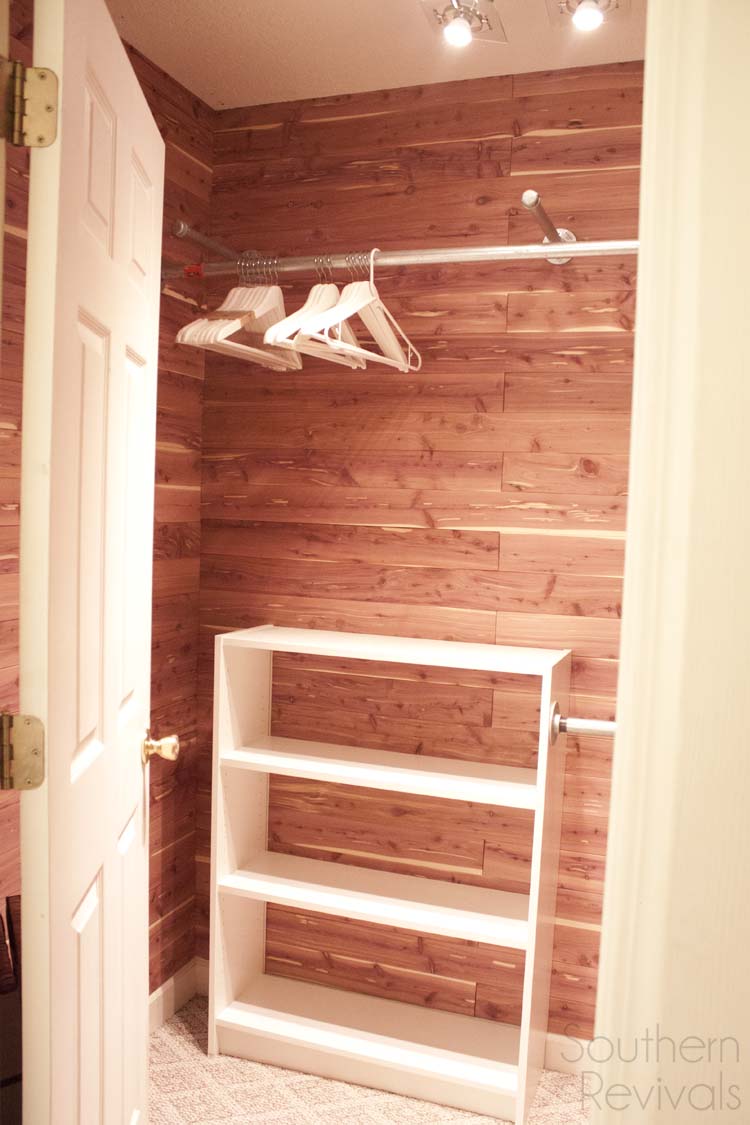
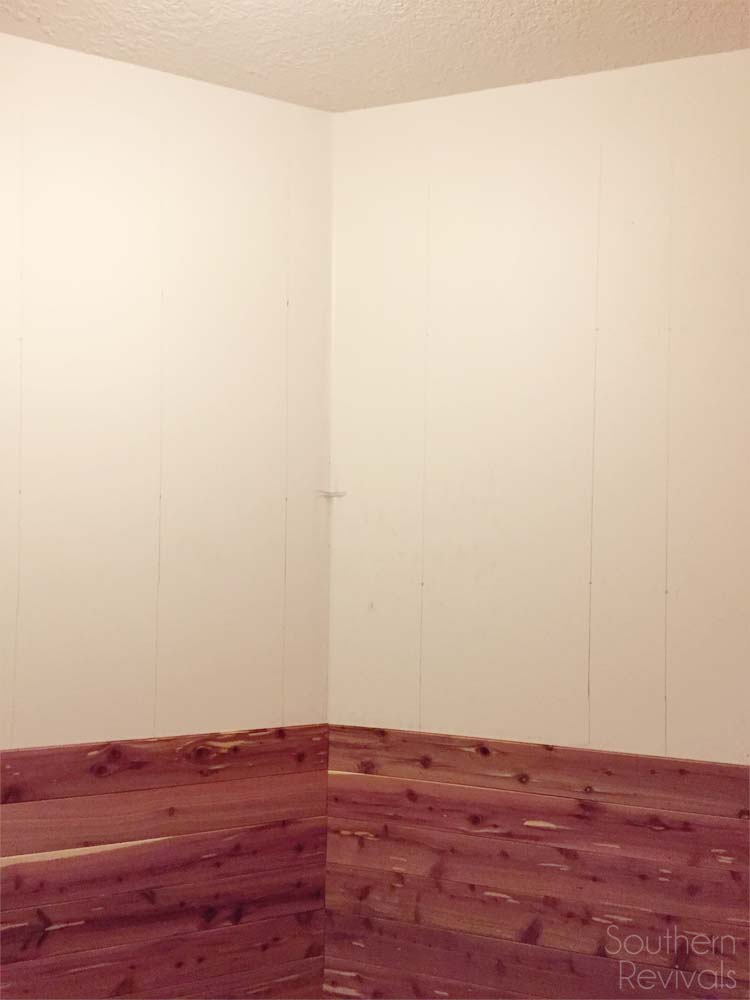 Crazy easy to install. They have interlocking edges that fit together easily like puzzle pieces. The lighting in here at this point is awful.
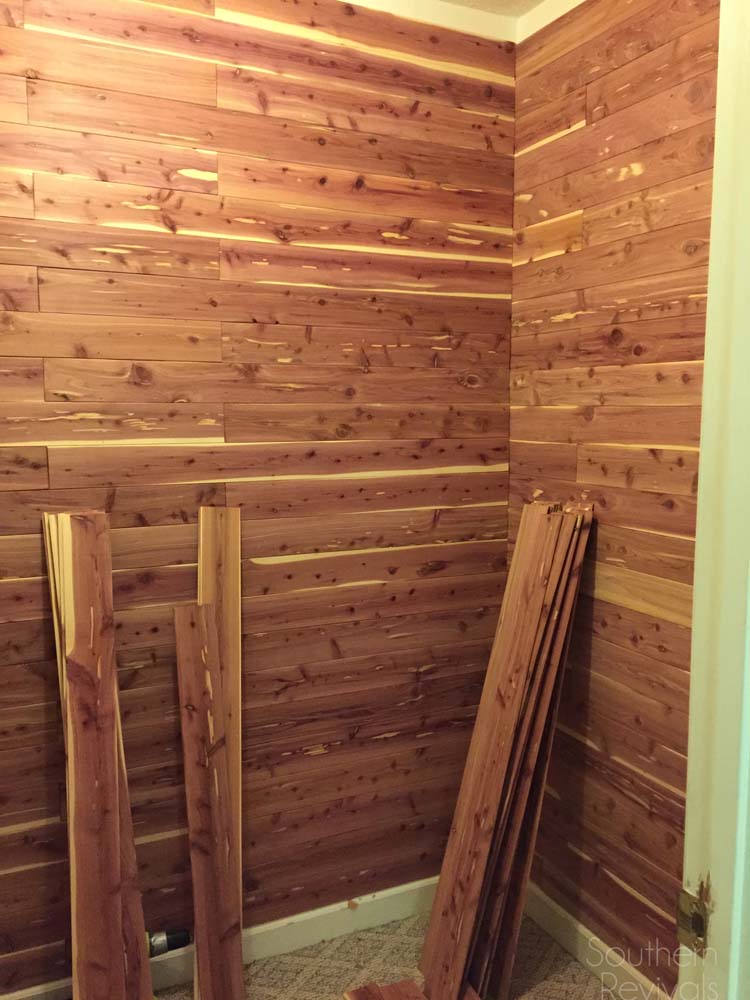 We cut each of our panels randomly to create an interesting pattern and attached them with my Ryobi AirStrike nail gun. Naturally, cutting the panels like this created waste but I used the leftovers to make the top of this gorgeous DIY pallet coffee table. I still have more leftover and I cannot wait to add these beautiful panels to other projects.
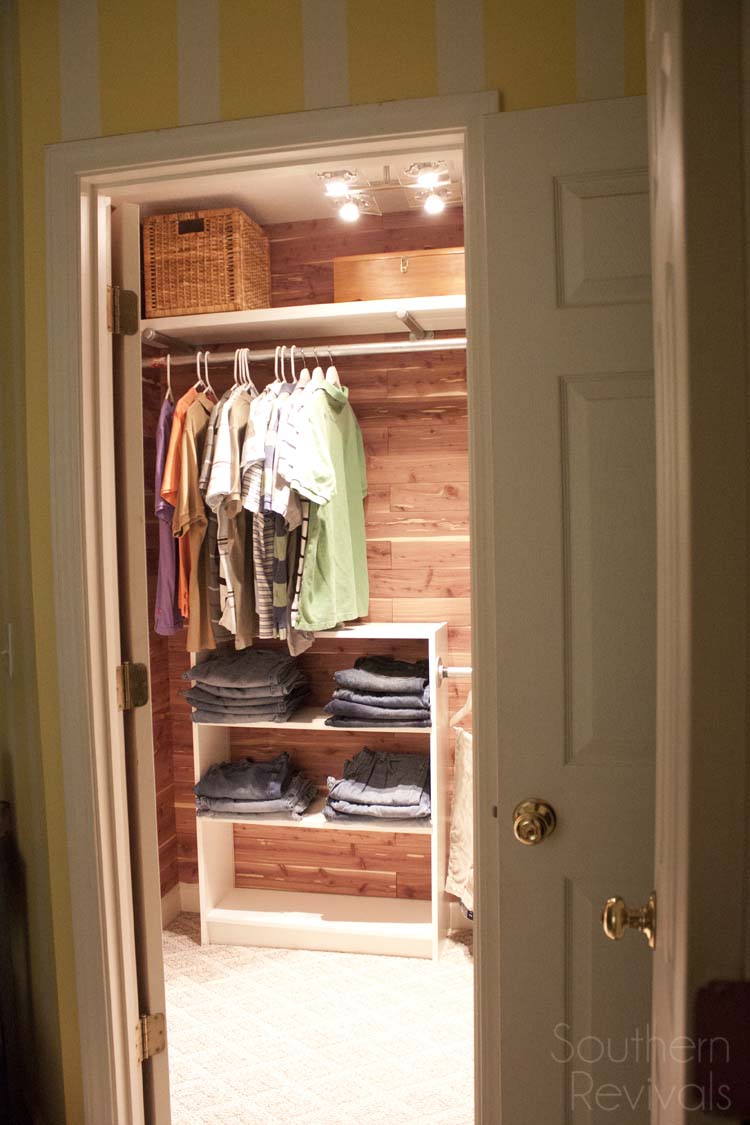
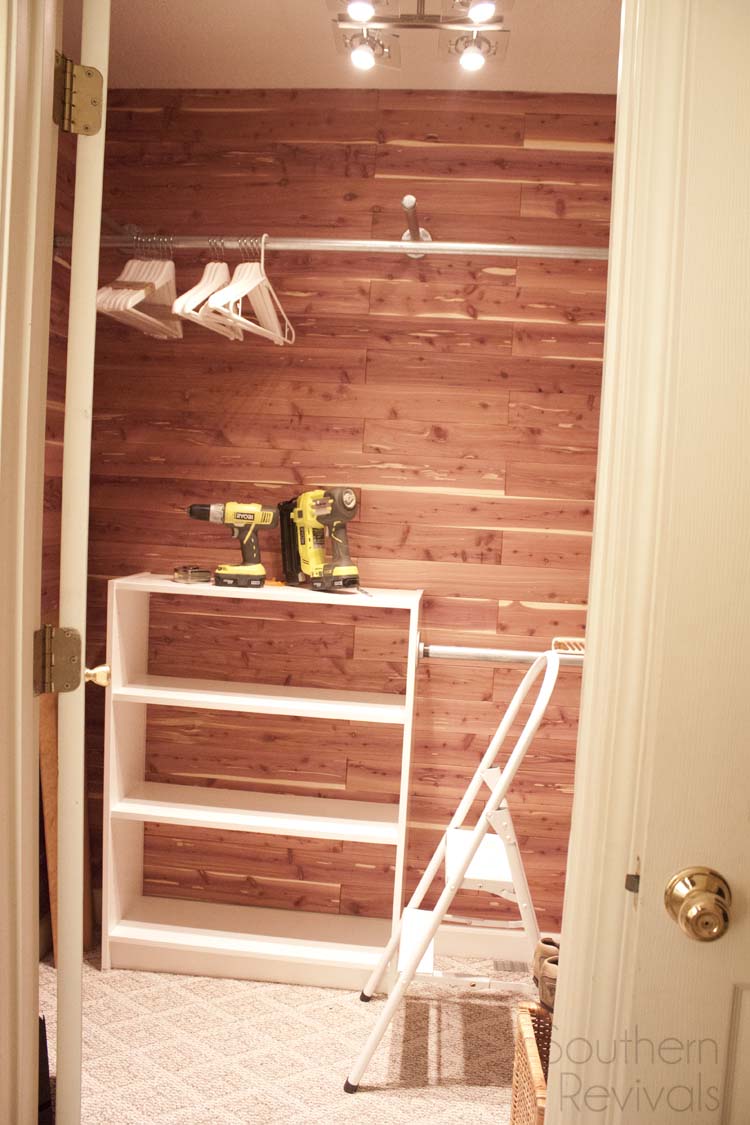 I’m a big fan of using something pre-fab to create an amazing closet and to cut costs. So you’ll notice that I’ve used the IKEA Billy’s again in this closet.
Once they’re incorporated into the other parts of this DIY closet they don’t look like stand alone pre-fab elements.
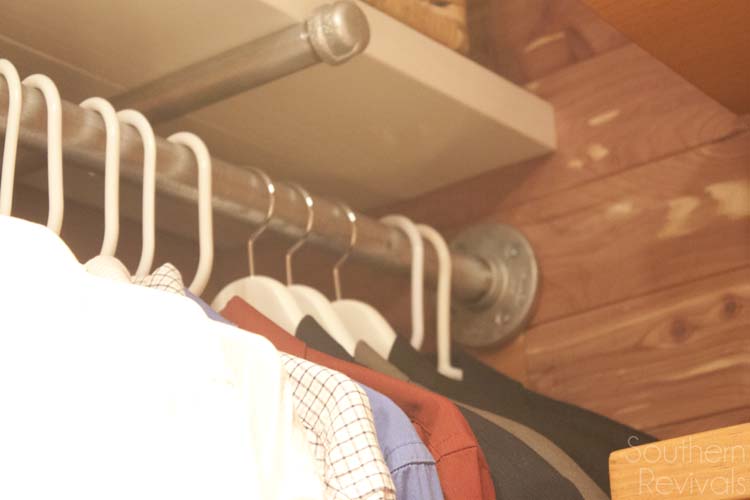
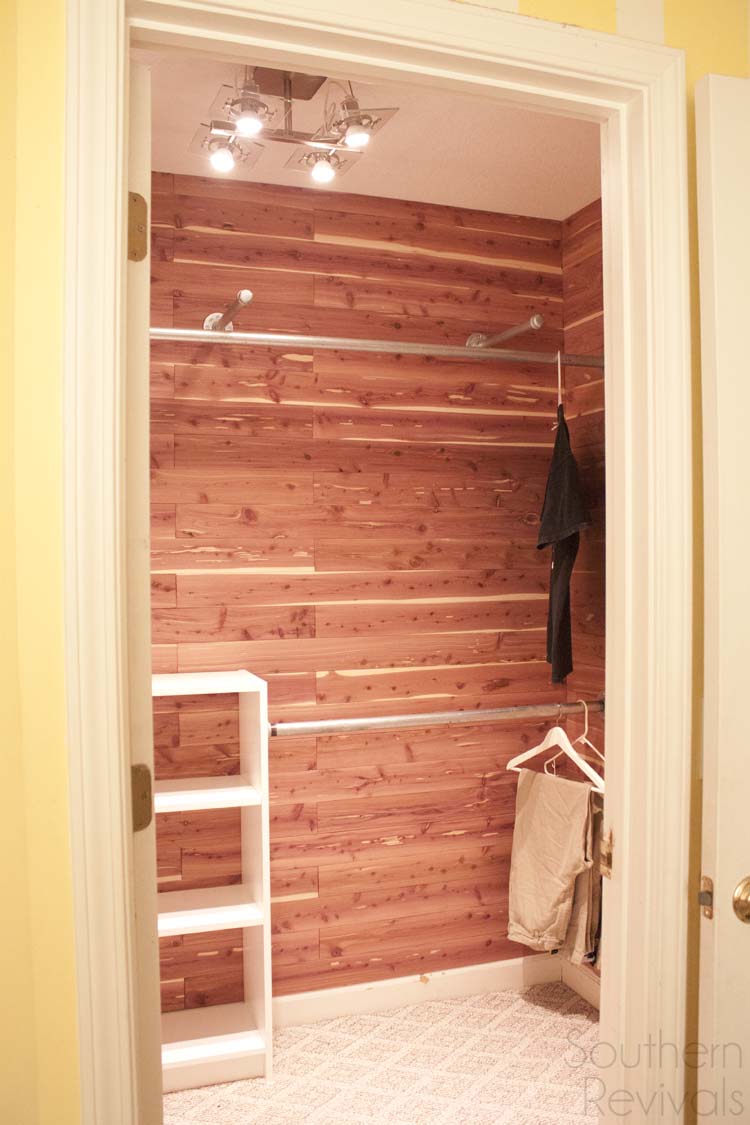 I didn’t want to use those triangle brackets again because I wanted the entire rod to be usable. With a top rod this long a middle support would be necessary to keep the rod from sagging. Unless you use 1″ galvanized pipe!
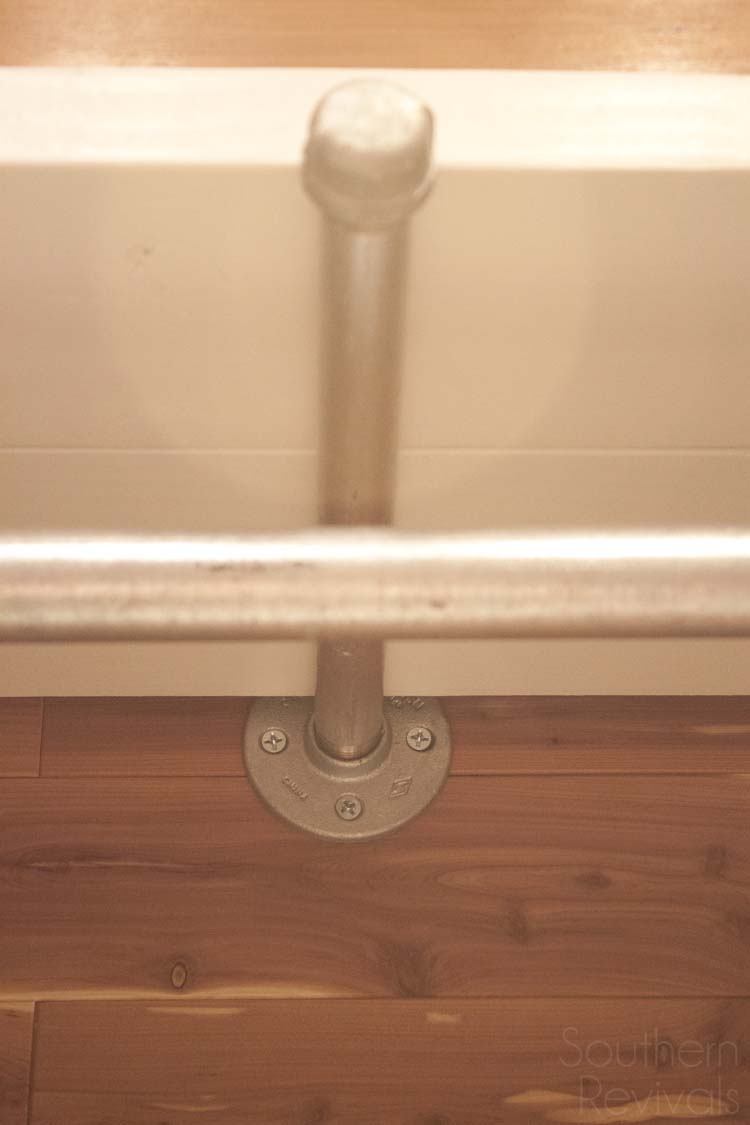 I used 3/4″ pipe, flanges and pipe caps for the upper shelf. To create the 13 1/2″ deep to shelf I used two 2x8s, one ripped to make it the right size. Each of the shelf rods we had cut and re-threaded at Lowe’s to 14″.
 For the clothing rods I used 1″ pipe and flanges. It worked perfectly and gave this guy closet and stylish industrial feel.
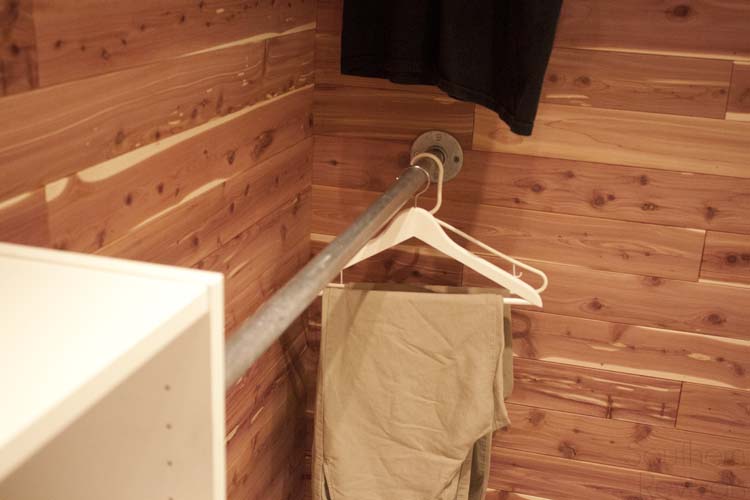 The bottom, shorter rod, will be used for pants and slacks.
The top rod for all of those shirts.
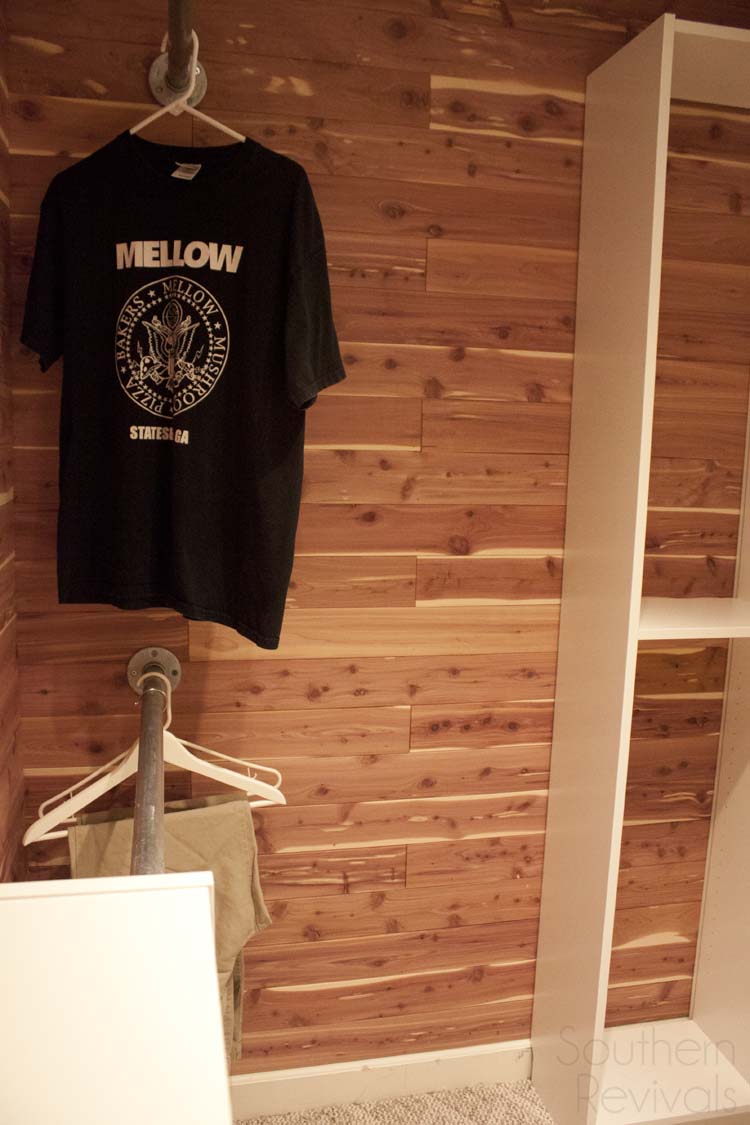 I got a second Billy for other side of the closet (this was the side the clothing bar was originally on). I wanted to use the most space possible while keeping an open feel and making sure it was a space that made getting ready easier. I had thought that I might use this Billy for shoes. Then I decided it would be best used for something else.
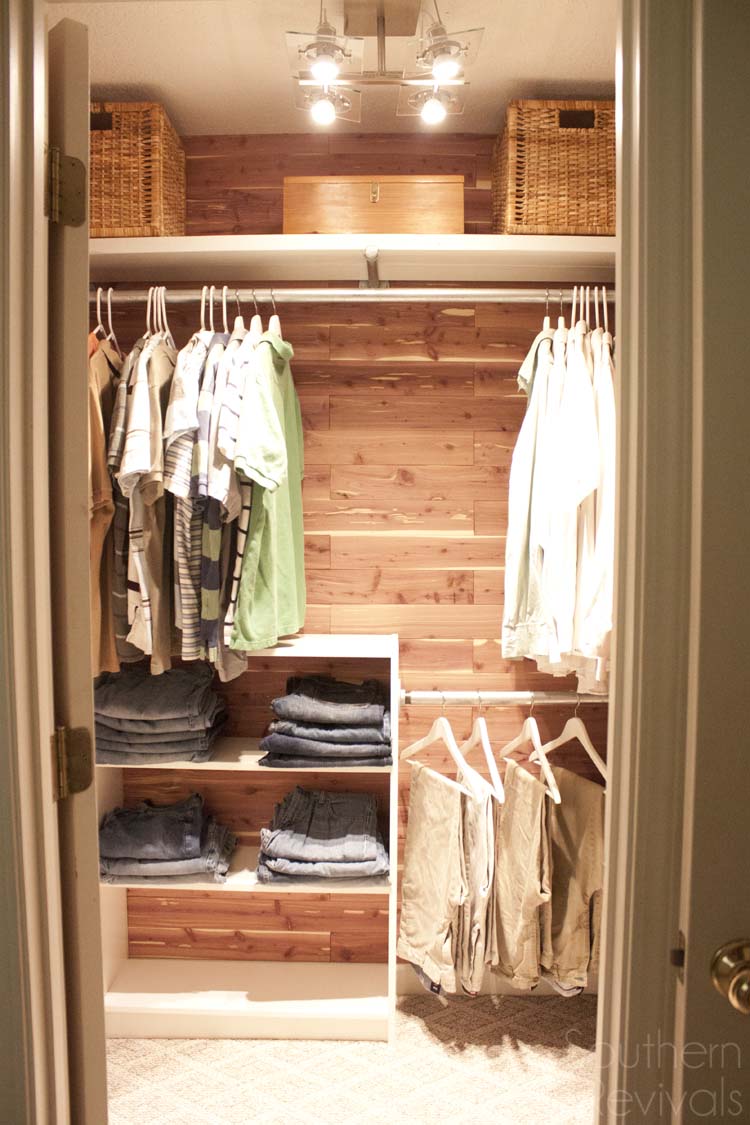 As I started adding everything back in I realized where and how I wanted to add the shoe organizer.
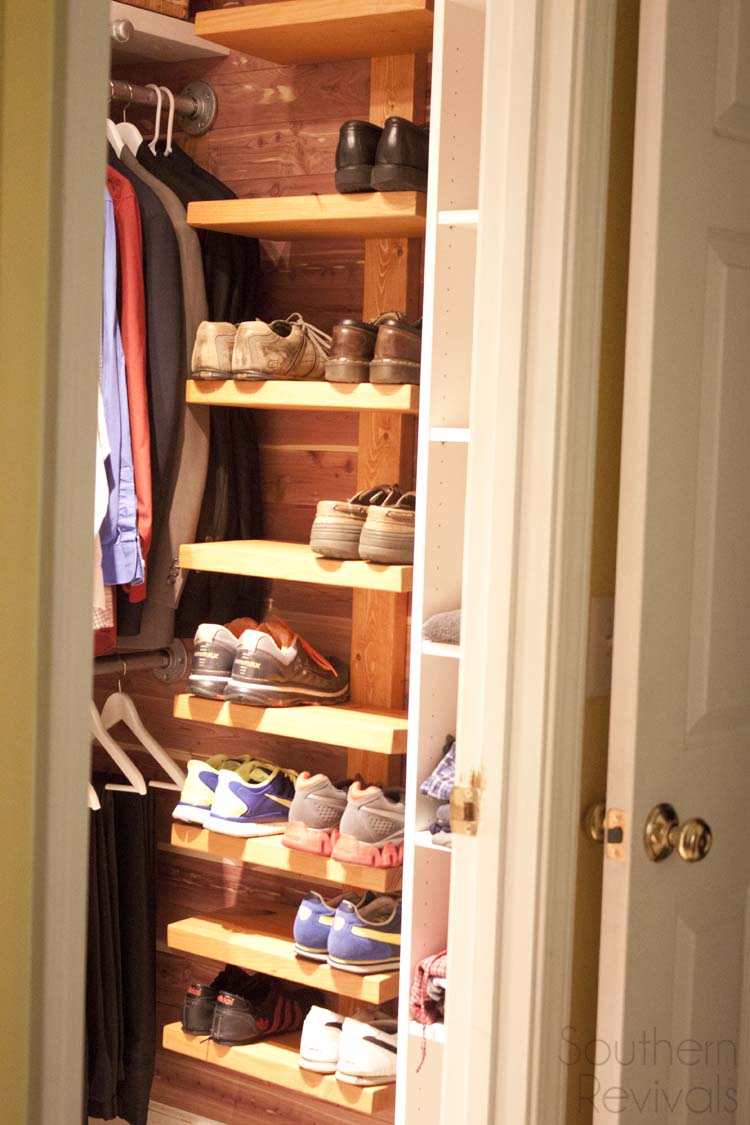 Originally I had thought about having a shoe organizer on the floor but as the space came together I knew I wanted to take advantage of the space next to the tall Billy.
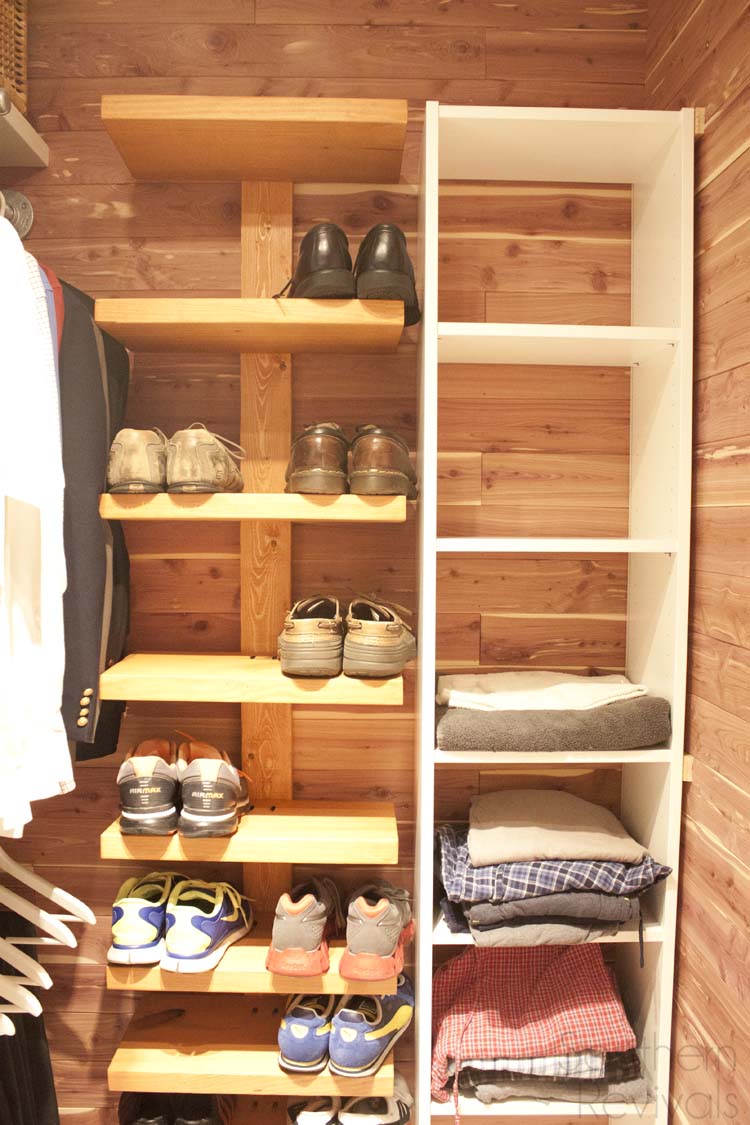 So I built (what I think) is a pretty amazing shoe solution. Plus, it looks pretty awesome!
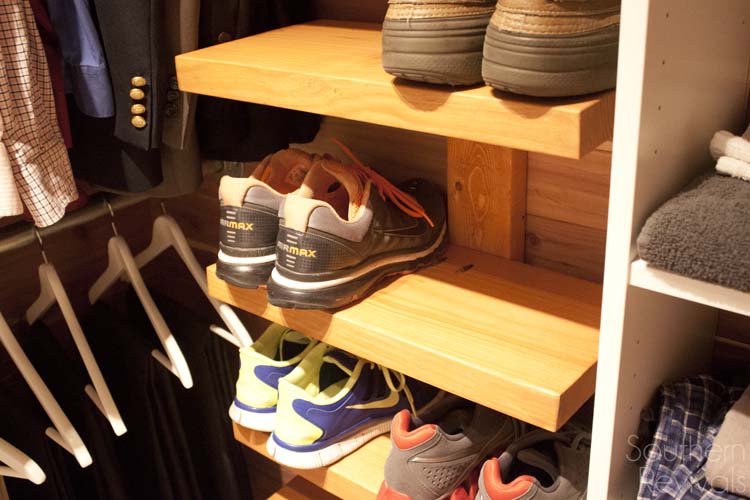 It works just like the DIY floating shelves I did for the bathroom and the master bedroom. I stained the wood to match the baskets I got from IKEA to tie everything together.
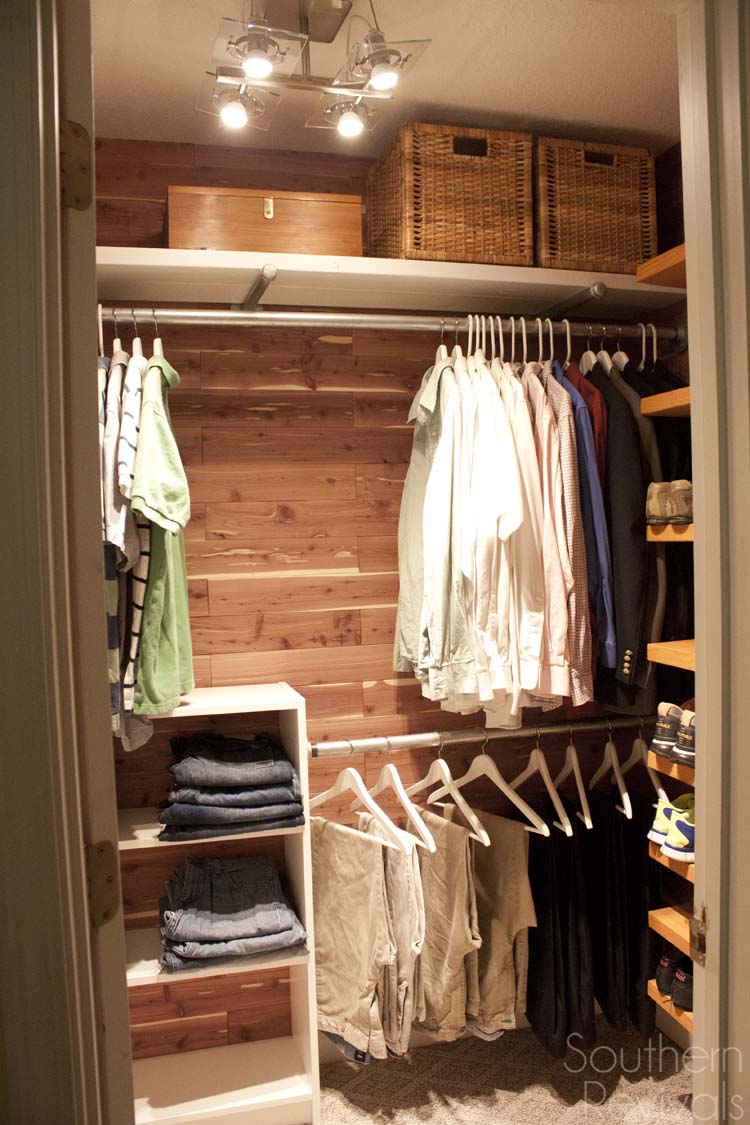 I put the baskets on the top shelf. I realized now I should have gotten a few more. Oh well, It’s a good excuse for another IKEA trip. Too bad it’s 3.5 hrs away!
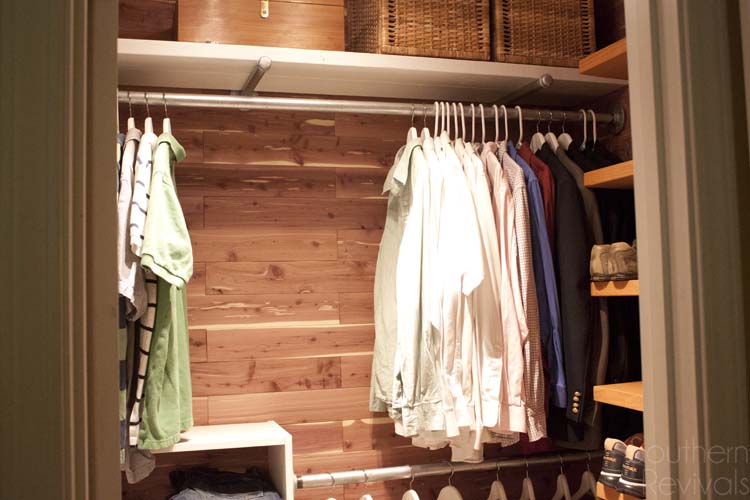 Everything is neater and and extremely well organized.
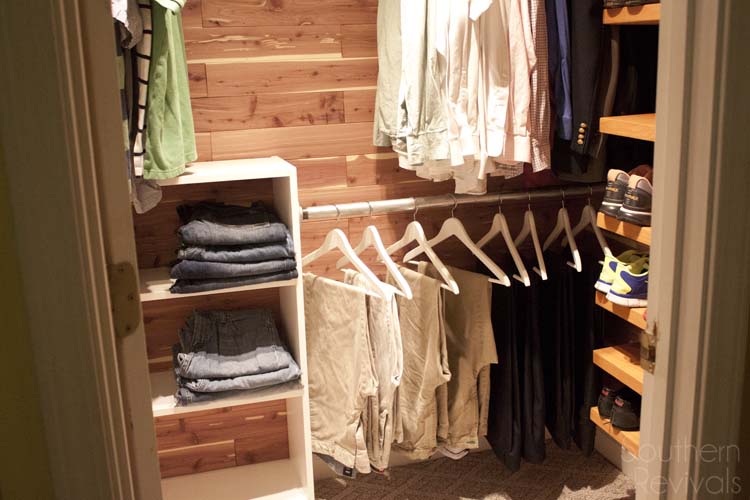 In fact, it looks so good in here it makes me wish I’d ironed the khakis before I hung them up!
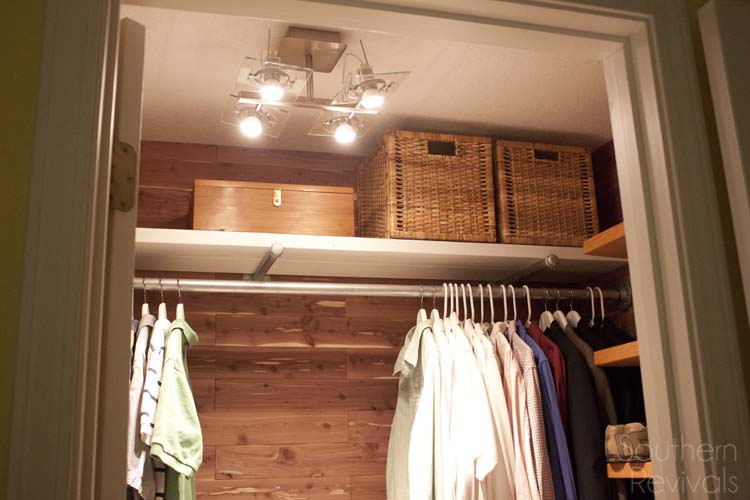 Finally some decent lighting in this place. The fixture is also from IKEA.
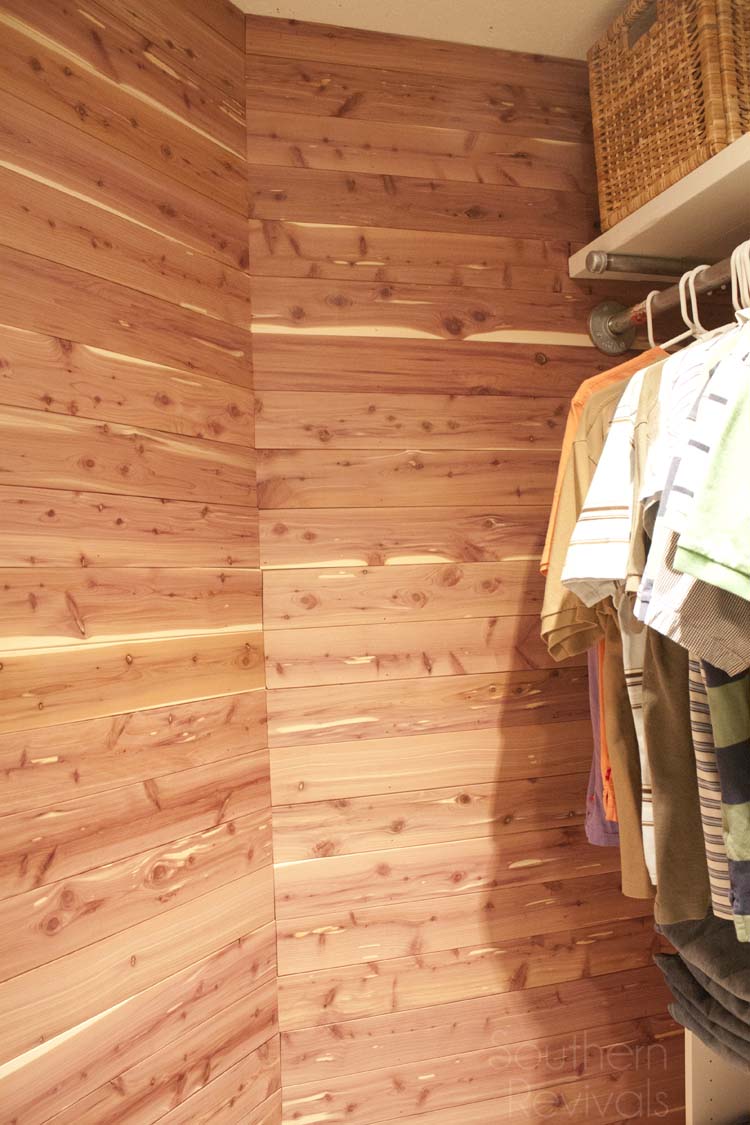 This space, behind the door, will be getting a full length mirror. Just as soon as the back to college season is over and I can find one that isn’t hot pink or turquoise. OR until I can make a trip out of this college town.
 I also need to add tie storage. Still deciding on how to do that since he doesn’t want to use the old rotating one he had.
 It’s great to have more than enough storage, to have space leftover. It’s also great to have bug repelling and smell banishing cedar wrapped along all of your walls. No more man stink in the closet!
 My favorite part of this makeover? Him walking into his new closet and saying, “This closet really makes me feel like I’m somebody!” Everyone deserves to feel like somebody and everyone deserves a nice closet! Because, not only does it make you feel good but it is so much easier to stay organized and keep tidy. And that means, we’re all happy!
 Have you every thought of using cedar in your closets? What about galvanized rods? Me, I wouldn’t change a thing.
Great big thank you to Cedar Safe for making this closet makeover possible by providing the beautiful cedar planking! As always, ideas and opinions are 100% my own.



Once again, you’ve out done yourself! All I can say is “WOW!” Are you way up in Athens? When you said Ikea was 3.5 hours away, it almost made me cry. I feel so spoiled here in Stone Mountain. I need some tutoring on building things – I get so intimidated! Floating shelves are my favorites, but I’m scared.
Thanks so much! You are spoiled up there in Stone Mtn. I’m in Statesboro, just outside of Savannah. I WISH I were in Athens!
This is amazing! I hate our closet and am desperate to redo it. These are all great ideas, especially the shoe rack! I may steal that idea!
It’s kind of hard to get to closets when real life is happening but, in the end, it is so worth it. “Steal” away my friend! 😉
I have to say this is one of the best adult closet makeovers I’ve seen! Truly fantastic!
Thanks so much!
That is gorgeous! Great job!! ☺?
Thanks Sonja! Time for mine next, eh?
This. Is. STUNNING. What a transformation.
Thank you so much!
Dude, seriously. Can you come makeover my house next?! This is gorgeous! And so functional. You’re so brilliant at this stuff.
I’ll come do the house makeover, you cook. Deal?
What is your light fixture? Looks fabulous in this great closet!
Thanks so much! It’s from IKEA. I can’t remember the name but I do remember that it was around $20 bucks.
Love it! I clicked your Under $100 closet post from pinterest because it’s one of the first I’ve seen that actually looks to be roughly the same size/shape as my closet, and love what you did with the Billy shelves there and on this one! My closet has that common one long rod with the shelf above it (though supported by 2x4s screwed to the studs in the side walls, and the rod has little end tabs that screw into that) and a second shelf above that, awkwardly high – it seems like that should be plenty of space, but it’s just poorly arranged. The way the door is framed in, there’s a good foot on either side that’s hard to see and use, and the top shelf is made even harder to access… PLUS I have the added delight of the dryer vent and power running through a random hole in the side wall (the laundry used to be where my closet is, now is just outside the bedroom… they moved walls to rearrange but apparently couldn’t be bothered to run power to it properly or move the exterior vent!) so I really want to add some lower shelves on that side and block off the vent hose and gaping hole, so I’m trying to figure out the best way to do that improve the overall function of the closet without spending a fortune I don’t have, or having to build it all myself! Looks like Billy may be my new best friend! (drooling over that cedar paneling too, but don’t think that’s in my budget!)
Why do they make closets where you can’t get to a 1/3 of it, right? I hope this is helpful and that you get a gorgeous and functional closet that’s also kind to your budget. I would love to see pics when you! Thanks for stopping by!
Terrific closet. Did you screw in a pipe flange to the bully shelf directly?
Hi Annette!
Thank you! Yes, we screwed the flange directly into the side of the Billy shelf. Hope that helps!
hi just quick question. what kind of screws did you use for the rods? did you use the same ones for both?
Hi Alexis,
I honestly can’t remember but I’d guess that we used longer screws where we fastened them to the walls (for stability) and shorter screws where we fastened the flanges to the bookshelf since it’s such thin material. We used wood screws or multi-purpose screws. Hope that’s helpful!
Any reason you pocket-holed through the top of the shoe shelves instead of the bottom where it would not be an eyesore?
Yes, because with the shoes on the shelves you don’t see the holes but you would from the underside. The pocket holes can also be plugged so that they aren’t seen from any side if you prefer.