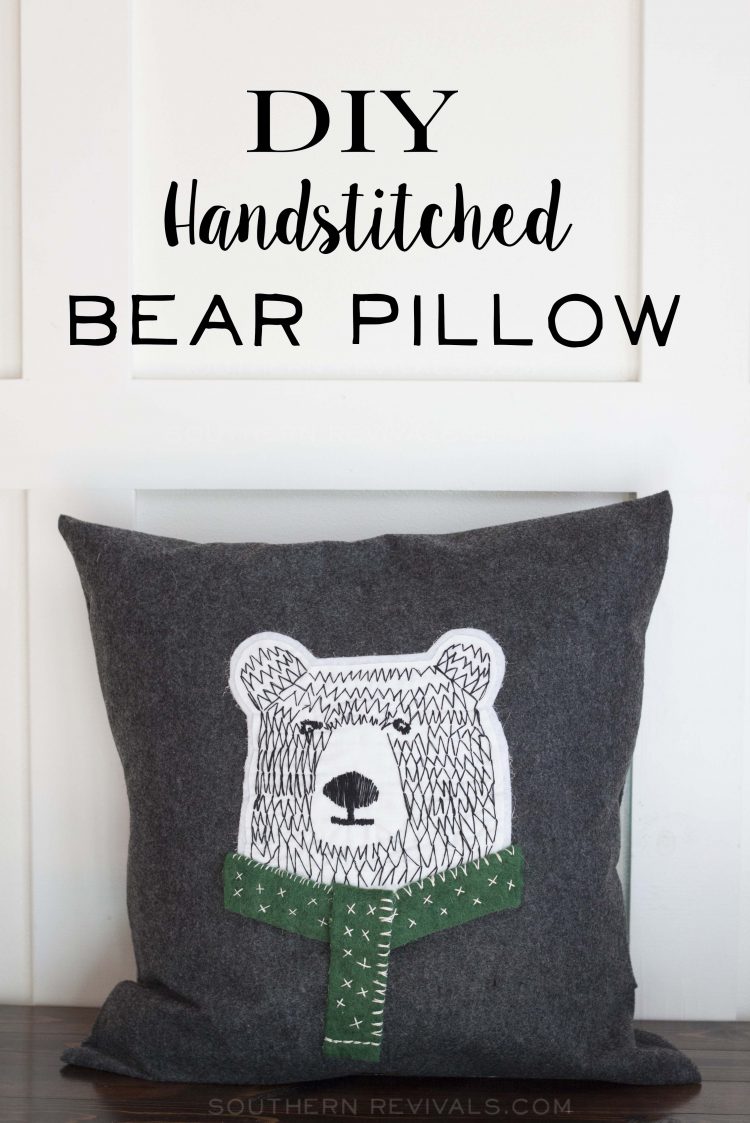
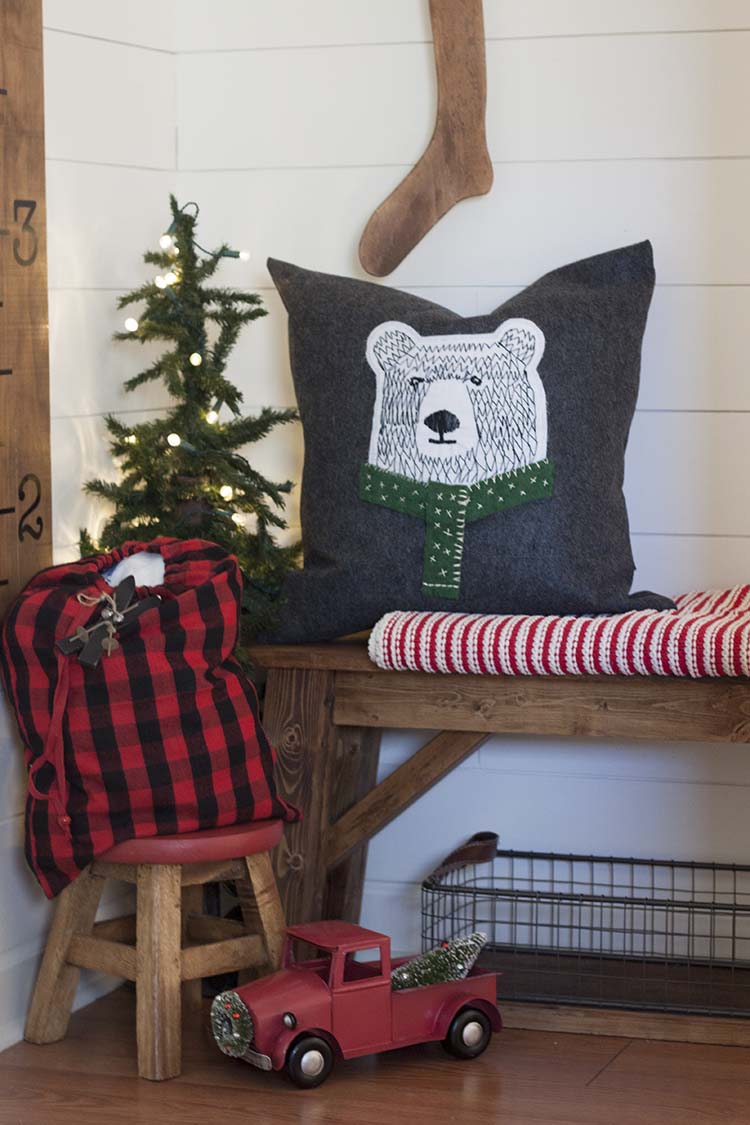
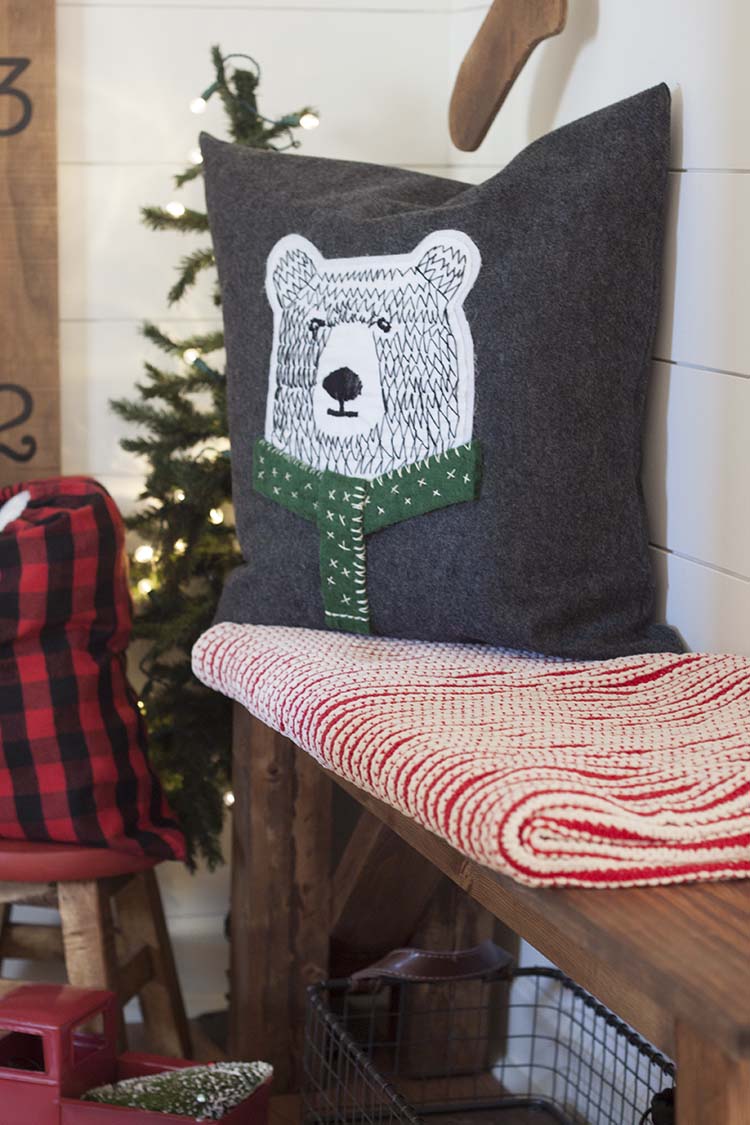
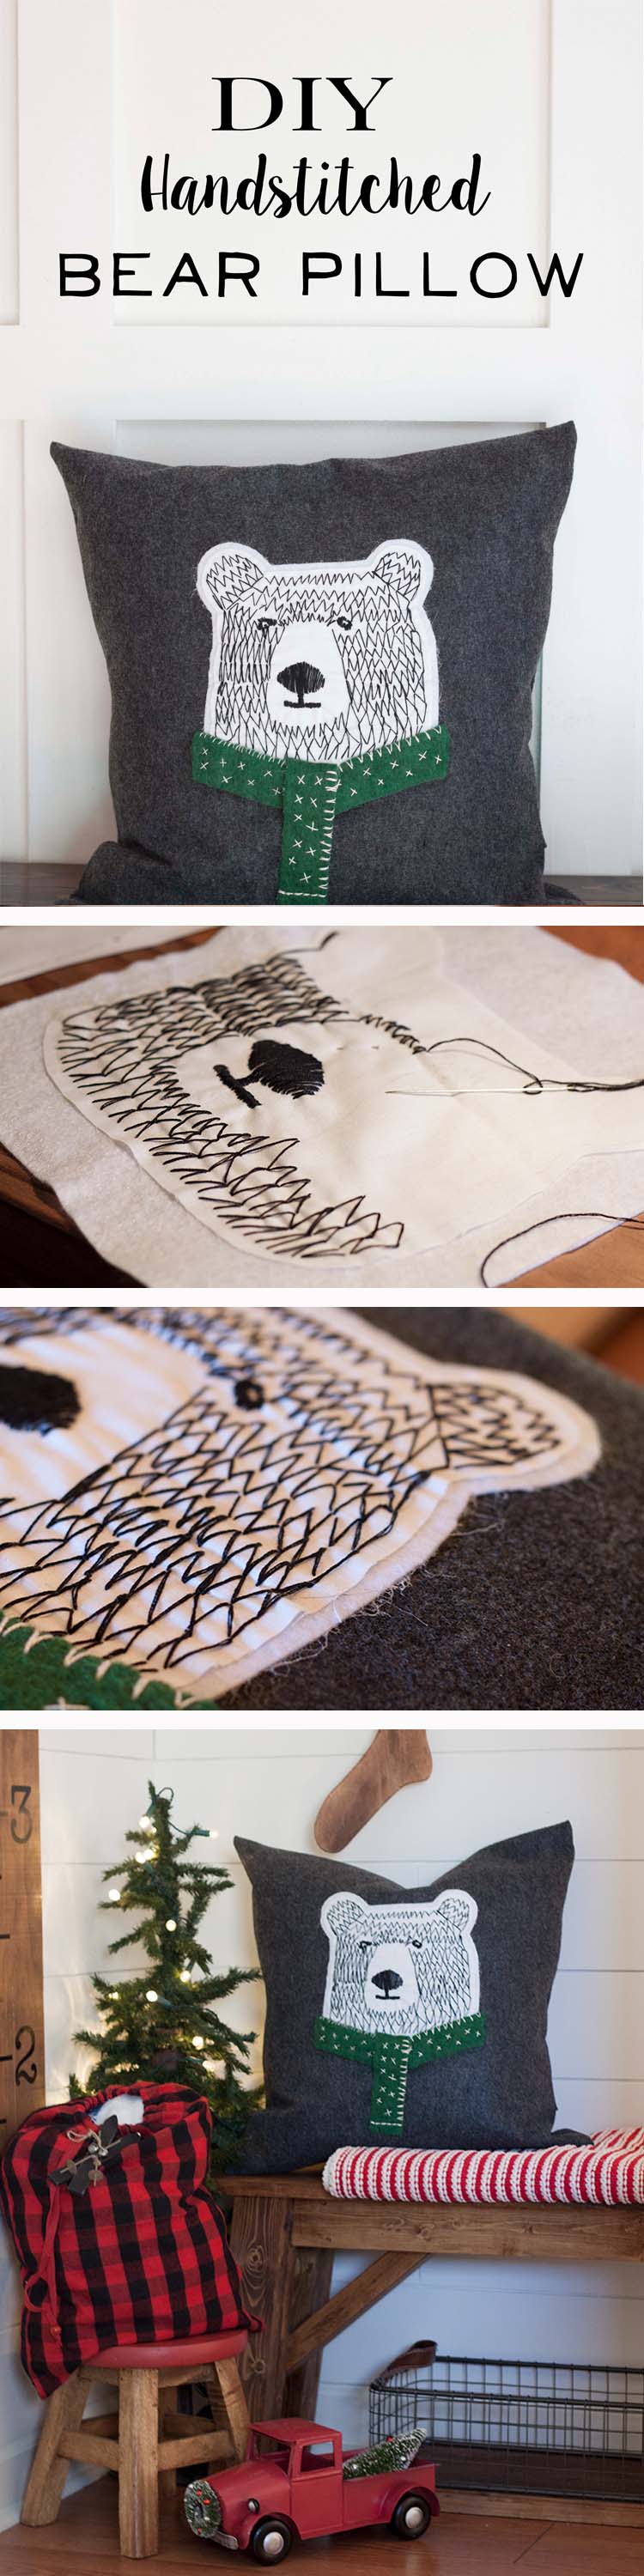
Believe it or not, it’s easier than it looks! And this DIY Hand Stitched Bear Pillow has the kind of minimalist charm that’s perfect all season long. Here’s how to create your own zig zag stitch animal pillow.
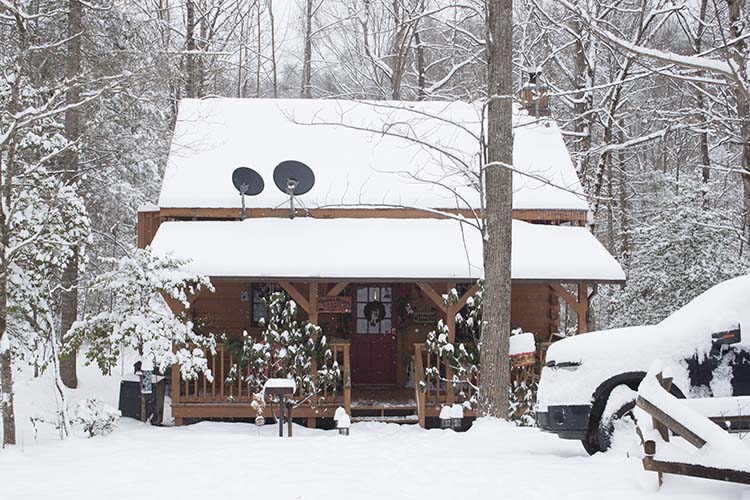
The first of this year we took an impromptu trip to the mountains in Tennessee. It was our first trip to Tennessee and, for the most of us, it was our first trip to the mountains. And while this much snow isn’t typical of this area, 10″ of it piled up right in front of our cabin making for the most snow any of us had ever seen. It was our best vacation ever and I’ve been even more obsessed with cabins and all things woodland animals ever since.
So when I saw a stitched bear ornament in the store the other day I immediately knew I had to turn it into a pillow for that little nook in the boys’ hall.
I feel like I should preface this with a disclosure; I have never embroidered or hand stitched a thing in my life. So I figure if I can do it, you can do it. Plus, it just really isn’t that hard. I promise.
Here’s what you’ll need to get started.
*For your convenience, this post contains affiliate links for which I earn a small commission at no additional cost to you.
DIY Hand Stitched Bear Pillow
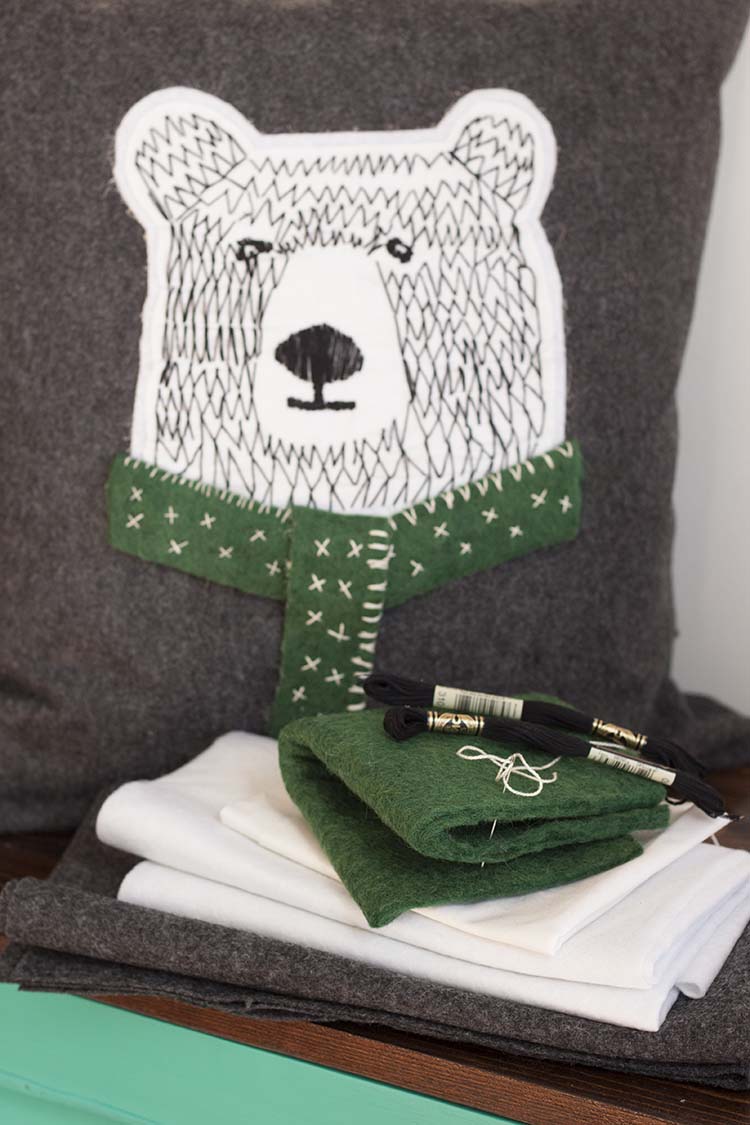
Supplies:
- 20 x 20 pillow form
- 20 x 20 pillow cover (or learn how to make a DIY Envelope Pillow here)
- charcoal gray felt or wool fabric (for cover)
- white felt or batting (for backing)
- bleached muslin (for bear)
- green felt or wool (for scarf)
- 2 skeins black embroidery floss
- 1 skein white or off-white embroidery floss, or yarn scraps
- embroidery needle
- fabric scissors
- spray adhesive
- pencil
- printer and copy paper
- bear outline
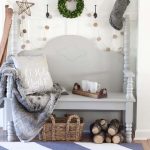
Step 1
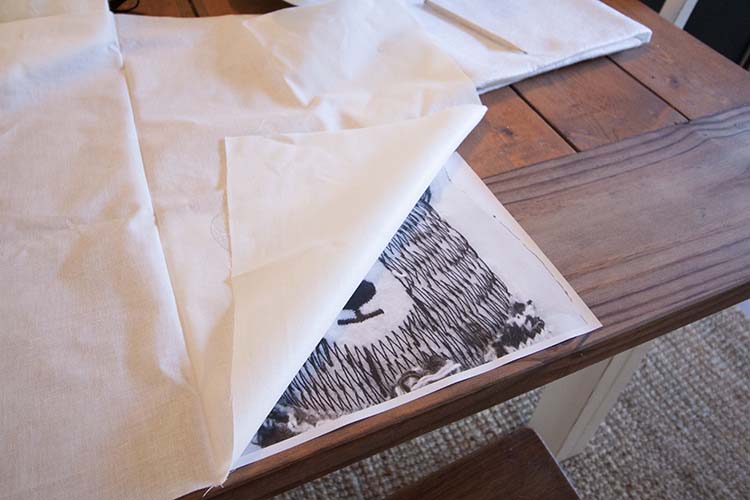
Start by printing out your animal shape. I printed a bear (printable outline in supplies list) but you can use any animal outline you like. All you need is to be able to trace the outline, no need to draw in the stitches.
Step 2
Place the black and white copy under the white muslin and trace the outline of whatever animal you choose on the fabric in pencil. The fabric is thin and very easy to see through. A pencil will leave enough of a mark for you to see but it’s also light enough not to be noticeable once you’re done.
Step 3
Cut out your animal shape leaving a 1/4″ or so edge.
Step 4
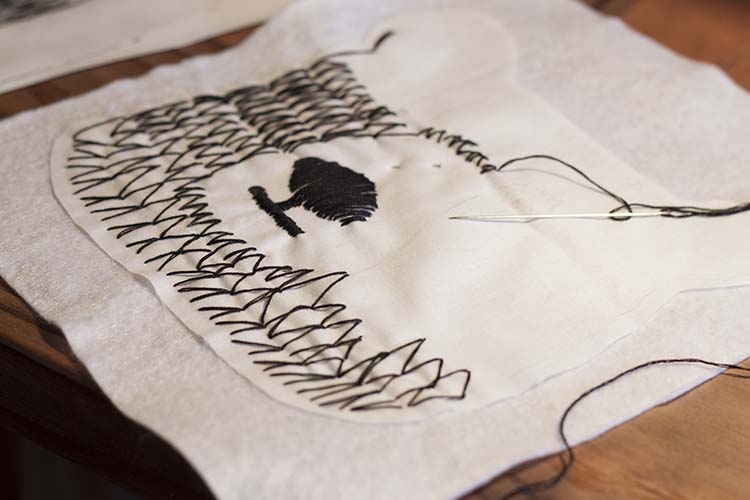
Place your muslin shape on top of a length of white felt or batting.
Step 5
Divide a workable length of black embroidery floss in half. You should have 3 threads per length. Repeat this step each time you need more floss.
Step 6 – Stitching
Begin stitching your fabric shape directly onto the white felt or batting, this will be your backing. You are essentially sewing the two pieces together.
You can start with the nose and mouth or with the zig-zag stitches, it’s up to you.
Work in a line from the bottom and stitch from one side to the other all the way across the bear’s face. Your beginning and ending stitches for each line will form the outline of the bear as you go.
Once you reach his snout, work your stitches from his snout outline to the outside of his face starting a new line when you reach the end.
I saved the eyes until I got to the top and worked those in with the top stitches. For the eyes, I just stitched around the center pupil to the eye outline until I had something that looked like an eye. From there I just continued with my zig-zag stitches.
At the top of the bear’s head, you’ll go back to stitching from one side of its face to the other.
You don’t have to be particular about this for it to work well and look great. I think it’s pretty obvious to anyone who does any real needlework that I really had no idea what I was doing.
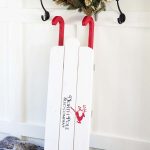
Step 7
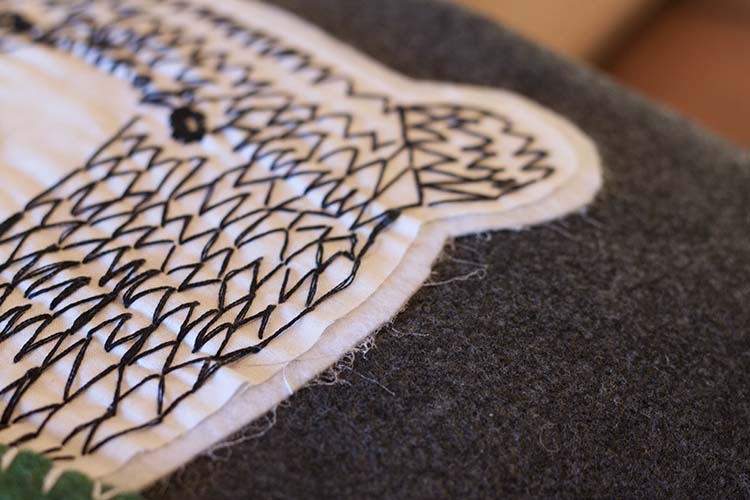
Once your bear is stitched to your satisfaction, trim around the white backing leaving another 1/4″ or so edging on it as well.
Step 8
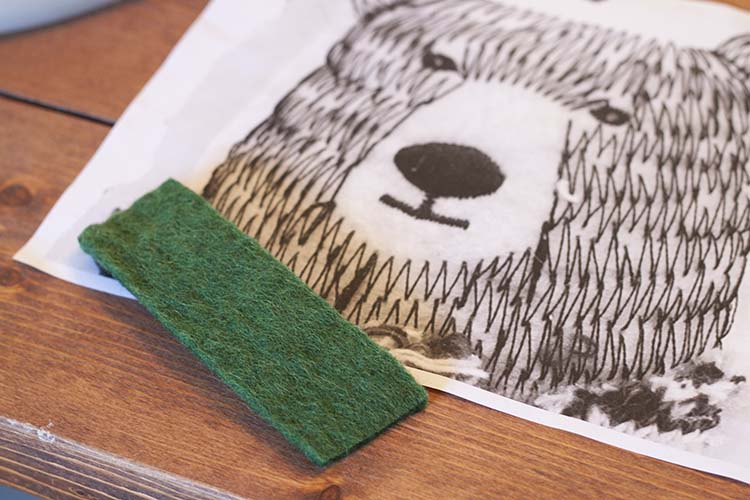
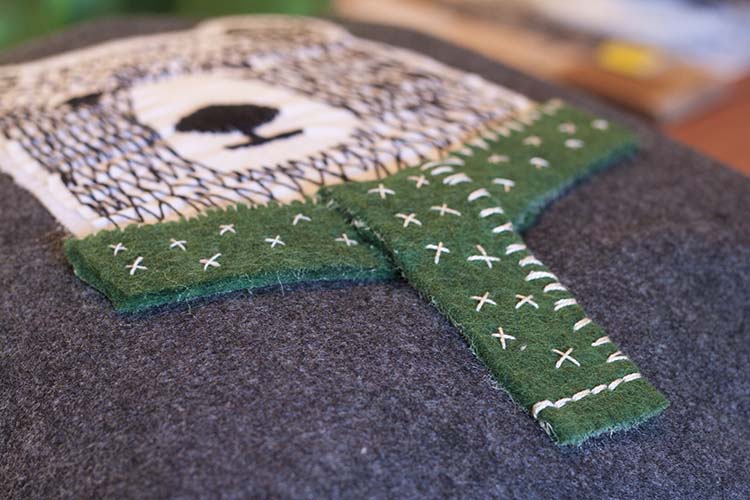
Cut scraps of green felt or wool to create a scarf. One piece for the left side of the scarf, one piece for the right and a third piece for the center.
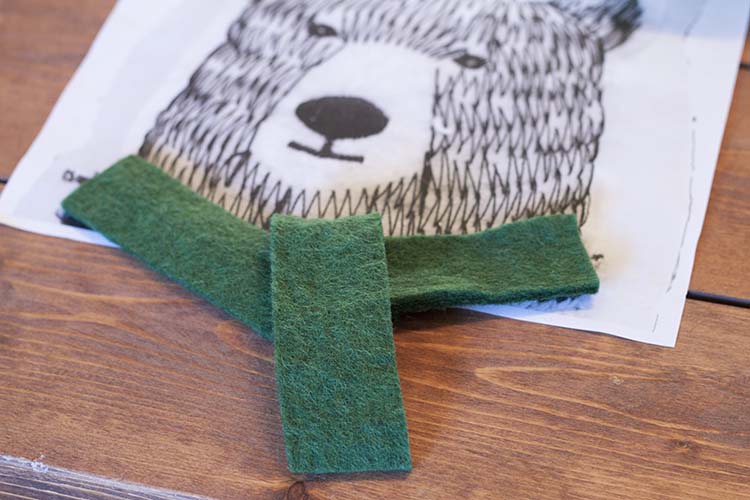
Arrange the pieces onto your shape as you go to make sure they fit well. Trim as needed.
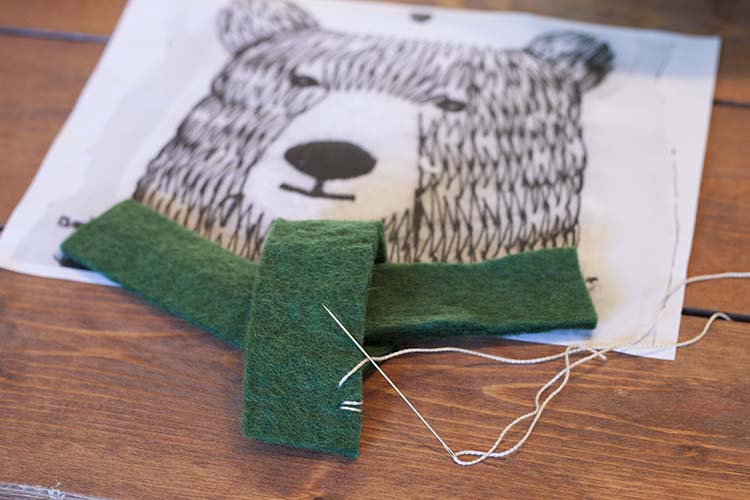
Step 9
Use scrap yarn or embroidery floss and decorative stitches to embellish the scarf.
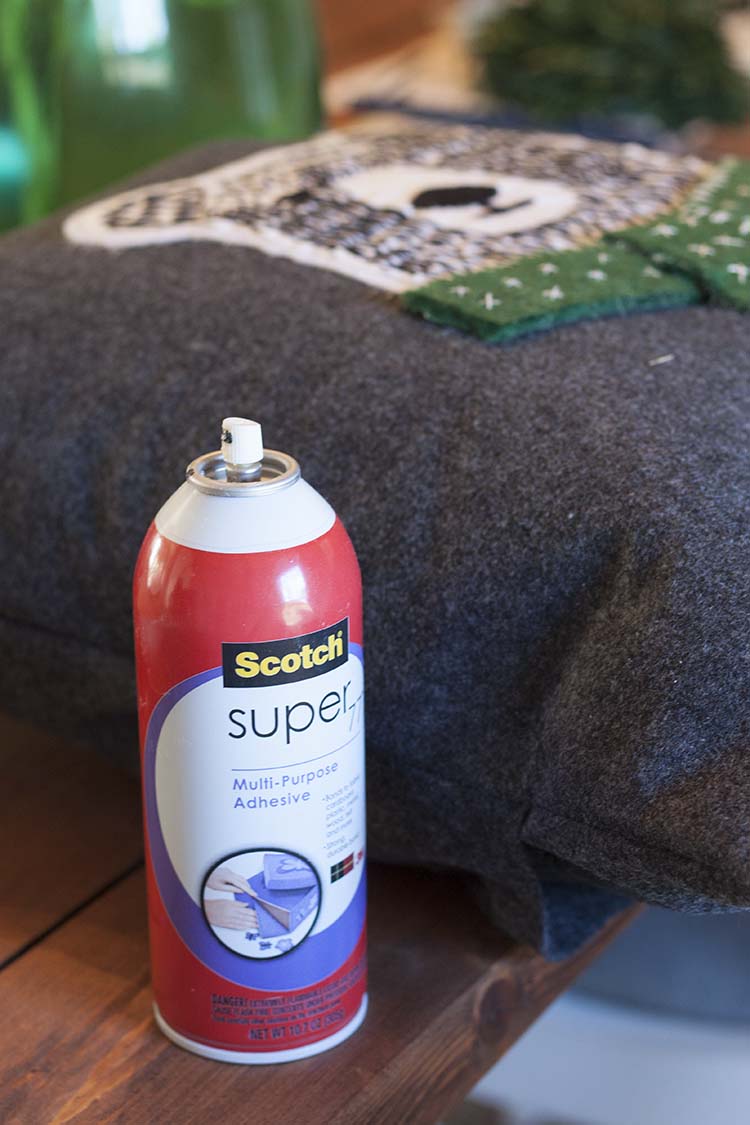
Step 10 – Assembly
Spray the back of your bear shape with spray adhesive and place onto the top center of your pillow cover.
Repeat with each piece of the scarf placing them on one at a time and adjusting as needed until it looks like a scarf.
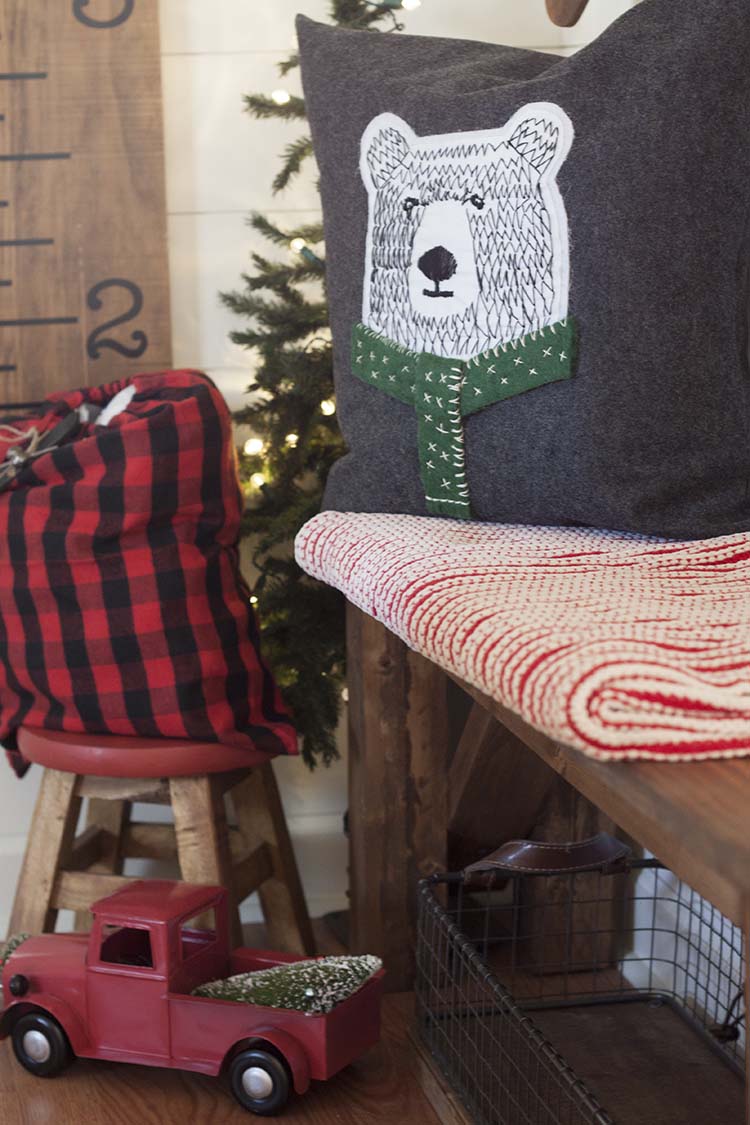
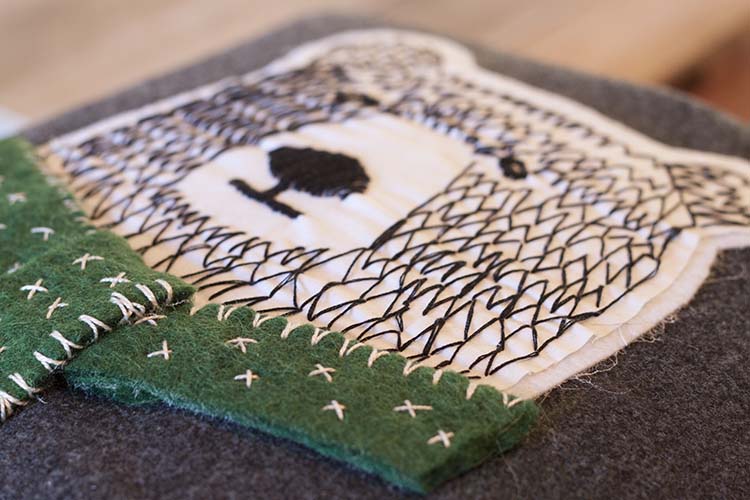
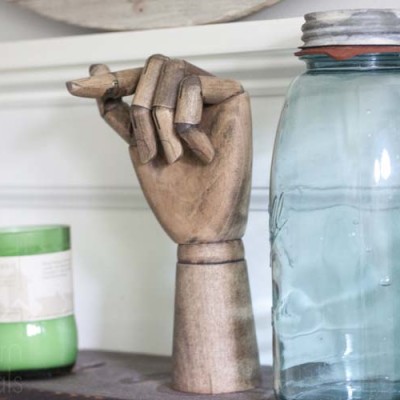
And that’s it! It’s so stinkin’ cute, amiright?!
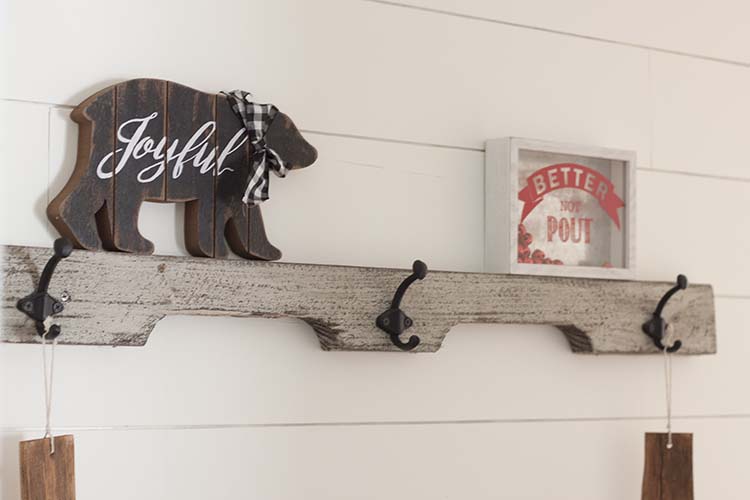
While I was picking up the supplies at JOANN‘s for my pillow I grabbed a couple of other cute things for the space as well.
I had to get this little red metal truck, another bear ‘Joyful’ black bear and, after all the fussing around here lately, the Better Not Pout sign. And they’re Doorbusters so they’re already at Black Friday prices right now!
They’ve also got some great holiday pillows and throws, too, if you just want to pick some up and be done with it. I’ve still got to finish up an advent calendar but, for the most part, I’m done with this space. And I couldn’t be happier! It’s a festive little addition to our decor this year. What are you adding to your holiday decor this year? It’s this pillow, amiright?


Hello! I absoultely love this! Love the beautiful fabric and clean look of it! Girl, your talent shines. Hope you and your family have a wonderful Thanksgiving!
Thanks so much, Beverly! Happy Thanksgiving to you and yours!
This is so adorable. I love the way you have stitched the fur. I might just have to make one of these.
Thanks so much, Claire!