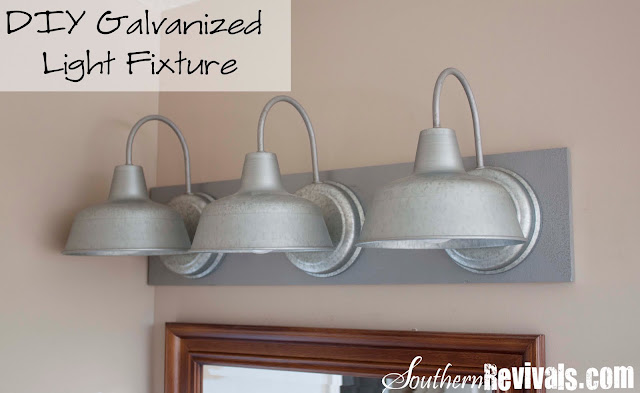

You guys always ask for a tutorial. So how about one for a DIY Galvanized Light fixture for around a hundred bucks? You know, instead of paying the $399+ to buy one!
If you follow me on Facebook then you might remember the exciting news I shared with you earlier this year about being chosen as one of Lil Luna’s DIY Contributor’s for 2013. Well today is my very first DIY contributor post! For the full tutorial on this fixture, please head over to Lil Luna.com
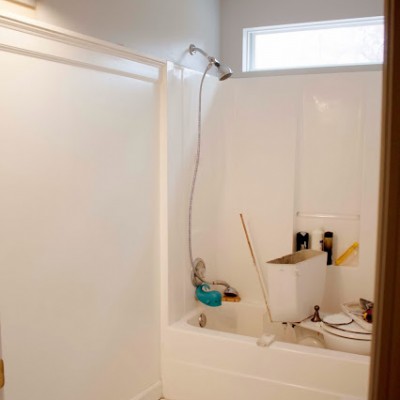
We are in the process of renovating our Boys’ Bathroom and I’ve got a ton of fun DIY’s to share with you. It was great fun to be able to kick-off this renovation over at Lil Luna. If you’re visiting from there, Welcome! Be sure to stick around for some upcoming DIYs from our latest home renovation project!

Jamie Lott
Linking up to….


Loooove your post! I am redoing some chicken coop feeders and am excited to give them a fresh coat of the hammered spray paint. Wha?! Why haven’t I heard of that before?! LOL Thanks!!! Love your project 🙂 xo
Hey thanks! This would look great on chicken feeders. Thanks for stopping by!
So cool Jamie! Love the way you figured out how to do it for less 🙂 It looks fantastic!!
I always figure out how to do it for less. It’s my mission in life! LOL
What a great light fixture! Love it 🙂
Thank you for always being so supportive! 😉
Love it!
Thank you Kaara!
I miss remodeling and renovation. It’s been a while since I had something remodeled in our house, so seeing DIY makes me so eager in having my house remodeled. By the looks of it, you’re trying to achieve a country feel in your boy’s bathroom? Well if it is, then you absolutely nailed it! Congratulations!
Allison Shallenberger