This post and the DIY Outdoor Side Table is brought to you in part by The Fab Furniture Flippin’ Contest, this month’s theme Bling Bling, and Country Chic Paint. All ideas and opinions are my own.
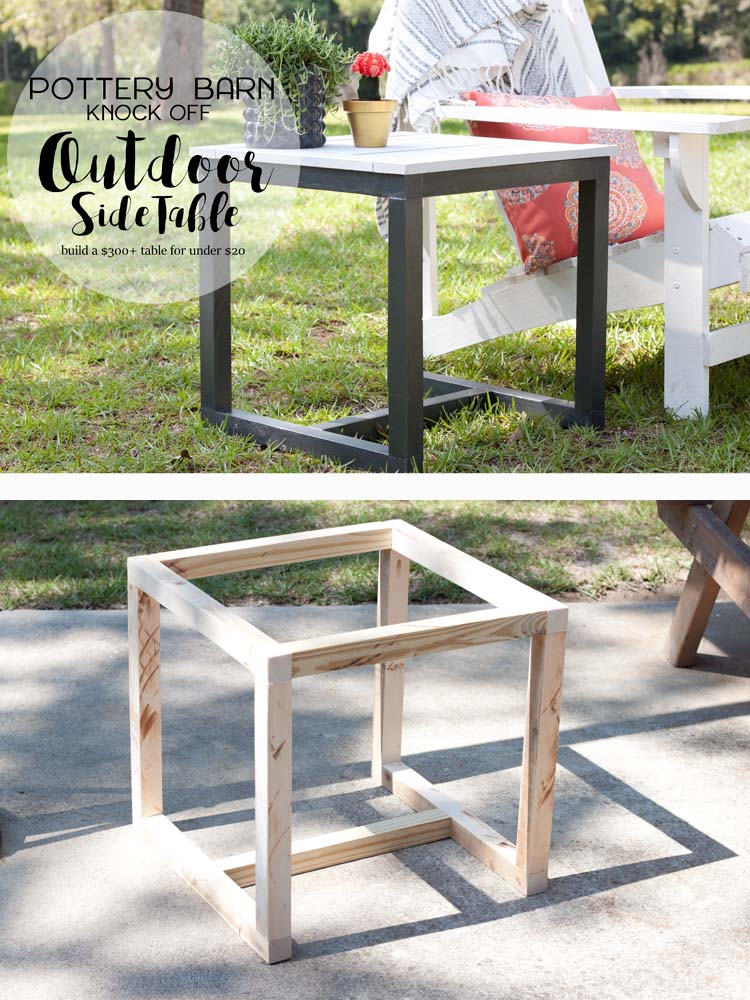
Let’s be clear, if I could buy every single thing in the Pottery Barn catalog I absolutely would. But since I can’t things like this DIY Outdoor Side Table Pottery Barn Knockoff are the next best thing. A quick and fairly simple build means you can build it, paint and start enjoying it this weekend!
And I feel like I should mention that this under $20 version doesn’t boast a metal frame bottom and a teak wood top. But if that’s something you can (or like me, have to) live without, here’s what you’ll need.
DIY Outdoor Side Table
Disclaimer: I have included my Amazon affiliate links for your convenience which means that I get a small commission at no additional charge to you. Please see my full Disclosure Policy for more information.
You will need:
- 1 – 2x4x10 (I used treated pine)
- 2 – 6 ft Dog Eared Cedar Fence Boards
- Kreg jig
- 1 1/4″ pocket hole screws
- Table saw
- Miter saw
- Brad nailer
- Sander
- Drill
- Wood Screws
Optional:
- Country Chic Paint’s Metallic Cream (Trigger)
- Country Chic All-in-One Paint (Lazy Linen)
- Paint brush
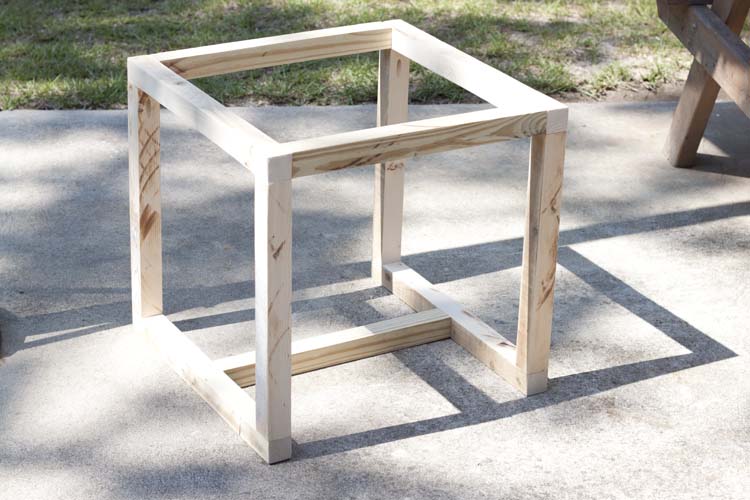
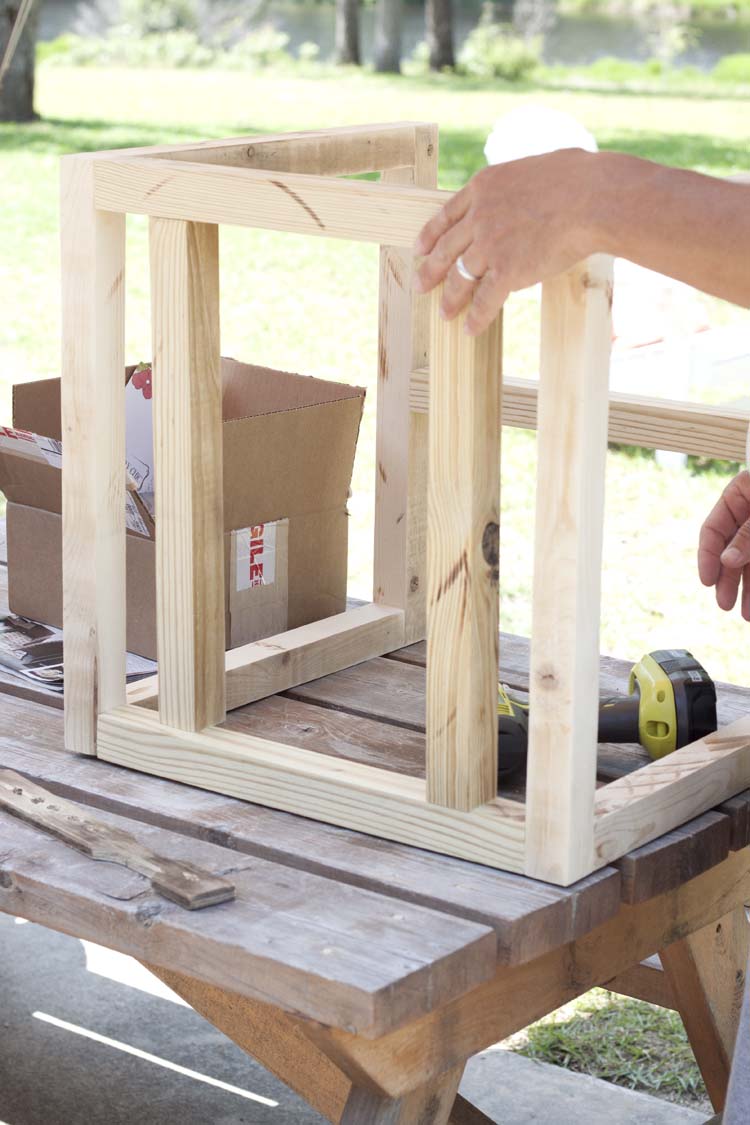
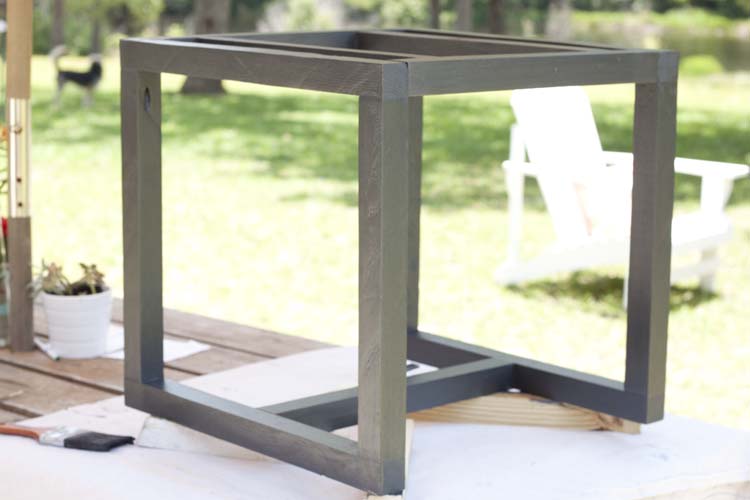
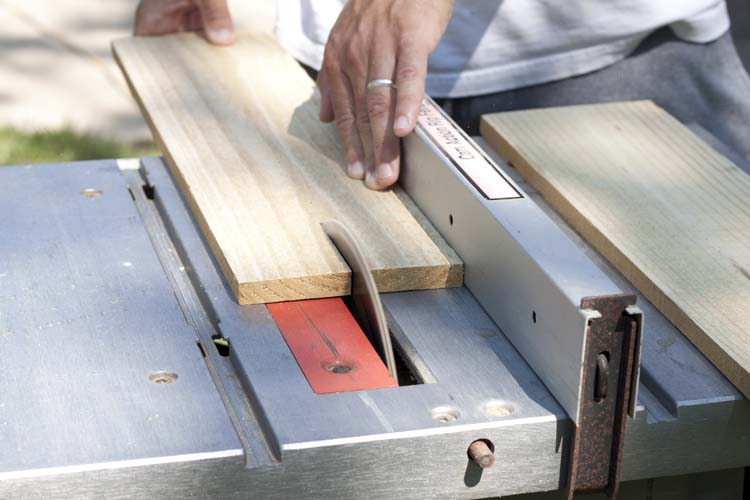
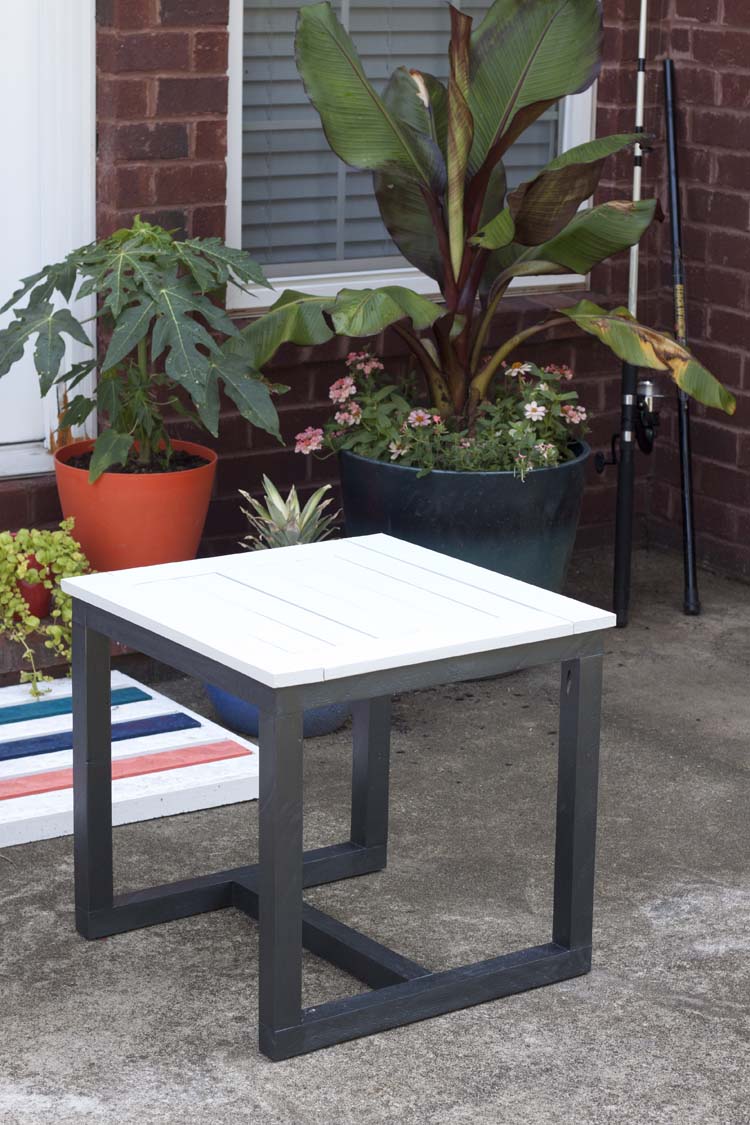
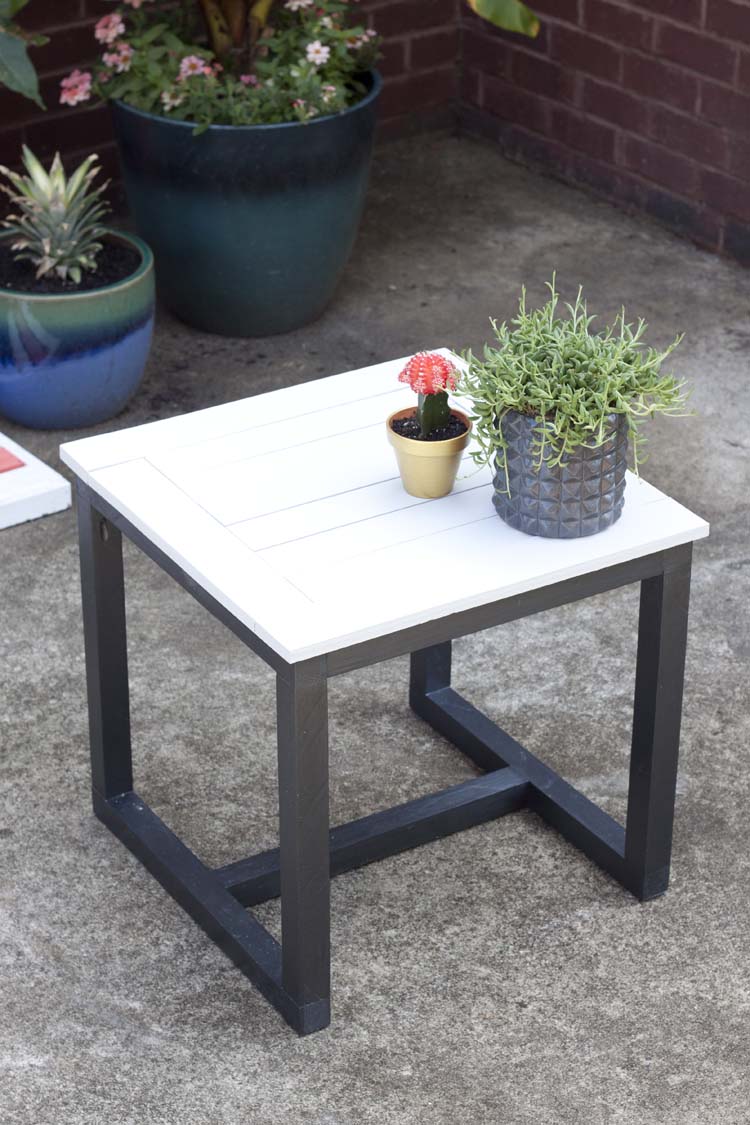
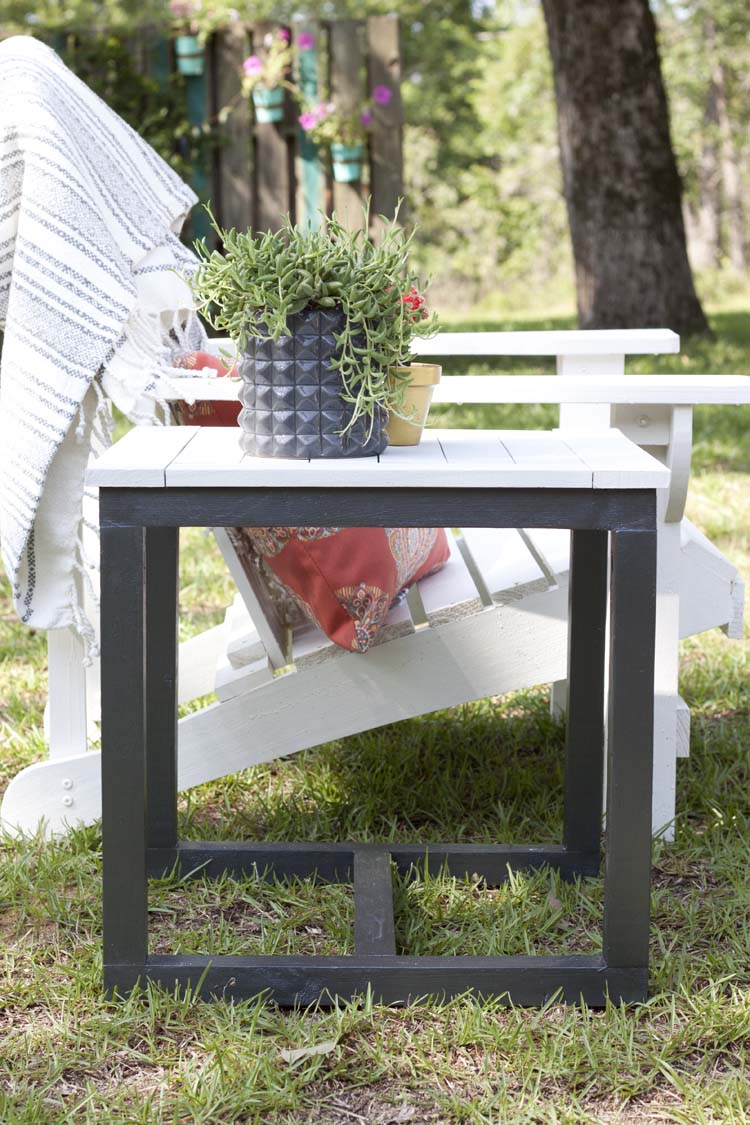
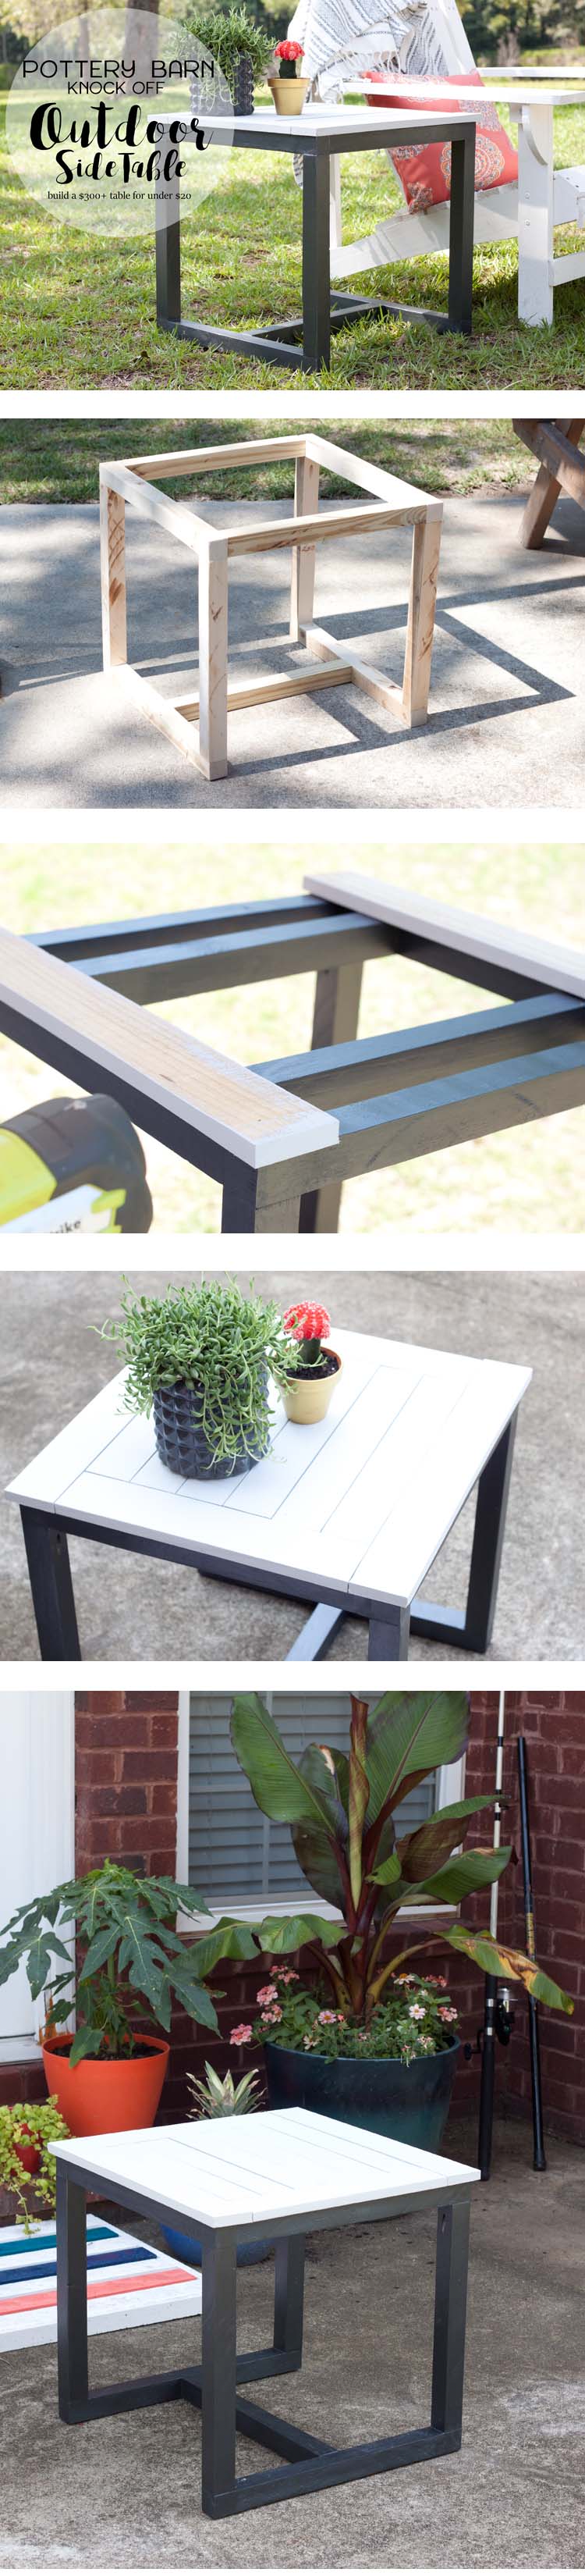
I decided that if a 18.5″ h and a 19.25″ sq table was good enough for Pottery Barn it was good enough for me. I used ripped (in half) 2x4s to create the base and ripped (varying widths, as noted below) cedar fencing planks for the top. Two long cedar planks and two shorter to create the frame of the top and six cedar planks ripped to a smaller width to create slats for the top.
Cut List
ripped 2x4s
- 4 – 19 1/4
- 9 – 16 1/4 (7 pictured plus two additional for braces, as noted by two shaded bars in pic above)
ripped cedar fence planks
- 2 – 2 3/4 x 20 1/16 (long sides of top frame)
- 2 – 2 3/4 x 14 1/2 (short sides of top frame)
- 6 – 2 3/8 x 14 1/2 (top
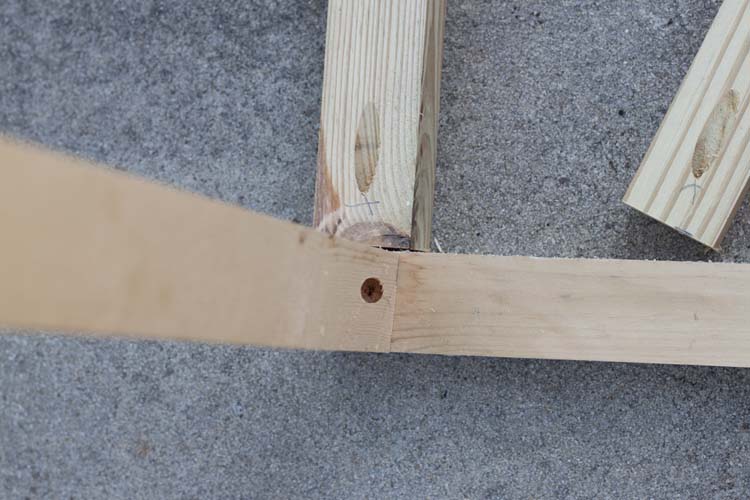
The base put together using 3/4 pocket holes for all but the bottom sections.
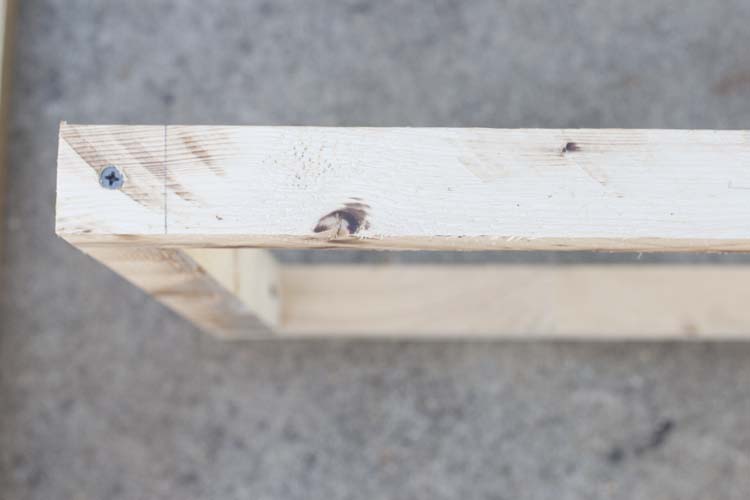
I used wood screws to secure the bottom of the base, from the bottom, so that no screws would show.
Once the table was assembled, and square, the braces (for the top slats to attach to) were added with pocket hole screws from the bottom so that you can’t see them.
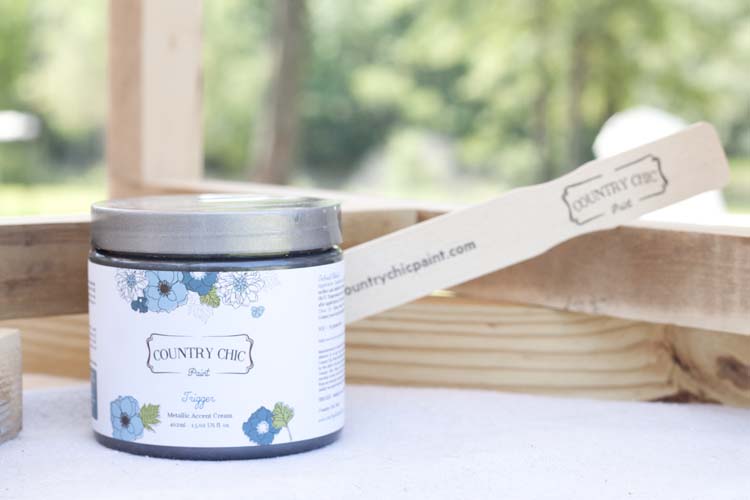
Like I said, this table doesn’t boast a metal frame but that doesn’t mean it can’t look like it. To create a faux metal look I used Country Chic Paint’s Metallic Cream in Trigger.

This thick formula means a little goes a long way but it was still super easy to apply and relatively quick to dry.
Smooth with zero brush strokes it took two coats to achieve the coverage I was going for. But it was as easy as that to achieve the look of a metal base.
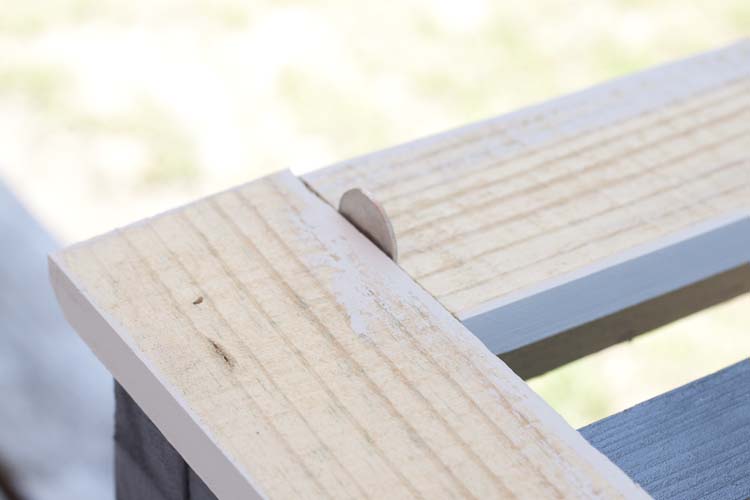
After ripping the cedar fence planks I went ahead and painted two coats of paint on the undersides, ends and sides. This way I didn’t have to worry about trying to paint it after it was attached to the base. I did paint the tops of the boards after they were attached. This way I could fill in the holes the brad nailer leaves behind,
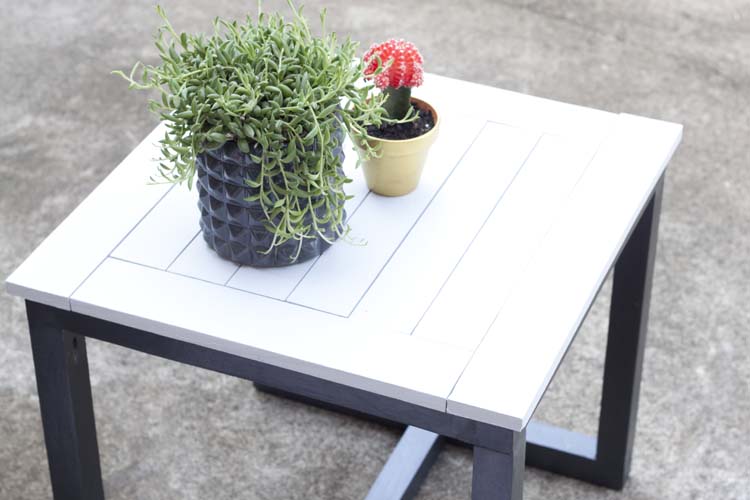
I used a quarter to create uniform gaps between each of the sections.
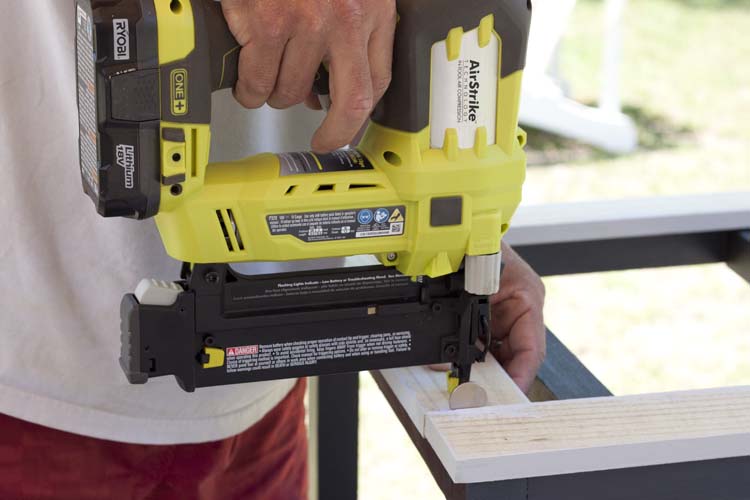
Nailed on the top starting with the frame pieces with a 1/2″ overhang on all four sides. Then nailed on the slats in between the frame area. After filling in the holes and sanding it was time for paint.
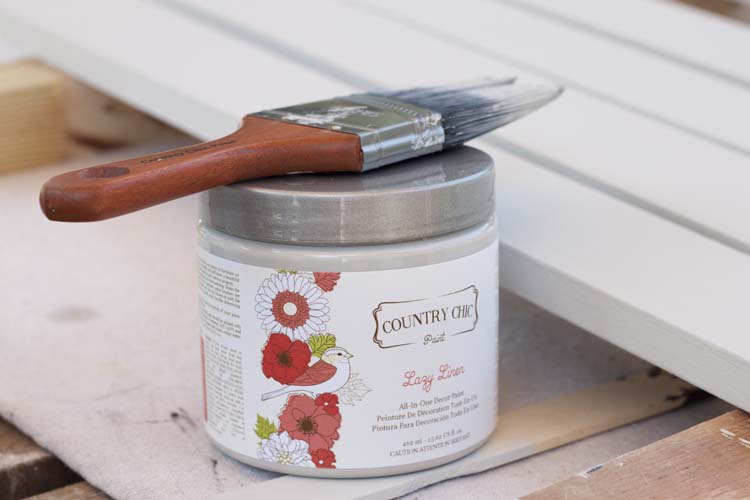
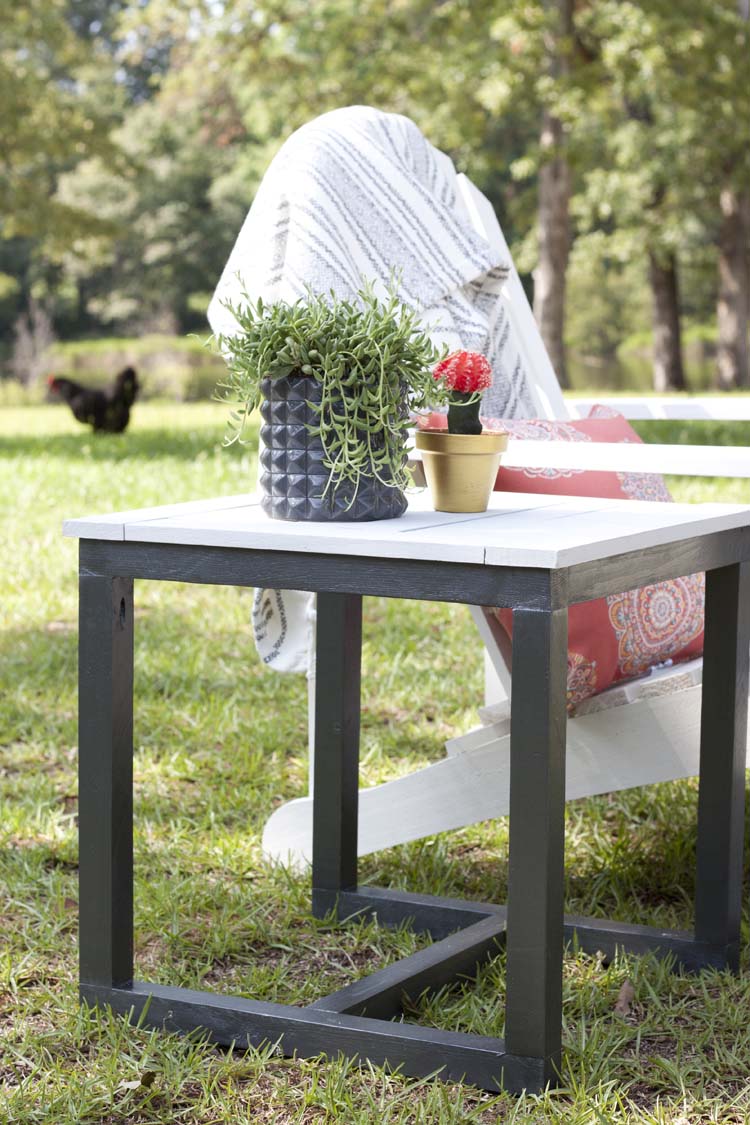
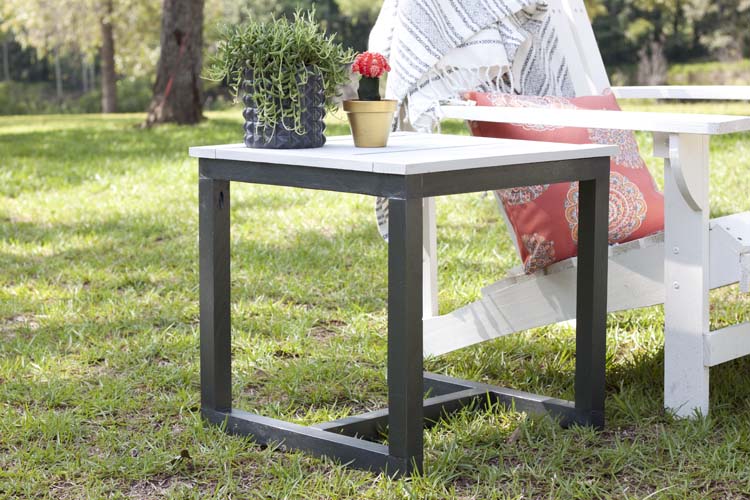
Instead of staining the top, which I considered, I really liked the idea of using this gray (almost white) for the top. It’s called Lazy Linen and I can’t think of a better description for a summer color. Plus, I wasn’t left trying to fill holes with “stainable” filler that I have yet to be satisfied with.
And, in the end, it was just the best choice. It pairs so well with the dark, almost black, metallic gray on the bottom. These paints are self-priming, don’t require a sealer and are suitable for outdoors, so….that means I’m done!
I mean, the Pottery Barn version is on sale for $279.
But….
This one is $259 less.
And you’ll never be able to tell.
You’ll probably also never find a chicken named ‘Beauty’ photobombing in the background of your latest catalog either.
And what’s the fun in that?
Please be sure to visit contest hosts: Carrie at Thirty Eight Street and Thea at Sweet Tea Refinishing and if you’re a blogger interested in joining future contest, please contact [email protected].


I have a question for you. How are the tables holding up after a couple of years of being outside? Since you nailed straight through the top planks, I’m concerned that the planks will crack and warp when the wood expands and contracts. Being exposed to rain and sun might make the movement of the wood more extreme.
The tables look amazing and I’d love to make my own, but if the tops aren’t holding up then I’ll probably try the more time consuming and complicated ways of attaching wood table tops so that the tops don’t warp and split.
Hi Robin,
Thank you! Prior to attaching the top planks, I filled the holes with an exterior filler and then sealed the entire top with exterior paint so it should weather just as well as any other method. Having said that, temperatures are harsh here (brutal heat), sometimes it rains a lot (very high humidity, regardless), and our outdoor season is almost year-round. So, in order to prolong the life of my outdoor furniture, I never just leave out in the elements indefinitely. When not in use for long periods, or during inclement weather, I cover all my outdoor furniture that isn’t under shelter. Fortunately, the table looks the same as the day I made it but it’s been well cared for. I can’t say what it would look like otherwise. Hope that helps!