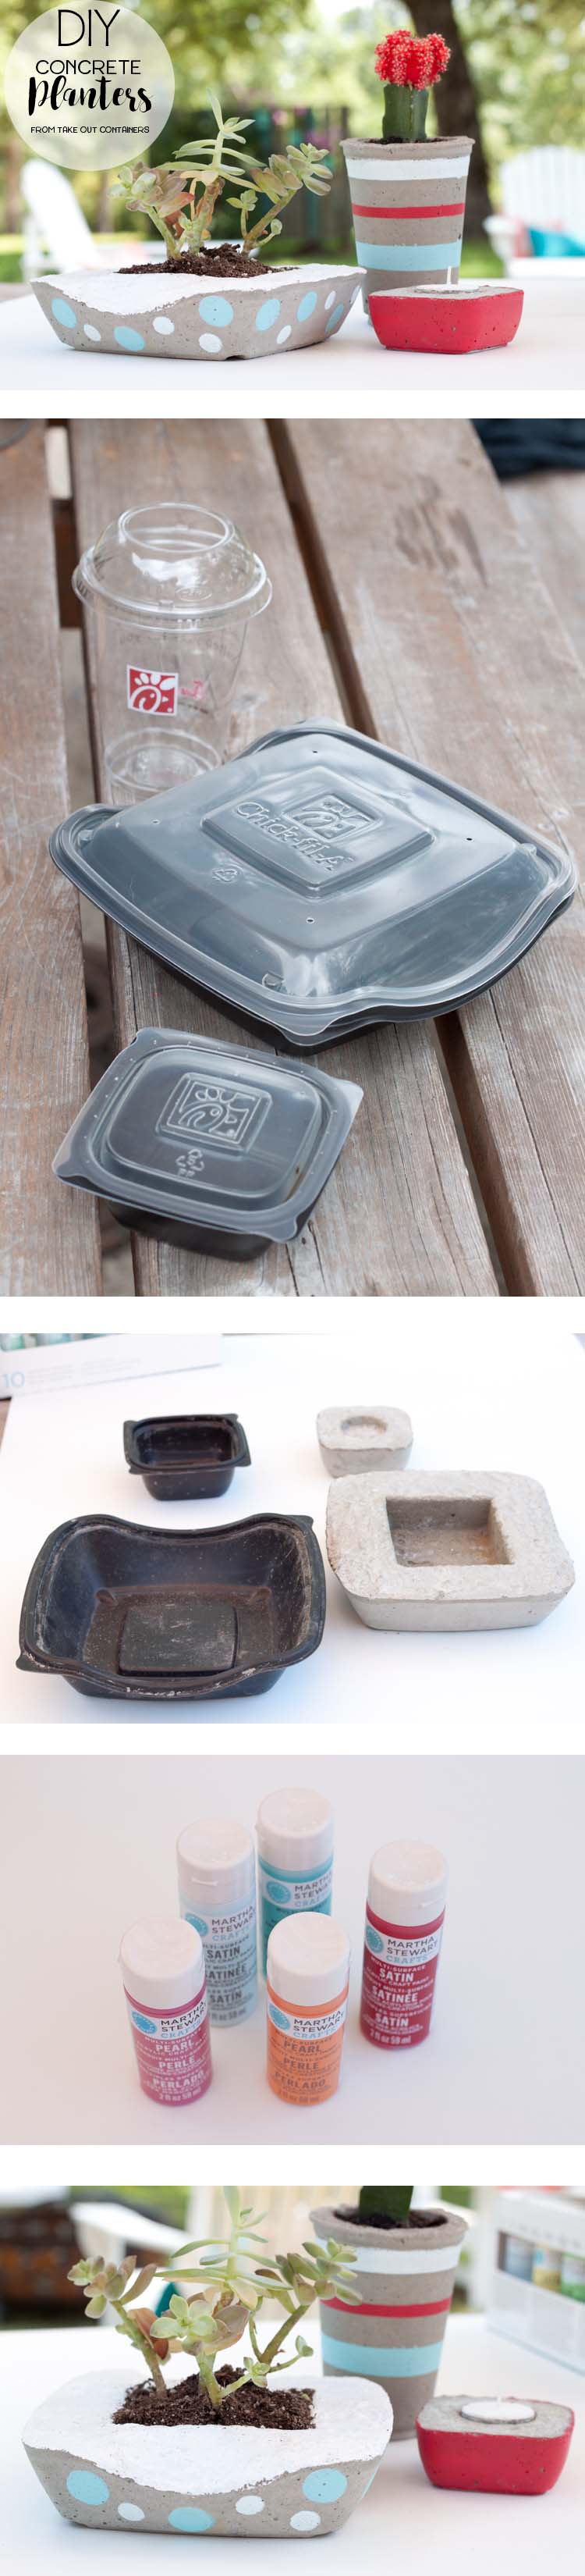
A simple how-to: DIY Concrete Planters made from upcycled takeout food containers. The post is brought to you in part by Chick-fil-A and the CFA Mom’s Panel DIY Upcycling Challenge and Martha Stewart Crafts – 12 Months of Martha. All ideas and opinions are mine.
Have you ever held one of those substantial takeout containers and thought it’s a shame to just toss it in recycling. I have. But then again I have a propensity to hang on to things just because I think I might have use for it some day. I’m working on that. But on days like today, when I have permission to hang on to “trash”, I gladly take up the offer and turn trash into DIY Concrete Planters molds and here’s how you can easily do the same.
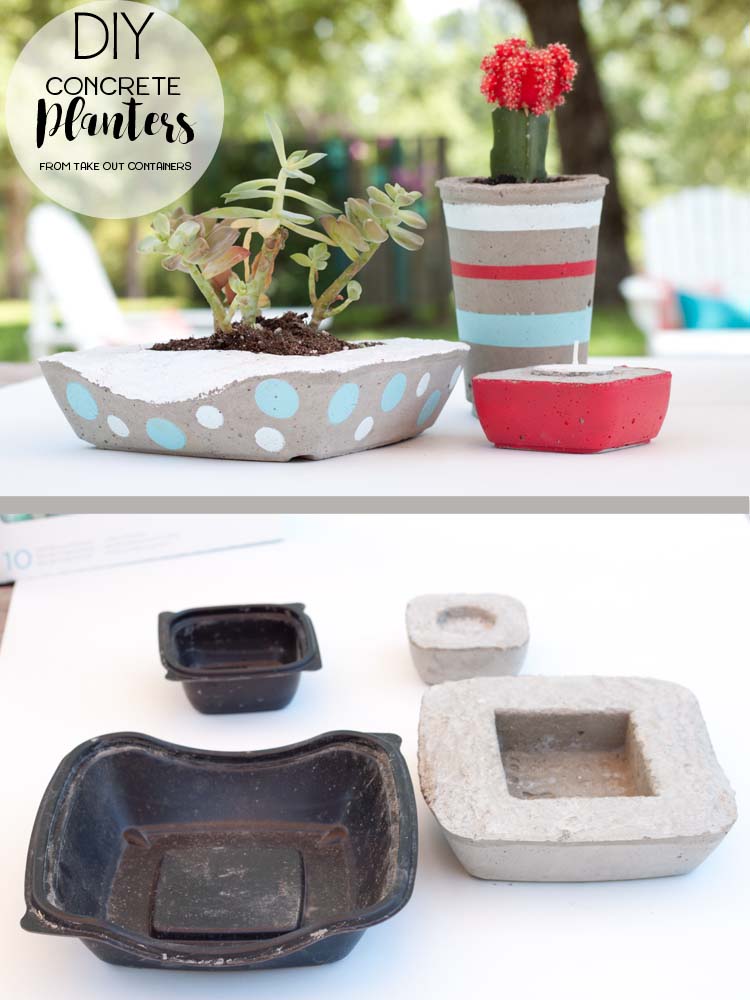
DIY Concrete Planters
You will need:
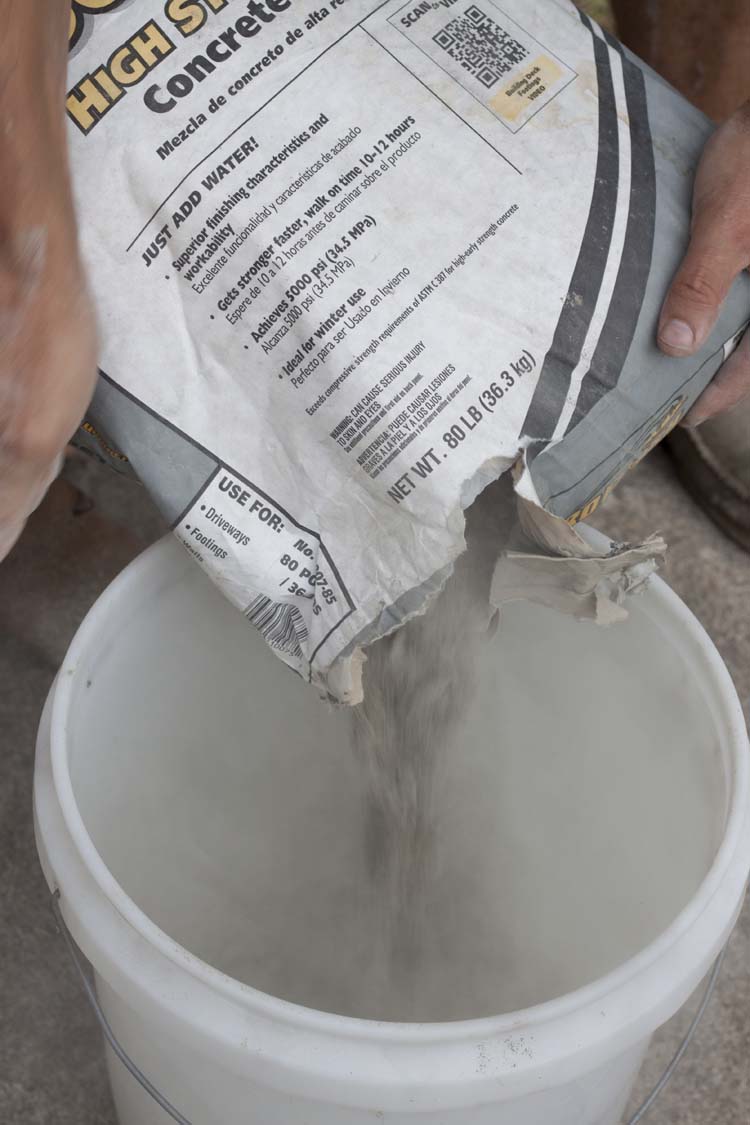
- Pro Finish 5000 by Quickcrete High Strength Concrete Mix
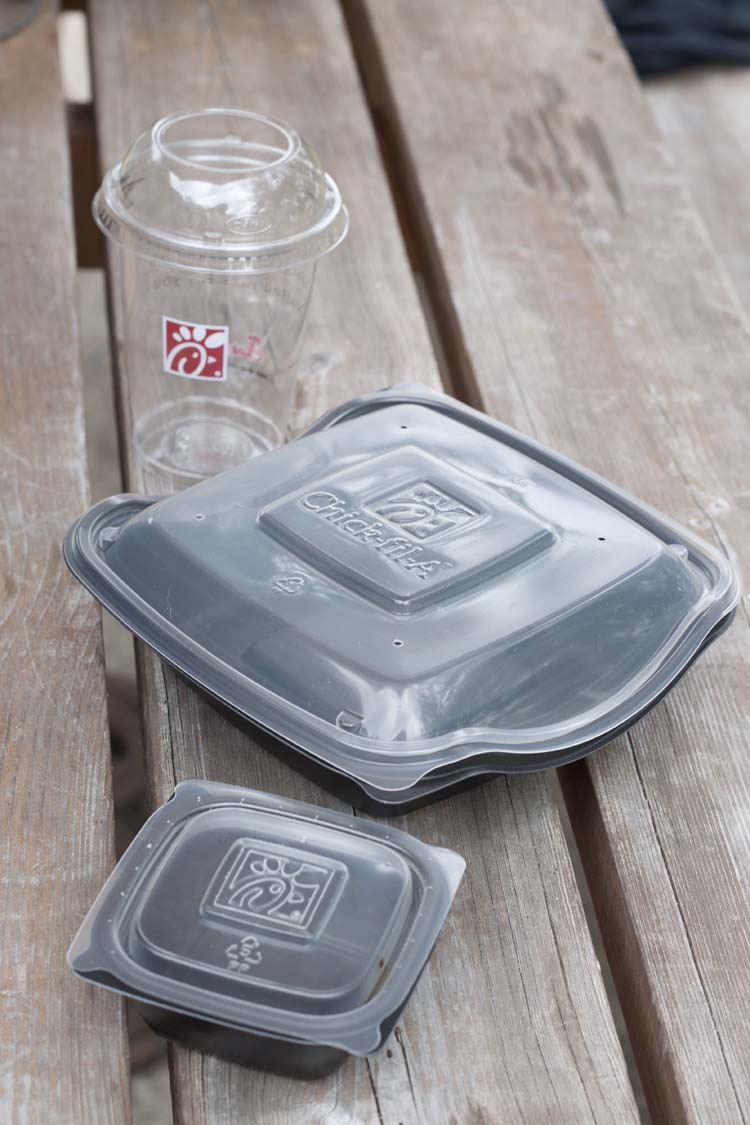
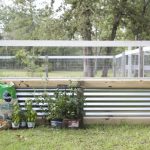
- Sturdy takeout food containers (I used a salad bowl, fruit bowl and a frosted coffee cup from Chick-fil-A)
- Bucket (to mix concrete)
- Small shovel or stick (to stir)
- Vegetable (or other) oil
- Paper towel
- Scrap wood
- Small plastic plant container
Optional
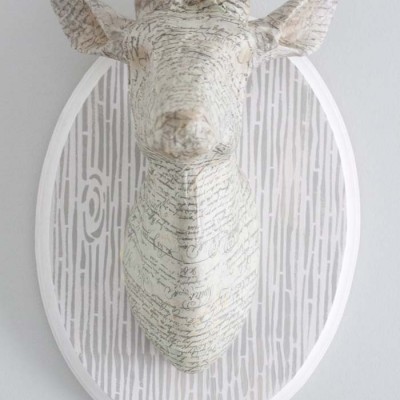
- Martha Stewart Crafts Satin Paint Set
- Martha Stewart Crafts Stencil Tape
- Martha Stewart Crafts Basic Brush Set
- Martha Stewart Craft Foam Pouncer Set
Just think of this like making pancakes. From measuring to consistency it’s exactly the same. Pinky promise
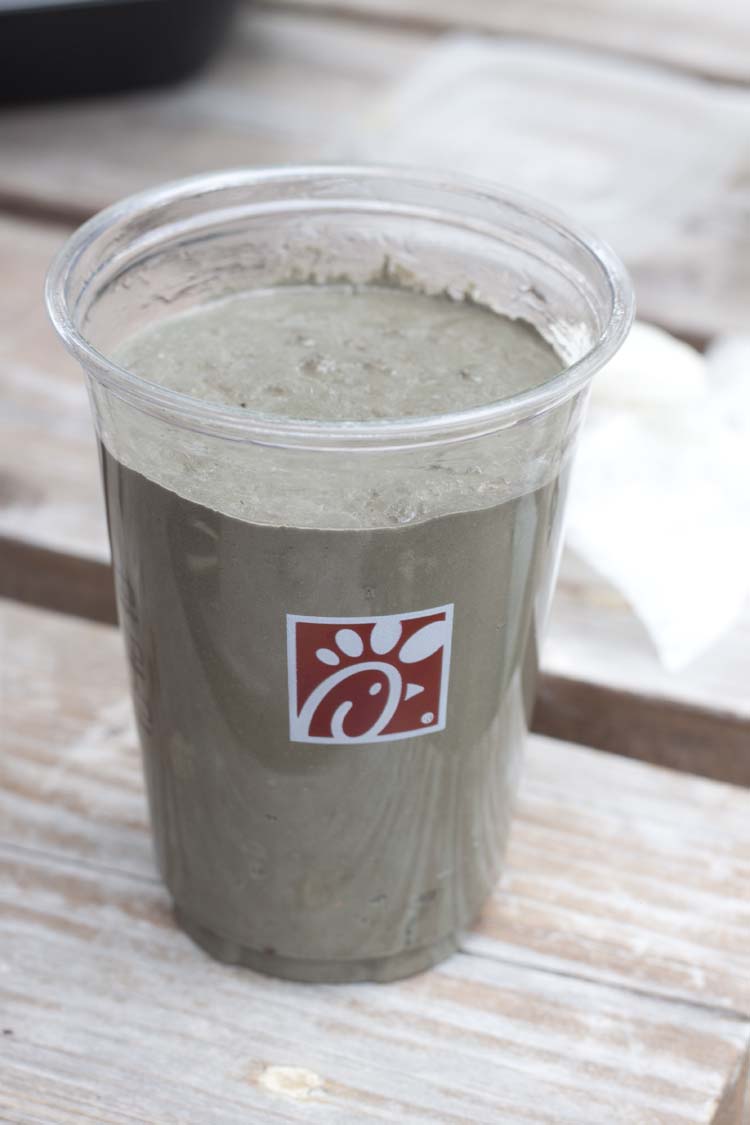
Poor concrete mix into bucket. You won’t need much if you’re using small containers like I did, approximately 4 to 6 cups. Slowly add water to pancake or cake batter consistency. You can’t mess this up. Too much water, add a little more mix. Too much mix, add a little more water.
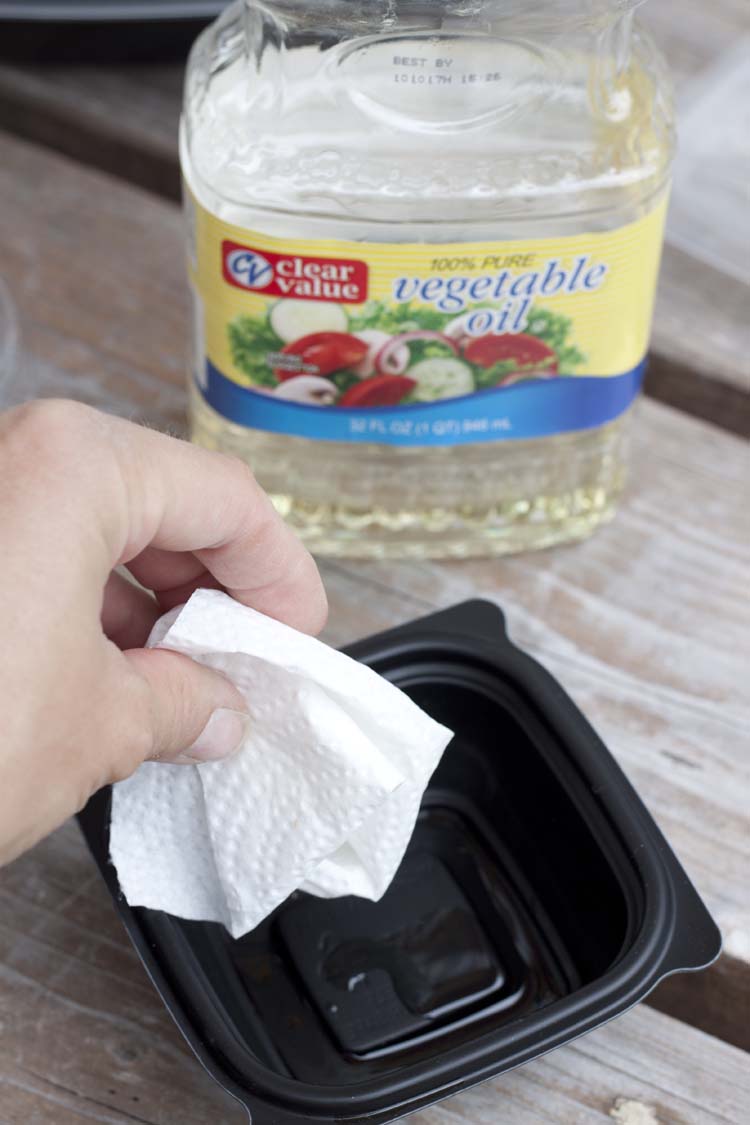
Once you’ve got your mix to the right consistency wipe all molding materials down with vegetable oil using a paper towel.
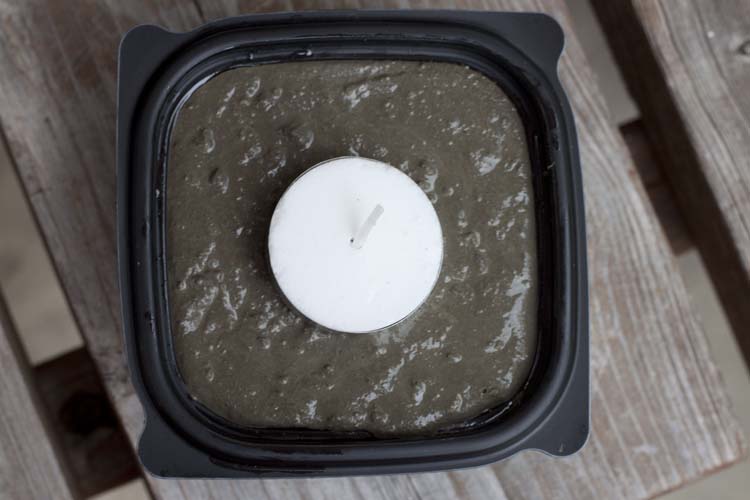
I decided to turn the smallest container into a votive holder. So I wiped the container and the outside of the metal around the candle with vegetable oil. This makes it easy to remove once dry and you can easily swap out the votive each time.
I turned the cup into a cactus planter because my five year old continuously begs me for a red cactus every time we visit Lowe’s, which is a lot.
I filled the up leaving a little room at the top for adding the plastic plant container.
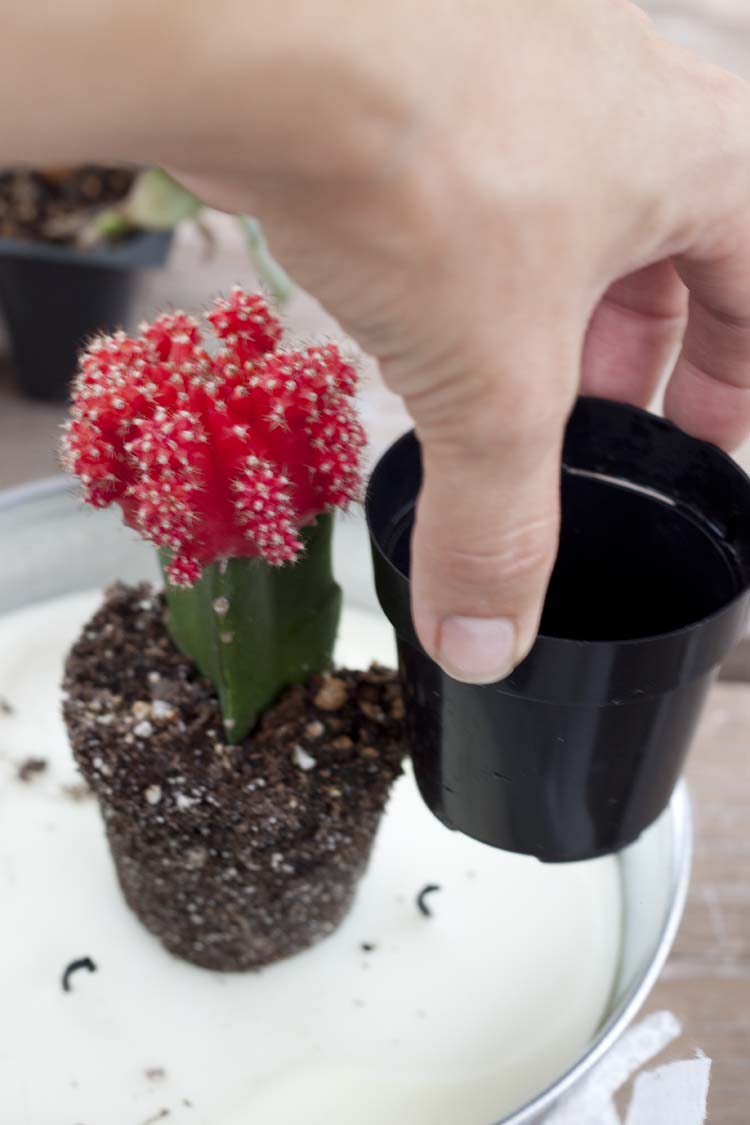
I just used the one that the plant came in from the store. Be sue to also wipe it down with oil.
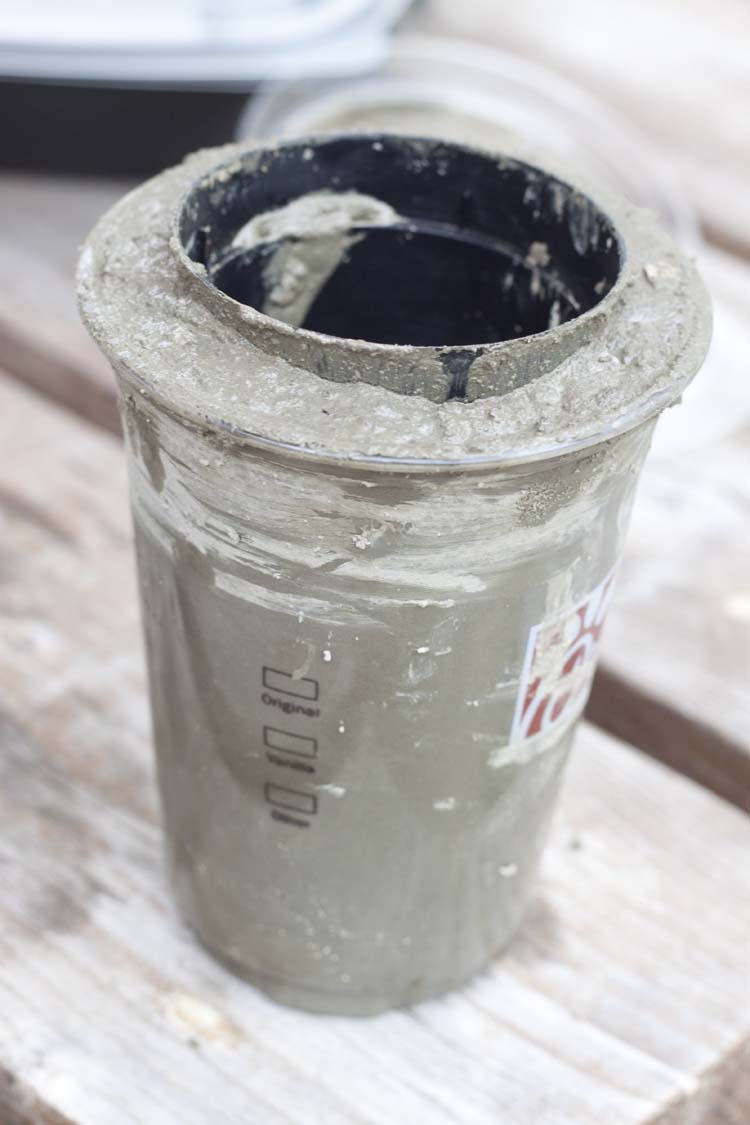
Smooshing it down into the mix is half the fun. Wipe away any excess that overflows.
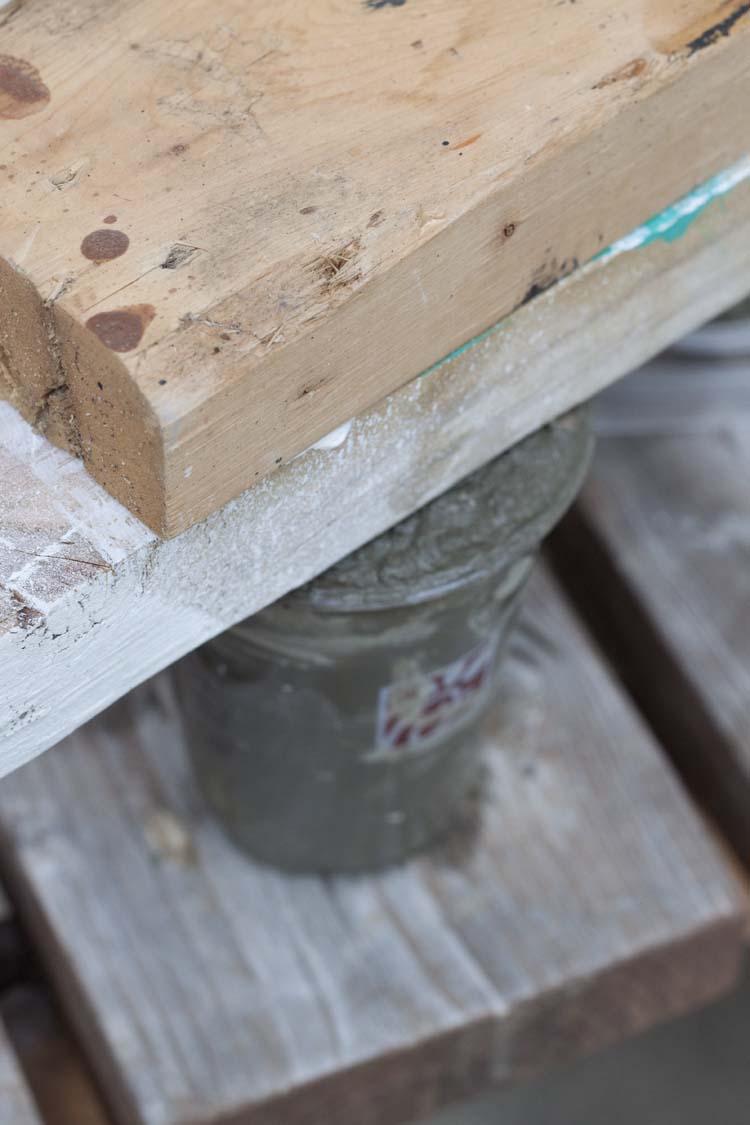
I added a couple of 2×4 scraps to weight it down from the top and keep the plastic planter holder in place until dry.
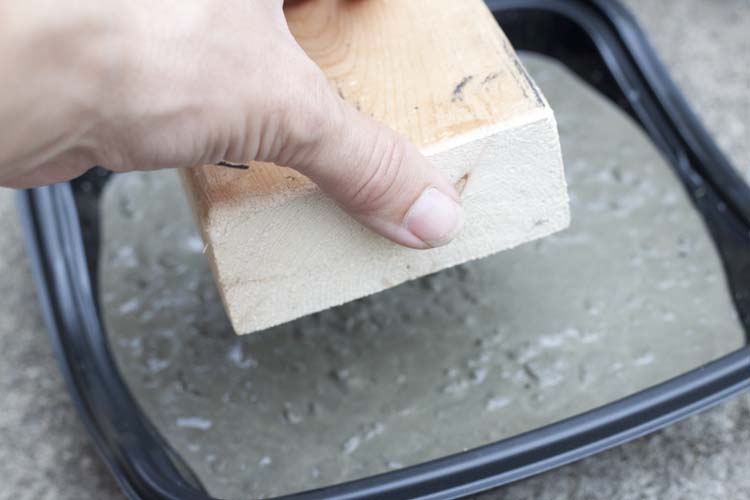
For the salad bowl I added a square of wood to the center and pushed it down into the mix to form a depression.
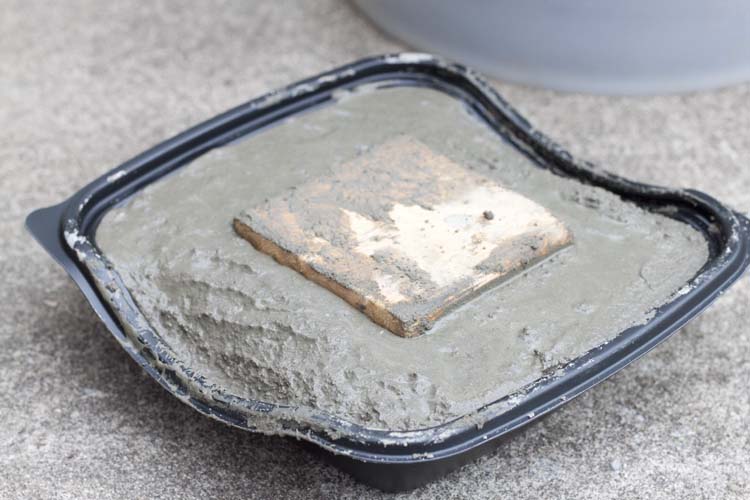
Since the wood is porous you’ll want to remove it before the concrete mix dries. Check it after a few hours and if your mold holds its shape you can go ahead and remove it and allow the rest to dry thoroughly. If not, just keep checking and remove when ready.

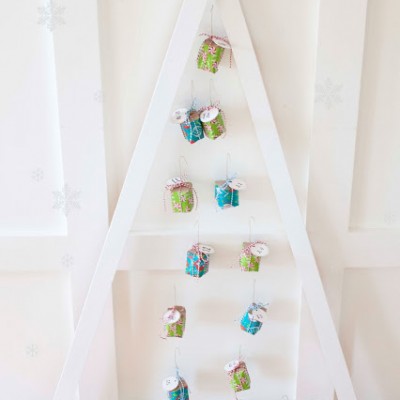
Give the containers a full 24 hours to full dry and they will easily pop out of their molds. The best part is these containers can be used again to make more.
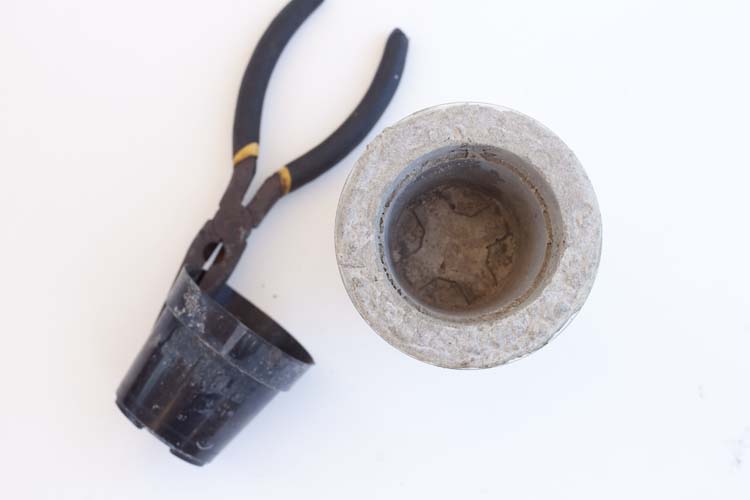
Use a pair of pliers to pull the plastic plant container out of the center of your cup planter.
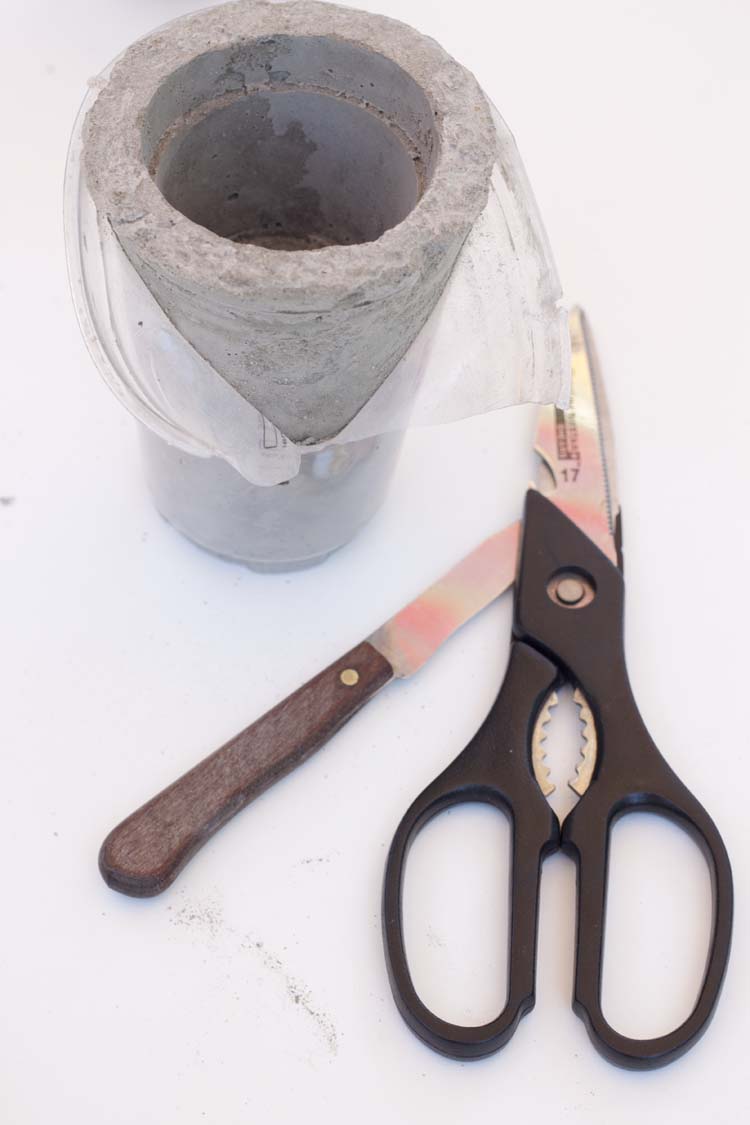
Since the cup container is considerably thinner than the other two you will likely only be able to use it once. I removed mine by going around the outer edge with a knife and cutting it down the side.
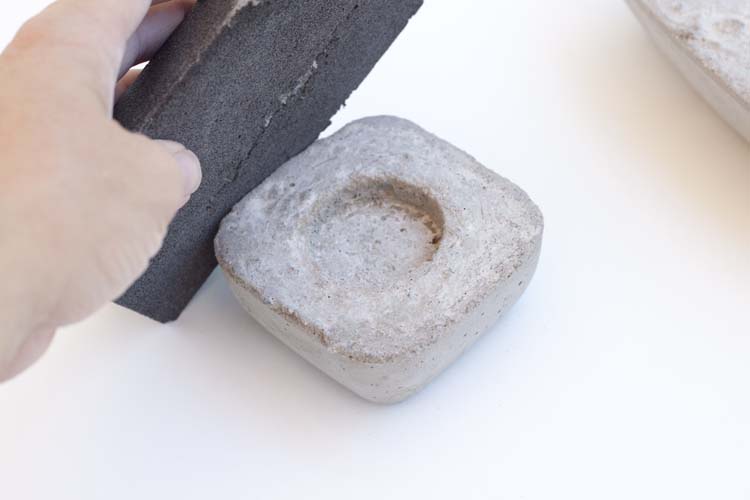
I used sandpaper to remove any rough edges.
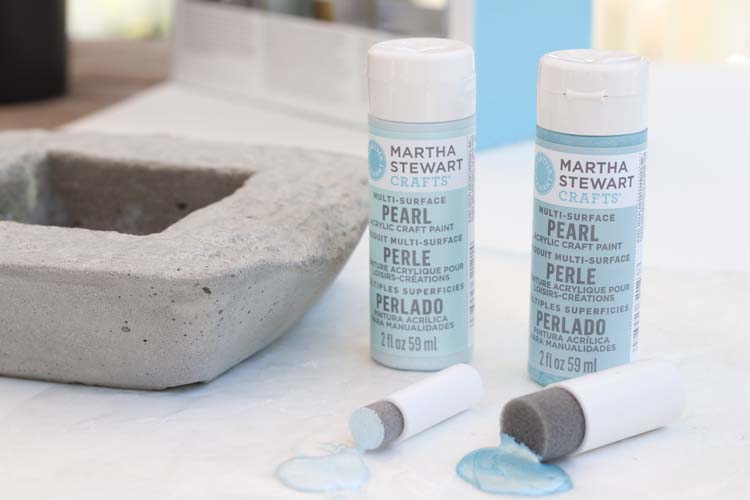
I decided to use pouncers for the salad container planter but opted instead for the satin paints, not the pearl as pictured.
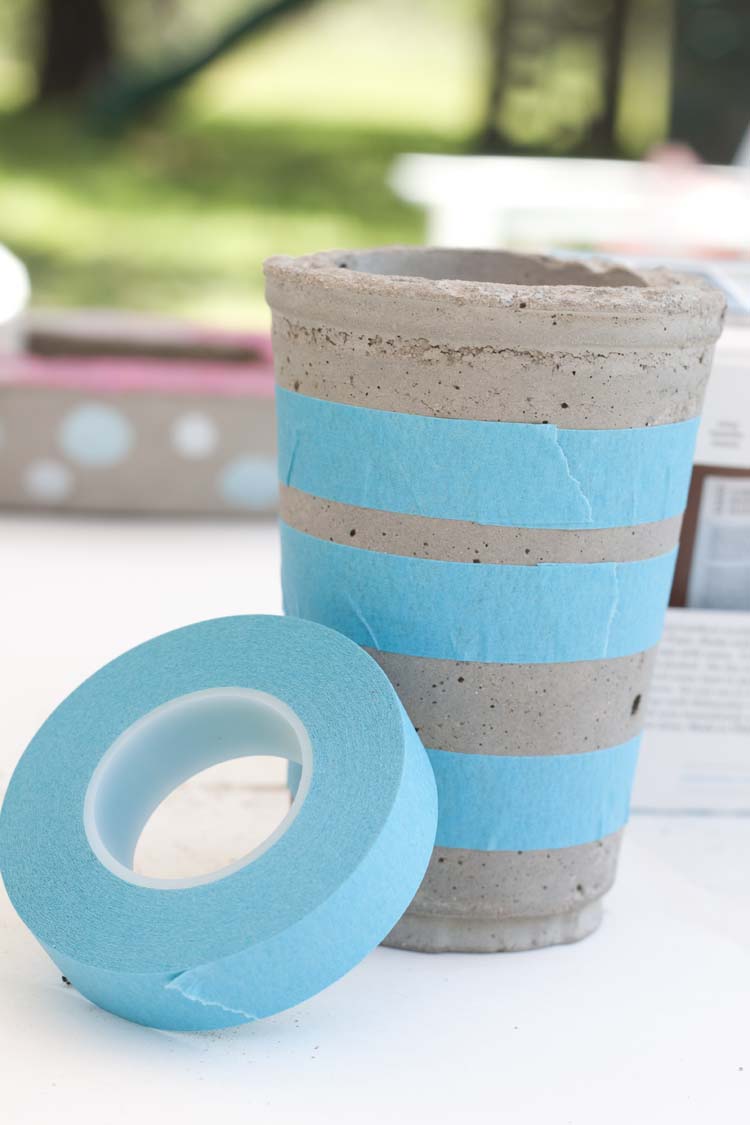
I can’t get enough of stripes these days so I wrapped the outside of the cup mold with stencil tape.
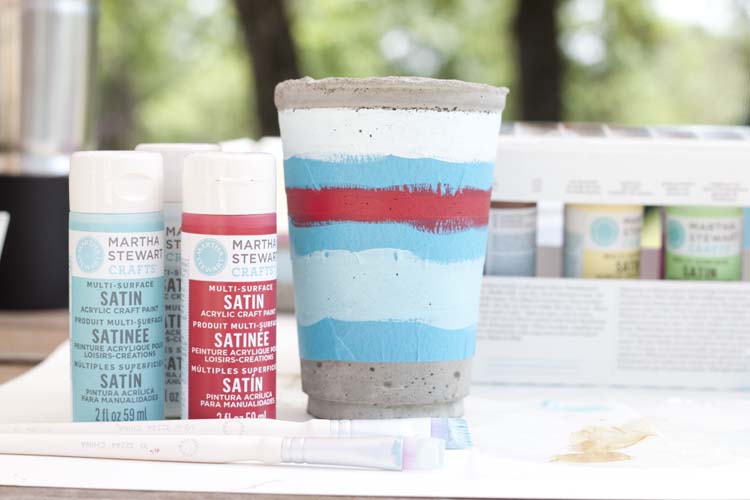
And painted it in Habanero (red), Sea Lavender (lighter blue) and Surf (darker blue).
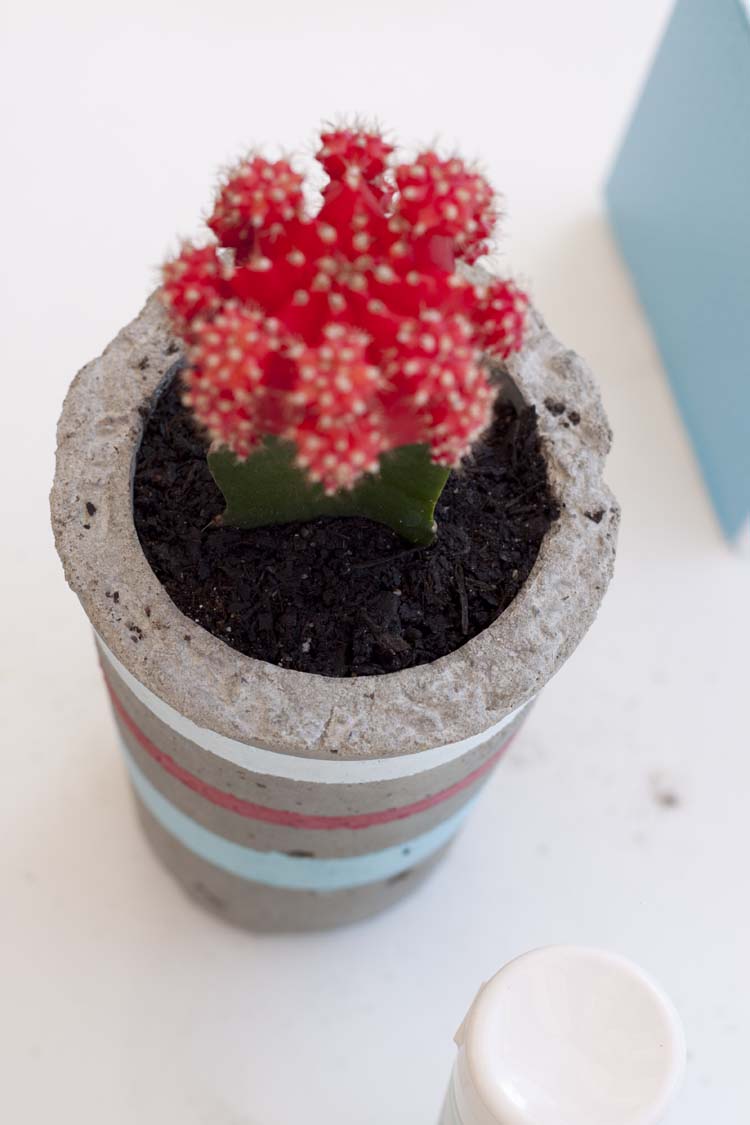
Now it’s the perfect little container but sweet little guy’s favorite cactus.
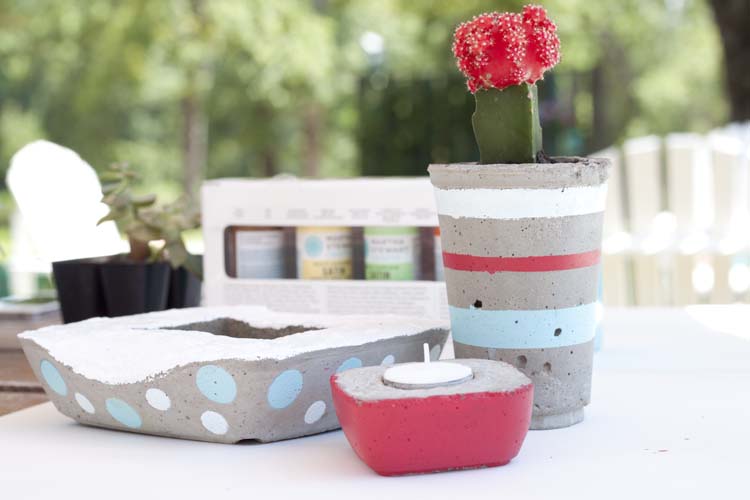
I painted the votive with Habanero around the outside, too. I love how this not-quite-red pops.
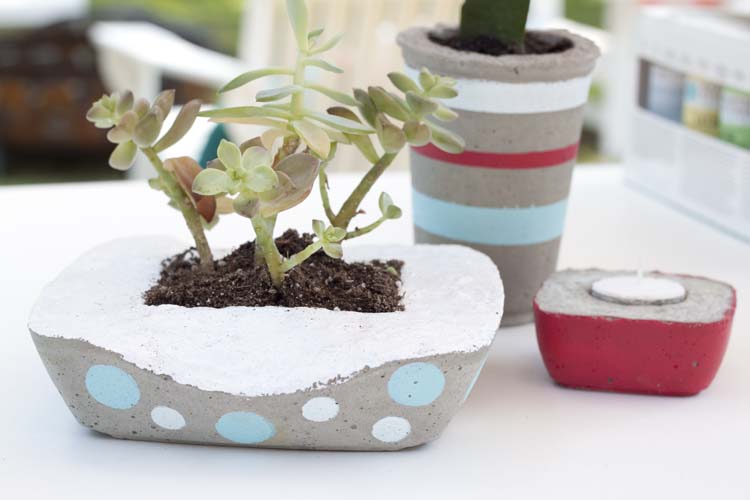
I added succulents to the salad container planter and now these three make quite to cute trio on our picnic table.

Definitely better than just tossing them into recycling, am I right?


Girl, you are just too creative!!! I love these! How cool to use these on your patio and know that you made them.
Thanks so much Beverly! 🙂
These are too cute! I sometimes have issues with cacti when I re-pot them, just concealing the original container might be the perfect solution!
Same here! My cacti are still going strong in their concrete pots. Thank you!