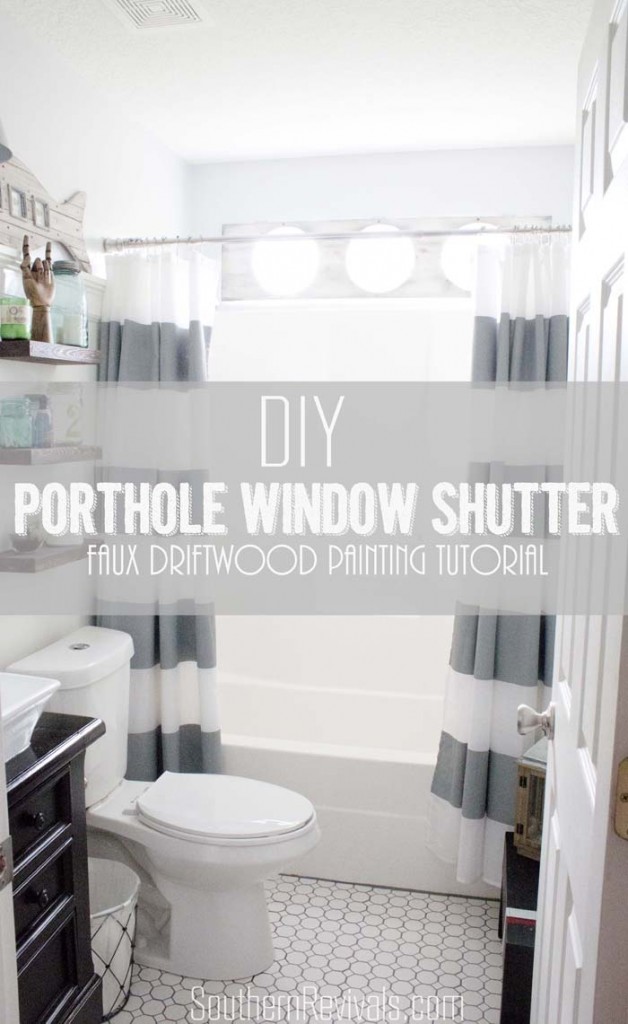
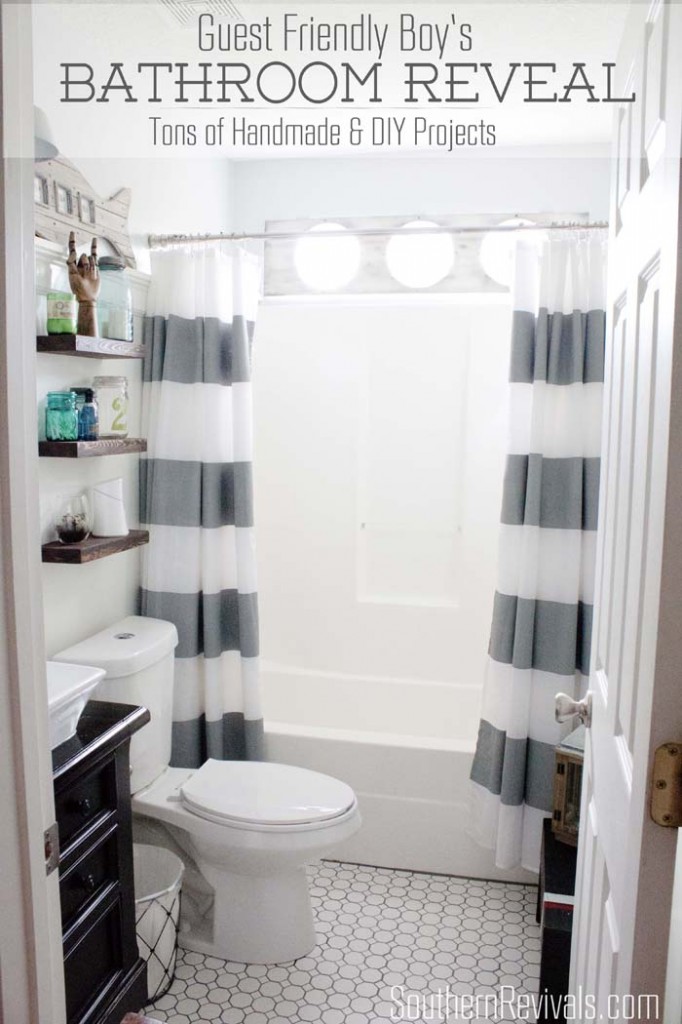
Creating that gorgeous faux driftwood paint finish you see a lot of in catalogs like Restoration Hardware, is so much easier than you might think! When we were doing our Nautical style Boy’s Bathroom Makeover I got this adorable fish picture frame with a faux driftwood finish from TJ Maxx and when I decided to make a Porthole Window Shutter for that little window above the shower, I wanted to recreate that finish. Here’s how I did it:
You will need:
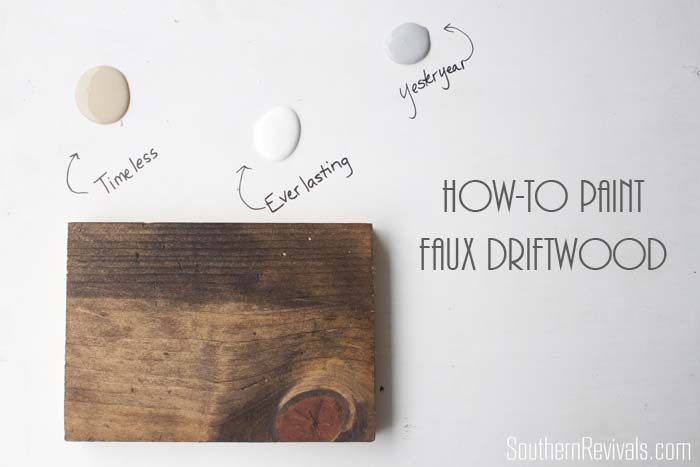
- Americana Decor’s Chalky Finish Paint – Timeless (or Heirloom)
- Americana Decor’s Chalky Finish Paint – Everlasting
- Americana Decor’s Chalky Finish Paint – Yesteryear
- Americana Decor’s Soft-Touch Varnish
- Stain of your choice (optional)
If the piece you will be applying this technique on already has a wood finish there is no need to stain. If you will be working with unfinished wood, as I was with our Porthole Window Shutter and as pictured here, you might choose to stain the bare wood prior to using this technique.
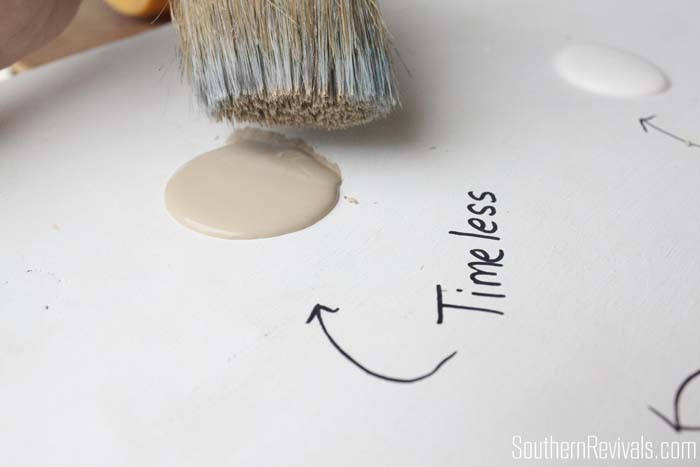
First, load (dab) your brush in your darker color. I used Timeless. Another great choice is Heirloom.

Then, unload (or pounce) your brush to remove any excess paint. You’ll be doing what’s called a dry brush technique for this which means you want just enough paint to rub off onto your piece without actually covering it with paint.
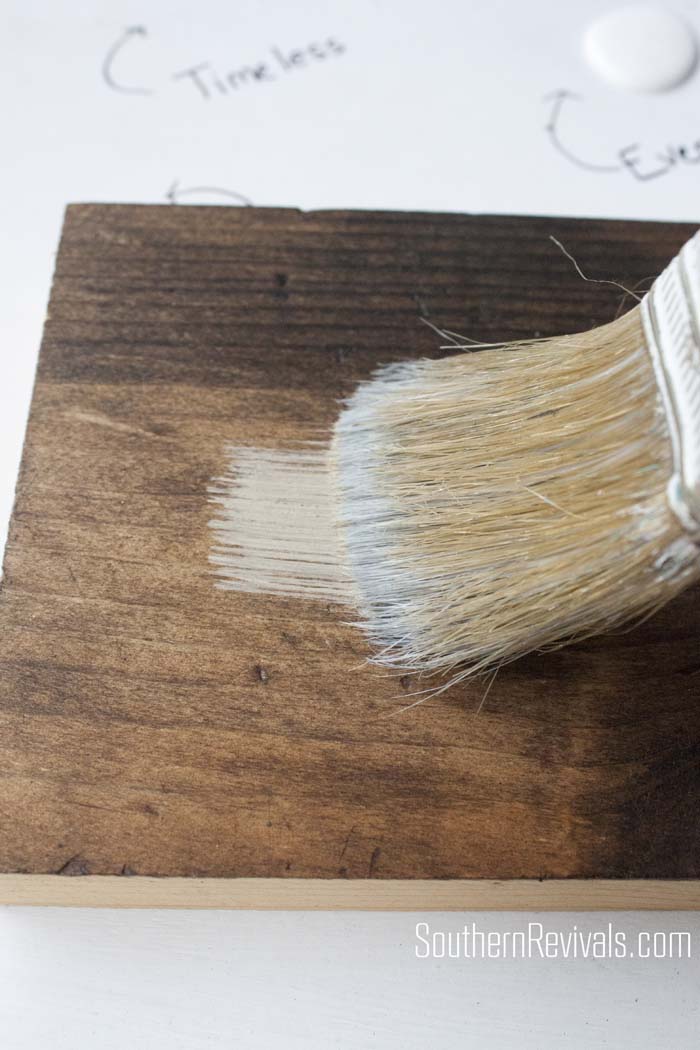
This is what it should look like as you start to apply your paint. Not too little, not too much.
Make sure you work in both directions – back and forth & up and down.
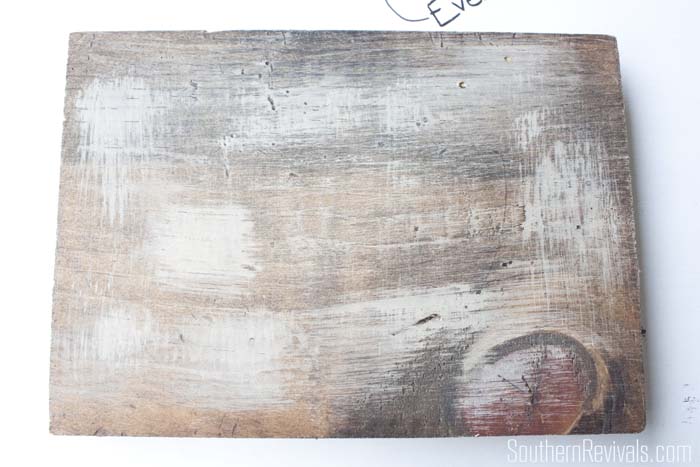
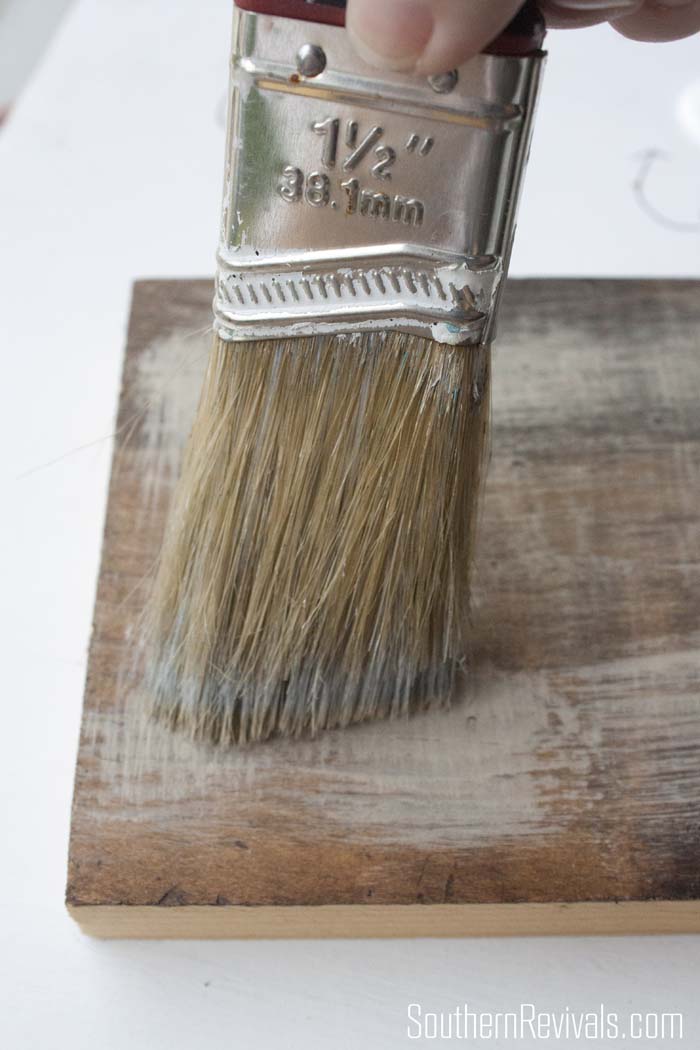
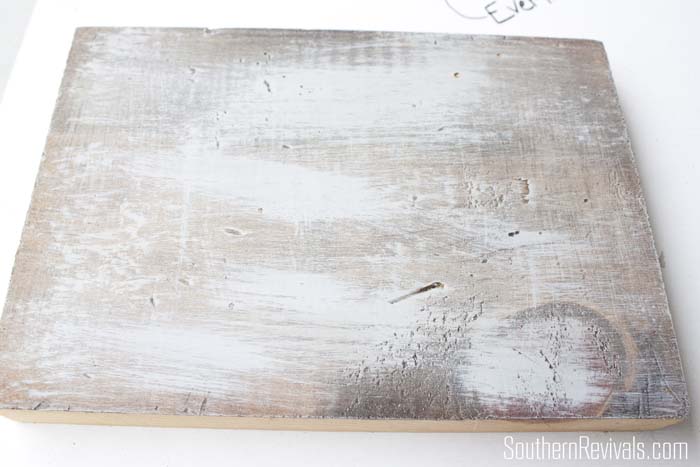
This is what it will look like when done with the first coat. Allow to dry. It won’t take long because you haven’t used very much paint.
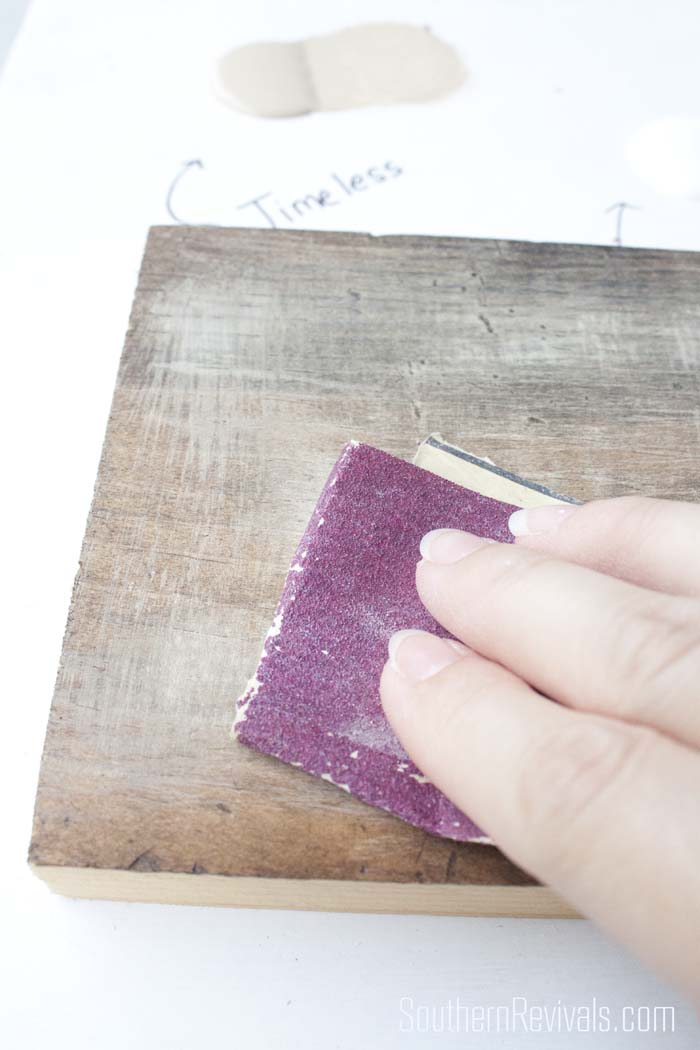
Once it’s dry, sand lightly with a 120 grit sandpaper to smooth out the paint and to give it a ‘pushed into the wood’ look.
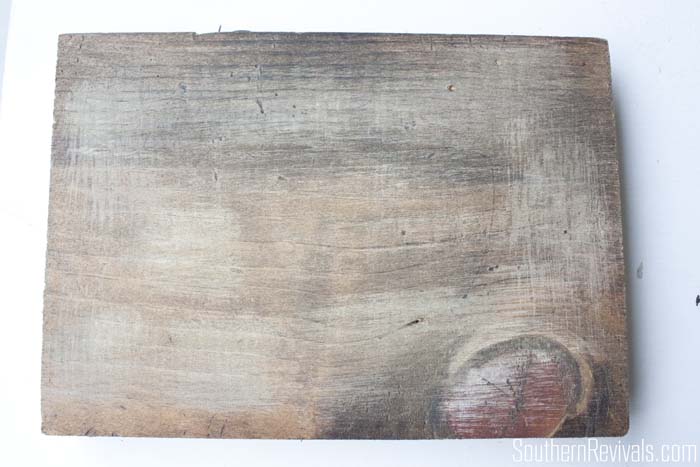
Notice the difference when you’re done?
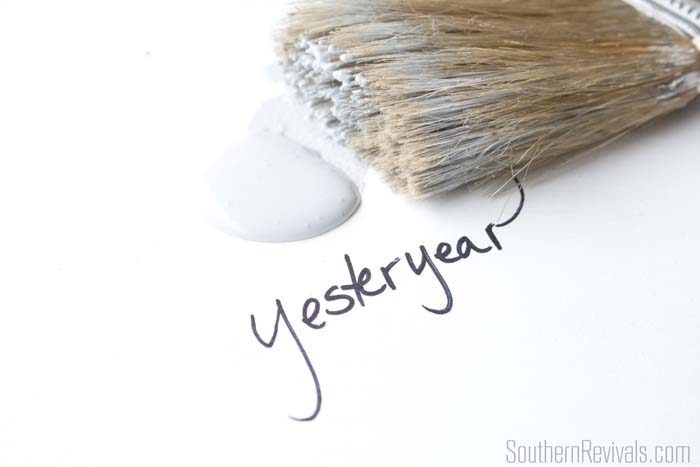
Now you’ll load and unload your brush in the same way as before with your next color – which should be your mid-tone color. I used Yesteryear. It is a gorgeous gray!
Apply the same way as you did your first color making sure to vary your brush strokes, up/down and back/forth. Allow to dry.
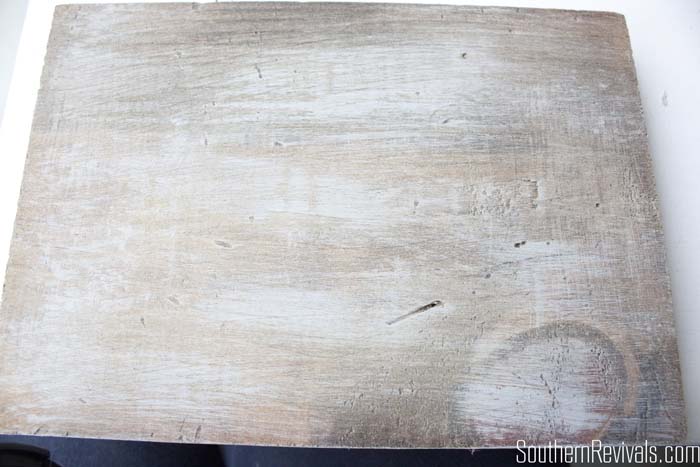
Sand again, lightly, pushing the paint into the wood and evening out the edges so that you don’t see your stopping and starting points.
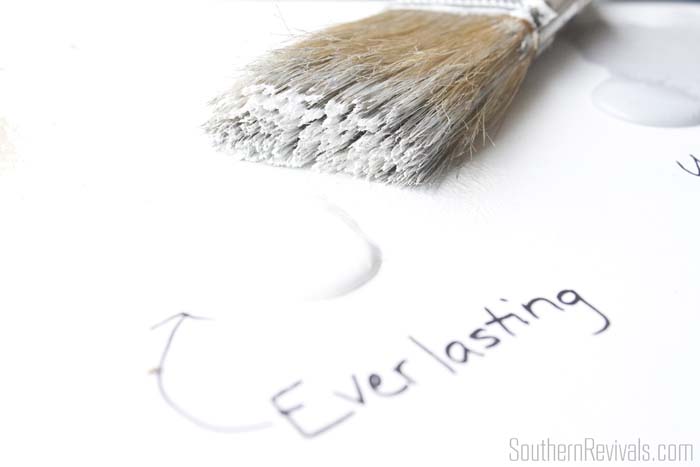
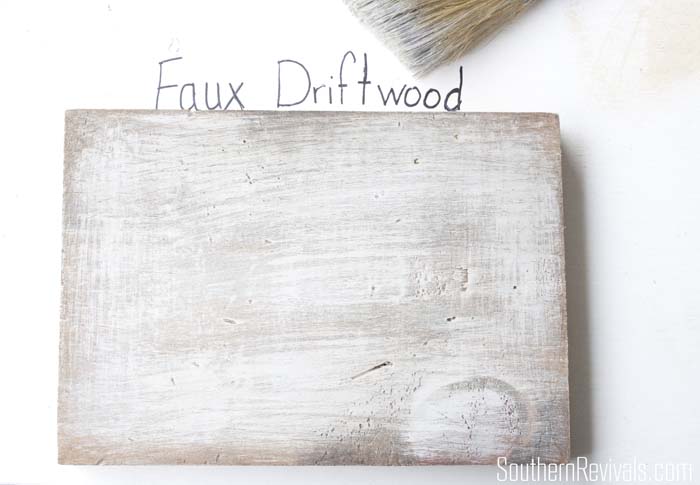
Finally, apply your lightest color. I used a pure white called Everlasting. Apply it as you did the other two colors.
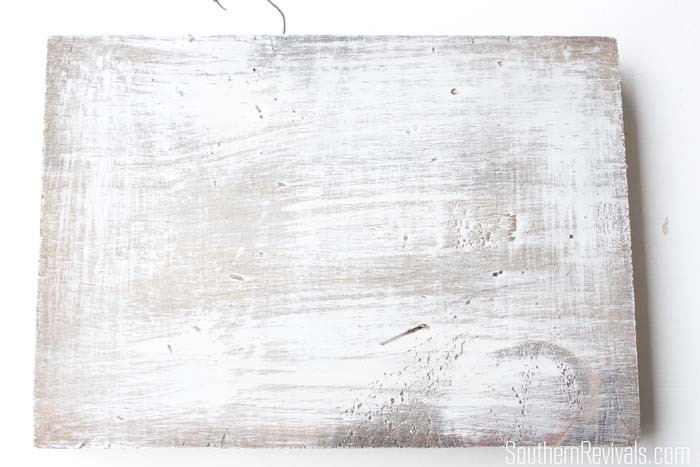
This is what it will look like after you’ve applied your final color. You can go back now and add a few dry brush strokes of any of the other two colors to highlight it here and there if desired. Allow to dry.
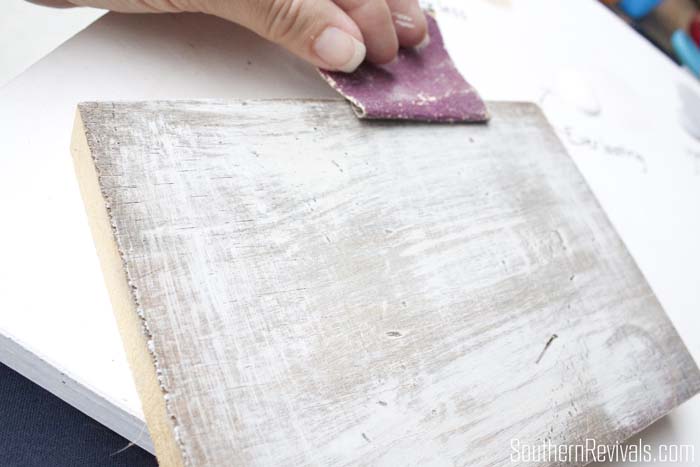
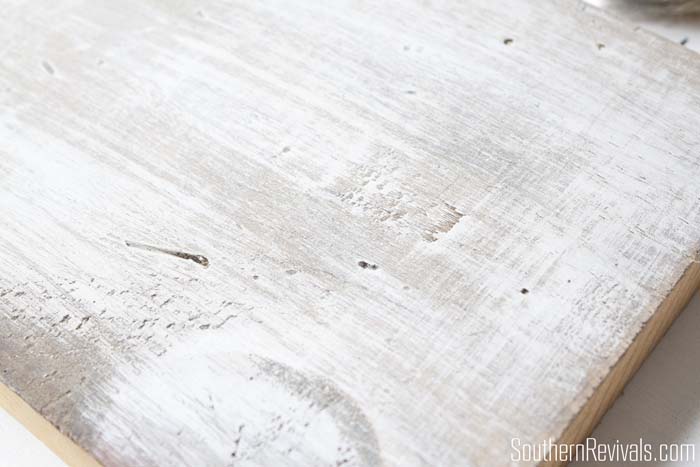
You will sand it again lightly with 120 grit sandpaper paying special attention to details and edges allowing bits of the stained surface below to peek through these areas more than anywhere else.
Once you’re done, you’ll be rewarded with a lovely aged look that will have you daydreaming of the seaside. And it was so much easier than you thought, right? I will caution you though, this technique is easier in small doses so if you’ll be doing this on a large piece, like a piece of furniture, practice the technique on something small first.
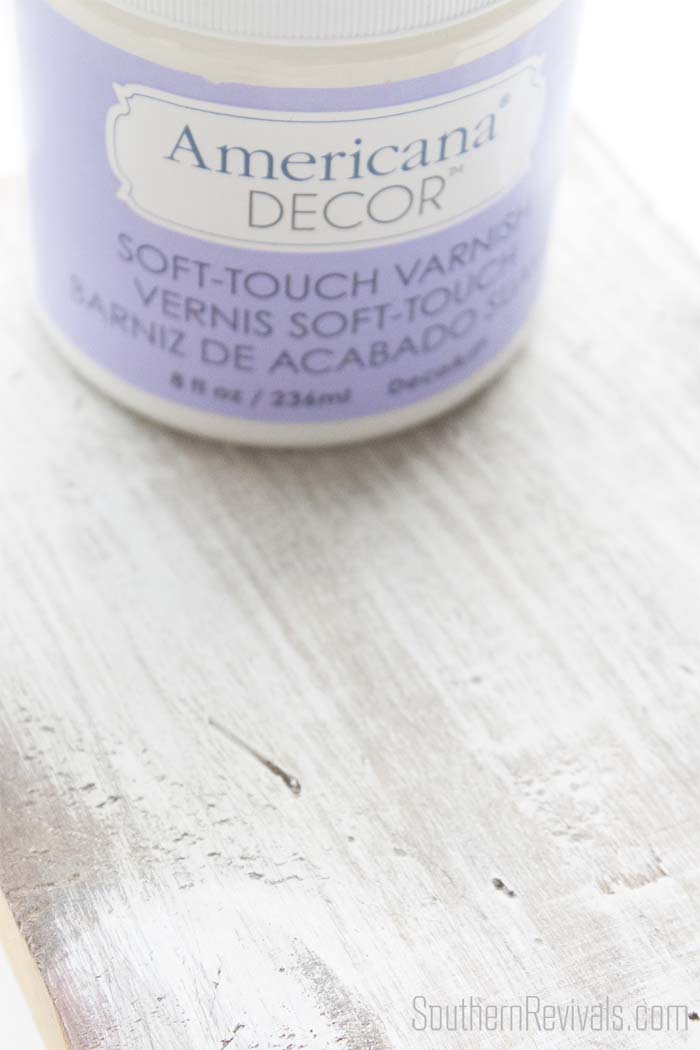
Lastly, finish your piece with a sealer. I chose the Soft-touch varnish because it doesn’t affect the look of the finish but gives it a soft feel nonetheless.
And there you have it! A very Restoration Hardware inspired faux driftwood paint finish with only a little work and a lot less money.
So. What will you try it on?
Click here for my DIY Porthole Window Shutter Tutorial
For Our full Bathroom Makeover, click here


Hi – I am going to use this method (and probably your same three colors!) to refinish my coffee table and end tables in my living/family room (tops only). My question is, how is the durability of the varnish you used? Is it OK to use, or should I select a different one?
Also, the tops are finished wood veneer. I’m painting them to change the color entirely. Should I do a whole base coat first, to cover the old color, and if so, which one of the three should that be? The bases of the tables are weathered white.
Here are the tables – the tops are more orange than the pictures show: https://www.birchlane.com/furniture/pdp/lexie-end-table-atgr2055.html
Are you repainting the bottoms as well? If so, the first step would be to start with the same basecoat over the whole piece. This will make it easier to get a cohesive look. Part of the reason this works is that it’s a dry brush technique over a dark wood base. The color you start with really depends on how light or dark you want the end result to be.
The varnish is quite durable but I still use coasters regardless.
Thanks for your response! No, just the brown tops. I’m keeping the bottoms (legs & shelf) as-is.
In that case, I would probably start with the white and apply the darker colors until it matches the bottoms. Have fun!