
Inspiration:
 ;
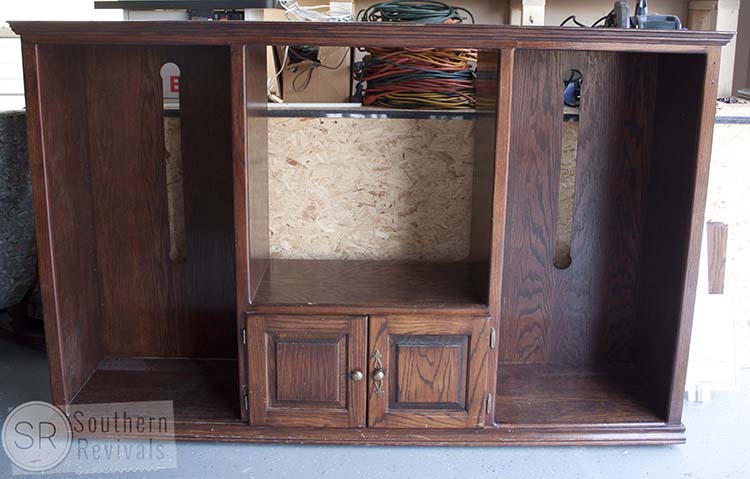
; Naturally, we talked all about how she wanted it to look, what kinds of things she hoped it would have. I had almost everything I need to start this custom kitchen project, except what colors we were going to use.
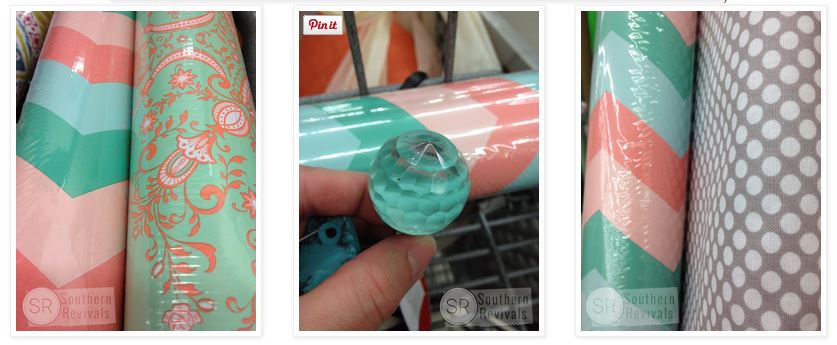
My SIL had sent me some color palettes for inspiration but I always need a starting point. So when I found these wrapping papers at TJ Maxx and fabric and knobs from Hobby Lobby, a dream kitchen started to form in my head.

DecoArt sent me a box of one of my new favorite paints, Americana Décor Chalky Finish Paint in colors: Everlasting, Smitten, Refreshing, Carbon & Relic. They also included their DecoPage and Chalkboad Paint. I used all of these products for this kitchen.
The Process:

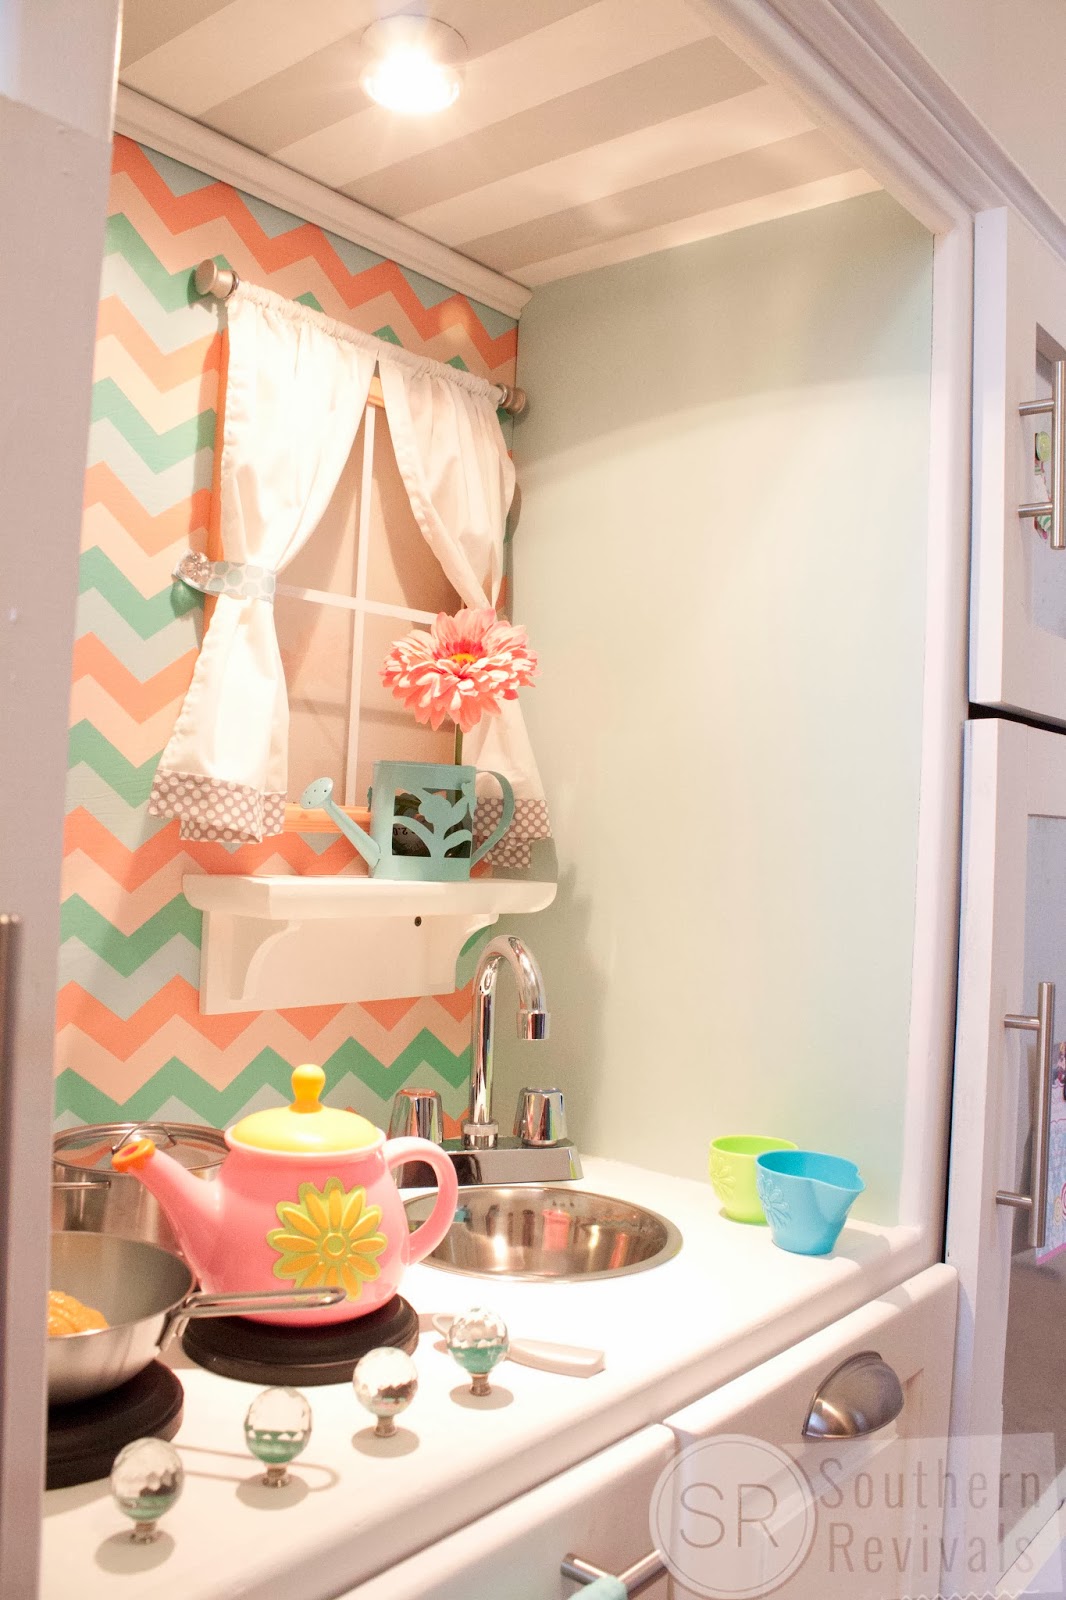
The whole thing needed a new back. I used the chevron wrapping paper as wallpaper for the sink and oven section.

The inside of the oven got a couple of coats of Relic for a realistic look.

I painted the burners in Carbon, routered between the stove and faucet counter section to create some division between those two sections.
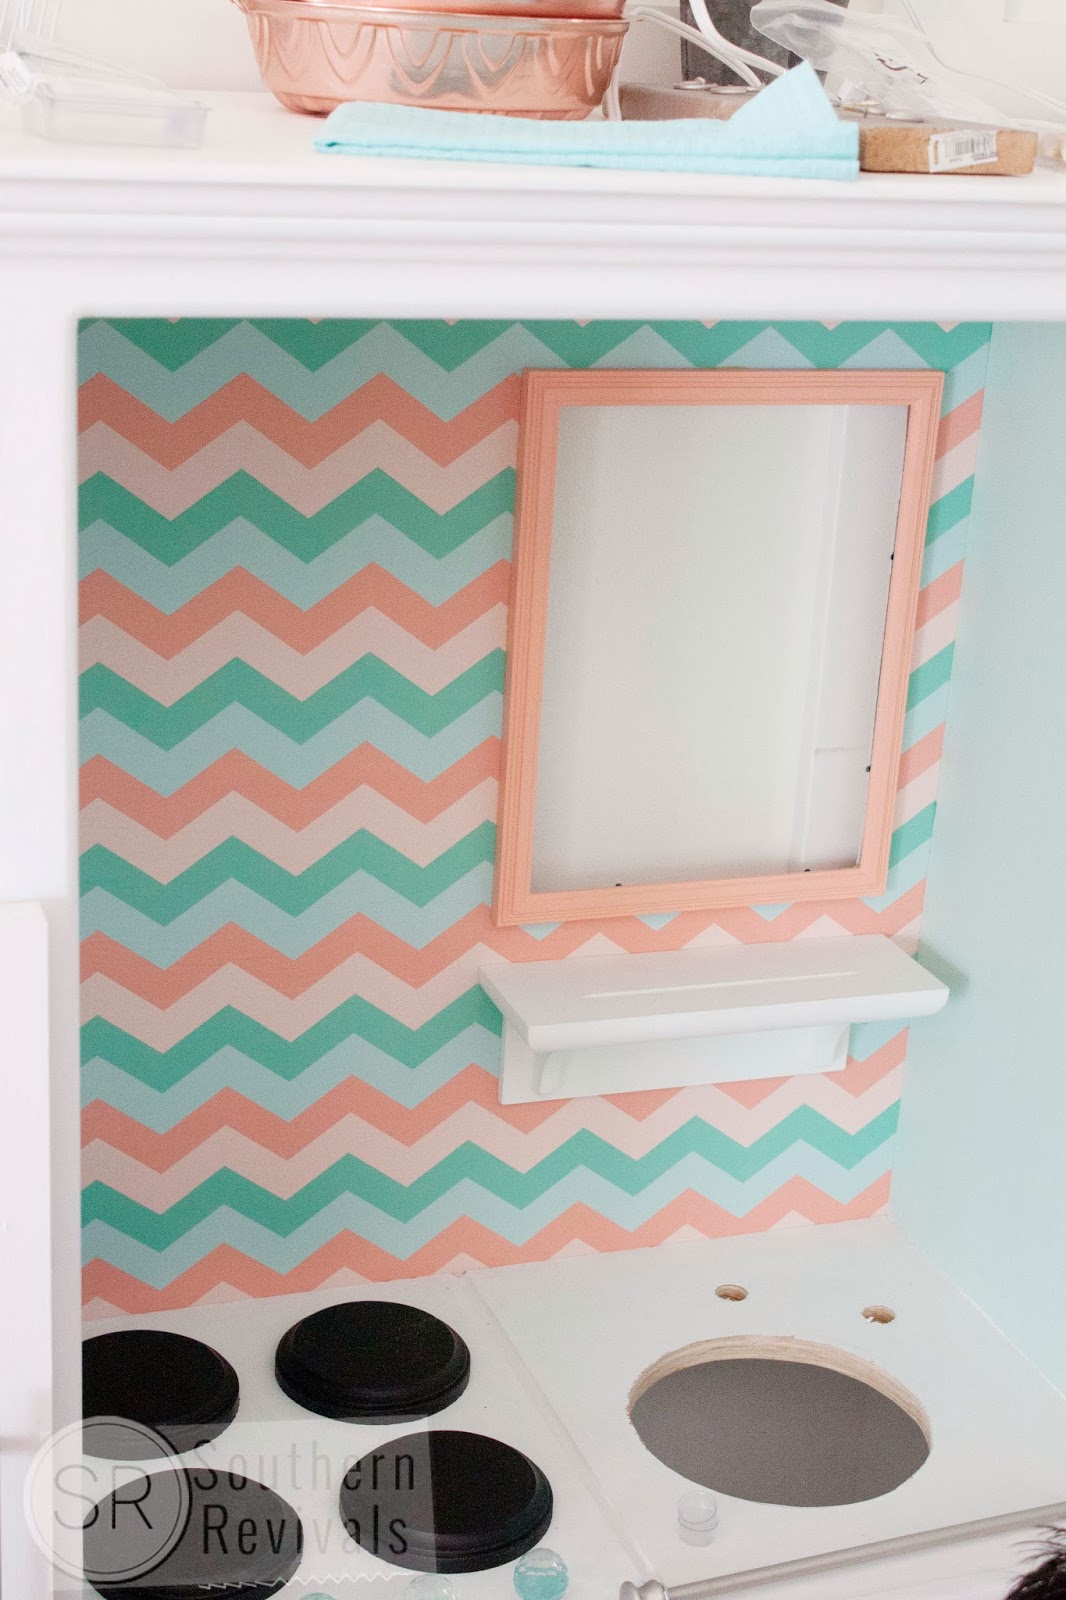
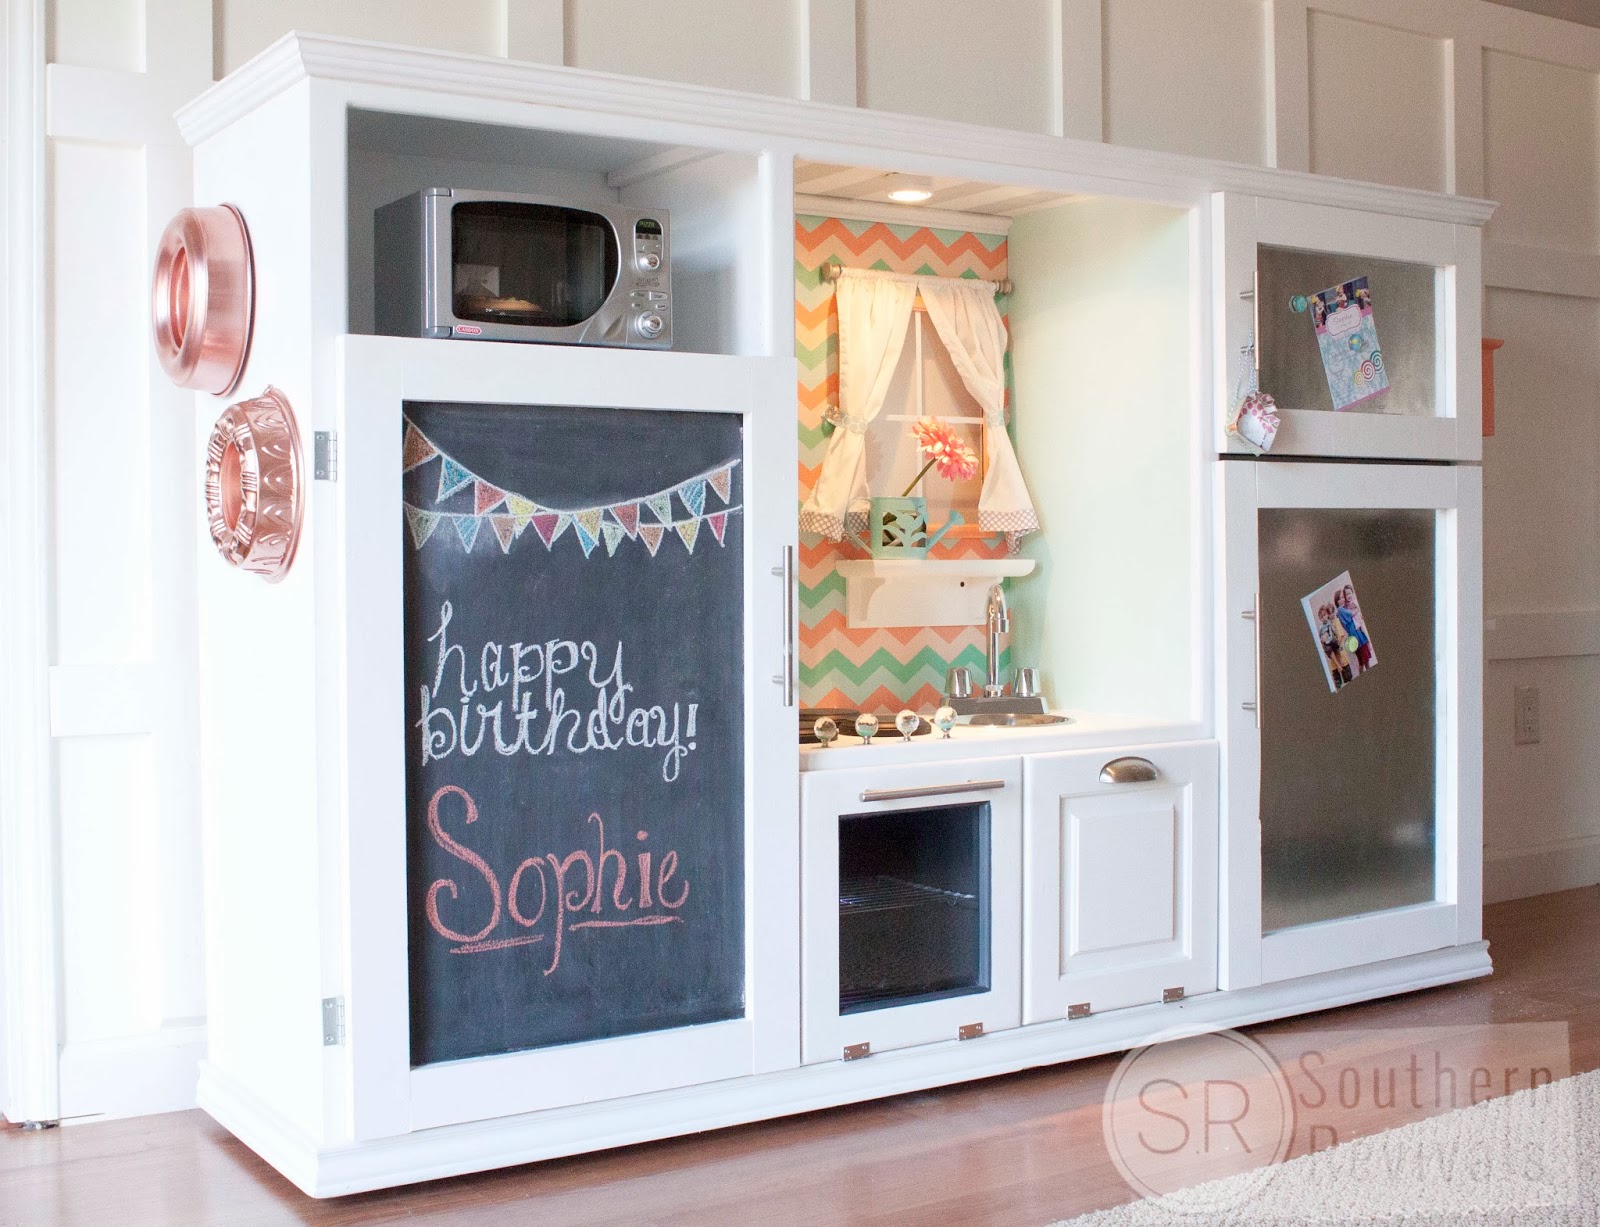
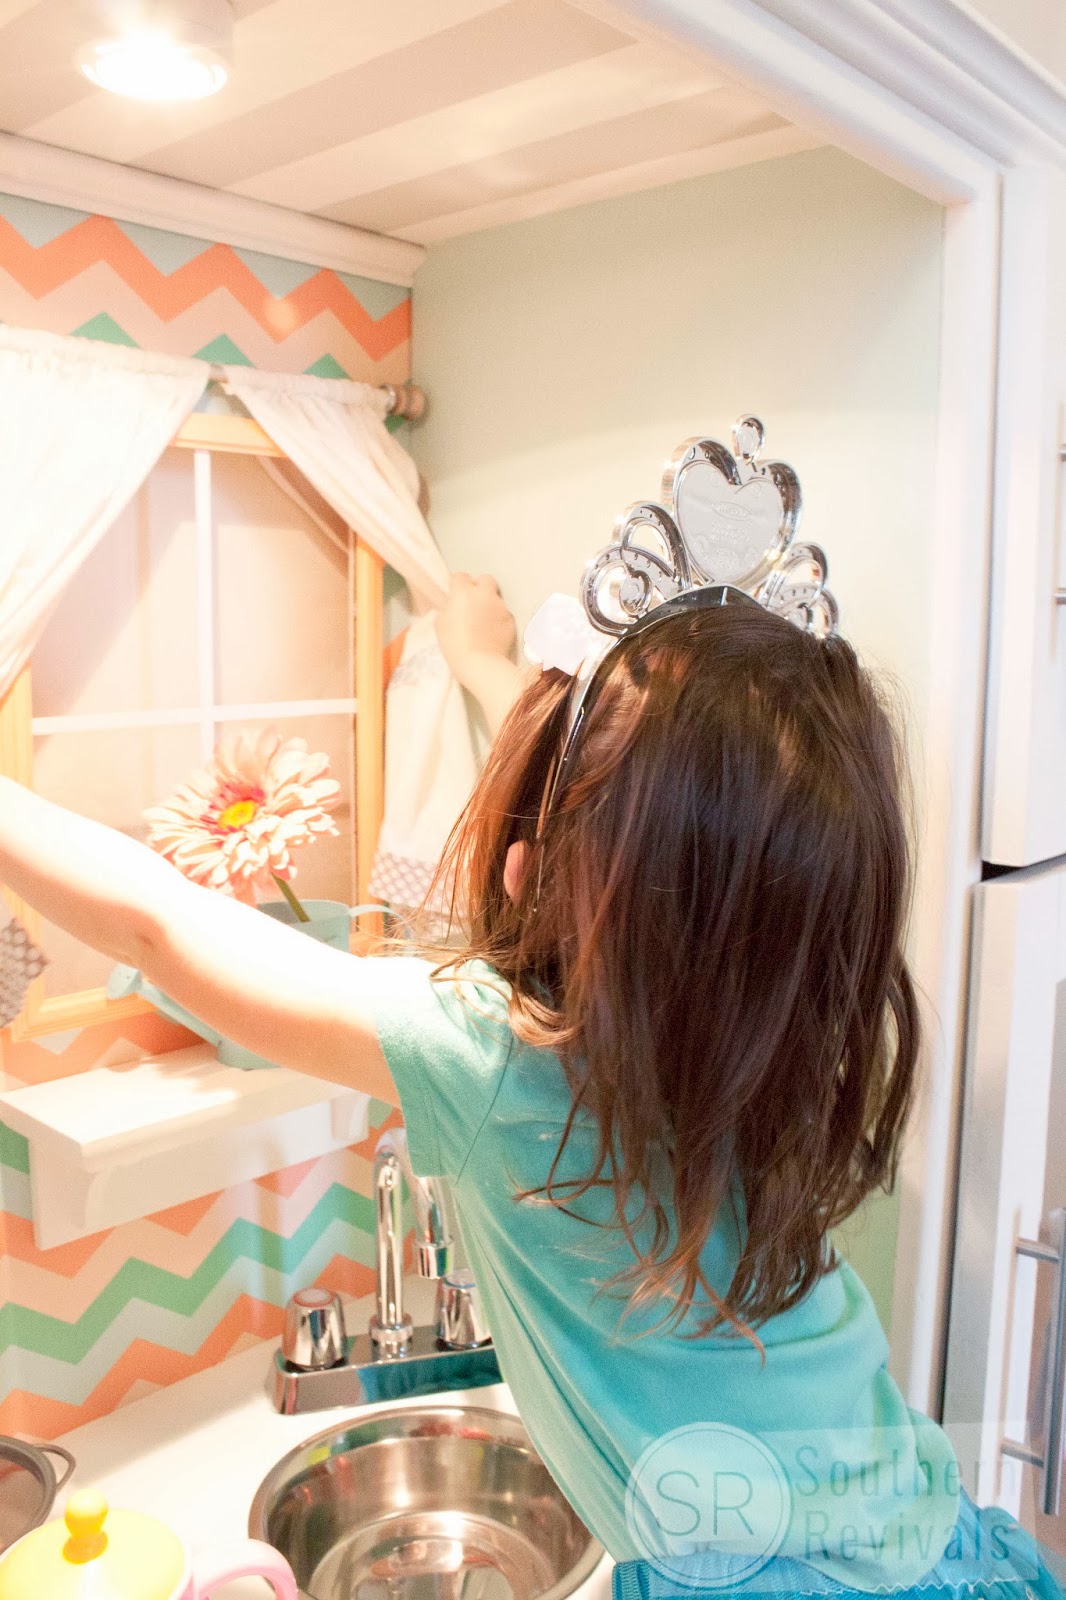
I used a cheap wooden frame to frame out the window – painted in Smitten. The walls are done in Refreshing while the remainder of the kitchen is done in Everlasting.

And this is how it all turned out!

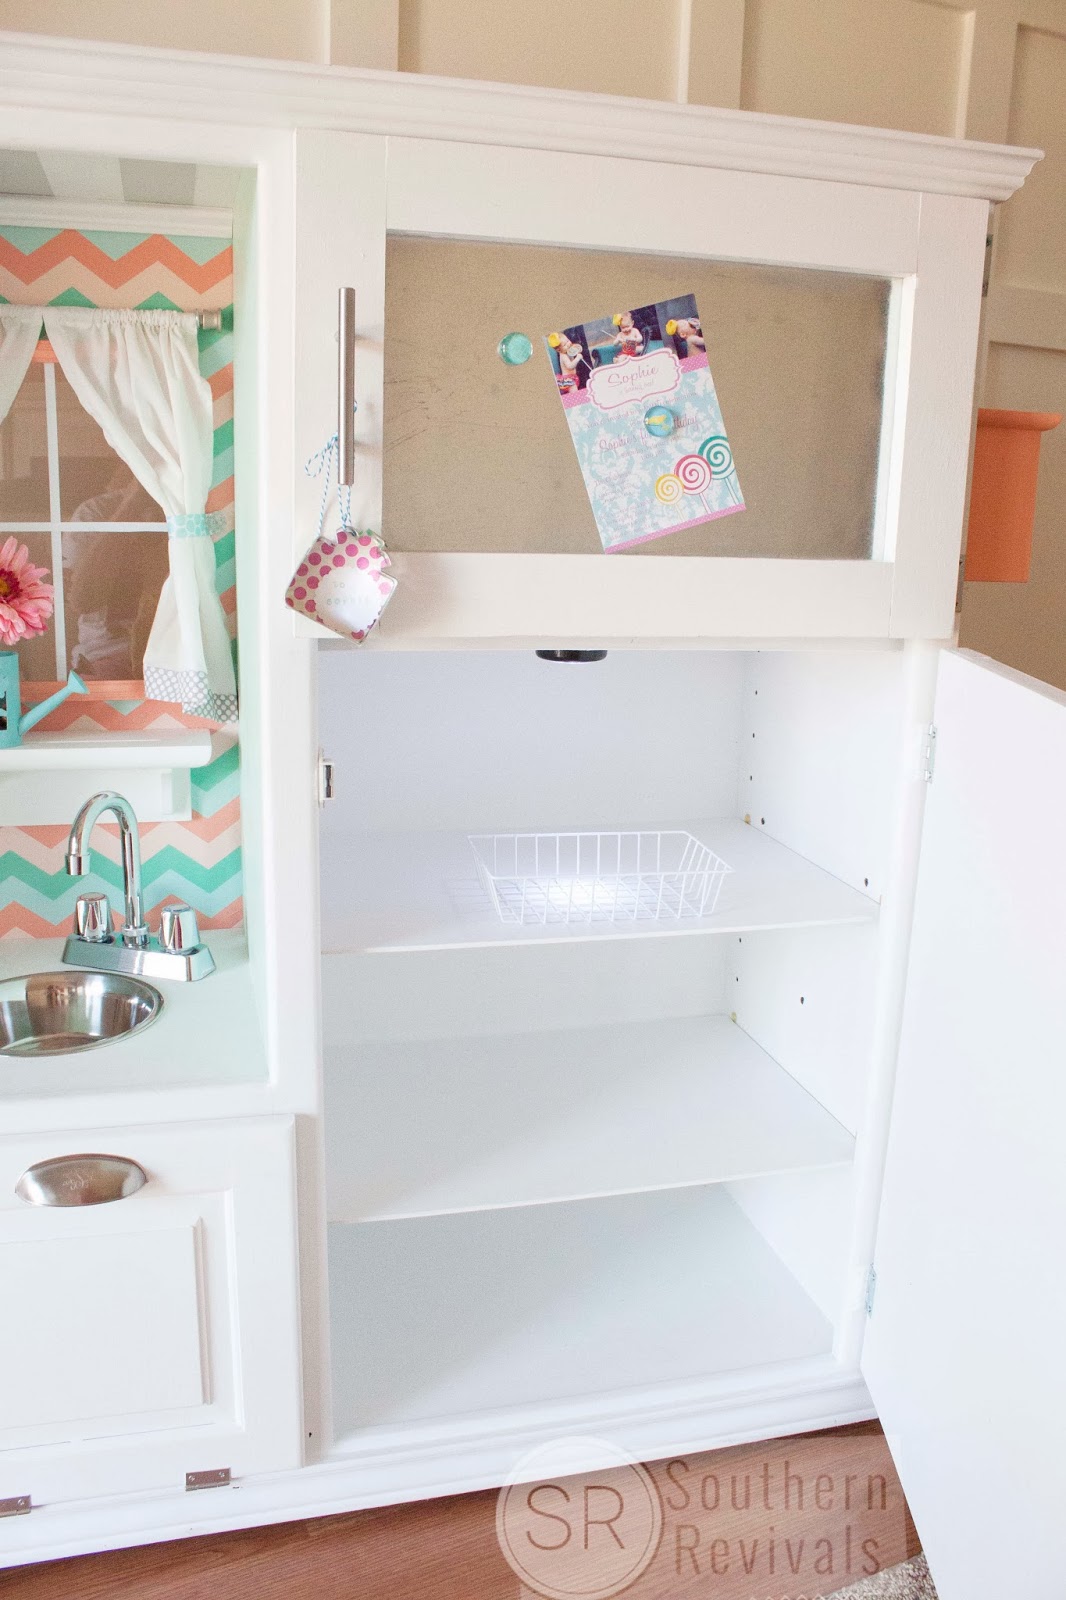
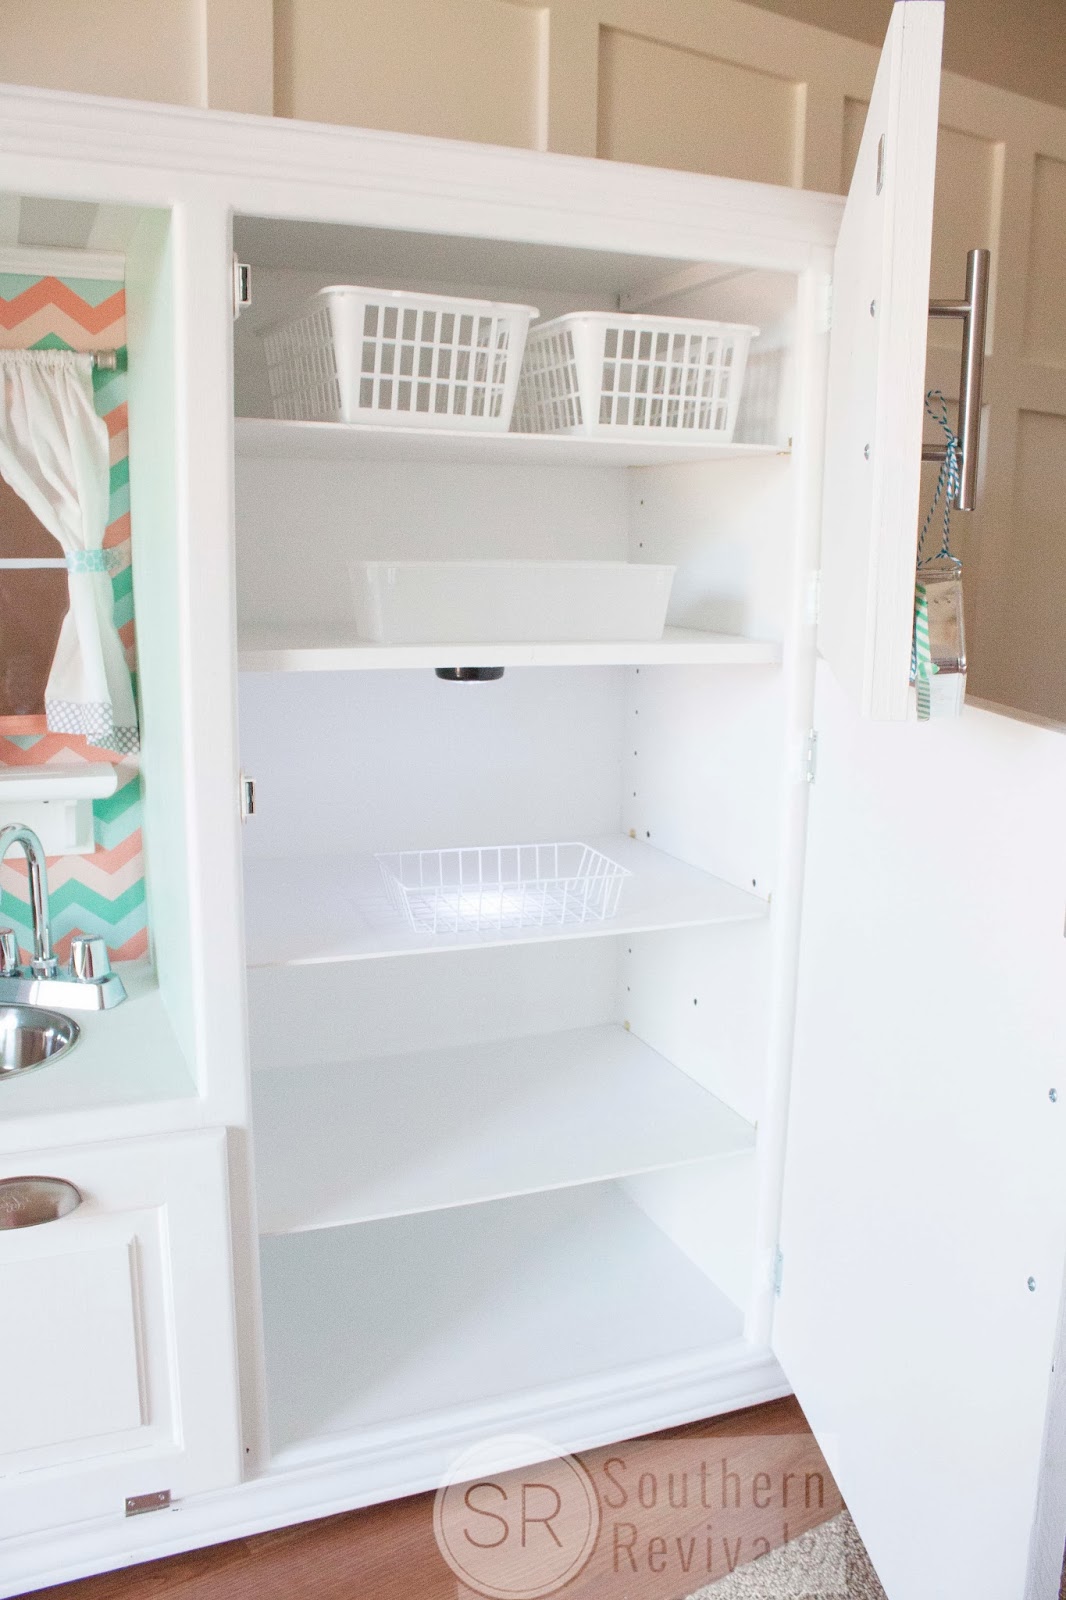
This section we turned into the microwave and pantry section.

The pantry door doubles as a chalkboard.

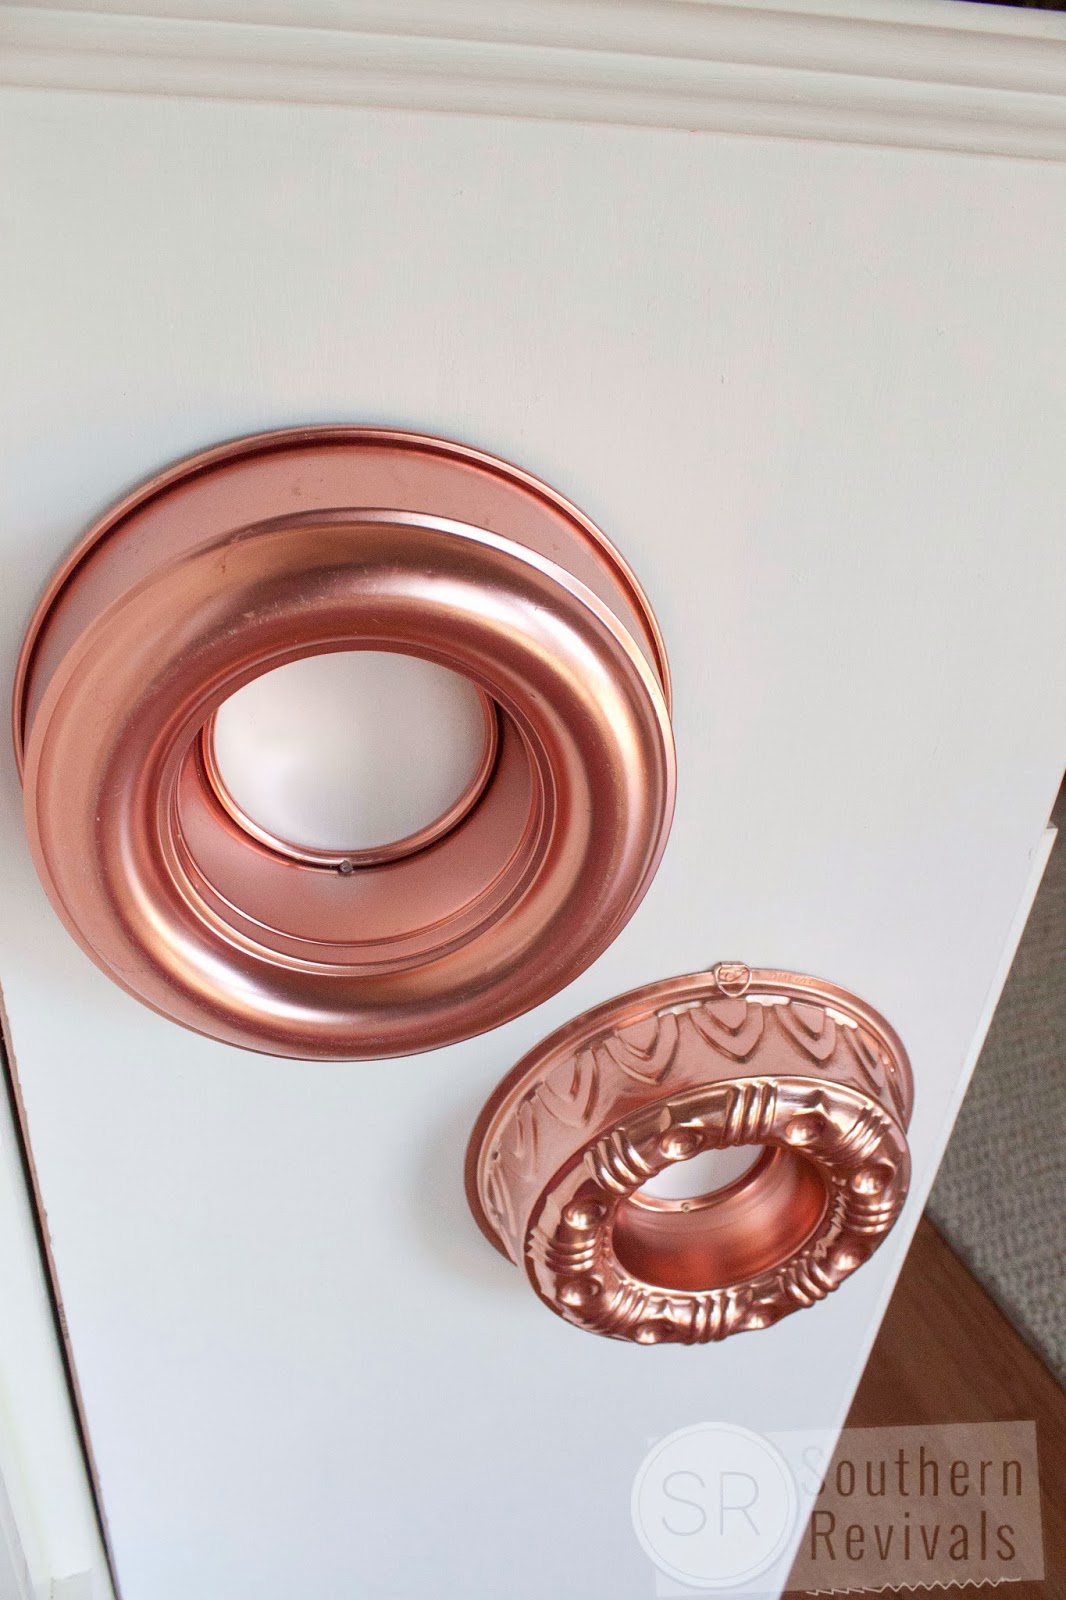
And I got these fun copper cake pans for 2.99 ea at a local thrift store.

Her mom ordered her this amazingly realistic microwave and had it shipped to me to fit into the kitchen design.
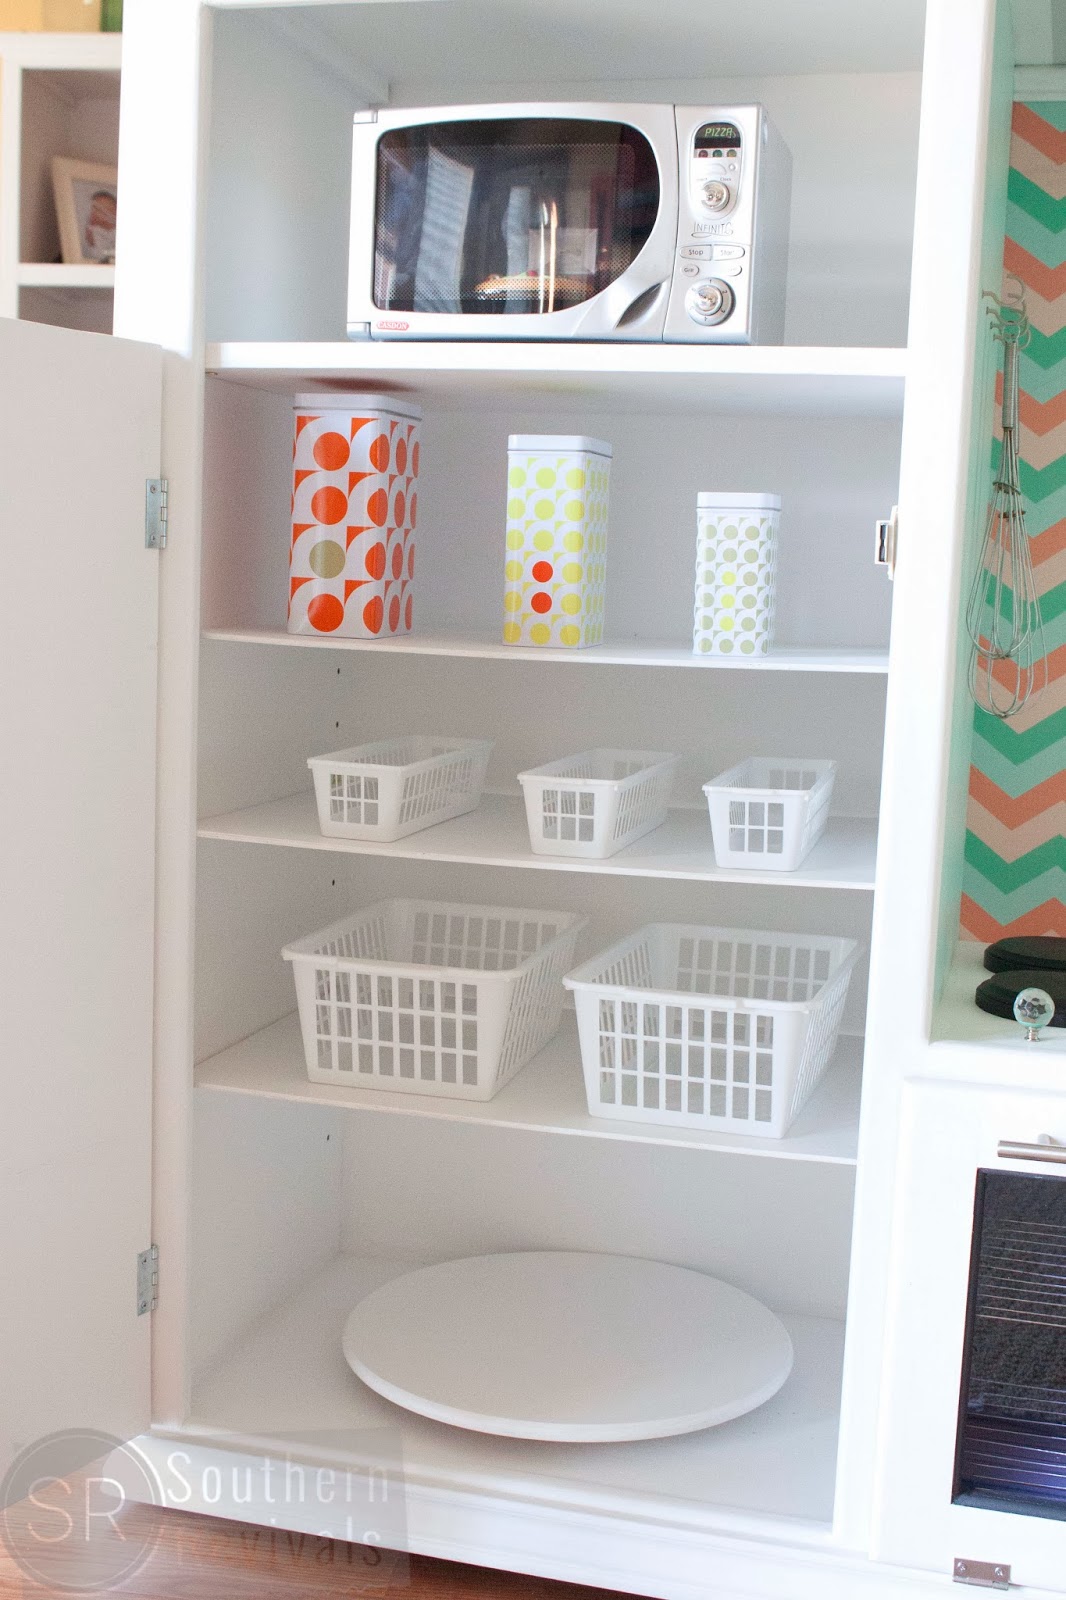
I found some other supplies like the IKEA tins at a local thrift store, the baskets at dollar stores and the wooden lazy susan in my attic. What? You don’t go shopping in your attic?
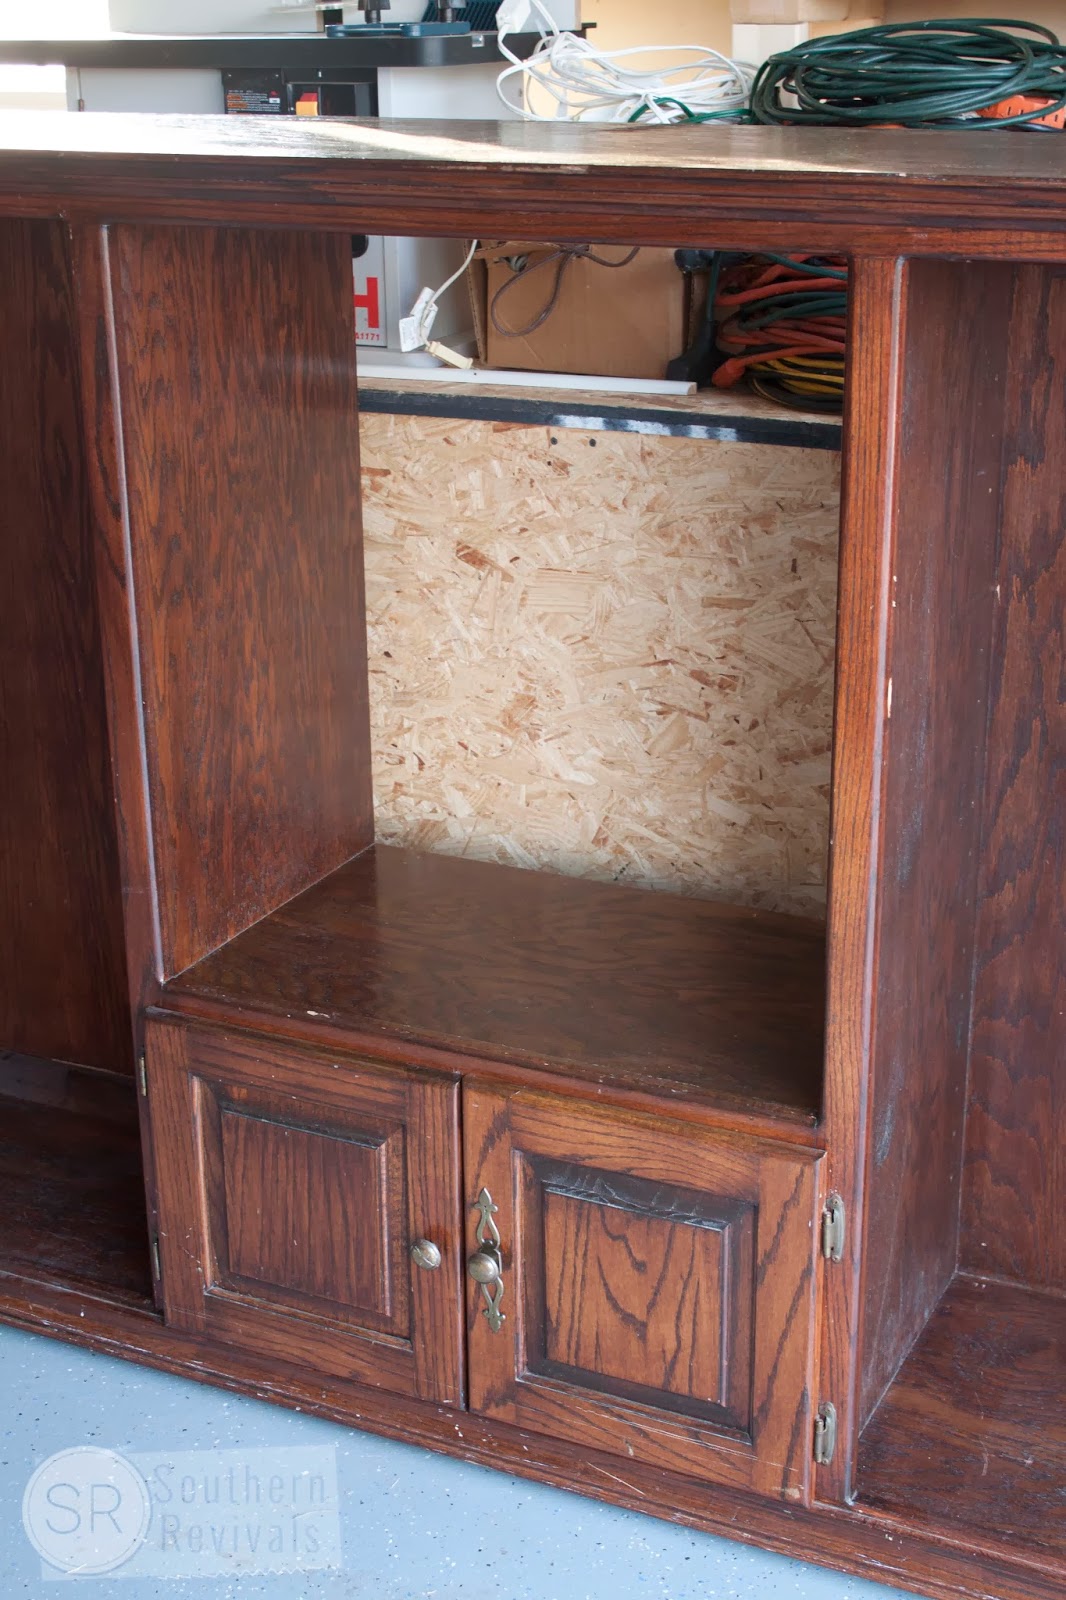
The middle section was turned into an oven and dishwasher.
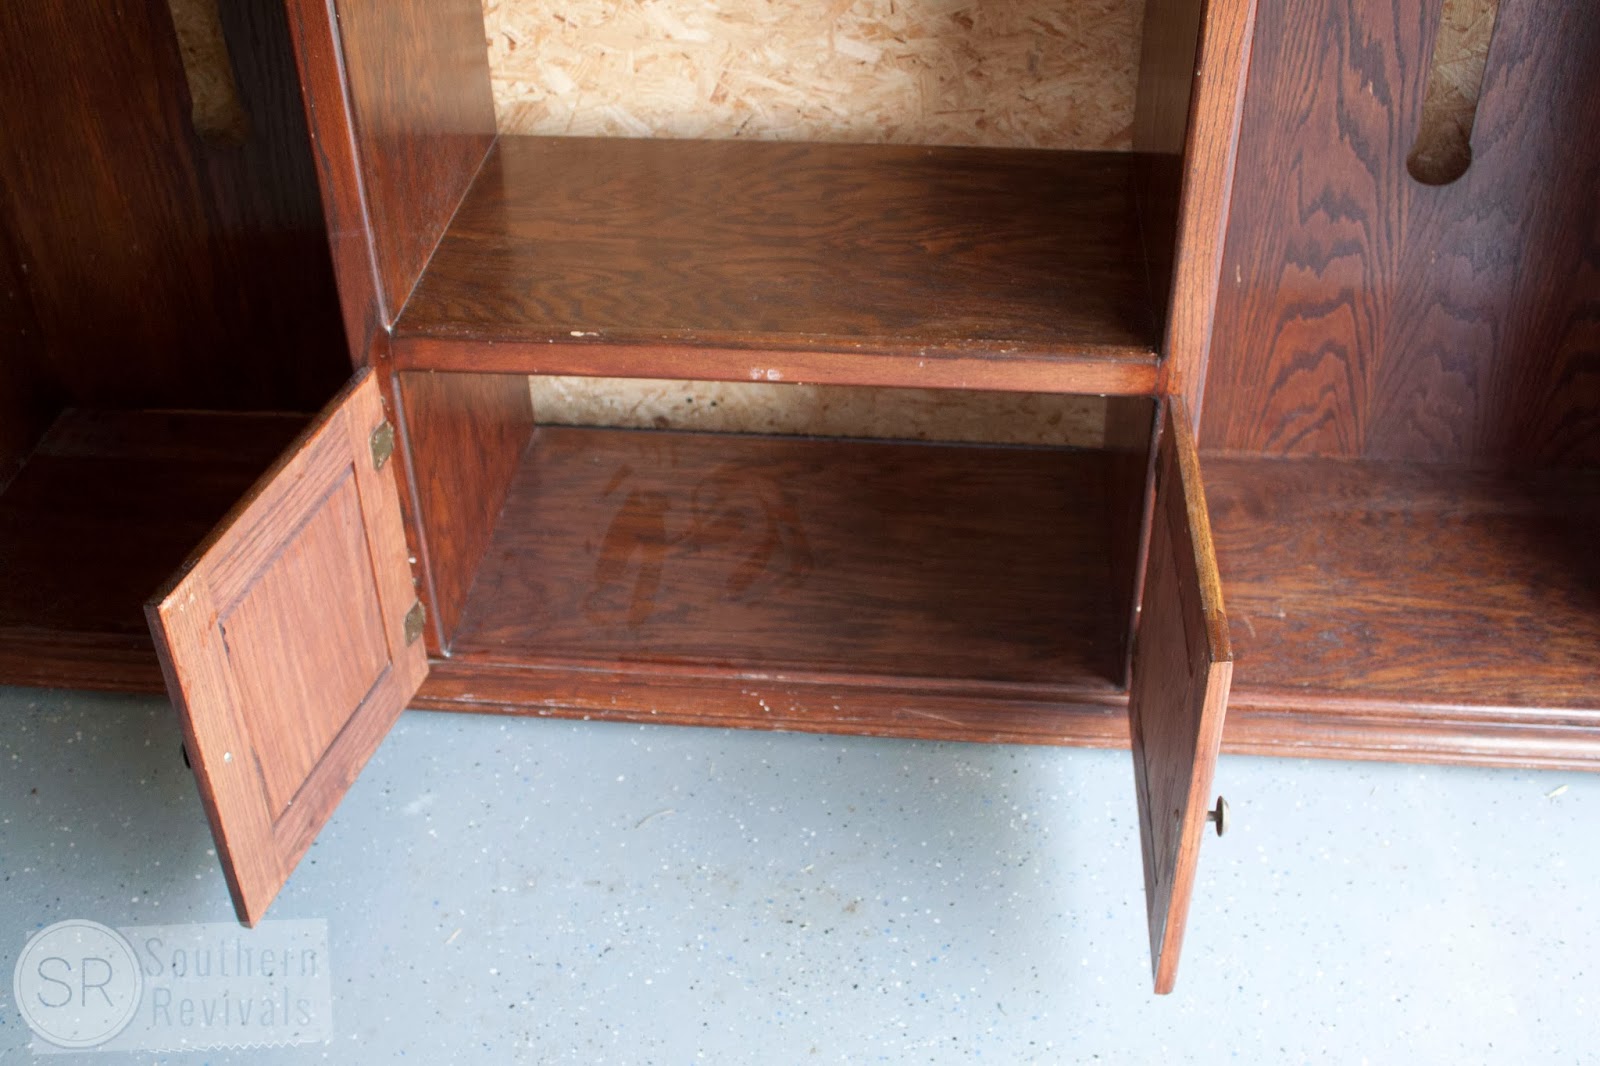
There was no divider there previously so we had to create one as well as change the hinges on the door so they would open down instead of out to the side.

I used some little round wooden plaques for the stove tops and some turquoise glass knobs to turn on and off the stove. Her mom requested some bling, bling after all and quite frankly, I think all kitchens should have some. Real or not.

A place to bake some adorable treats because everyone knows it tastes better when it’s pretty.

That’s an Easter towel I got and cut the Happy Easter off of. It shortened it just enough that it was the perfect size to hang on her little oven handle.

A realistic oven compliments of some cookie cooling trays – 2 for $1!

Oh yeah. And it lights up. Because I am going for Aunt of the Year. LED push button fixture so it won’t get hot and she can turn it off and on easily.

A place to hang her whisks and other utensils because she has promised me coffee and brownies when I come back to visit.

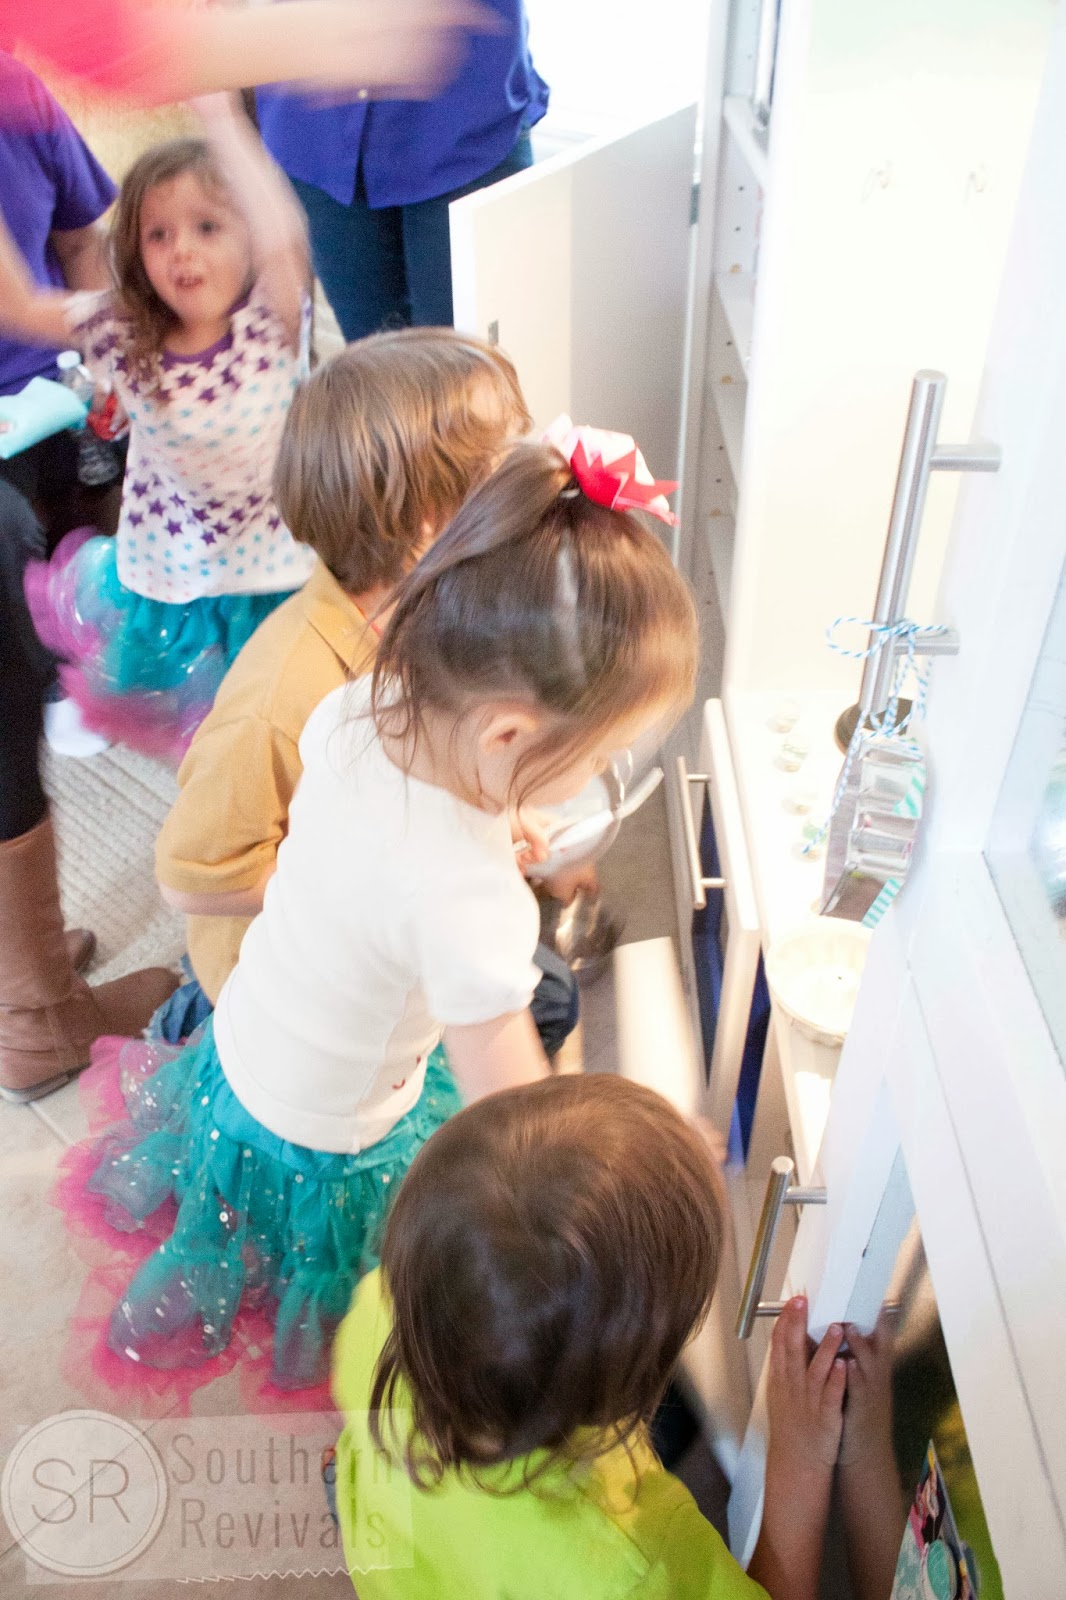
But seriously, watching her and all of the other kids pile into the kitchen to play was just as sweet. Still, I’ll take the brownies.
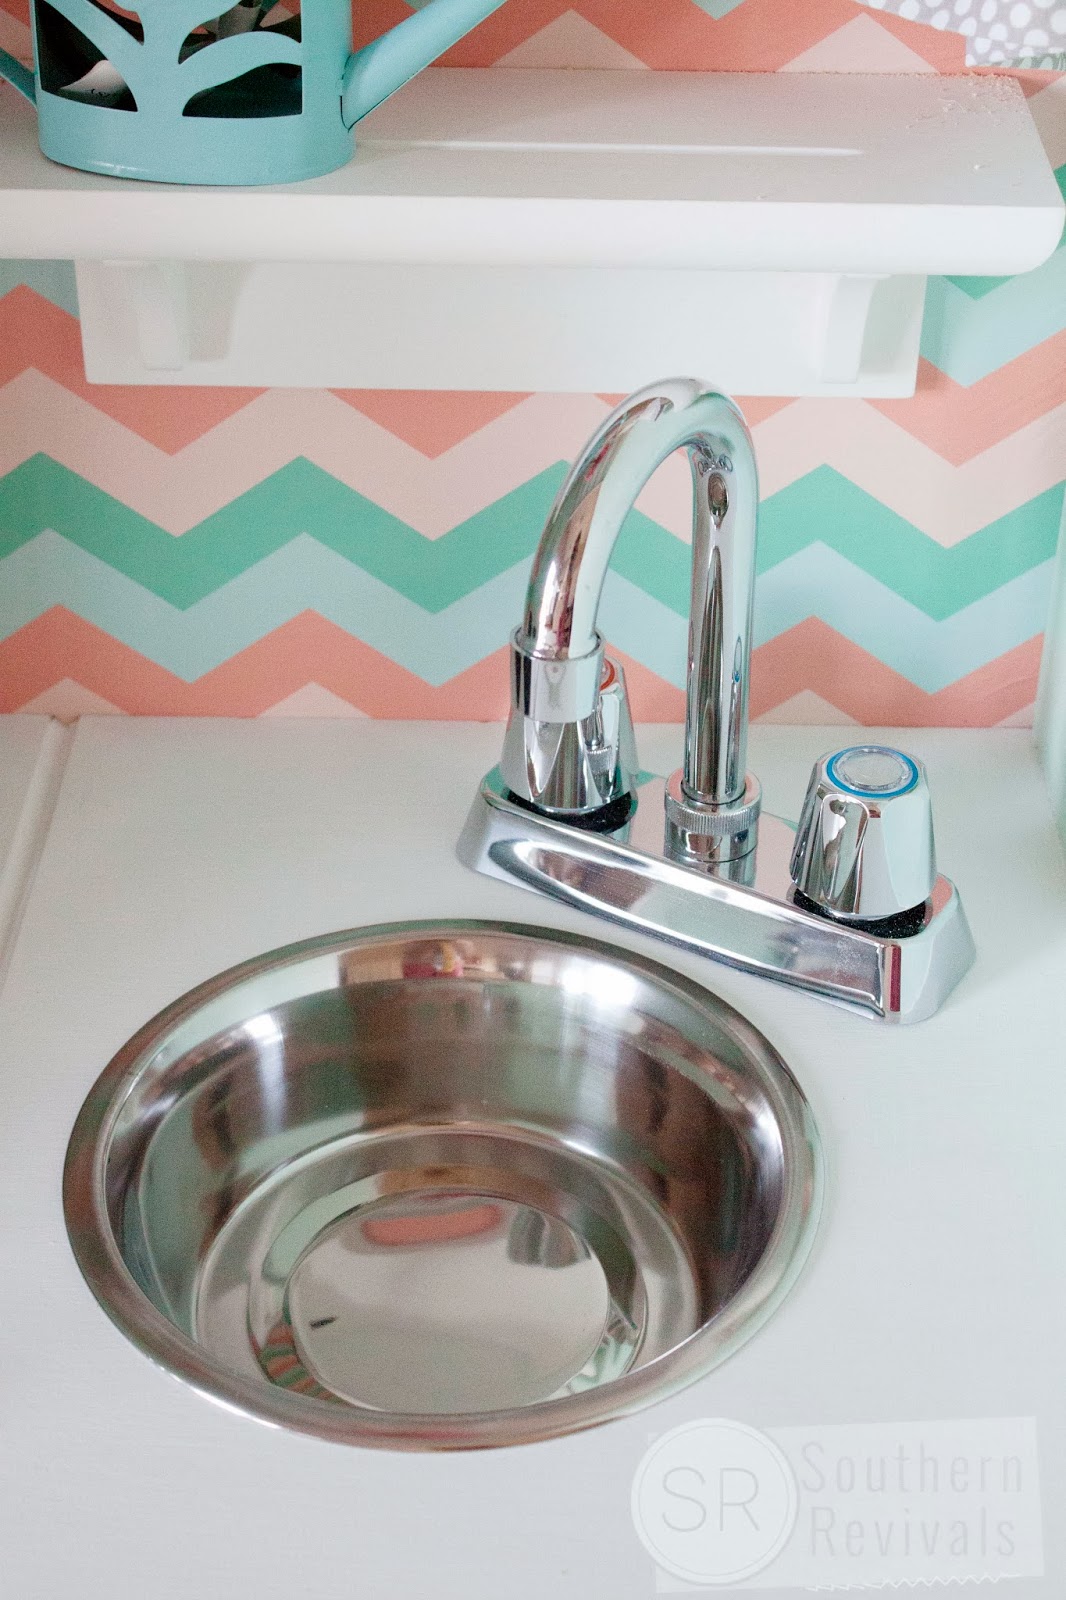
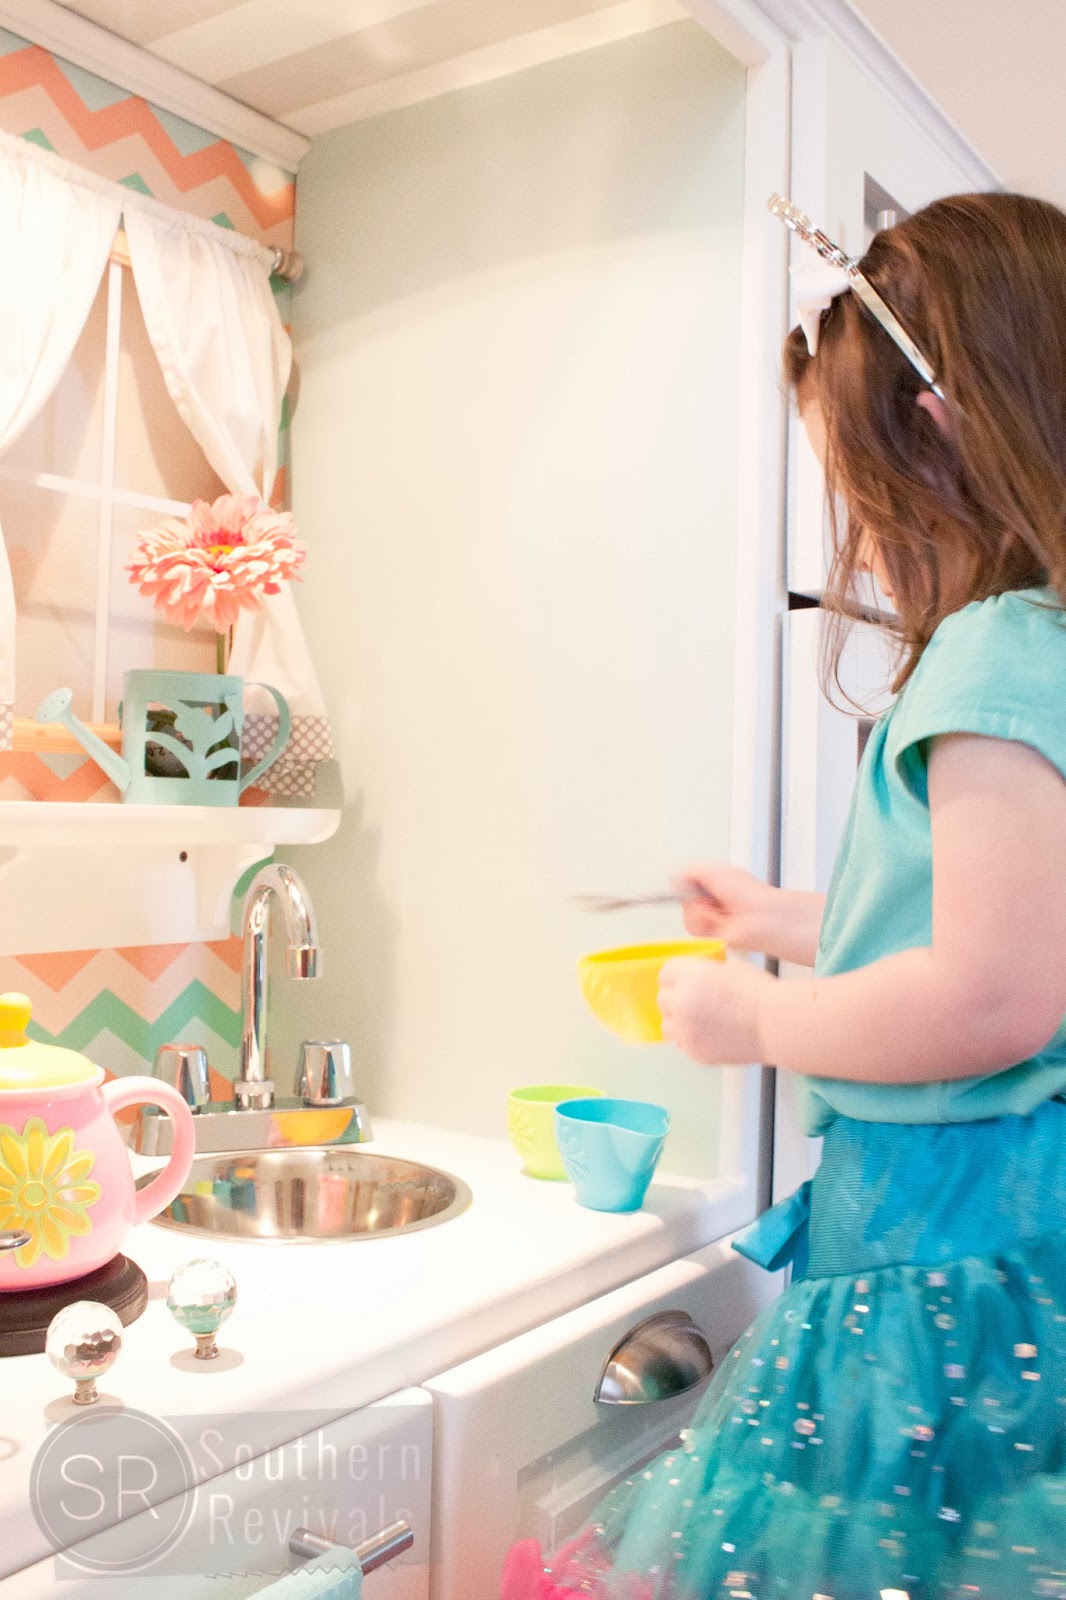
Is that a dog bowl you ask? Why, yes. Yes it is. Makes for the perfect play kitchen sink. The faucet is new because try as I might there wasn’t a used one to be found. This one was perfect though and only $25.

Remember that one time I had all six of the polished nickel pulls on that 1970s French Provencal Dresser turned Buffet monogrammed? I have been dying to do it again. I took these to a local trophy shop and they spiffed it right up.

Because we’d all be happier to put the dishes in with our monograms on the handle, right?

I just picked up a metal dish drainer for inside.

Such a cute place for a party, don’t you think?

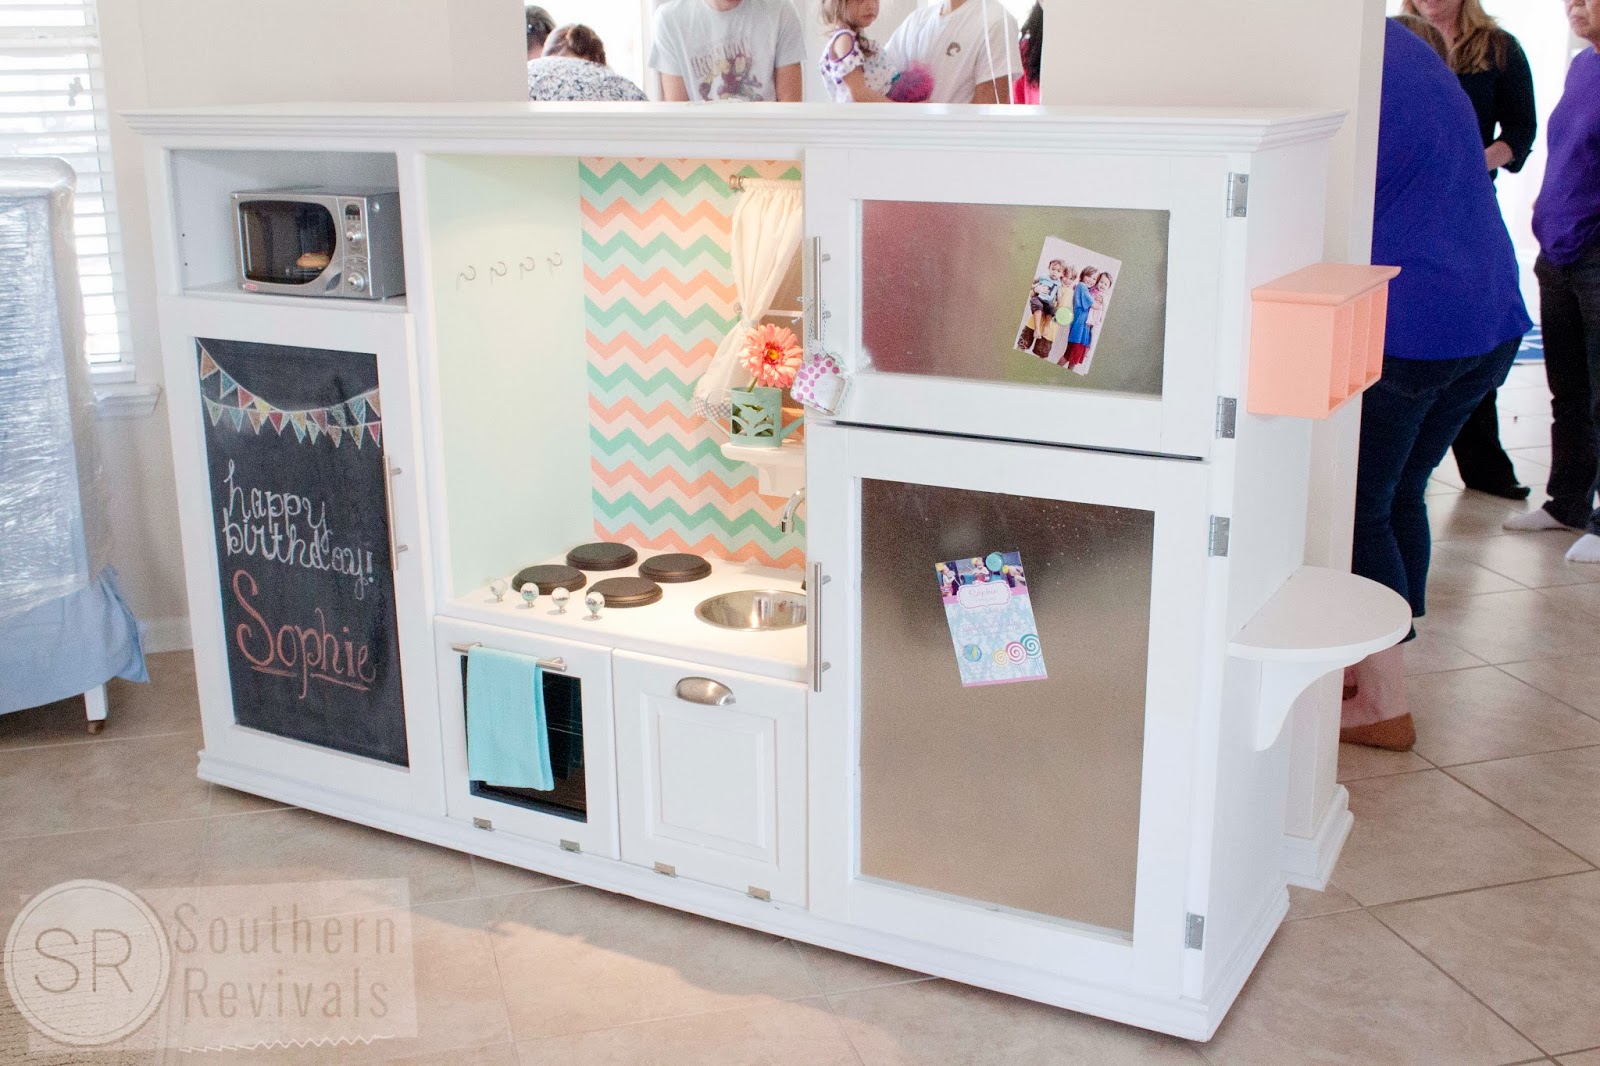
Every kitchen has to have a refrigerator and this is how that side of the cabinet started out.
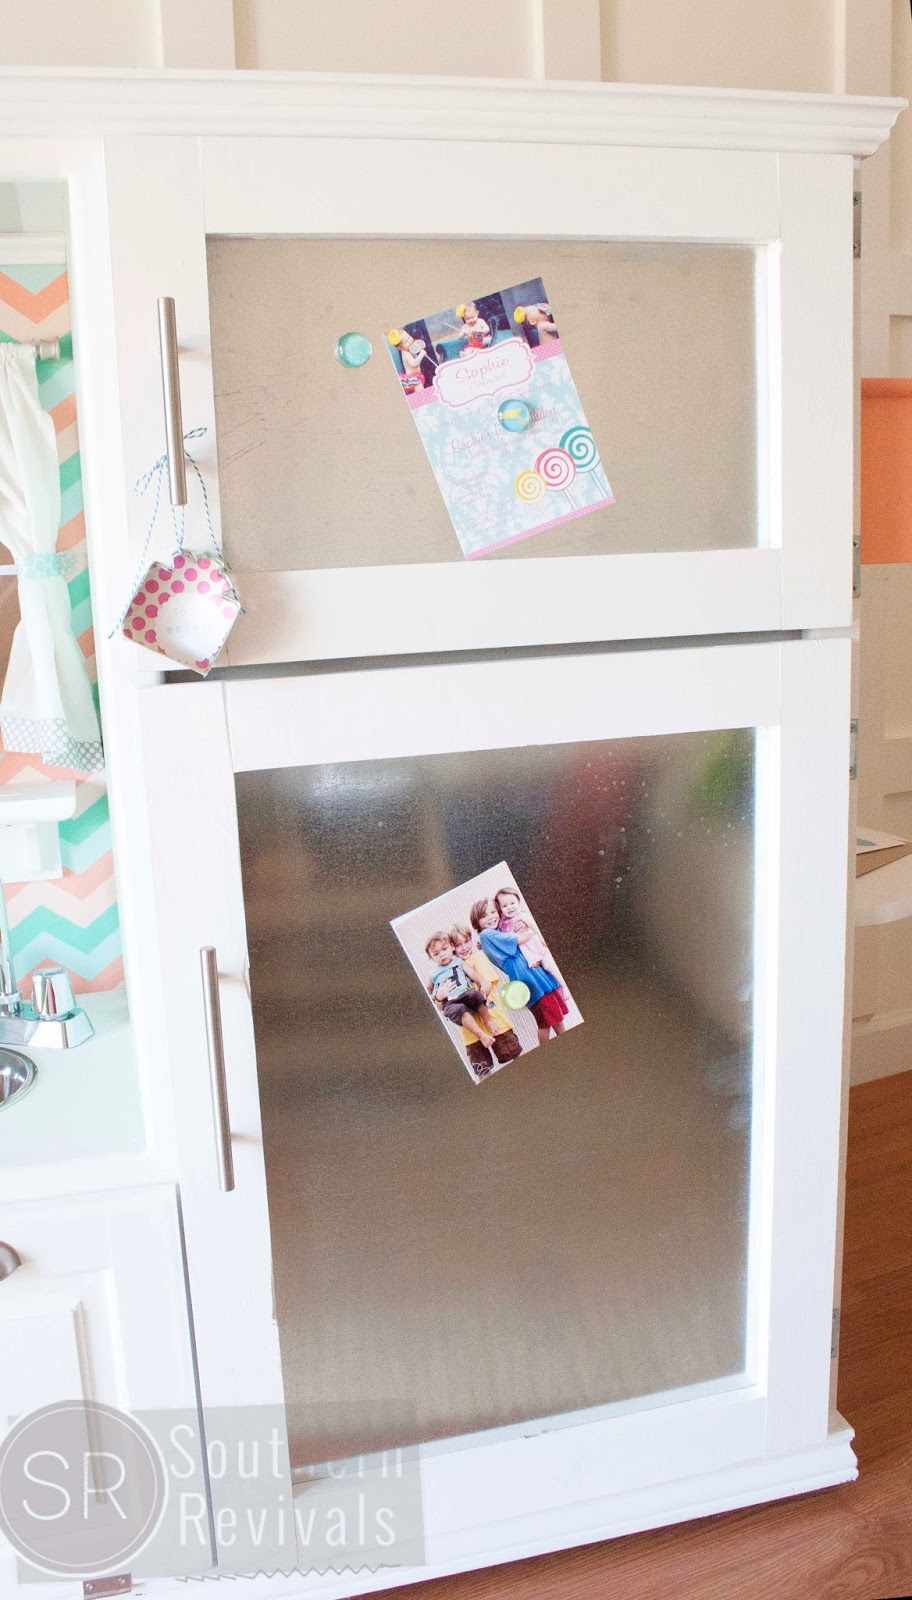
Initially I painted these doors with about 6 coats of magnetic paint so that it would work like a real one where she could hang her artwork with magnets. That was a miserable fail!
It was so disappointing until I decided I really liked the look of actual metal doors more anyway. I like when things work out that way.

Freezer on top.
Fridge on bottom and it’s lighted too, just like the oven.
Wish my fridge was this clean.
These are my fun thrifted finds and they were just this perfect when I bought them.
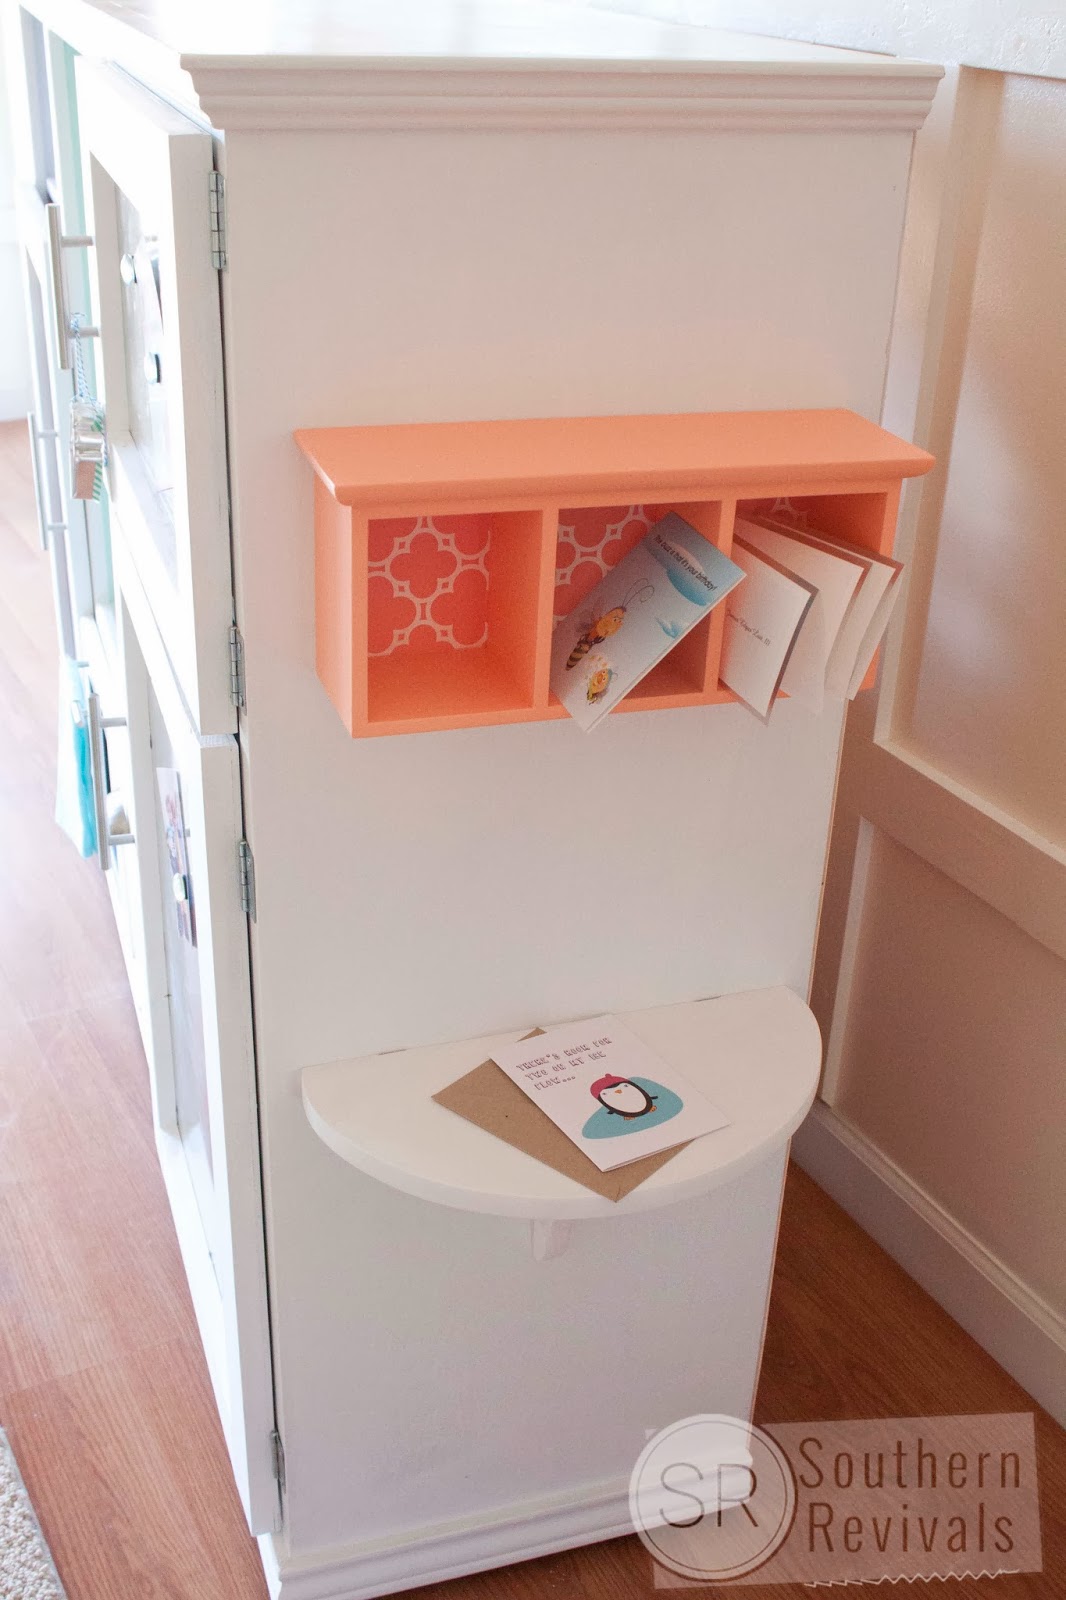
And these are from my attic shopping trip. The little demi lune table was from our first home and the mail slot hung in my first child’s nursery over 10 years ago.
I repainted it and added some fun quatrefoil wrapping paper to dress up the backing.
Surprises:

Then, I had this crazy idea (after having the crazy idea of painting the ceiling in stripes – to which my husband replied, does that go? Psh!) to add a real working light to the kitchen.

Who wants to cook in the dark?

The light is an under cabinet puck light.
And as far as I’m concerned it’s the piece de resistance!
{That and the striped ceiling. Why do husbands have so many questions about design when they claim to know nothing about design?}
Delivery:

I have delivered some custom cakes in my day and I thought it would be the end of me. Nothing compares to the nervous wreck driving this bad boy 3.5 hours south.
The day before there was a downpour. And it poured on us the next day the whole way home. However, on this day, there was nothing but gorgeous sunshine. It’s like Mother Nature knew one more thing might send me over the edge.
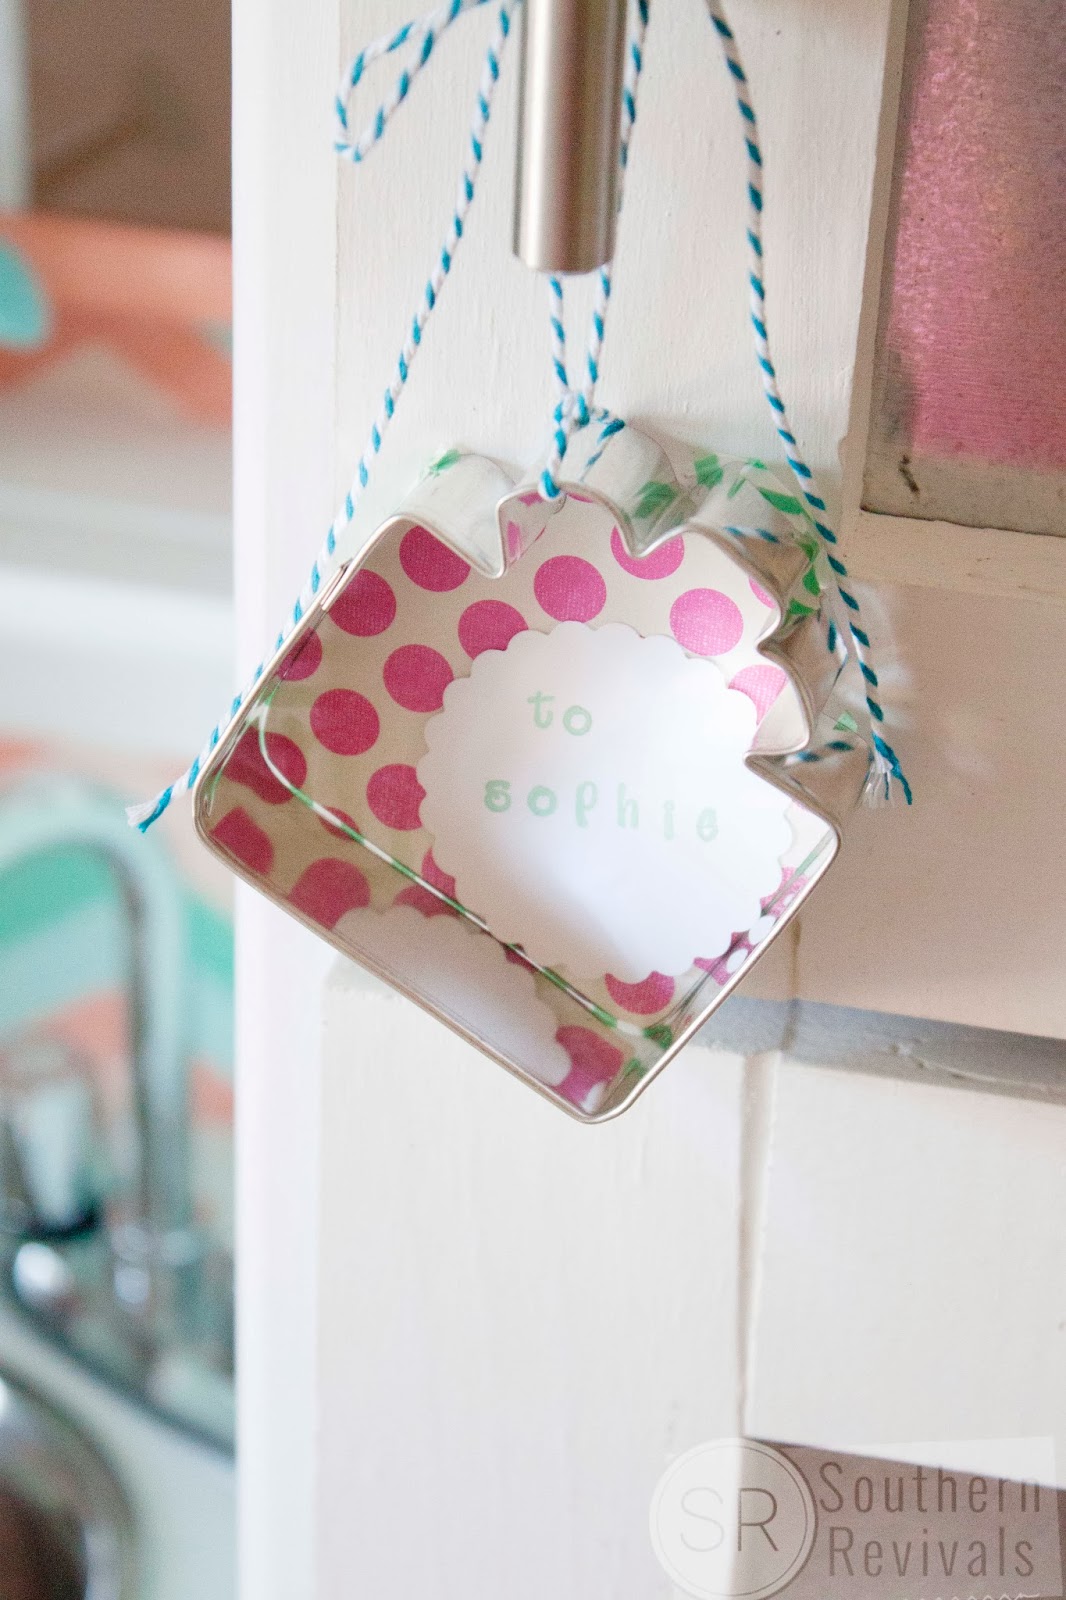
Even the chalk art birthday card made it intact.
Debut:

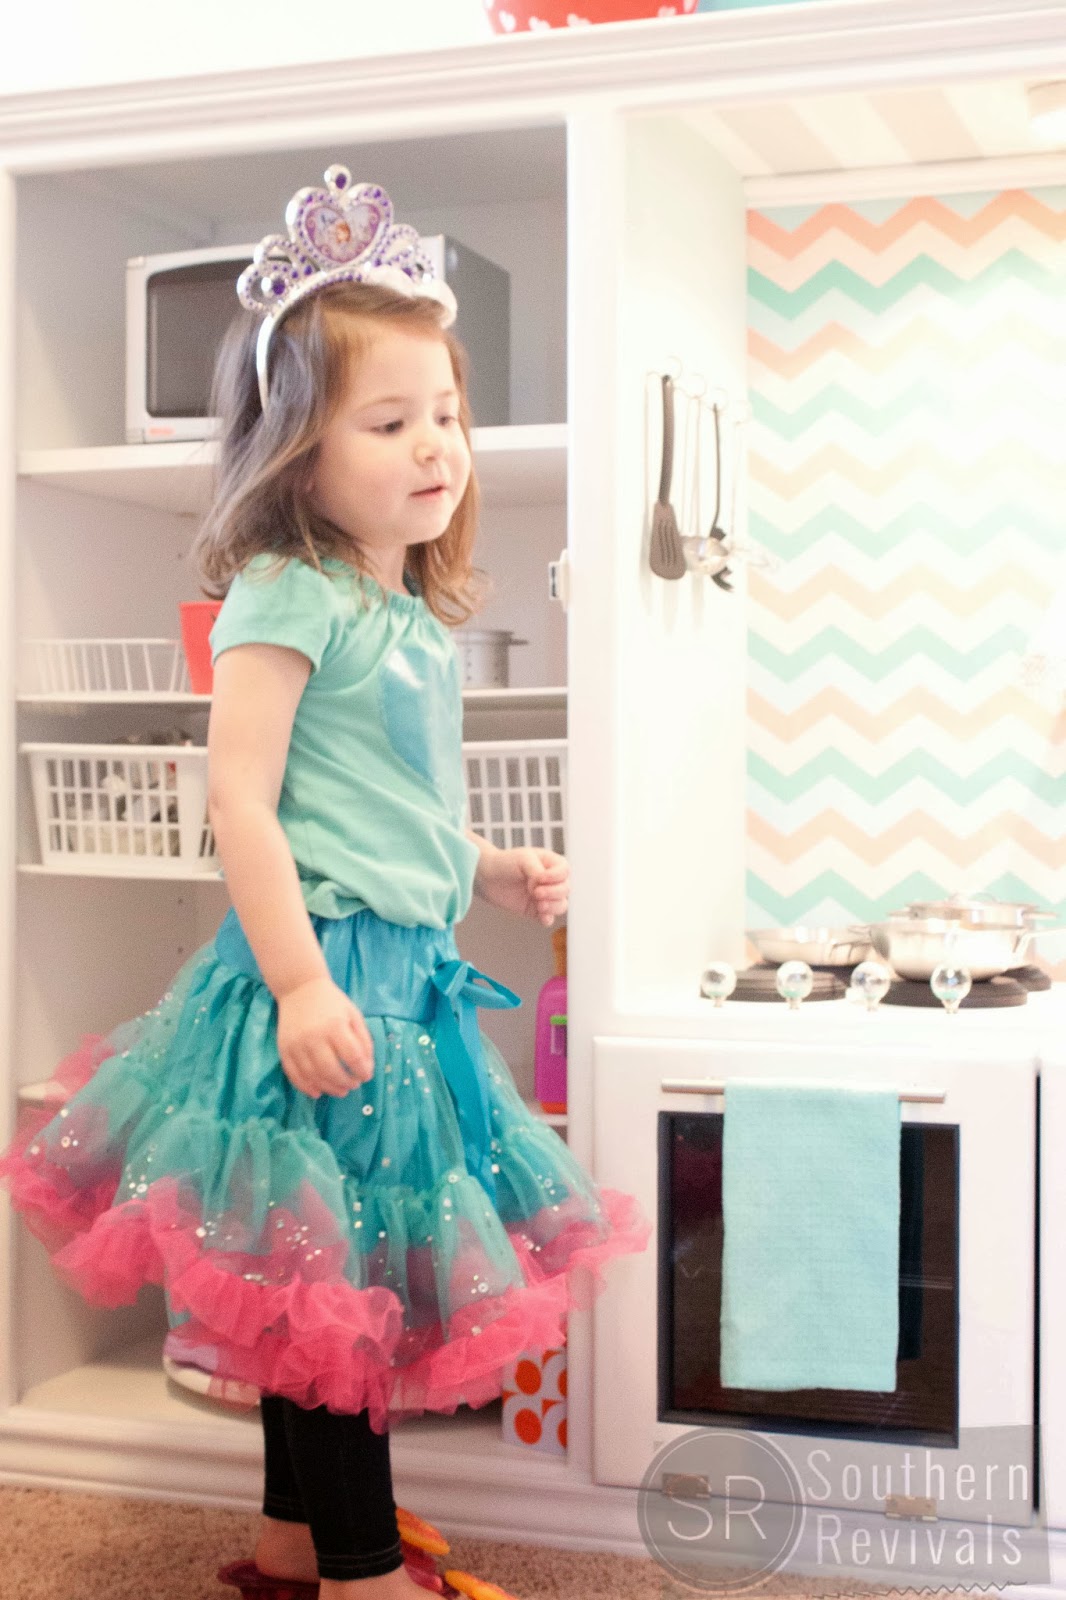
Judging by the look on her face, I’d say Momma and Daddy knew just what she wanted for her birthday!
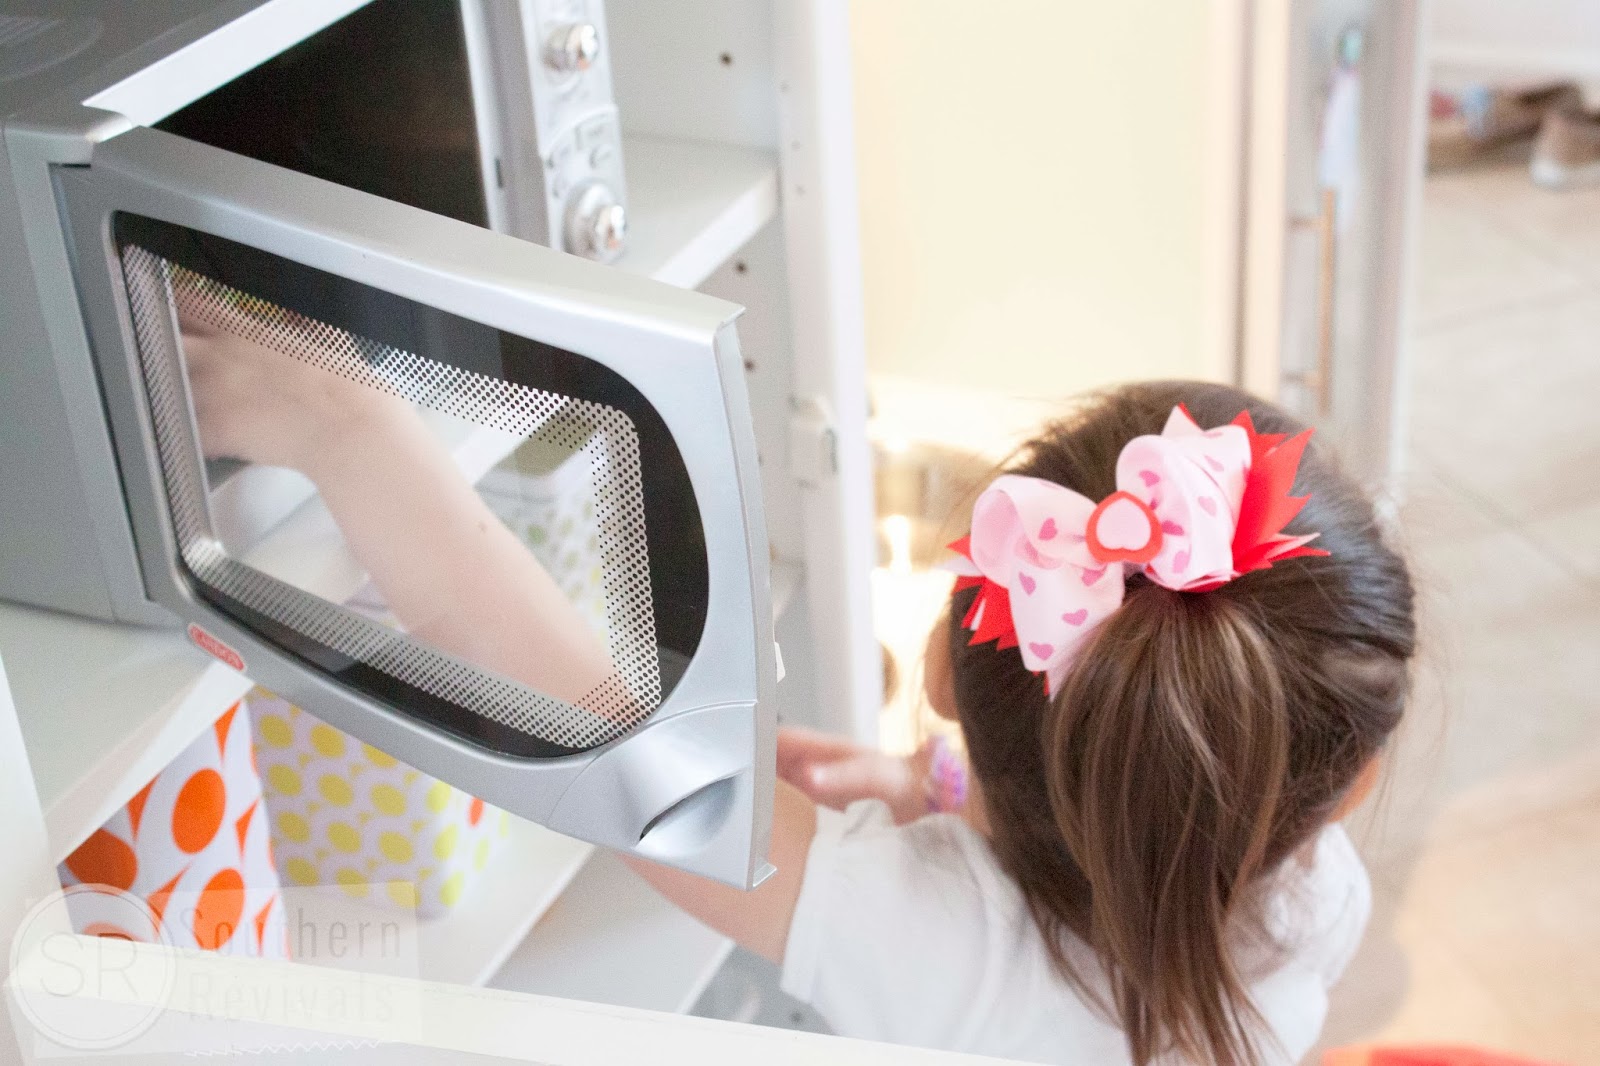
She was all about this “real” microwave.

She wasted no time.
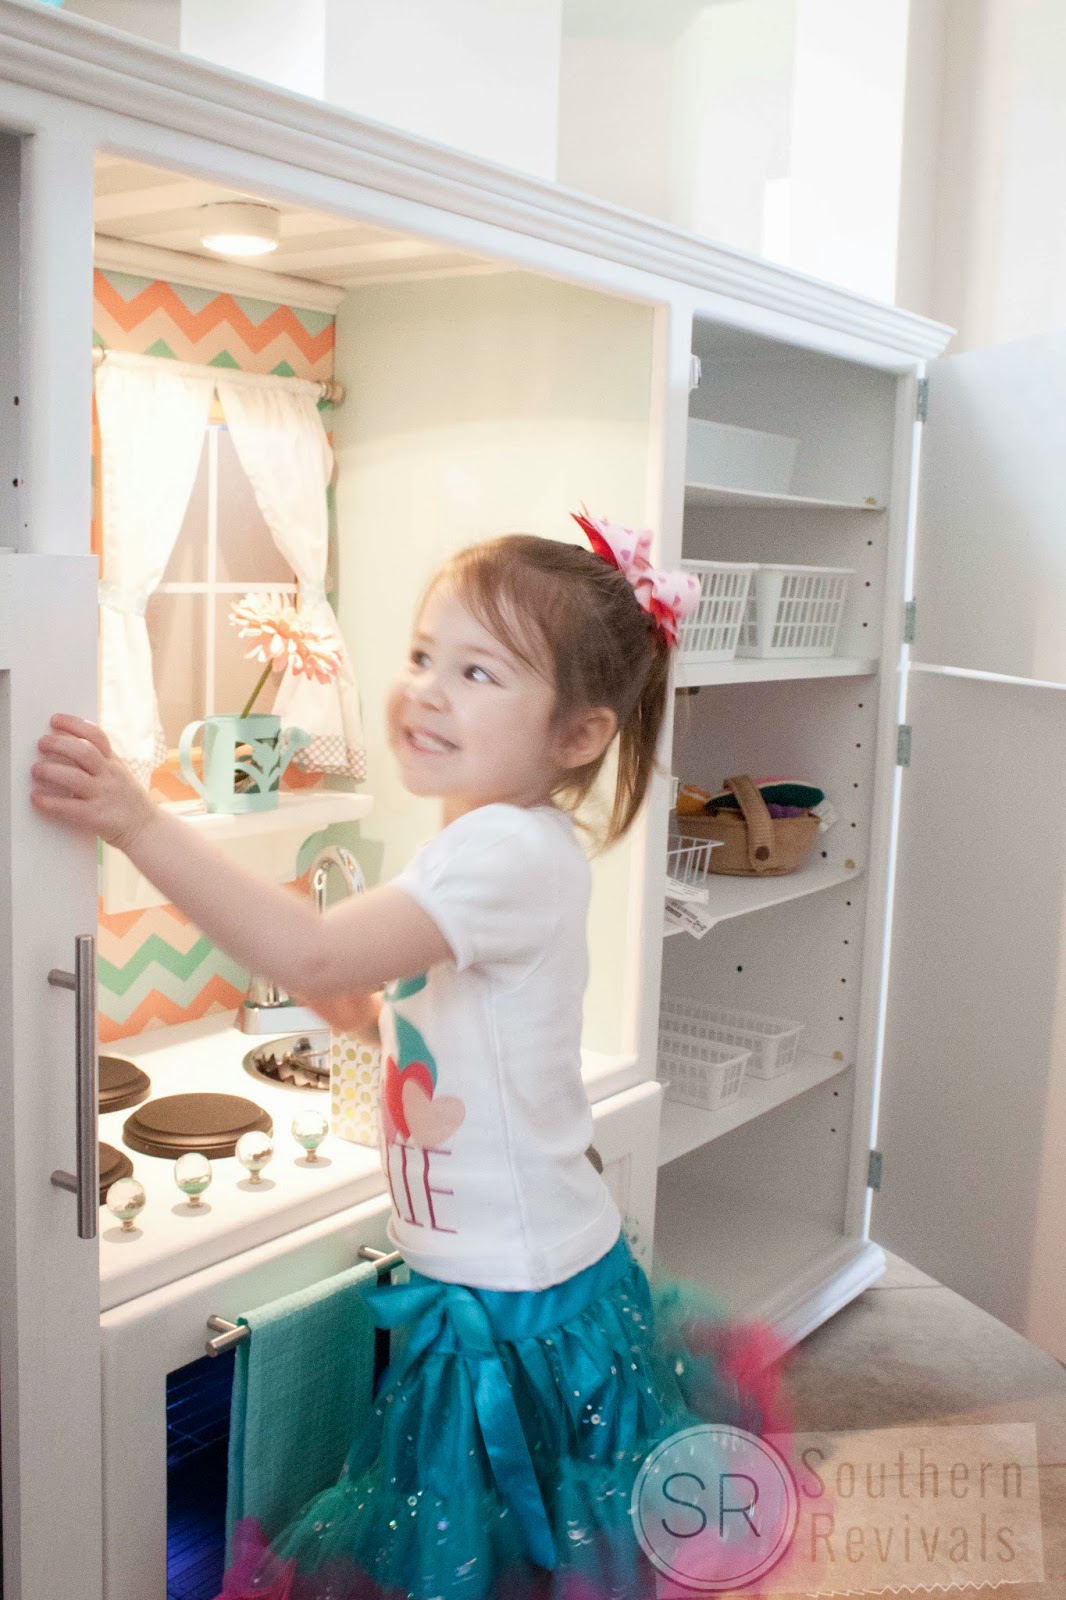
She got cooking right away.

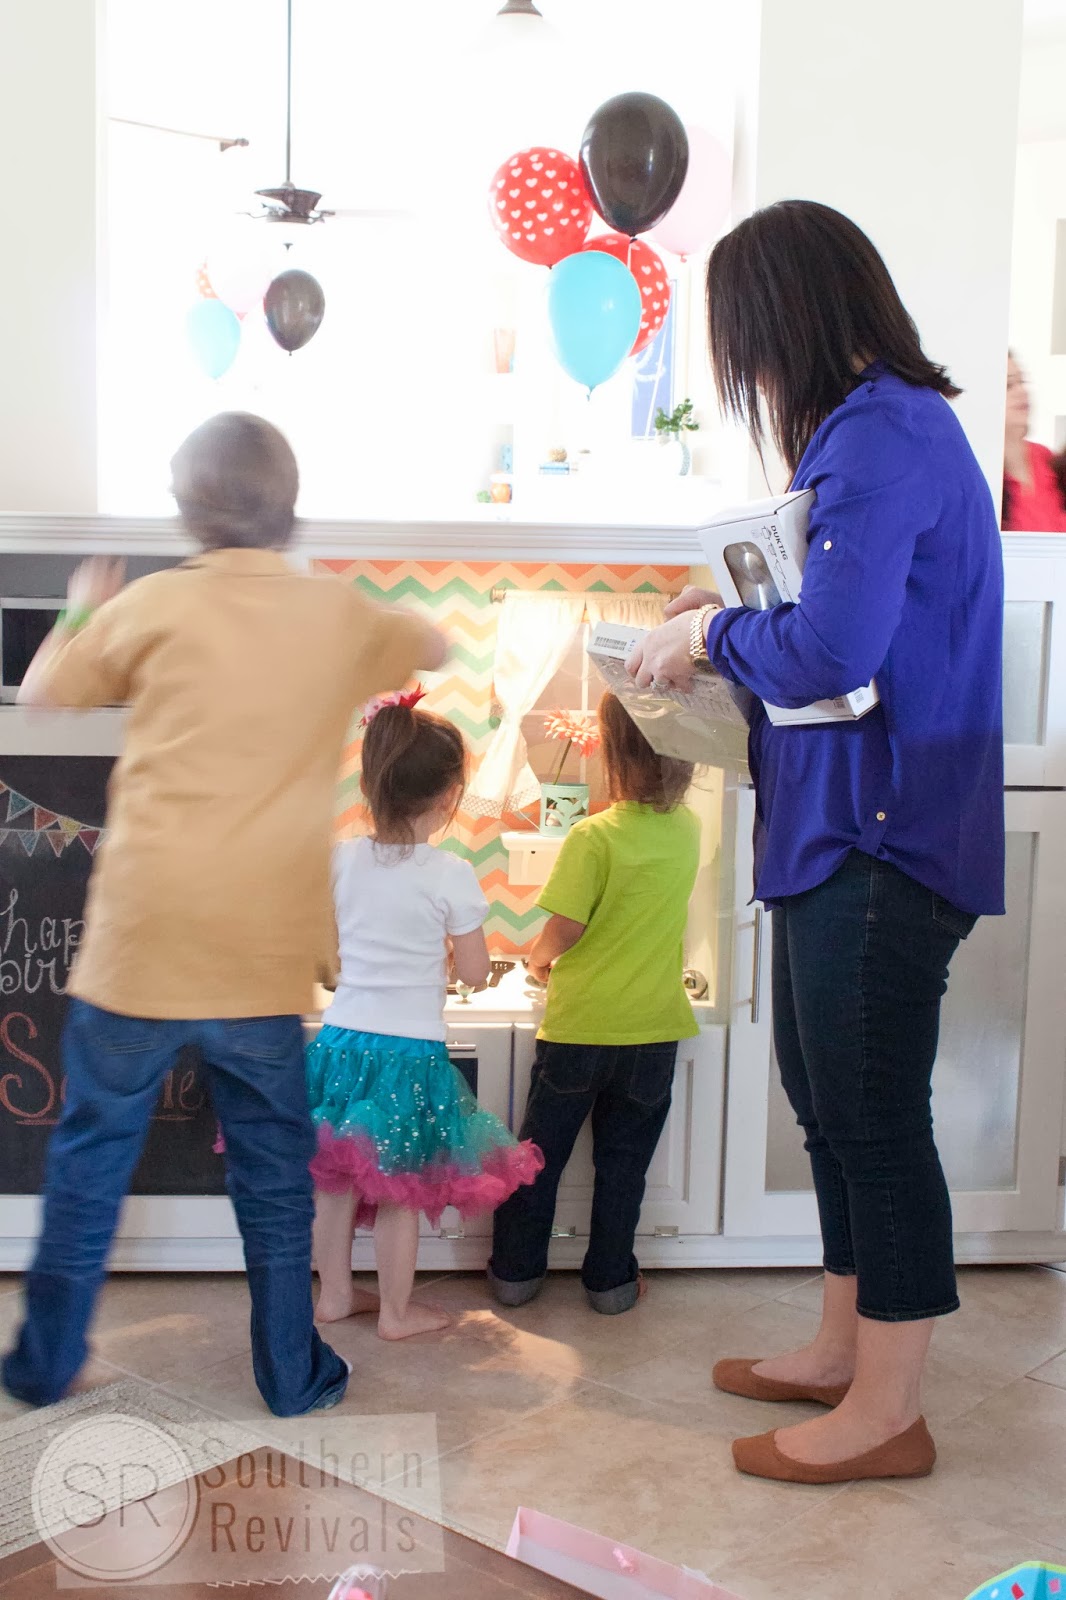
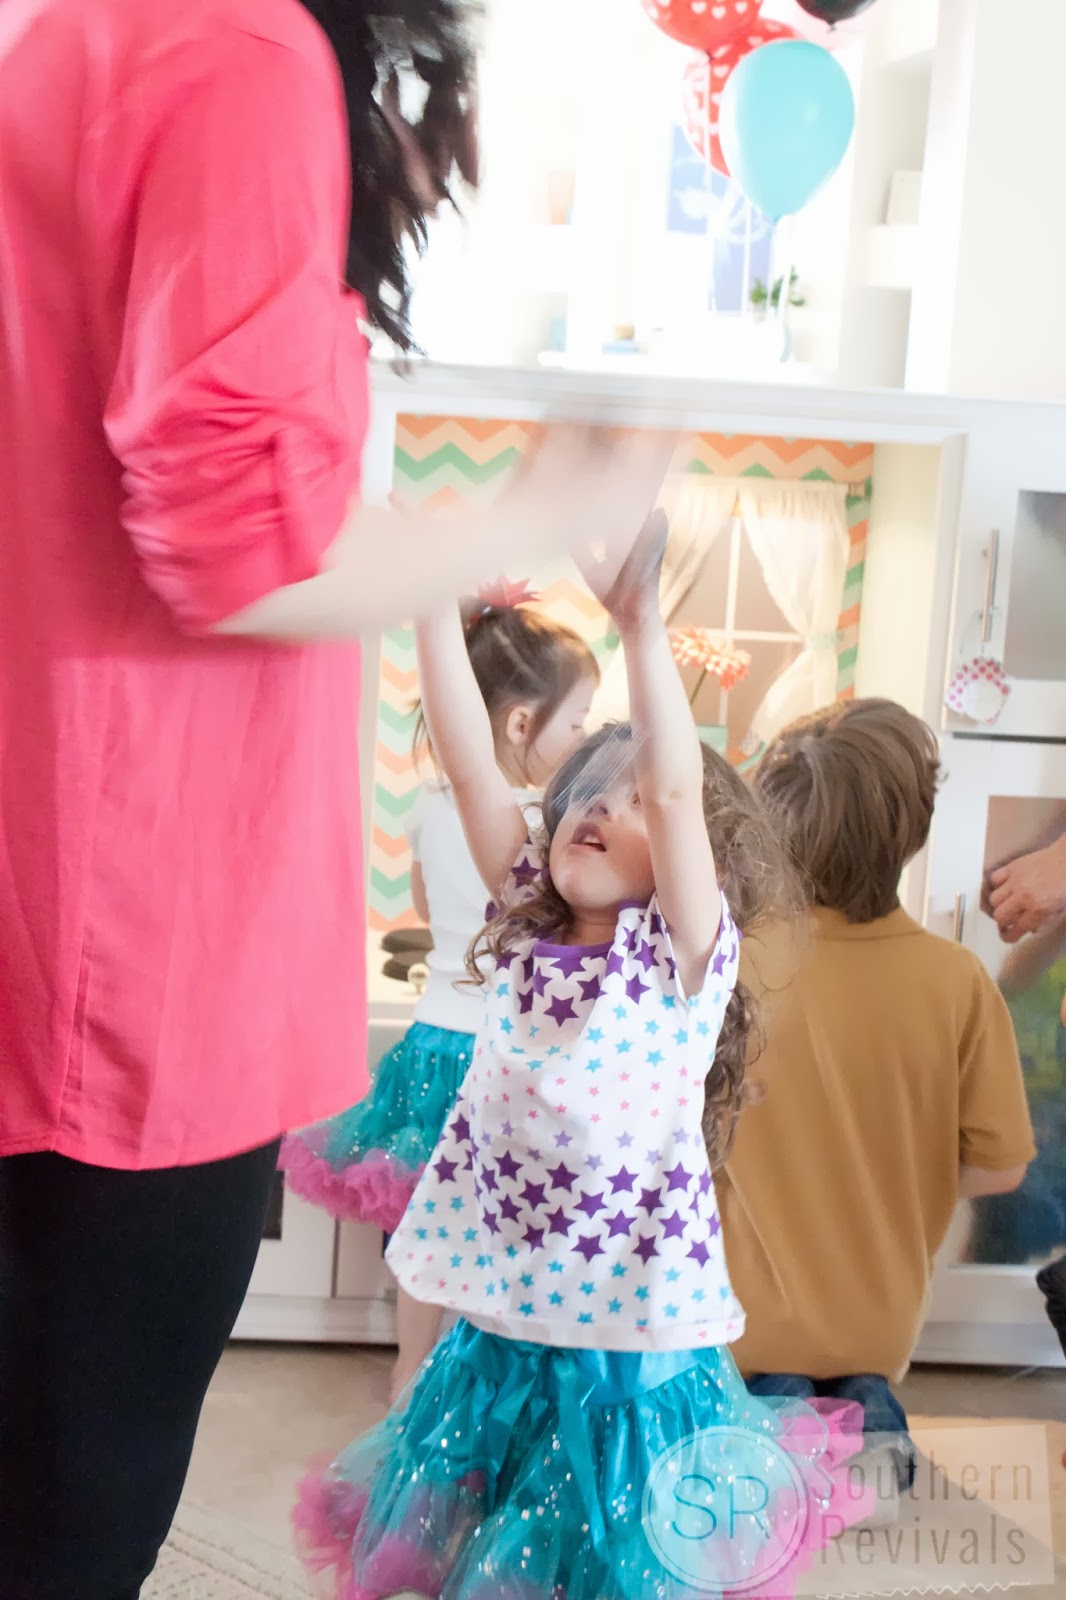
And my boys had waited as long as they could before they joined her.
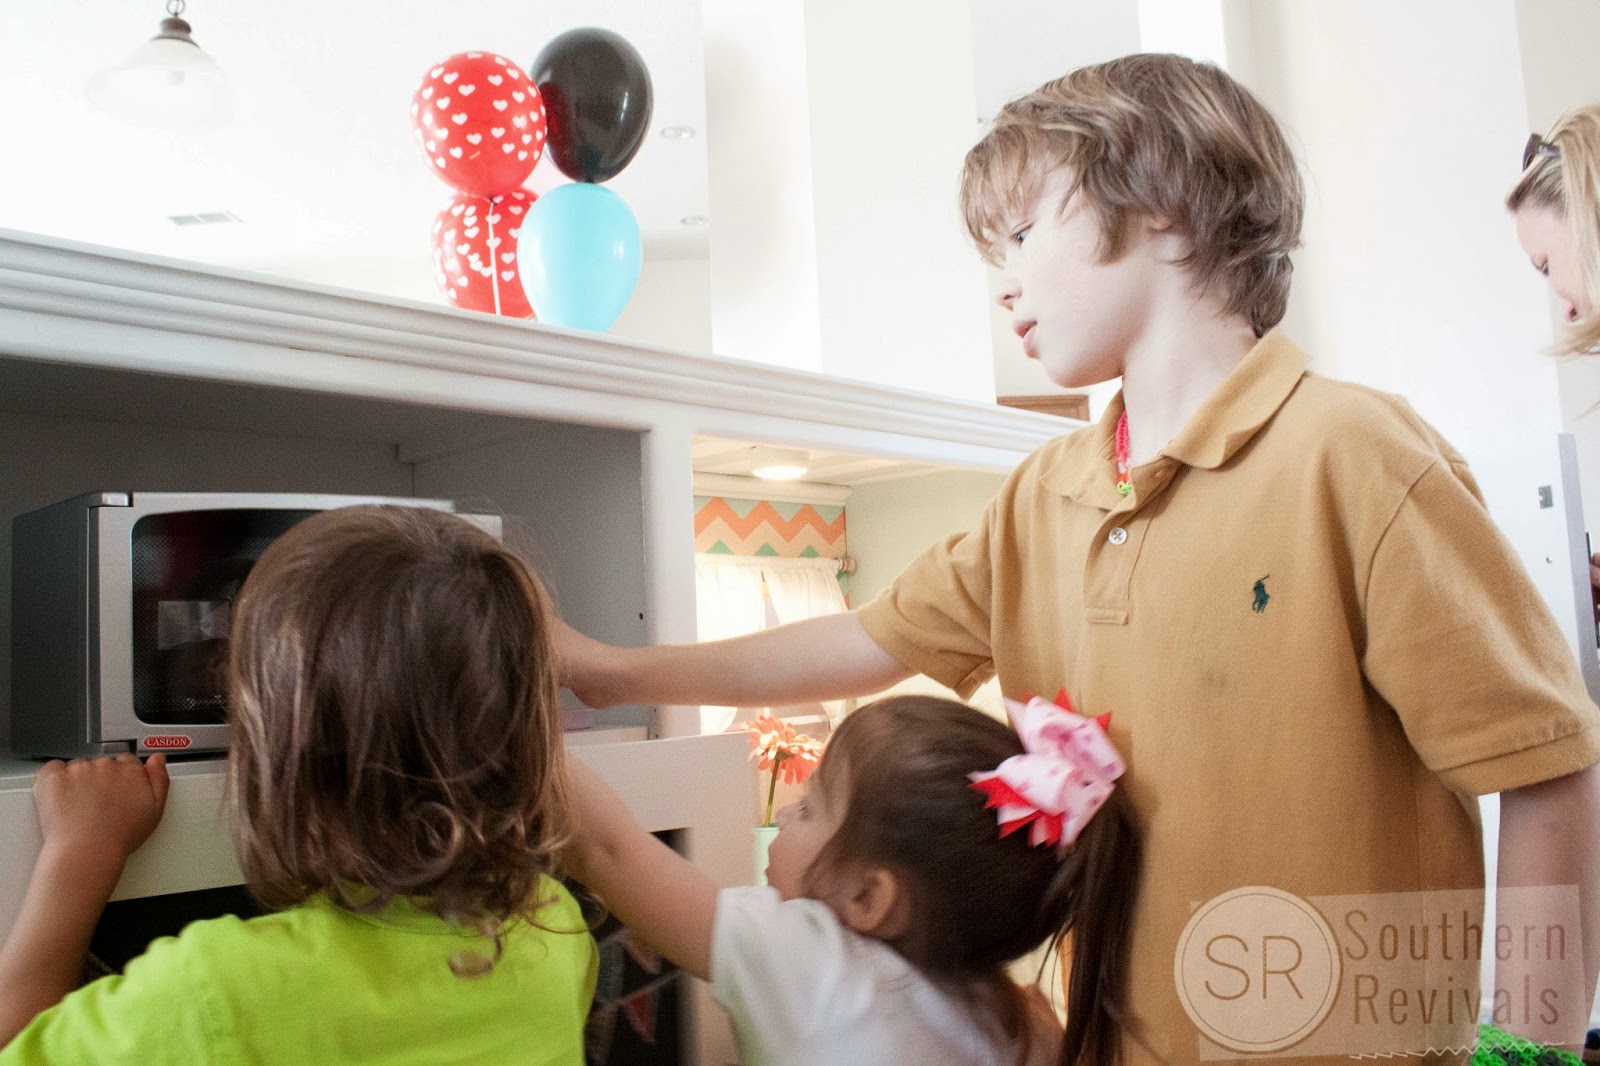
Even my oldest.

I will use these photos as blackmail one of these days if necessary.
Set Up:

Her new kitchen is all set up in its new home in her playroom now.

And as much work as it was…

I was kind of sad to see it go.
But then, she looks so much cuter playing with it than I did.


If you have any questions for me please let me know. I know this post was photo heavy but honestly I can’t imagine not using any one of them. Did you have any trouble getting the post to load?
If you have any tips on how you’d like a post like this one, with a tons of pics, presented, please feel free to let me know. Also, if you have any questions you’d like answered, please leave them in the comments. I have considered doing a follow up posts with more info on how I did what, where I got my supplies and total cost if it looks like you might be interested.
Happy Cooking!
Get the Look! Click here for the supply list, plus tips & tricks for creating your own play kitchen.


This is too cute!!!! I absolutely love what you did. It’s perfect.
Thank you so much! And thanks for dropping by. I really appreciate it!
This is amazing! I am a pre-school teacher and I would love to make something like this! Can you give me an idea of the total cost?
Thank you! Way more than I would have liked for it to. Around $500. We were in a time crunch though. If I had to it do over, with more time, I would have thrifted more of the pieces we used. Also, we usually have materials left over from other projects but when we did this we didn’t have anything on had that worked. While I feel like this was money very well spent, it is a HUGE kitchen, you could definitely recreate this for less. Plus, it’ll essentially last forever!
Jamie, this play kitchen is out of this world fantastic! It makes me wish my girl was little again.
Thank you Sharon! It kind of makes me wish I had a little girl! 😉
It looks amazing! The post and the photos loaded quickly!
Thank you Dixie and thank you for letting me know the photos load quickly. I know there were a lot! 😉
WOW! You seriously rocked it on this one! I see entertainment centers like this sitting in people’s driveways waiting for the trash or at Goodwill for next to nothing. I’ve always thought they’d make amazing little kitchens, but my girls are too old (in fact, we just sold the kitchen I built for them) and nobody’s ever asked me to build one for them. Yours is absolutely fantastic! I love all the details, the lights, the colors. It’s beautiful. What a fun project!
Does that go?!!! HA!!! It turned out just adorable. All your little sweet touches made it just perfect! Great job =)
I LOVE this! Gotta share 🙂
Thank you Angela and thank you for sharing!
This is beautiful!!!! I have had an old entertainment center sitting in my garage for two years now with the intention of doing this to it. I’m too scared and overwhelmed to even begin. Too bad I can’t commission you to do it. 🙂 You did a fabulous job!!!
outstanding x a true labour of love 🙂 x
Jamie, your talent just blows me away. This is the most awesome play kitchen ever (I want one!) and it’s obvious you poured lots of love into it. This is going to be a family heirloom. Sophia’s grandkids will be playing with this. Gotta pin and gotta share this!
Wow! What an amazing compliment. Thank you so much Amy!
This is so awesome! I’m sure your daughter will enjoy it for many hours!
(Glad to see your comments have been fixed. Your blog looks great btw)
All I can say is WOW, This has got to be the best repurposing job I have ever seen. What an endeavor from a loving aunt. Our daycare kids would absolutely live this!
This is so awesome and beautiful! You did a great job, you should be proud. I have seen kitchens made from these TV cabinets before bu the decor of yours puts it above and beyond any others. Good job Auntie!
Thank so much!
A true labor of love! Well done. The photos are perfect.
Thank you!
This is fantastic. I bet you are her most favorite Auntie Jamie in the whole world! I can see a workshop for a little boy built the same way! A job well done and such great detail! Cheers…..pinned!
Definitely have to get to work on something for the boys next! Thank you!
This is absolutely PRECIOUS! I LOVE the colors, the styling, all the nuances! You NAILED it! She adores her new KITCHEN! I have a 2 1/2 yr. old Granddaughter and she would absolutely go crazy over this! Stunning job!
Thank you SO much!
Oh My Gosh! This is just the cutest and sweetest thing I’ve ever seen! LOVE IT! What a great auntie you are! I’m sure she will never ever forget this ever! 😀
I love this! My son and his wife are expecting my first grandbaby in August and it’s a girl. So I will be on the look out for a cabinet like this to transform for her. Thank you so much for the tutorial.
Jamie, you are such a clever girl!!! I believe that your little niece will be using her imagination
in that perfection of a kitchen….you always inspire me and this one is just too, too awesome! (I had no probs with the upload…and it would have just been wrong to leave any of them out) The Kitchen and your companion dress up wardrobe is sure to boost many a child’s best memories of childhood!
Well this is just the best comment ever! Thank you so much!
I’ve been going through your blog the last hour and I’m addicted! I need to finally sit down and start some of my projects. I have a list a mile long. Thanks for the inspiration! Amazing work!
Oh yay! I’m glad to hear that! I always have a project list a mile long, too. Thank you!
Wow!!!! I know you have made ” auntie of the year”! This is so incredibley awesome!! I love all of the pictures.
I have recently started refinishing old furniture I hope to get to this level … Someday. Lol
Thanks for sharing so much useful information. I’m hooked on your blog, love it here! Keep up the Fabulous work!
Hugs from Illinois, Julie
Aww Julie! Thank you so much. I am glad you love it here and hope you keep coming back. I’m glad to have you here!
OMG! Amazing. I think every kitchen needs a mail station like that one!!
Haha Me too! Thanks!
Forget Aunt of the Year. You MOST certainly MUST be AUNT OF THE LIFETIME!!! This project is just amazing, unbelievable, whimsical, fanciful, and so generous of you! I wish my kitchen was so perfect! : ) LOVE every bit of it!
How sweet of you! Thanks so much Elizabeth!
You are amazing! I happened across this through another blog. So imaginative and beautiful to look at. Thank you for posting all of the details and the number of pictures is great.
Oh yay! Thanks so much! I would love to know who sent you this way so that I can thank them. So glad to have you here and appreciate your taking the time to comment. Thank you!
It was through the In My Own Style blog. I believe you may have participated in a DIY party on her blog.
Oh thank you for coming back and letting me know! I’m glad you found your way here!
Awesome job! My question is did you prime it first? Was the center solid wood? And lastly did you add a protective finish? I so want to make one!
Yes I did prime and seal it and yes the entertainment center was solid wood. Thank you!
This is so awesome. We have just started a similar project so I have a few questions. Did you cut the existing doors down so that you could divide one side into a fridge and freezer? If so did you have to add an extra panel into the frame?
Did you just use regular wrapping paper for the wall paper and just glue it down?
Hi & thank you! I did use regular wrapping paper and decoupage to affix. There were no existing doors for the sides so we built these from scratch. I do have a follow up post on this kitchen that will definitely help with any questions you may have. You can find it here: https://www.southernrevivals.com/2014/04/get-look-entertainment-center-play-kitchen.html
This is just adorable! We are in the process of making one for our 2 year old daughter right now. This was such an inspiration thank you! My question is where did you get the wood pieces for the stove? And did you use regular wrapping paper for the w
I used small round wooden plaques that I got from Hobby Lobby for the burners and I used regular wrapping paper but the nice, sturdy kind. Thanks!
Well, I think it is absolutely fabulous. See these all the time at Goodwill and think (or don’t think, as the case may be) ” Who will buy one of those?” I hope I will begin to see all things differently now. Awesome job. Have a 19 month old granddaughter. I think she may just need one of these before too long.
Thank you Vicky! I think your granddaughter may need one, too! 😉
Hi Jamie – I just stumbled on this today – what an incredible project! I have about eight months to play with before my daughter turns two and good access to hardware thrifting, so I might just have to do this for her birthday. Could you please tell me a bit more about the lights you used? Where did you get them, and are they battery-operated or hard wired? Are the switches on the lights themselves or somewhere else in the kitchen that I don’t see? Thanks so much!
Hi Jen
Some a battery operated, another is plug in. You can get the all the details in this follow up post: https://www.southernrevivals.com/2014/04/get-look-entertainment-center-play-kitchen.html
Love this! Fantastic job with the colors. I’m in the process of making one for my daughter and would love to know a couple of the supplies you used… What thickness is the back (I’m assuming it’s plywood)? What material did you use as the metal inset for the fridge door? Is the main ceiling fixture a pop-on light as well, or does it have a switch? Thanks for sharing, and personally I loved all the pictures- I’m such a visual person!
Hi Bridget! Thanks so much! You’ll find all that info and more in the follow up post here: https://www.southernrevivals.com/2014/04/get-look-entertainment-center-play-kitchen.html
O my goodness! This is SO adorable! Too bad I just bought one for my daughter this Christmas! O well, the one I got is still adorable. But this is a fantastic idea! Love it 🙂
Sarah
Thanks so much, Sarah!
You are a Genius!!!! SO CUTE
Thank you so much!
This is amazing! You used wrapping paper for the wall paper, how did you stick it to the wall?
Hi Kimberly,
Thank you! I used Mod Podge to apply the paper and then another layer of Mod Podge to seal it. It’s not much different than wallpaper!