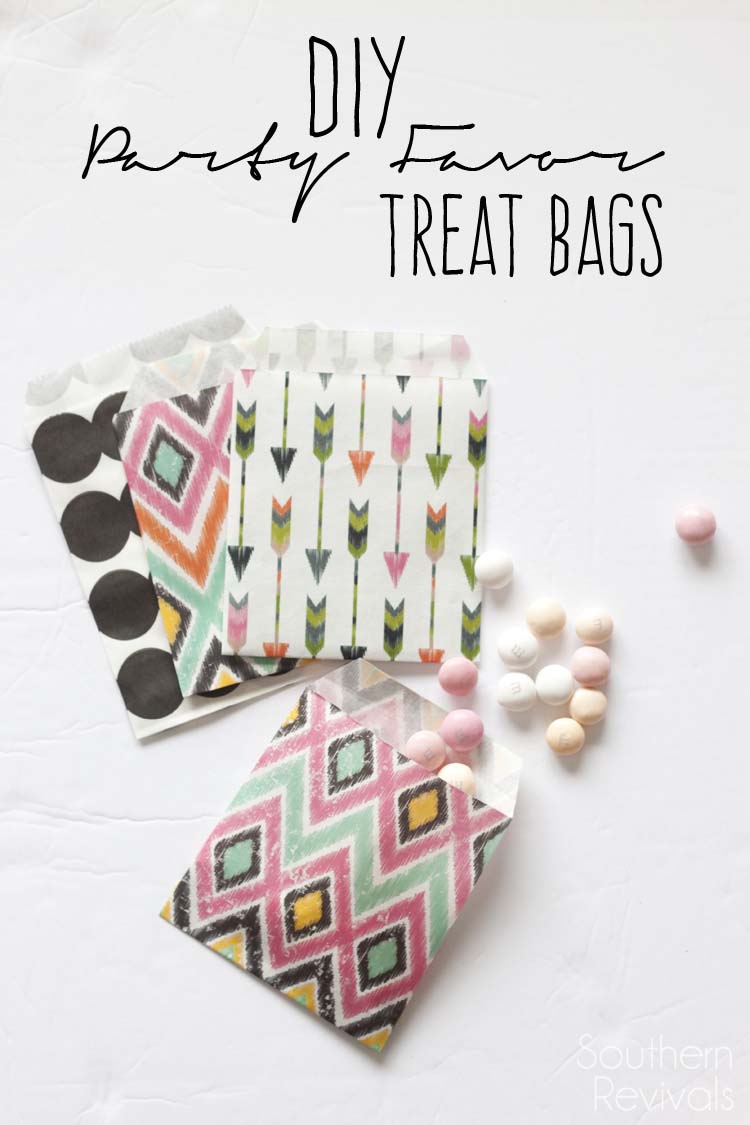
I am completely obsessed with cute little paper party favor treat bags. Obsessed. I buy them every chance I get. The thing is every time I need them I can never seem to find any, at least not any cute ones, like this week when I was trying to find some to put goodies in for Valentine’s Day. Then I realized just how easy it could be to make my own. So that’s exactly what I did. Here’s how to easily make your own DIY party favor treat bags in just a few simple steps.
*Amazon affiliate links included for your convenience. Please see my Disclosure Policy for more info.
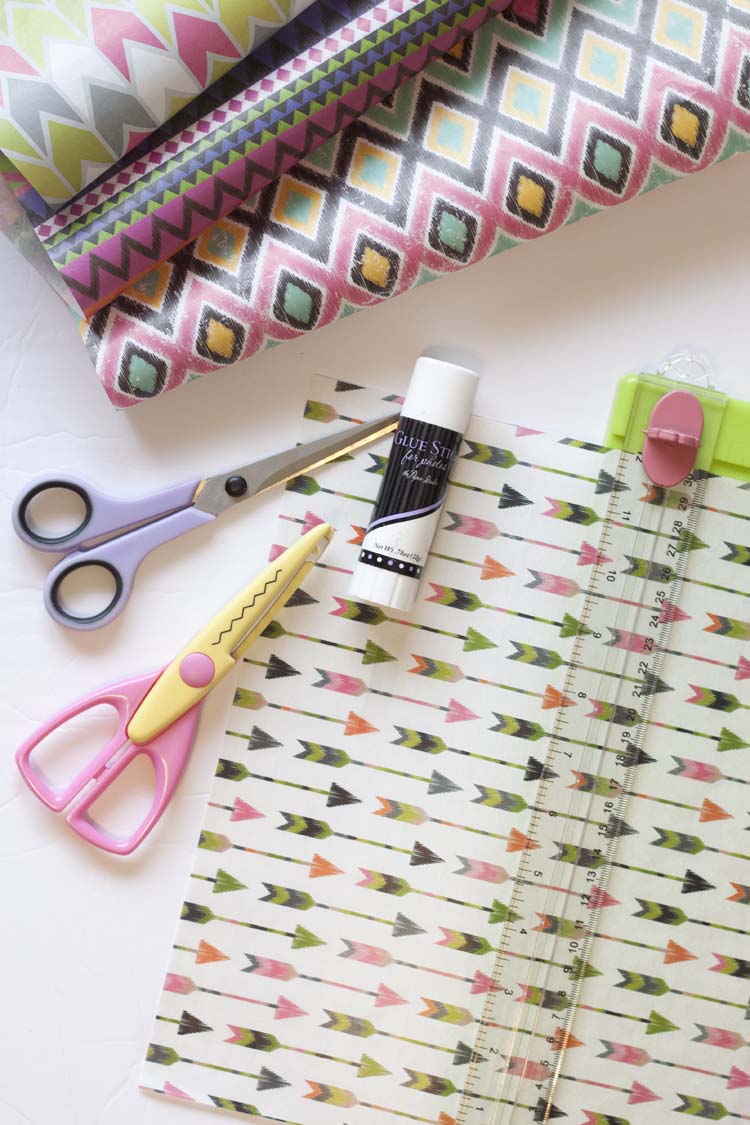
Supplies:
- Deco-Page papers
- Paper Scissors
- Glue Stick
Optional:
These Deco-Page papers are the perfect papers for the job. Not too thick and not too thin. In fact, they’re exactly like the papers store bought bags are made from. Plus, they come in some really adorable patterns.
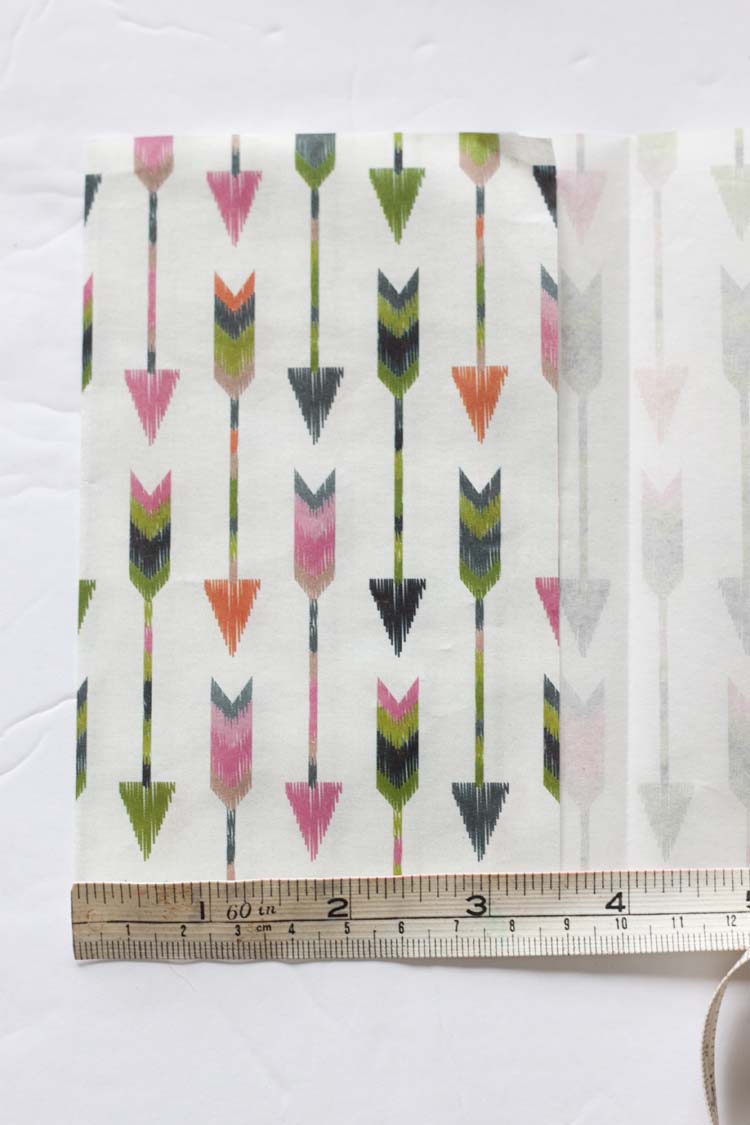
I stared by cutting sections of each 12 x 16″ paper into 9 1/2 x 5 3/4″ strips. This will make two 4 x 5 bags with a 4 1/2 strip of waste which you could always use on another project later. Or, you could divide the sheets into 3 equal parts to make your bags but I find that a 4 x 5″ is the perfect size.
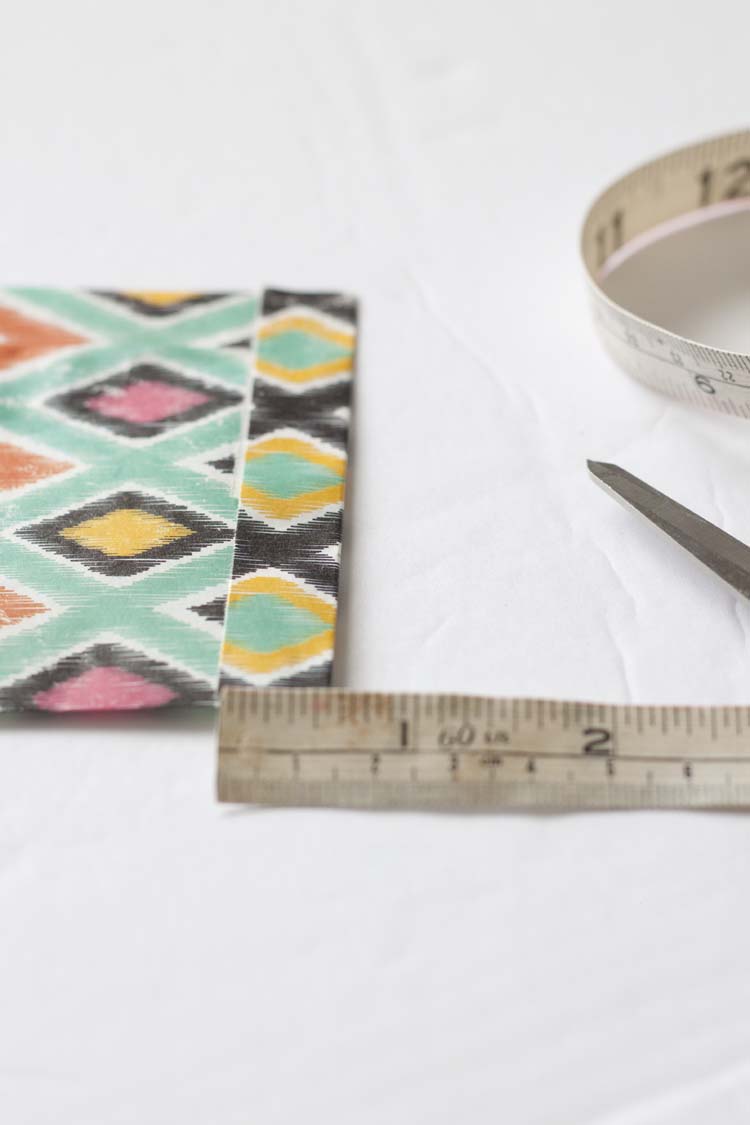
Start by scoring your paper strip so that the front of your bag is 4″. This means your left flap will be 3 1/2″ and fold over just half an inch shy of your right flap.

Then fold your right flap over and cut off excess leaving you with a 2 1/2 right flap. This sounds way more complicated than it is. Basically, you want your flaps to overlap enough so that you get a enough area for your glue to create a tight seam so your goodies don’t go bursting out.
Now create a 3/4″ bottom fold to create the bottom of your bag.
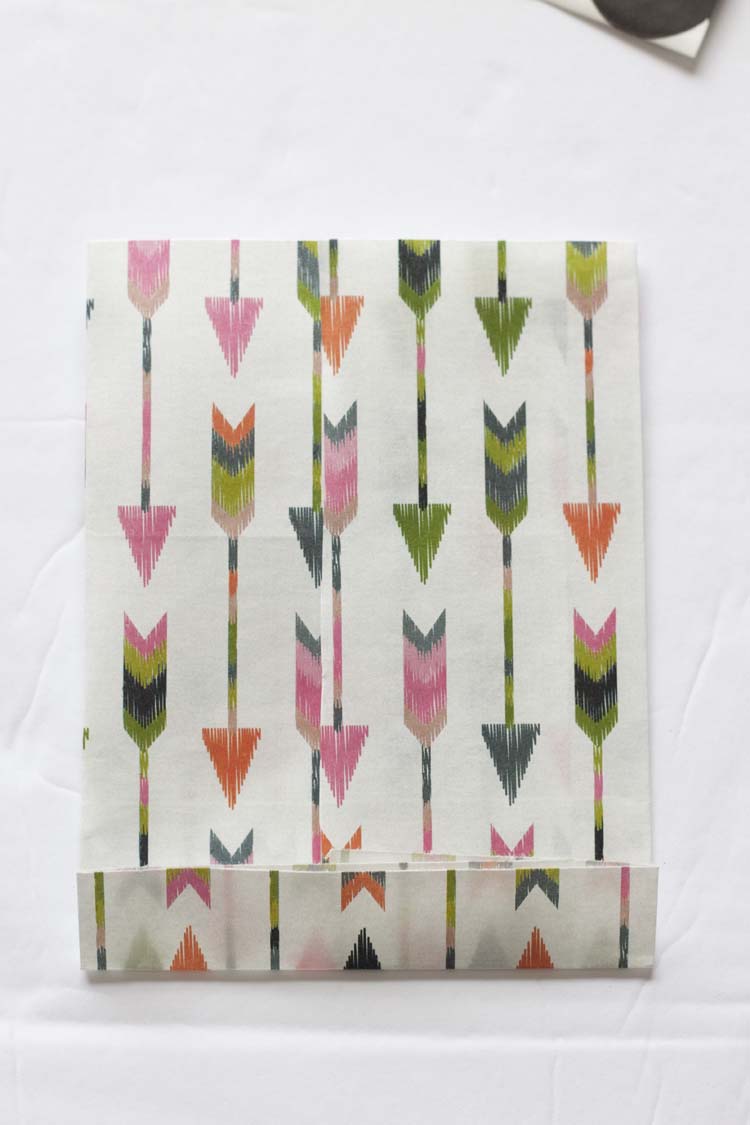
Now your bag should look like this. We won’t glue anything until we’ve created (scored) all of the fold lines.
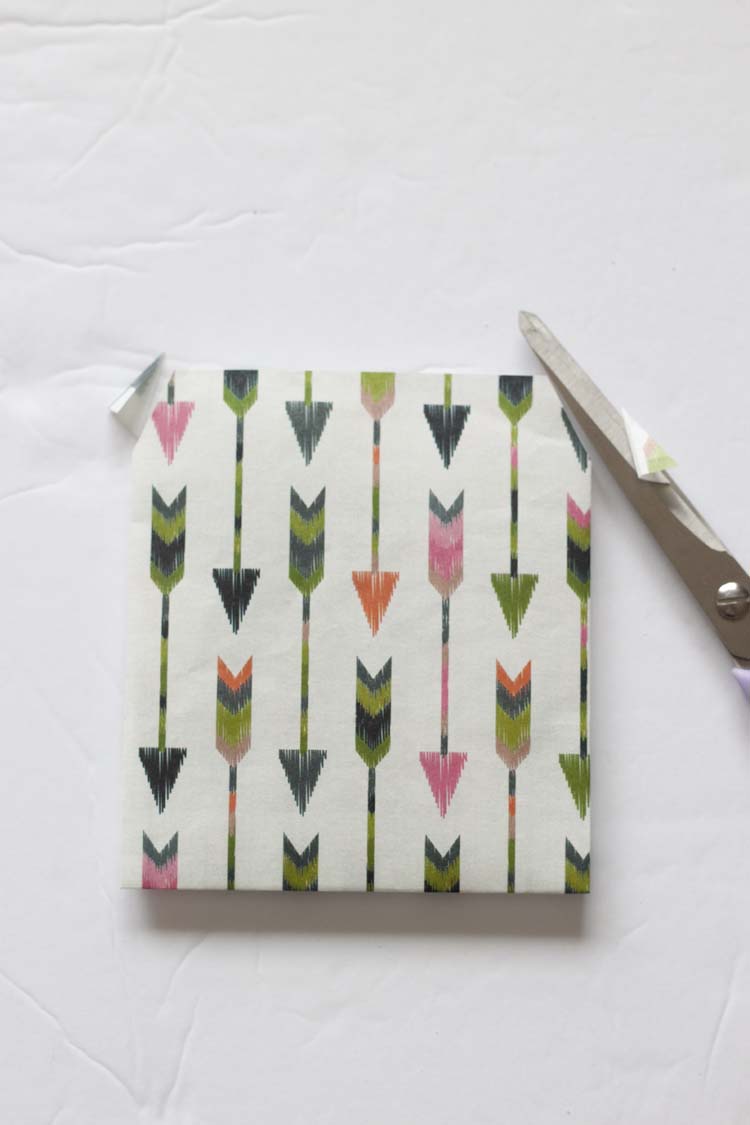
Now flip your bag over, with front side up, and clip the corners.

Now fold over the front edge of the bag and cut off excess creating an off-set front and back.
At this point you could use a border punch along the edges of the tops your bag to give it more of a commercial look. You’ll see decorative scissors pictured above but those failed me miserably. I’m promptly investing in some of those borders punches.
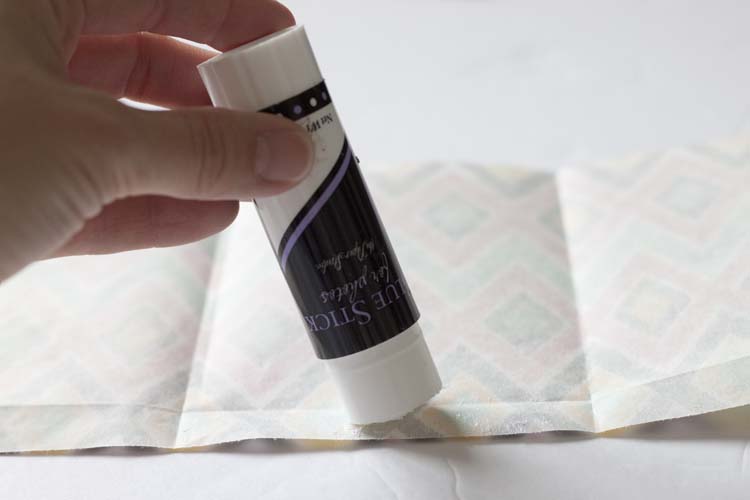
Now you’ll unfold your bag and start gluing.
Start by gluing the middle bottom edge (this will glue both sections of your bag’s bottom together securely). Then fold in your right flap, glue and fold over your left flap.
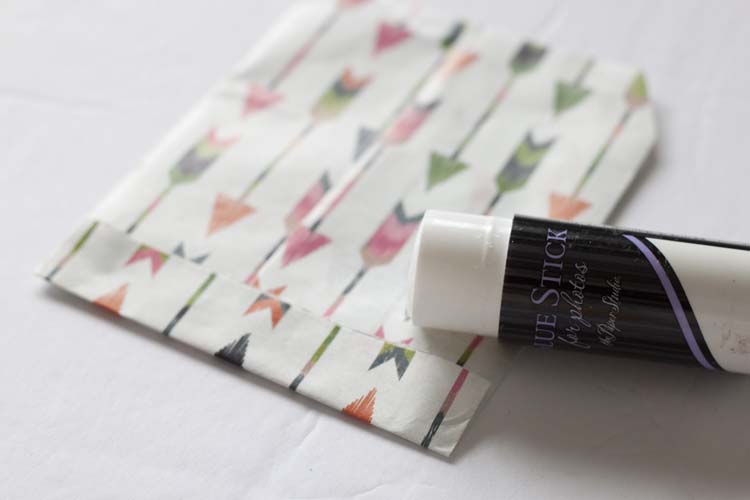
Now fold up your bottom and glue.
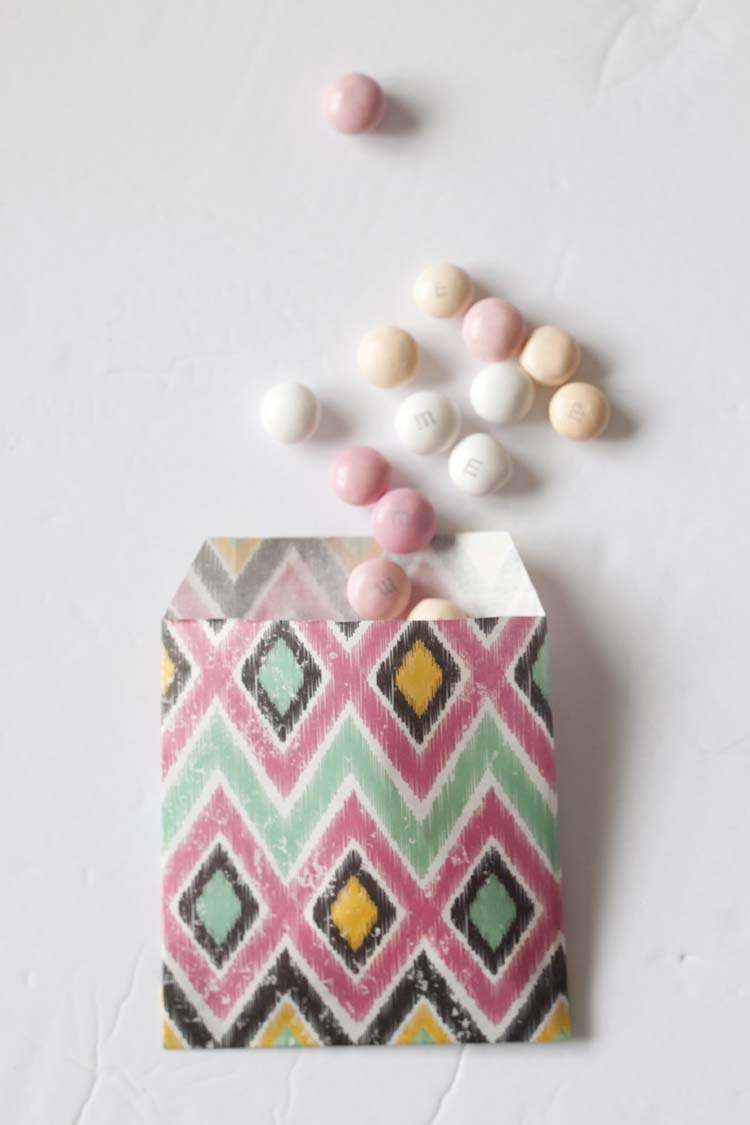
That’s ALL there is to it. It might take your first bag to get into the groove but after that you’re rockin’ and rollin these adorable DIY party favor treat bags out in no time.
{P.S. Say hello to these new White Strawberry Shortcake M&Ms, a must try!}
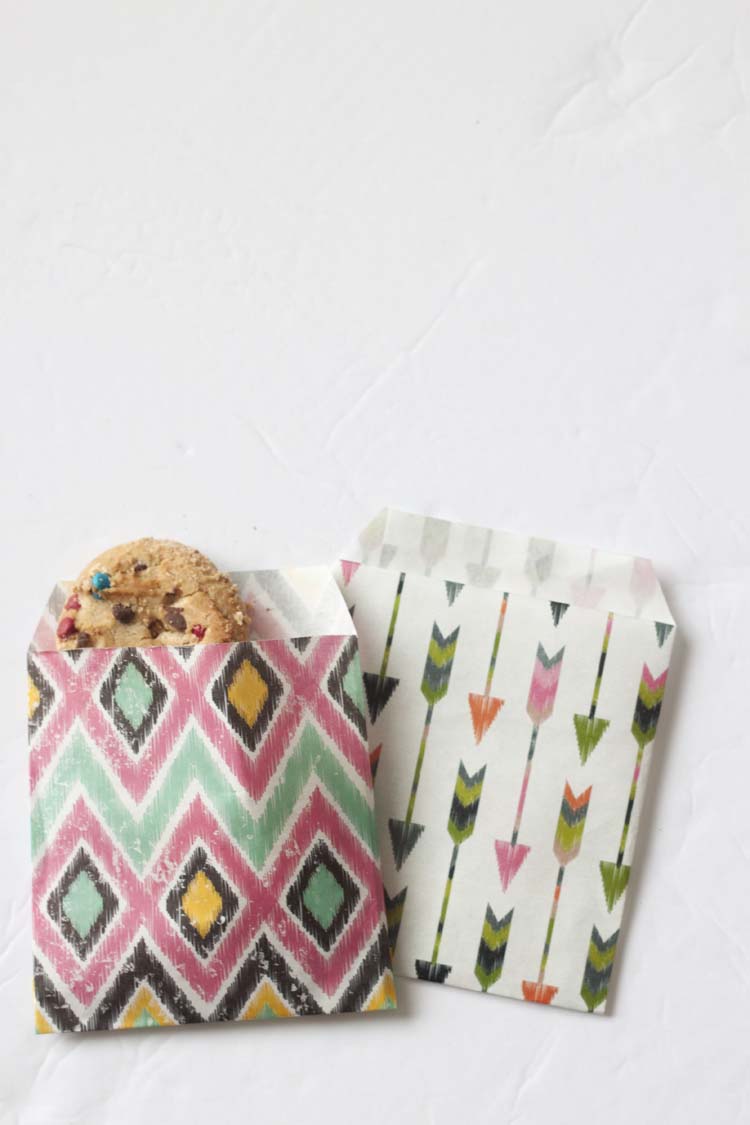
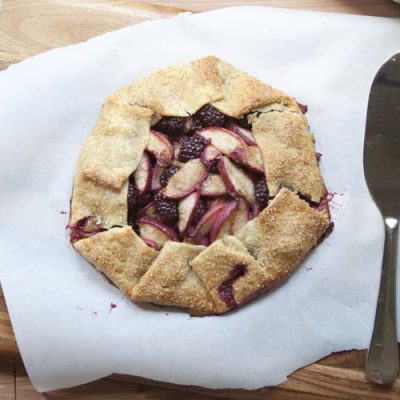
And they are great as party favor or treat bags but perfect for small gifts or even custom made Valentine’s. Like some homemade cookies or small toys. What would you put in your DIY party favor treat bags? Let us know your ideas in the comments!


Leave a Reply