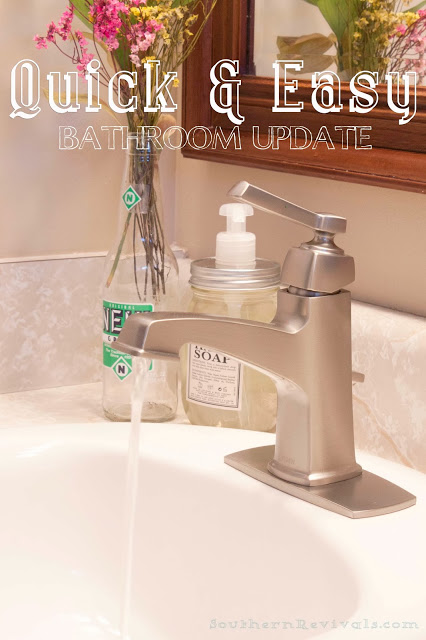
Simple updates like changing out your faucet might not sound as exciting as a complete overhaul but I can tell you that it’s a whole lot easier and a whole lot less expensive. And if you don’t know how to install a faucet, let me help you out!
First, let’s take a look at what I was dealing with before.
I have grand plans {in my head} for my Boys’ bathroom. New floor, new toilet, new vanity and I’d change the shower insert, too if I could. But living life as a DIYer means these things take time. Time and money. And sometimes you don’t have the time or money for a complete overhaul of your bathroom. That’s when you pick one simple change to make and you marvel at the huge difference that one little thing makes!
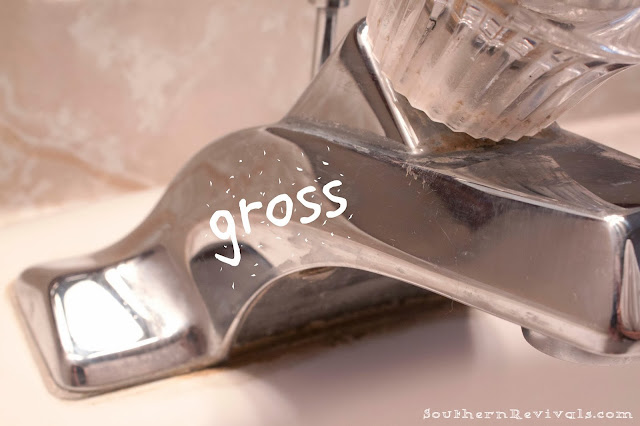
See. Nothing fancy. Just your everyday average faucet. In a bathroom. Used primarily by boys. If you have boys, this will mean infinitely more to you than to someone who does not.. Because, upon closer inspection…
It’s flat-out gross and time for a change! And since the Boardwalk Faucet by Moen is finished in a brushed nickel with Spot-Resist™ I can take comfort in the fact that it will resist fingerprints and water spots. Score!
This is what the underside of your cabinet looks like. Vaguely. And it is ridiculously difficult to take a photo under here. Sorry for the blur but from here you can see the bolts you will need to loosen your faucet. Be sure to turn your water off under here first thing!
You will need the following tools:
Adjustable Wrench(es)
Channel locks
Plumbers putty
Bucket / Old Towels for catching water and old faucet and drain (it will be gross)
Your new faucet will come with a handy tool for tightening the nuts and pictorial instructions (which are my fav!)
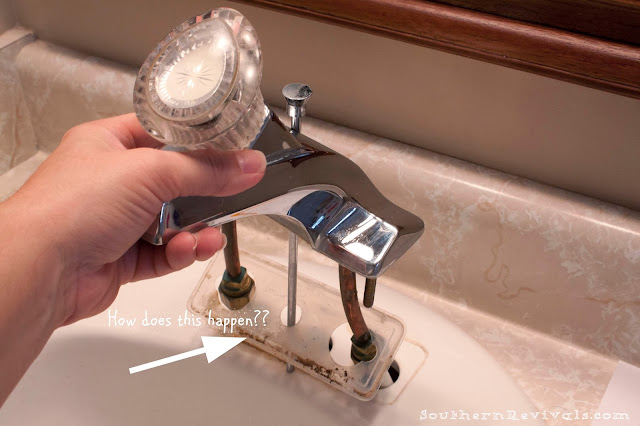
Once you’ve loosened the faucet and drain pull, you are ready to lift up that totally disgusting old faucet. Did you know all of that gunk is hiding under your faucet? Right now. Mocking your attempts at keeping a clean bathroom.
The only part that may seem somewhat challenging (and by that, I mean the process has been relatively easy thus far) will likely be removing that old drain. It’s been there for a while after all. I had my husband hold the top of the drain while I twisted the bottom under the cabinet. Totally do-able with just one person but made slightly easier with an extra pair of hands.
Tips & Tricks
This is an easy install even if you’ve never installed a faucet before. Everything you need to know is in the provided instructions. However, please keep in mind that every faucet and sink are slightly different. You may find it slightly easier or harder to do some of the steps than I did. Here are some things to keep in mind.
- 1. We loosened the joints of all the PVC plumbing under the cabinet in order to collect most of the water in the p trap to reduce spills.
- 2. After installing the faucet, install drain pull in the back of faucet before tightening faucet. Because of how our sink is made we found that our faucet needed to be loose in order to get the drain pull down in the hole of the sink. You may or may not have this problem but if you do it this way you won’t have to loosen your faucet back up in order to install the drain pull like we did!
Once your new faucet (and drain pull) are in place, it’s time to install your new drain! Don’t forget your Plumber’s Putty. Wrap a coil around the bottom of your drain {shown here} to prevent leaks.
Put your drain in place and tighten it up. Remove the excess putty and discard.
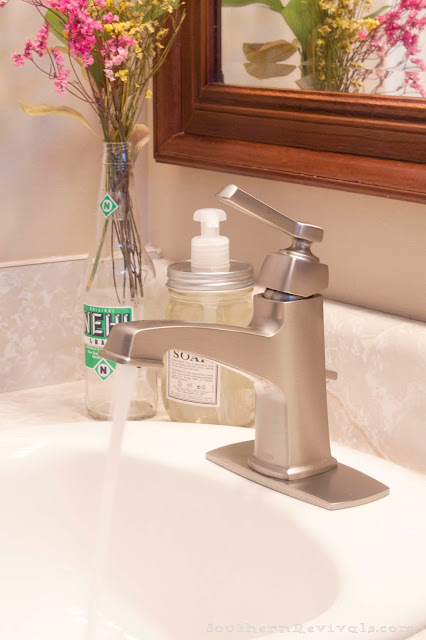
Tighten everything back up and turn it on to see if it works. {Of course it does! You’re awesome!} Be amazed at its performance, especially since it uses 32% LESS water.
Bask in the glory of having made one simple but very striking change to your, now, not-so-outdated bathroom.
Swear you hear the angels sing as you step back to take in your handy work and know that you can now tackle anything that comes your way. Vow to change out the toilet next. All by yourself!
Yep. Even a simple change can make a huge difference.
Troubleshooting:
- If your faucet leaks underneath the cabinet, know that you have not failed. First, determine exactly where your faucet is leaking. This can be tricky since water runs. Once you’ve determined this, make sure all of your connections are properly tightened.
- If after these attempts fail, give your faucet manufacturer a call. They are there to help!
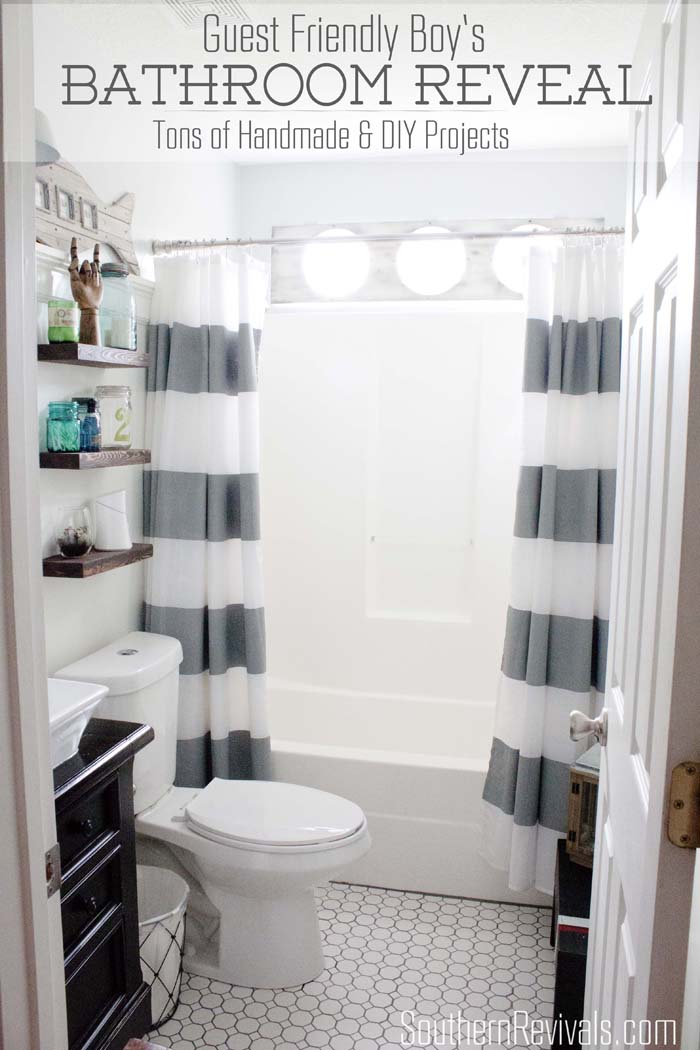 Click here to see the Bathroom Makeover this faucet inspired









Thanks so much for making this available, What an answer to my small bathroom problem. Your floating shelves are going to solve half the tiny bath problems, plus we just bought our new sink faucets and now, thanks to you, we can do it ourselves. Sometimes things are a little daunting since my youngest sister and I live together and I am 73, she is 68 (the young’un) I have had a double lung transplant and am in rejection, which means that I am back on oxygen again after 5 years of living like a normal, breathing person and I am grateful to an awesome God who cleared the way for me to have a wonderful 5 years of doing anything I wanted, even going back to truck driving for a short time. But we have bought a manufactured home and moved out of my twin sisters and her husbands home, who took care of me for the last 11 years for which I am grateful, but its time for them to have a little privacy. Sorry for rambling on and on, but I am very excited to have learned from you how to do these things that were driving me crazy, so thank
you so much. joyce
Joyce it is so nice to get to know my readers. I am so glad you shared so much of your story with me. It was nice getting to know more about you. I am glad that you are settling in to your new home and so glad that my blog could be on some help to you. I hope you will visit again soon!