This DIY Ice Cream Cone Serving Tray is brought to you in part by DecoArt’s Core Blogger’s program and by the #12MonthsofMartha program. This post contains affiliate links. Please see my full Disclosure Policy for more info. As always, opinions (and all the love) and ideas are my own.
Just the other day, as I was making ice cream cones for my family of four, and the first cone (a cake cone with a flat bottom) was melting (because I couldn’t figure out to dip three sugar cones with pointed ends with only two hands) I was thinking, there has got to be a better way! Maybe I need bigger hands. Or maybe, all I need is a DIY Ice Cream Cone Serving Tray.
That way I can quickly pop the ice cream into the cones, hands free. Then, if it’s a million degrees outside, I can pop the whole tray, cones and all, into the freezer again before adding toppings. And then, I can add the toppings all at the same time. All I need is two hands. One even!
Sound good to you? Here’s how to make your own.
You will need:
- 1x10x4
- saw
- drill
- 1/2 spade bit or 1/2 hole saw
- jig saw (for handles)
- sander or sand paper
- brad nailer
- wood glue
- filler
- DecoArt’s Americana Decor® Outdoor Living™ exterior paint
- Martha Stewart Crafts Stencil Tape
- paint brush
- Beeswax (food grade), optional
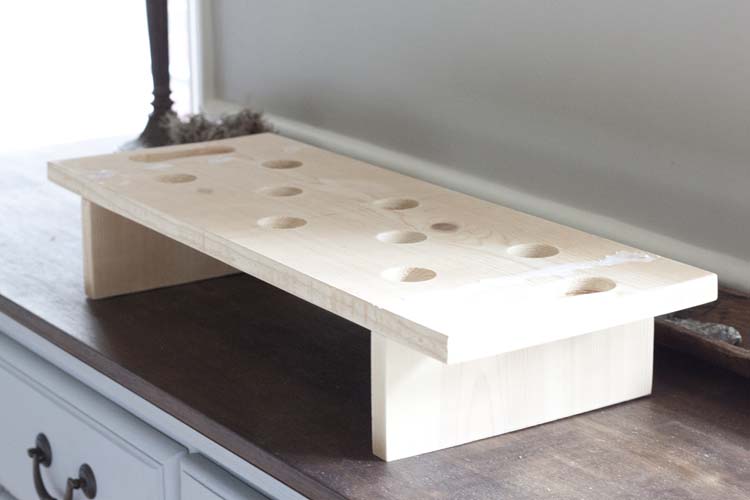
I started by cutting a 1×10 into three sections: One 24″ section for the top and two 3 1/2″ sections for the legs. This allowed me to have 8 alternating holes for cones and be just tall enough for the longer sugar cones. If you’ll be putting your tray into the freezer you might want to consider the width of the tray beforehand and size your tray accordingly.
Next, using a 1/2 hole saw (or spade bit) and drill, I cut 8 holes 2 1/2″ apart and starting 4″ from one end and ending 4″ from the other., alternating two holes, then one hole and repeating down the length of the tray.
For the handles, I cut two holes with the hole saw 3/4″ and of inch from the end of the board and 2 1/2″ from either edge. I used a jig saw to cut away the wood between the holes to form the handle.
Then I sanded the pieces thoroughly and added the legs at 2 1/2″ in past either end of the board, leaving the handles free and easily accessible. I used my brad nailer and wood glue to secure the legs and used filler to fill in the holes left behind before painting.
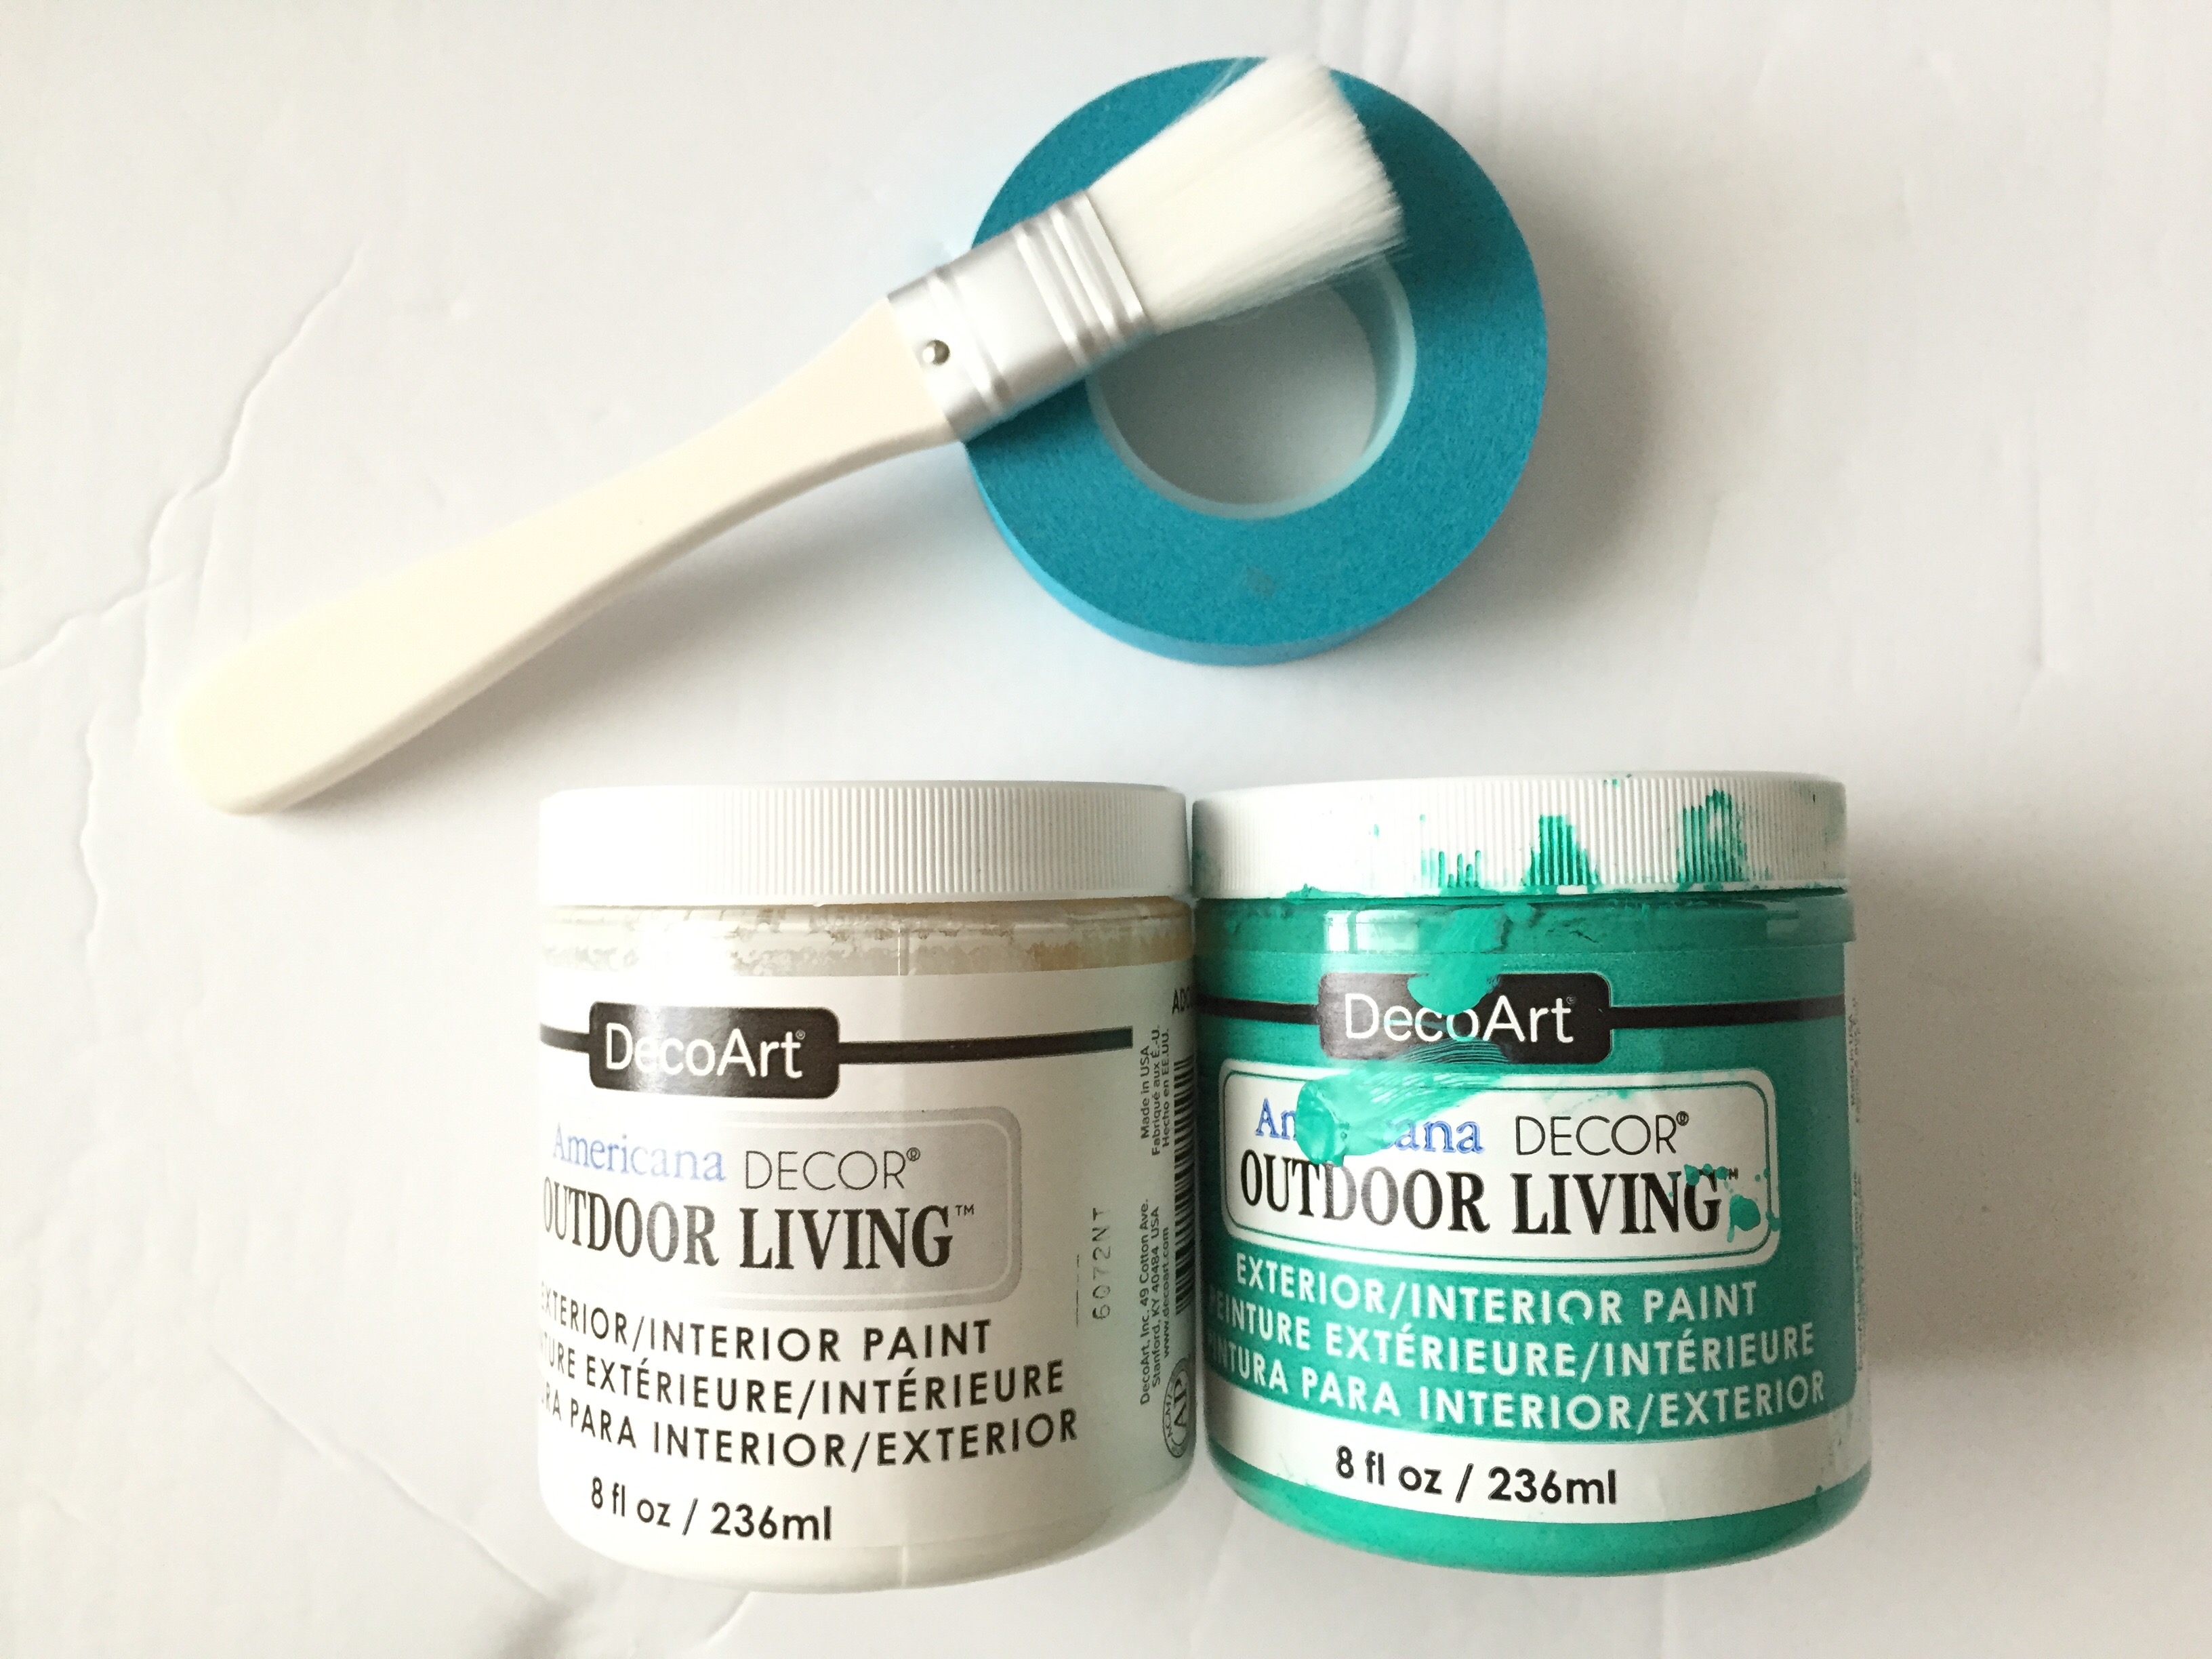
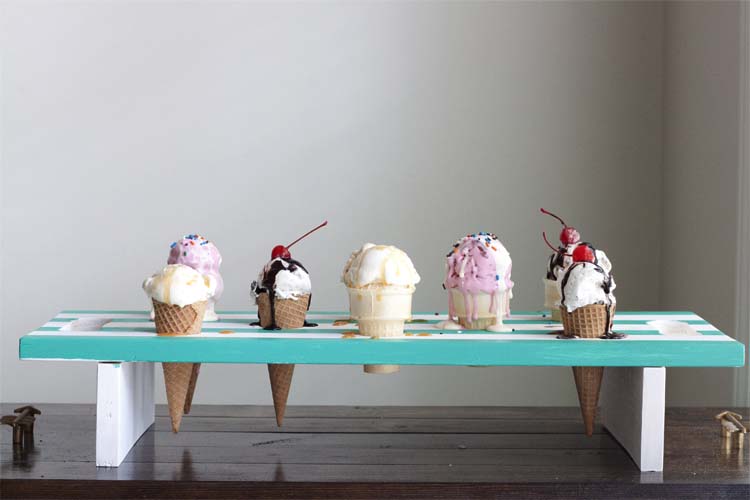
I used DecoArt’s Americana Decor Outdoor Living paint in Adirondack and Picket Fence along with Martha Stewart Crafts stencil tape and a paint brush to create the stripe pattern. Instead of painting inside the holes, where the cones will go, I instead used food grade beeswax to seal each hole. Allow paint to cure prior to using and then wipe clean after each use with a damp cloth.

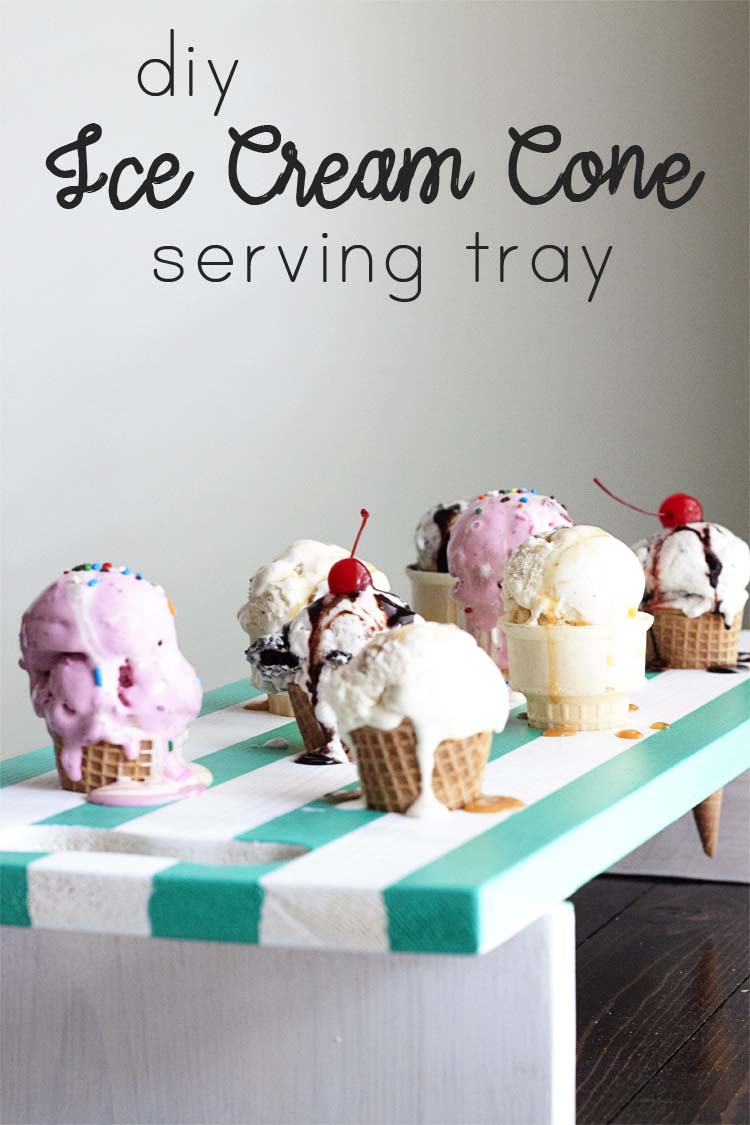
A super simple and adorable solution for how to make all the ice cream cones!
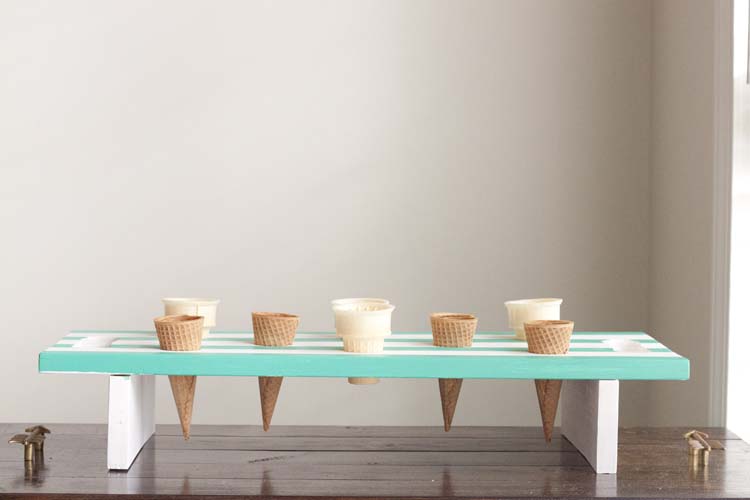
It easily fits flat-bottomed cake cones and those pointy sugar cones, too.

And it isn’t just a serving tray! It doubles as a prep tray, too.
I mean, it’s good stuff right?

Right?!

Happy Summer!


Leave a Reply