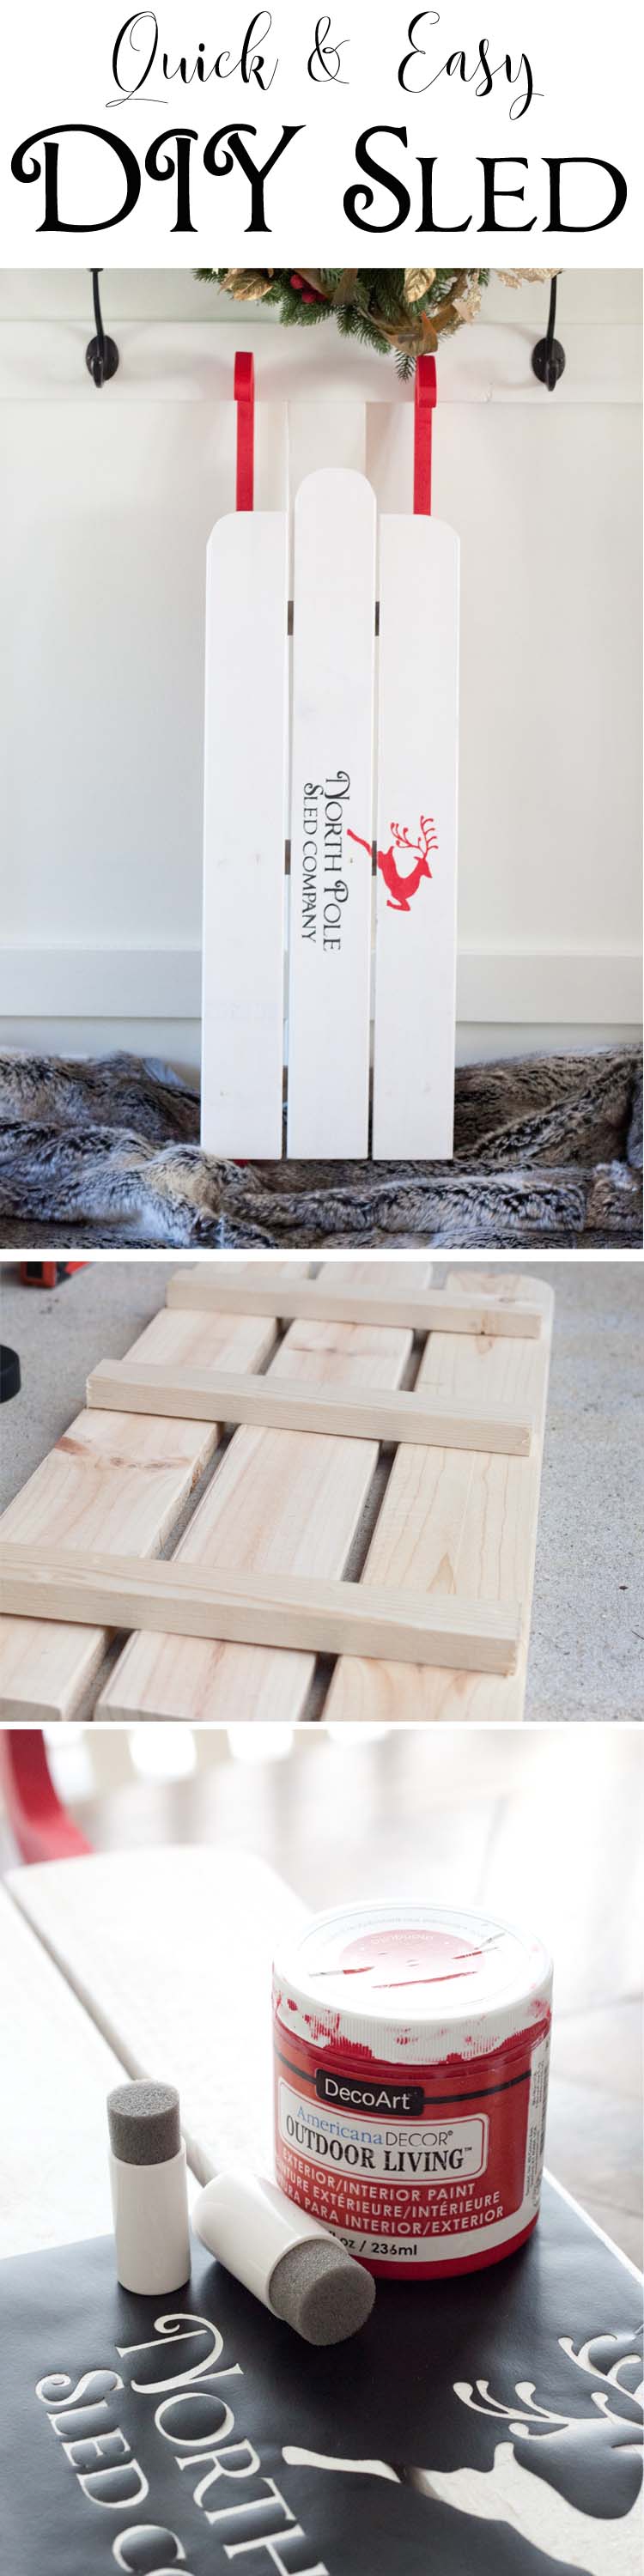
Every year as the Christmas season comes around I’m reminded that I really, really want a sled to decorate with…but I don’t have one. One of the reasons I don’t have one is that the authentic (aka real) ones are expensive. And the other reason I don’t have one is that I haven’t made myself one. I decided last year that this year I would finally get to it. I won’t tell you how many years I’ve told myself that but as it turns out, this year, I was right! And not only that, I did it far enough in advance that you can make a DIY sled, too! And since it takes a day to make you can make a gaggle if you like.
I’ve included a template for cutting the sled runners and a free cuttable file (for vinyl cutters) so that you can cut a stencil just like mine. Here’s all that you’ll need for your own DIY sled.
DIY Sled Supplies List
You will need:
- 2 – 1x6s (for runners – length depends how long you want your sleigh)
- 1 – 1x4x8 (for sled top)
- 1 – 1x2x4 (for braces)
- Rope for hanging, optional
- Jigsaw
- Circular saw
- Sander (or sandpaper)
- Brad nailer & 1 1/2″ brad nails
- Wood glue
- Sled runners template
- Stencil (or see below for mine)
For painting:
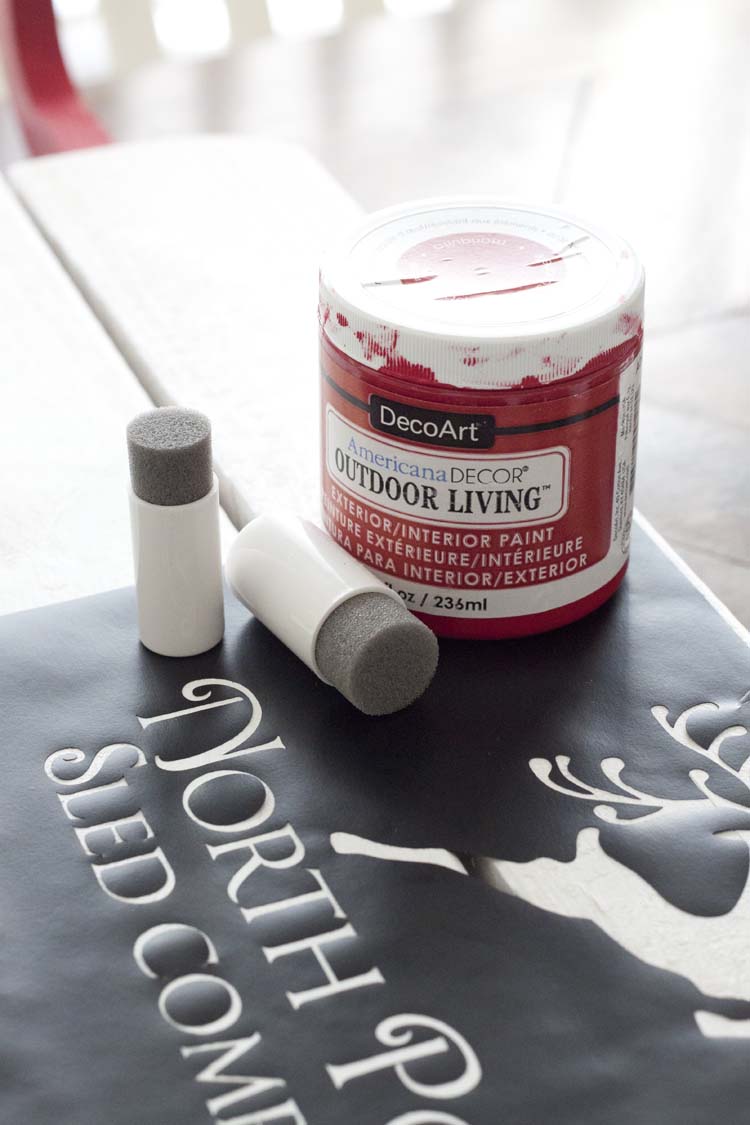
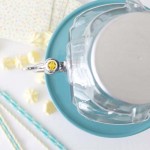
- Americana Decor Outdoor Living Paints – I used Picket Fence (white), Ladybug (red), Patio (gray) and Irongate (black)
- Paint brush(es)
- Foam pouncer
- North Pole Sled Co .svg cuttable file
If you already do wood projects you may have all that you need already on hand. I used scrap wood from previous projects to create my sled. Board lengths are provided for convenience but there’s no need to go out and buy new wood if you have some that you can make work.
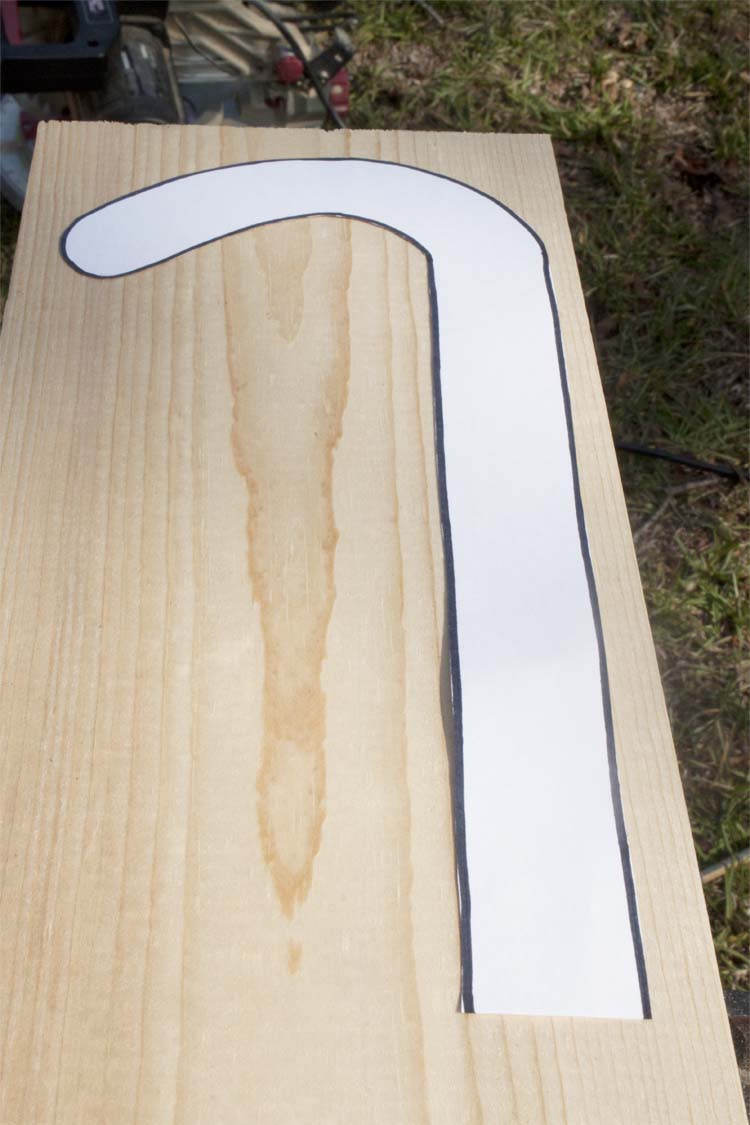
Use the provided template to cut your runners from the 1×6 boards. Start by tracing the hooked end of your runner at one end of the board and just continue to trace the straight end by sliding the template down the length of your board until desired runner length is achieved. My runners are 37″ in length.
Use a jigsaw to cut your runners out. Sand any uneven or rough edges.
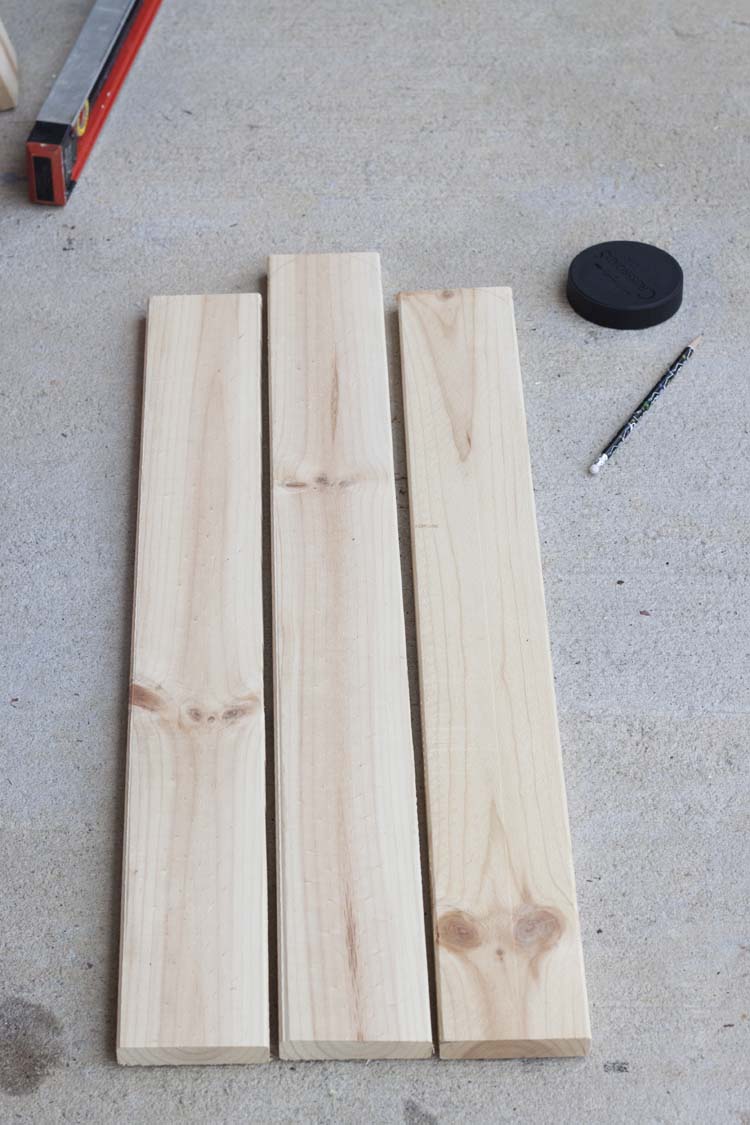
Cut your 1×4 into 3 sections: 2 at 28″ and one at 30″. The shorter ones will be your sides and the longer one goes in the center.
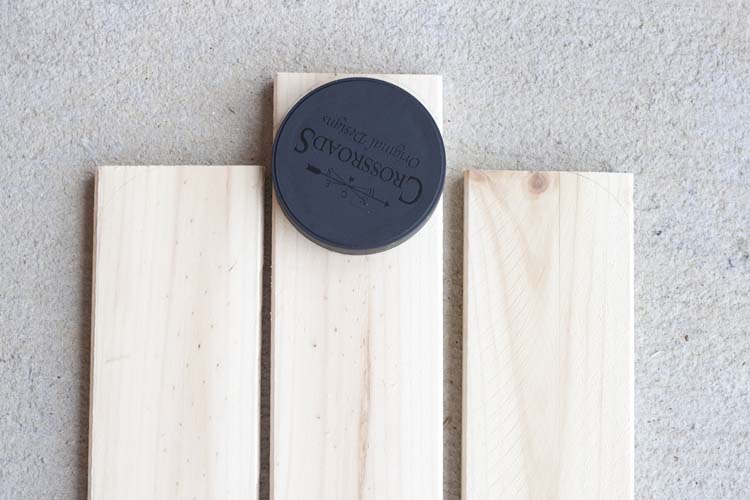
To create the curved ends find an object that is approximately the same diameter as the width of your boards. This will give you a proportionate curvature.
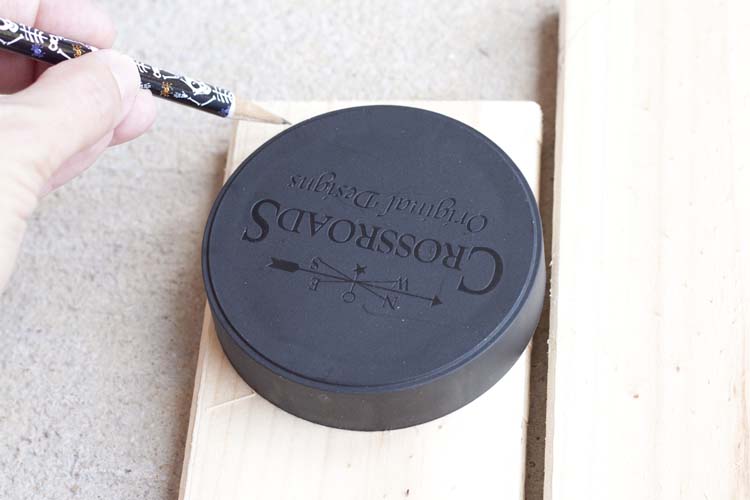
I used the lid to one of my candles since it was close to the same size. Line the object up with the top of your board and make sure it is even on both sides, then trace. Use a jigsaw to cut away excess.
Cut the 1×2 into 3 equal sections for braces. My sled is 11″ in width so braces are each 11″ in length.
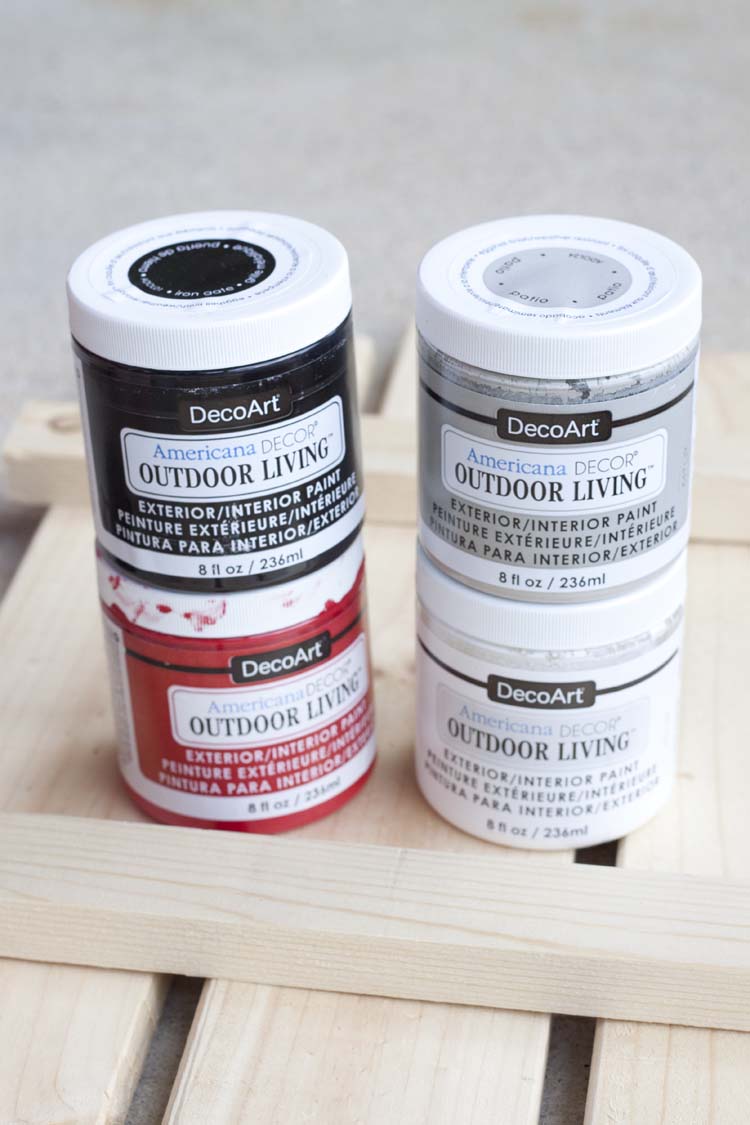
I decided to paint the sections of my sled before assembling to make it easier. Again, I used American Decor Outdoor Living paints which means my sled will be safe if I decide to display it outdoors. The paint is weather resistant and lightfast. Plus it is also self sealing which means once I’m done painting, I’m done. One coat for each color was all that it took.
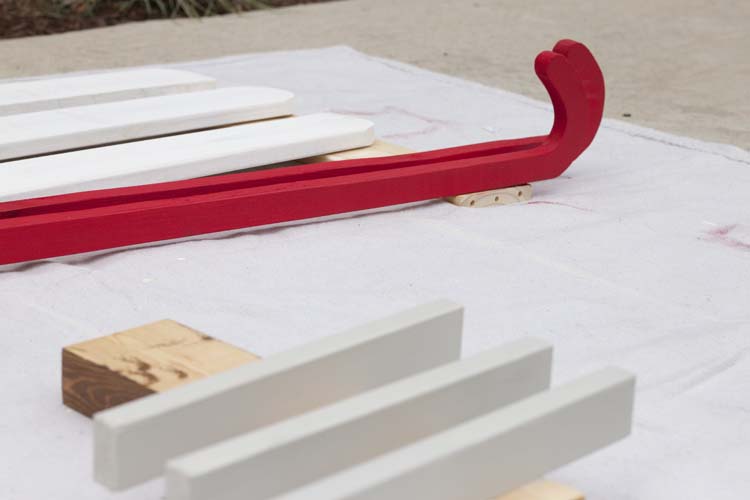
I used white for the top boards, red for the runners and gray for the braces. Allow paint to dry for an hour or so. Once it is no longer tacky it’s time to assemble.
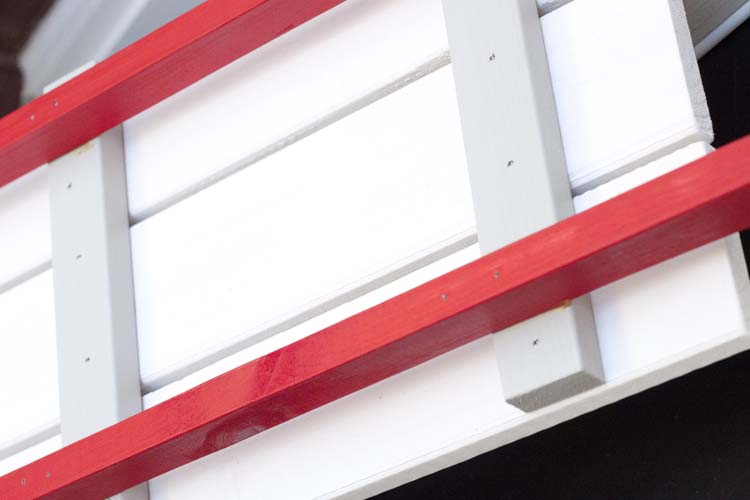
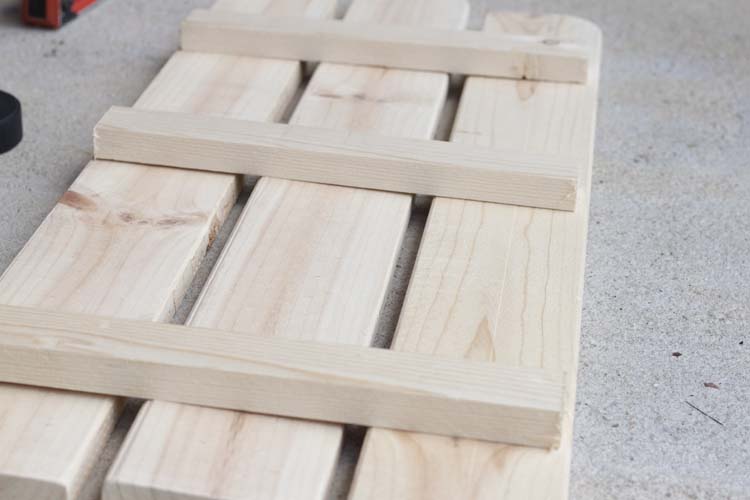
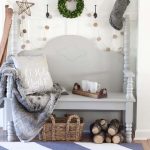
Lay out the boards for the sled top so that they measure 11″ in width, being sure to space them out evenly. Attach braces (flat side down) using wood glue and a brad nailer. Next attach runners to the bottom of the braces. Line them up with each of the outer boards and space them out evenly. I allowed for a 2″ inch overhang at the back of the sled and appropriately a 7″ overhang at the front. Attach with wood glue and brad nails.
Allow for glue to dry.
If you have a vinyl machine use the free cuttable file (download from the supplies list) to cut the stencil I designed for my sled. If not, use a stencil of your choice or leave the front as is.
Weed out excess vinyl and use transfer paper to transfer design to sled. Use foam pouncing brushes to add paint in small dabs being careful not to overload your brush with paint to prevent bleeding under the stencil.
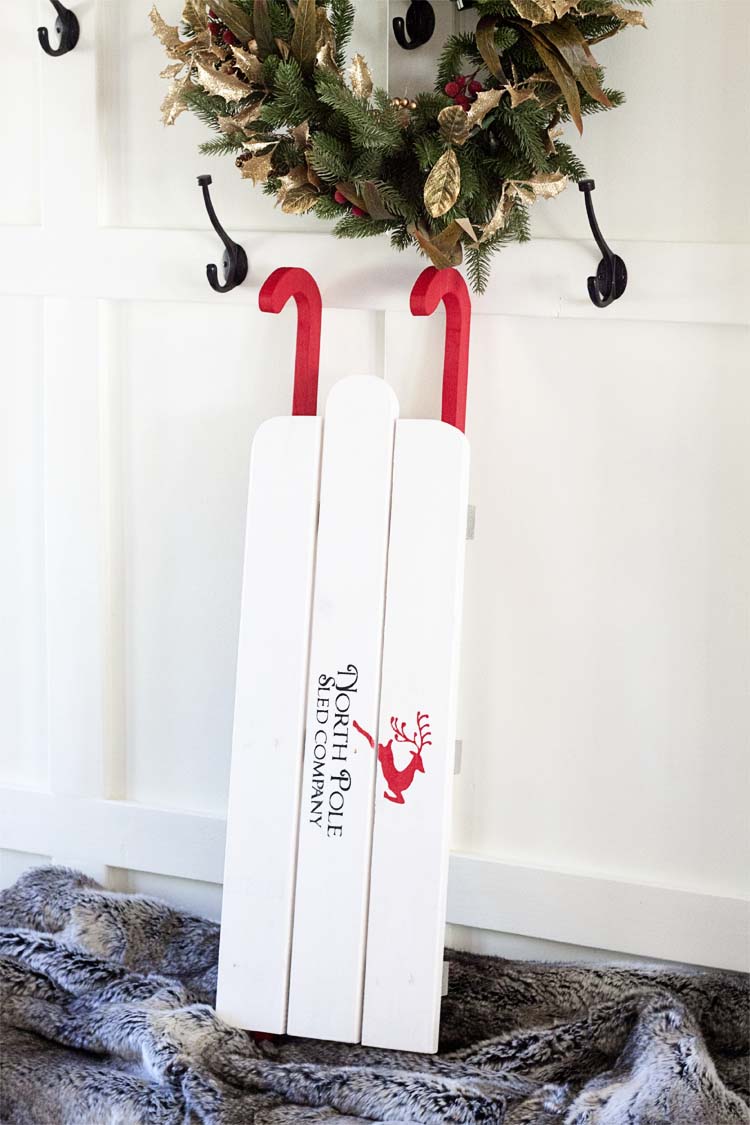
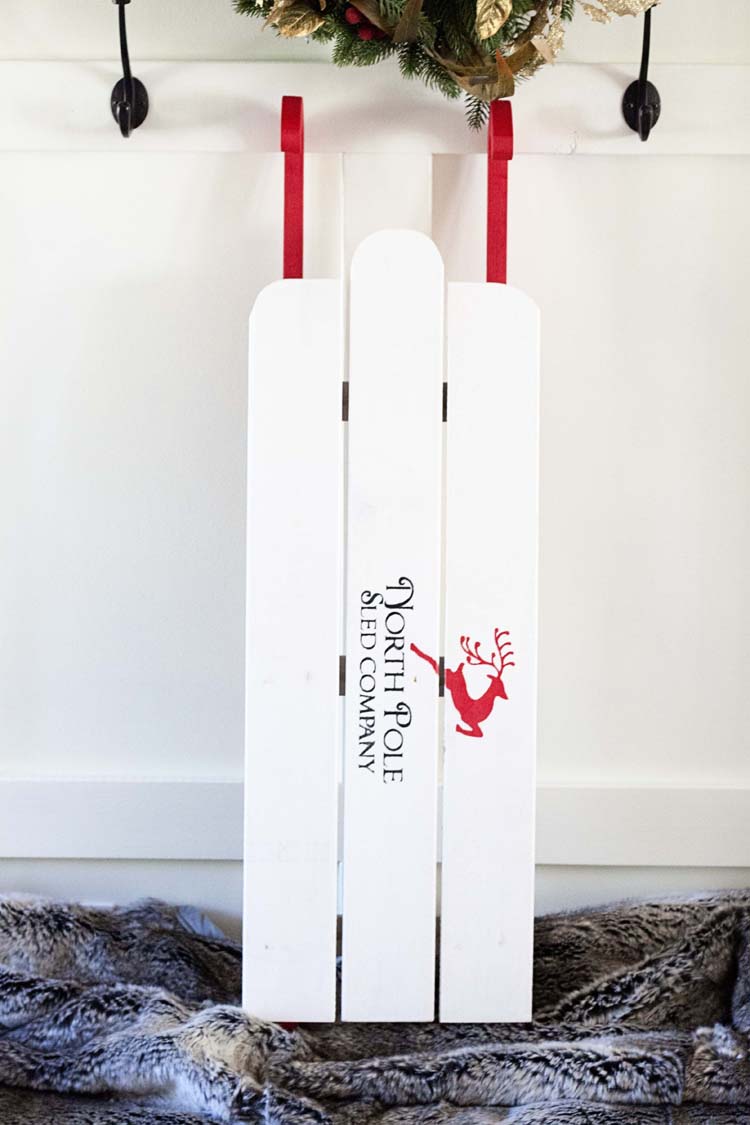
I am so excited that I finally have a sled to decorate with. The only problem now….
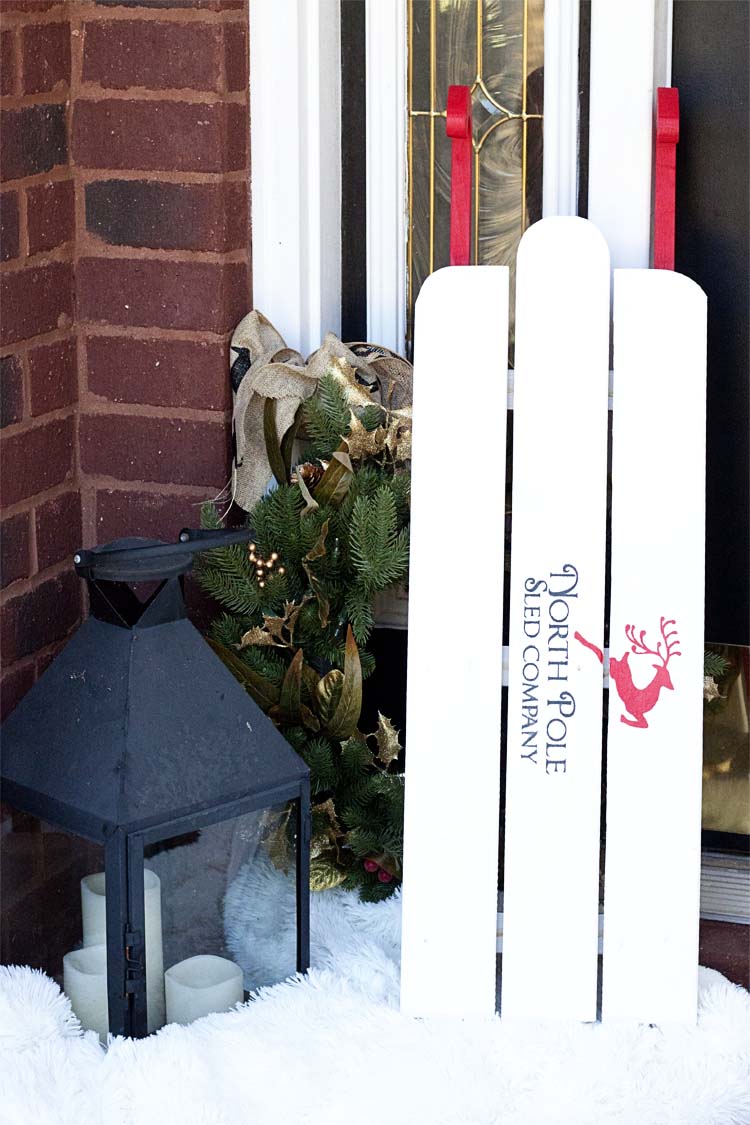
Deciding just where I’ll use it! What do you always wish that you had to decorate with this time of year? Will you try building your own DIY sled?


I love this!! I always say I want a sled too around Christmas time, I just may have to make this!
Thank you so much, Lizzie!