This post has been sponsored by DecoArt.
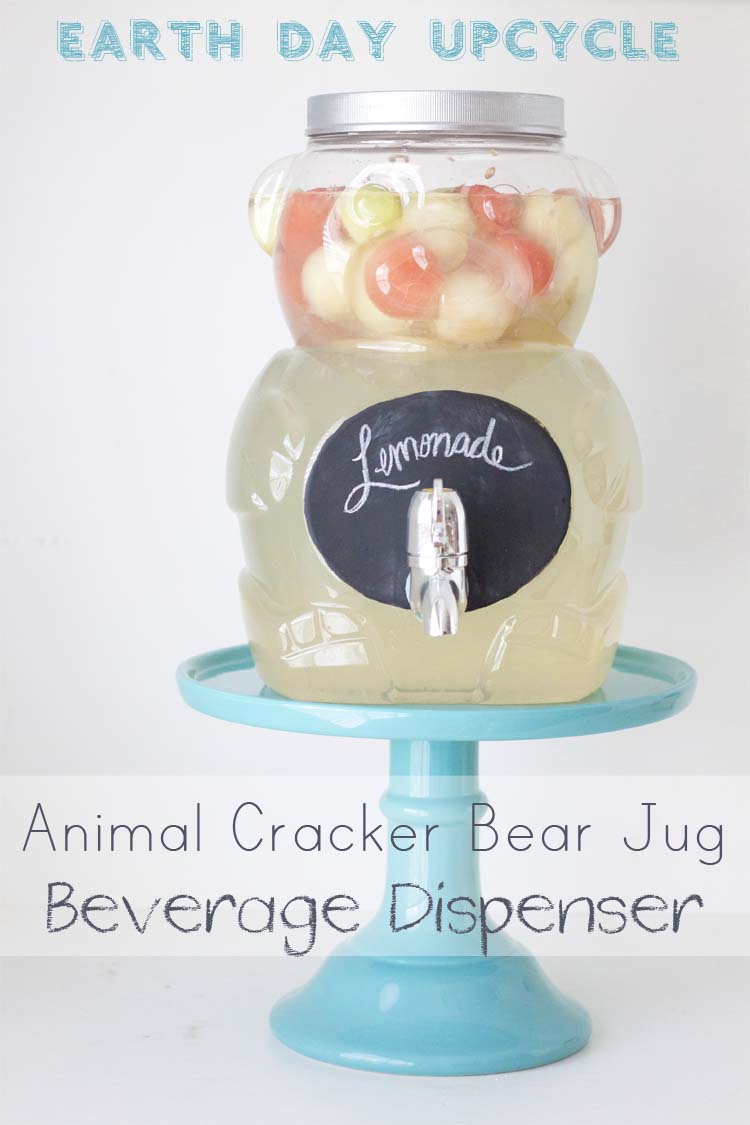
How to turn an empty Animal Cracker Bear Jug into an adorable DIY Beverage Dispenser for under $10. Perfect for your next gathering or just to make family dinners extra special!
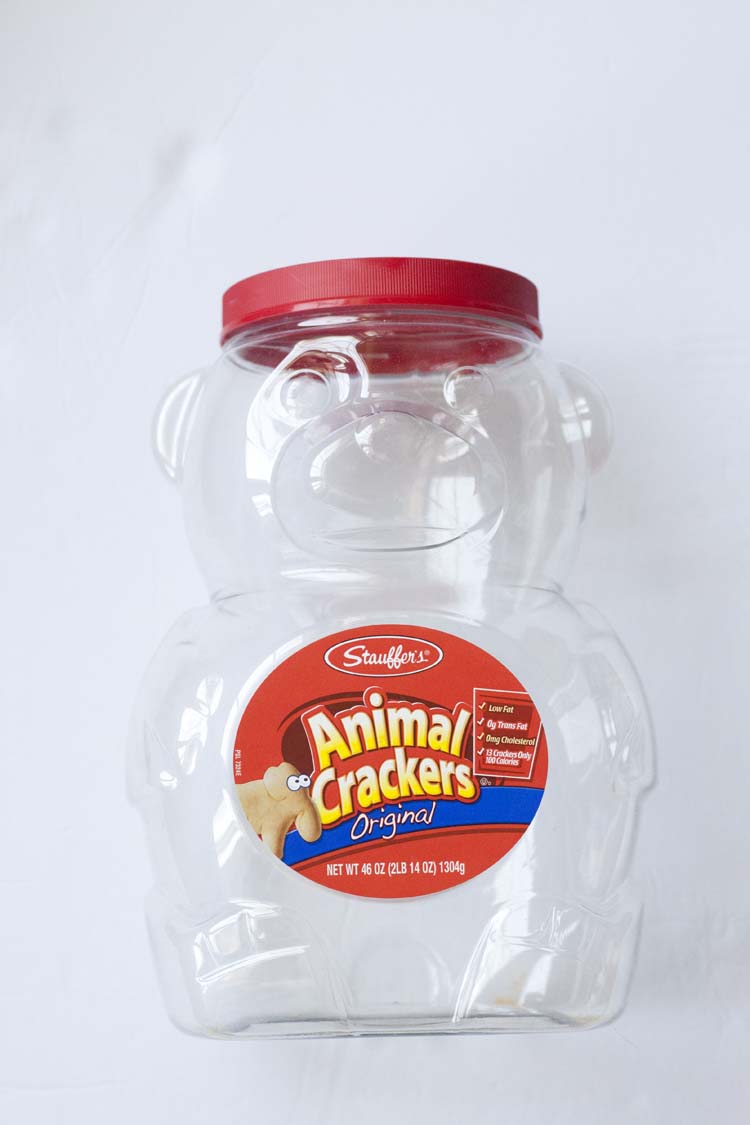
It is no secret that I don’t like throwing “good things” away. It’s also no secret that I don’t like clutter so I have to discipline myself when it comes to the recycling bin. But every time one of those Animal Crack Bear Jugs is empty and headed to the recycling bin I always think, there’s go to something I can do with this thing.
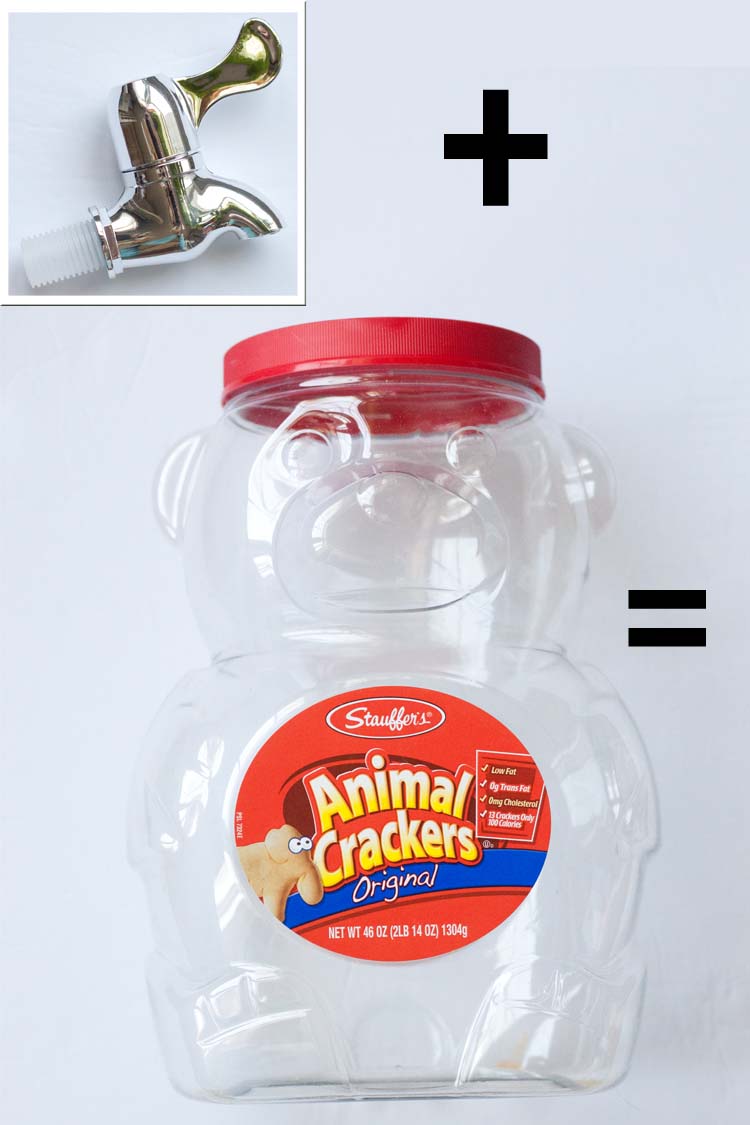
So I held on to this empty thing for weeks waiting on inspiration to hit. And then it did. Big. What if I put a spigot on the jug and turned it into beverage dispenser?! Every time I see a cute beverage dispenser in the store I want to buy it. But what if I could make own, original, beverage dispenser!
*Amazon affiliate links, included for your convenience, also help to fund this website with a small percentage of commission. Please see my full Disclosure Policy for more info.
Supplies:
- Animal Cracker Original Bear Jug
- Beverage Dispenser Spigot
- Drill
- 11/16 spade bit (dependent upon the size of your spigot)
- DecoArt Americana Multi-surface Metallic paint – Silver
- DecoArt Americana Chalkboard Paint
- Paint brush
**Allow painted surfaces to cure (according to manufacturer instructions) prior to use. Painted lid is for decorative purposes only and should not come in contact with beverage. Remove lid before placing container in refrigerator. Hand wash only, do not allow lid to soak because this could effect the adhesion of paint.
Step 1 – Clean
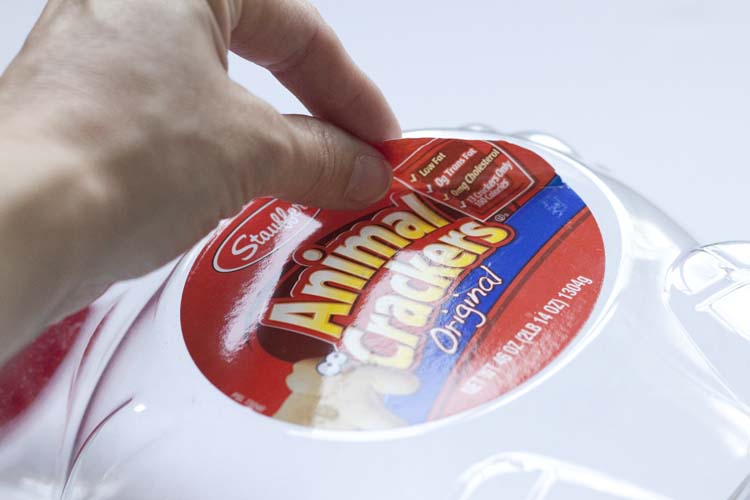
Remove front and back labels.
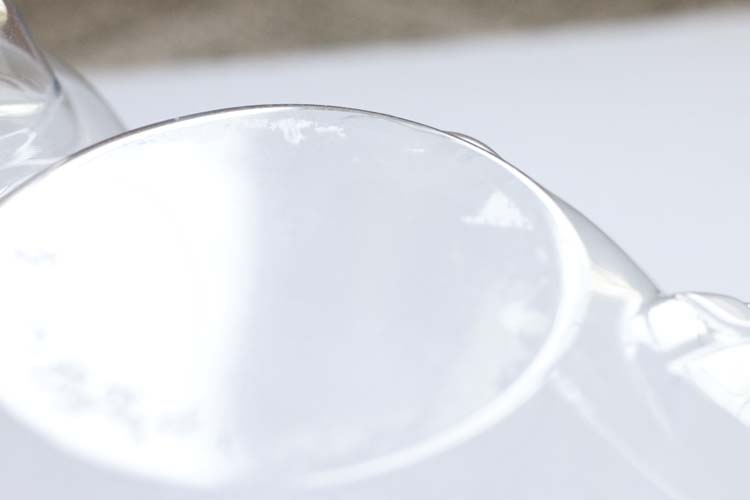
Be sure to clean and remove sticky residue with a citrus based gunk remover.
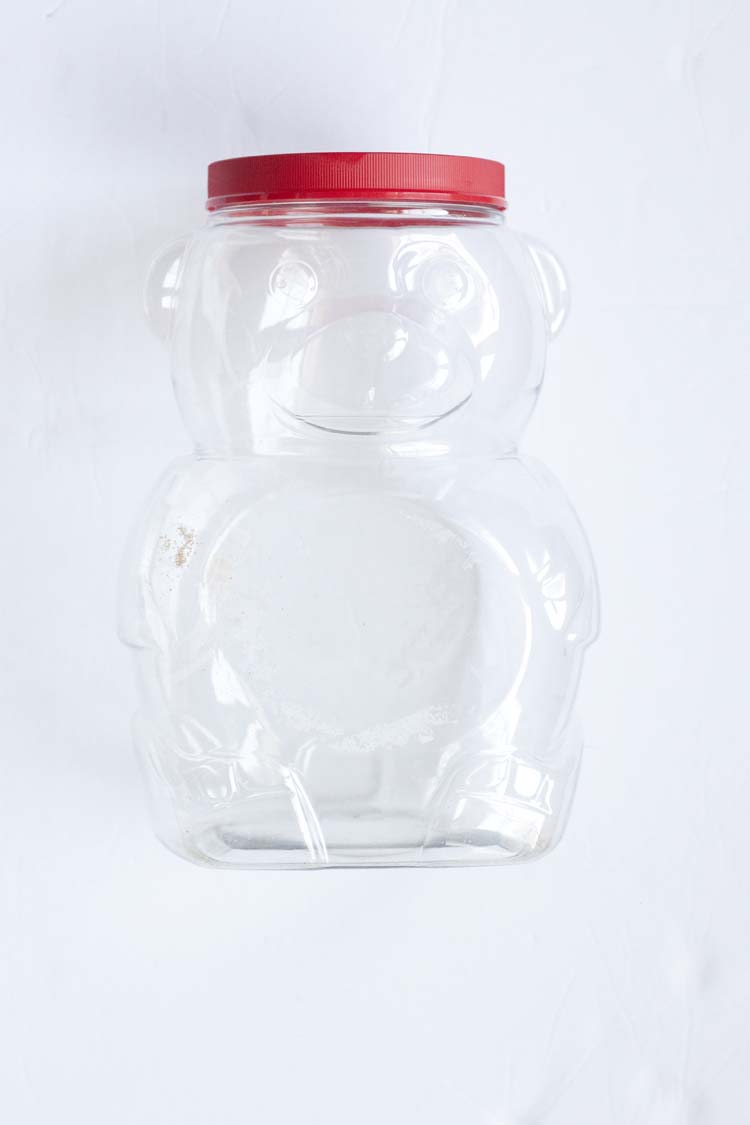
Thoroughly hand wash inside and outside of jar with warm soapy water and dry thoroughly.
Step 2 – Paint
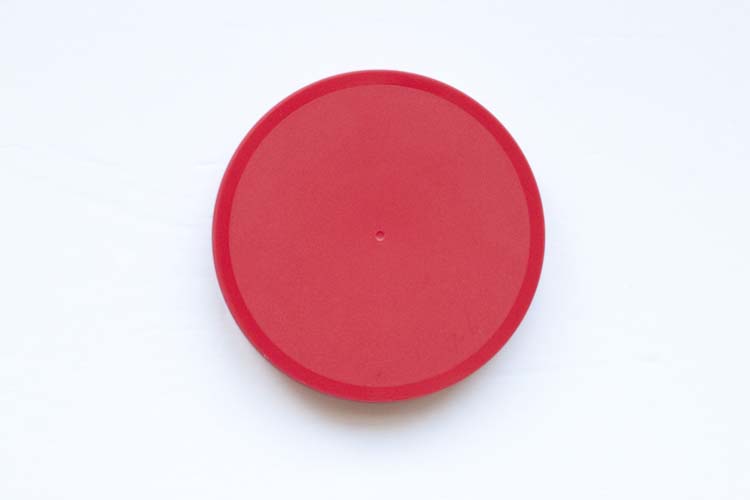
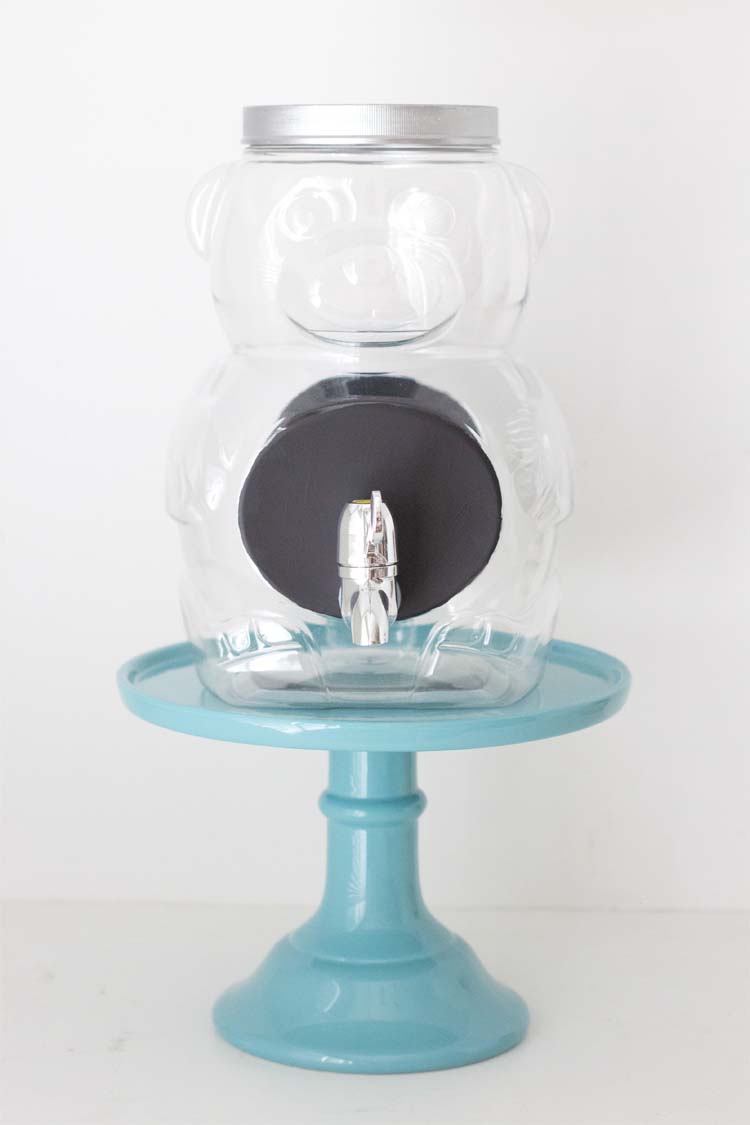
I wanted my lid to mimic the look of my spigot so I chose to use silver but any variation of the Americana Multi-surface paints will work for this job.
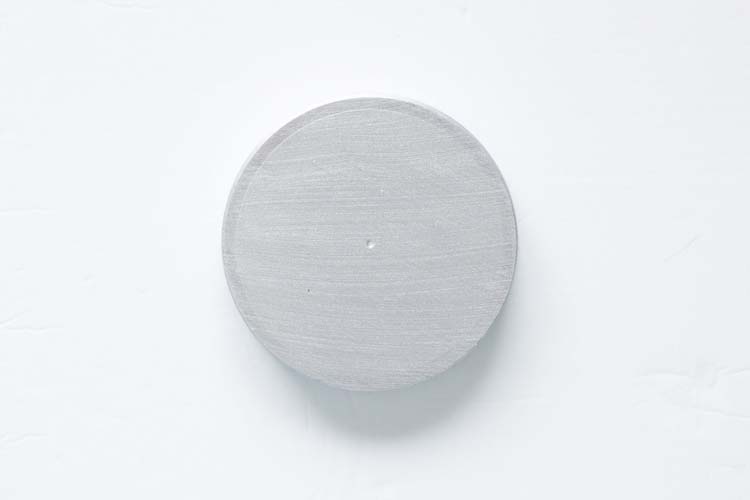
I painted the lid of the jar using 4 coats (allowed to dry thoroughly between each) to cover the lid. I allowed the lid to cure for 5 days prior to usage. The lid is decorative and should not come in contact with beverage once painted.
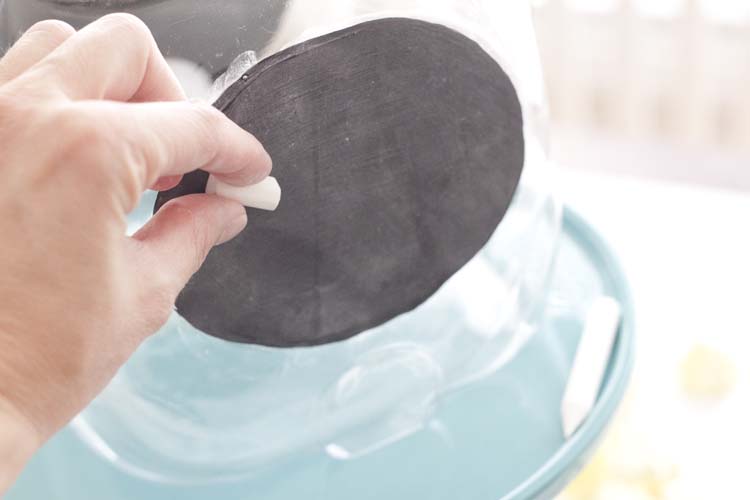
I also painted the front and back sections (from where the labels were removed) with Americana Chalkboard paint. I used 2 coats, 1 hour dry time for each and alternating horizontal brush strokes on the first and vertical on the second. Allow to cure for 24 hours and then prime with chalk by rubbing entire surface with the side of a piece of chalk.
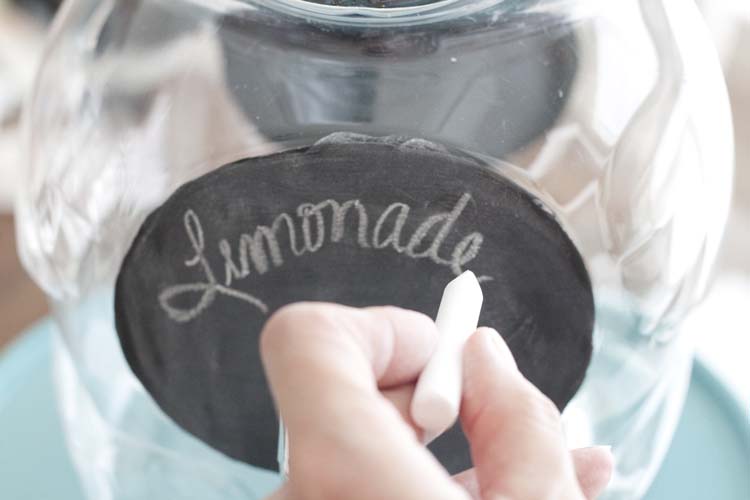
This way, on the front you can label the beverage and on the back you can do the same or you can write a cute message.
Step 3 – Drill
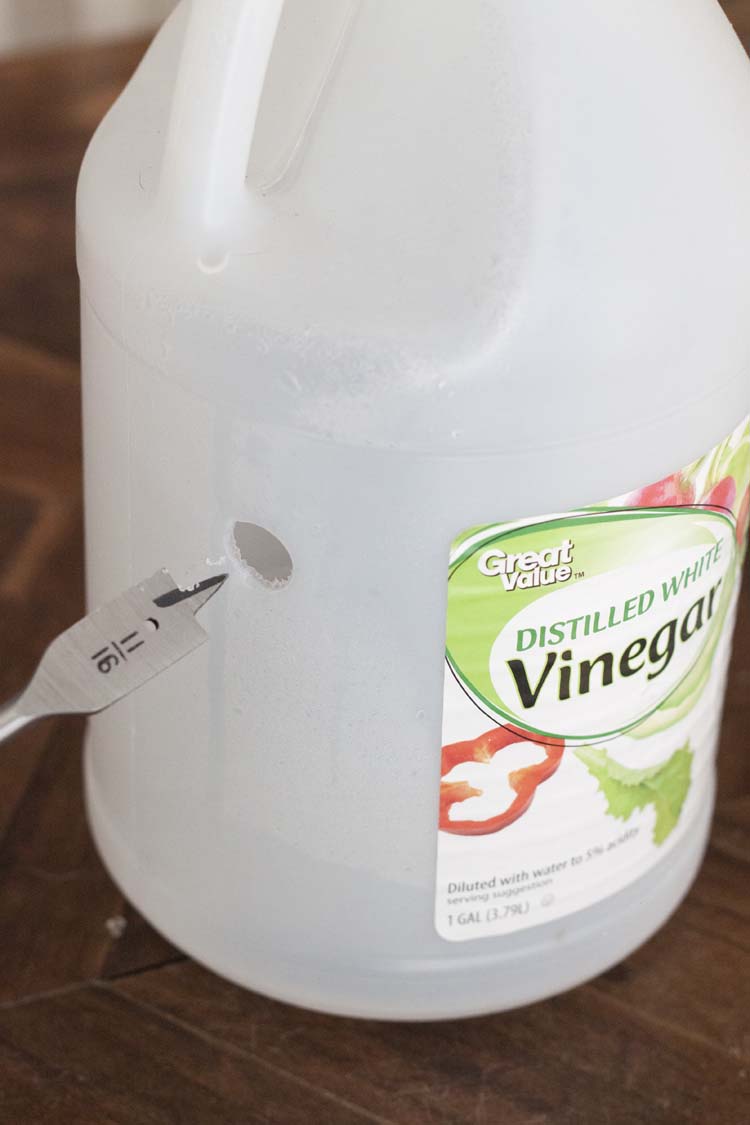
Don’t be intimidated by this part! Just practice on an empty jug first and go slowly. Also, be sure to measure your spigot first prior to to choosing the spade bit. For mine I used an 11/16″ bit.
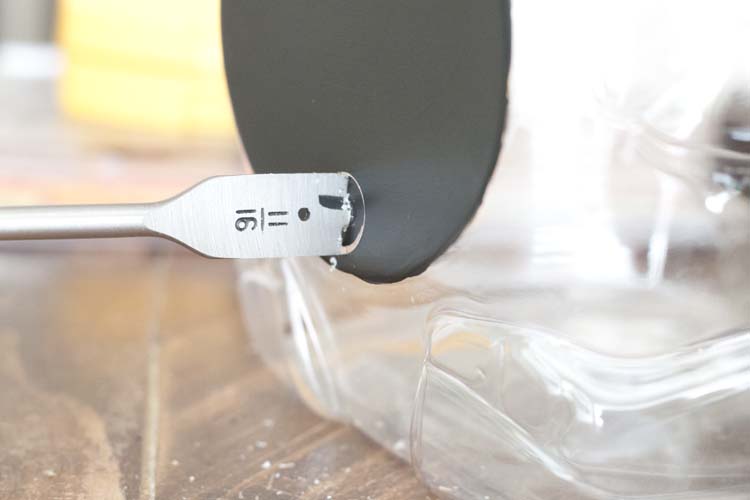
Hold your jug as you drill and, with slow and gentle force, allow the bit to do the work for you.
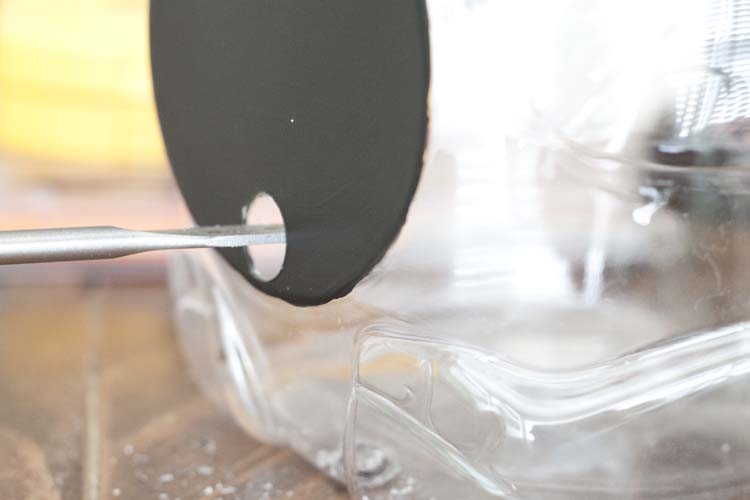
Before you know it your bit will pop right through and all the hard work is done.
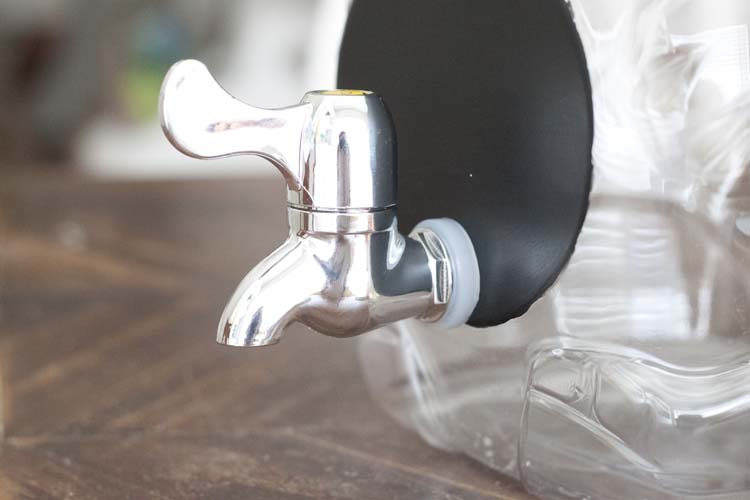
Now you’ll pop in the rubber gasket that comes with your spigot, place in your spigot and tighten the nut from the inside. These spigots are generally made to fit thicker glass so be sure to tighten the nut as much as possible to compensate. I always place all of my beverage dispensers on a tray or pedestal to catch any drips.
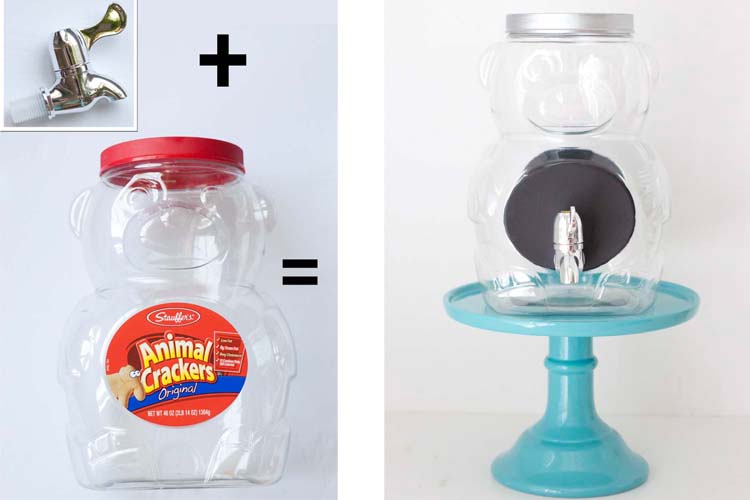
And just like that, you’ve turned this into that! Cool, right? And since the spigot is less than $7 with free Prime shipping you can have done it all for under $10 bucks!
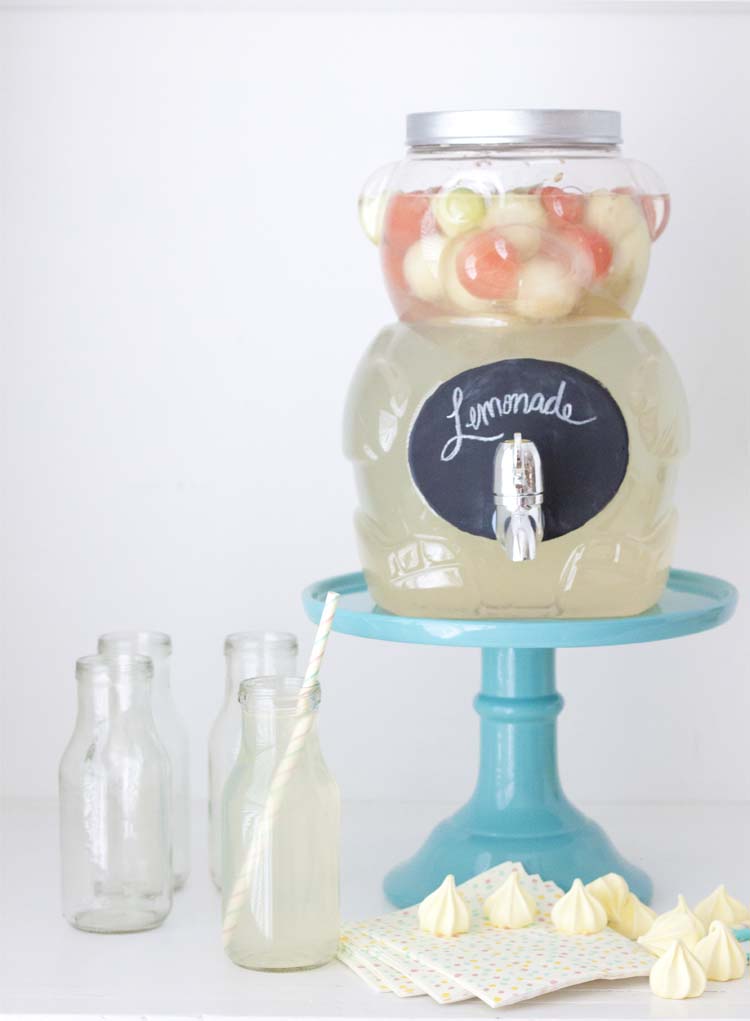
I’ve decided my next party will feature a collection of these Bear Jug DIY Beverage Dispensers.
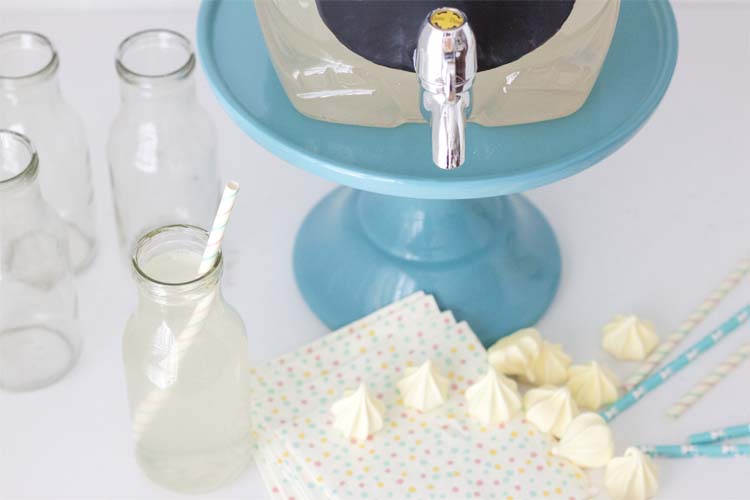
I’m already planning what I’ll do with the next one.
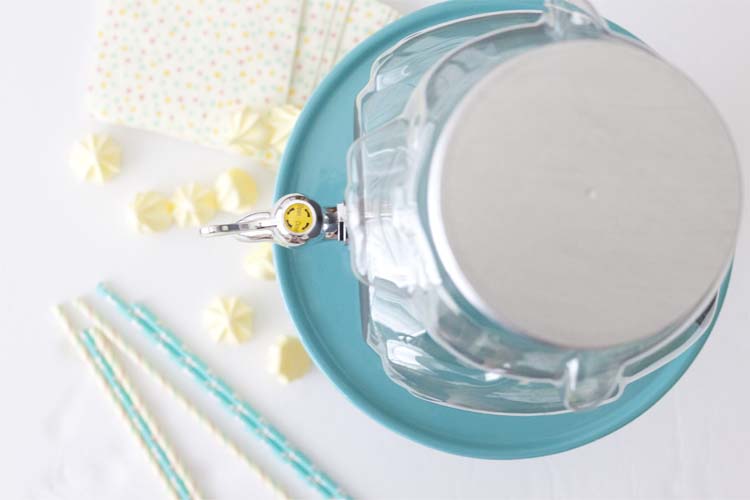
A different color lid perhaps.
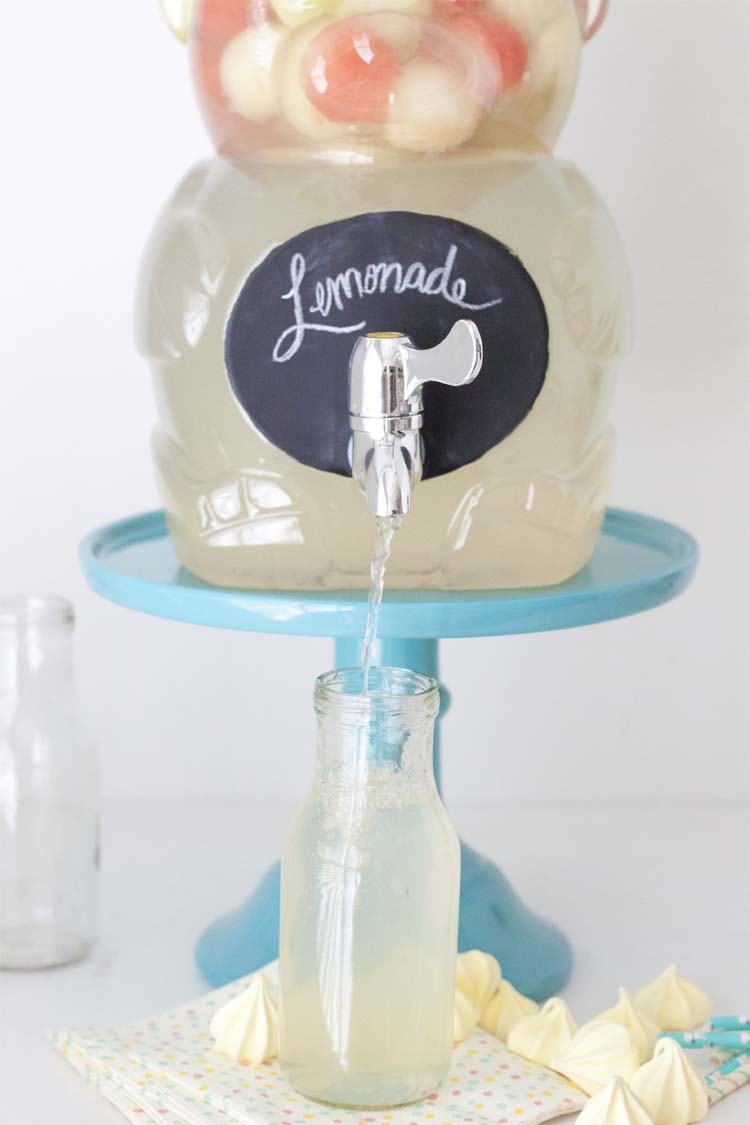
A fun colored belly instead and maybe a vinyl label….
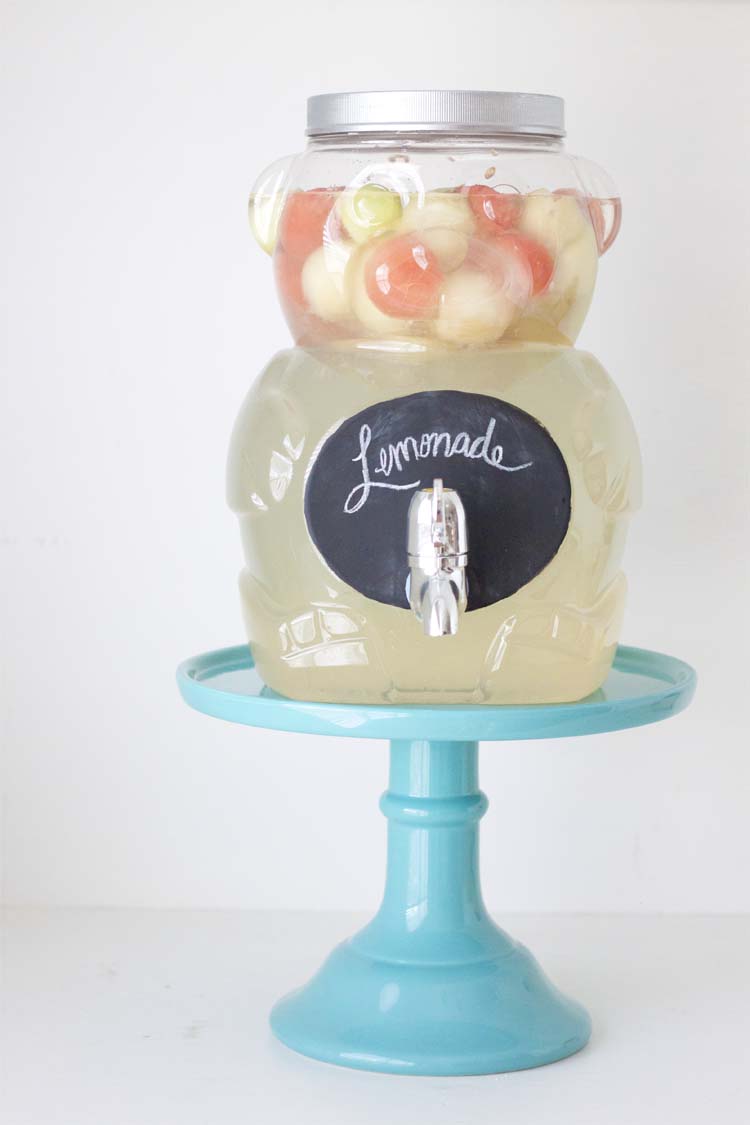
SO MANY fun options come to mind.
For now though, I’m really enjoying this one.
Polka Dot Lemonade
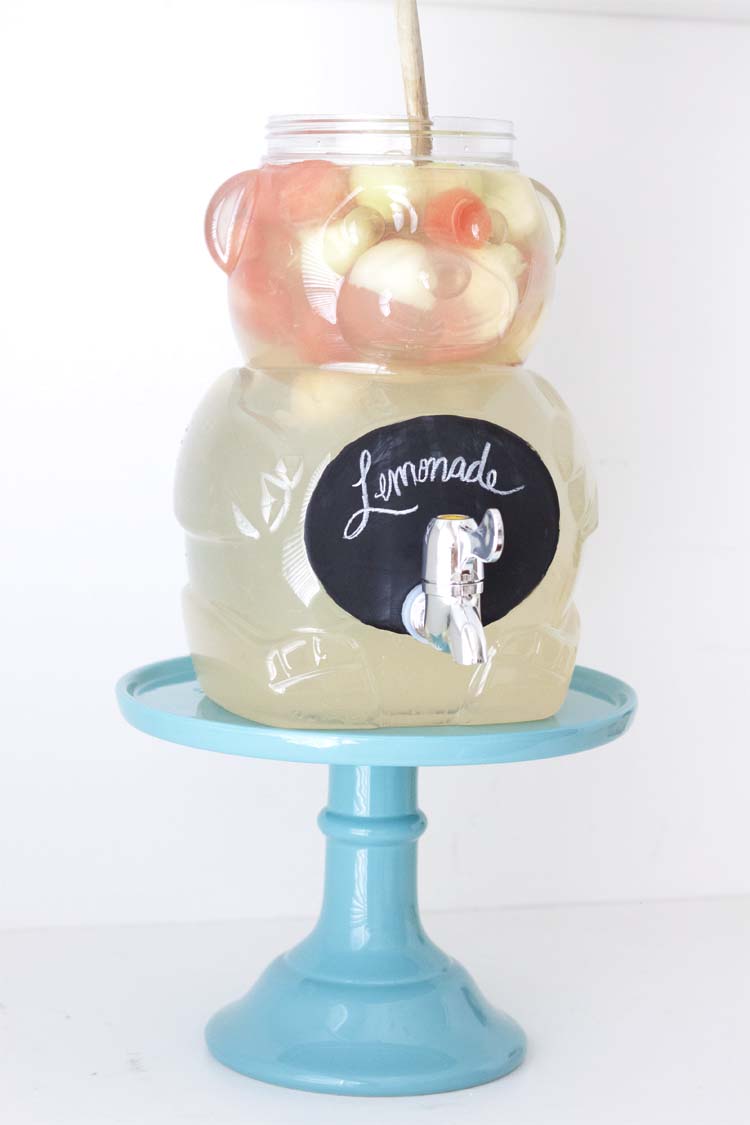
For a fun presentation fill the jug with Polka Dot Lemonade.
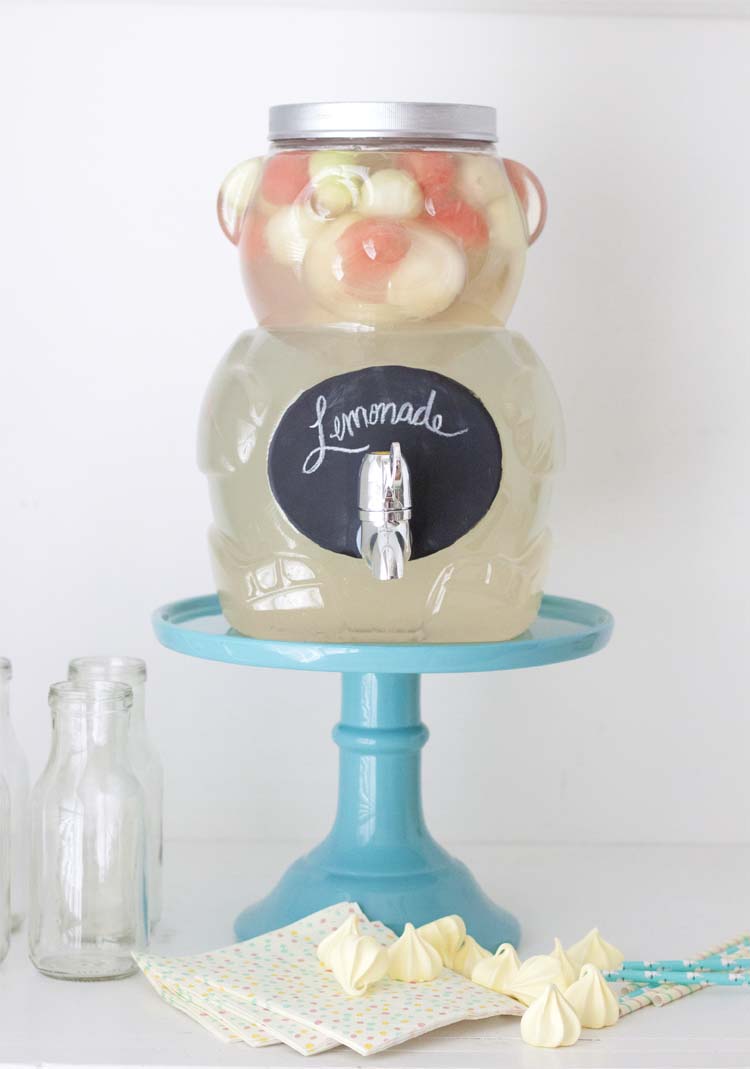
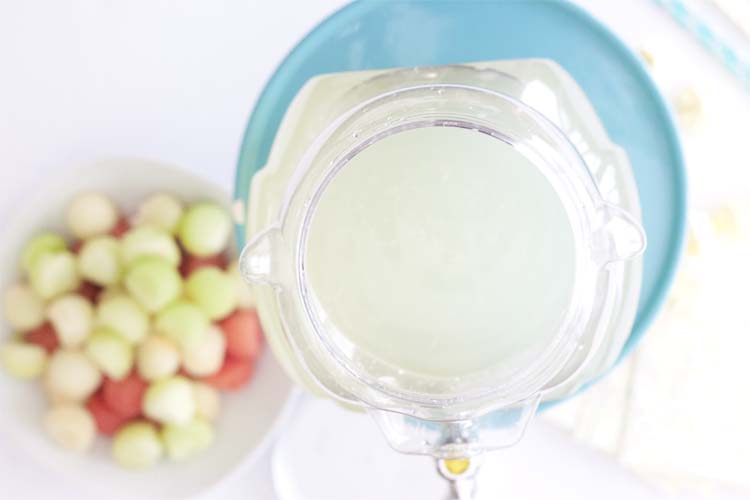
Freeze melon balls (they double as ice cubes and this also keeps them from floating straight to the top as mine have) and put them in your jug.
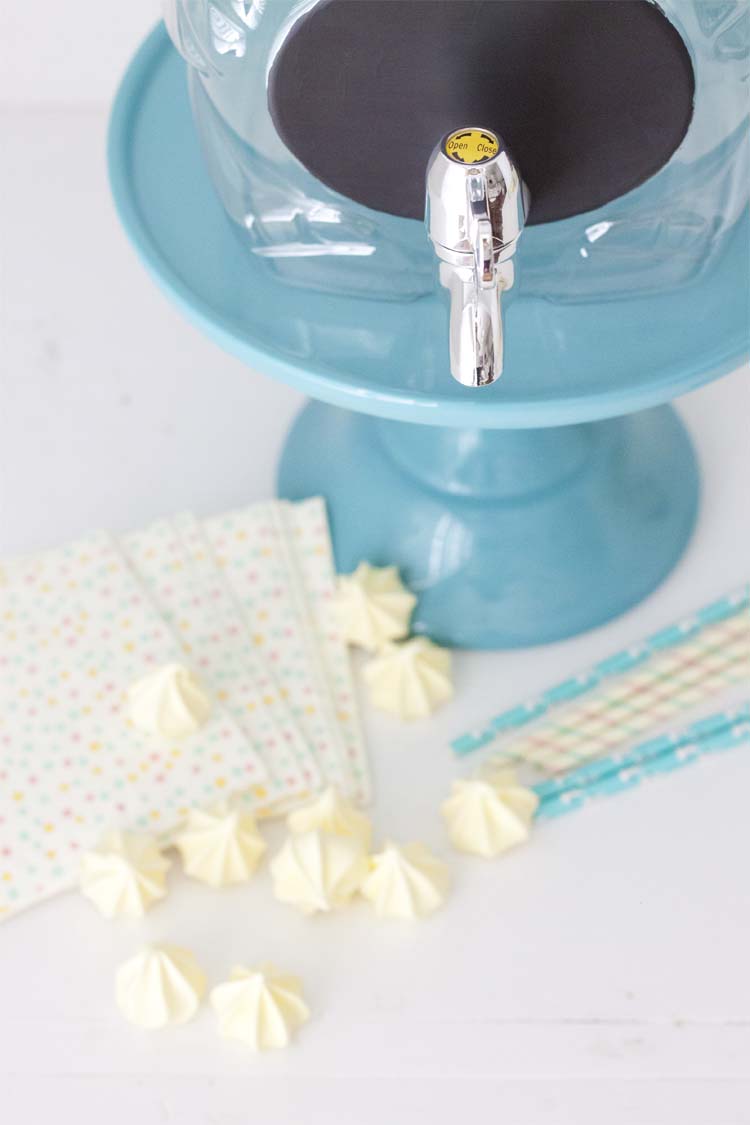
Fill with your favorite Lemonade and serve with some sweet treats and recycled glass latte bottles.
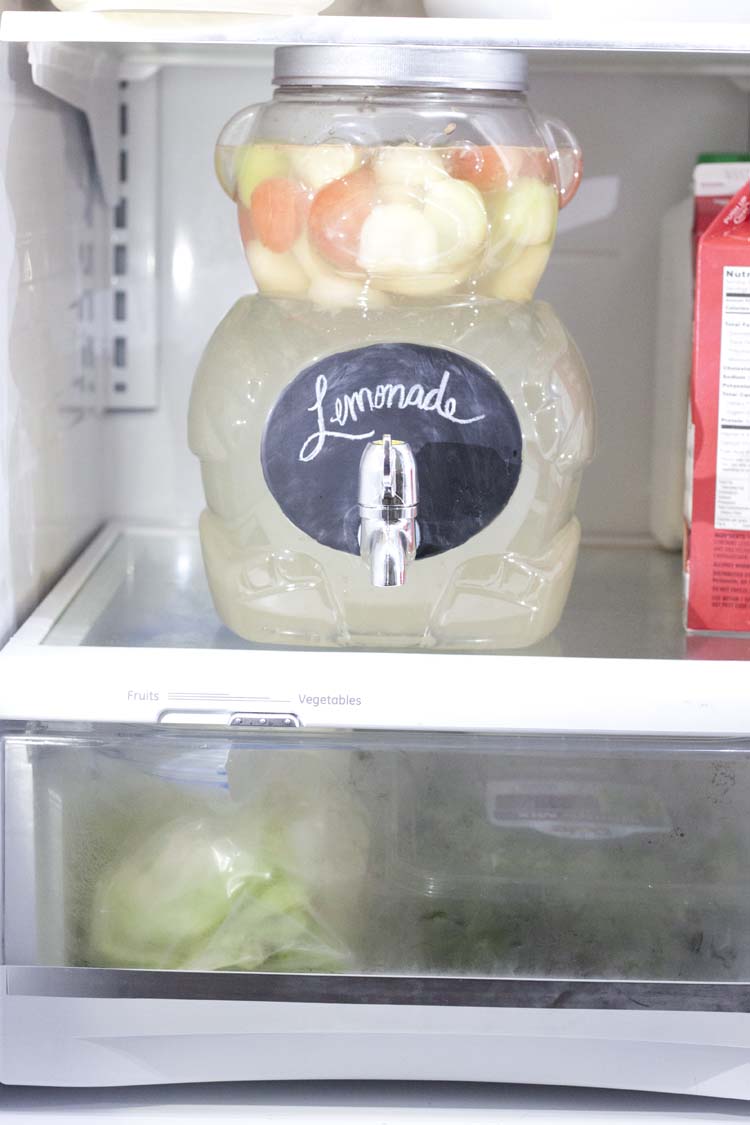
And with its convenient size you can easily store it and any leftovers right in the fridge (remove lid first). What do you say? Wanna give it a try?
Linking up at Shabby Creek Cottage’s Upcycle Challenge

How cute is that???!!!!
Thanks so much, Nancy!
You are too talented! I love this! I would have never thought of this. Going to forward this to a friend who has her little girl’s birthday party coming up!! So cute.
Yes! Please do! This would be perfect for a kid’s party. I can’t wait to use it for mine!