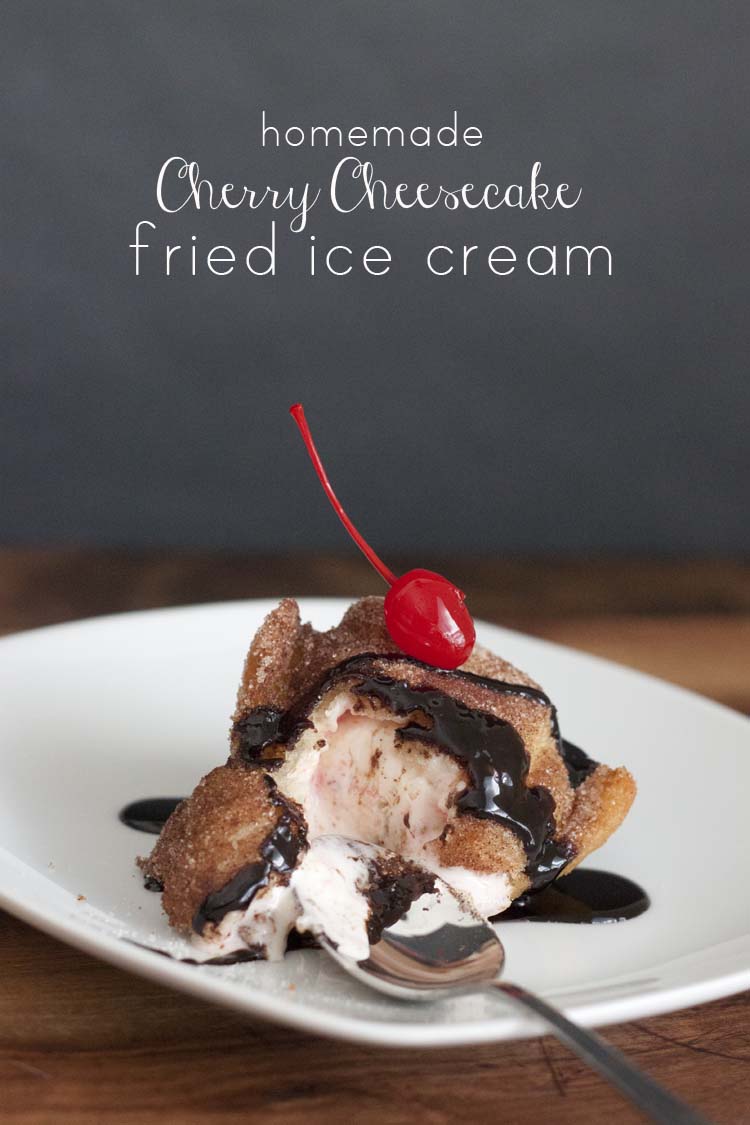
Last year I made a 3 Layer DIY Ice Cream Cake but let this go down in history as the time I actually deep fried ice cream! This isn’t your Mexican restaurant’s “fried” ice cream either. This is the real deal Holyfield – Homemade Cherry Cheesecake Fried Ice Cream.
I’ll never forget the first time I ordered a fried ice cream at a Mexican restaurant. It was not at all what I was expecting. It came out as something akin to orange sherbet covered in warm cornflakes. I was so disappointed. Not because it wasn’t good (I’ve never been one to turn my nose up at ice cream) but because I thought someone had figured out a way to put ice cream in hot oil and still have something leftover to eat. And I’m from the South, Y’all and that is not how you fry things!
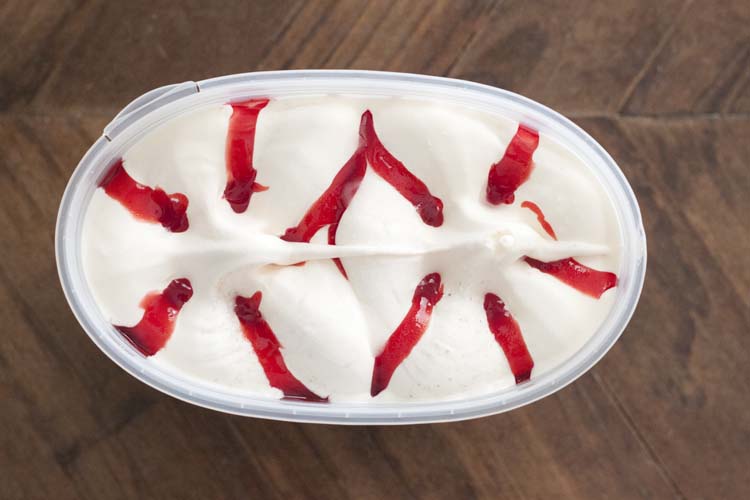
Anyway, ever since I discovered this cherry cheesecake ice cream all I could think about was the fried ice cream I thought I was getting and a dish this local restaurant used to serve: fried cheesecake with cherries and ice cream. Those two thoughts combined culminated in what I think is a pretty amazing idea..
What you will need:
- Cherry cheesecake ice cream (or any flavor of your choice)
- Metal sheet pan
- Deep fat thermometer
- Pot for frying
- Slotted spoon
- 2 slices of bread per treat
- Vegetable or Canola oil
- Cinnamon & sugar
- Dark chocolate syrup, cherries, and whipped cream, to garnish
Step 1:
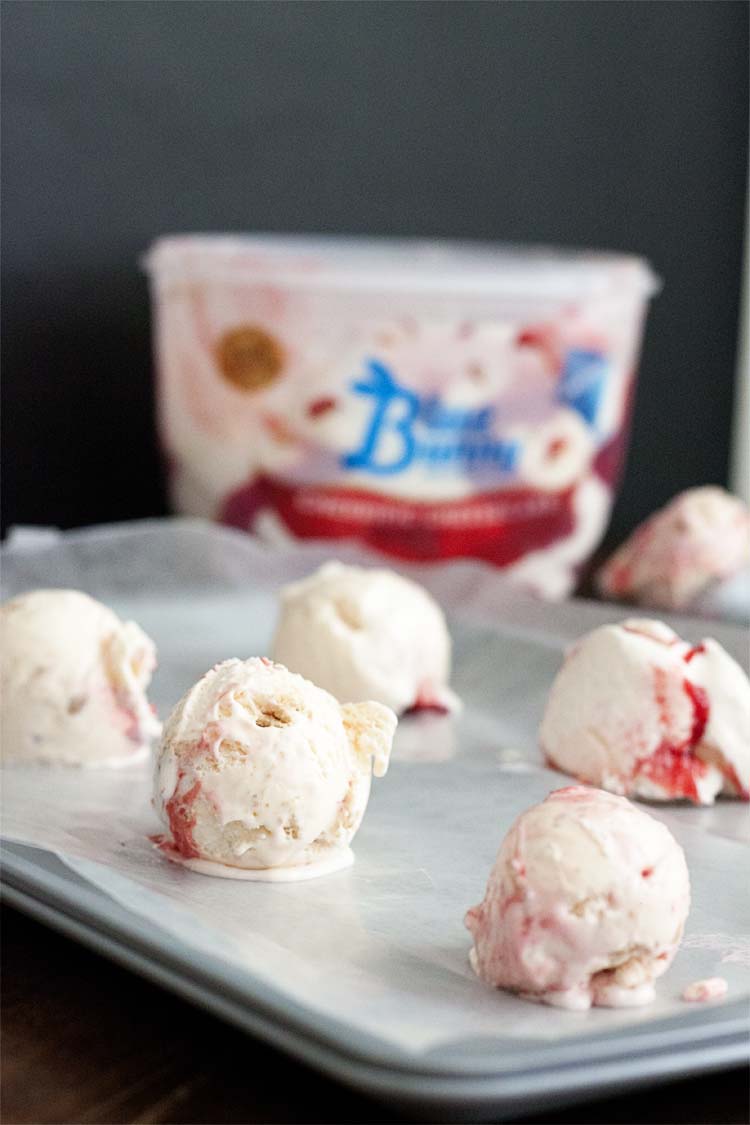
Scoop 2″ ice cream balls onto a frozen metal pan, cover with wax paper for easy cleanup. Return to freezer until frozen solid – about 2 hours.
Step 2:
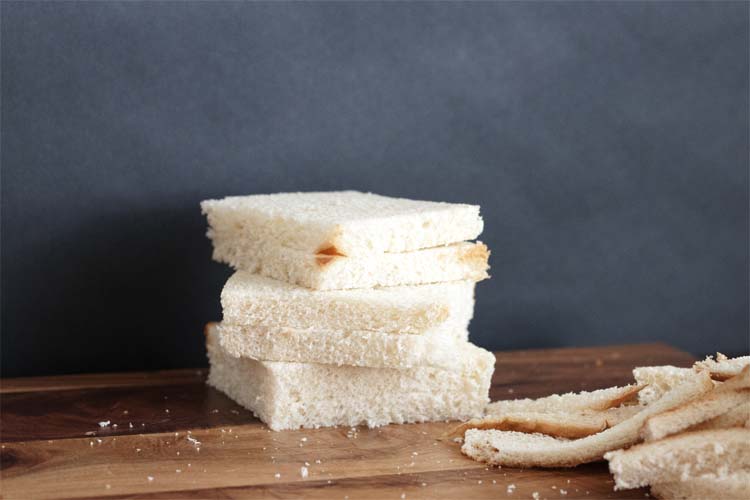
In the meantime, remove the crusts from white bread slices. Two slices per treat.
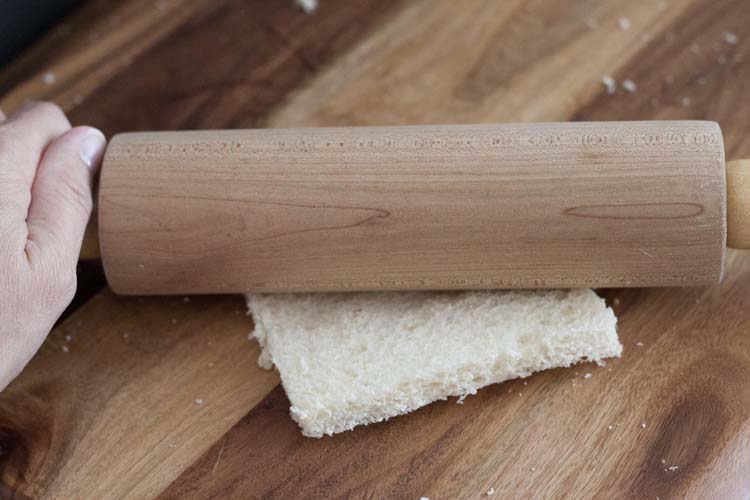
Using a rolling pin flatten out each slice.
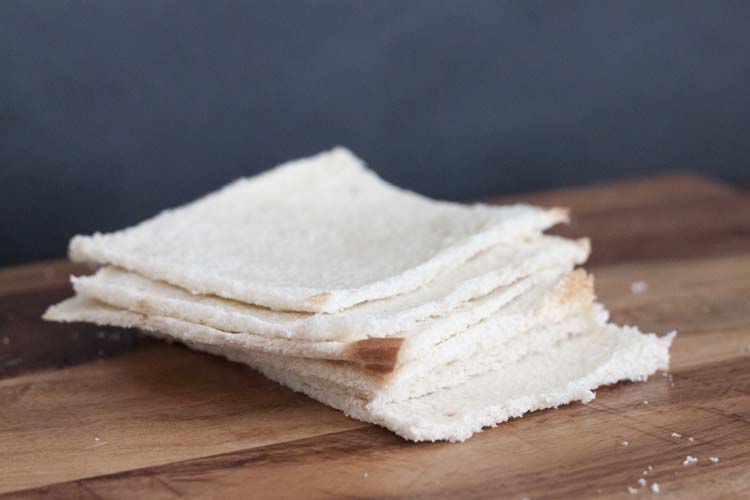
Until they look like this!
Step 3:
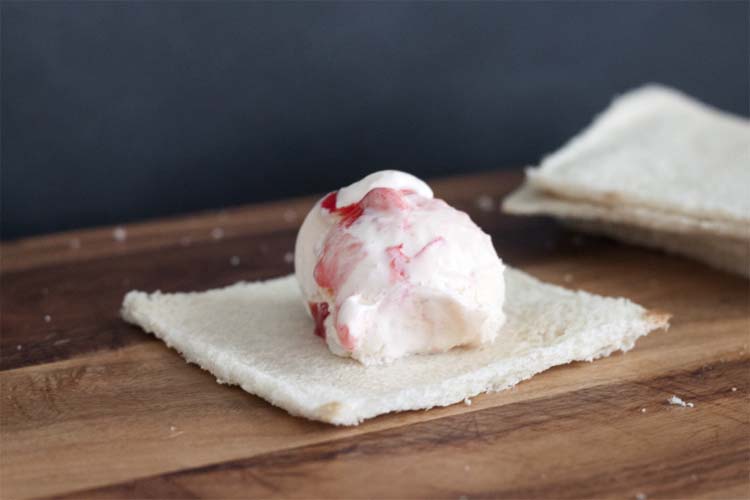
Place ice cream balls on a bread slice, mold it around the bottom.
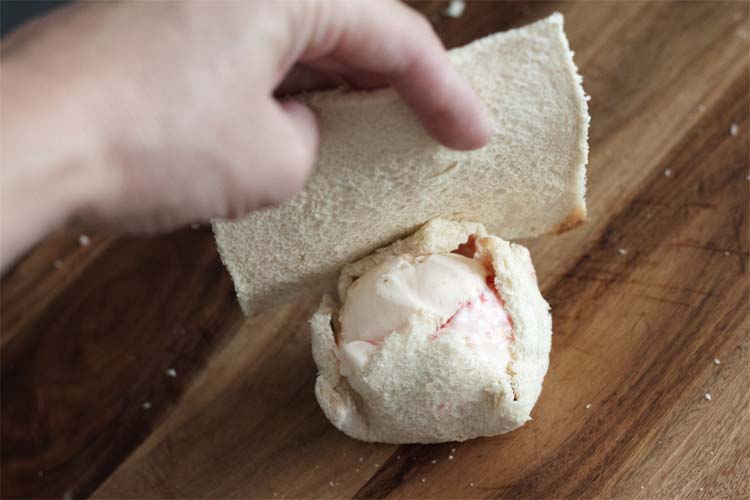
Then cover the top with an additional slice. Mold it into a tight ball.
Step 4:
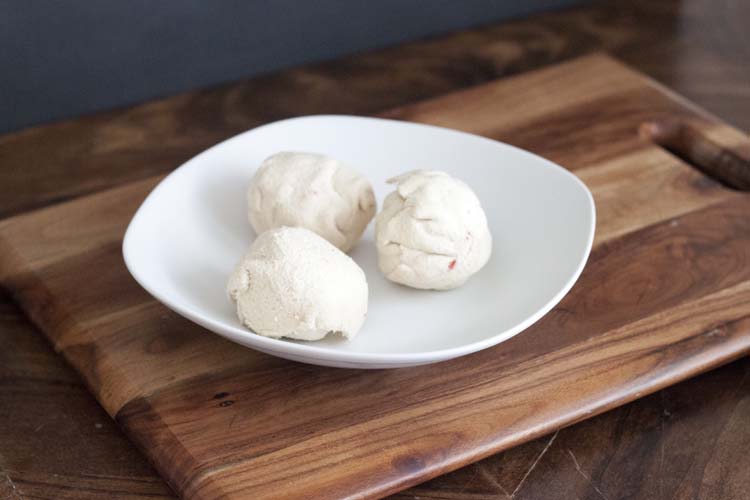
Place them back into the freezer until frozen solid. I like to do this step the night before and let them freeze overnight. That way there’s no question whether they’re ready to fry and it makes for less prep work the day of.
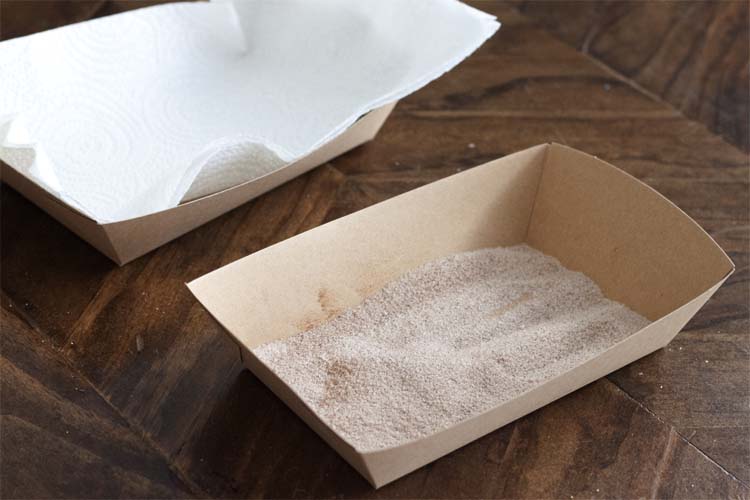
While my oil is heating I make sure I have a container ready to drain fresh batches and another one to cover them in cinnamon sugar coating.
Step 5:
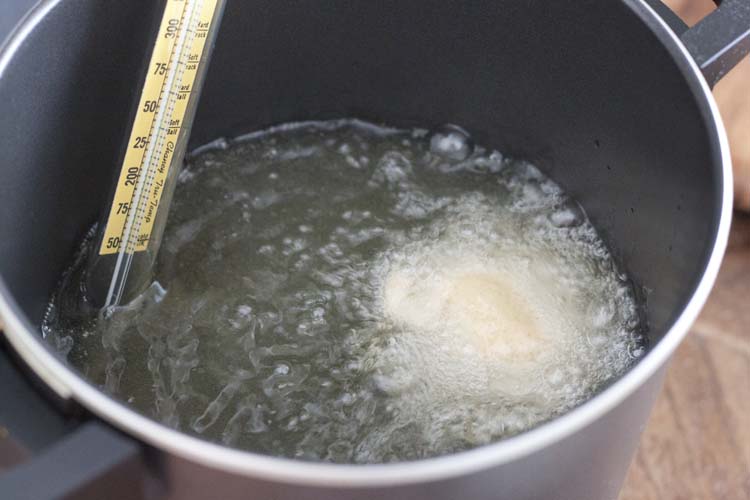
Fill a pot with enough oil to completely cover the ice cream ball and begin to heat.
Allow oil to reach 350 degrees, the thermometer should be placed in oil prior to the start of heating. Once your oil is ready, place a treat or two into hot oil and fry for 15 to 20 seconds or until golden brown.
Step 6:
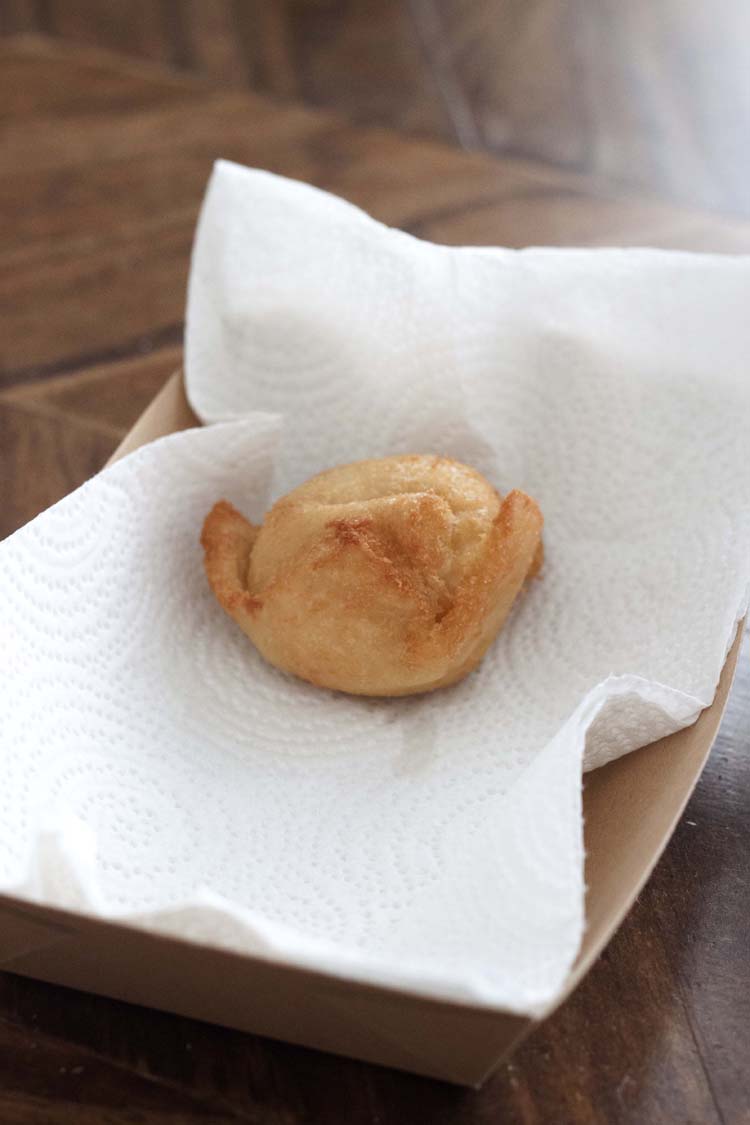
Drain treat on a paper towel for a few seconds and then transfer to cinnamon sugar coating.
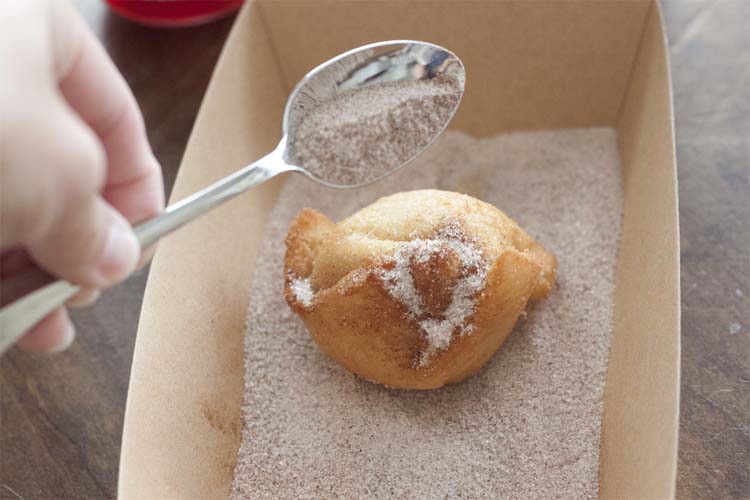
Using a spoon so that you don’t burn your hands, sprinkle on cinnamon sugar mixture.
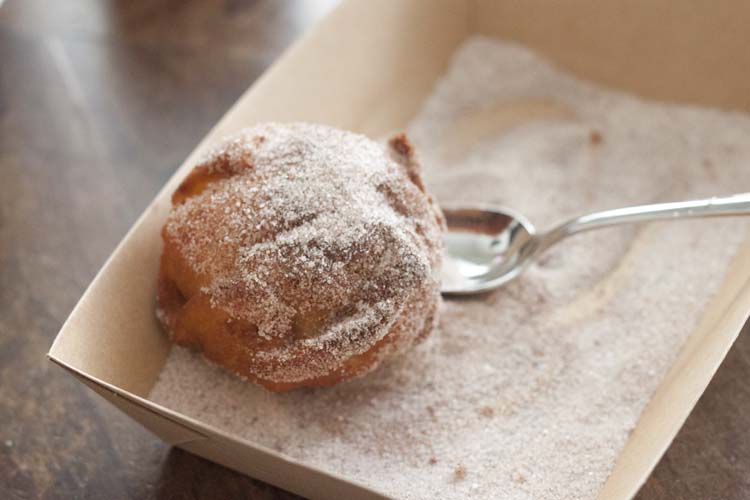
Be sure to cover all sides.
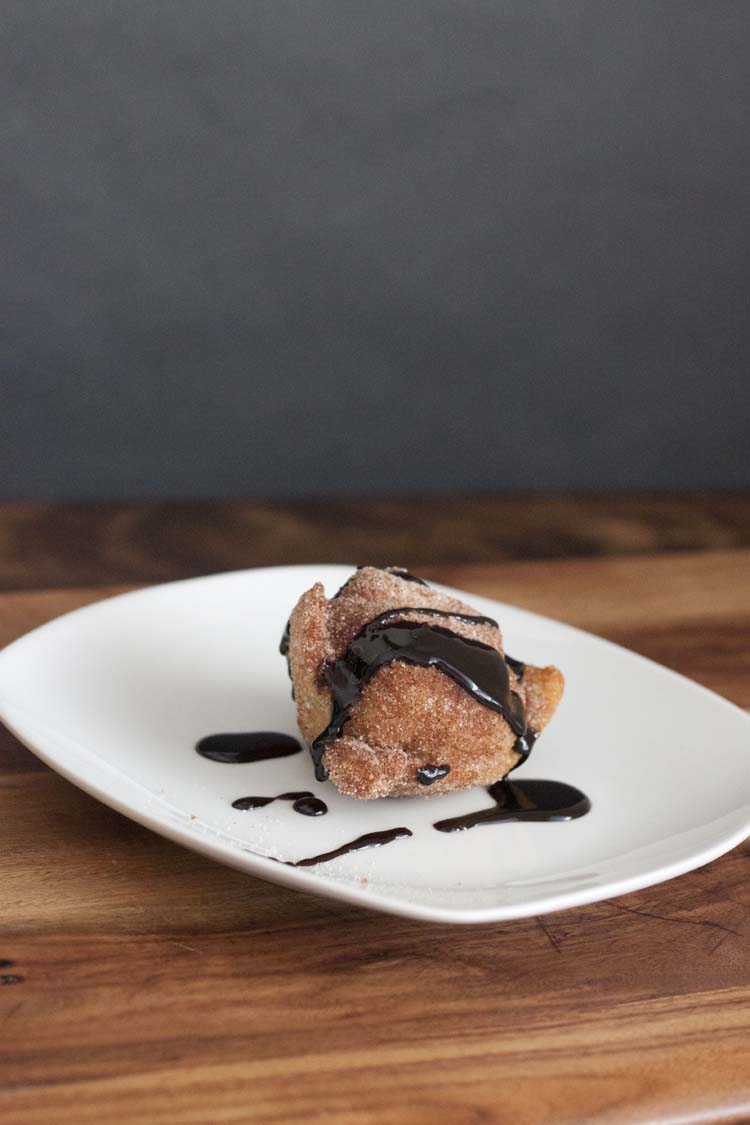
Now comes the fun part, garnish. I drizzled on dark chocolate syrup for good measure and then popped a cherry on top.
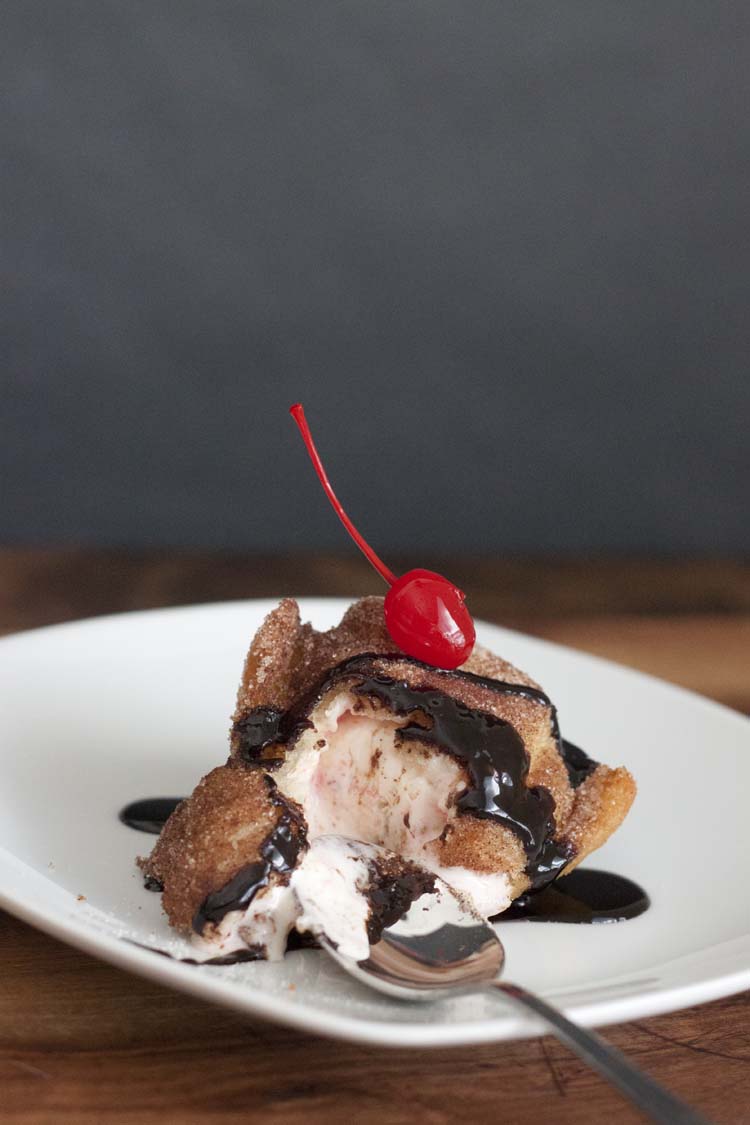
I couldn’t wait to tear into one to make sure there was really still ice cream in there!
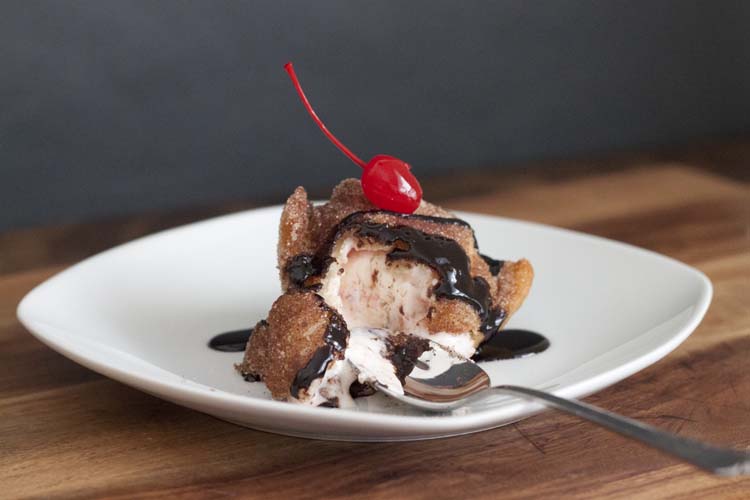
And, miraculously, there was. Crispy and warm on the outside and still cold on the inside. It defies logic.
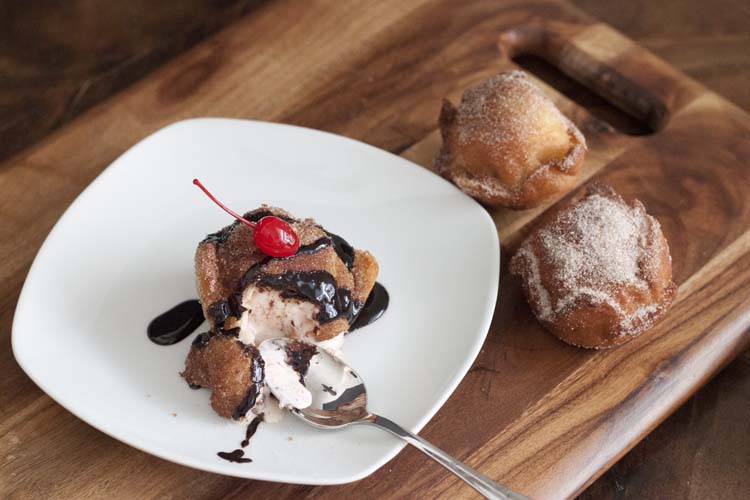
I was honestly surprised at how easy it was and before I knew it I had six orbs of pure perfection in front of me.
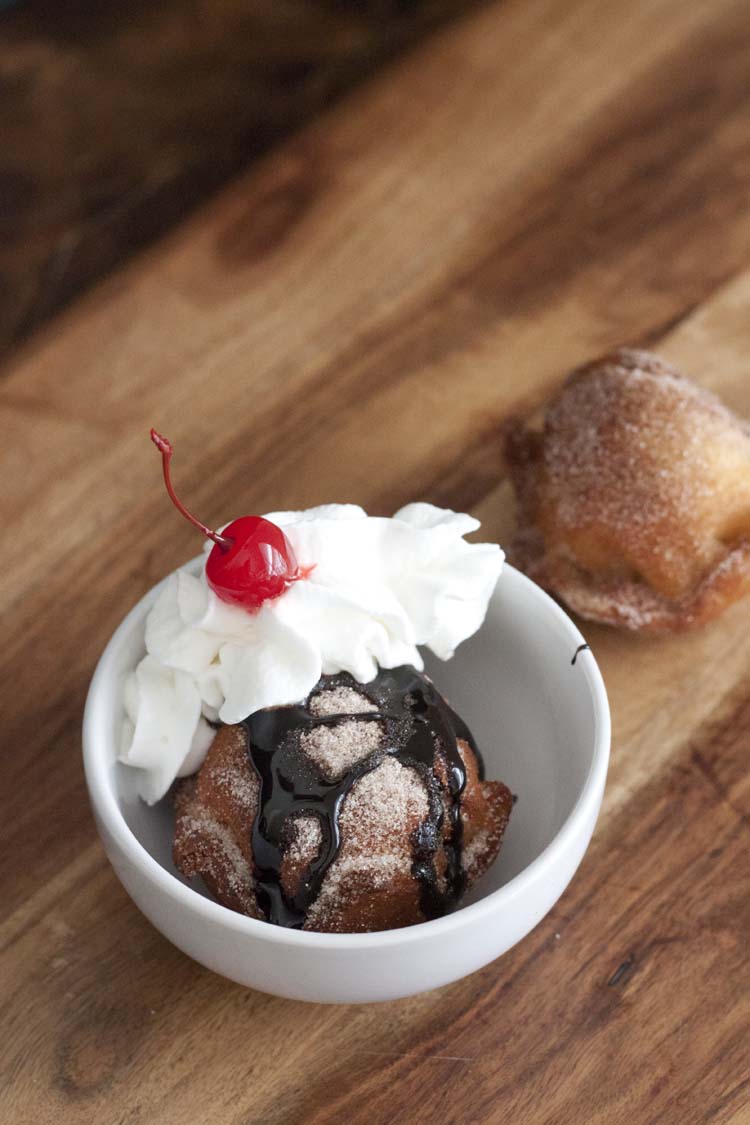
And then people started coming into the kitchen with their, ‘Ohhh what’s thats’ and their ‘where’s mines’.
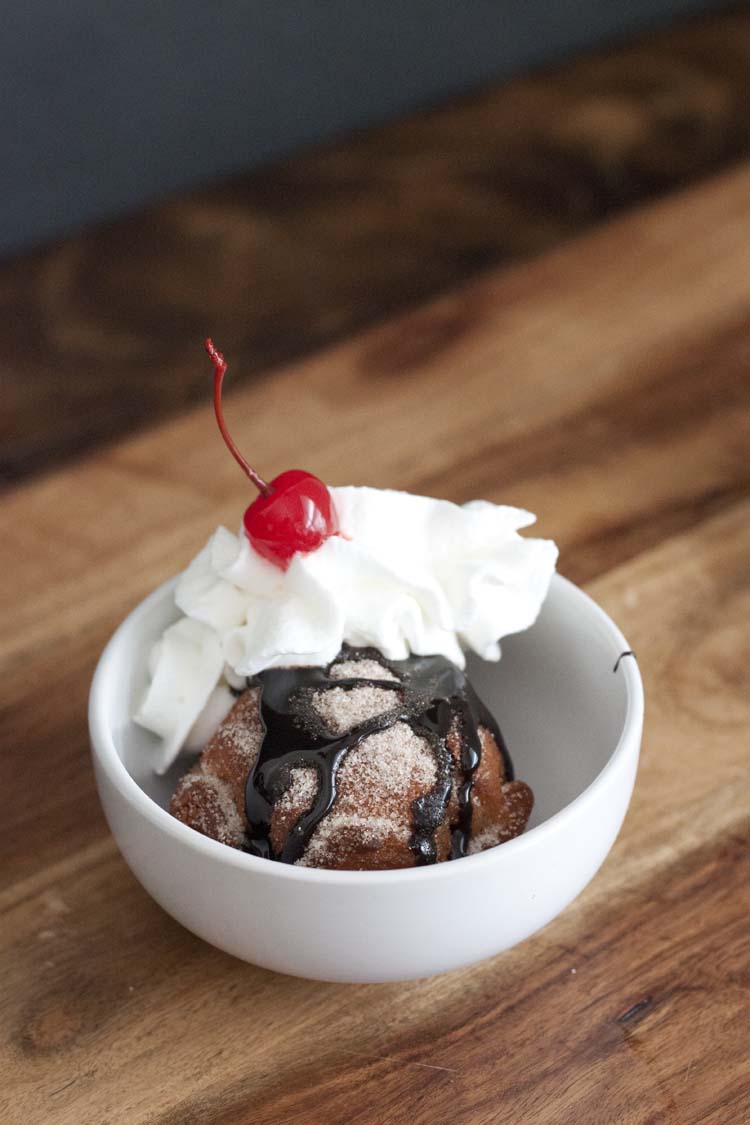
So I put another one together….
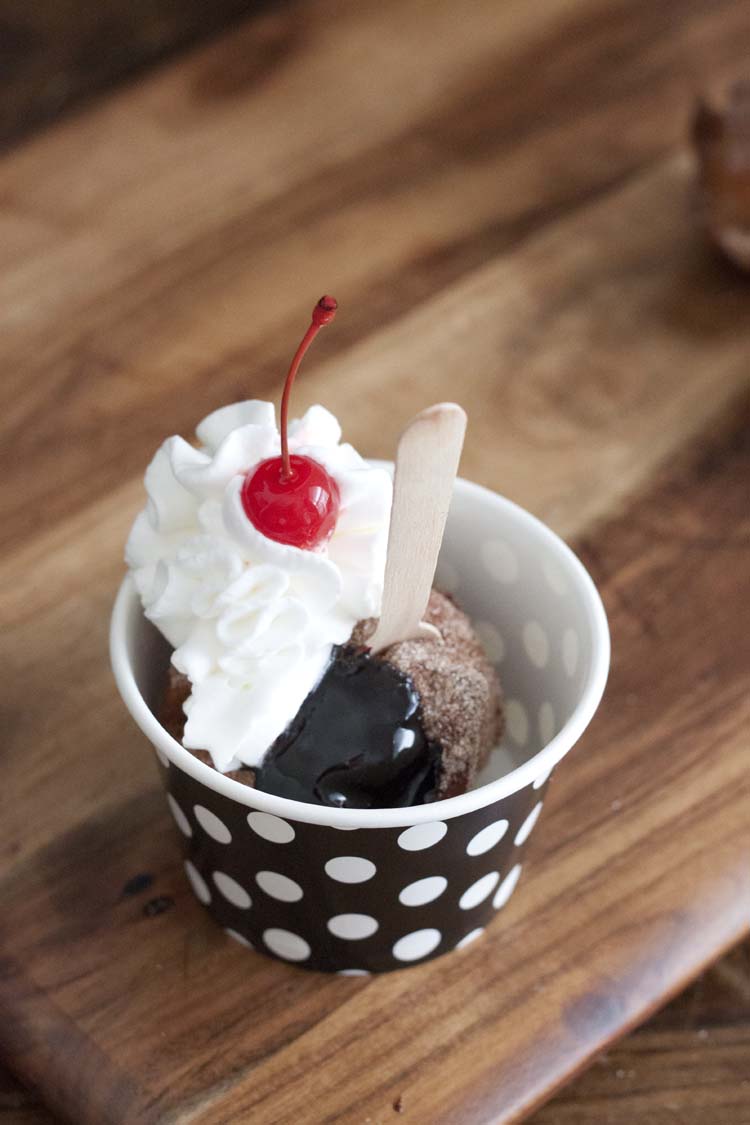
And another.
And I still haven’t even tried one yet. Until someone came back into the kitchen with their, ‘You’ve got to try this’ and so I did.
And that’s how you fry ice cream! Who’s coming over?
Also, see the how-to for my: 3-Layer DIY Ice Cream Cake
3-Layer DIY Ice Cream Cake
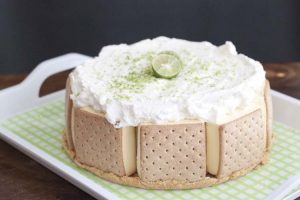
Annnnd, the DIY Key Lime Pie Ice Cream Cake
DIY Key Lime Pie Ice Cream Cake






I’ve always wondered how this could be done without a blast fryer and without having to dip ice cream into batter! This is such an easy version and I can’t wait to try it! #client
Thanks Denise!