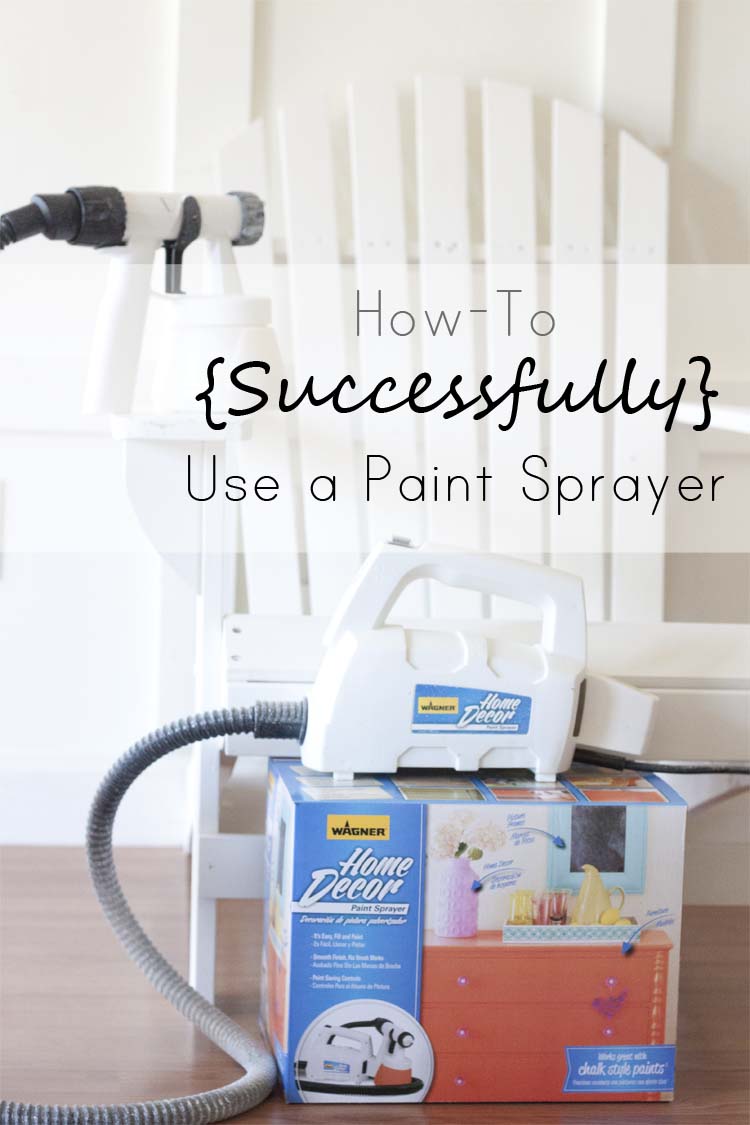
I’m sure at this point it goes without saying that I really like to paint things. Sometimes, depending on the finish I’m going for, I might prefer a brush. Other times a sprayer is absolutely the only way to go. Here are my tried and true tips on how to successfully use a paint sprayer to achieve a professional finish whether you’re a beginner or whether you just haven’t found the right paint sprayer fit for you.
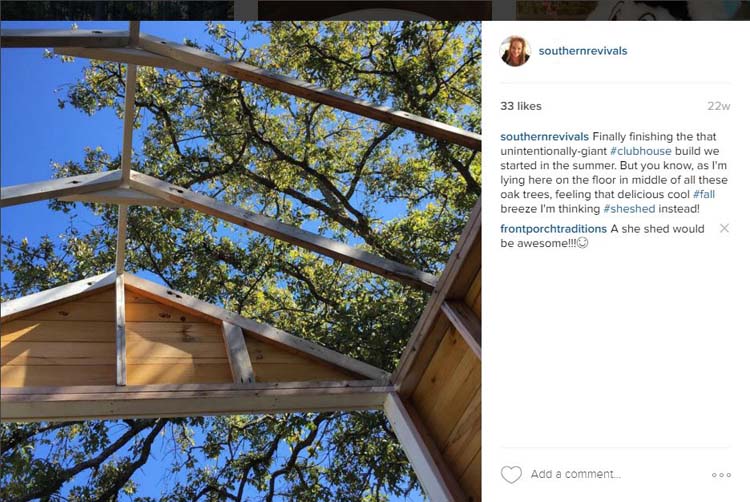
Last summer we embarked on what is probably the biggest build of our lives so far, a tiny house for our getting-bigger-by-the day kids. And for that reason, it turned out to not be so tiny. We have finally finished it and I am busily finishing up the final touches. Mainly, a place for the big people to sit while the little people play.
Supplies for My Project:
This post may contain affiliate links. Please see my disclosure for more information.
- Unfinished Adirondack Chair
- 1 gal Behr Premium Plus
- Wagner Home Decor Paint Sprayer
- Large Dropcloth
- Medium & Fine Sanding Sponges
- Clean cloth
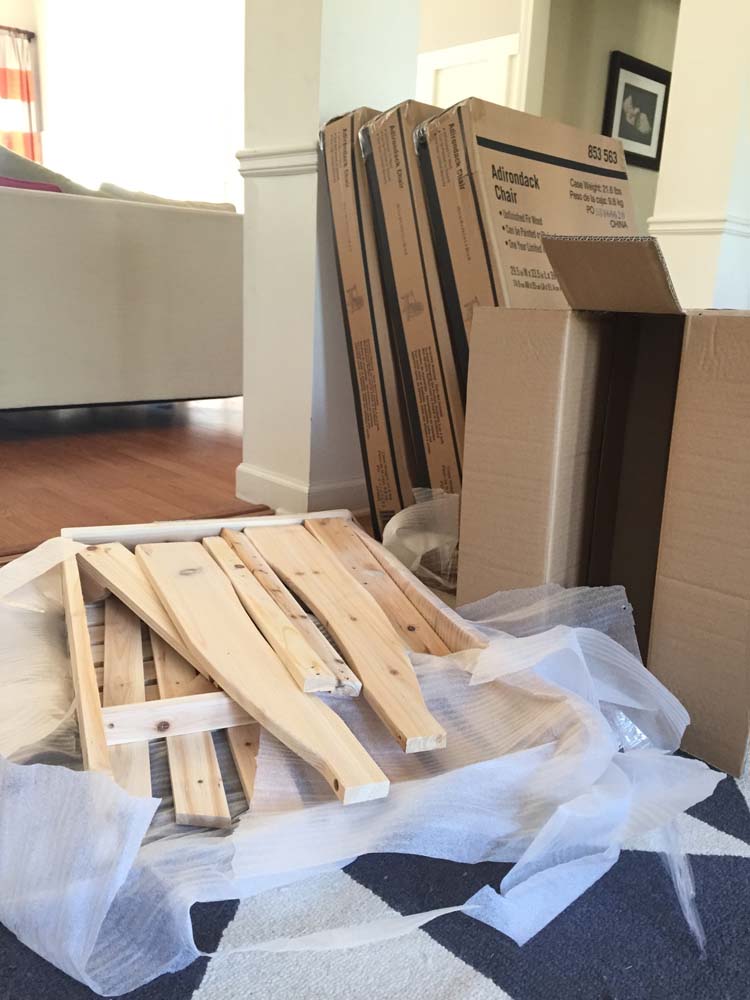
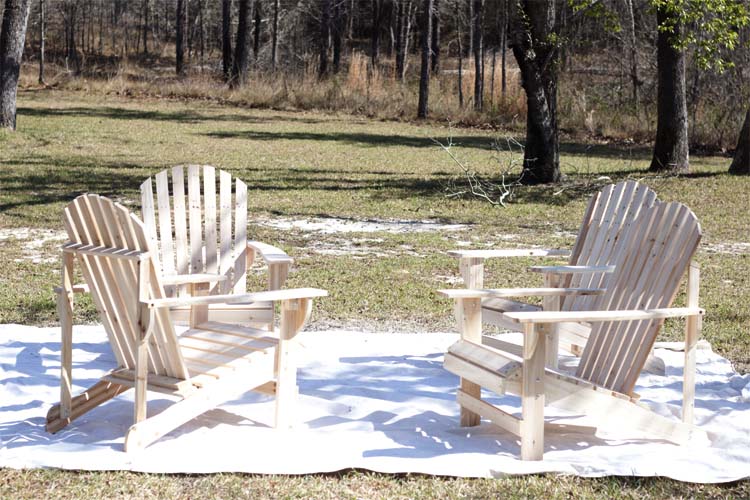
So when I found these Adirondack chairs it felt like a win for Team Big People. Not only did I not have to build another thing from scratch I also don’t have to wait until next summer before they’re done. They were practically already put together and they came unfinished so I could paint them any color I like.
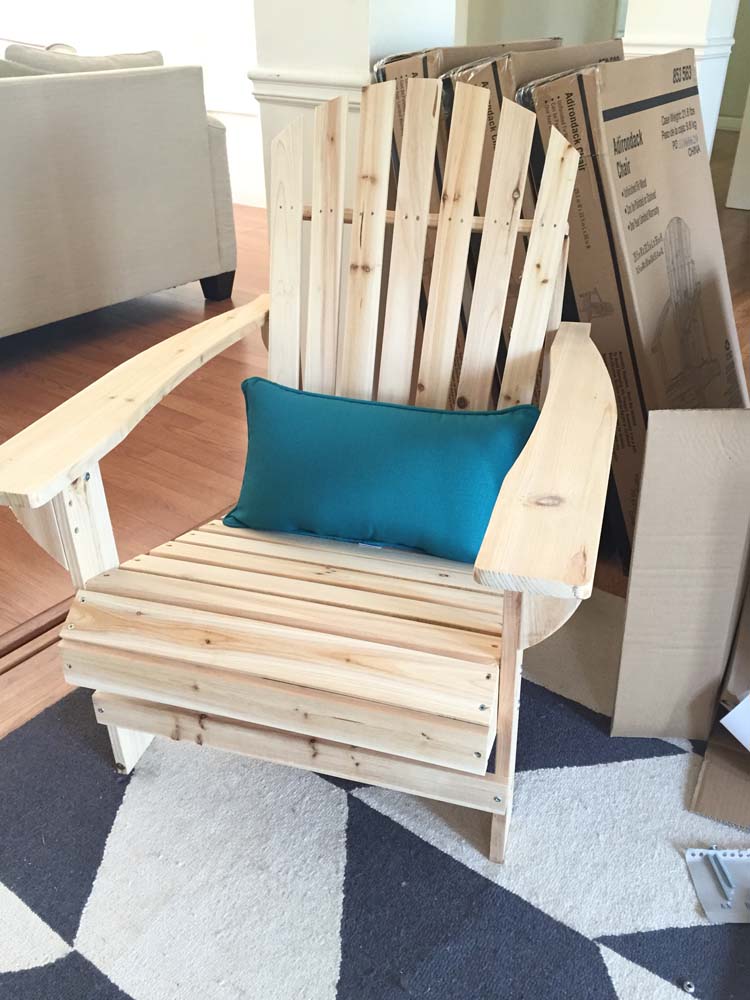
In one afternoon I put all 4 of them together, sanded to remove any rough edges and wiped them clean.
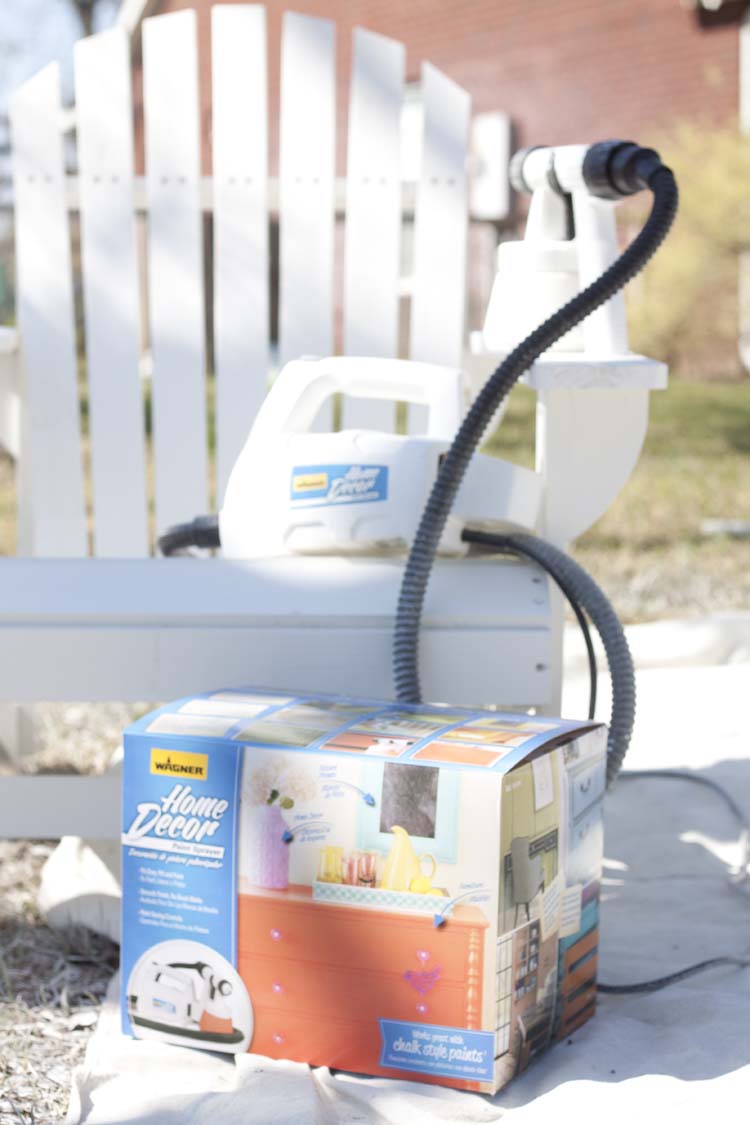
Add in another full day of painting and they were D.O.N.E. I used the new Wagner Home Decor Paint Sprayer and I cannot sing its praises enough. Not only is not obnoxiously loud but it is so, so easy to use and creates a beautiful finish with little extra effort on your part. And they’ve taken guesswork (and mess) out of thinning. It also comes with a poster so you can practice your strokes and a cheat sheet on which pattern to use when. Plus, it’s super easy to clean.
It’s super lightweight but powerful making it great for projects big or small. It can be used with milk paint, chalk-type, and most any decorative paints.
Paint sprayers can be intimidating especially if you’re new to them, at least it was the first time I used one. And then afterward I couldn’t believe I hadn’t tried it sooner. They make the job so much faster and easier.
Tips on How to Successfully Use a Paint Sprayer:
- Have a designated space to spray and protect area with a drop cloth
- Always thin your paint with the appropriate thinning medium and mix well
- As always, clean your project prior to painting
- Sand any rough areas with medium grit sanding block and wipe clean of dust/debris
- Don’t try to cover completely in the first pass
- Use full sweeping motions, side to side, up and down
- Keep sprayer 3 – 6″ from project, depending on project size, to avoid puddling of paint and drips
- Use correct flow control and pattern settings, see details below
- Sand in between coats with a fine sanding block for an ultra smooth finish
- Keep a damp cloth on hand and occasionally wipe spray nozzle to remove any dried paint
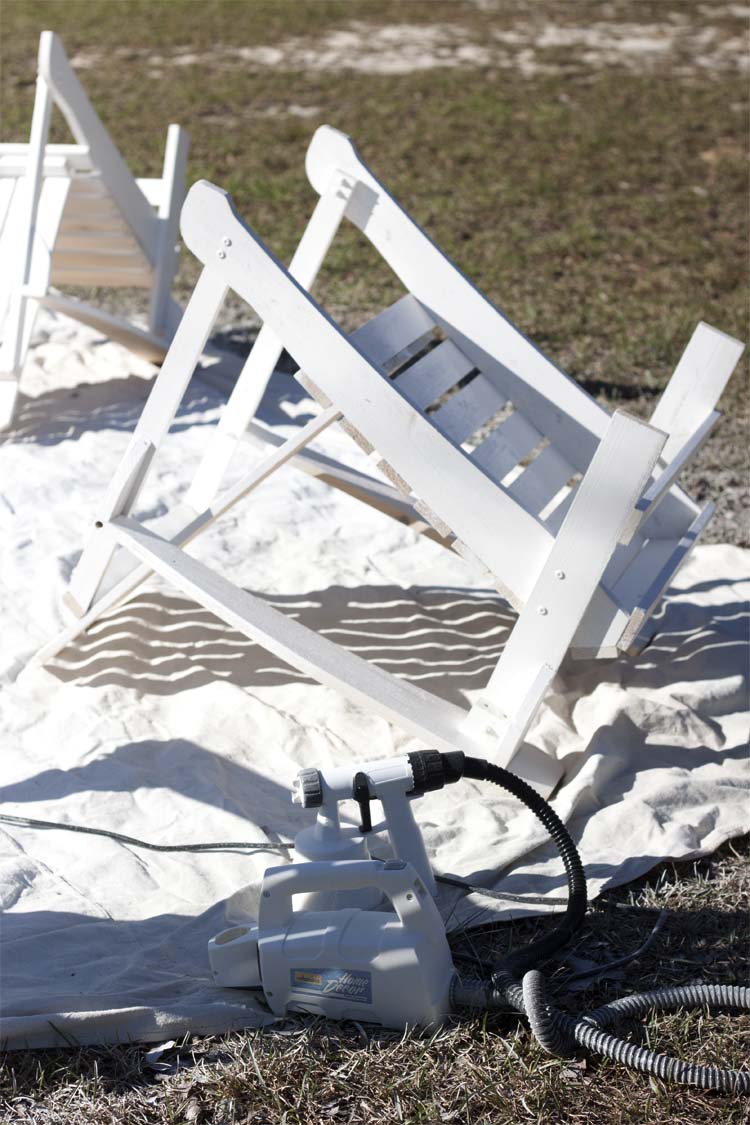
A designated space is a must. Be sure you are far enough away from anything you don’t want paint on, like your house! Or your car! Protect the ground surrounding the area from overspray with a large drop cloth. This will also help to protect your finish by keeping debris from kicking up in your paint job.
I turned my chairs upside down and painted the undersides first. Once that was thoroughly dry I turned them over and painted the tops, allowed that to dry and repeated the process for a second coat.
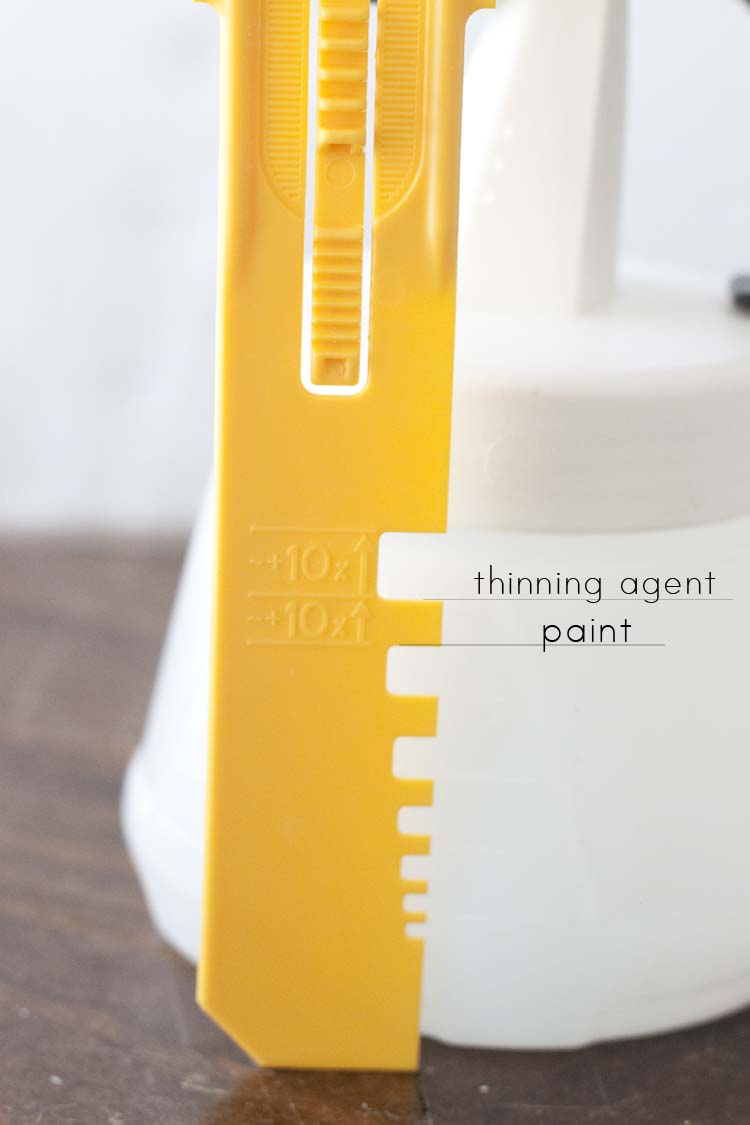
Full instructions on thinning the paint can be found in the owner’s manual but you get a great little “cheat” guide to make things super easy. Simply fill the paint container with paint to the paint line and then add the thinning agent (I used water) to the thinning agent line. Mix well and you’re ready to paint! No more drip tests! Can I get an Amen?!
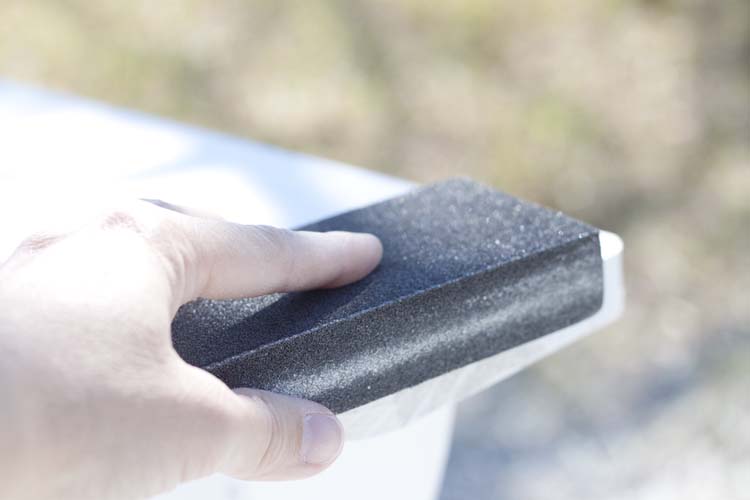
Since I was painting unfinished wood I sanded beforehand to remove any rough areas but I also sanded in between coats with a fine sanding block for an ultra smooth finish. I also used the fine sanding block after the final coat, too.
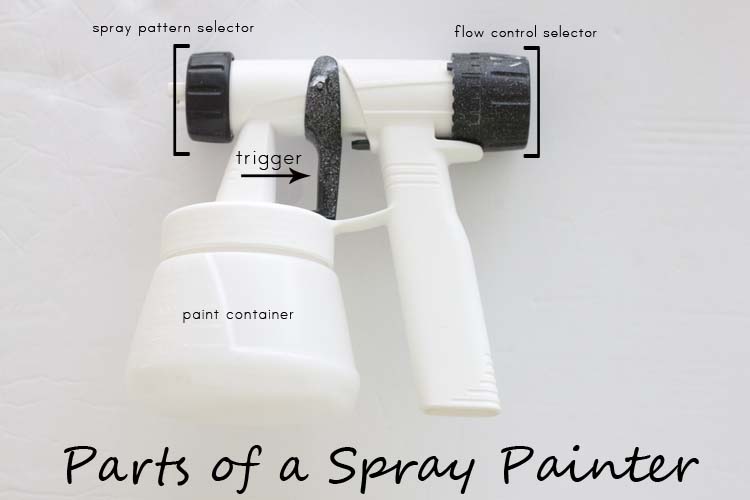
At the back of the sprayer, you have a flow control selector. This dial effects how far back you can pull the trigger depending on how much paint you want to come out. Again, a larger project = more paint coming out, a smaller project = less paint coming out. The spray pattern selector allows you to choose which direction you want the paint to spray out. For up and down spraying you’ll choose the wide option. For side to side spraying, you’ll choose the tall option. This makes sure the max amount of paint is hitting your project instead of being wasted. Make sense so far?
You also have a direct, straightforward option, which you can use for either up and down or side to side. I like to use this option for smaller projects or tight corners for more control.
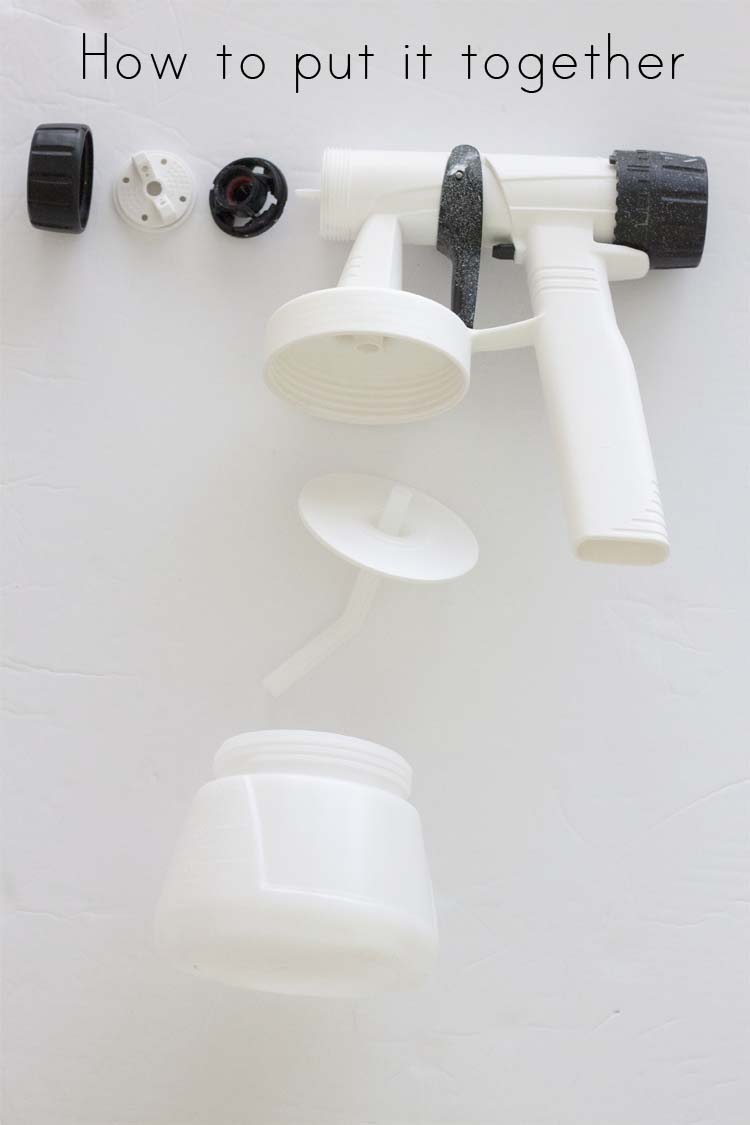
Your sprayer will come put together. The only time you have to take it apart is to clean it or to change colors. But I get a lot of questions about having to take one apart, as that can seem intimidating at first. And also because people wonder how time-consuming this is. I’m here to tell you, it is neither.
Quick tip: Keep the suction tube angled in the direction you’re spraying. If spraying downward the end of the suction tube is pointing forward. If spraying upward, the suction tube should be angled backward.
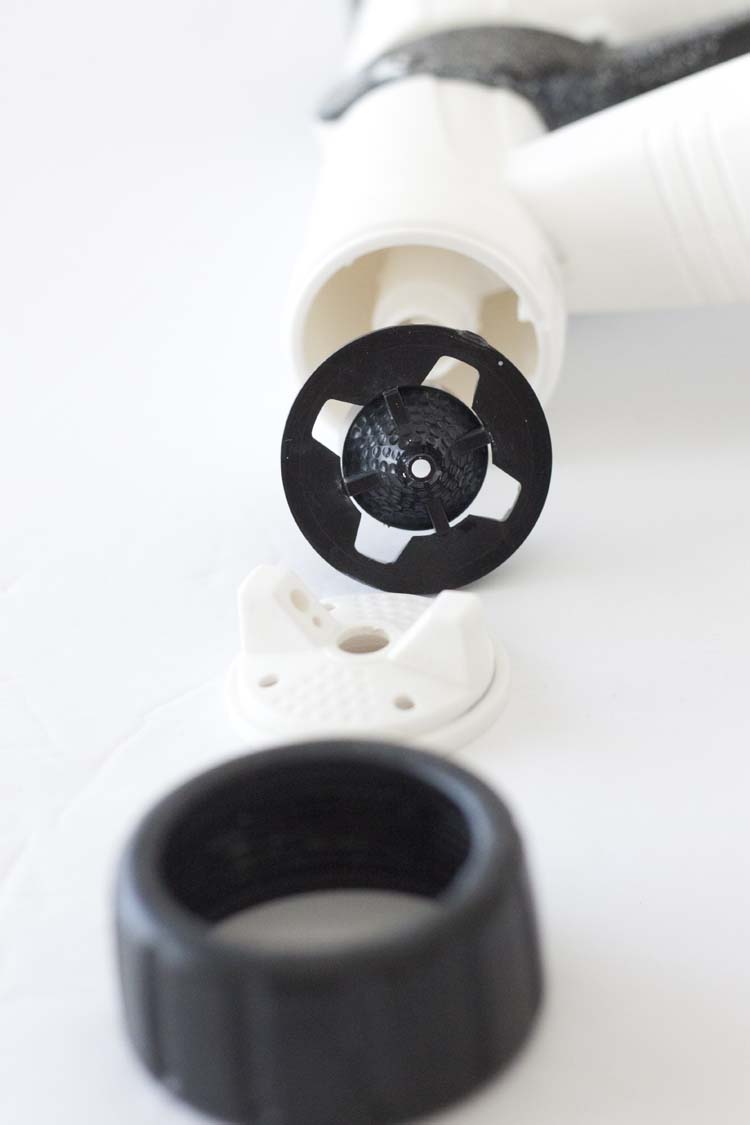
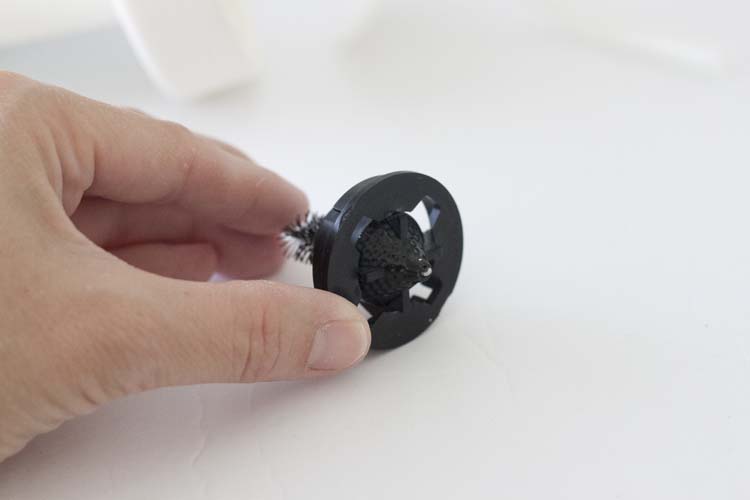
It’s a simple 1, 2, 3 process to put the nozzle back together…

Done! Easy, right?
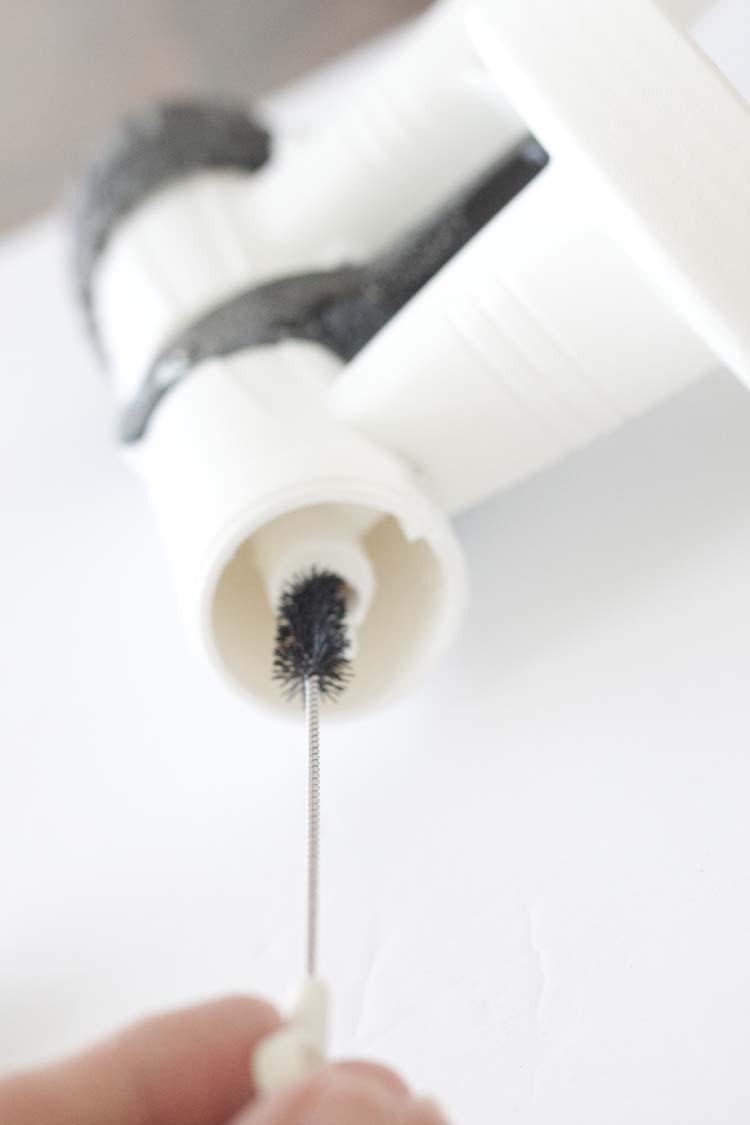
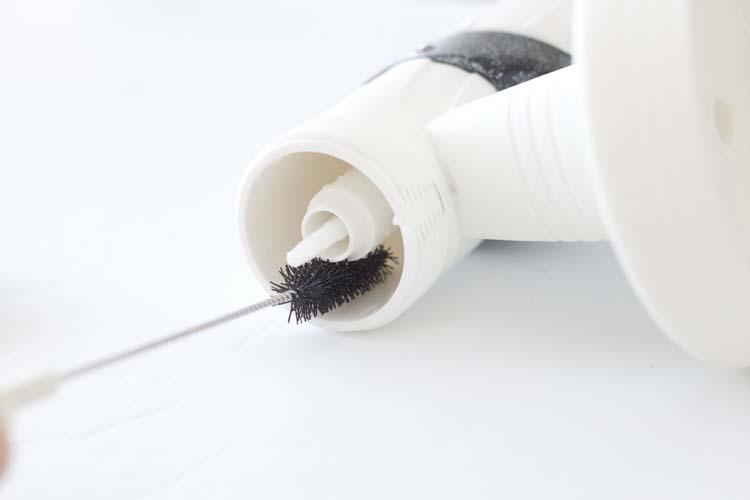
A small wire brush is included for cleaning and it allows you to get anywhere you might need to clean. And if you’ve ever cleaned a paint brush this takes no more time than that. In fact, I’d take this over cleaning out a paintbrush any day. And I have cleaned out many, many paint brushes!
Sometimes I keep a bucket of water on hand so that when I’m having to wait for paint coats to dry I can just dunk my sprayer in the water to keep anything from drying in there while I wait. I disconnect it from the air hose (so that it is not connected to any power source) remove the paint container and seal it in a plastic bag to keep the paint fresh and then dunk the nozzle in the water. When it’s time to use it again I drain the water, run the sprayer nozzle under the hose, shake out excess water and I’m back in business.
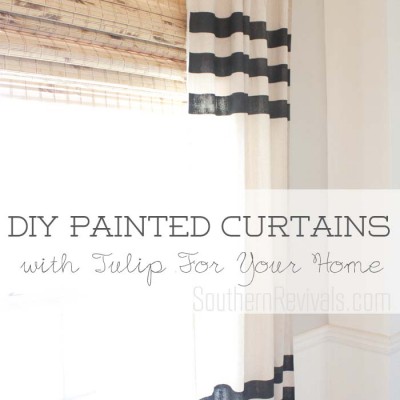
That way I only have to clean it like this once I’m done or if I ‘m changing from white to black. Like here once I finished with the chairs I switched to black for the clubhouse shutters and, OMG! I sprayed painted curtains, too! Can’t wait to show y’all that!
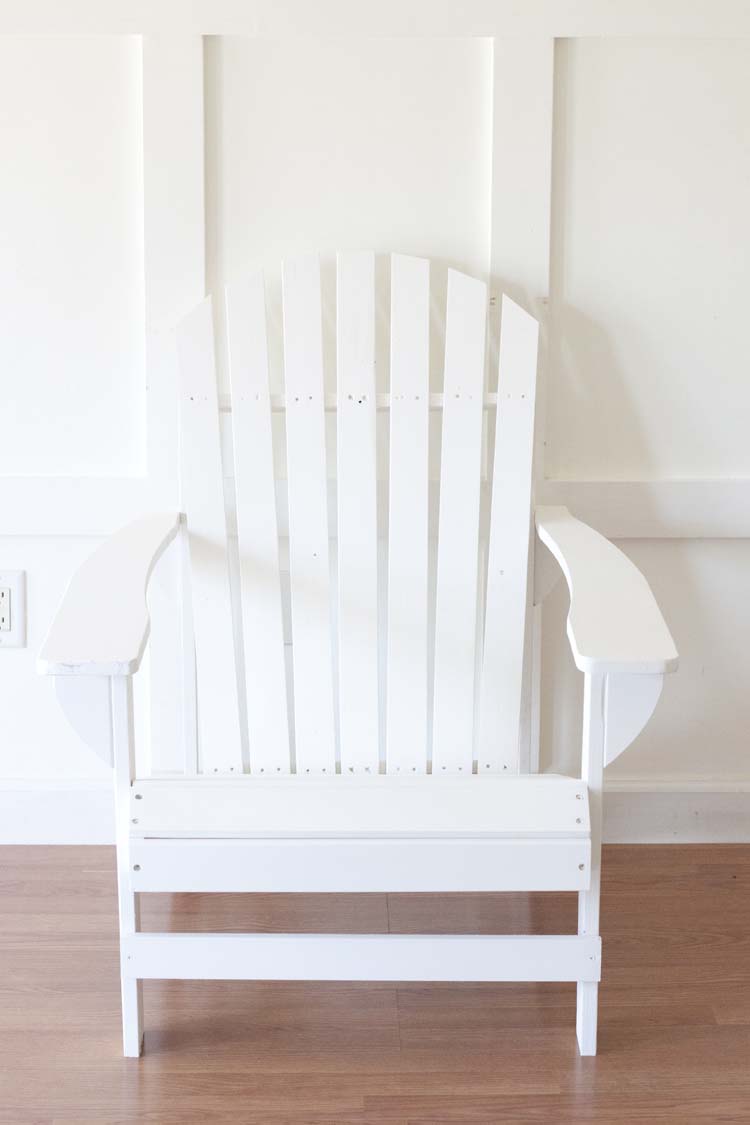
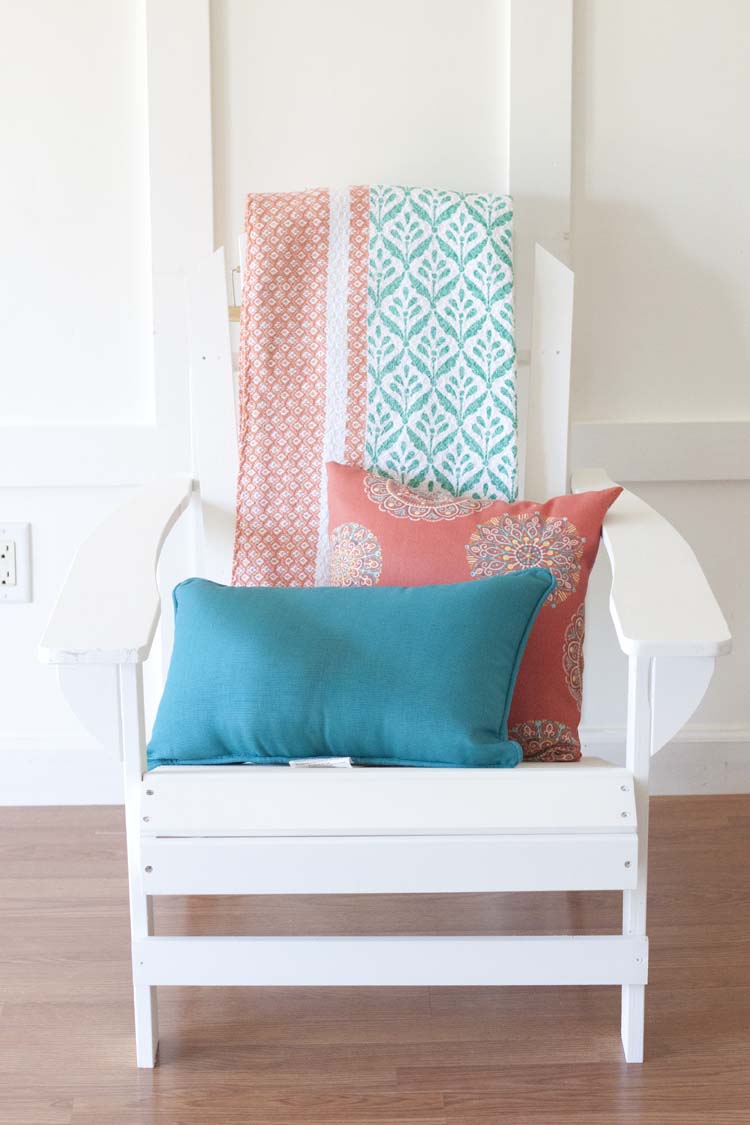
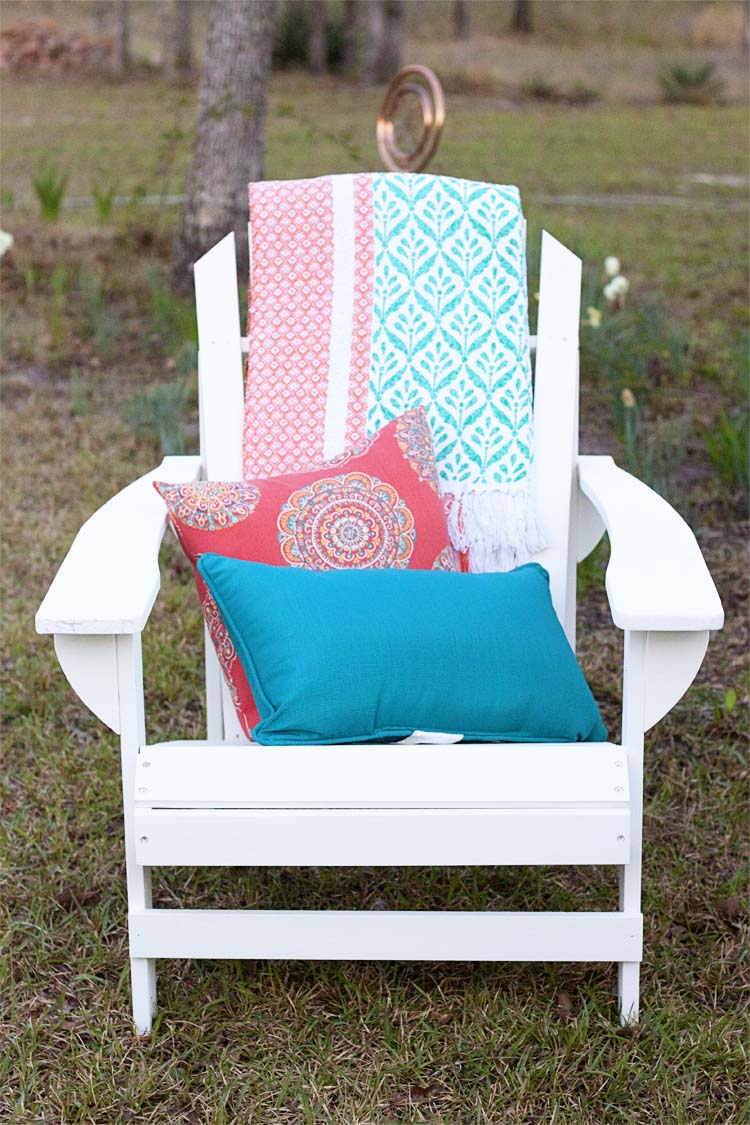
In the meantime, I am finally celebrating the fact that in addition to the new clubhouse, the playset and the trampoline, there is now also a space for the Big People. And there’s just something about crisp, fresh white, am I right?
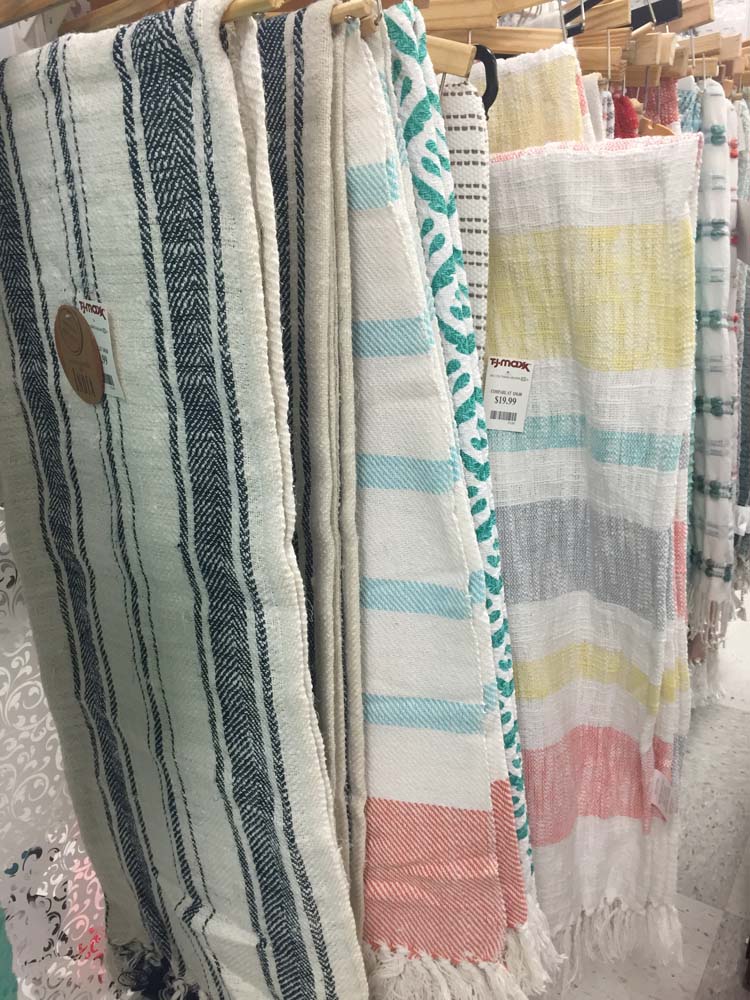
And possibly the greatest addition, aside from the pillows I got from Home Depot, are these cotton throws I found at T.J. Maxx. I wanted to buy them all. ALL. In the end, I just got two but I took a picture of all the others so I could keep them with me forever. So. In. Love.
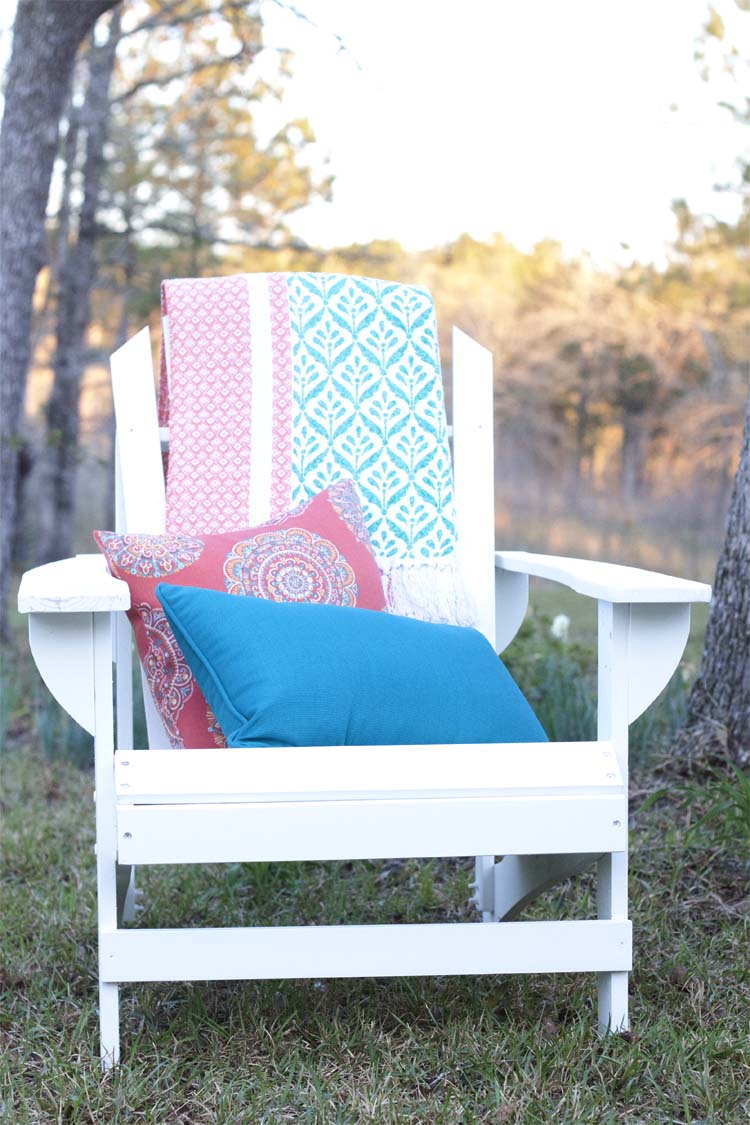
I’m sharing the clubhouse soon. Until then you’ll just have to imagine me sitting in my new, white chairs with my pretty cotton throws sipping on a sweet tea. Or, a Tispsy Peach Tea, you know, depending on the kind of day I’ve had.
If you haven’t tried a paint sprayer I can honestly say that I highly recommend this one. You’ll have your project done in half the time with fewer coats and you’ll get to enjoy it that much quicker.
I’m telling you, if you’re in the market for a new sprayer or if you’ve been waiting to try one, this one gets my vote. My only question is, what will you paint first?