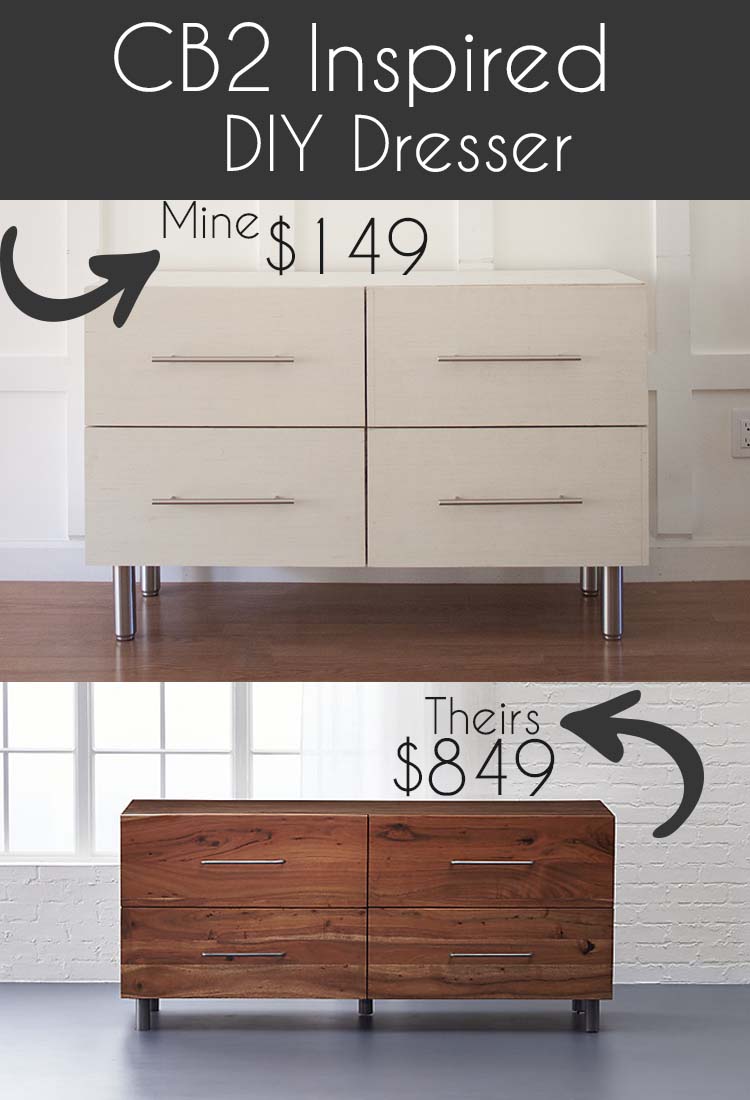
I am officially late for the first time this, the 3rd week of the One Room Challenge but I’m not complaining because I survived two sleepless nights on a very uncomfortable charter bus and a trip to D.C. with 150ish marching band students. I. Can. Do. Hard. Things. Like this DIY dresser which was really a lot easier than that trip!
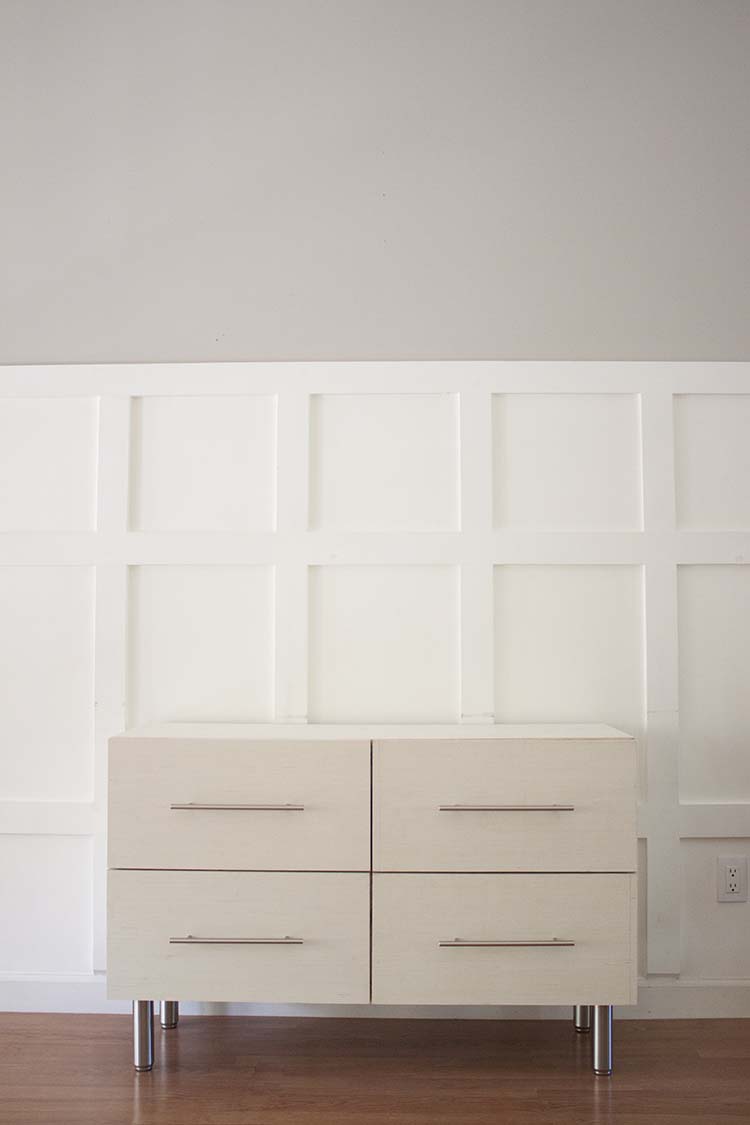
First, let me say if you can afford the CB2 version of this mid-century modern dresser with its mango wood goodness, you should totally go for it. For us, it was cost prohibitive what with an entire room makeover to complete and, because the space is so small, we need something of a very specific size. The only way to achieve that was our very own DIY dresser.
If you’d like to catch up, here is week 1 of the ORC and week 2 of the ORC modern bedroom makeover.
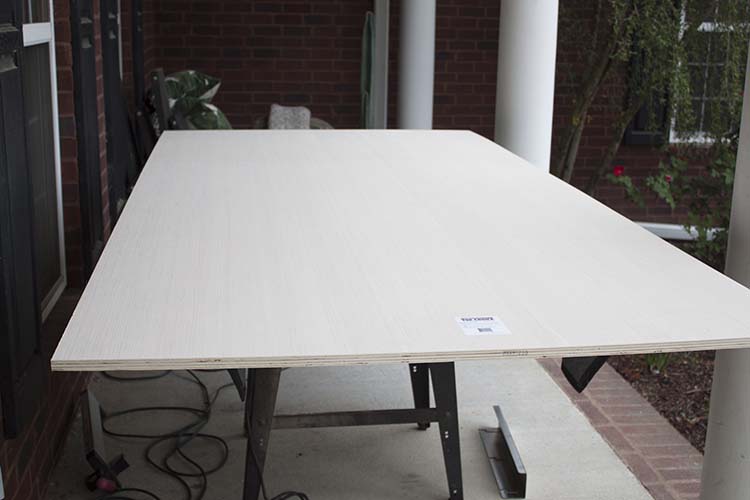
DIY Dresser
What you’ll need to make your own
This post may contain affiliate links. Please see my disclosure policy for more information.
Supplies:
- 1 – 4×8 3/4″ sheet Blondewood Plywood (for cabinet)
- 2 – 2×4 1/2″ sheets Blondewood Plywood (for drawers)
- 1/4″ luan (for backing)
- 4- 16″ drawer slides (provided by D.Lawless Hardware)
- 4 – 12″ brushed nickel bar pulls (provided by D. Lawless Hardware)
- NORSBORG sofa legs from IKEA
- 1 1/4″ Kreg pocket hole screws
- #6 1/2″ flat Phillips screws (to attach drawer slides)
- #6 1″ flat Phillips screws (to attach drawer fronts)
- veneer tape
- stain or paint
- wood glue
Tools:
- Tape measure
- Table saw
- Sander
- Drill & bits
- Kreg Pocket Hole Jig
- brad nailer and/or crown stapler
- iron (to apply veneer tape)
Step 1
We knew exactly what size we needed our DIY dresser to be (48″ w x 17″ d x 24″ h – not counting the legs) so we started by cutting the top and bottom panels (48 x 16 1/4″), one partition (16″ d x 22 1/2″ h), and two side panels (23 1/4 x 16) out of 3/4″ plywood. We also cut the 4 drawer faces (24″ w x 12″ h). I don’t have pictures of this step because it takes two people to cut a 4×8 sheet of plywood with a table saw!
Step 2
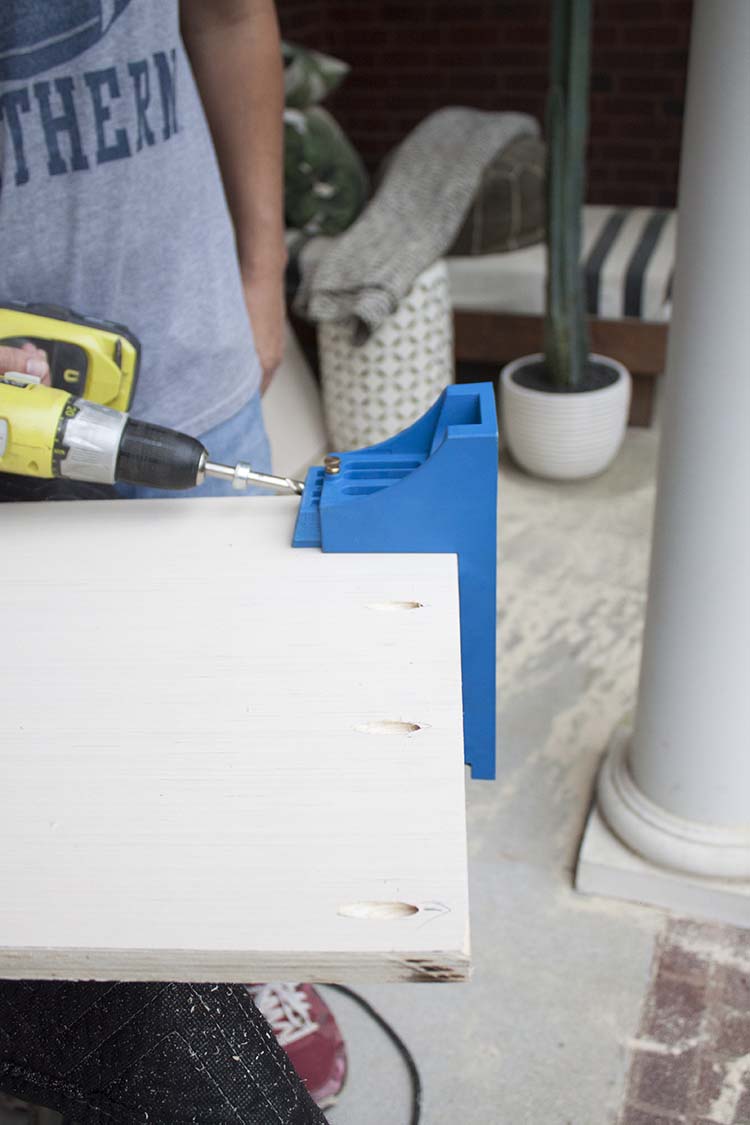
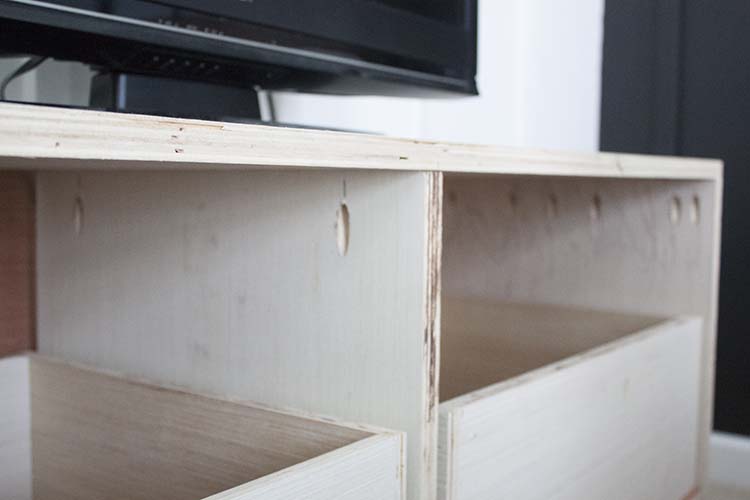
Then, using the Kreg jig, we drilled pocket holes from inside the side panels and the partition, at the top and bottom, in order to attach the top and bottom of the cabinet to the sides and partition. Pocket holes should be on the inside of the panels so they are not visible from the outside.
Step 3
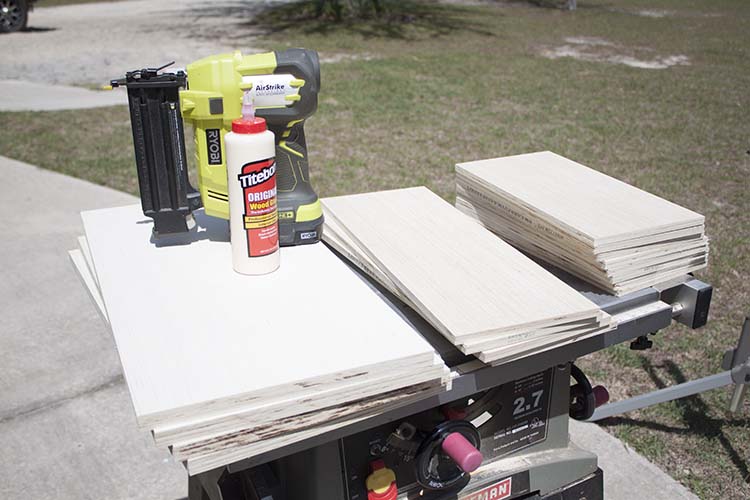
Then we cut all the material for our drawers. Each drawer is 16″ w x 23 3/4″ l x 8″ d. Each drawer face, made from 3/4″ plywood, is 24″ w x 12″ h. All four sides of each drawer is cut from the 1/2″ plywood whereas the bottoms are cut from 1/4″ luan.
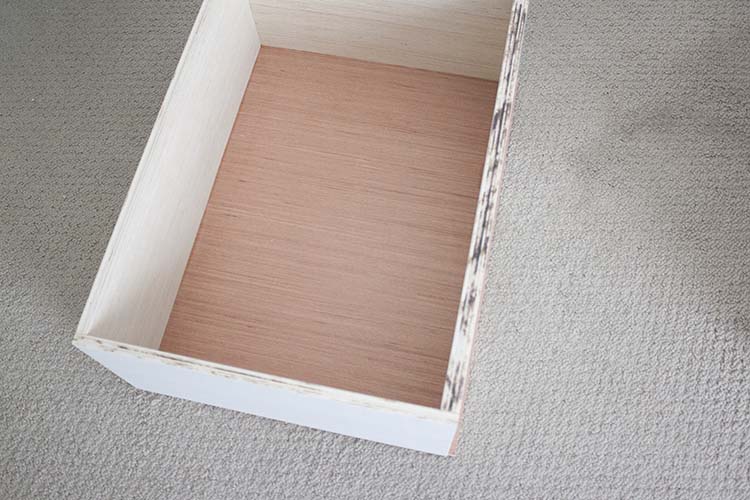
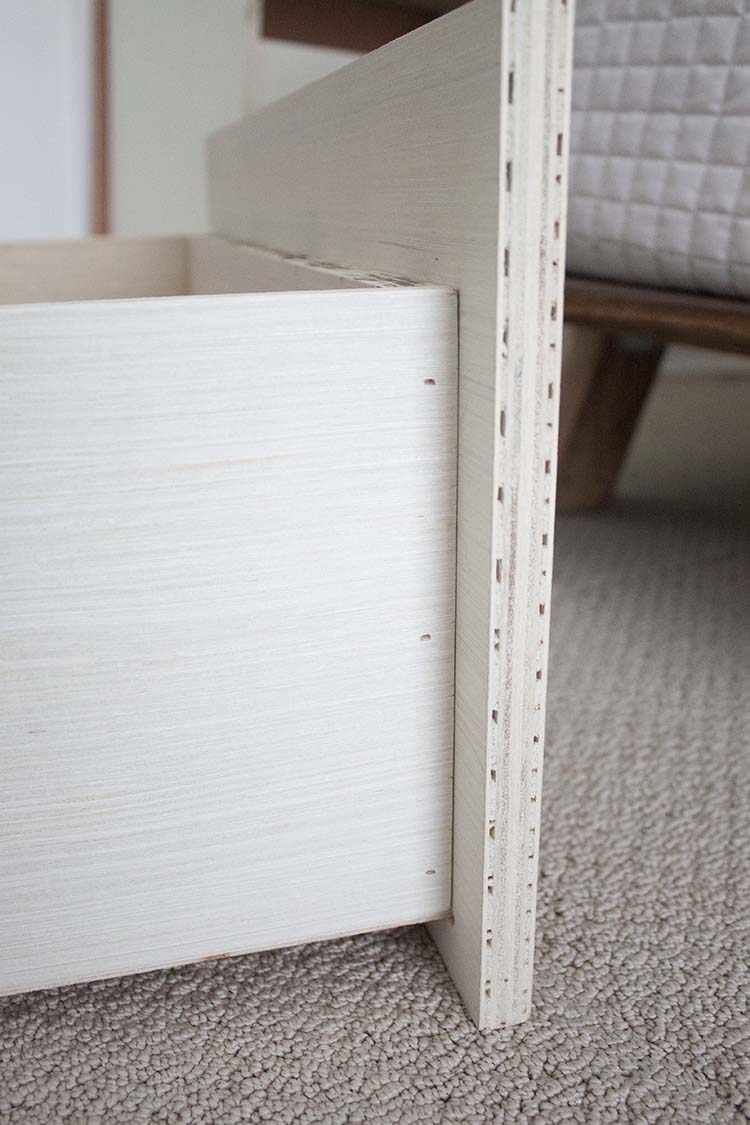
We wound up not having quite enough of the 1/2 plywood to make all of the drawer sides so two of them have one front panel cut from 3/4″ plywood. It was left over from the cabinet and it saved us from having to go buy more. We felt since these drawers would be front-heavy, they should go on the bottom. ALWAYS tether your furniture to wall a to prevent tipping, especially if you have small children.
Step 4
To assemble the drawers, we used wood glue and a brad nailer. We attached the drawer faces with 1″ screws.
Step 5
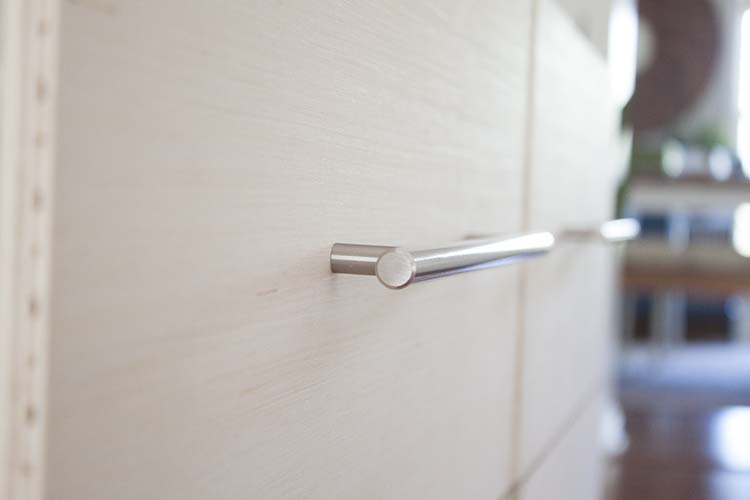
Using an appropriately sized bit for the screws your pulls come with, drill holes to accommodate pulls in drawer fronts. Attach pulls.
Step 6
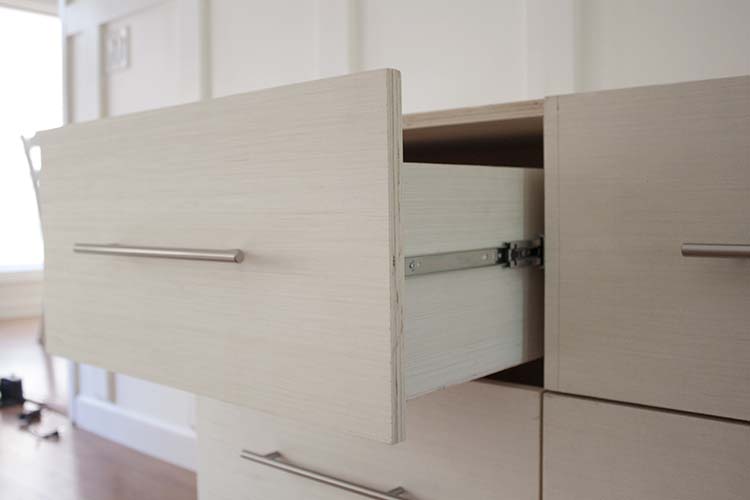
We installed the drawer slides on the inside of the cabinet first, alternating the slides on either side of the partition so that none of the screws ran into each other, and then installed the corresponding part of the slide onto the drawer.
Step 7
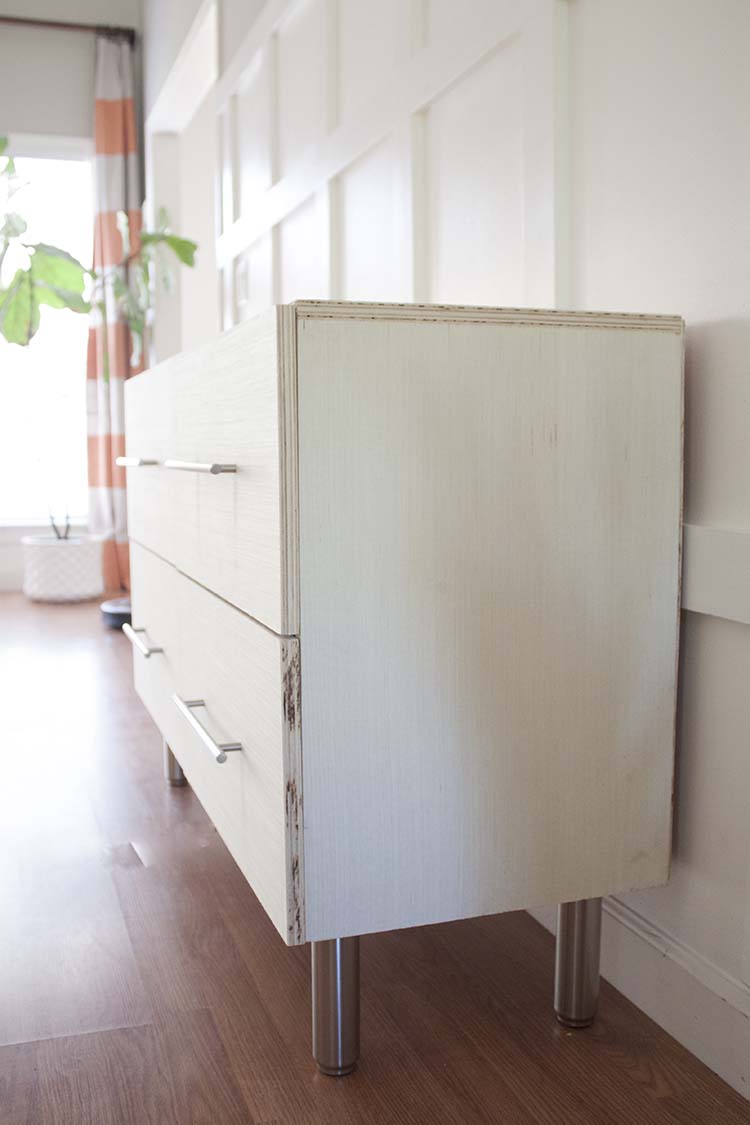
To install the legs simply drill a hole slightly smaller than the leg screw and screw in each leg.
As you can see I sort of puttered out right about here after doing all of that. Part of it is because I’m still exhausted, from the trip, not the build, but part of it is because I’m not sure what I want to do with it from here. Aside from attaching the veneer tape which I utterly hate doing for no really good reason at all. I mean, it’s easy.
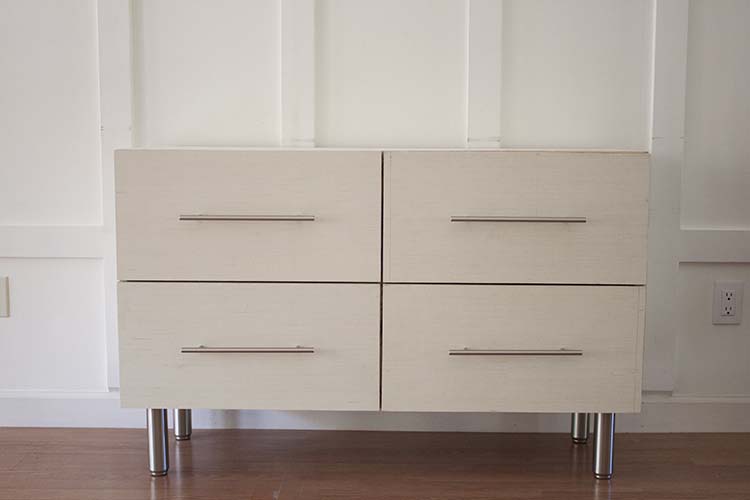
But, I’m only a day late and instead of a dollar short, I’m $700 ahead of the game!

I still have to choose side table (or tables) and light fixtures so I’ll see where the room takes me from here and then decide. My son is really digging the natural look but it doesn’t really work, I don’t think, with what we’ve already got going on in there. What color would you choose for it?
Next week I’m finally dishing on that amazing bed you go a sneak peek of last week. Get ready for another tutorial!
In addition to the ORC, this project was finished (also late) as part of the Fab Furniture Flippin Contest. Thank you to the FFFC hosts: Evey’s Creations, Ritzy Parties, By Scottie and to our new hosts, Glittered Barn Designs and My DIY Envy.


Jamie,
You blow me away girl! Building furniture for your ORC space?! I bow down. I love how this piece turned out and-I’m just gonna say it-I like it better than your inspiration piece.
Meghan
And you made my day! Thanks so much!
I love how this build turned out! The long pulls against the sleek drawer fronts give in the right amount of edge
Thanks so much, Lindsey! You make my cheap knockoff sound amazing! 😉
I’m officially impressed! Your dresser turned out amazing! You guys did a fantastic job on that build!
Thanks so much, friend! It’s been a rough week so I certainly appreciate the encouragement!
Amazing job on the dresser. I saw that you built it totally from scratch and was like “oh heck no, not a chance I’m doing that.” You seem able to do anything you set your mind to, just outstanding. As for what to do with it – after seeing the rest of the room so far I thought maybe a black stain? Keep the colors going and contrast against the white walls but a stain will allow the grain to peek through which is nice. I always love visiting your blog, so much inspiration. Thank you!
I really like this! I’m New to building furniture and would like to replicate your build but was wondering if you can explain why the top and bottom panels are cut 16 1\4 in deep and the side panels plus partition are only 16 in deep? Should the side s and partition be attached so their flush with the front of the top and bottom panels?
Thanks, Kristin!
This is to accommodate the back panel (it’s 1/4″ thick) and keep it from showing from the top. In other words, the back panel fits INTO the top and bottom panels. I hope that makes sense!