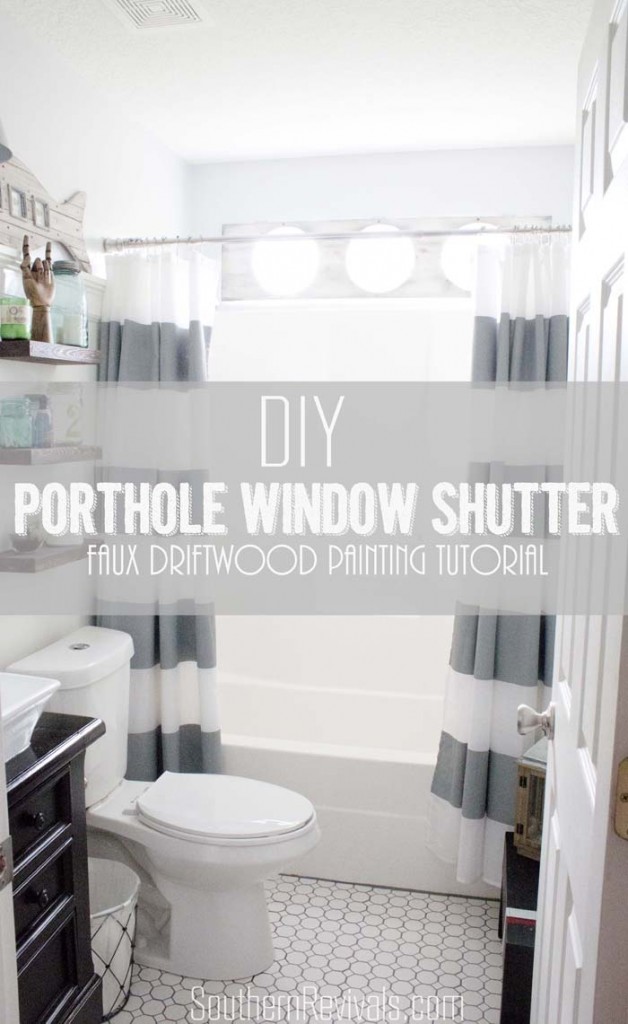
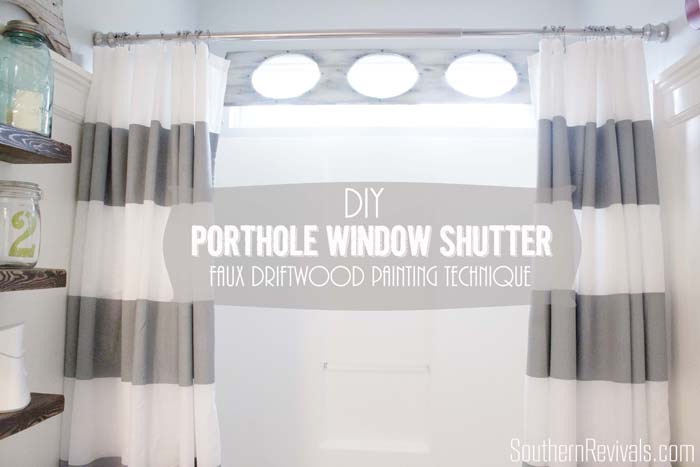
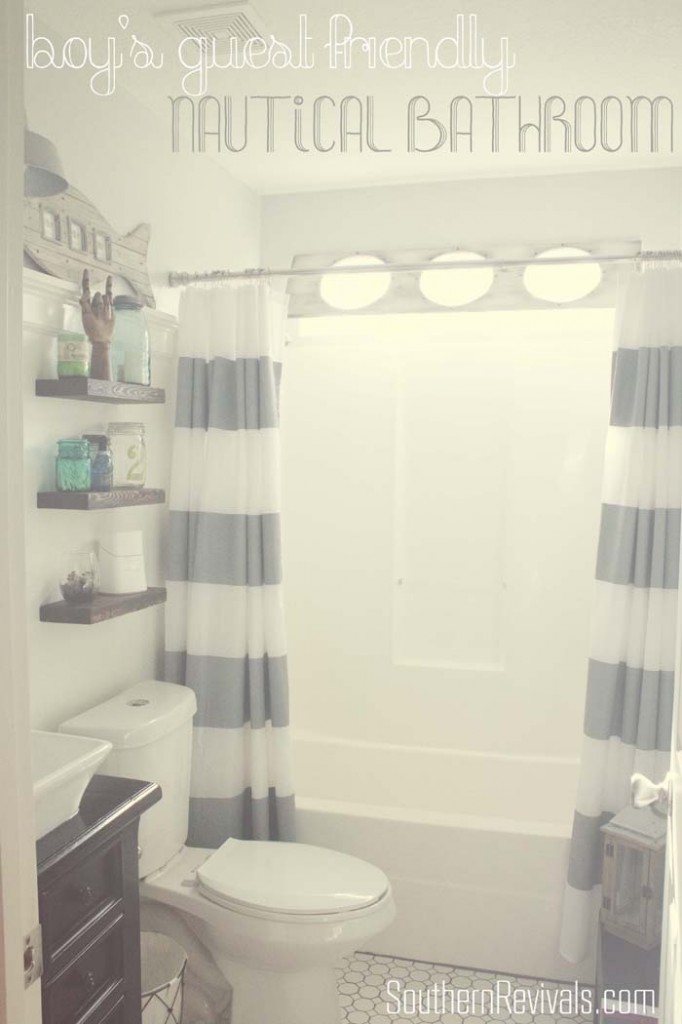
Occasionally I have an idea that makes me feel really kind of great about my mostly right-brained self. My decision to create a porthole in my boys’ Guest-friendly Nautical Bathroom Makeover was one such idea. I knew I wanted a bathroom that would feel clean, comfortable and spacious (despite its tiny size!) to guests. But I didn’t want to take any fun away from my two boys who will wind up using the bathroom far more than any of our guests will. The idea first struck me when I decided on two shower curtains instead of one. A shower looks so much like a window to me it makes me wonder why I never thought of two shower curtains before. But I digress.
Once I started looking at the shower like a beautiful window with two DIY’ed West Elm Knock-off Shower Curtains flanking either side, I began to realize that rectangular-above-the-shower-insert window many of us have, had to go. Or, at least, had to get a makeover.
I like to have a theme when decorating but I don’t like for it to be too over done. There’s a fine line between just right and over the top.
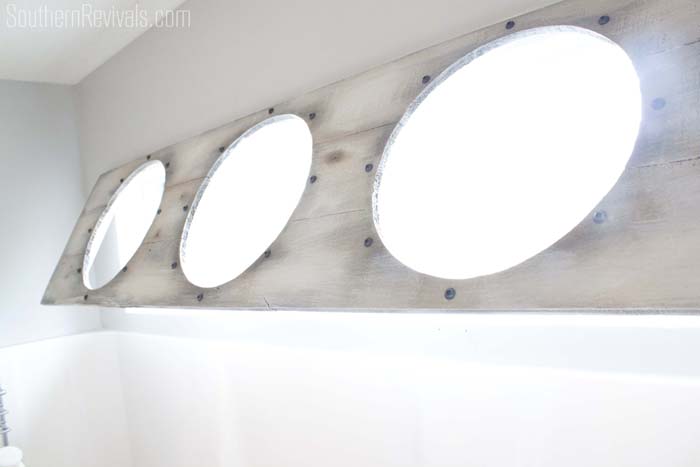
I worried making it look like a porthole might be “over doing it”. I worried a window shutter might block out too much light. But since this faux porthole window shutter was so easy to put together I decided to just go ahead and make it, see how I felt about how it looked and the decide if it was a go or not.
Here’s How to Make Your Own
- Cedar boards
- skill saw
- screws
- nail gun/nails
- wood glue
- drill
- hinges
- paint
- stain
We used some cedar boards left over from our square foot garden box, you can see those here. We were fortunate that three of those boards together created the perfect coverage for our window. I am intentionally leaving out measurements here because your window is likely different from mine anyway.
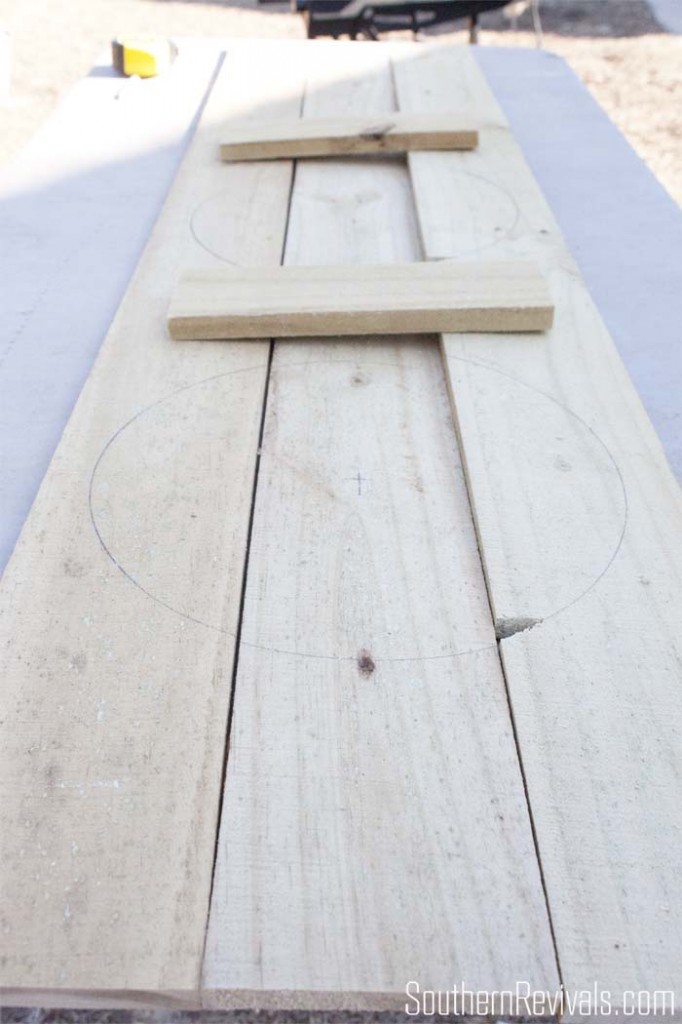
The easiest thing to do is to measure your window opening and then give yourself about an inch of an overlap all the way around. Pay close attention to where your shower insert or tile starts because you don’t want your shutter to hang down over that. Also, once you have your boards cut to the proper length (and/or width) you’ll place some wooden brackets (again we used cedar scraps to make these) on the back to hold your boards together. We used 4, one on either side of each of the 3 holes. Make sure you measure your bracket so that they fit inside your window opening.
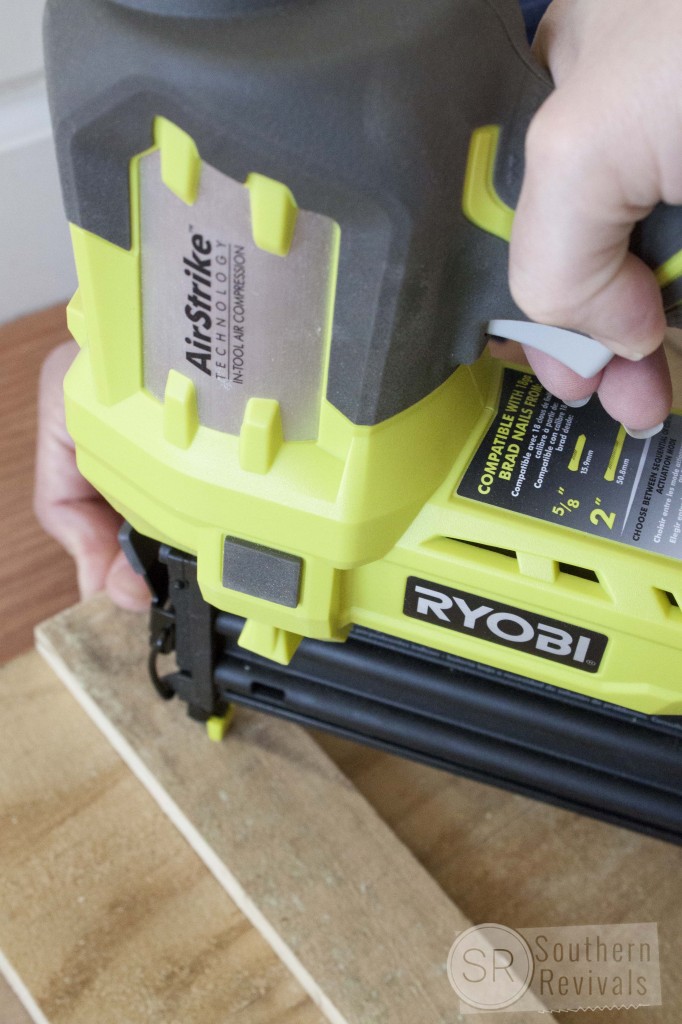
Secure these brackets with a little wood glue and your nail gun. I use the Ryobi Airstrike Brad Nailer. If you don’t have one, I seriously recommend it!
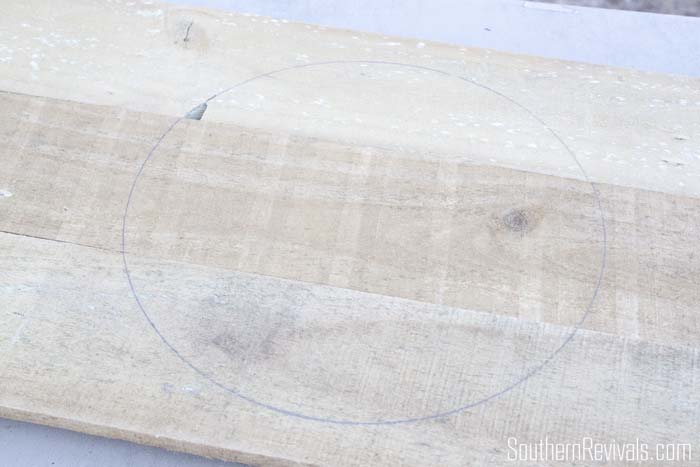
Next you’ll draw out your portholes, leaving about an inch from the edge of your boards. A plate or other template works great for this. Space them evenly apart and the same distance from the sides. It may be easiest to start with the middle circle and determine where to place the two additional circles from there.
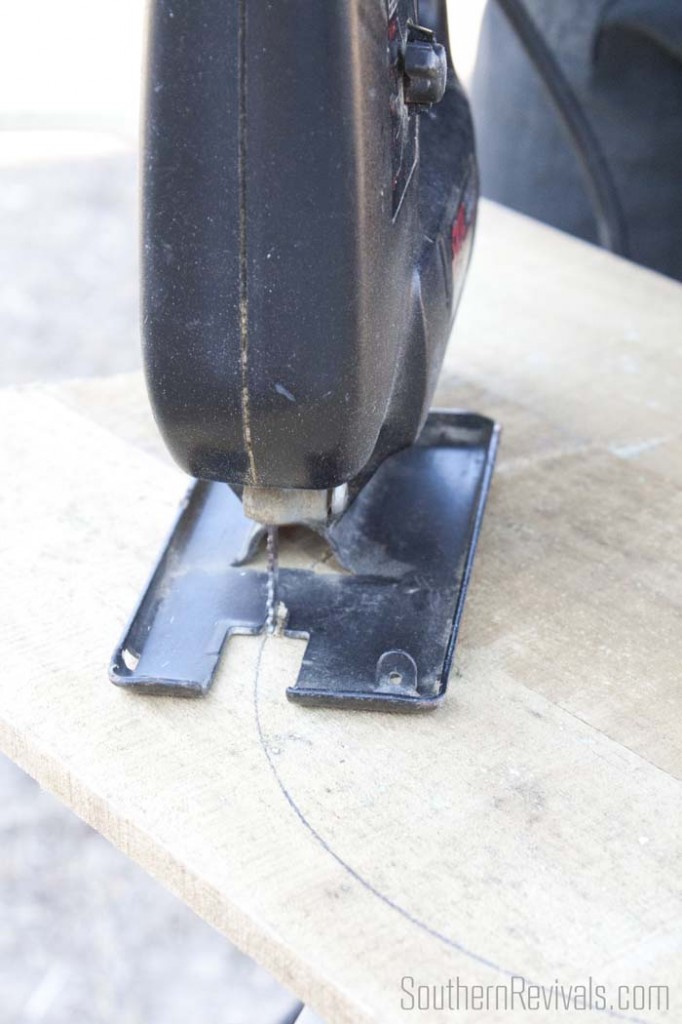
Using a drill, predrill a hole as a starting place for your skill saw blade.
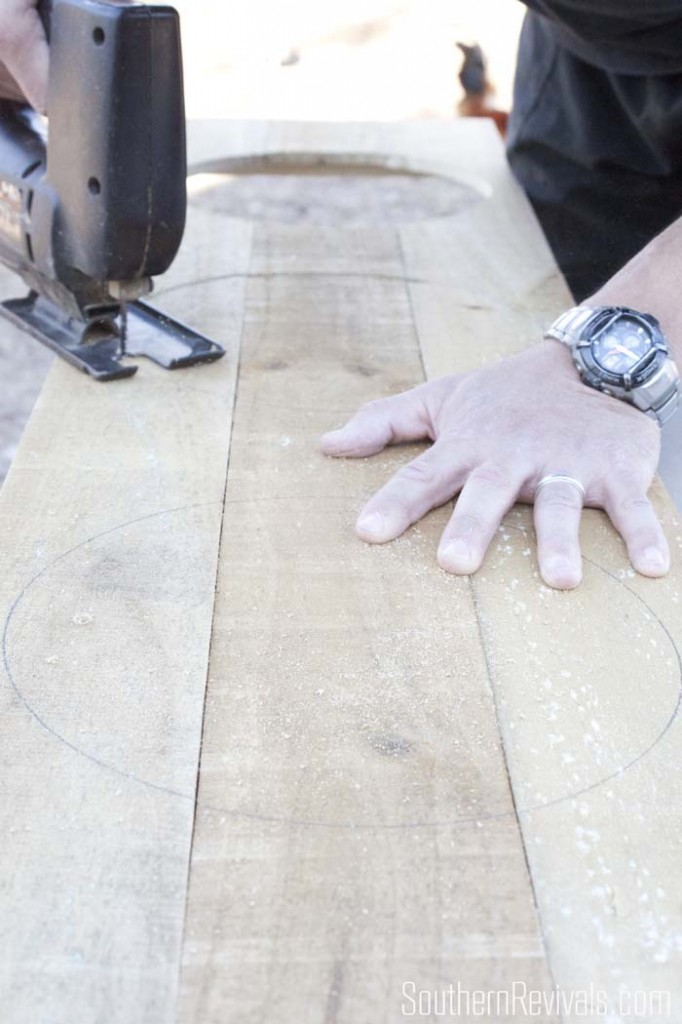
Then, make sure you haven’t already had too much coffee and get to cutting with you skill saw.
It really is such a fun and easy project! And the results really, really pay off.
For hinges, we just used simple barrel hinges. The trick is to make sure you attach the hinges to the boards themselves and not the wooden brackets holding your boards together.
When considering this project you might assume, as we did, that there are studs frame out this window. There aren’t. Bummer. I know.
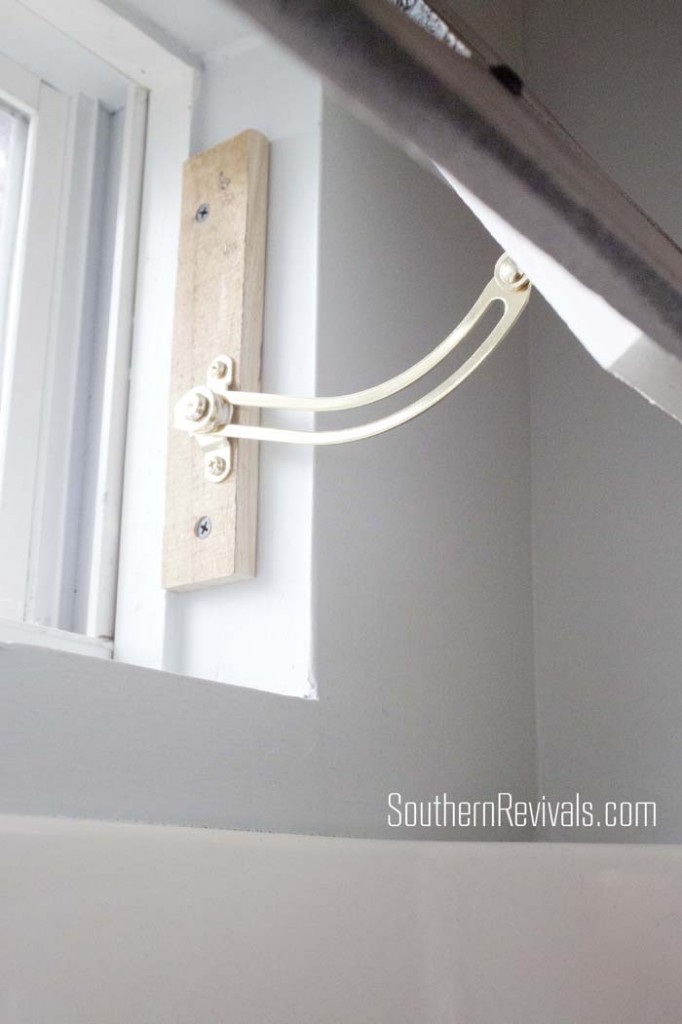
You can use drywall anchors if you like or you can just screw the hinges directly into the drywall, like we did. The shutter is very light and aside from that we also used an arm hinge to allow to open the shutter if we like. This provides added stability but we did have to add a wooden bracket inside the window frame to attach the arm hinge to. Again, no anchors. Just a little wood glue and screws. I originally wanted the arm hinge because I was still slightly worried, even after I decided I definitely wanted to do the porthole shutter, that it might block out too much light especially in the darker, winter months. In the end, I don’t find it necessary but I really, really love the look of the open shutter so I am glad I made that decision even if it was necessary.
And now I would like to share with you a cautionary tell on always listening to your mother.
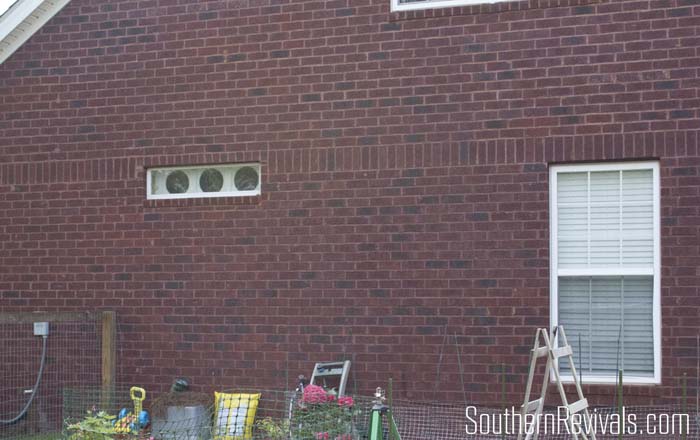
My mom used to always tell me, no matter what your windows look like from the inside, they should always, always look the same from the outside. I have minded that advice with white blinds, white lined curtains and white lined bamboo shades but for some reason, this time, I didn’t think it would matter. Until the day I walked into my garden and saw that bare cedar wood staring down at me from that little bathroom window. I spent the rest of the day craning my neck (because I was too stubborn to take it down and do it) and painting the back of that shutter white. It looks much better now and somehow I know that even in Heaven my mother is saying, I told you so!
Want to give your project a beautiful driftwood Restoration Hardware inspired finish like I did my porthole window shutter?
Click here for the Faux Driftwood Painting Technique Tutorial
Click here to see the entire bathroom makeover


This is seriously one of the most creative ideas I have seen – love how it turned out!! The whole bathroom is such a stunner. Pinned!
You are so kind to me Krista!
Thank you so much!
I can barely stand the awesomeness of this!! Super clever, I love it! ~Sonya
Oh you are too sweet! Thank you so much!