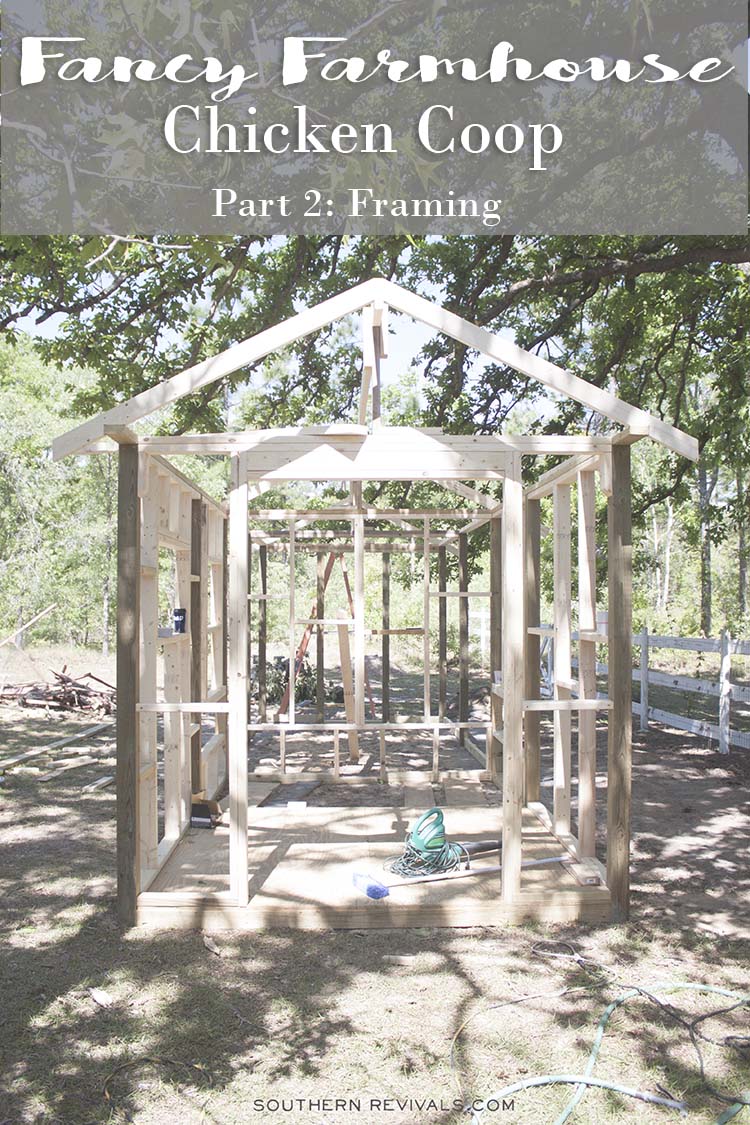
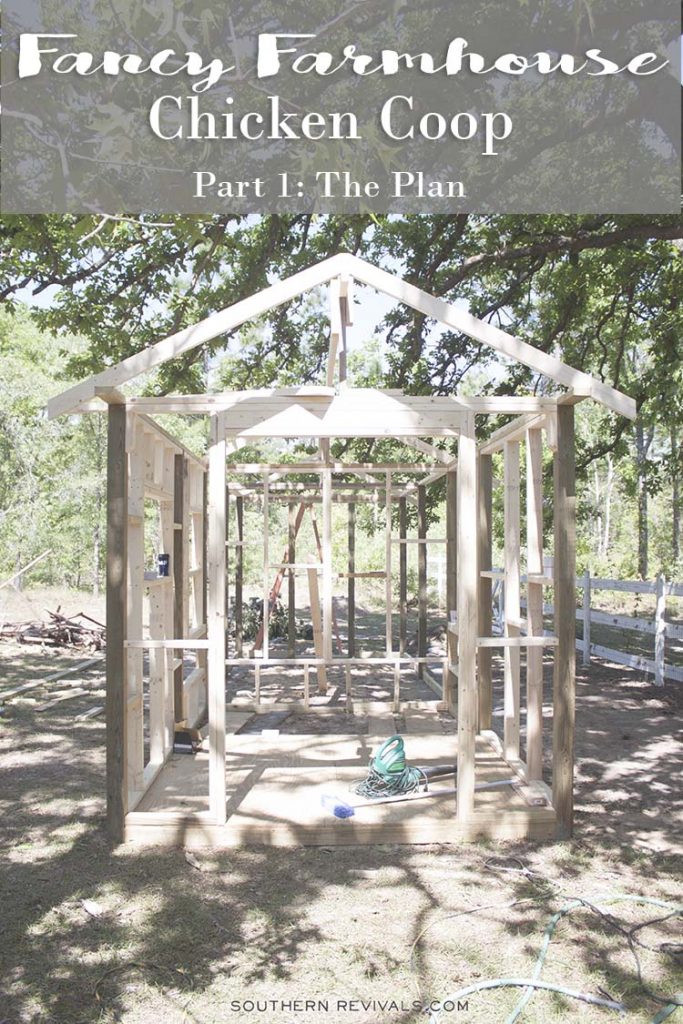
Two weekends, you guys. TWO WEEKENDS! That’s all that brought us from the fancy farmhouse DIY chicken coop plan to what you see before you today. And one of those weekends included rain. You’re probably not as excited about it as I am, but that’s just because all you see is “bones”. Just you wait!
*This post may contain affiliate links. Please see my disclosure for more information.
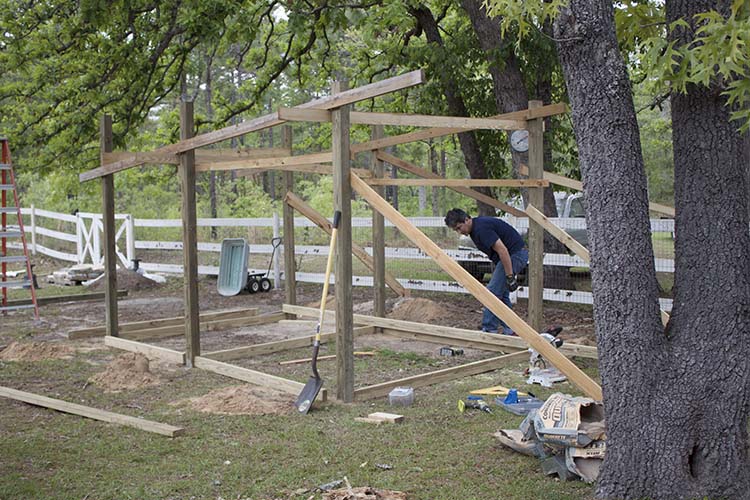
We started by putting our 4 x 4 posts (uprights) in the ground for the coop and storage sections of the build. We used post hole diggers for the posts and a 50lb bag of concrete for each post. I am now a pro at perfect concrete consistency if you ever find yourself in need of a professional concrete consistency-er.
NOTE: All of those extra boards are just braces. I promise we know what we’re doing. You know, in case you thought this was going to come out looking like the clubhouse from The Little Rascals.
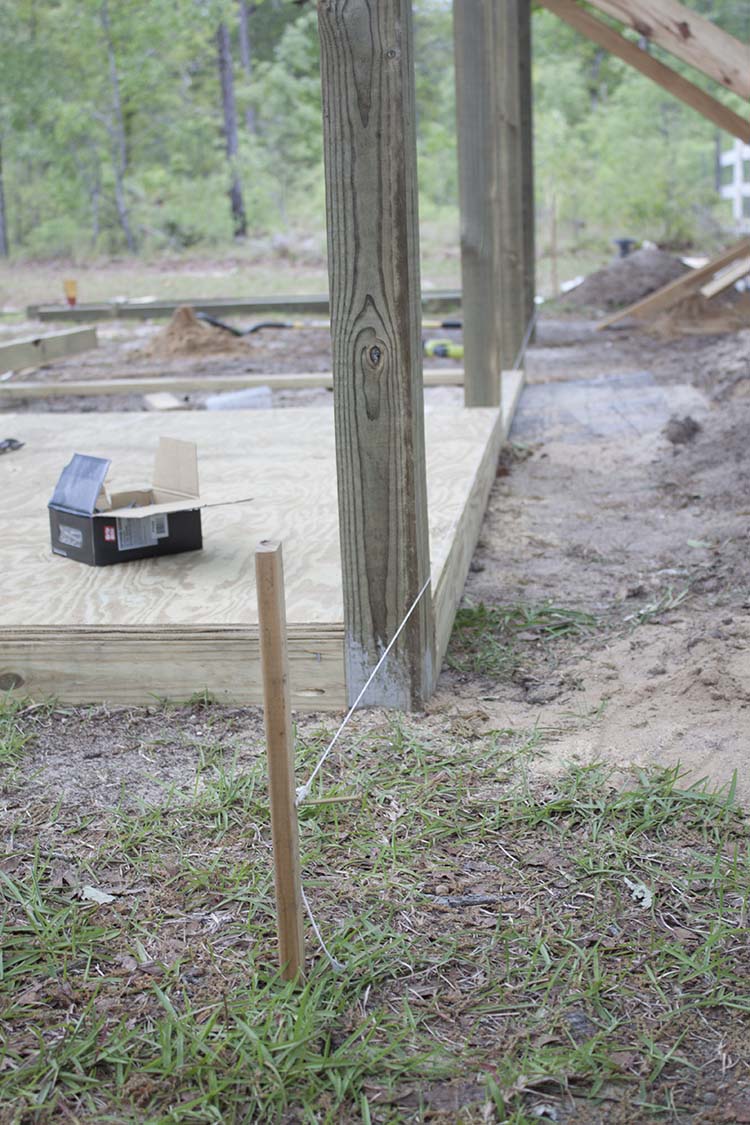
We used the string technique to keep our posts straight and then get them plumb. We attached the ground boards with the Kreg jig.
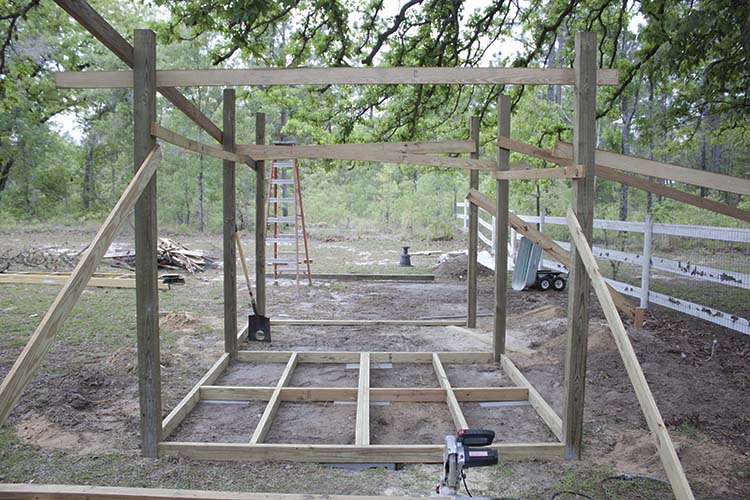
From there we added concrete block supports for the floor joists.
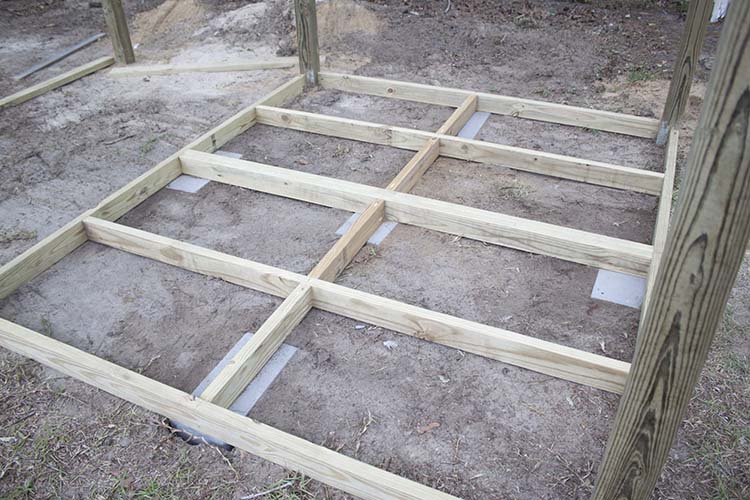
We also used the Kreg jig to join these boards. This is the storage or the people section of the coop.
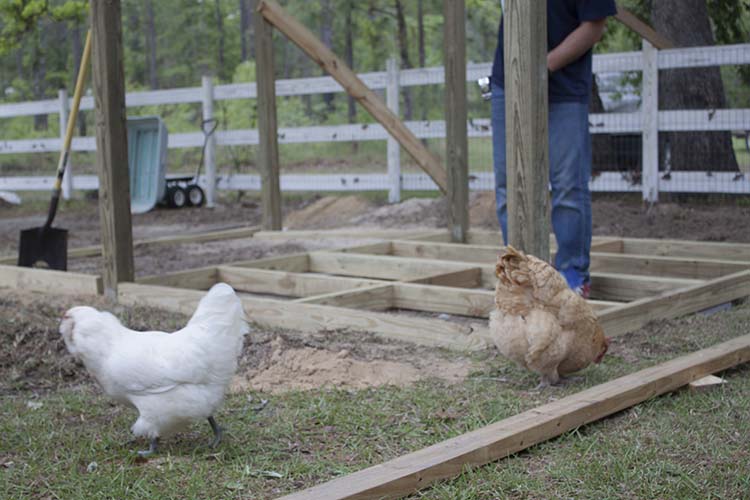
As with any project, we were well supervised. Inside, it’s the cats. (The dogs just don’t care.) Outside, it’s the chickens. Incidentally, more of those cryptic house-shaped hieroglyphics appeared scratched around the perimeter of the house.

And I know y’all think I’m insane, and that this is some crazy chicken lady Rorschach’s nonsense, but I’ve had chickens for 5 years and this is a first! I’d say our plan is on track with their’s, though, so I think we’re good!
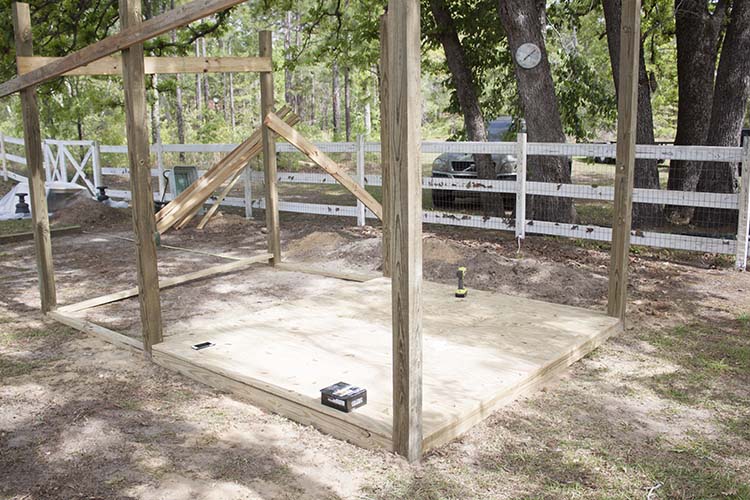
We’ll have flooring on the storage side of the coop so we added a plywood subfloor on top of the joists.
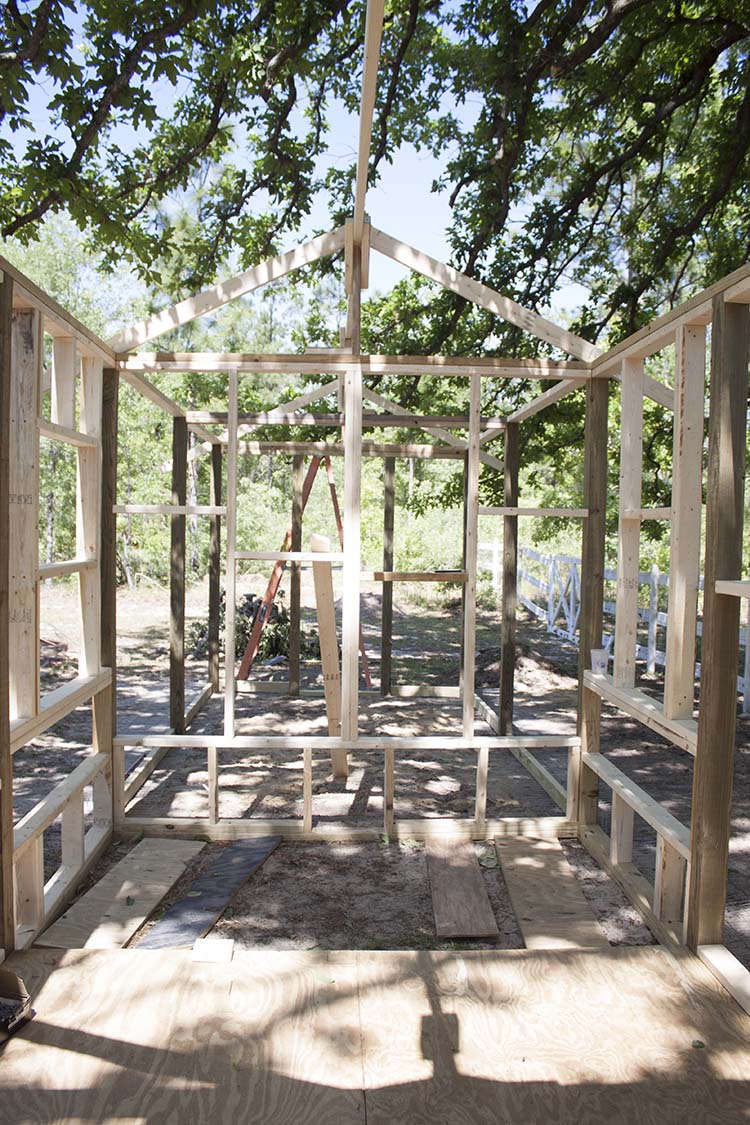
The coop side will have a dirt floor to make composting waste easier on the chicken keeper. -> ME <-
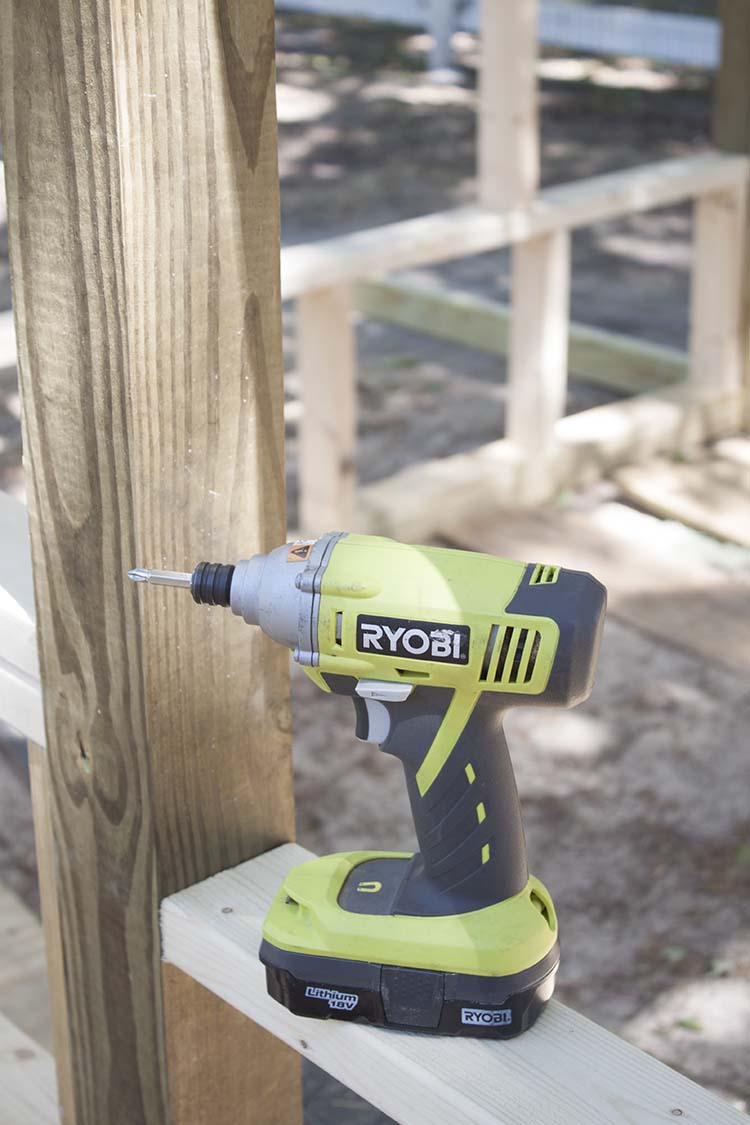
In addition to the Kreg jig and our old standby, the drill, we also used out impact driver a great deal. Its power made the work go so much faster.
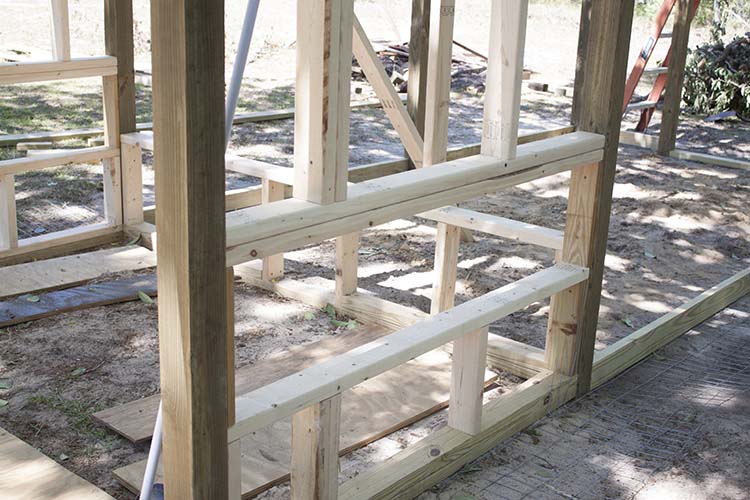
I’ve decided to have the nesting boxes extend outside the coop on either side for two reasons. First, I am hoping that having them lower and more inset will discourage one of my hens who consistently uses a nesting box as a bed and, by extension, her own personal toilet. The last thing I need is for her to teach this bad habit to the babies. And second, it gives them plenty of room in the actual coop for roosting.
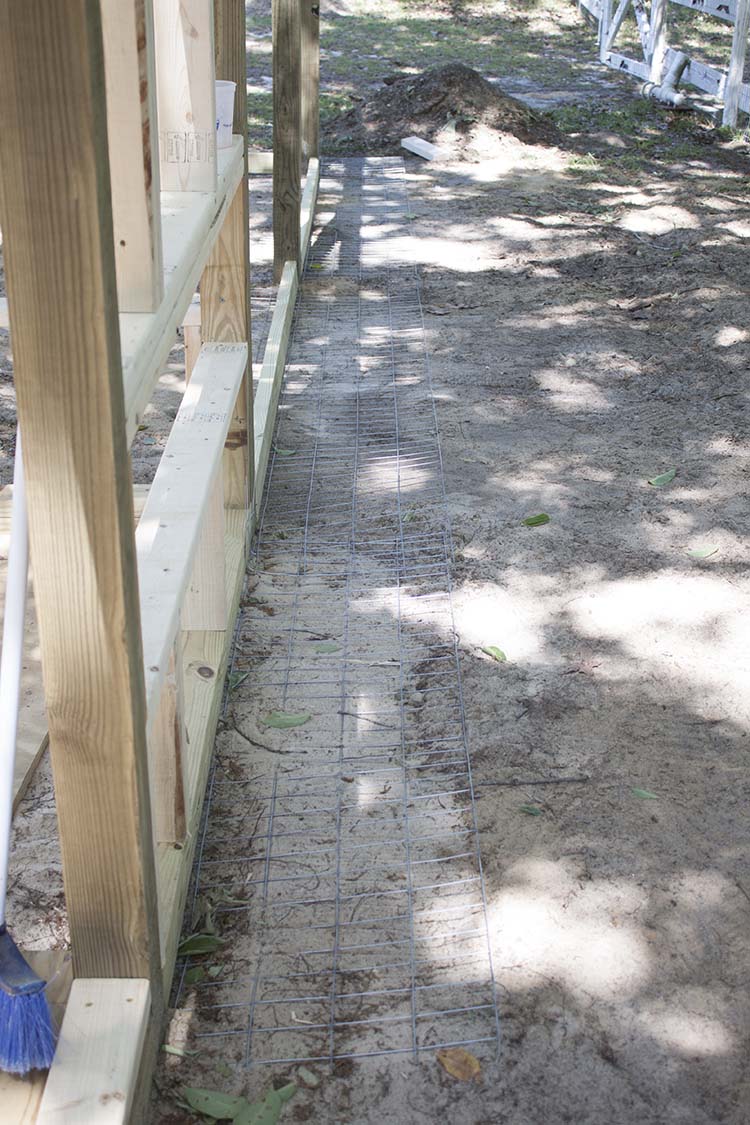
Around the outside of the coop and the run, we laid down fencing to discourage predators. Because of the proximity of our coop to our home, and because of the dawn to dusk lighting, we haven’t had trouble with predators while the chickens were in the coop. But we did want to take precaution, nonetheless. The kinds of predator proofing you might need to do will depend on where you live and the types of predators you have in your area. Make sure you understand this when constructing your own coop. You may need to use fencing with smaller holes or even bury it vertically underground.
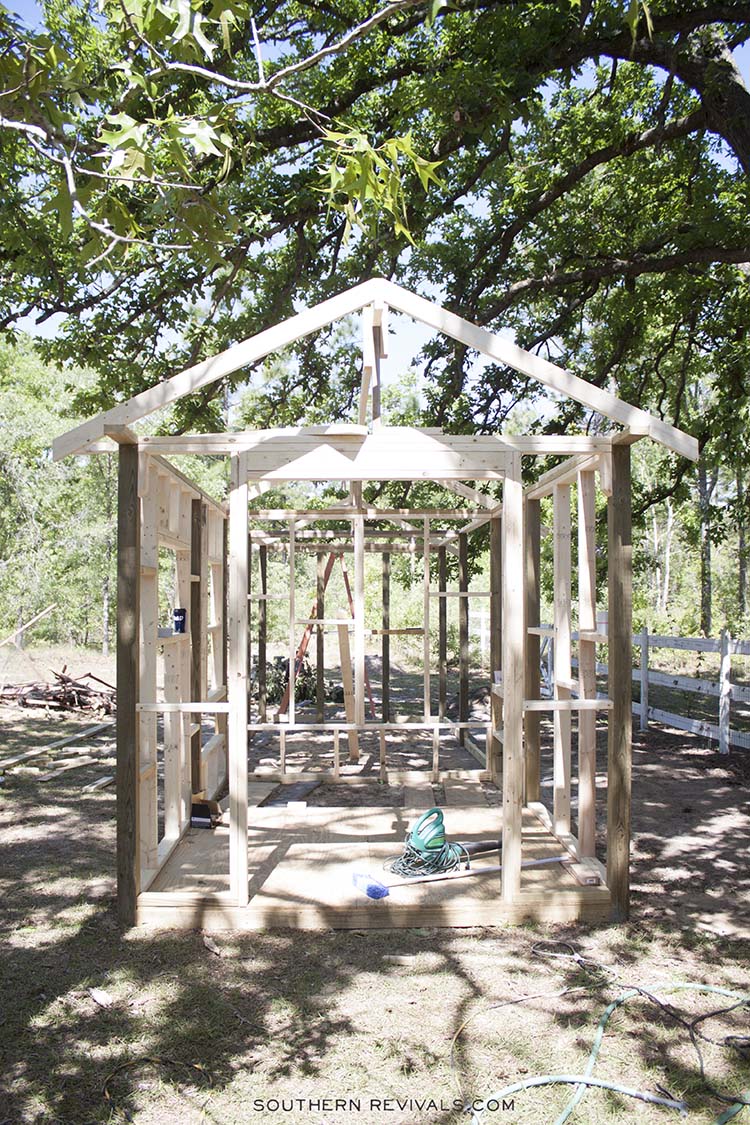
Once we finished framing out the coop/storage section of the build, we moved on to adding the run and the roof.
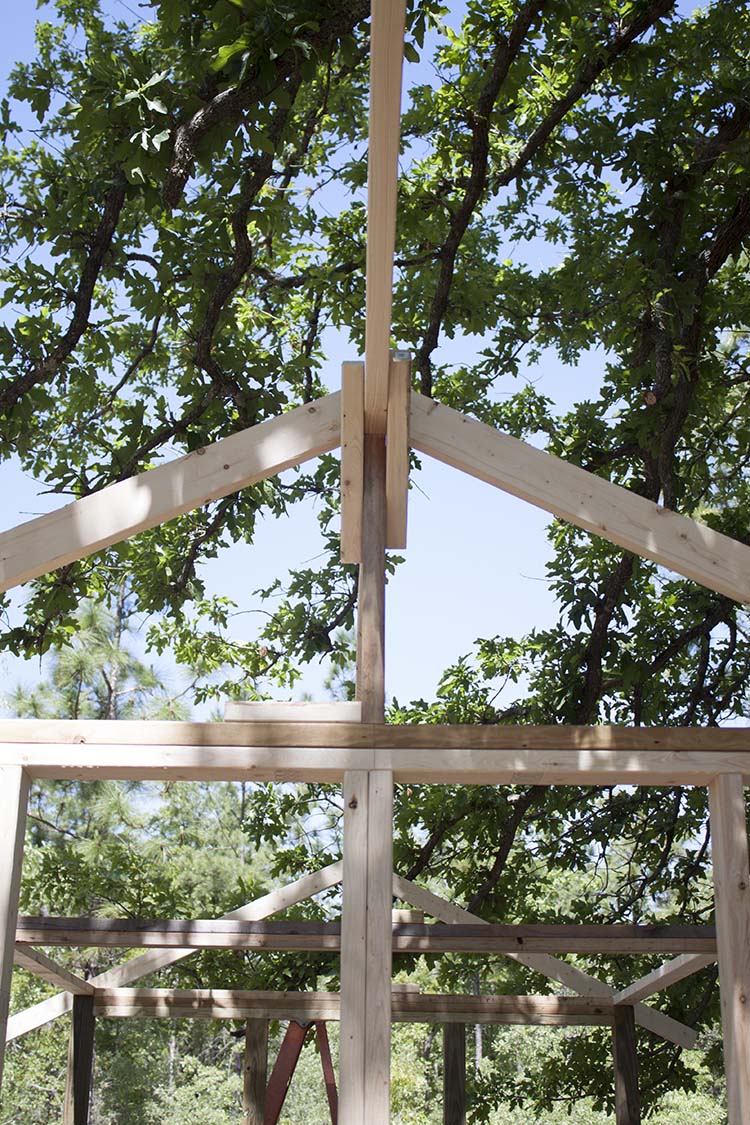
Our biggest challenge, because we aren’t professionals, was the roof. Getting the pitch just right, etc. We put some temporary brace boards up to keep the ridge board in place while we played around with it to get it right.
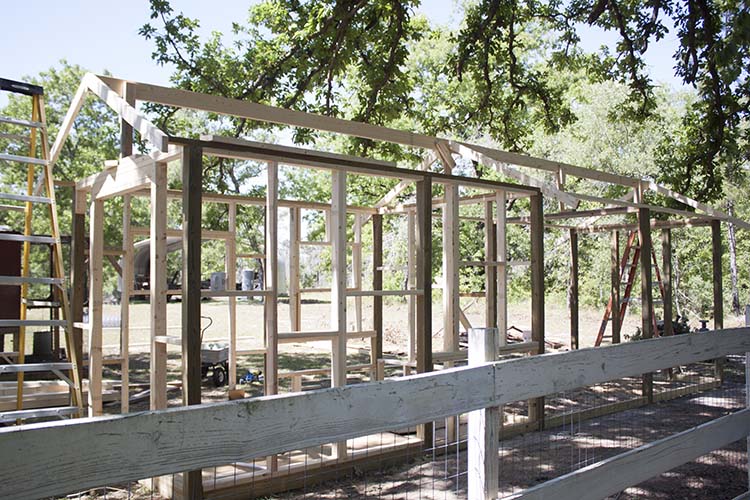
This is the view from the front of our house. This side won’t have any windows since it’s always in the shade on this side. That means I get to do something decoartive here on this wall!
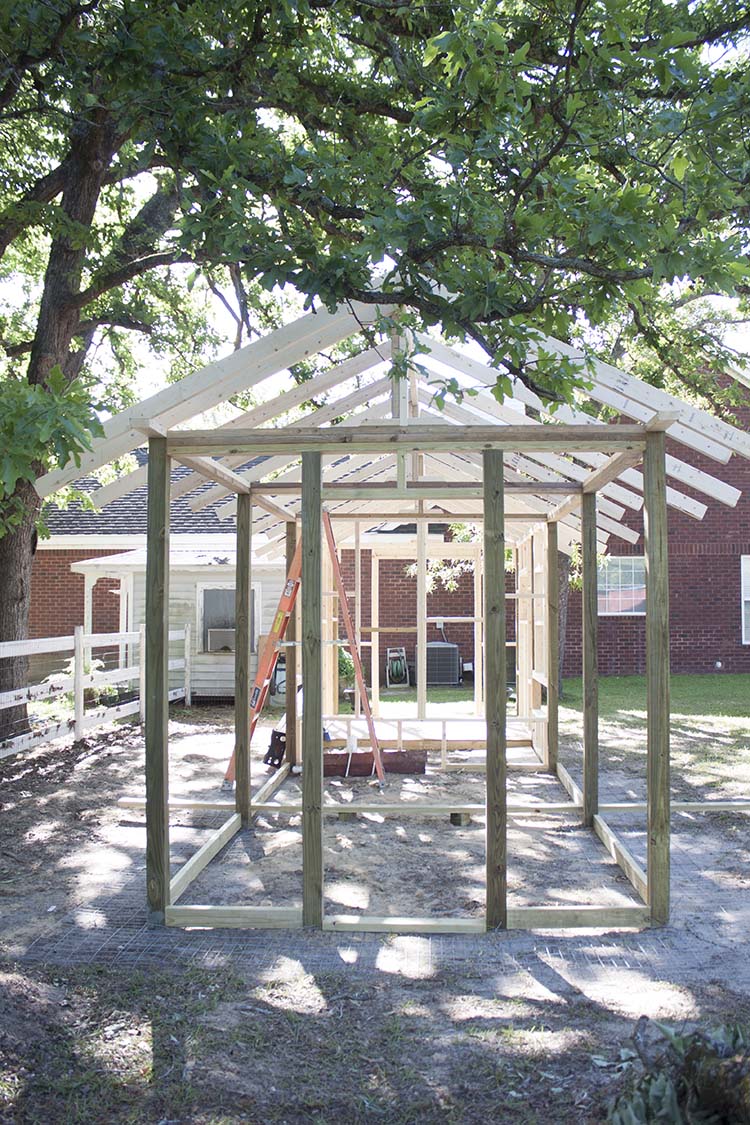
This is the view from the run into the coop. See that little gray building back there? It was a playhouse my dad built me when I was in the 2nd grade. Once I finish the coop build, I’m turning it into my potting shed. It’s gotten a makeover or two over the years so this won’t be a first, but it’s so neat to me that I still have it in my life and can make it useful all these years later. I think this whole area will be a sanctuary for me. At some point, we’ll also put a privacy wall around those AC units, too. #eyesore and also, #INeedaPressureWasher
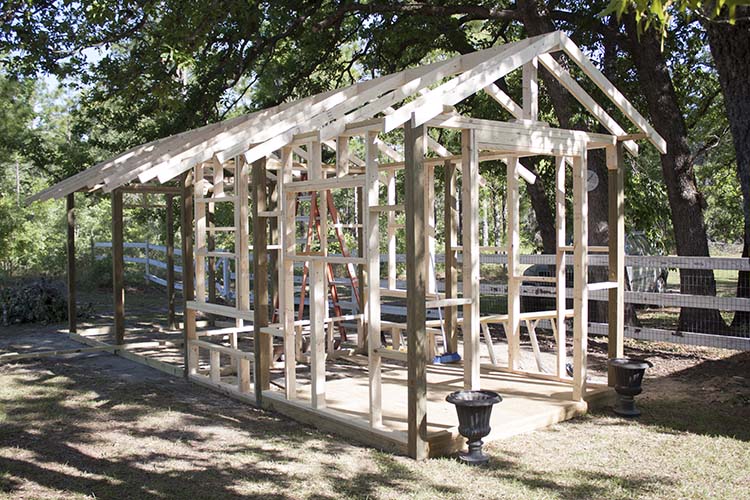
And this is how it looks today! We still have to build doors, add walls, windows, roof, paint, and fencing – which I will share with you in the next update – but we’ve come a long way, baby! Our is a total of 8′ x 26′. The storage area is 8′ x 7′, the coop is 8′ x 5′ and the run is 8′ x 14′. In other words, it’s downright palatial!
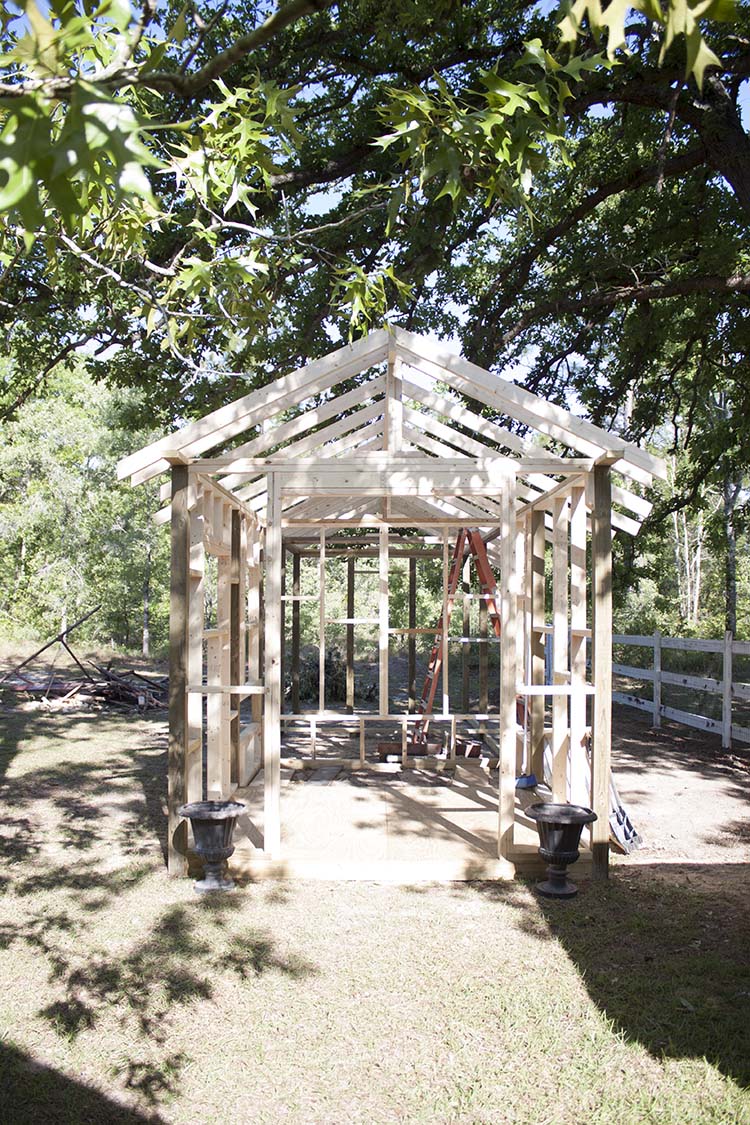
This is the part where I get really antsy waiting for my favorite part – to decorate! But we’re getting there a lot more quickly than I could have imagined. In a couple of weeks, we’ll have a brand-new coop. I cannot wait!
READY FOR A COOP?
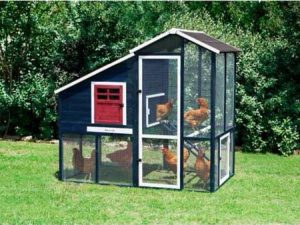
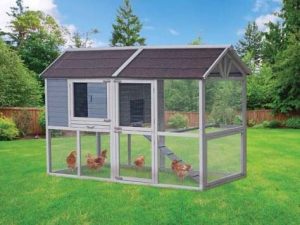
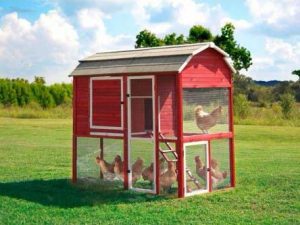
If you’re not down to DIY your coop, these are my fav pre-fab coops. TSC’s Chick Days event is held twice a year, spring and fall. If you missed this spring’s event and don’t want to wait for fall you can always order your chicks online year round, too.
This is a sponsored post written in collaboration with Tractor Supply. Thank you for supporting the brands that make Southern Revivals possible.
Please join me for a series of posts all about our new coop build as well as basic chicken care all leading up to the reveal of the DIY fancy farmhouse chicken coop! Here’s what you’ve missed so far:



I love your coop…it’s so aesthetically pleasing! I saw that you’re working on plans, but could you answer 1 question….did you use pressure treated wood for the 4x4s and 2x4s. I looked into buying cedar for the uprights and they are $30 a piece – not so great for the budget. So maybe pressure treated? Thanks!
Thank you! Absolutely! Yes, we used pressure treated lumber anywhere there was ground contact. We did not use pressure treated 2x4s on the inside of the coop since they would be on the inside. Hope that’s helpful!
Hey! I absolutely love this. I want to try and build something similar. How much did it cost to build this?
We are finishing the plans as I type. They will be posted this month (March ’19). It will include materials cost. Thanks so much!
Do happen to have plans?
We are finishing the plans as I type. They will be posted this month (March ’19). Thanks so much!
When can we expect to see the finished plans?
The plans are almost complete! If you’re subscribed to my email list you will be the first to know once they’re available. Thanks!
Absolutely love your coop! Exactly what I’m looking for to house my 20 chickens. Do you have plans available for purchase?
Hi, I just came across this post and wondered how much the total cost was. I see you mentioned you’d tell us in another post but I don’t see that post. Really want a new coop!!!!!
Thanks so much
Hi Debi,
Total cost was around 3k. Hope this helps! Thank you!
Love this plan. Have you finished creating the plans?
Thanks so much, Stacy! Yes, you can find the plans here: https://www.southernrevivals.com/fancy-farmhouse-diy-chicken-coop/