Some or all of the hosts of The Fab Furniture Flippin’ Contest receive monetary and/or product compensation from the sponsoring brand, The Old Fashioned Milk Paint Co., in order to complete their themed projects. The Old Fashioned Milk Paint Co. will also provide the prize package for the contest winner.
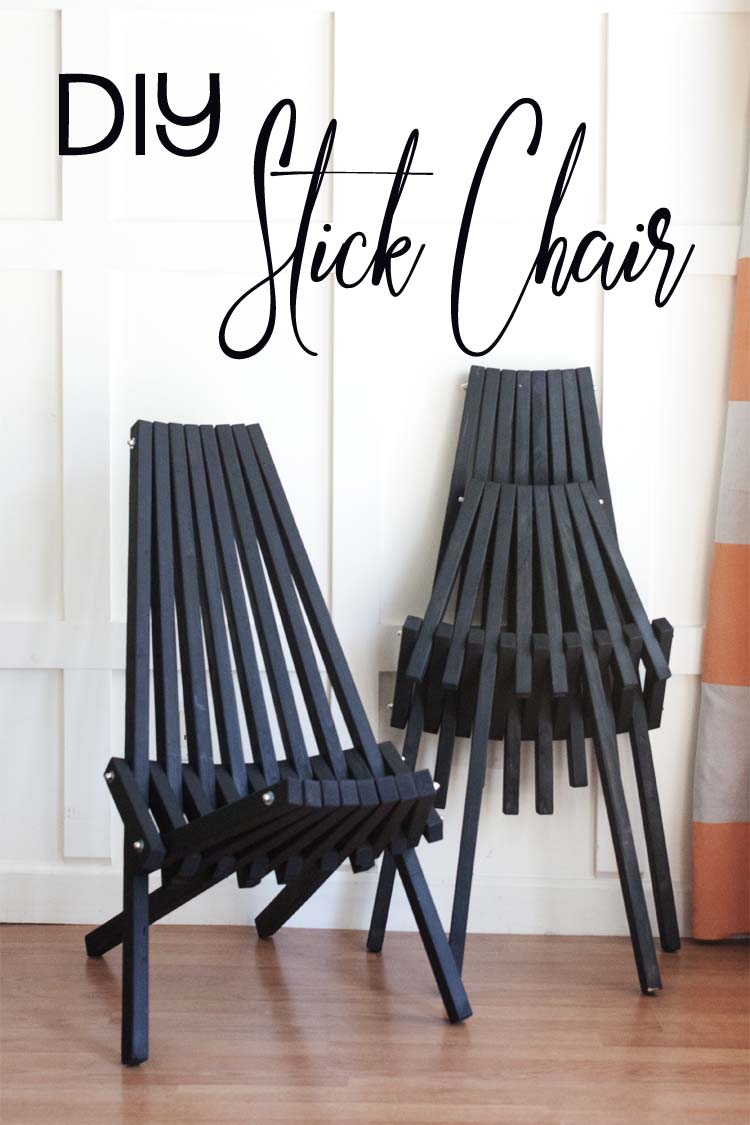
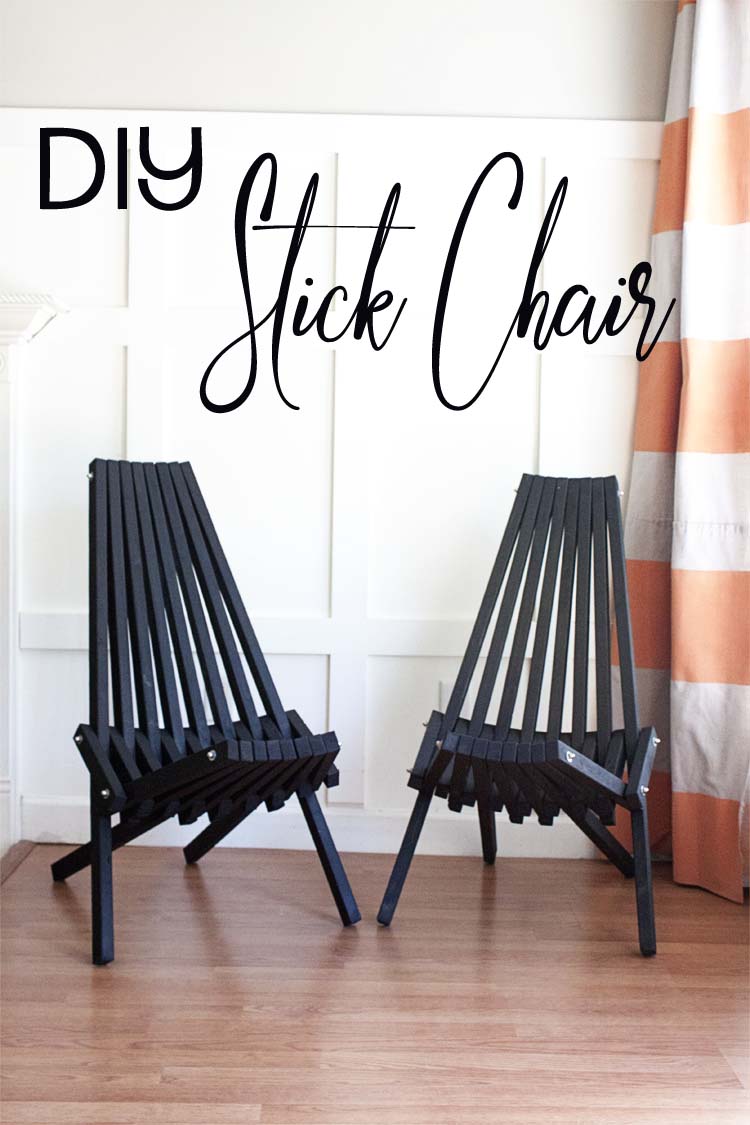
Have you ever laid eyes on something and known in that instant that you had to have one (or two) no matter what? That’s how I felt about these chairs the first time I saw one on Instagram. I knew two things in that moment: 1) I have to have them and 2) it’s doubtful I can afford to buy them. And these two thoughts always culminate in me figuring out how to DIY whatever those things I have to have but cannot afford. So, this is how I made my own DIY Stick Chair (er chairs) for around $40 each. And they fold. What?!
When I saw this post by Corinna (@adesignerathome) on Instagram I was immediately in love and since I’ve recently begun to (finally!) give my front porch a makeover I knew these chairs were perfect. Not too big, they fold (that still blows my mind) and they’re sort of old fashioned and super modern all at the same time.
Here’s what you’ll need to make some of your own.
DIY Stick Chair
You will need:
- 2 – 2x4x10 select pine (or cedar)
- table saw (for ripping 2x4s)
- miter saw (for cuts)
- sander
- drill
- 5/16″ drill bit
- router
- 1/4 roundover router bit
- 2 – 6ft sections of 1/4″ All Threaded Rod (cut to 32″ lengths)
- bolt cutters
- metal file or grinder
- 8 – 1/4″ washers
- 8 – 1/4″ acorn nuts
Optional:
- Old Fashioned Milk Paint (1 cup of paint = 1/2 cup powder + 1/2 cup water)
- Natural bristle paint brush
- Tung oil (sealer)
Cut List:
- 6 – 15″ pieces (seat) A
- 2 – 35″ pieces (seat/back legs) B
- 4 – 31 1/2″ pieces (back – longer) C
- 2 – 29 3/4 pieces ( back – shorter) D
- 2 – 42″ pieces (back/front legs) E
- 9 – 9 1/8″ pieces (connectors) F
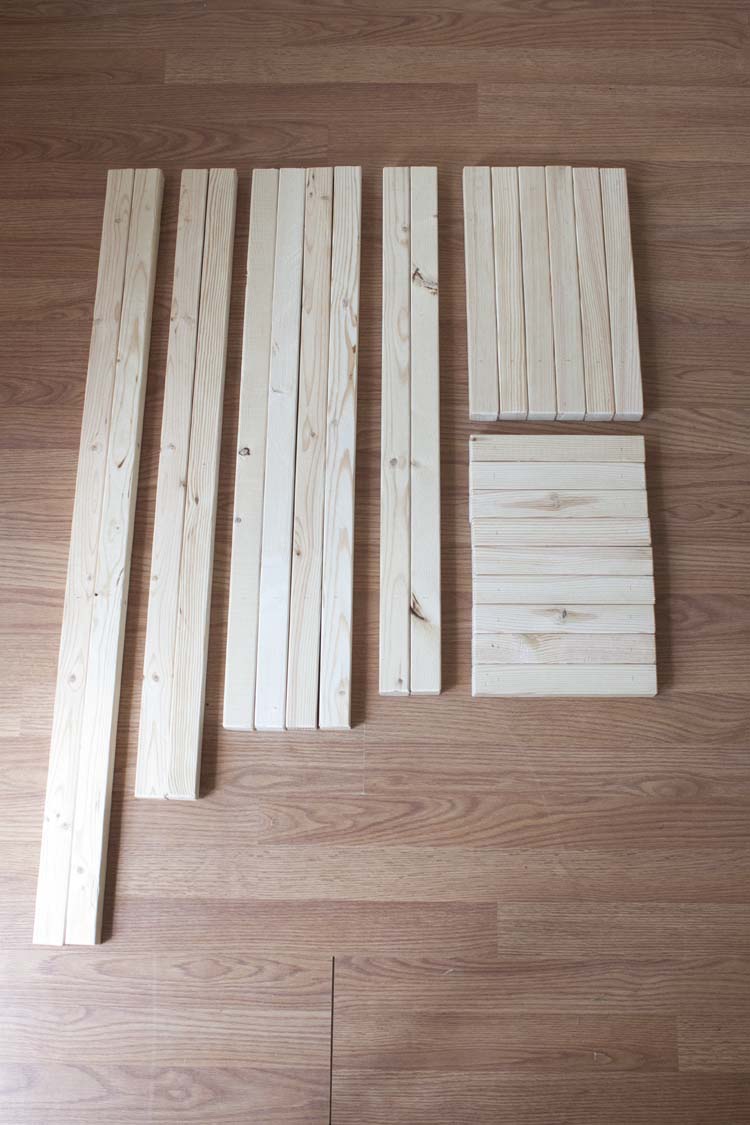
Here’s a visual of what the cuts look like for your DIY stick chair. We basically ripped two 2x4x10s of select pine into thirds and then cut the necessary pieces in varying lengths. We used a router and 1/4″ roundover router bit to round off the corners and then sanded each piece until smooth.
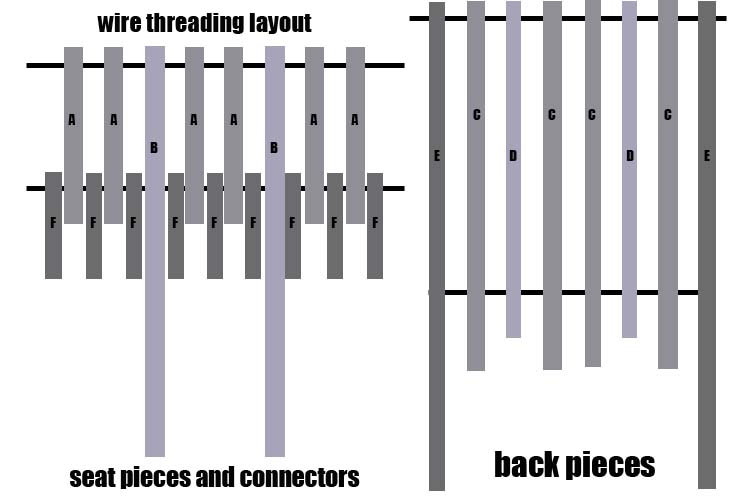
Where to drill holes:
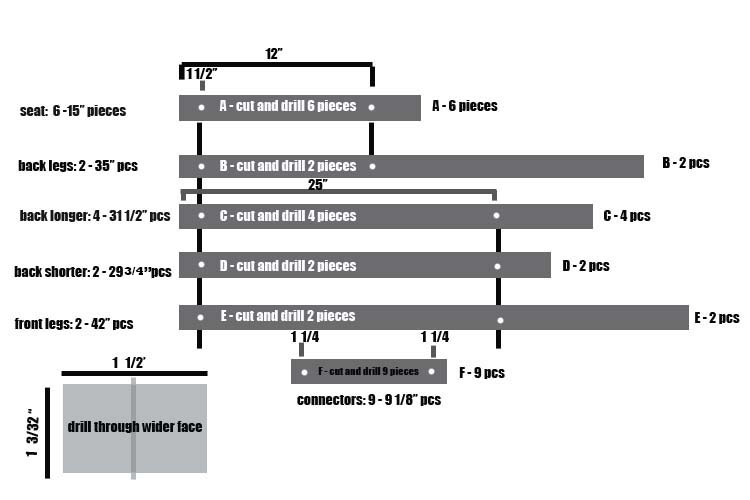
Once all of the pieces were cut to the correct lengths, we drilled holes for the threaded rod. This graphic serves as a visual to help you know where to drill and also which side of the board (the wider face) you should drill through.
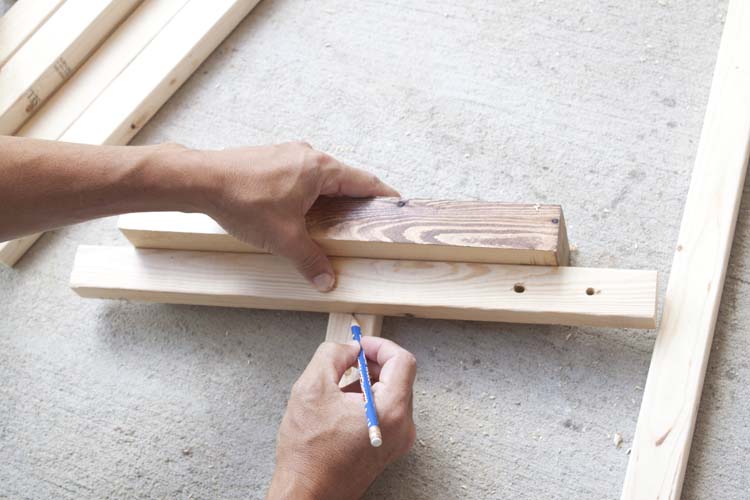
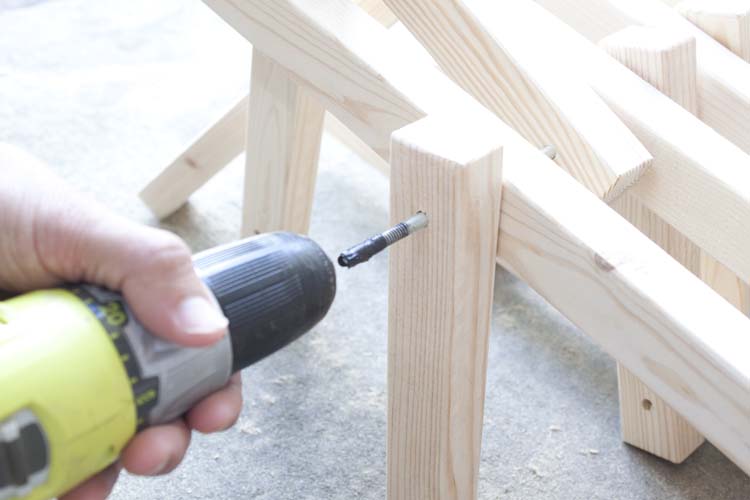
Because we don’t have a fancy drill press we made up this stop block to make it easy to drill holes and not have to measure every board, every time.
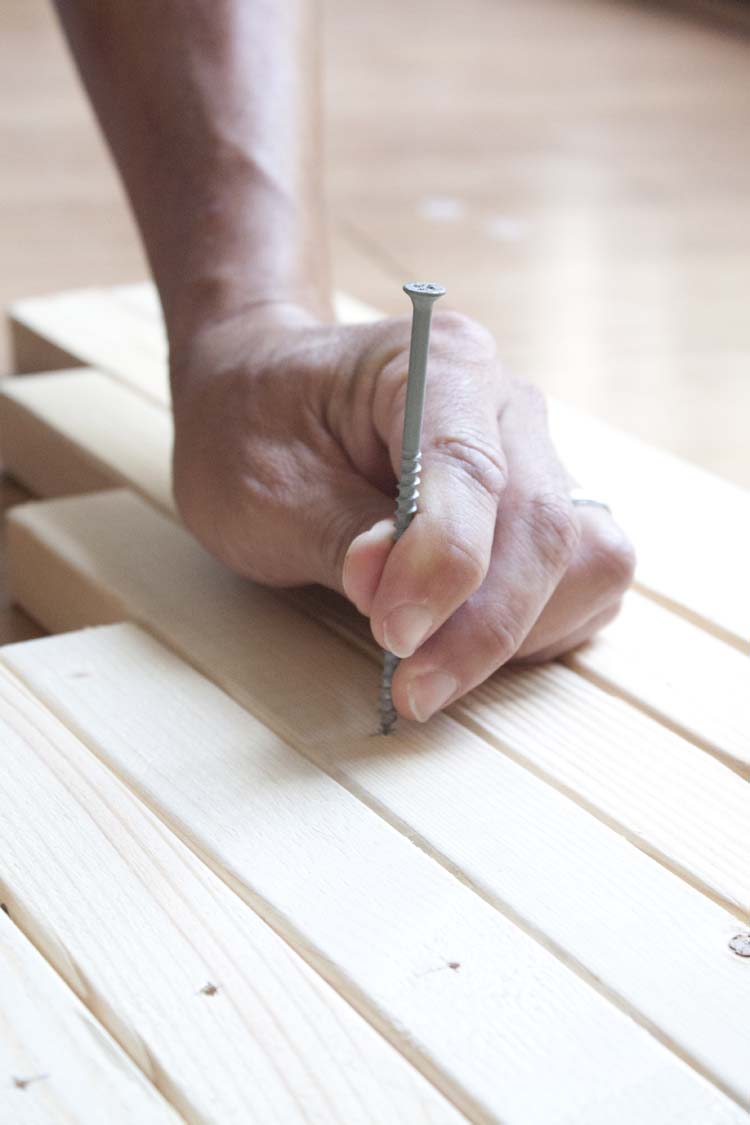
We also tapped a screw with a hammer over each marking prior to drilling, just to give the bit something grab into. If you’ve ever started to drill a hole and had your drill skip across the wood on you, you’ll appreciate this extra little step.
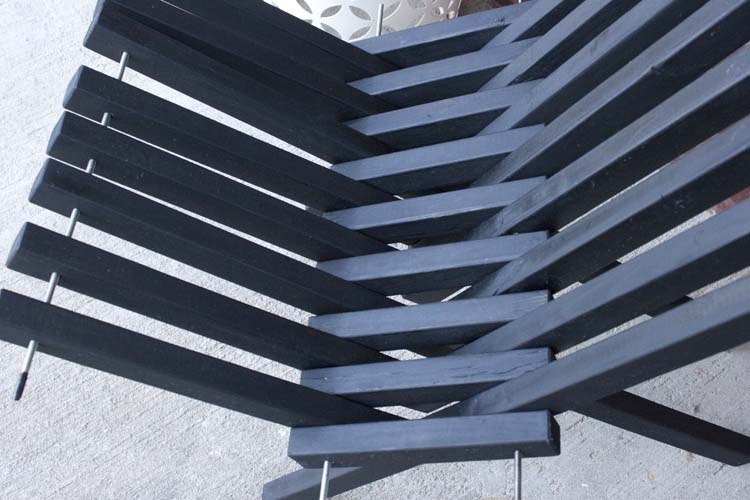
How to put chair together:
At this point putting the chair together is kind of self explanatory but I really benefited from watching this guy put one together in this Youtube video. It is also worth noting that we learned to leave some give in the seat section while cinching the top and end of seat and then tightening up the middle sections.
We also used electrical tape on the ends of the rods (to keep from damaging the threads) and used our drill to thread them through. It’s impossible to get them through otherwise. Once the boards are cinched up as they should be we clipped off the excess threaded rod with bolt cutters, filed off the rough edges so that the nuts would fit on and finished off with a washer and acorn nut.
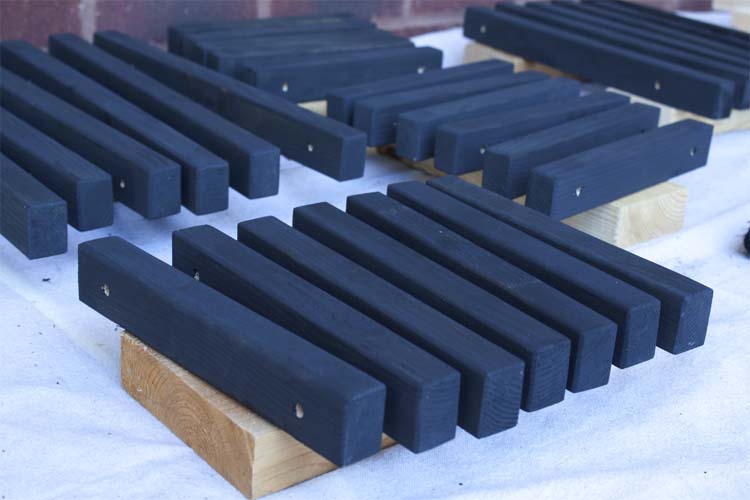
If you decide to paint your chair you might find it easier to paint each piece individually.
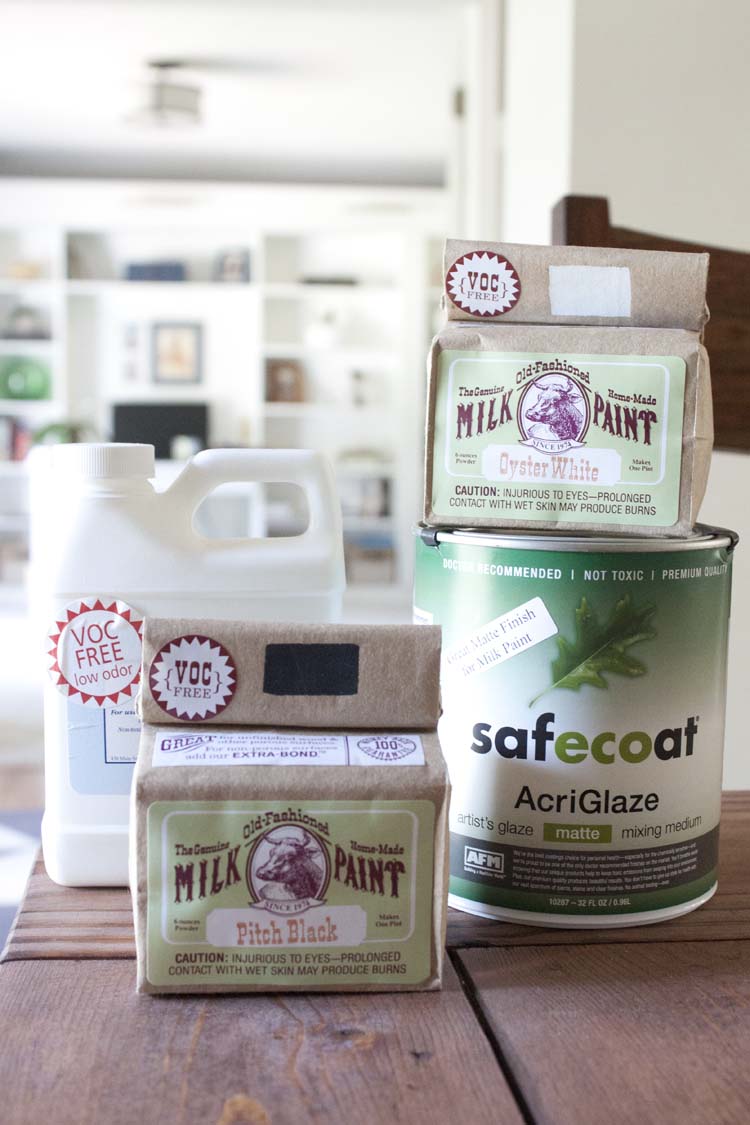
I used Old Fashioned Milk Paint in Pitch Black to paint mine. Milk paint is the perfect protection for raw wood since it actually bonds with the wood fibers.
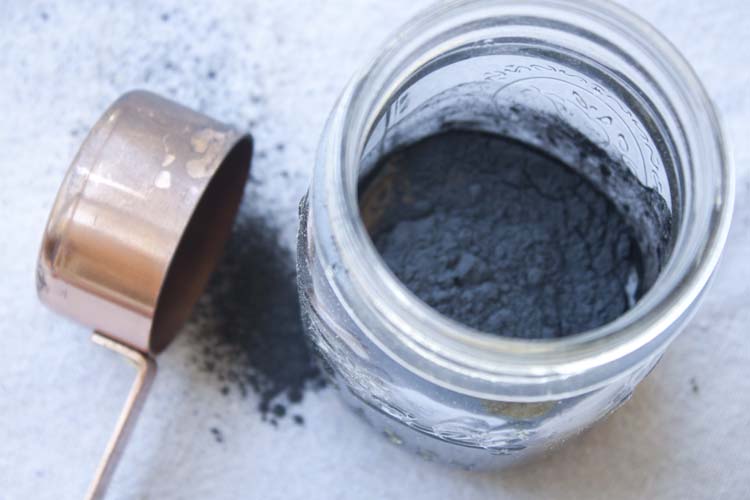
I mixed equal parts paint powder (1/2 cup) with equal parts water (1/2 cup) for a total of 1 cup of paint which was more than enough for one coat on both chairs.
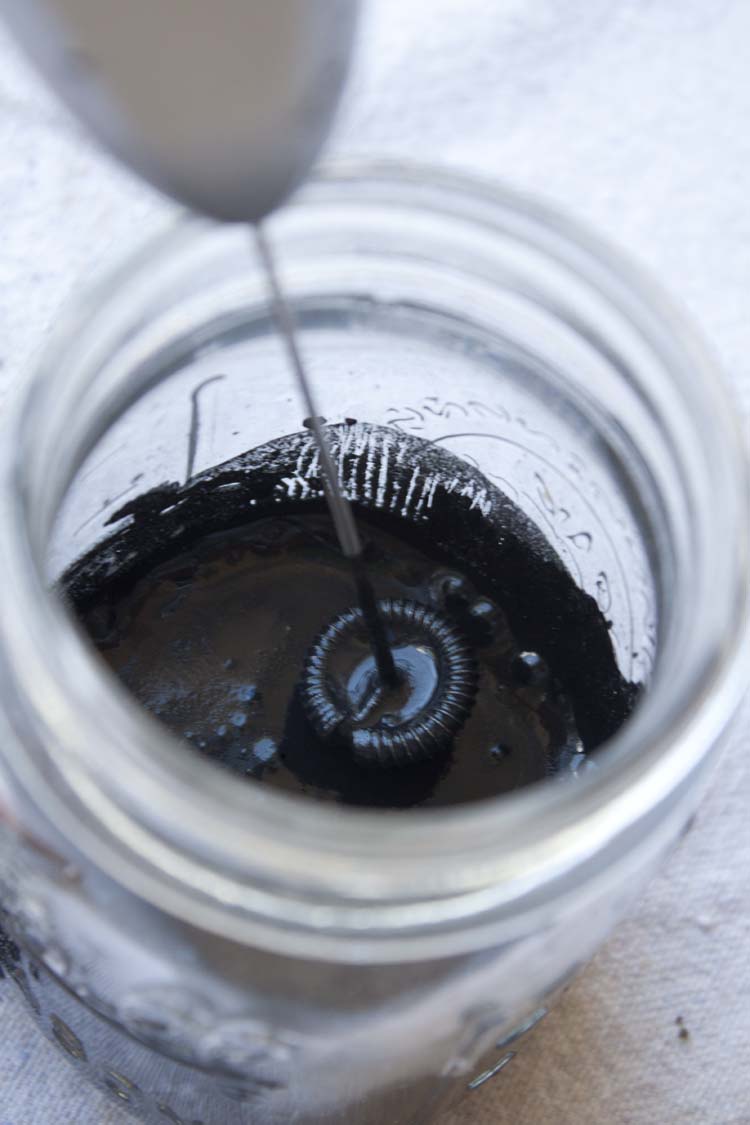
I always use a milk frother to mix my milk paint. Lukewarm or warm water also helps to get it super smooth.
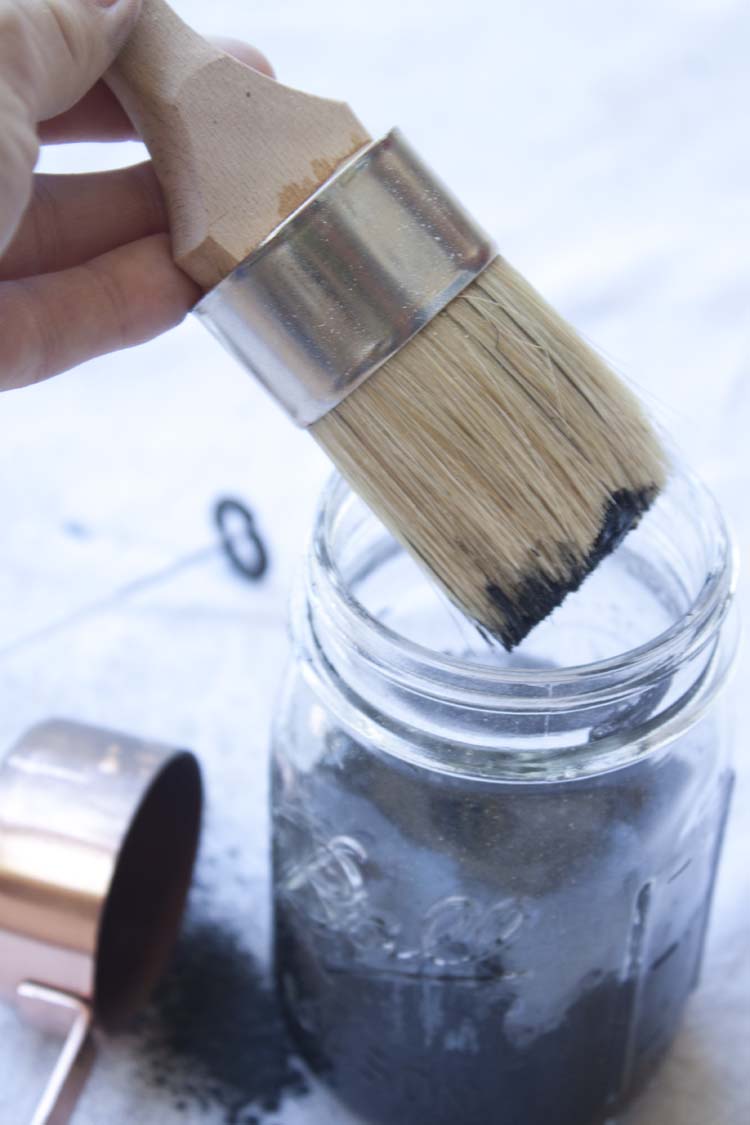
It takes about 60 seconds to mix and get your paint ready to use. Milk paint is best applied with a natural bristle brush.
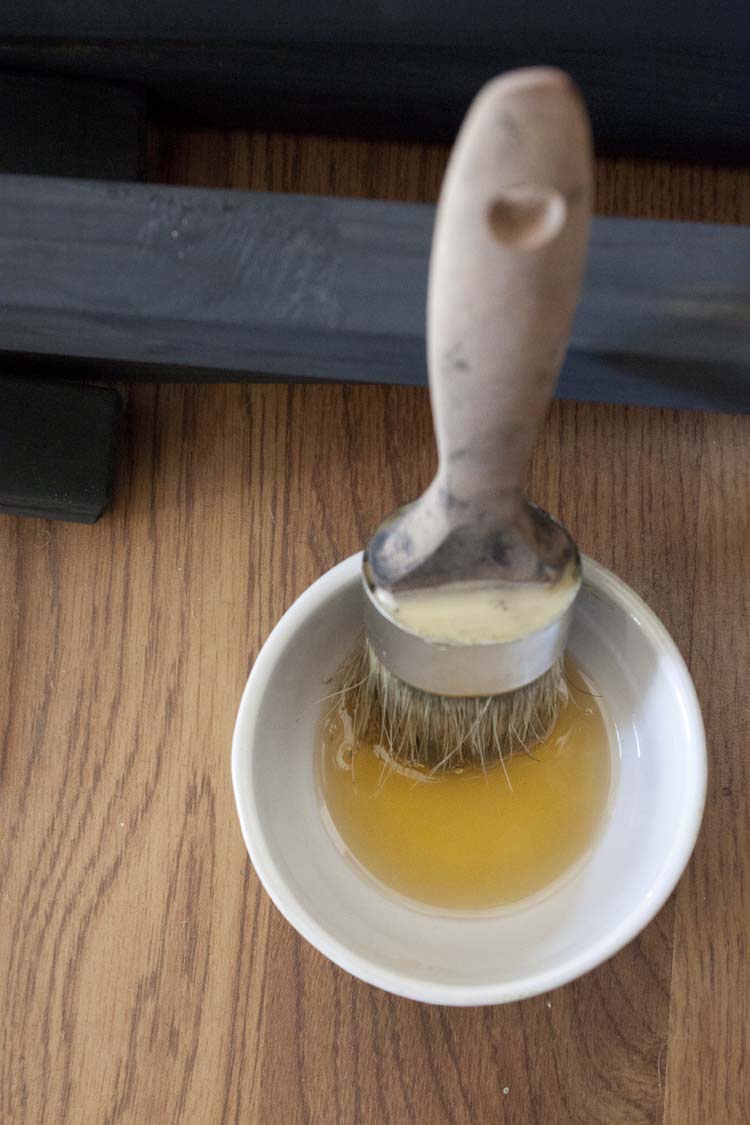
For added protection, since I’ll be using these on my covered porch outside, I sealed with Tung oil. It dries to a hard finish and is great for outdoor use. I applied in full strength with a brush, waited 15 mins and wiped with a cotton cloth. Always follow manufacturer’s instructions.
And while I painted my chair pieces prior to assembly, I applied the Tung oil once I had the chair put together but before tightening up the pieces.
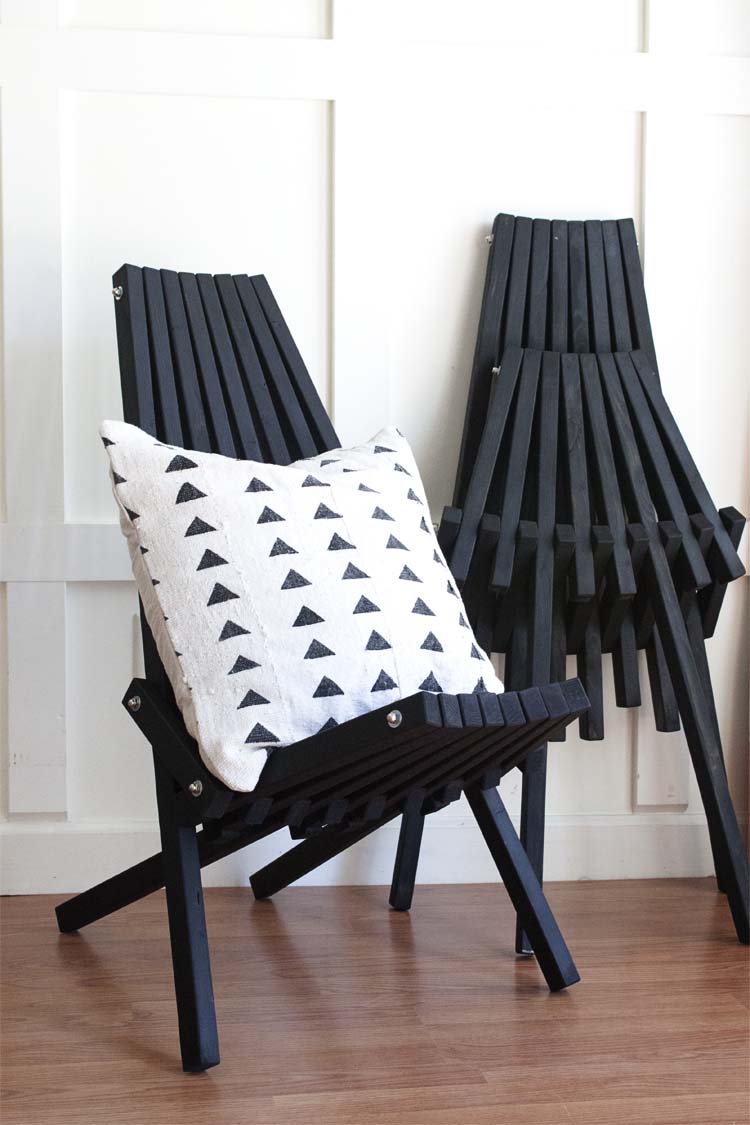
I. Am. So. In. LOVE.
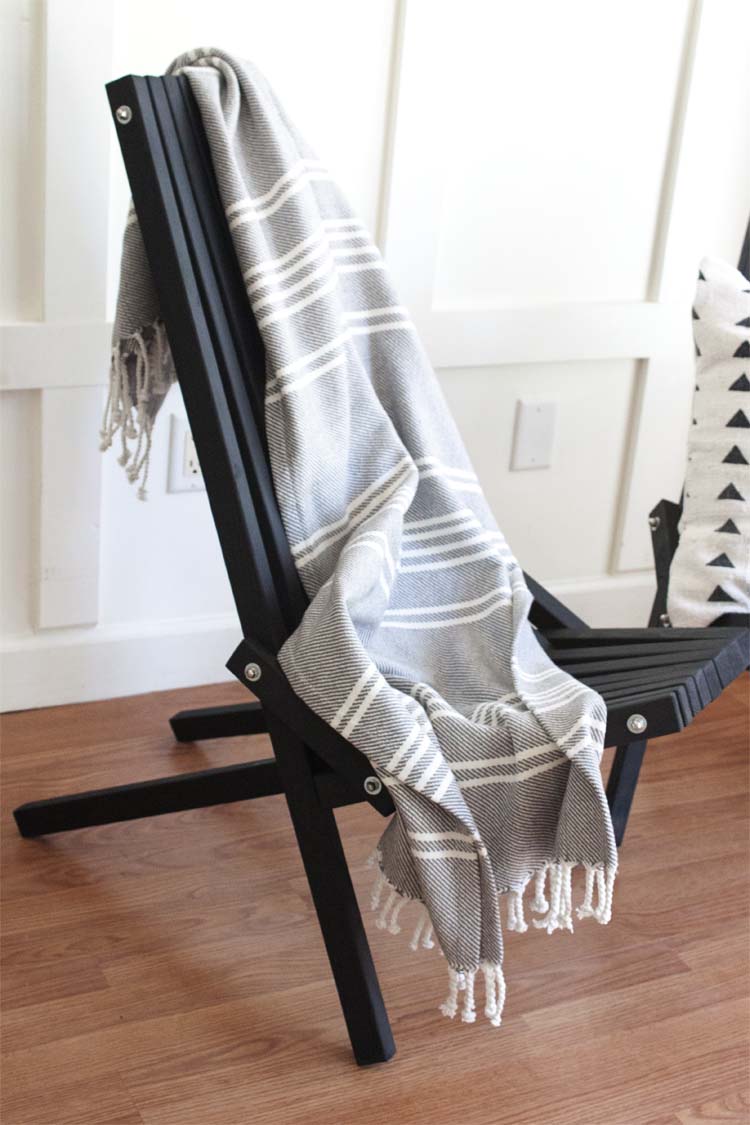
And as great as they look inside they make me so much more excited about finishing up my front porch makeover.
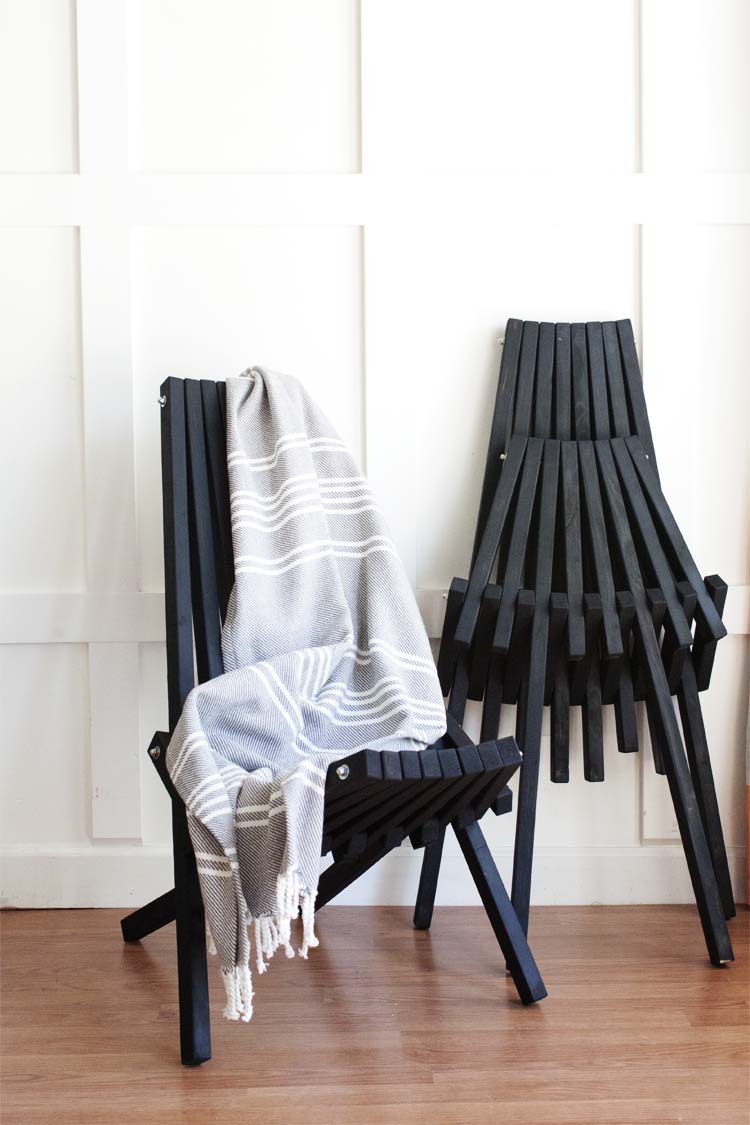
The black paint adds to their modern vibe and will go great with out brick facade.
What do you think? Want to make a DIY stick chair (or two) of your own?
This post is done in collaboration with The Fab Furniture Flippin’ Contest, The Old Fashioned Milk Paint and this month’s theme Farmhouse Fun. Please be sure to visit this month’s hosts: Evey’s Creations and Anastasia Vintage. If you’re interested in participating in future contests, please contact [email protected] for more information.


Milk frother!!! Oh my gosh, I wish I had read your post before I painted my OFMP project. I’m sure that would have saved me some headaches 😀 Thanks, now I know for my next project.
Yes! The froth is a must! 😉
Oh, and your chairs are beautiful 🙂
Thank you! 🙂
Wow weeeeeeeeeeeeeeeeeeeeeeeeeeeeeeee. Fabulous job on these chairs. You took diy to a whole other level. Love how they turned out.
Hey! Thanks so much. Truly appreciate it!
Could you use 1 x 2’s instead of ripping 2 x 4’s? I don’t have a table saw.
You could but your chair might not be as sturdy. Ripping 2×4’s gives you 2x2s which are obviously thicker and therefore sturdier than 1x2s. That being said, putting together several 1x2s might give you plenty of strength I’ve just never tried it. You might be able to find a local lumber yard that sells 2x2s. That’d be your best bet!
I’m a beginner woodworker, and you didn’t post pictures of the “tightening up” process. With what and how do you do that? Those rods look incredibly long from the finished product. Thanking you in advance.
Hi Patti,
Any excess rod needs to be trimmed. From there, you simply put on the washers and nuts and tighten as you normally would. I hope that’s helpful.
Great job – well done. I just have one query. When you say “We basically ripped two 2x4x10s of select pine into THIRDS” I assume that should be “in half” in order to give you 2x2s – because ripping 4″ into three is 1 and 1/3 inch x 2. Is that correct?
Hi Charlie! Thank you! Yes, that is correct. We did rip a 2 x 4 (actual 1.5 x 3.5 – in the U.S.) into thirds. Accounting for the width of the saw, each stick is 1 1/2 x 1 1/16. Hope that helps! Thanks so much for stopping by!
I had to read this three times and check other plans on the internet. Yes – rip the 2×4 into THIRDS – 3 x 1 3/32 = 3 9/32 (the rest is sawdust) 🙂
Thanks Jamie. We are making these today for my son Ryan and his fiancé’s JAMIE’s stag and doe party in August. They are raffling them off as prizes.
Sandy
Ottawa
CANADA
Hi Sandy!
Happy Canada Day! Sorry if the instructions were confusing. So glad you worked it out. I’d love to see your finished project! And congrats to Ryan and Jamie! 🙂
SO i’m trying to make this a kid friendly project for summer camp…instead of the threading wire is it feasible to use rope?
How fun! I think it could work but I can’t speak to how well it would hold up in the long run – friction on the rope, weather, etc. If I tried it I’d definitely go with a synthetic rope because I feel like it might hold up better. If you do try it be sure to let us know how it goes!
Working on one of your Stick Chairs.
Cut list says to cut the piece(s) at 29-3/4 inches.
Drill list says those pieces are 29-1/4 inches.
Awaiting your reply via email.
Thanks,
Bob
Hi Bob,
Thanks so much for catching that! The drill diagram has a typo. The cut list is accurate. I apologize for the inconvenience.
The sizes are a bit confusing for Europeans, as you don’t mention the measuring units. I assume with „ 2x4x10“ you mean ft/foot? Thank you in advance!
Sorry about that, Chris. Thanks so much for pointing that out. It would be 2″x4″x10′ – so 2 inches x 4 inches x 10 feet. But keep in mind that in the US these are rough cut measures, meaning that the wood is actually slightly smaller than that in width and thickness. And as I understand it, in Europe these measurements would be exact. Doesn’t make much difference with this particular project, but thought I’d mention it just to be safe.
In europe indeed iso is standard. To use for the sticks I’d suggest using 45×45mm wood (either inpregnated or not) and 6mm threaded rod.
Both easy to get.
Or 45×28mm planed wood instead (just understood you split the 2×4 in three instead of in two)
Will two 2×4’s make 2 chairs or 1? Thank you!
Hi Melissa, Great question! The directions are for two chairs, as pictured. If you just wanted one chair you’d only need half of the materials. Thank you!
I stumbled across your chair design while looking for chair ideas and was immediately interested. I followed your plans and completed one this weekend. The chair came out great. I did a weathered gray stain. Instead of acorn nuts I used stop nuts to prevent them from possibly coming loose. Besides that I just followed your very thorough plans to the letter and I had zero problems. I have to say that I was skeptical about the back legs. I did not think they would be strong enough but they seem to be fine. I ended up getting several 6 ft. 2×4’s from my work for free, a packing crate that was going into the trash. All I had to buy was the All Thread, nuts, and washers. My chair cost me less than $10. Thank you again for taking the time to put together such detailed instructions. I am always looking for new woodworking ideas and these chairs are one of my favorites. If anyone is looking for an awesome project I would highly recommend this one.
Awesome! Thank you so much for letting me know!
Hi Jaimie , yay.
Every time I see this chair online in a book, mag. or home , I thin- well- Im going to make one of those. Seams easy enough. its been many years and I just keep thinking it. ha, and here it is.
Thank you . Im on it!
I have a couple of questions you may have covered already.
1) If the seat might need to be wider for whatever reason ,couldn’t I just add a couple of pieces on both the back ad seat ?
2) I could use poplar for a stronger & lasting chair. What are your thought on that ?
Sherry
Long Beach, Ca.
Hi Sherry!
I think you could probably add a few sticks and be fine but I haven’t tried it myself. If you do, please let us know! And I definitely think you could use poplar! Thank you for visiting!
When I put it together it fell flat on me. I feel that item D should be 2 inches longer. Can you tell me what I have done wrong and has anyone had this problem before.
Hi William,
We didn’t have this issue and I know several others have made chairs using the plans. Perhaps it’s just a matter of how you put the chair together. I would suggest watching the linked video. It was really helpful for us when putting the chair together. I hope that helps!