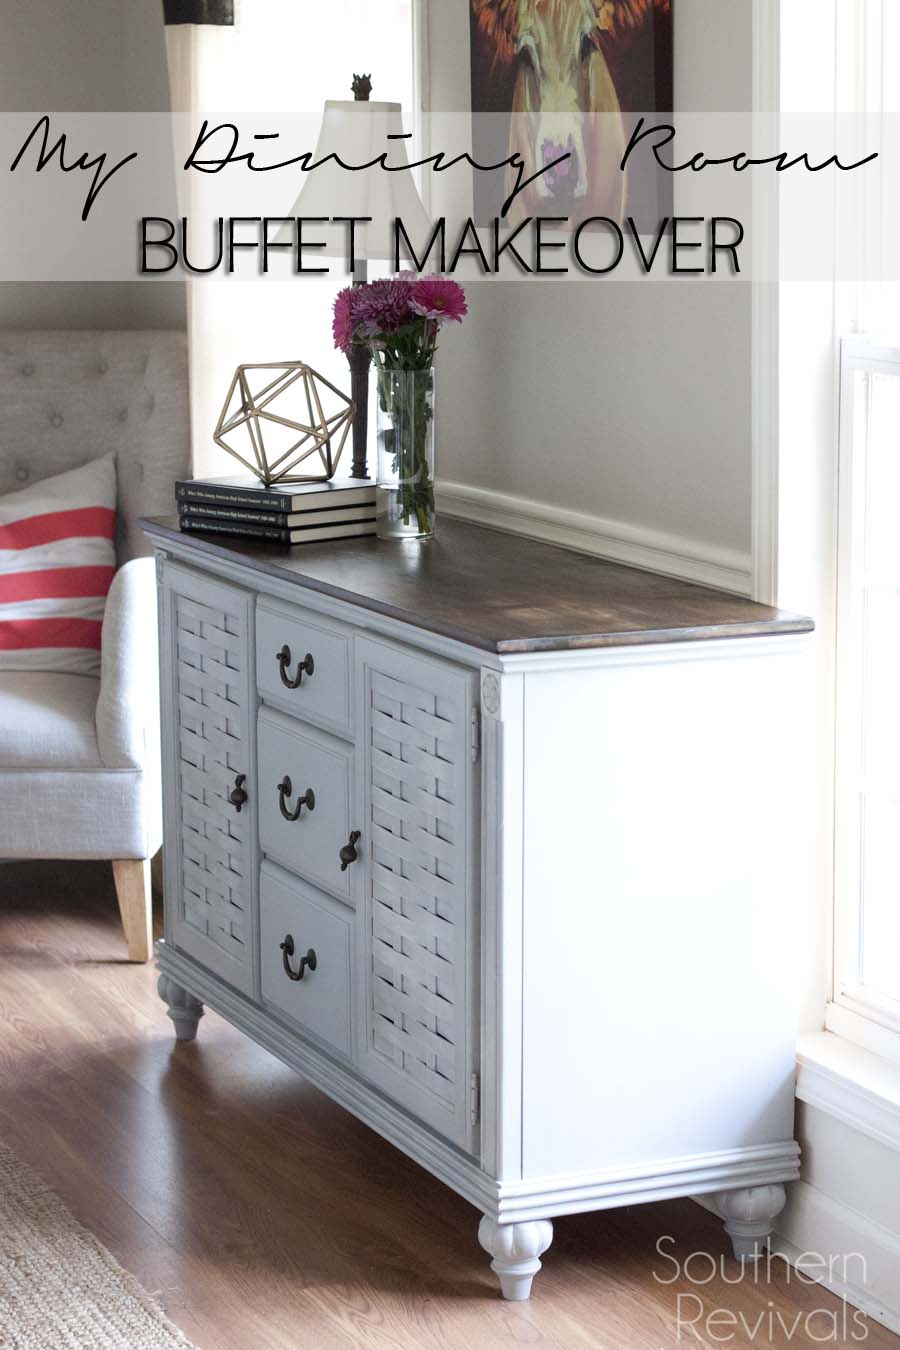
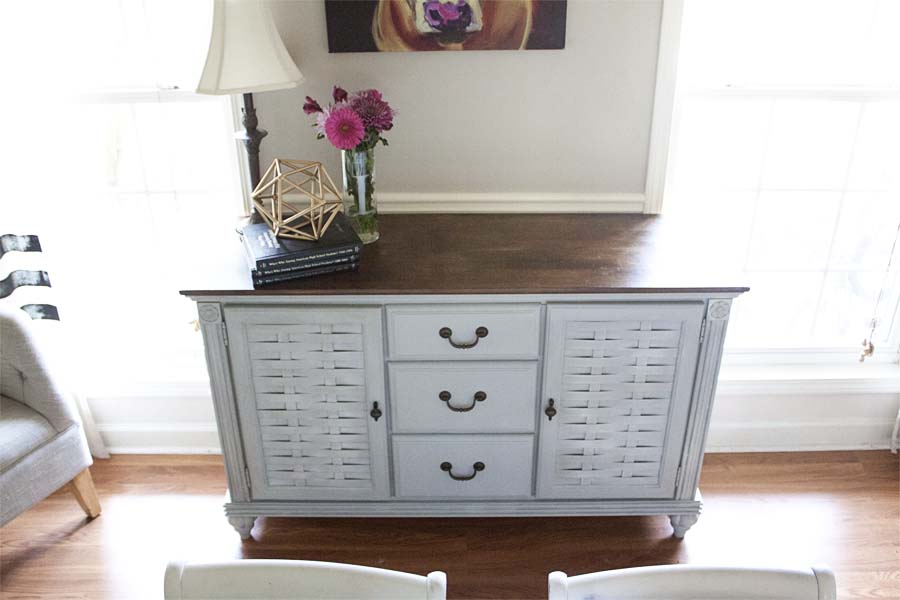
 I finally got around to giving our dining room buffet a makeover. It only took me a day, from start to finish. I really wish I’d done it sooner! Here’s my step by step dining room buffet makeover.
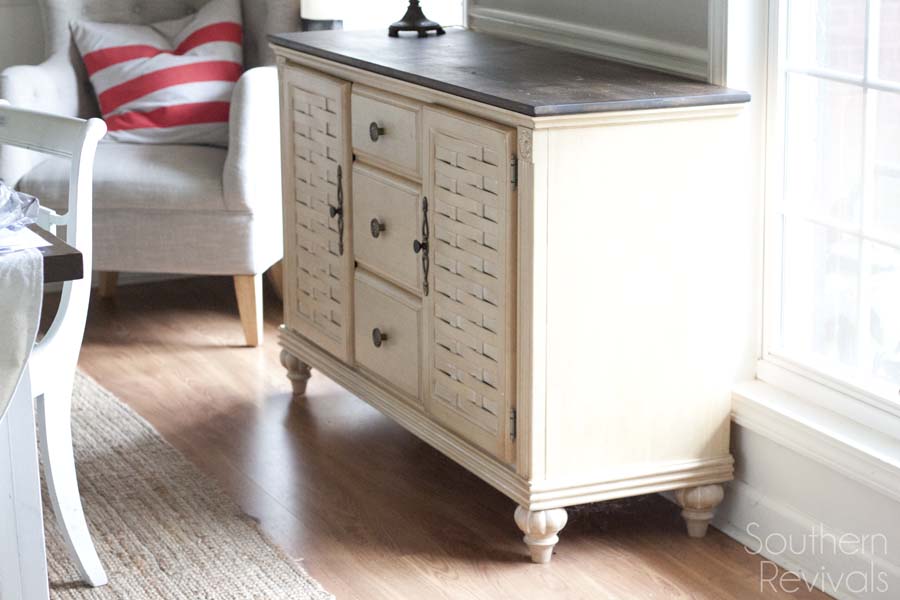 It’s ok if you think it’s pretty before and you’d have loved it just like it was. Because I did, too for a very long time.
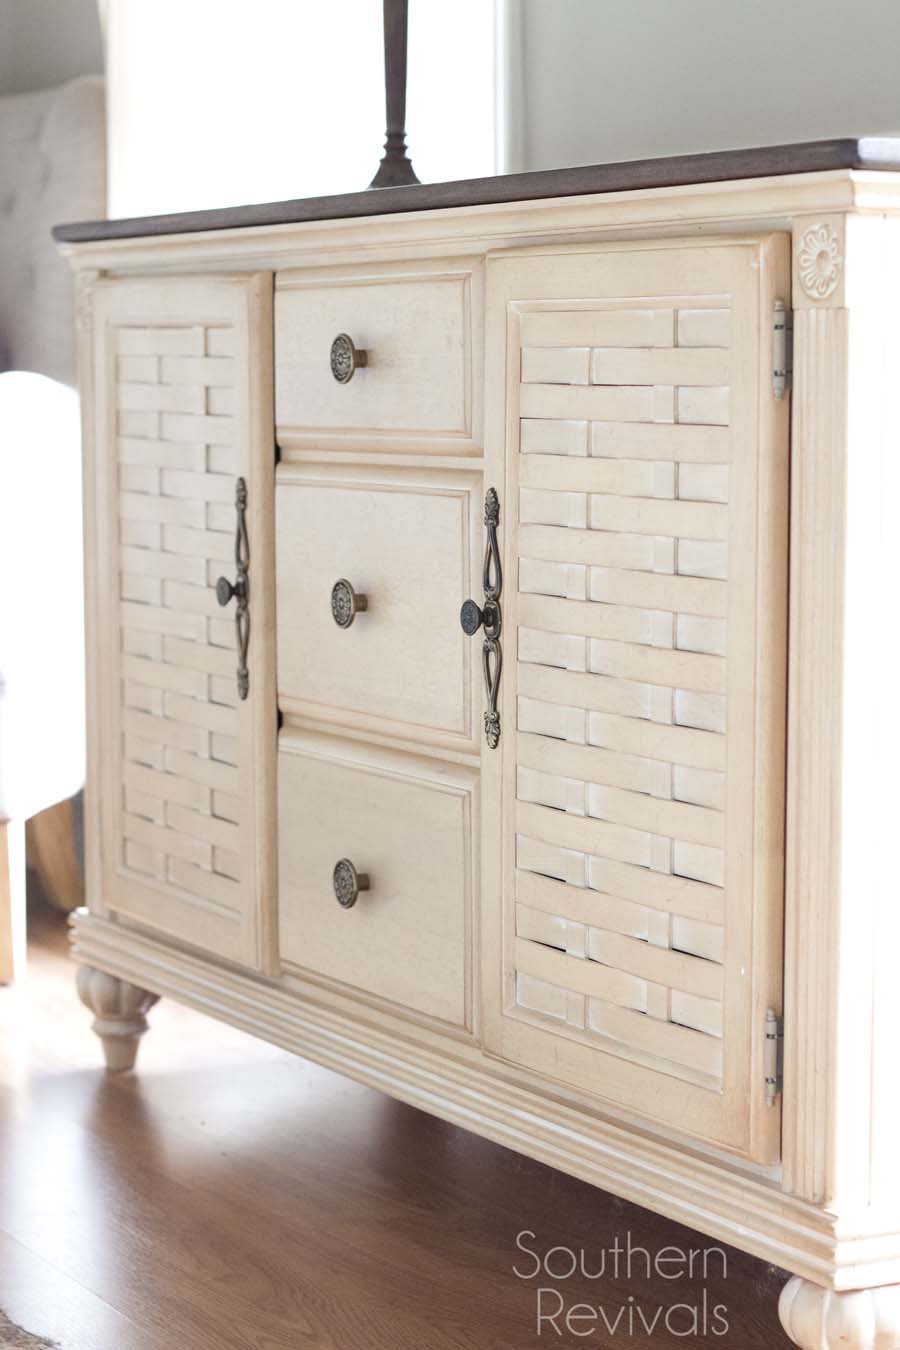 About 14 years, in fact. I bought it just after I was married from Heilig Meyers because they were going out of business. Anyone remember that store?
It was well before the idea of buying second hand furniture had ever occurred to me. But given the budget we were living on at the time, I really wish it had a lot sooner.
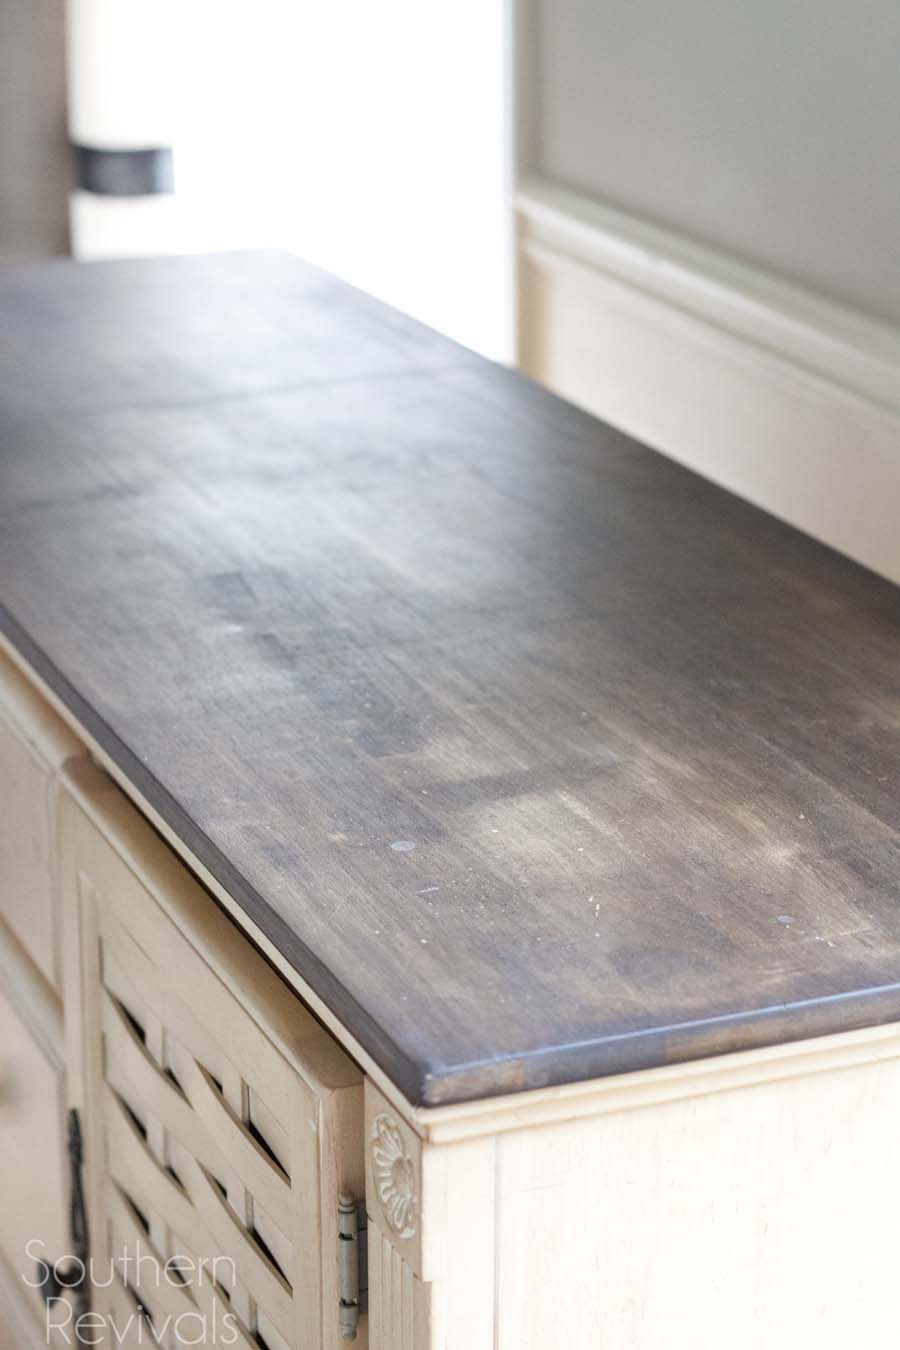 A year or so ago, in preparation for painting it, I stripped the top and down stained it. Only it never went any further because my SIL walked into my house shortly after I did it and said, “I can’t believe you’re painting that! It’s so pretty already.”
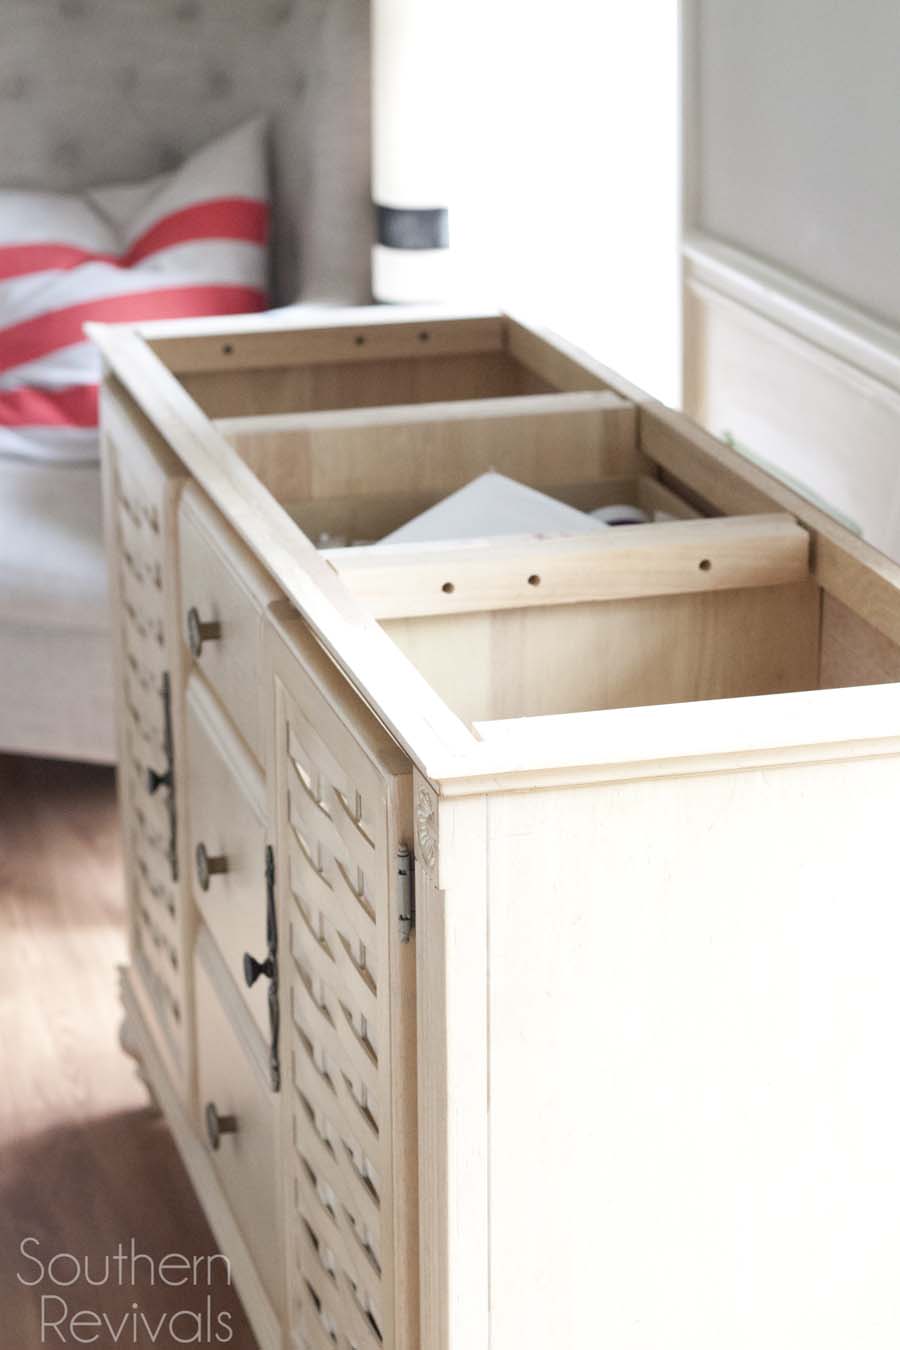 And it was pretty already. So I left it. But I still didn’t love it the way I used to because I’d bought it for an entirely different house and it just didn’t fit in with the new one.
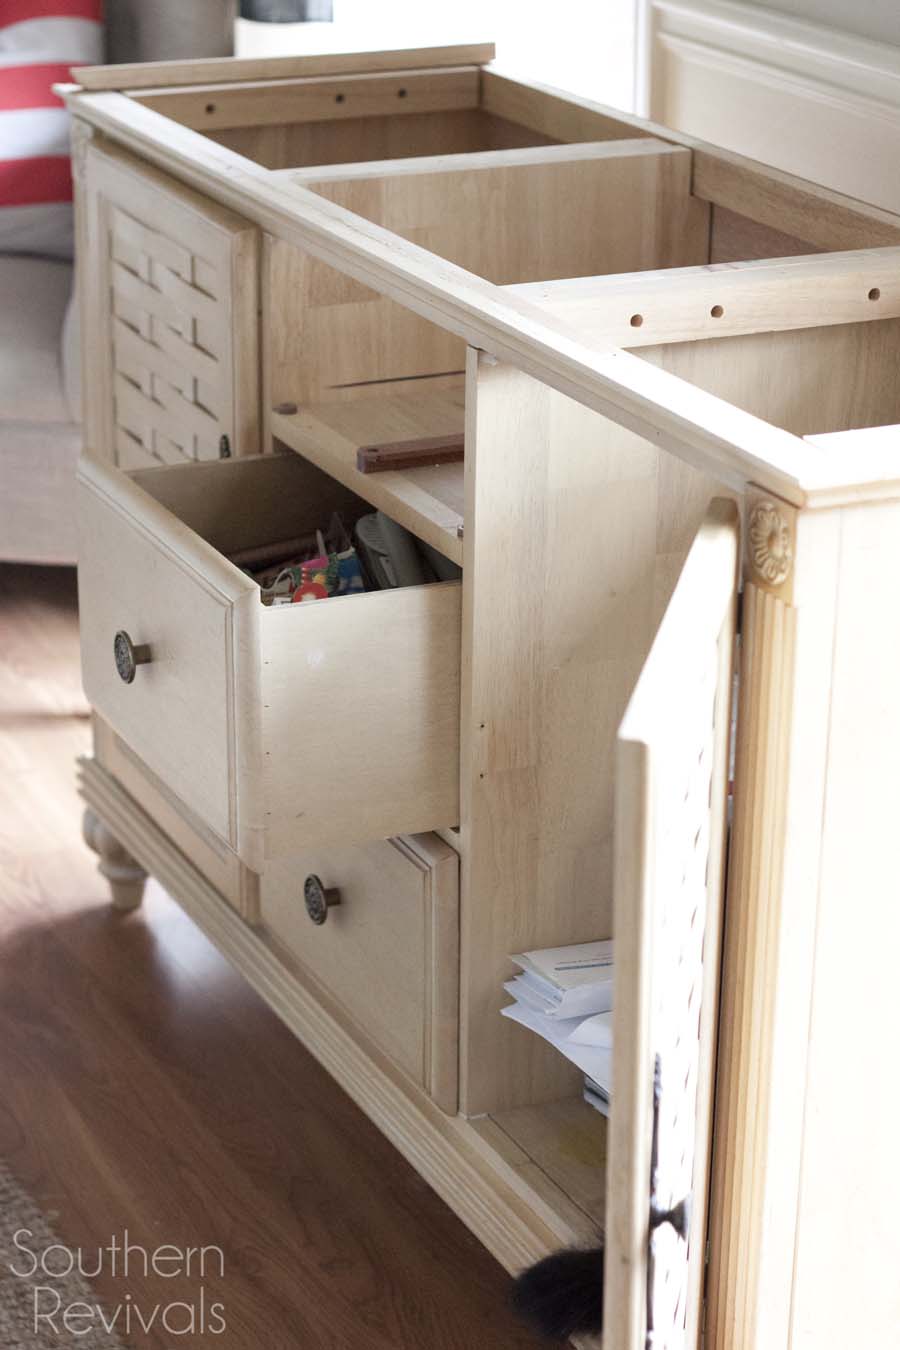 So recently I decided it was time. Time to finish what I’d started.
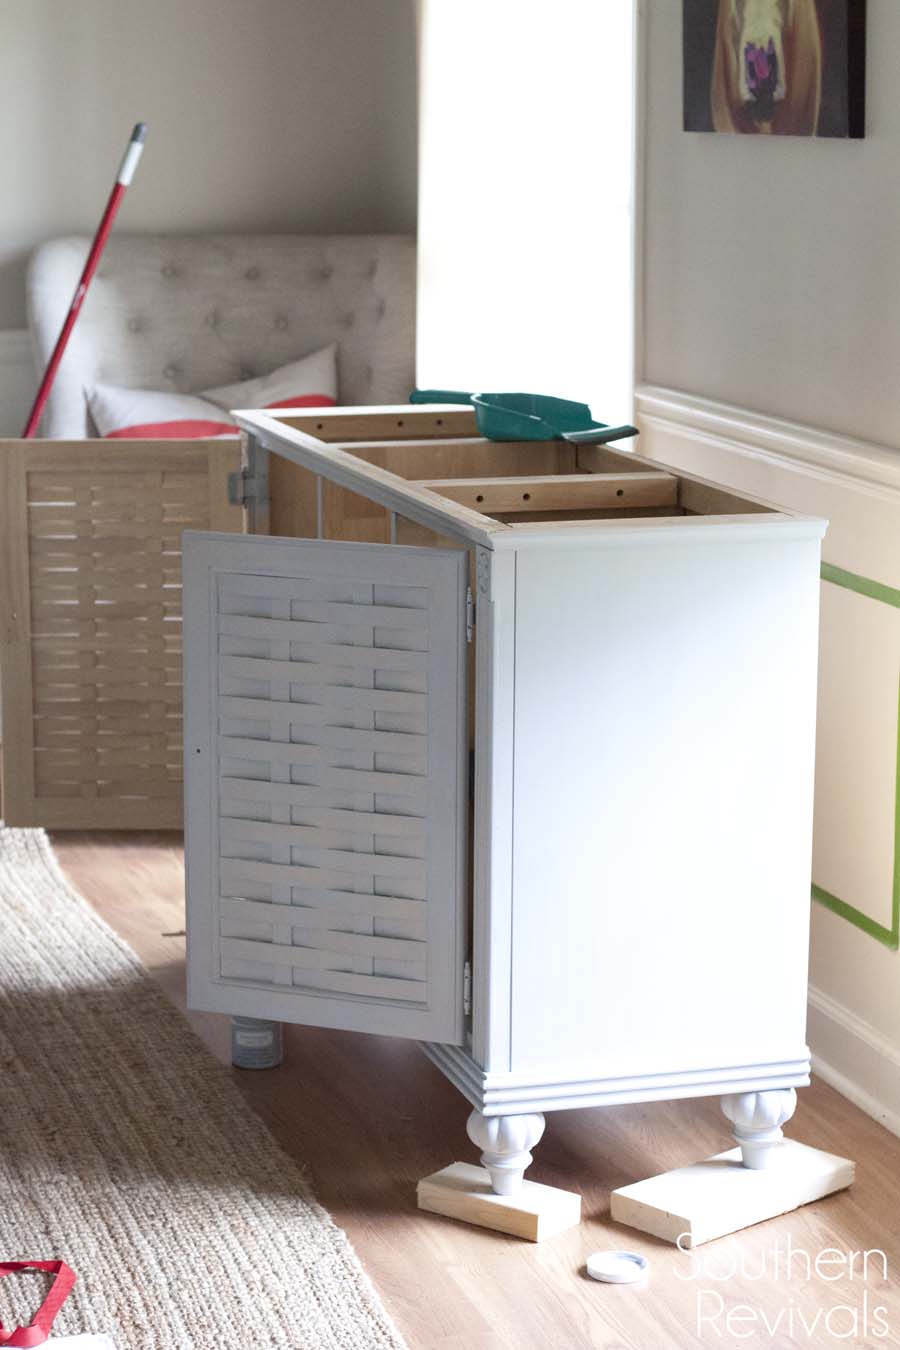
I had never even secured the top back on. So, taking everything out and off of it was a breeze. {Taking the top off is not necessary}
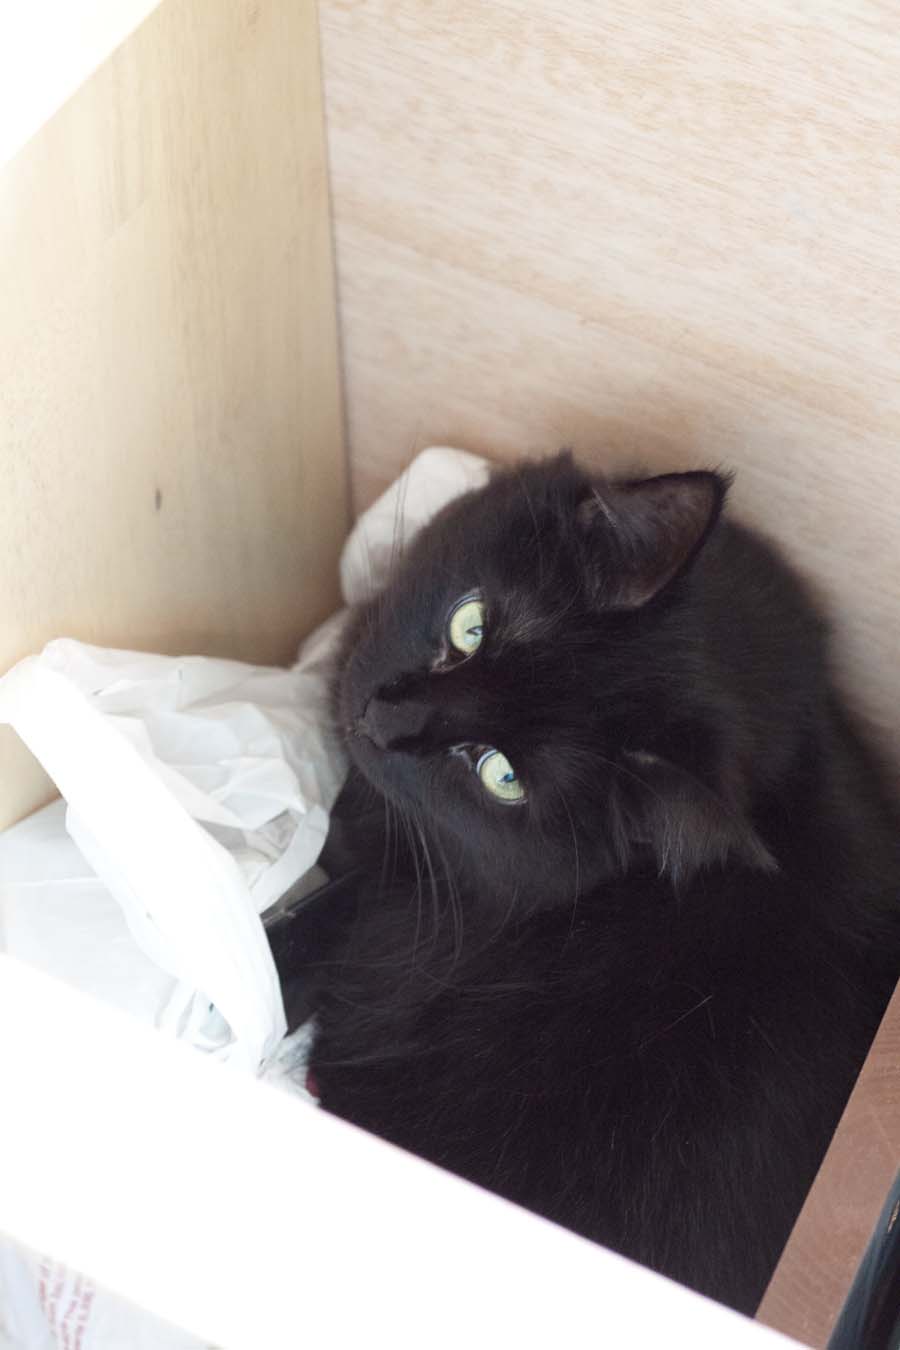 And by everything, I mean every thing….
It’s funny how many things you find in a piece of furniture that you never really intended to put in there in the first place, right?
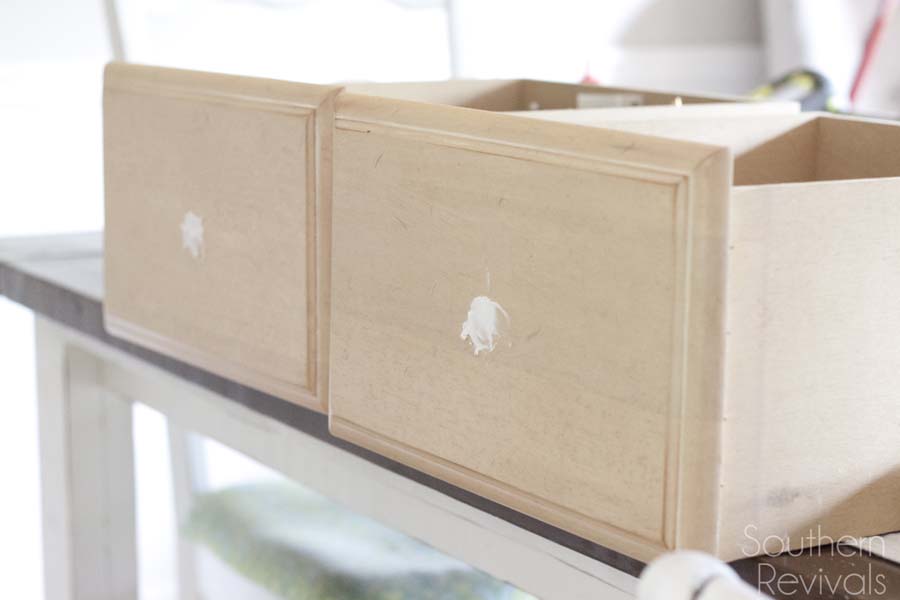 Since I knew I’d be replacing the old hardware with new ones I got from Hickory Hardware, the first thing I did prior to painting was fill in the existing holes.
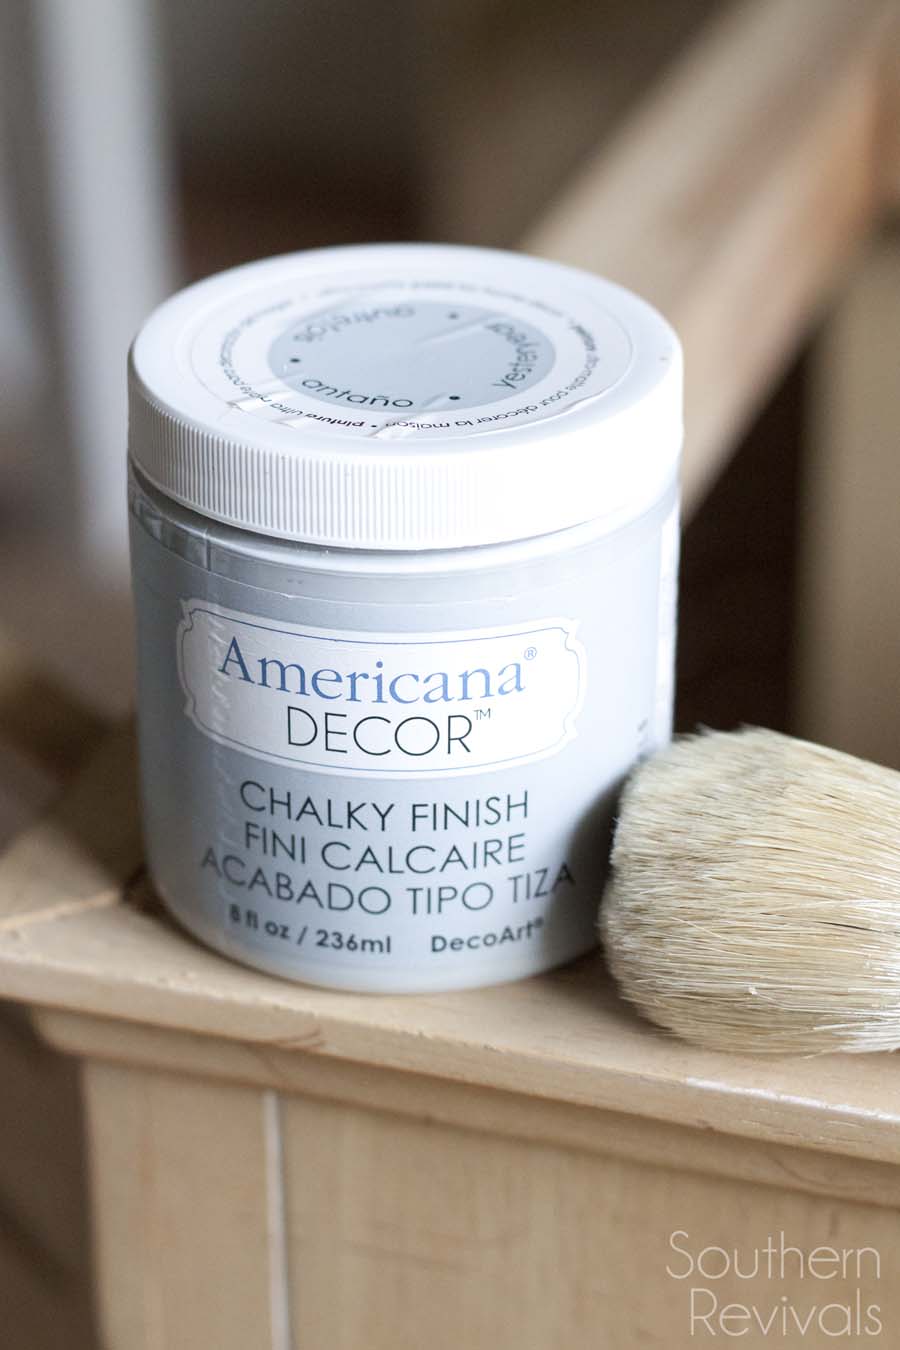 Just before I got started I wiped the whole piece down with white vinegar to rid it of any gunk. Then, armed with about cup of paint, I finally got started.
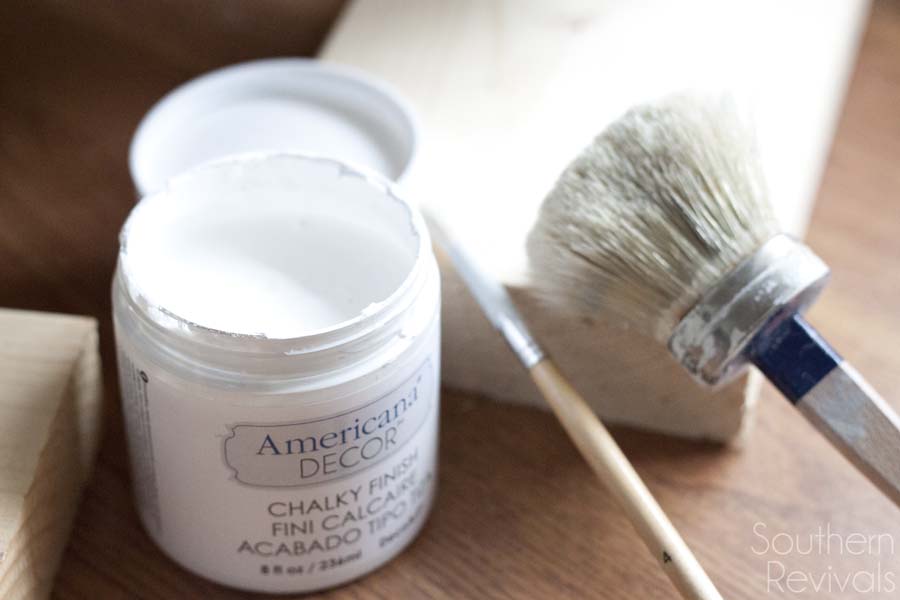
I used one of the paints I am always telling you guys about, American DECOR’s Chalky Finish Paint. I used a gorgeous cool gray called, Yesteryear.
Superior coverage! I went lightly on the shuttered doors because I didn’t want the paint to puddle up in the creases.
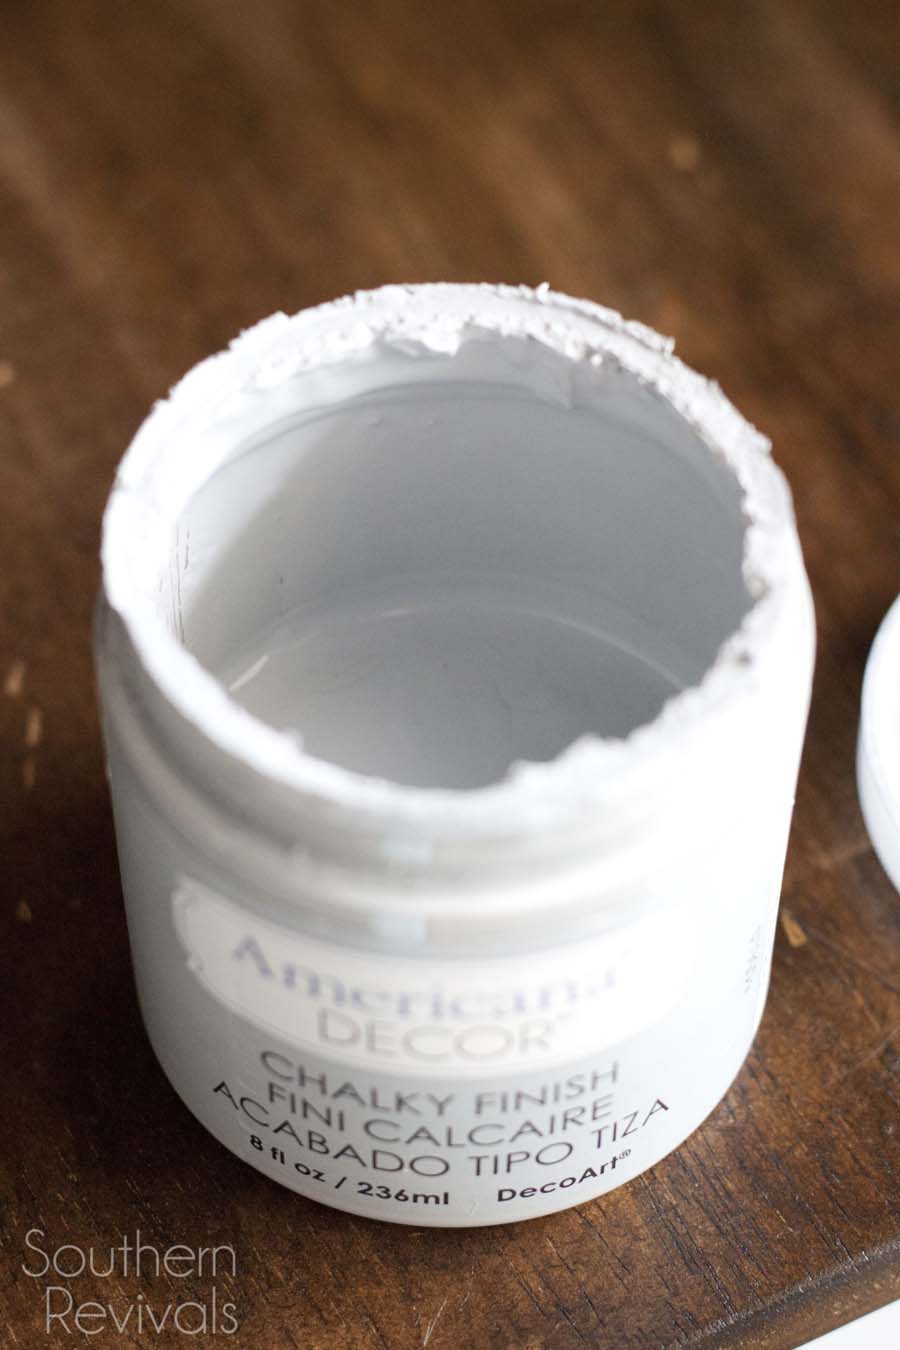 And even after two coats I had about an 1/8 -1/4 cup of paint left over!
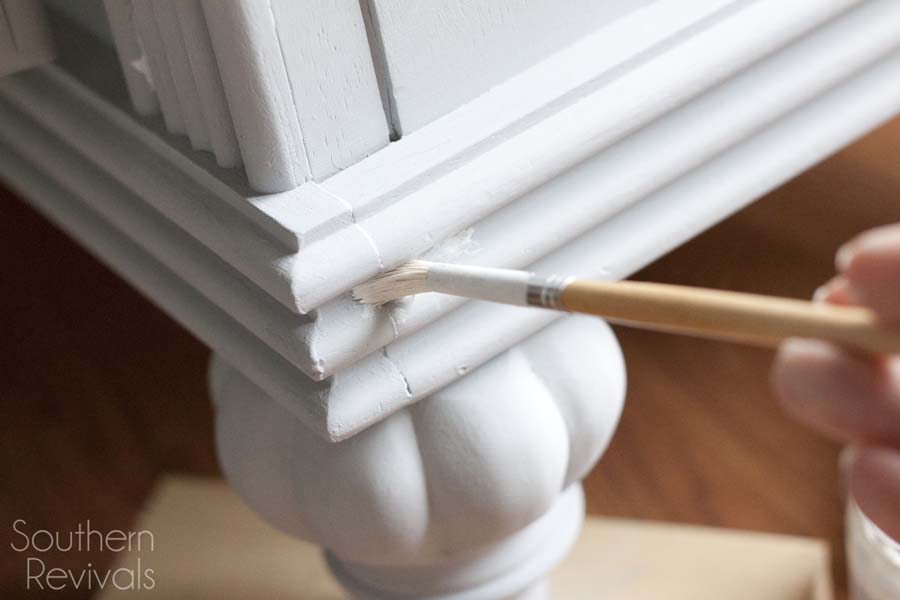
I didn’t want the details to be flat so I used an art brush to fill them in with white called, Everylasting, and then a dry paintbrush to wipe away the excess.
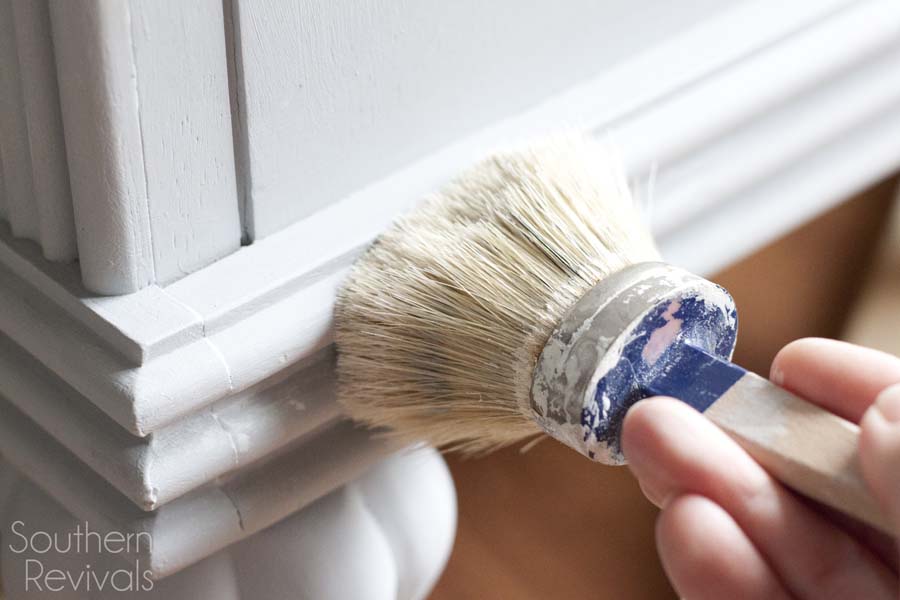
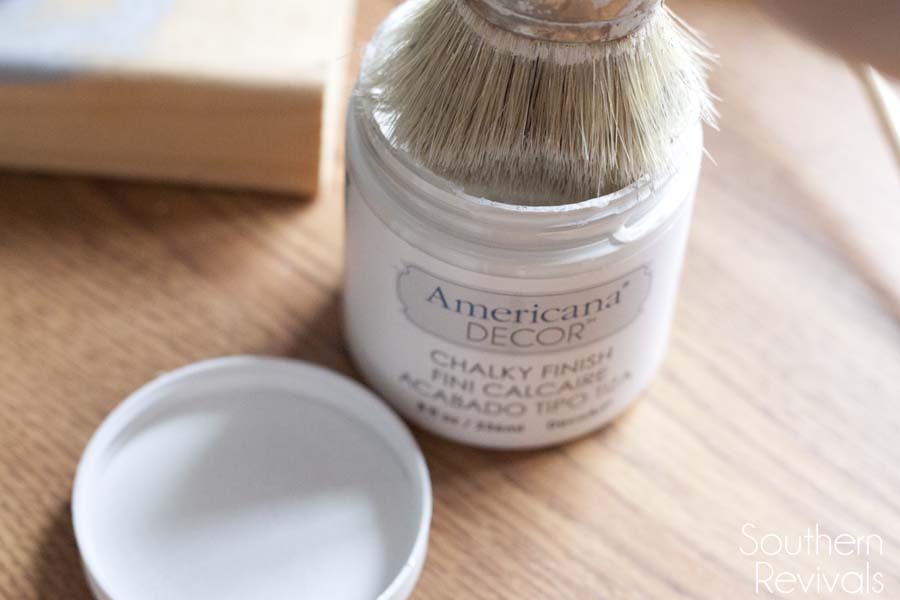 To go over the shuttered doors, I dipped my dry bush lightly into the paint.
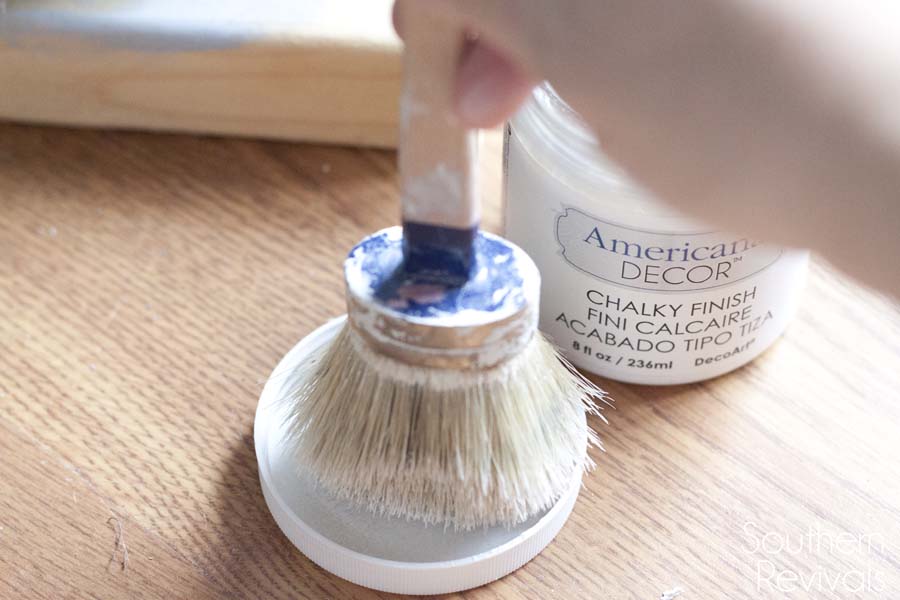 Then stippled the excess off onto the lid.
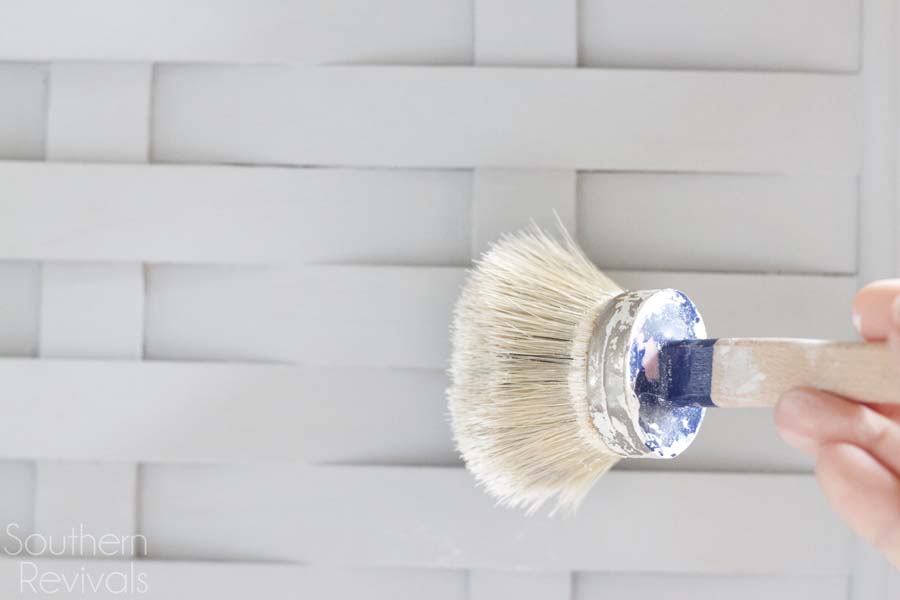 That way I could just lightly brush on some white here and there. Basically a dry brush technique.
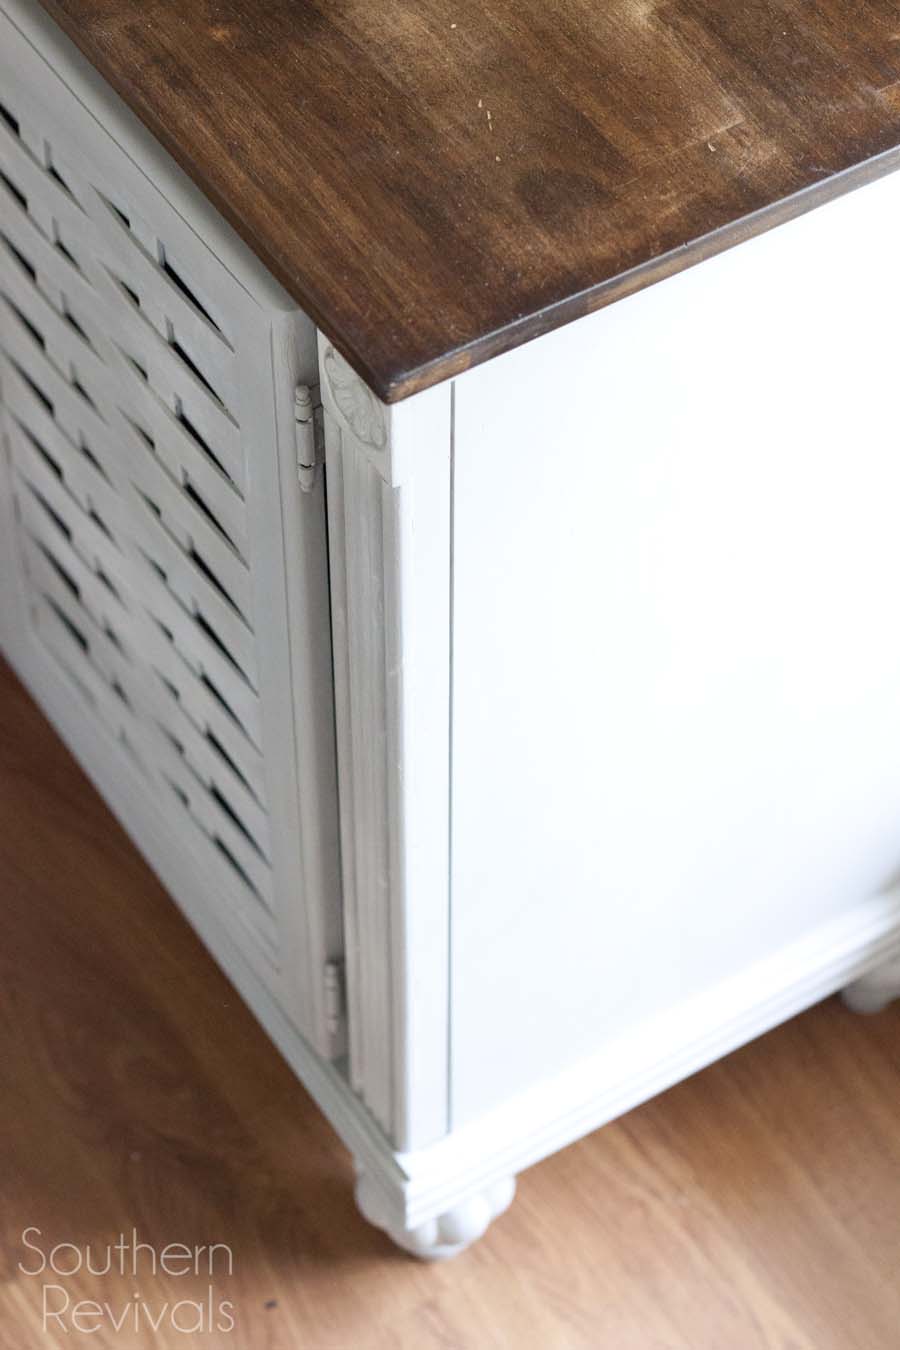 It definitely made the details pop and livened the piece up.
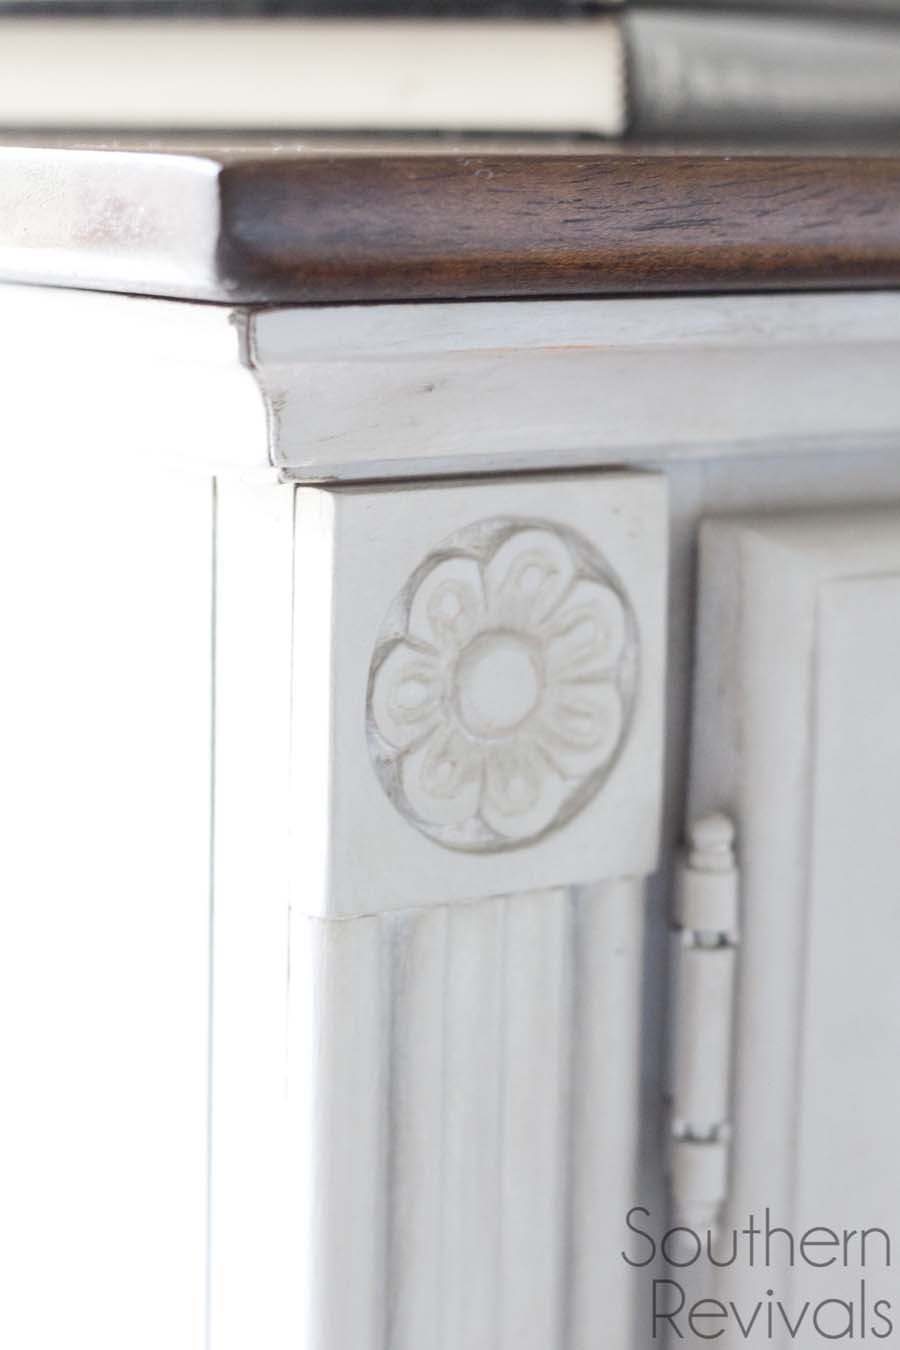 On top of that I added the Creme Wax in clear, wiped away the excess and then applied the Creme Wax in Deep Brown, also wiping away the excess. Then I buffed it with a soft cloth to give it a slight sheen.
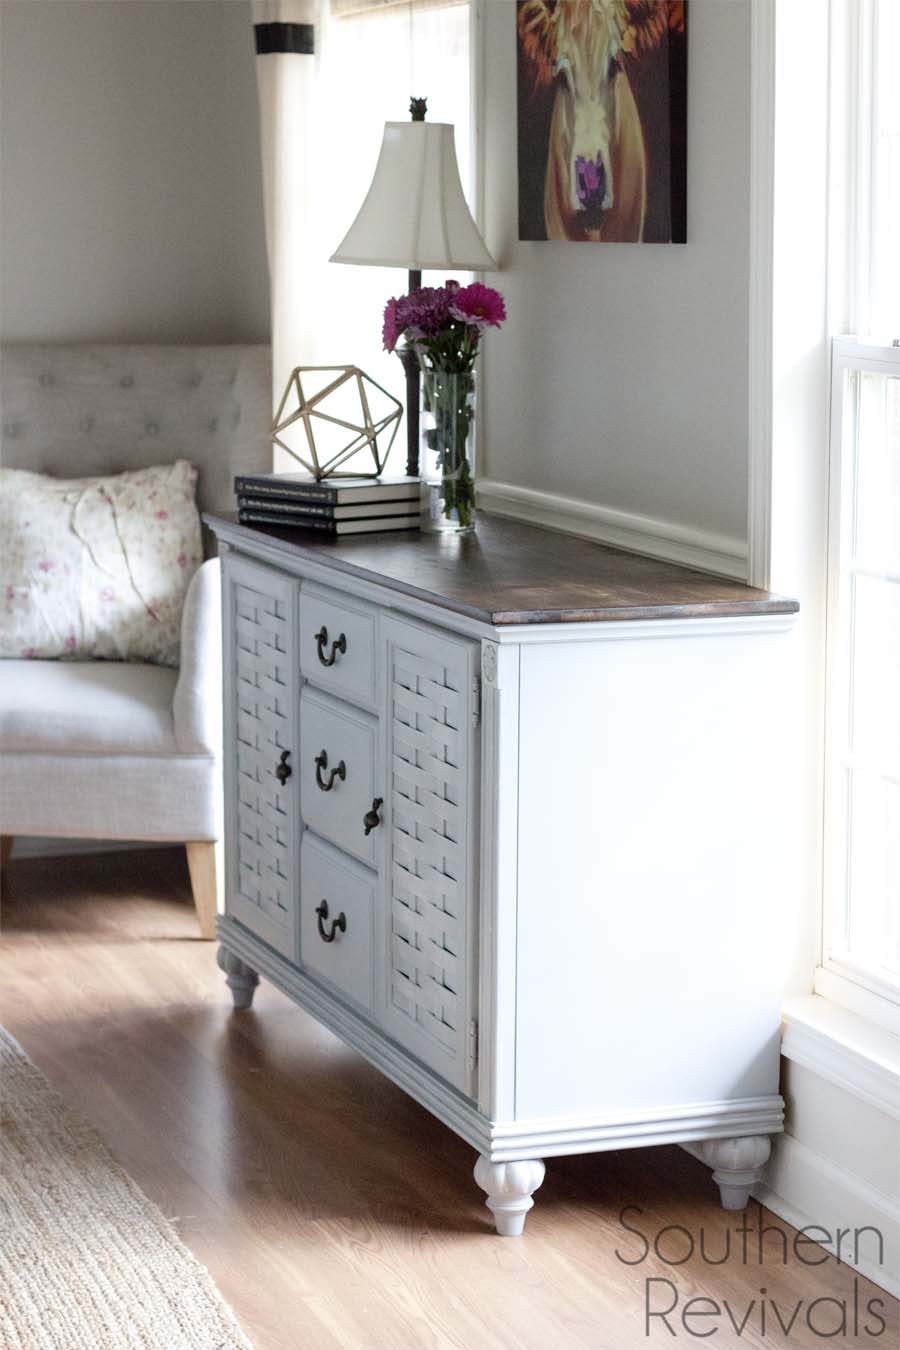
 And I have to tell you, I’m in love.
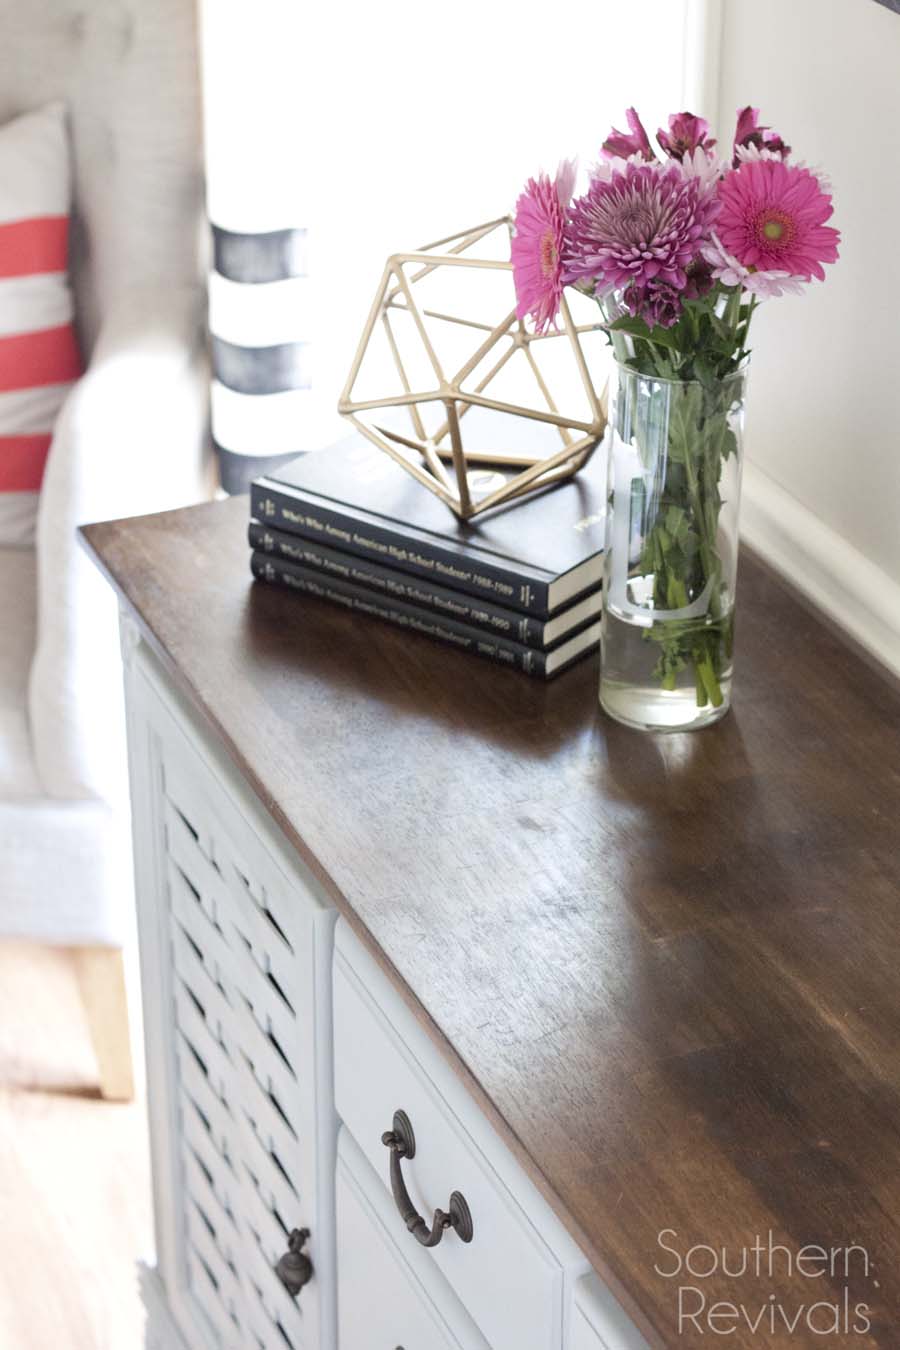 I have wanted this buffet, that I loved but not like I used to, to be at home in our new house.
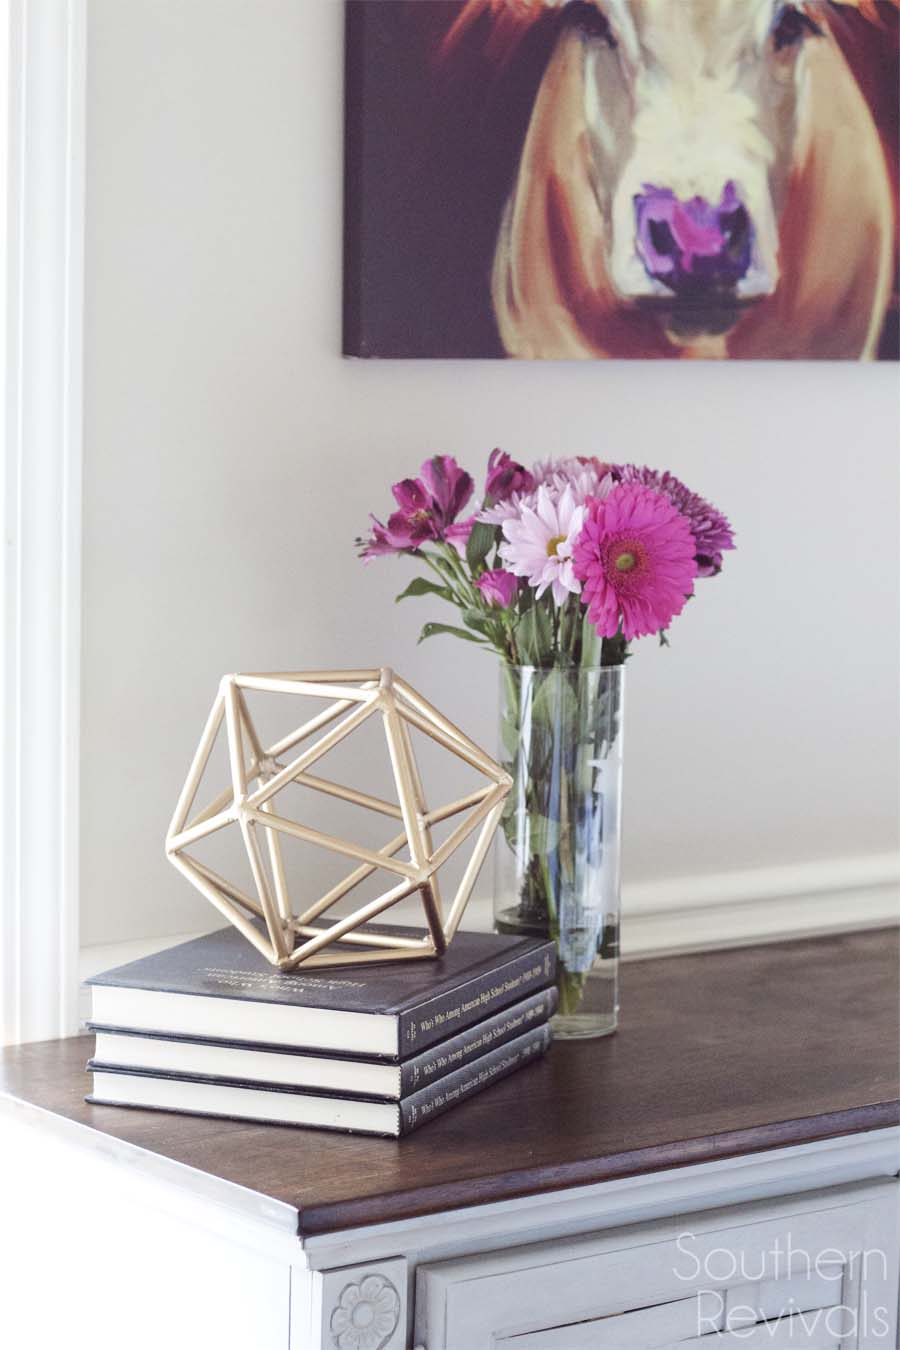 And I have wanted it to play nicely with my favorite cow painting. I think it’s her nose I love best.
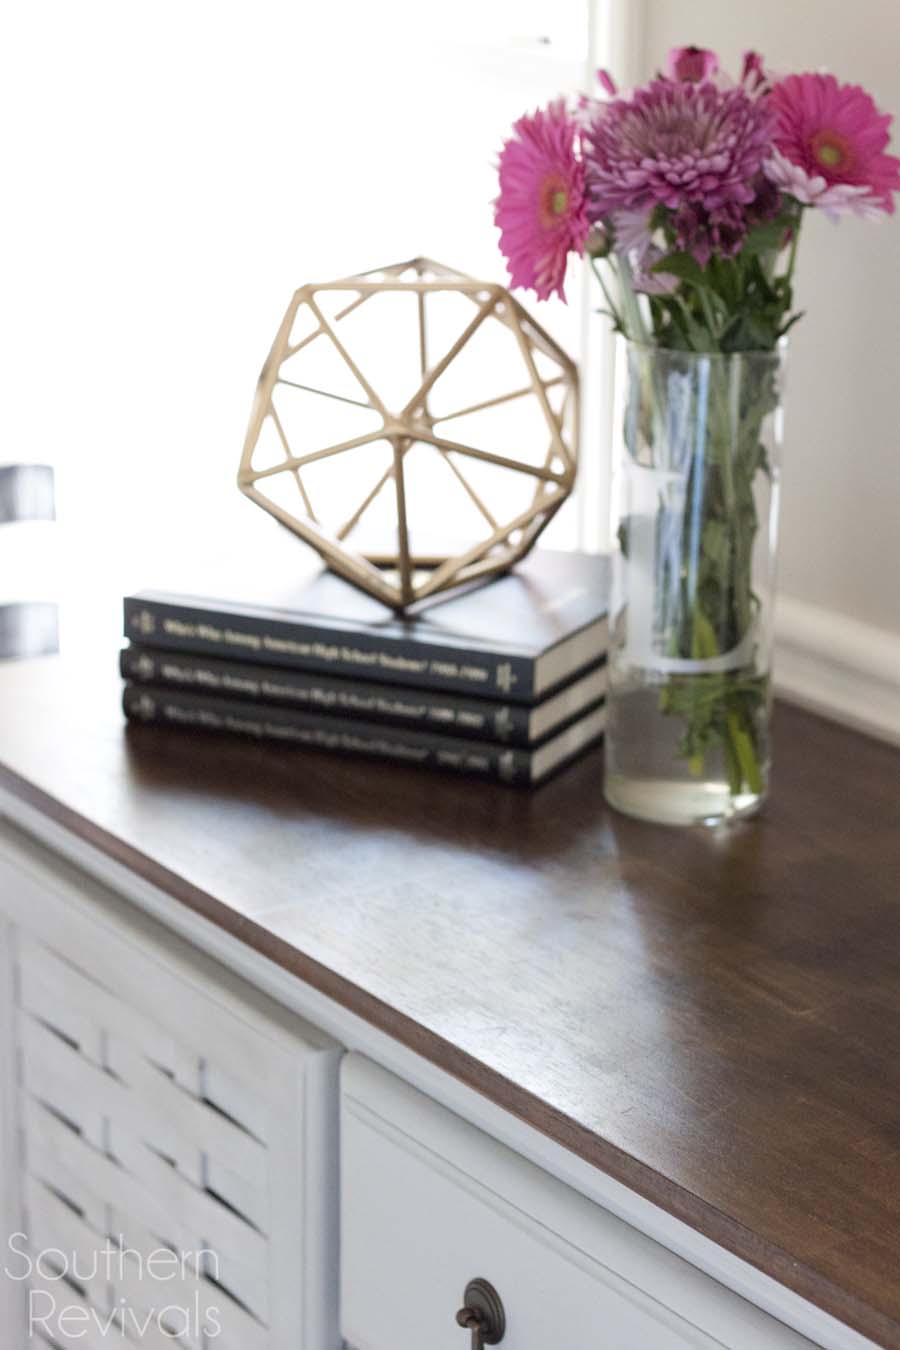 Now, I feel like it does just that. It fits better in its space and plays quite nicely with my pretty cow.
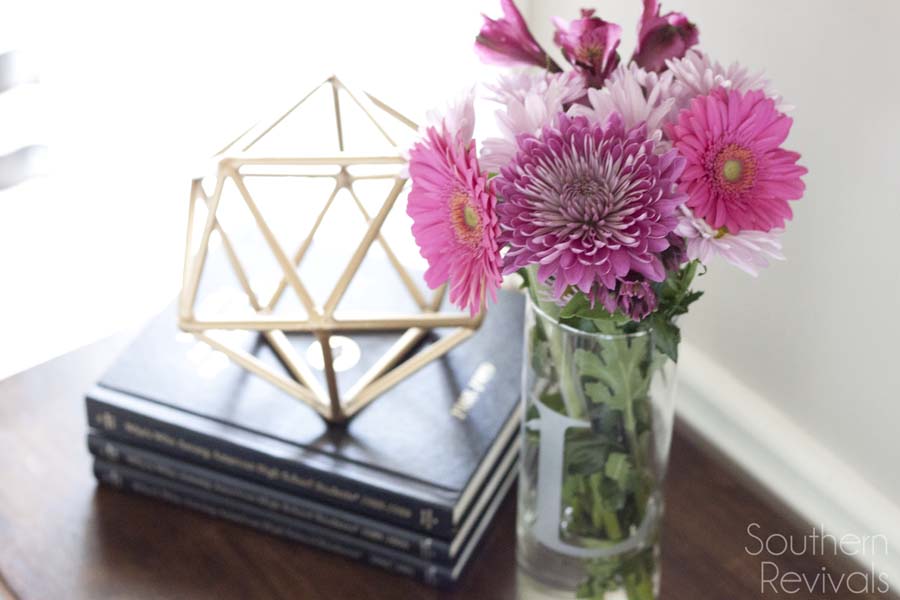 I might just stay here and take pictures of it all day…
Then again, I probably have some other unfinished project to get to!




I love how your project turned out. I love the color you picked it really makes the basket weave and flowers look pretty. Such a beautiful piece of furniture that you made over. Love it!
Thank you Theresa!
Looks great, Jamie! I remember Heilig Meyers…we had a store here in my town!