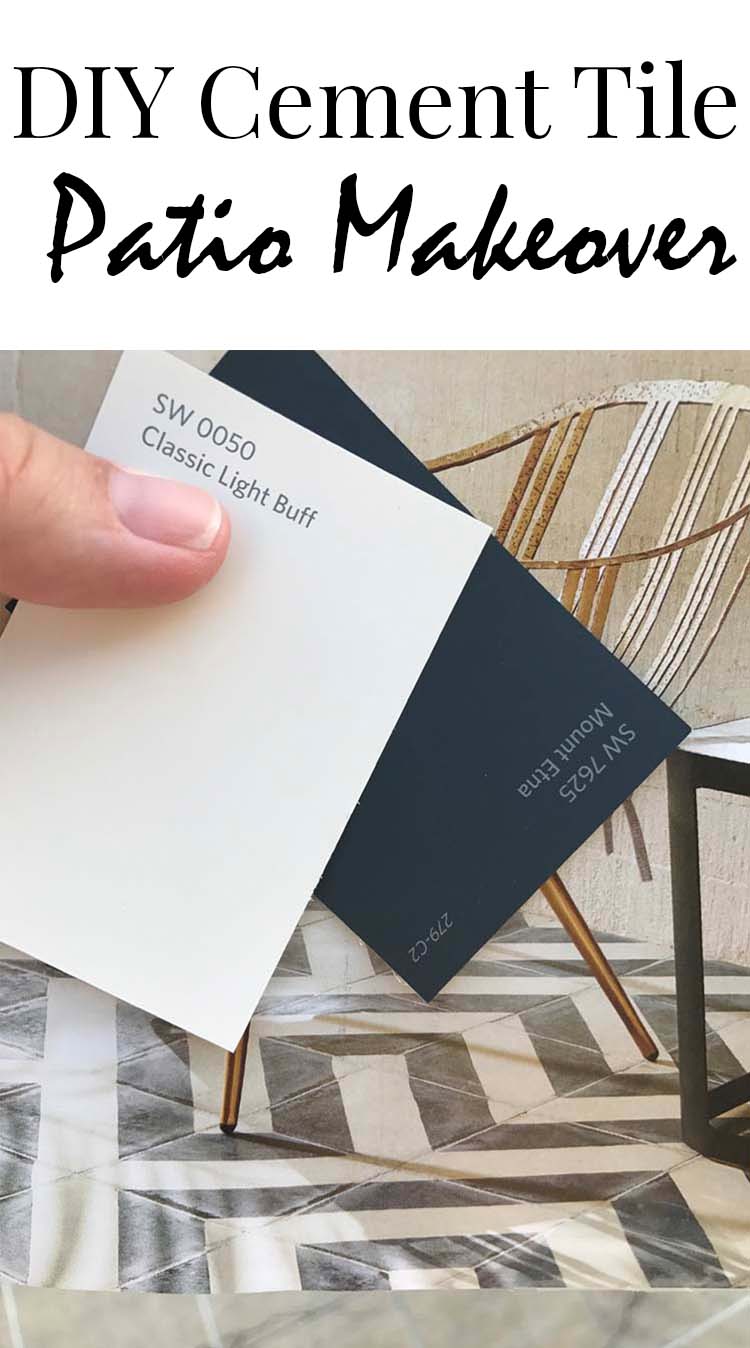
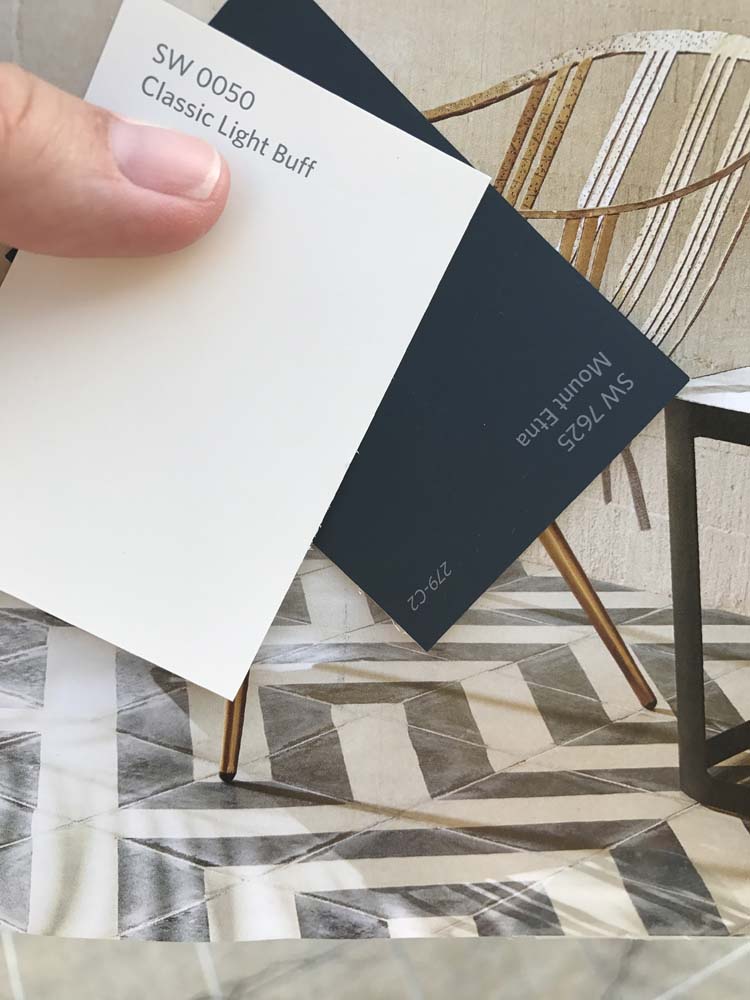
I’m nothing if not overzealous. So when I saw this patio inspiration on the front of a CB2 catalog this summer I decided I was going to replicate it. Of course, I couldn’t actually afford to outfit our boring concrete patio with real cement tile. So, I set about figuring out how to fake it and, I must say, I’m pretty impressed with how it turned out! Here’s how we created our DIY cement tile patio.
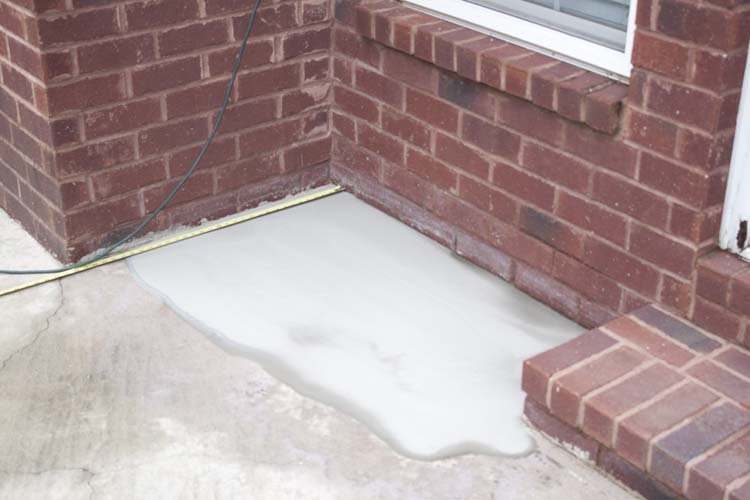
I have always thought our slab patio was boring but I vacillated between tearing it up and starting over, which would’ve been super expensive, or going with it as is. I knew couldn’t afford to start over but I couldn’t figure out how I could love the “going-with-it” option either so for a really long time, I did nothing.
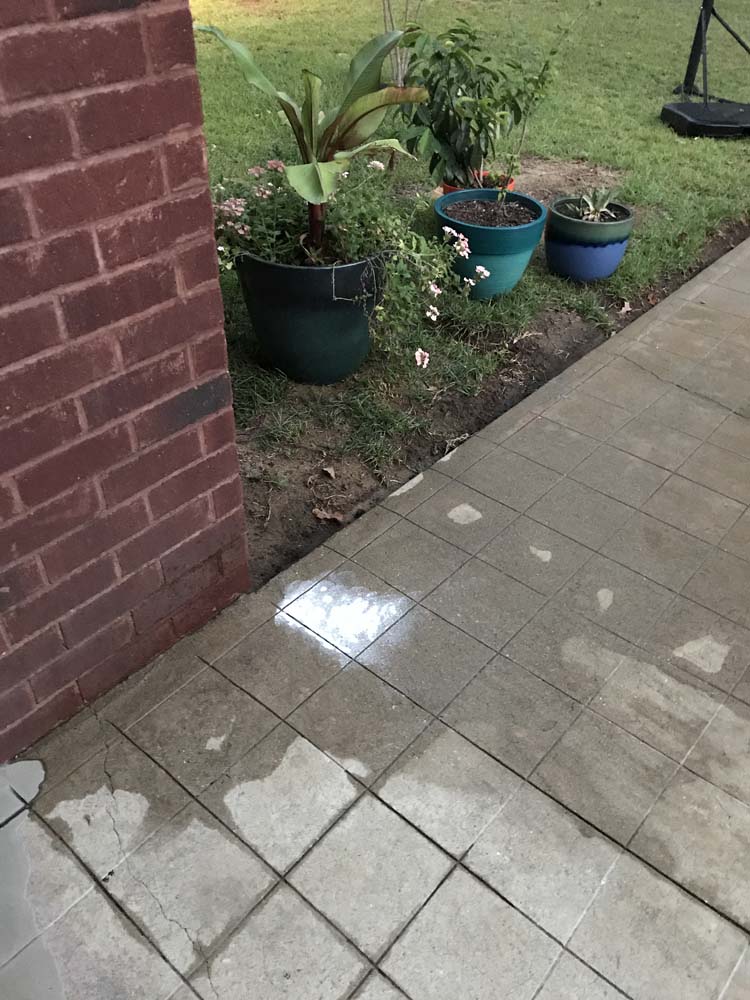
Our boring-version patio also allowed water to puddle weirdly right next to our house in the corners so we were always having to get rid of the water or else figure out how to profit from a mosquito nursery. We used a self-leveling concrete patch repair that my husband swore he’d be able to chisel up if any of it went out past the no-see-it zone. Alternative fact.
If you have to use this stuff and choose not to cover your entire patio with it (and honestly, it’s expensive so I wouldn’t) it will not blend it with the non-treated areas. So just make sure that it will be covered up by something, for us it will be our new mini-deck, and remove any that goes outside of this area before it dries.
When I saw that gorgeous cement tiled…veranda(?) I knew a way I could turn our slab into something better without having to tear it up or live with it.
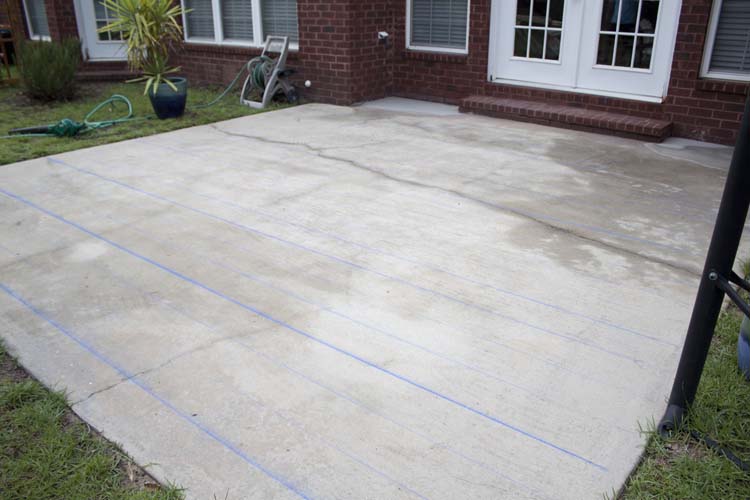
We used a chalk line to lay out our 8×8 tiles. We started by putting down lines for our horizontal cuts and once those cuts were done we laid out lines for our vertical cuts.
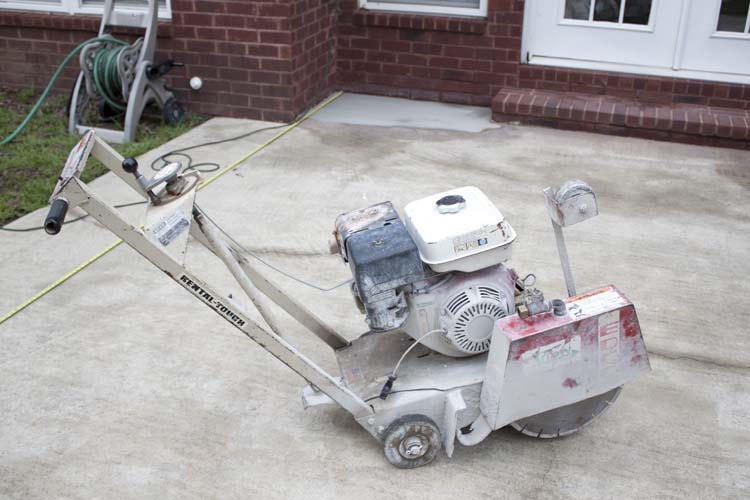
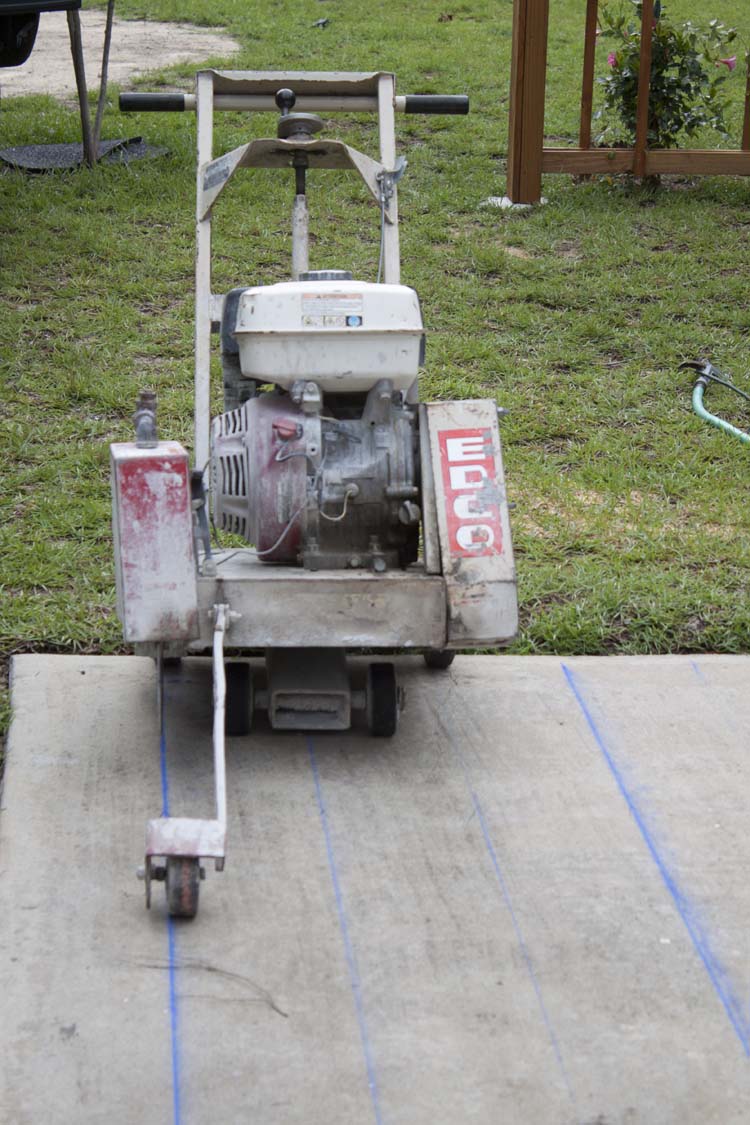
We rented this monster machine from our local rental shop. It’s an Edco Walk-Behind Downcut Saw, aka Ed, and it is meant to cut expansion joints in concrete slabs, among other things. But I am here to tell you that its true purpose is to turn a boring concrete patio into a much fancier cement tiled oasis.
The cost to rent the machine was around $50 but we also had to purchase a diamond blade for around $40 (which gets turned back in with the machine so I’m still kind of trying to riddle that one out in my head. But what am I going to do with a giant diamond blade, anyway? I am out of patios). So, all in all, just over $90 bucks. It’s money well spent!
The machine will tell you that this is a one person job. If you are cutting expansion joints, that might be the case. But if you are cutting pretty and precise lines, you’re going to need a backup. Your backup will eyeball the situation from the front (but not too close, obviously) and make sure that you are keeping on your chalk line with wildly animated hand signals which might should be worked out in advance because you won’t be able to hear one another.
Take it slow. I can’t stress that enough. If you’re going slowly enough you can correct any deviations from your chalk lines without it being too obvious in the end result.
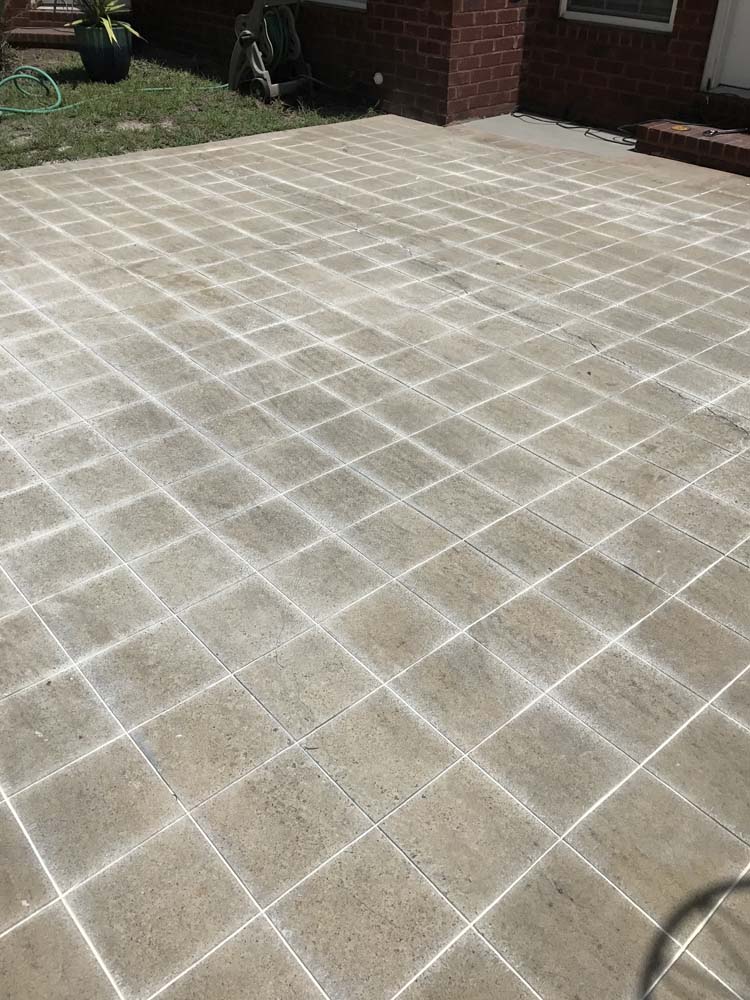
After a couple of tense and dusty hours (wear safety glasses and dust masks and, for goodness sake, always follow manufacturer’s instructions and warnings) you’ll have something that looks like this. Which, all on its own, is decidedly less boring than what we started with.
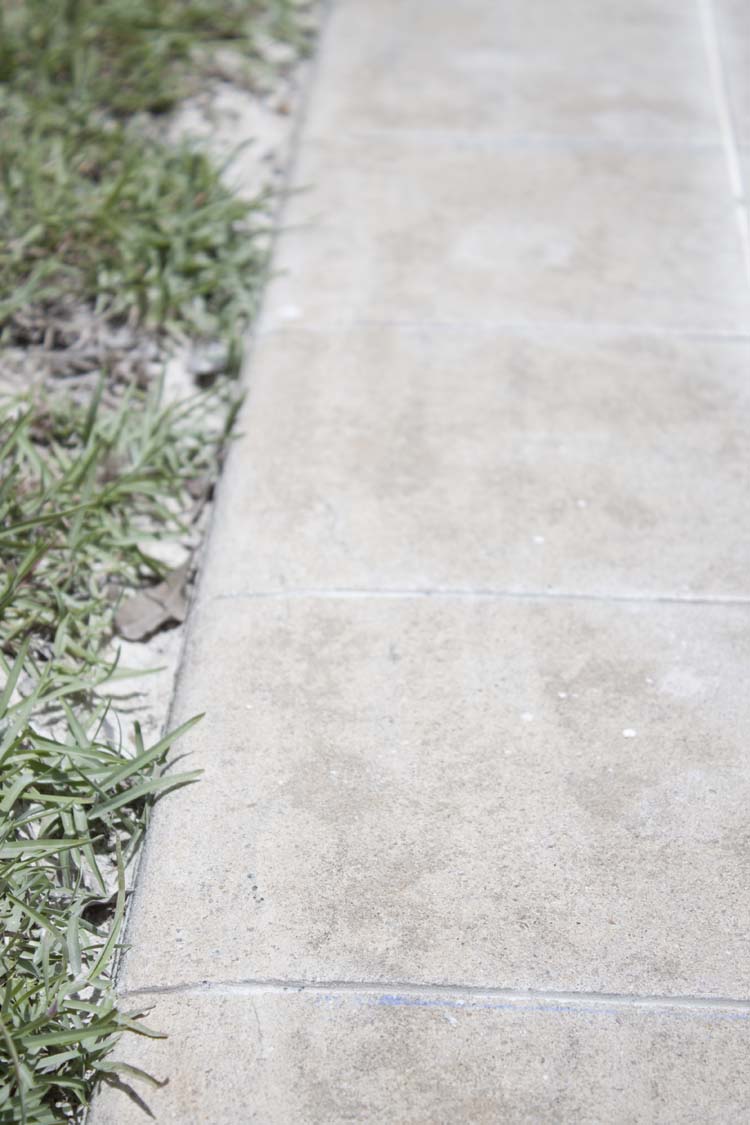
There will likely be some places where you can’t take your new best friend, Ed, like off the edge of your patio and onto the grass because that will adversely affect the depth of your faux grout lines and possibly even your fledgling friendship.
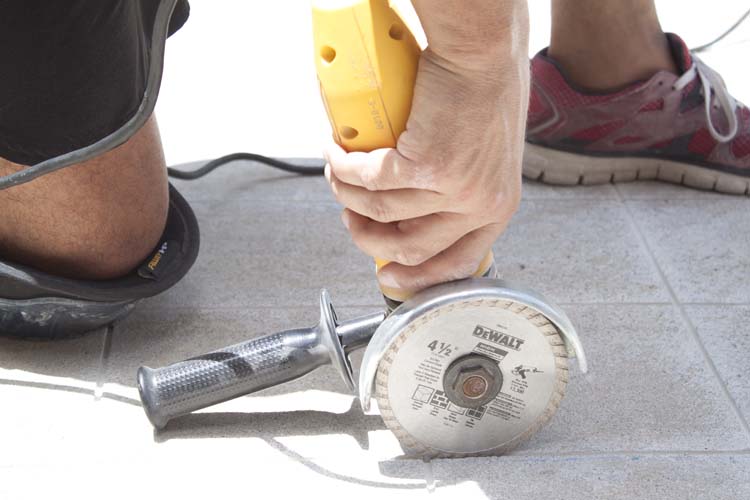
So you will instead use your grinder (with a smaller diamond blade that you get to keep after purchase) to finish off any lines that you couldn’t get to with Ed, like the ends of your patio, spaces close to your home and even the lower, less-than-level sections of your patio.
Once that’s all done and the dust has been washed away, it’s time to fancy it up a bit. Like an overzealous and overly complicated geometric pattern done in a sort-of expensive concrete stain.
Here’s the thing though. I forgot where I live. I forgot, for a moment, that I do not live in a villa in California or modern desert home in Arizona. I live in the middle of the country…in Georgia.
It’s funny because anytime I have to discuss “my style” I always struggle. Part of it is that I am ever changing as a designer and part of it is that I like all the things. But most of it is that I realize you have to be true to your space.
Truth be told, I wish I had about 5 houses to express all of my favorite design styles. But, alas, that is impractical.
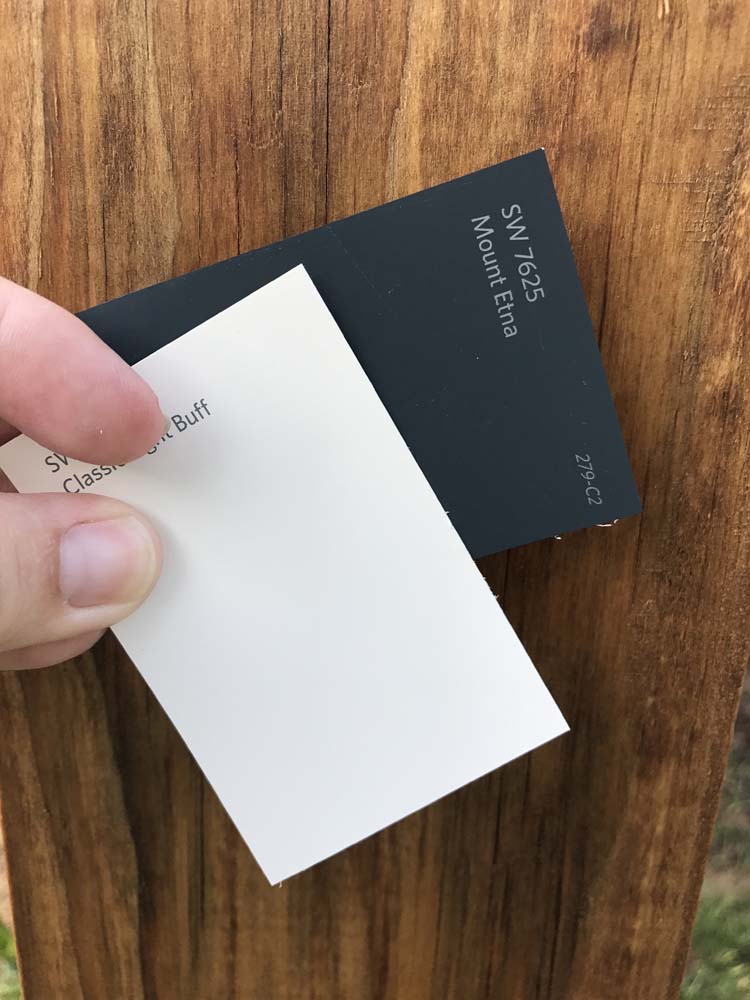
So while this color combo is still amazeballs, and I will probably still incorporate it somehow, I will not now be and painting it in a complicated geometric pattern onto my freshly carved patio. But you bet your fancy design book I’m keeping this in my proverbial back pocket for when I have a space that could make it work.
Because I knew the moment I playfully dolloped the first coat (white!) onto one wet square in a vain attempt to be less committed to it that it wasn’t going to work.
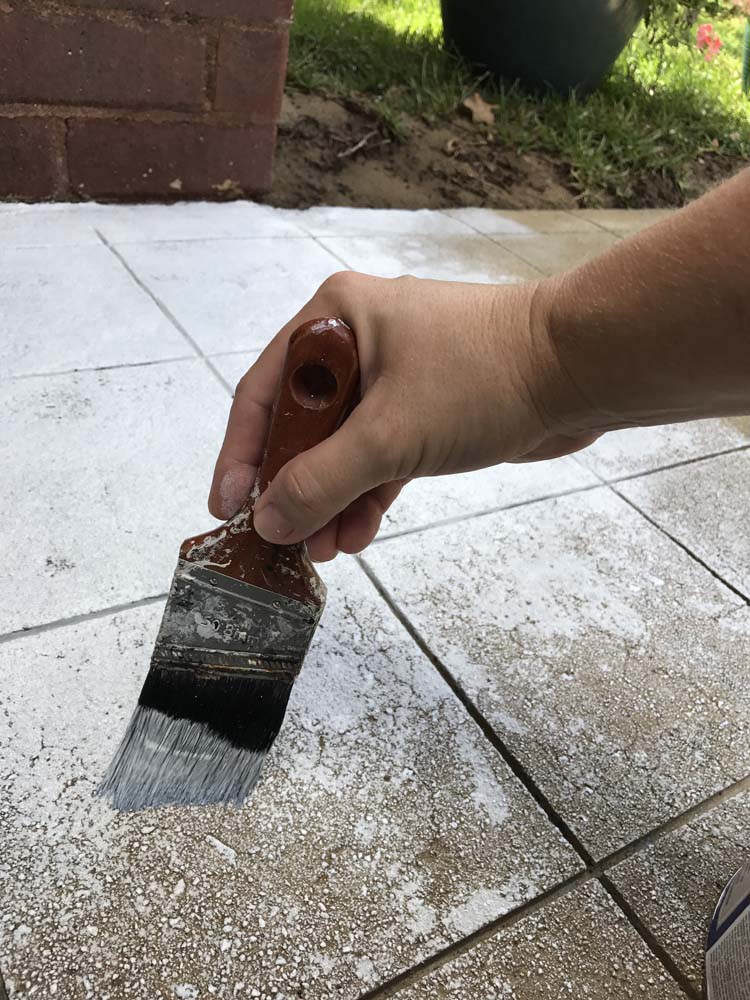
I knew it the entire time I hand painted all 575 squares (I counted) in 100+ degree temps (because I wanted it to have a worn look once it was complete instead of painted one, insert eye roll). And I knew it the entire time I filled in all those grout lines. Still, I painted the entire thing white before I gave it up.
I knew the white would be too bright and the style would not compliment my current dwelling. I also had a very distinct impression of what it might mean to our resale value.
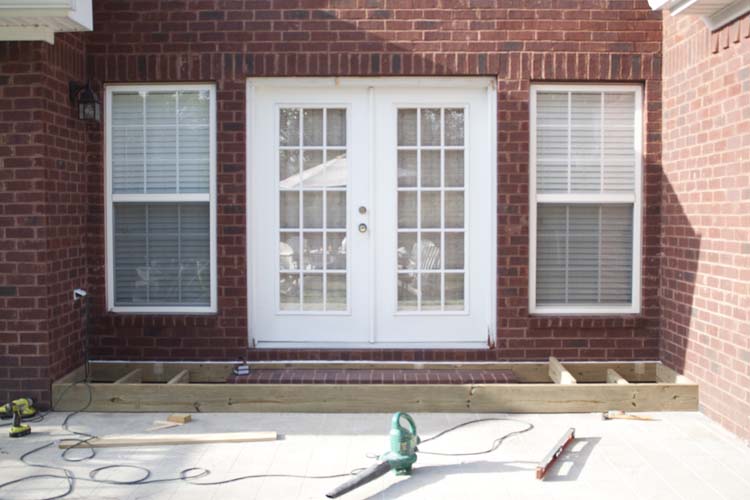
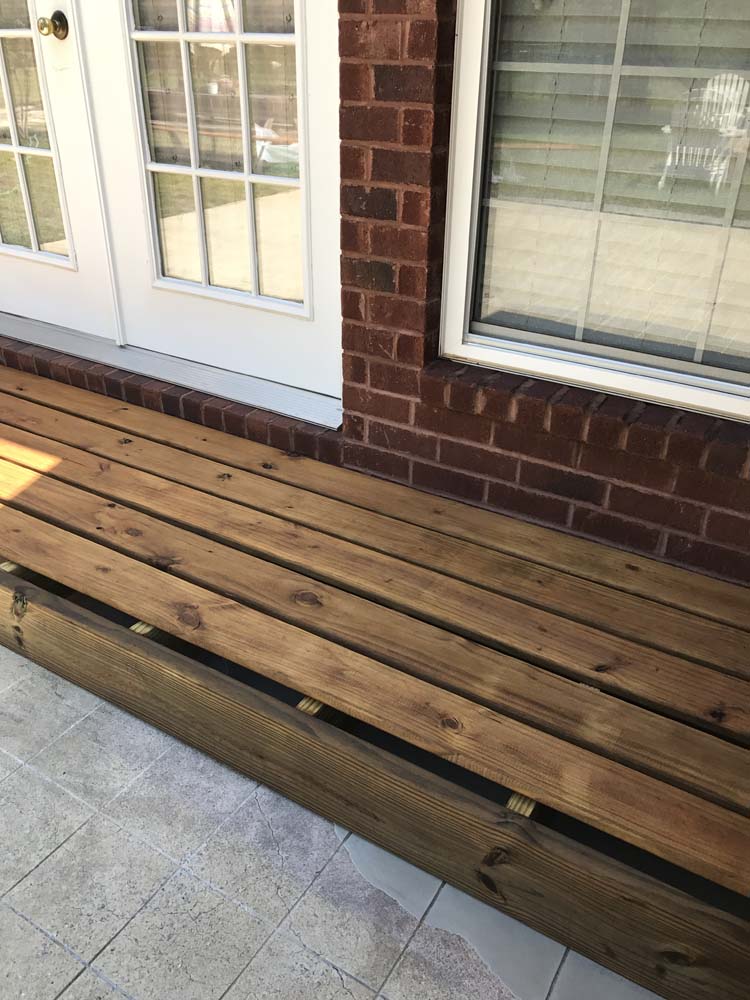
So while what I eventually went with is so much tamer than what I originally had in mind it is also so much more fitting. And I am loving our mini deck, constructed right over top of our brick stairs. But, ironically not right over that renegade patch of self-leveler.
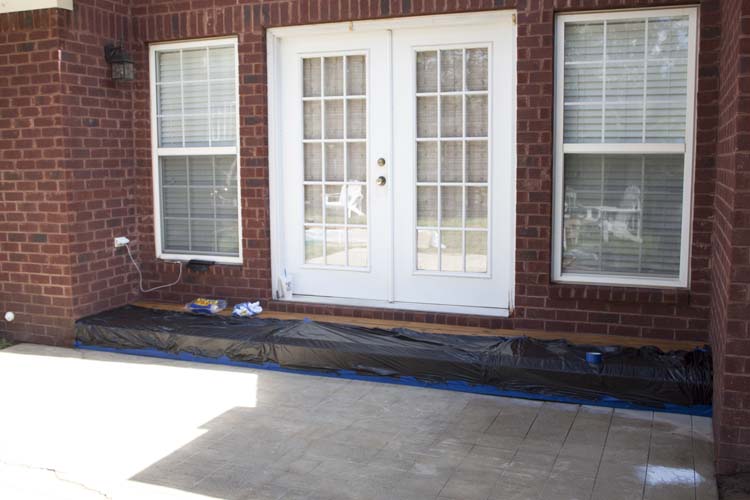
We have so much more planned for this space and I feel like I wasted a lot of time (and money, if I’m being honest) on indecision. So I’m happy to report that we’ve moved on to several more projects since the patio paint fiasco.
That isn’t to say that I haven’t changed my mind about 50 times since embarking on those aforementioned projects because I have. But one thing’s for certain, I will never regret the decision to give our patio a tiled look. Albeit a tamer one.
I can’t wait to share the entire makeover with you. Although, at this point, I’m running out of my decorating budget.
If you decide to attempt this, or if you already have, I would love to hear about it. And if you see Ed, tell him to keep in touch.






Leave a Reply