Got scrap wood? Make this DIY Shiplap Sign!
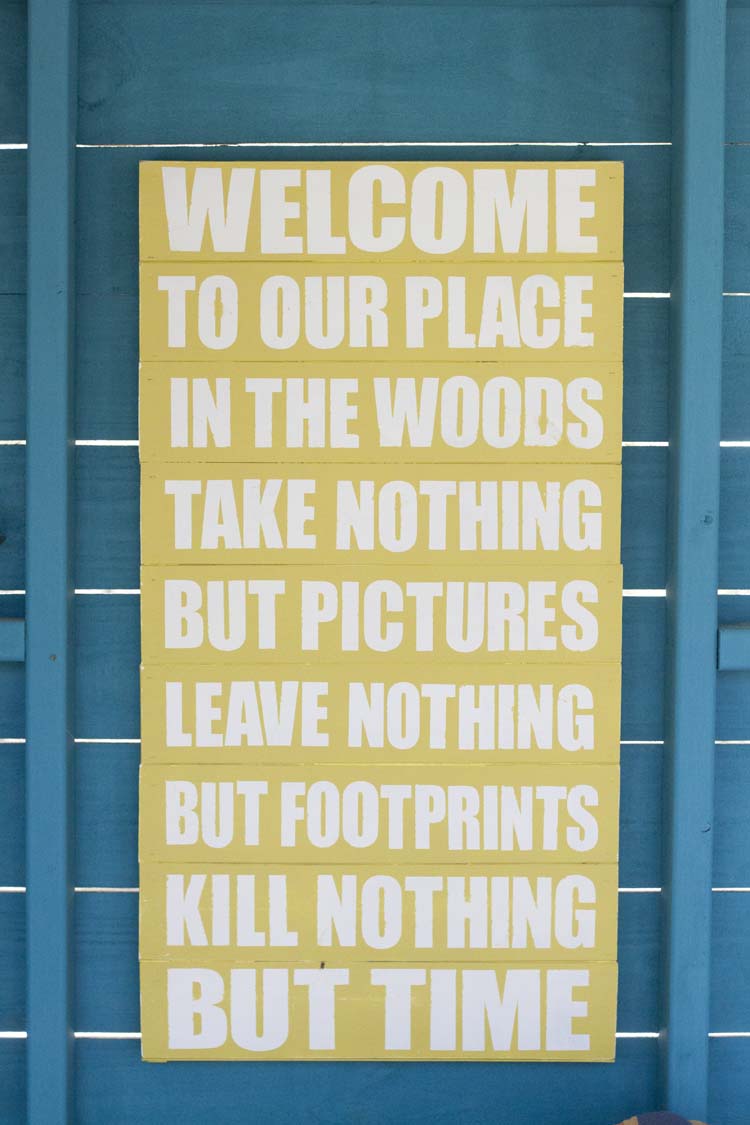
Over a year ago now I found a sign at Home Goods that I absolutely fell in love with – I love every single thing about this message – and I should have gotten it at the time, but I didn’t. Many futile searches later I realized I’d missed my chance. So I decided if I wanted one I’d have to make it myself. Using leftover cedar planks from my cedar Man Closet Makeover, which I also used on my Outdoor Pallet Coffee Table, I created this DIY Shiplap Sign. Here’s how you can make your own.
DIY Shiplap Sign
Supplies:
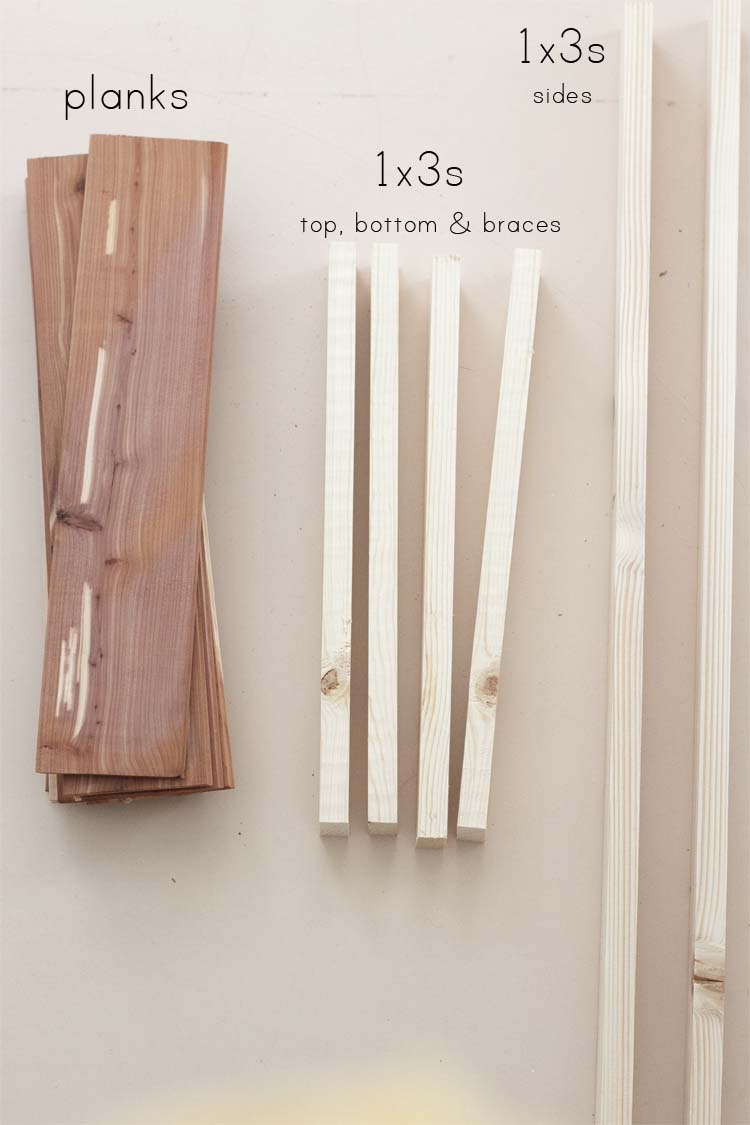
- 1×3’s for the frame (my frame is approx 18 x 34)
- planks to cover frame (I used leftover cedar)
- vinyl, vinyl transfer paper & vinyl cutter (or stencil)
- Americana Acrylic paint, 2 contrasting colors – 4 oz each
- roller and/or brush
- Outdoor Decou-Page
- nail gun
- saw
- sawtooth hangers, if you want to hang
- fine sanding sponge, optional
- wood glue, optional
Step #1 – Building the Frame
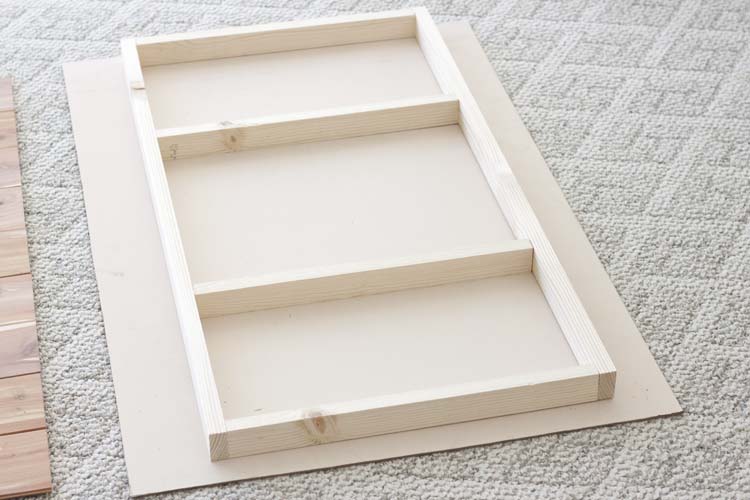
I made my top and bottom pieces the same length as my braces, 16″. This way my side pieces, 34″, would hide the unattractive ends of the 1x3s without having to do any fancy miter cuts.
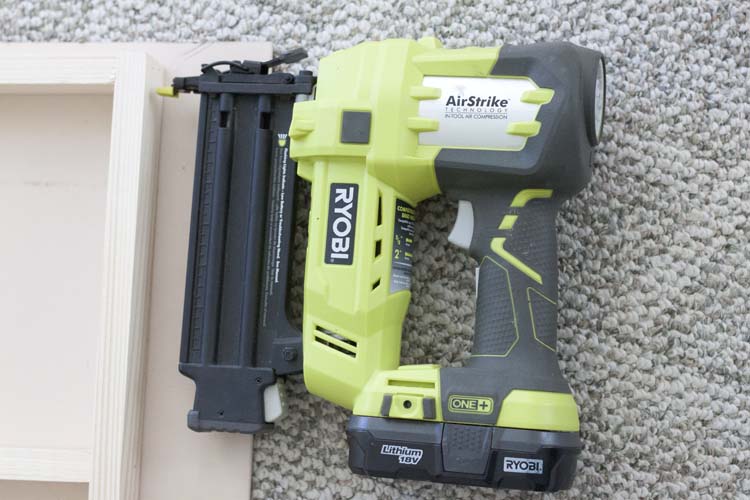
I put my frame together using my brad nailer. You can also add wood glue for an extra tight bond.
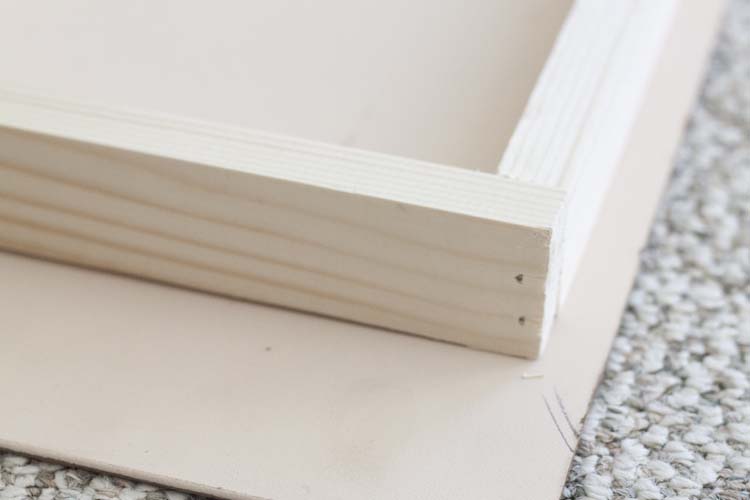
I attached the top and bottom of my frame to the sides first and then added the braces down the center.
Step #2 – Adding the Planks
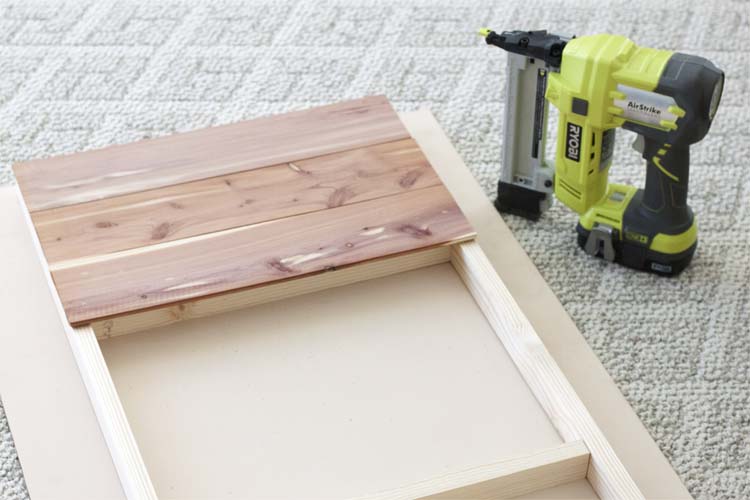
I used my saw to cut the planks wide enough to cover just to the edges of my frame. I attached these using my crown nailer since it uses staples and I thought that might keep the planks in place better. If you don’t have one using a nail gun and adding wood glue will work just as well.
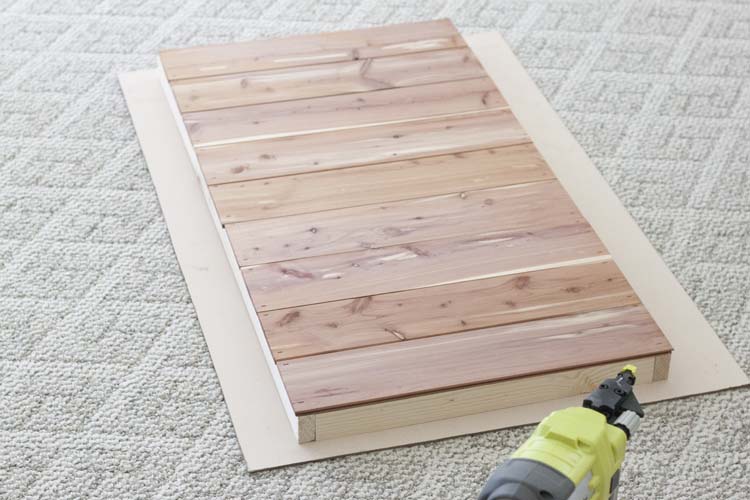
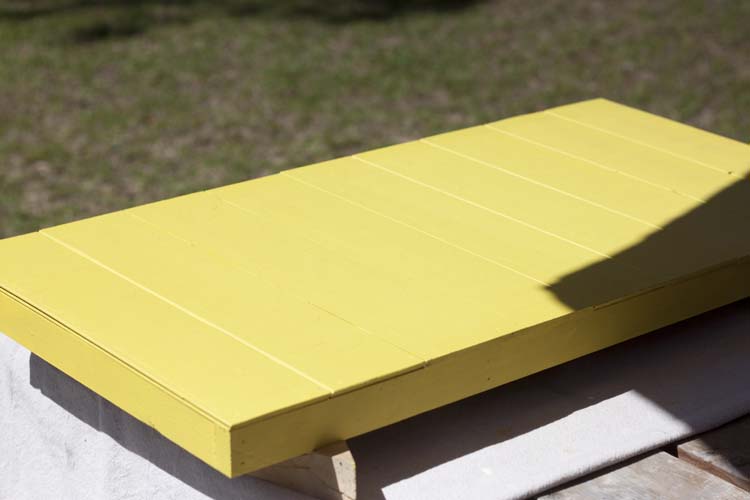
Once the planks were securely attached, I planned on painting the base coat of the entire sign.
It’s almost too pretty to paint at this point. I think I might have to make another one and leave the wood exposed.
Step #3 – Paint & Lettering
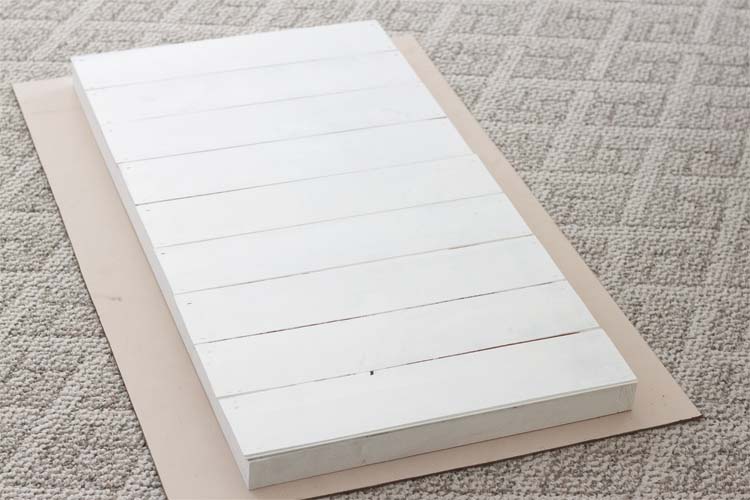
I used Americana Acrylics in Snow as a base coat and allowed that to dry.
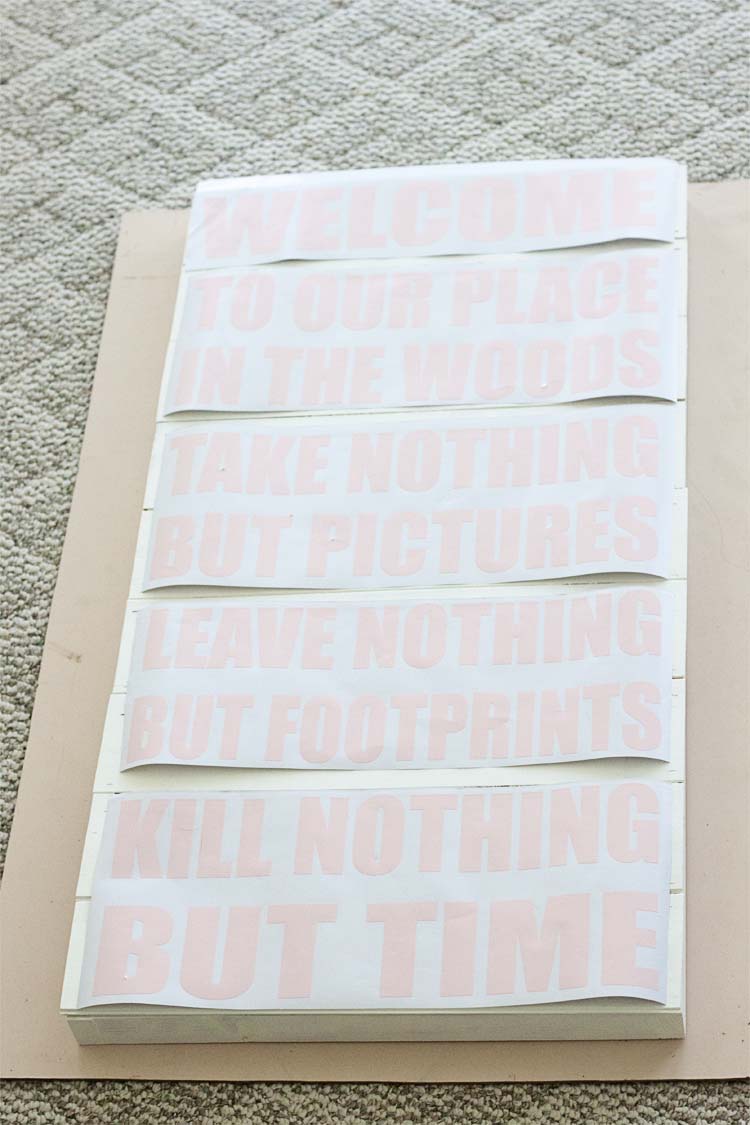
While the base coat was drying I designed the lettering using my vinyl cutter’s software. I measured each section prior to cutting to make sure all of the words would fit just the way I wanted. Once they were cut I laid them out just to double check.
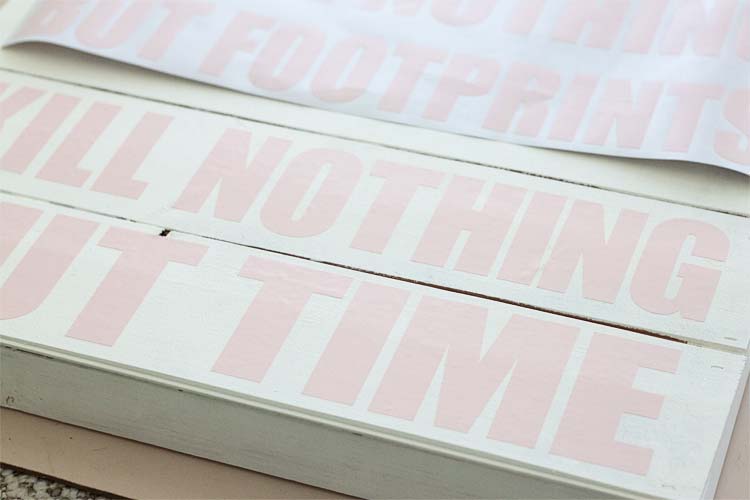
Using vinyl transfer paper, transfer each section onto your frame. This will create a painting mask that you’ll remove later.

I had a hard time choosing which color I wanted to use. They are all so beautiful.
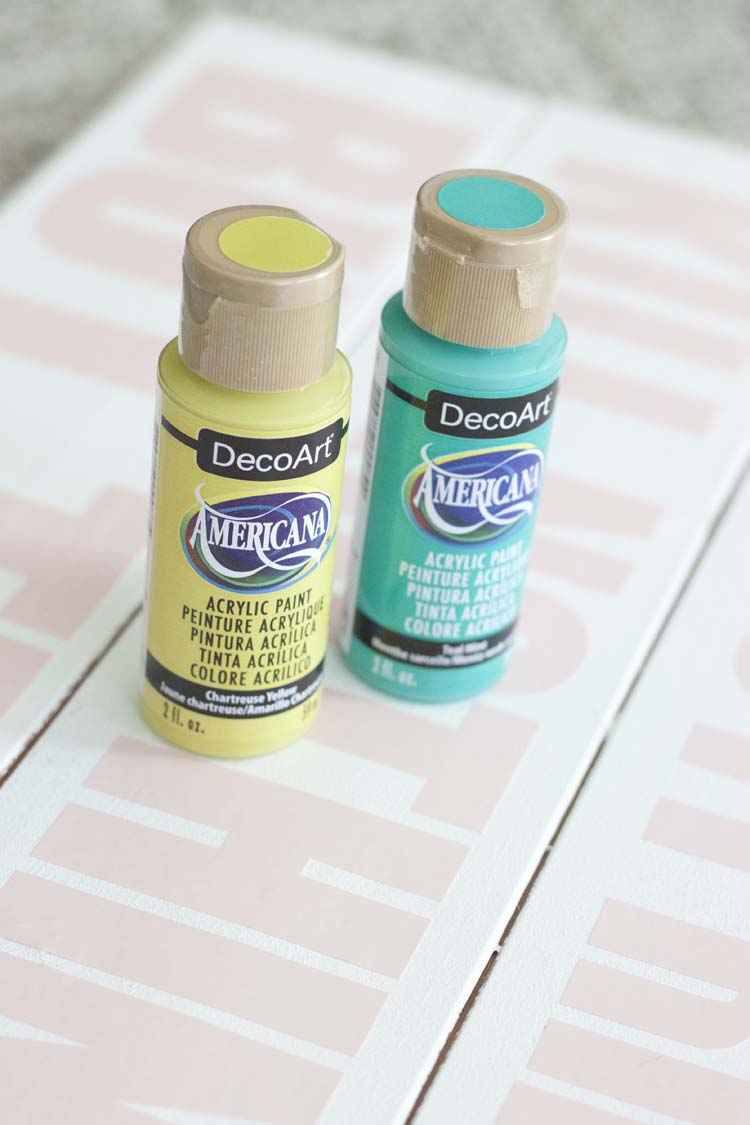
In the end, I narrowed it down to two, Chartreuse Yellow and Teal Mint.
Finally, I realized the Chartreuse Yellow would be perfect in the space I was putting the sign. Plus, I’ve always been a sucker for chartreuse.
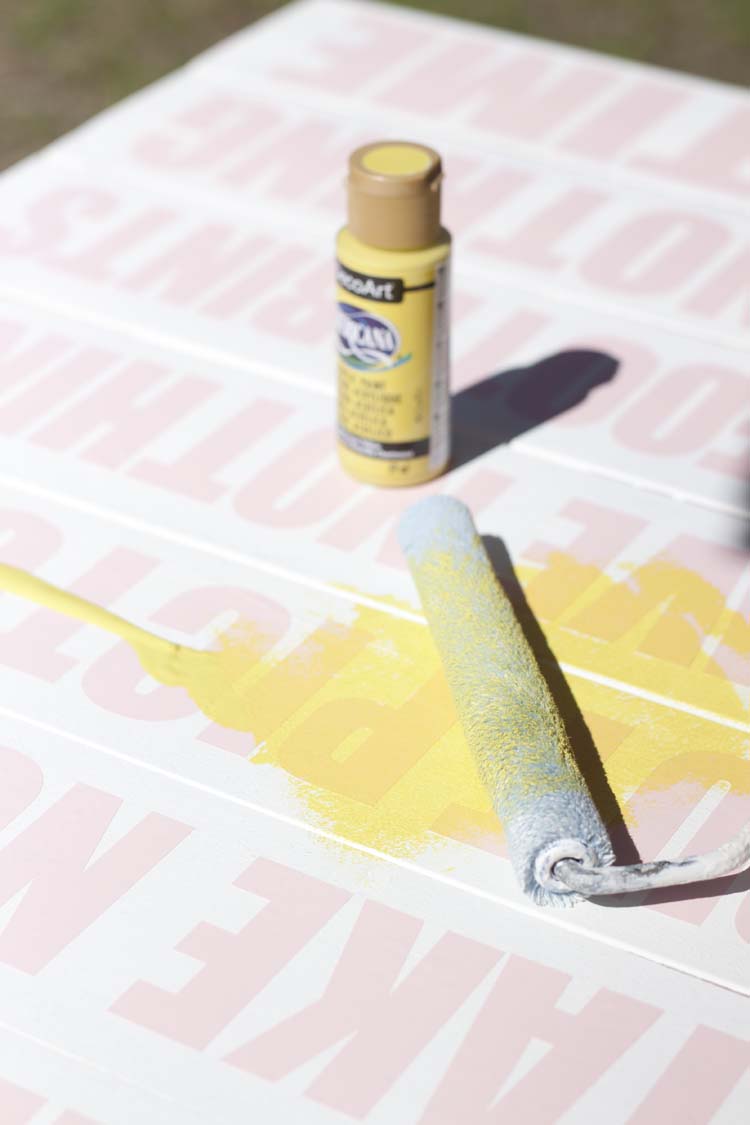
Using a roller I completely covered the sign, vinyl letters and all, with the paint.
I wanted a full, bold coverage so I opted for 3 coats. I used approximately two 2 oz bottles of each color to achieve the coverage I wanted. Allow to dry thoroughly between each coat.
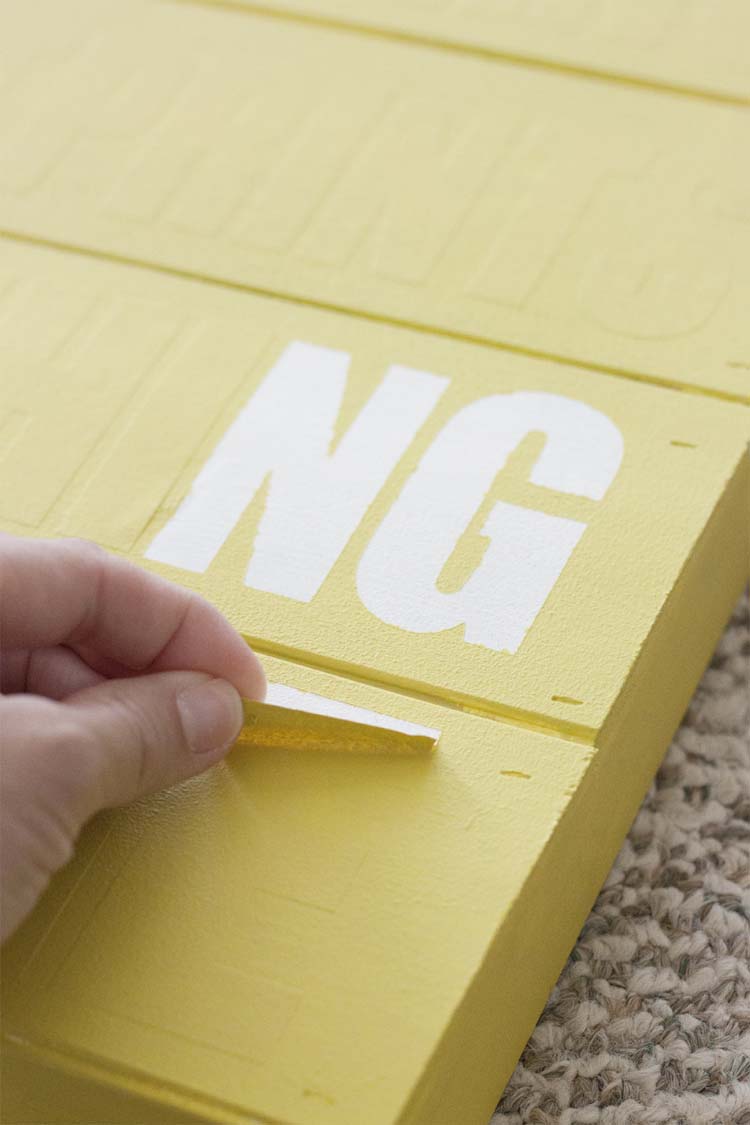
Once the paint has thoroughly dried you can gently peel away the vinyl letters to reveal your brand new sign underneath.
Step #4 – Sand & Seal
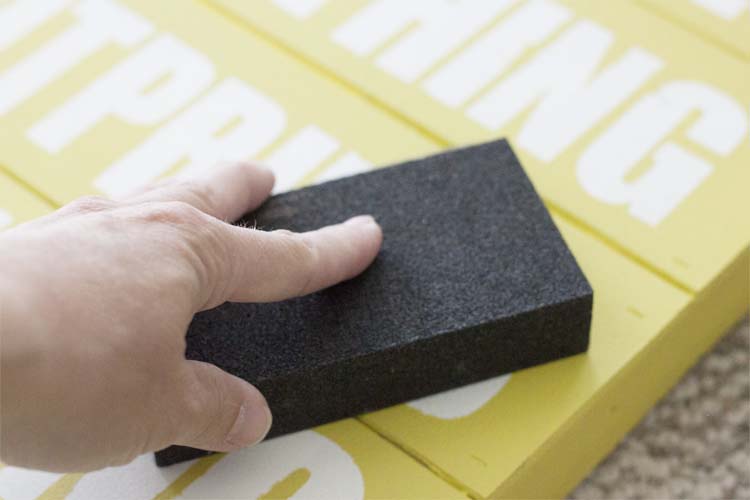
Use a fine sanding sponge to remove any rough edges left behind from pealing up the letters. Add a little extra sanding if you want a distressed look.
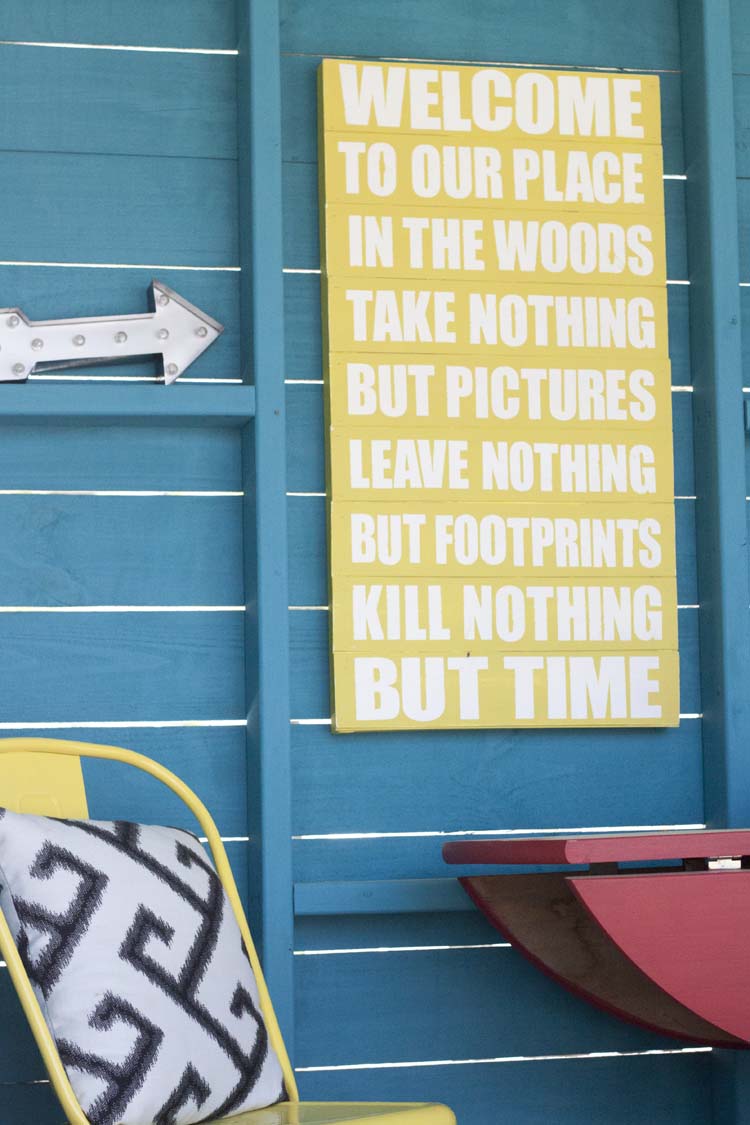
Don’t forget to seal your project. Ours is going out in our, as-yet-unvailed kid’s bungalow, so I used Outdoor Decou-Page to seal. I added sawtooth hangers to the back to hang but you can also place this on a shelf. I adore this sign, its message, and that color!
The Kids’ Bungalow, as well as our entire backyard makeover, is coming soon. In the meantime, please check out our outdoor projects leading up to the reveal: DIY Garden Box & DIY Outdoor Bench!


Leave a Reply