This post is a collaboration with DecoArt as part of their Core Bloggers Program. All ideas and opinions are my own. #decoartprojects #july4th
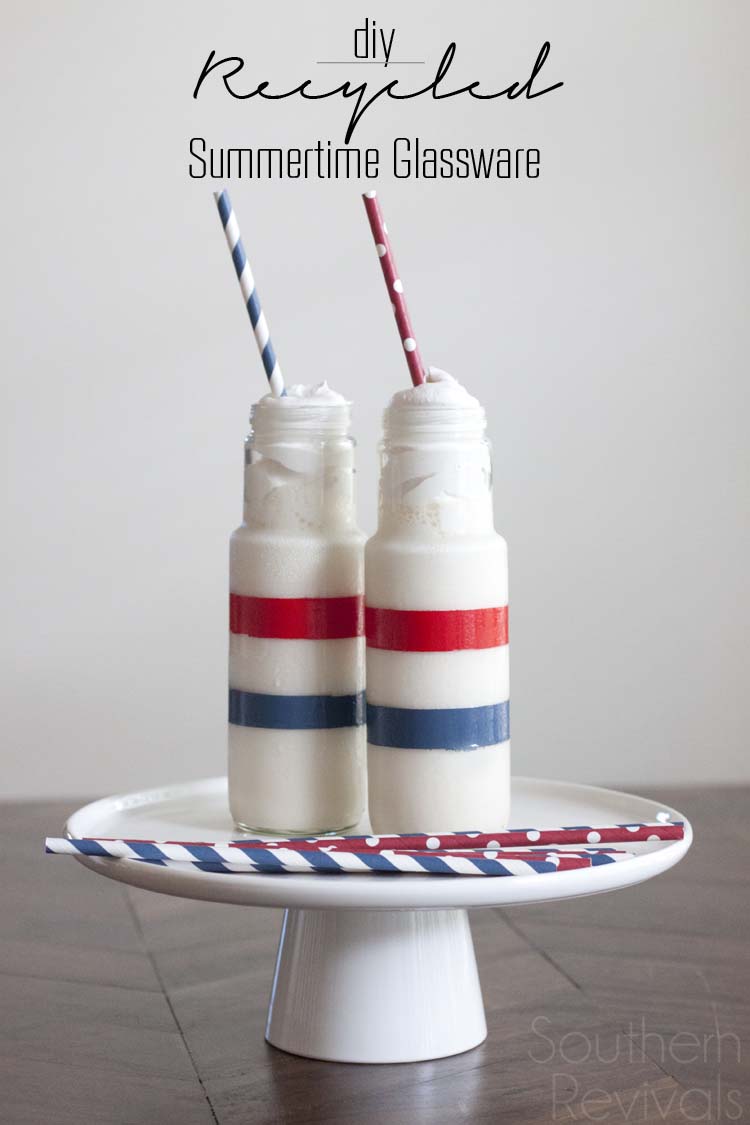 I love having seasonal dishes especially for holiday tablescapes and parties but I don’t love buying a set of dishes for every season. This my recycled glass bottle project, making DIY Summertime Glassware. It’s perfect for this 4th of July weekend but great all summer long.
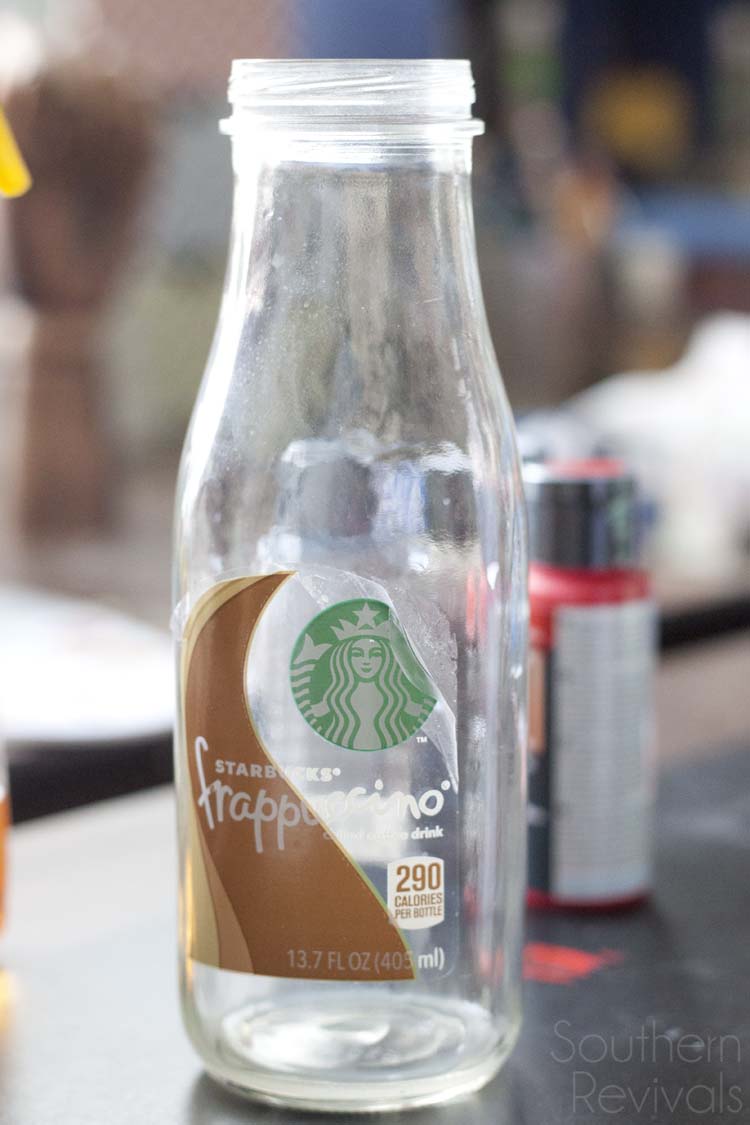
It’s really very simple, instead of throwing away or tossing those pretty glass jars into the recycling bin, why not reuse them. Not as they are of course. We need to remove the labels.
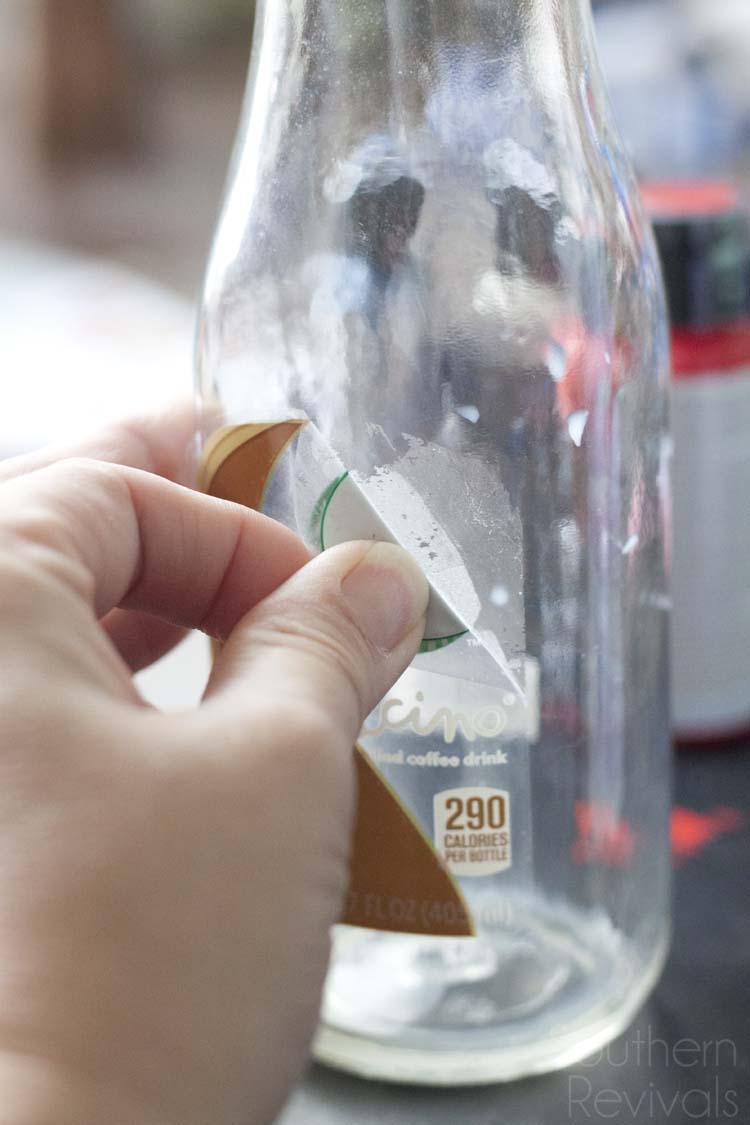
Depending on your glass, it may be a plastic or paper label. Remove it as best you can and then…
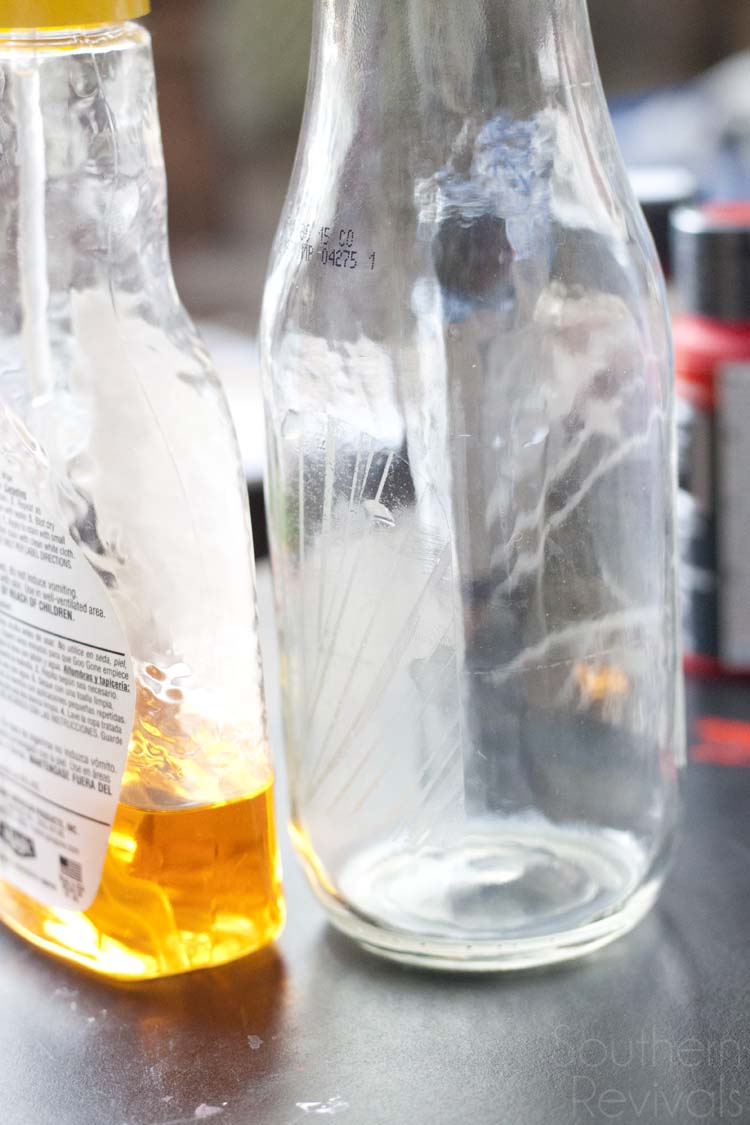
Use a goo remover to get rid of any left over label or glue. I usually hand wash off the goo remover and then pop mine into the dishwasher for good measure. That way I know they are clean inside and out.
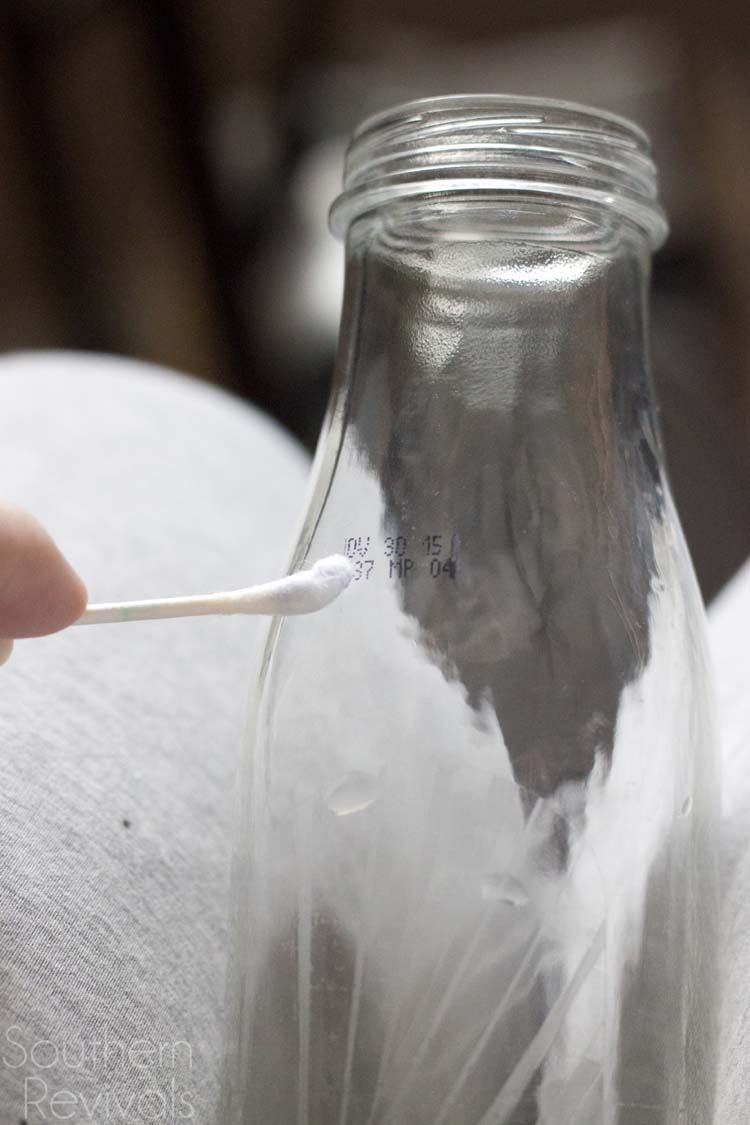
Now you’ll want to remove the Sell-by date. A little nail polish remover will take care of that for you. Simply dip in a Q-tip and easily wipe it away.
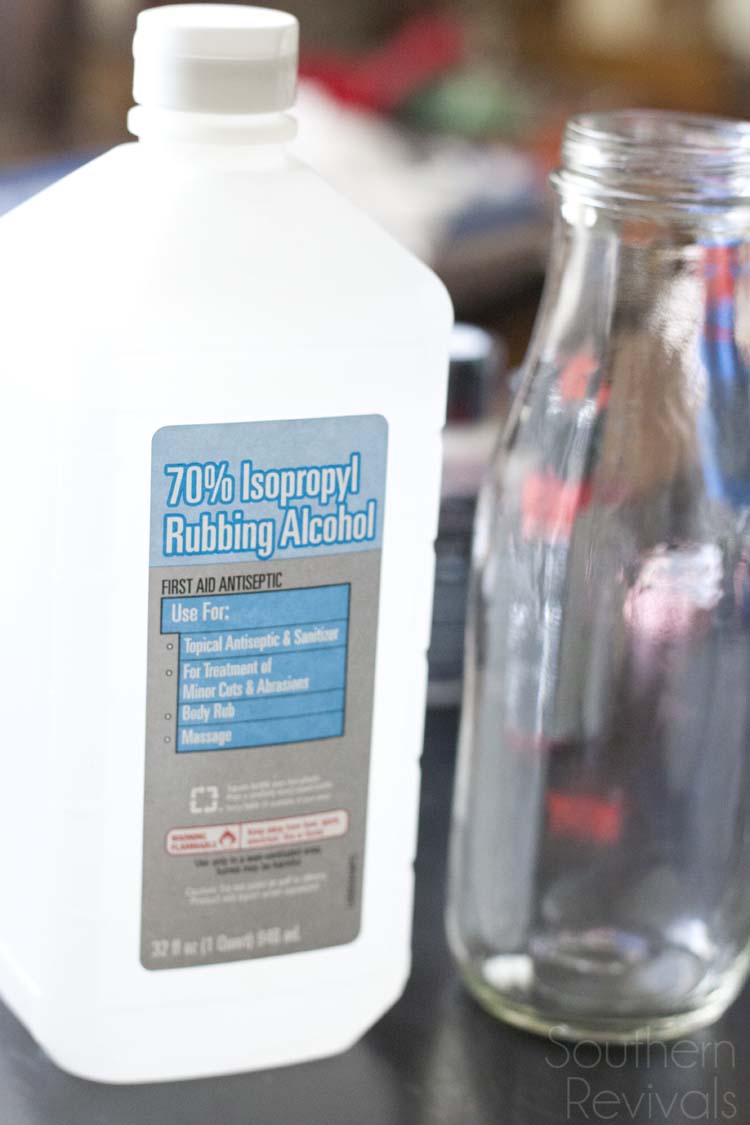
You may want to leave you glasses plain after this, sometimes I do. Other times I dress them up for special occasions. In order to prep them for paint wipe the outside of your glass thoroughly with rubbing alcohol. That way you make sure there’s no residue left behind to keep your paint from adhering properly.
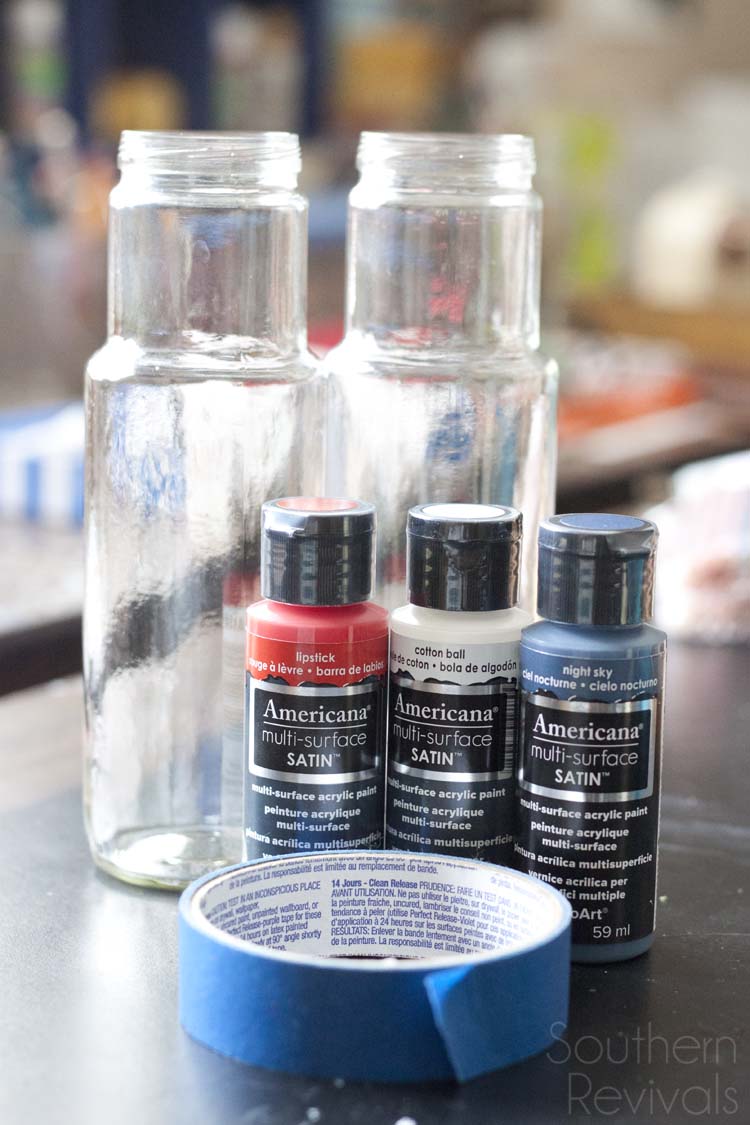
Now you’re ready for paint!
Supplies for recycled glass bottle project:
- Recycled Glass Jars
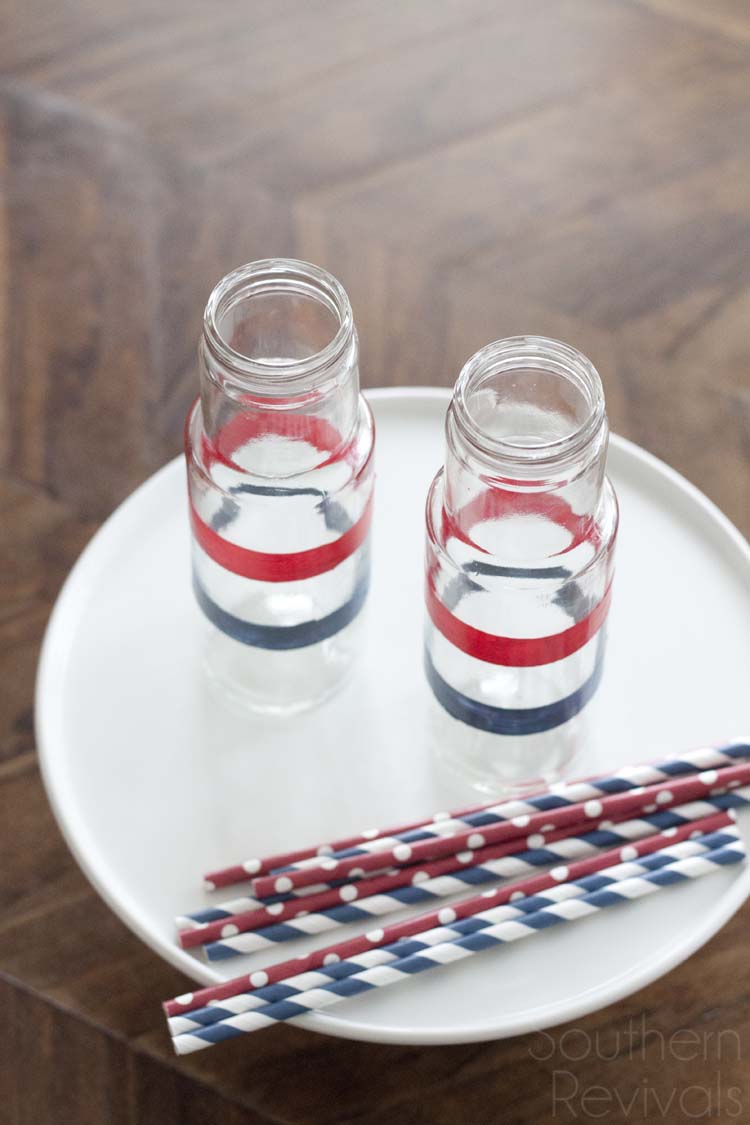
- Americana Multi-Surface Paint (I used Lipstick and Night Sky but if you want to add in a white, Cotton Ball is perfect)
- Painter’s tape
- Goo Remover
- Nail Polish Remover
- Rubbing Alcohol
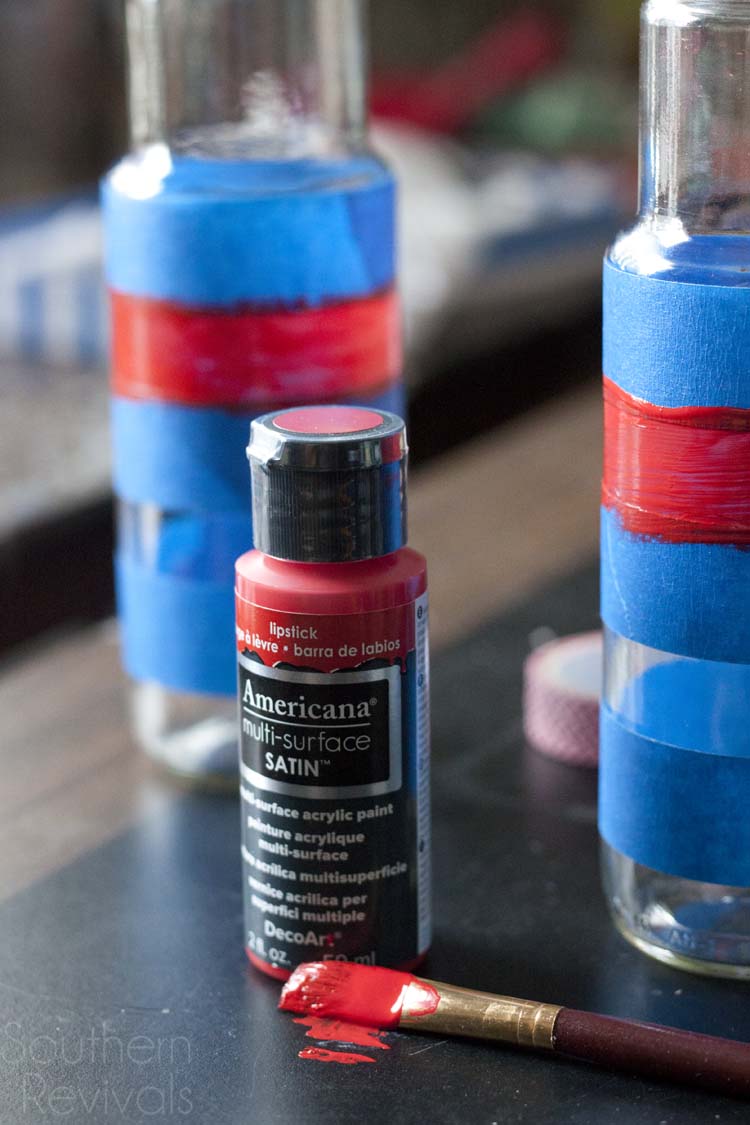 Wrap you glasses in your desired pattern with painter’s tape being sure to smooth down the edges so that the paint doesn’t get underneath. This is especially important when working with round objects. You’ll want apply at least 2 or 3 coats, allowing to dry thoroughly between each AND prior to removing tape. To make them Top Rack safe in your dishwasher, simply allow them to air dry for 4 days and them pop them in an non-preheated oven for 30 mins to set paint.
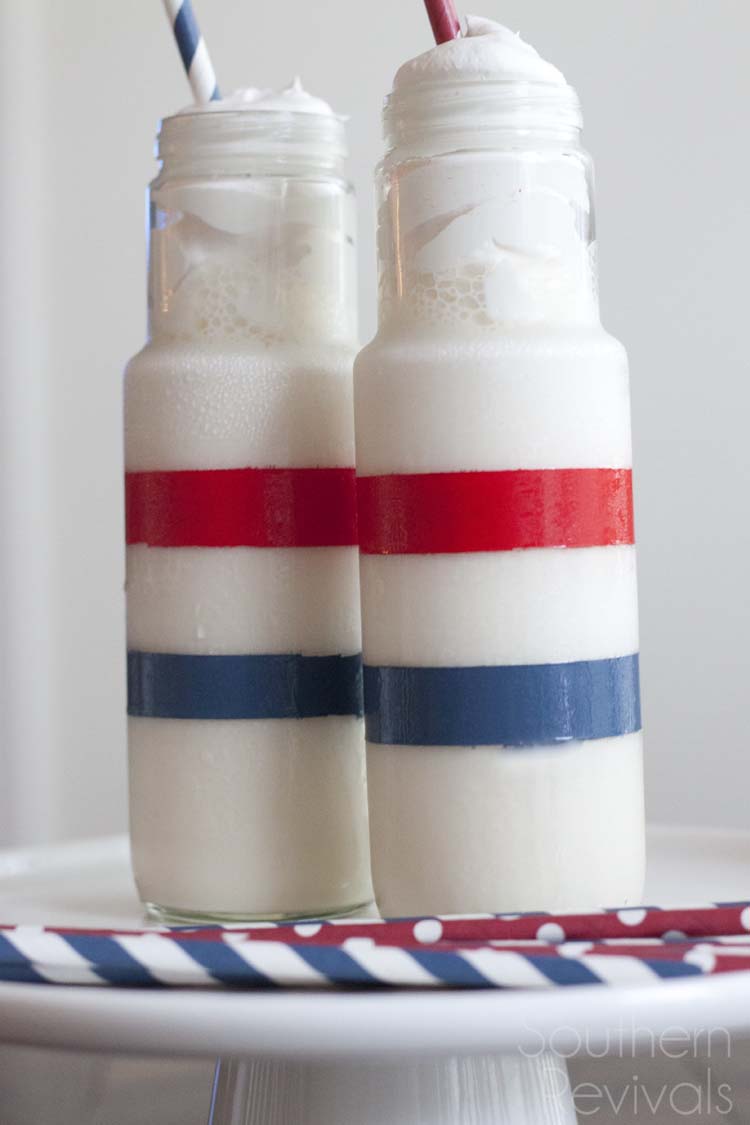
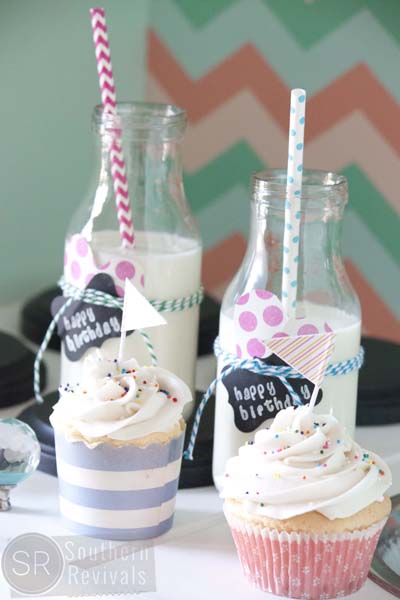
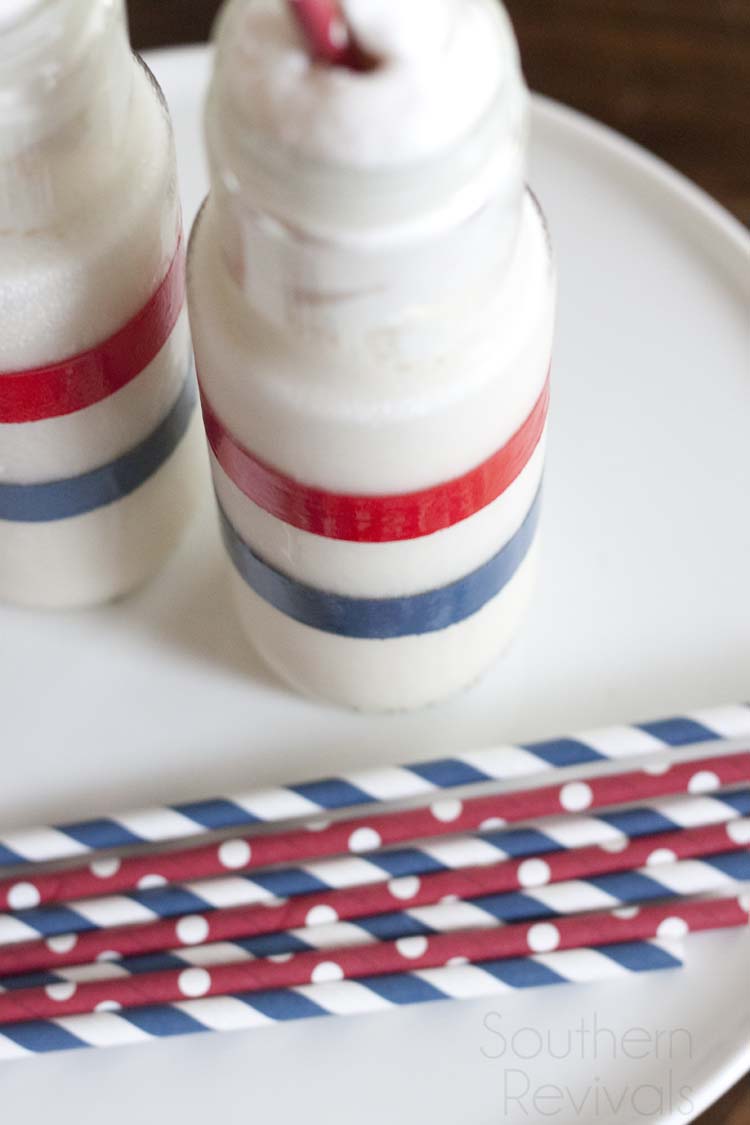 I didn’t use the white paint, Cotton Ball, because I knew we’d be putting white milkshakes in ours.
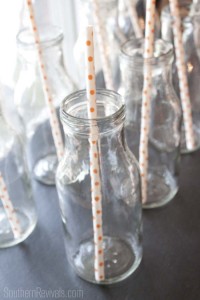
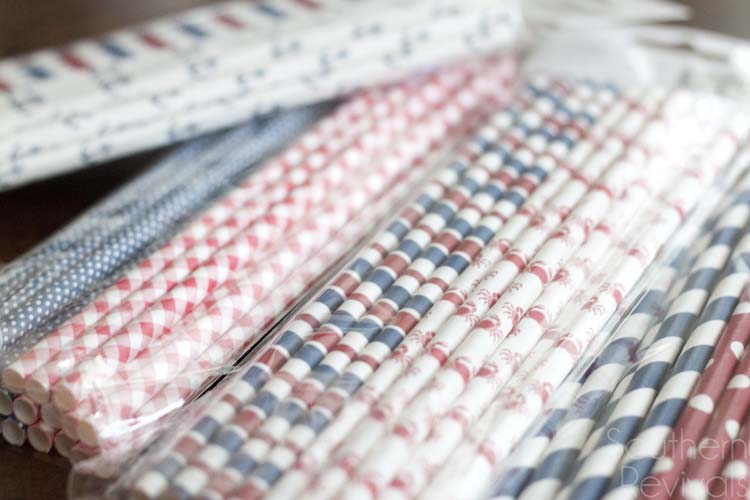 And I am a firm believer in having paper straws on hand at any given time. That make everything looks prettier and as a result I’m almost 100% they make it taste better, too. I found all of these adorable summertime themed straws at Home Goods for 1.99 a pack. So naturally, I had to buy one of every pack.
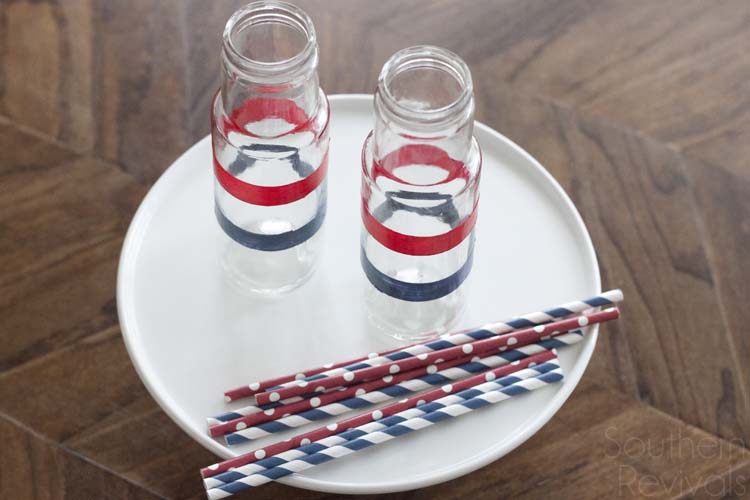 So whether you’d call it recyling or upcycling, it just makes good sense to use what you’ve got.
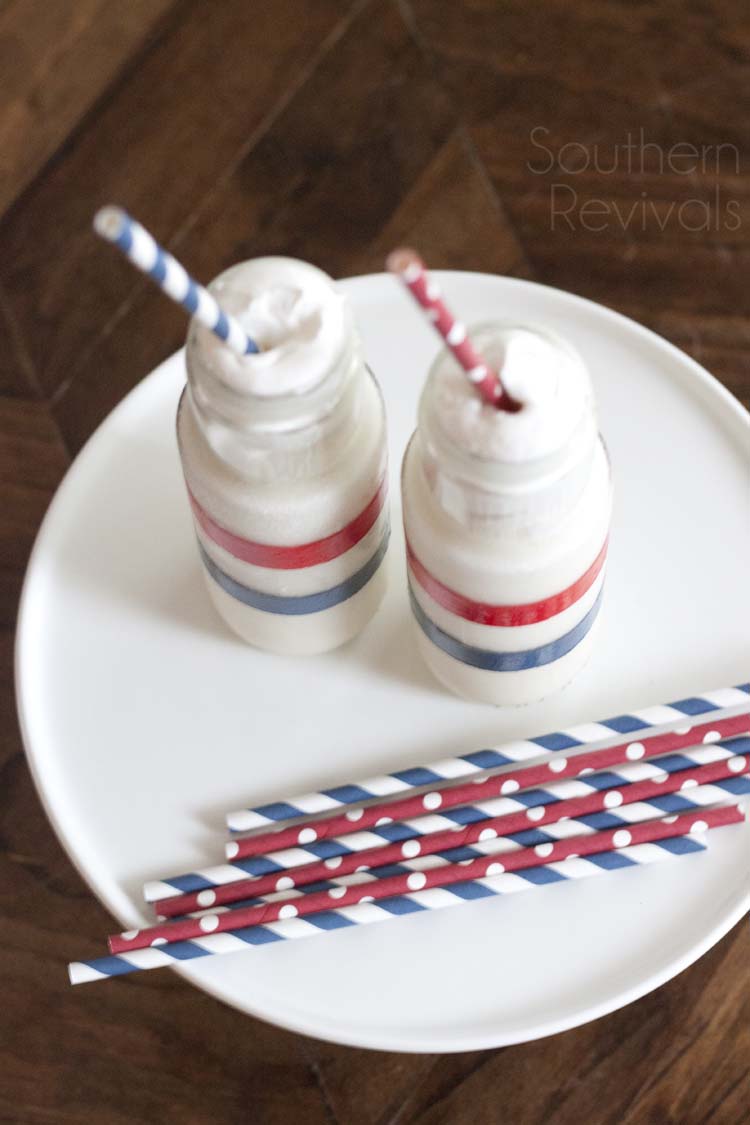 Because not only does it save you money…
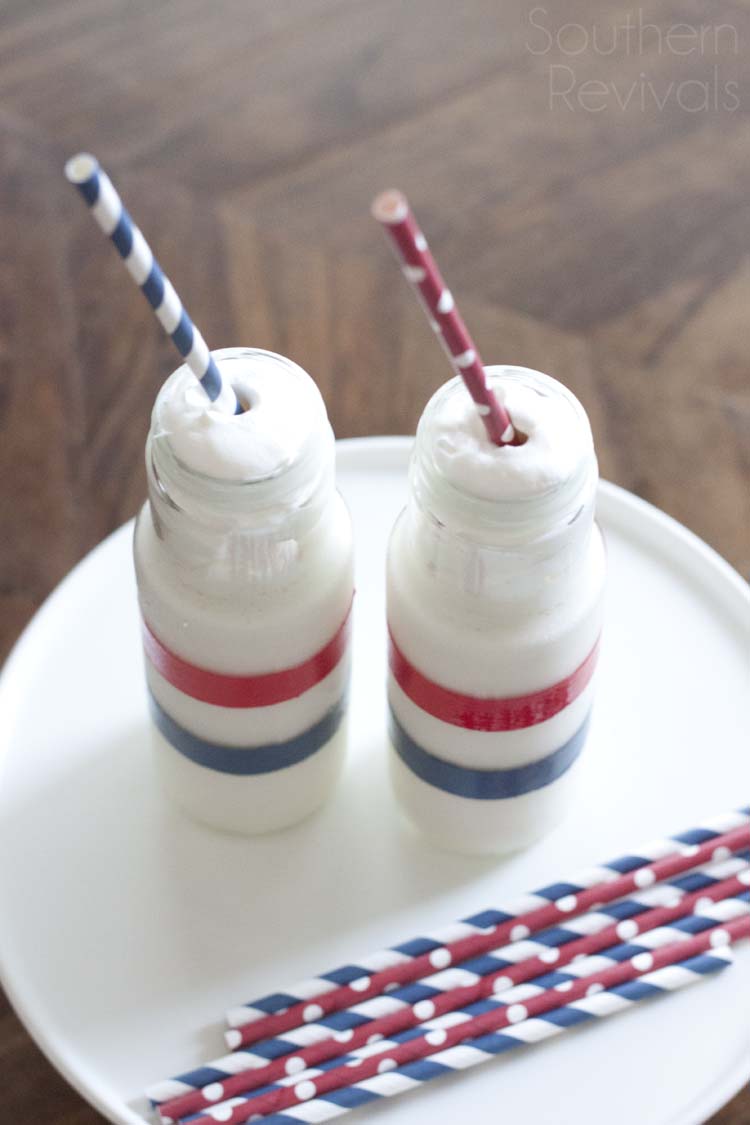 It saves the planet and it looks good while doing it! You’ve got just enough time to make yours before this weekend. What will you put in it? Let me know in the comments, I need some new beverage ideas!



Leave a Reply