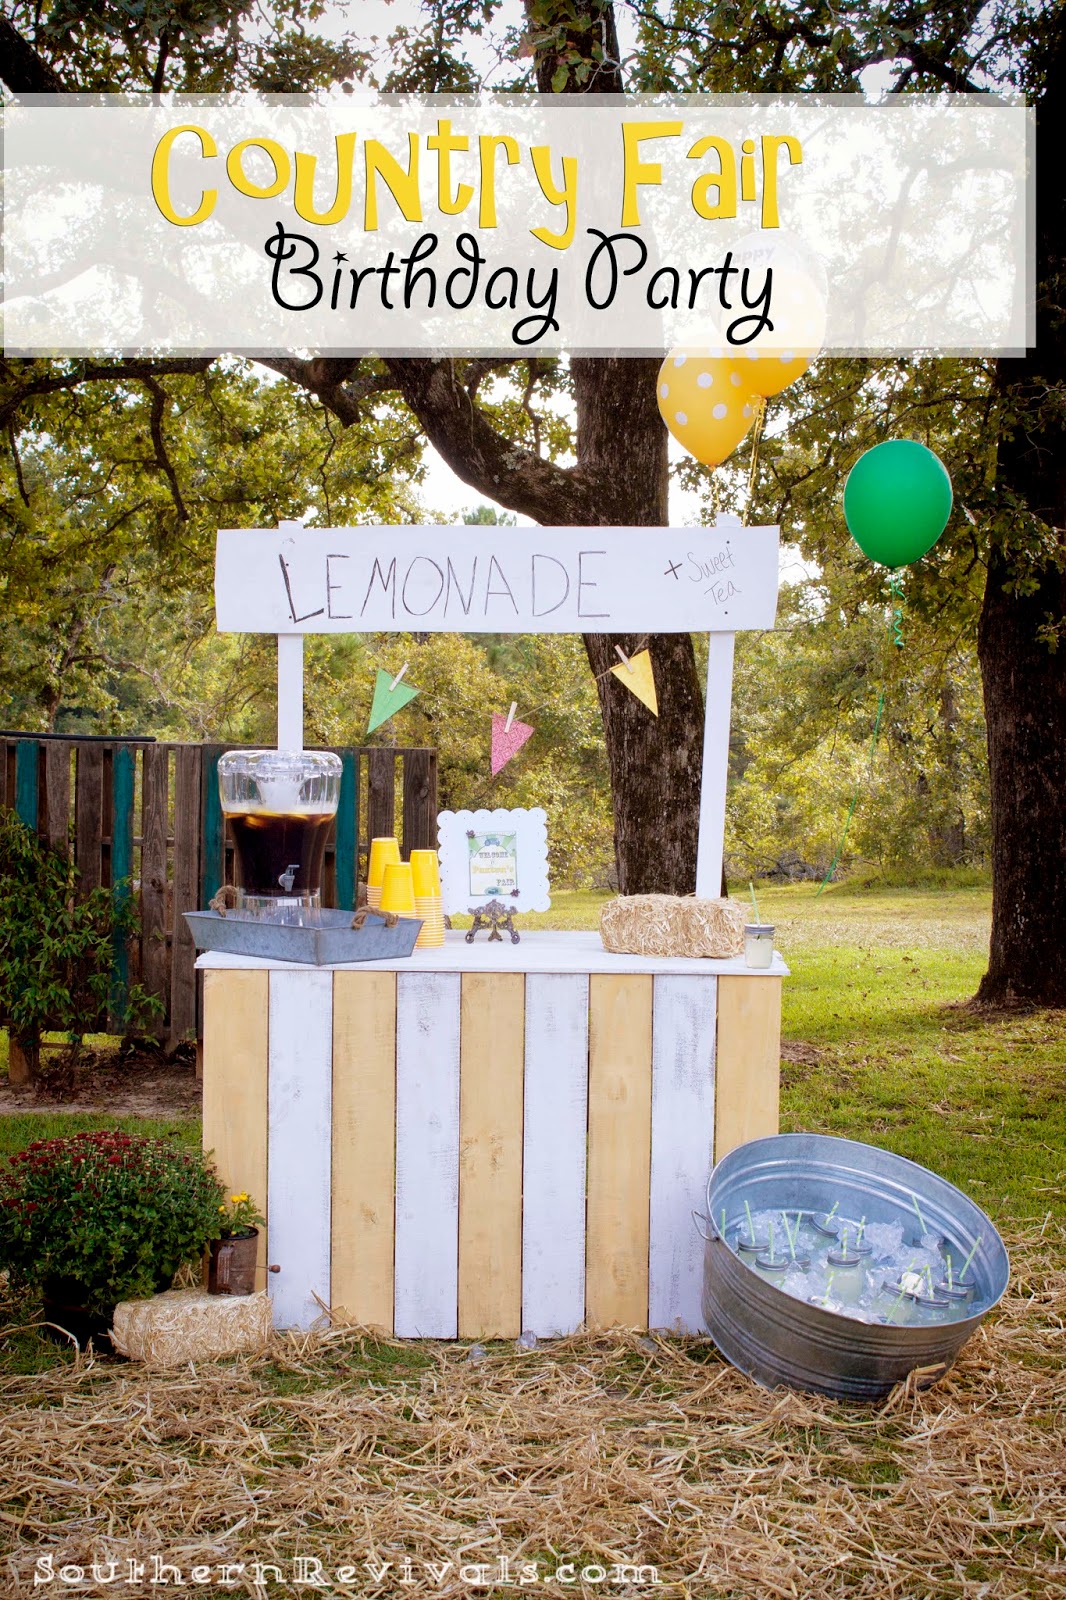
I’m not sure how it happened but somehow my little boy became a country loving, tractor loving little farmer boy. So what better way to celebrate his 3rd birthday than with a country fair!
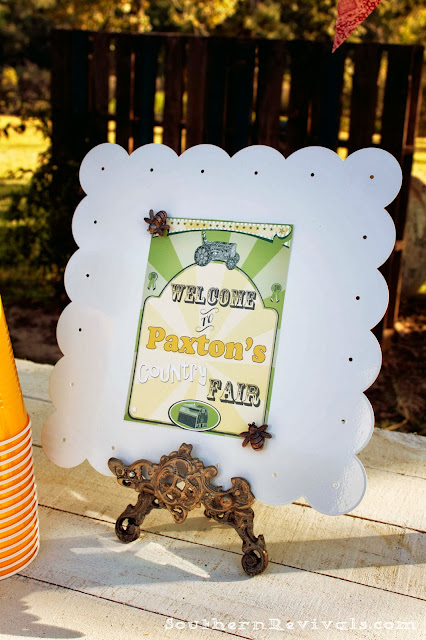
Believe it or not, I kept it pretty simple. I created invites and country fair signs using Photoshop. Most of the rest of the décor was stuff I already had on hand. What can I say, it pays to be a junker.
I did have to splurge on this little piggy chalkboard at TJ Maxx though. I will use it again and again so it will pay for itself.
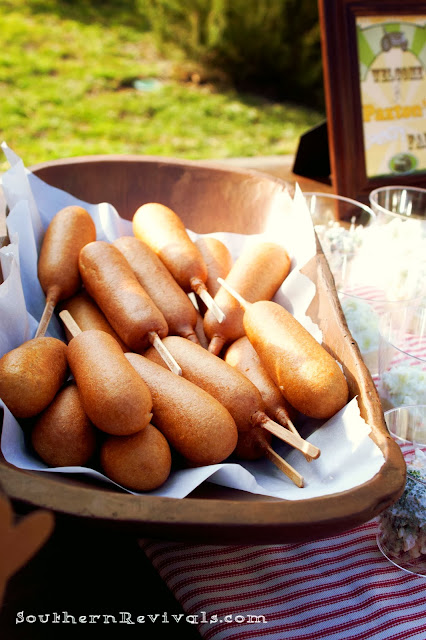
We put my baby’s favorite fair food, corndogs, in this awesome reproduction dough bowl. This one I got from Décor Steals a while back.
I always buy craft supplies – seriously, I hoard them – so it’s always nice when I can think of a way to use them instead of just stashing them away. {Though I do very much enjoy just looking at a nice stash of crafting supplies. Yes, I know. I have a problem.}
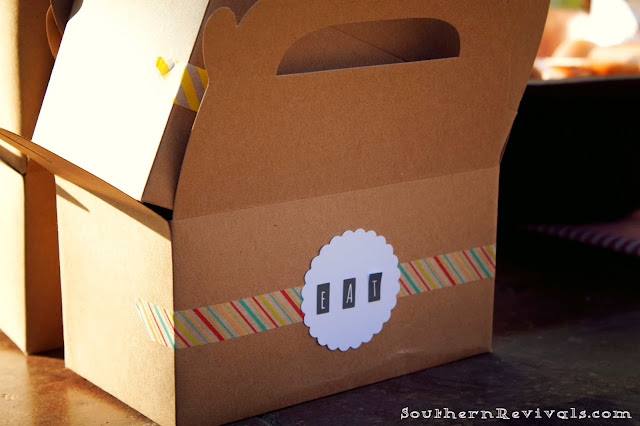
I got these gabled kraft paper boxes from Hobby Lobby. We used these instead of plates for portability…and just plain cuteness.
Scored this great old bucket from an antique store for about $10. I wrapped the utensils in a napkin, wound them with yellow and white chevron washi tape and then tied them off with jute twine. Another justification for buying more crafting supplies. Win. Win.
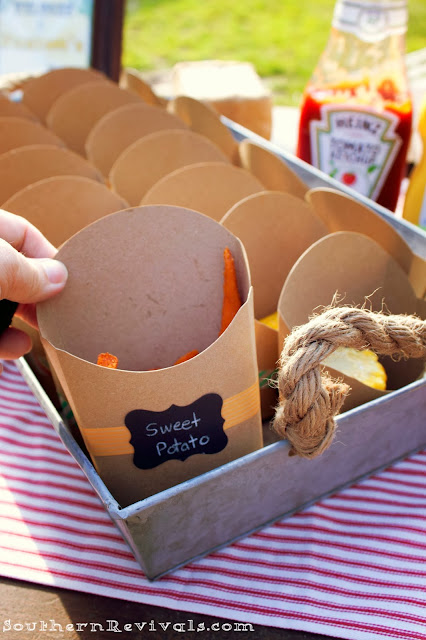
I found these fry boxes at Hobby Lobby and dressed them up with some washi tape and chalkboard labels.
It was easy for even the smallest of hands to tote these adorable little boxes around.
I am obsessed with mason jars and paper straws. I got the jar toppers from Décor Steals.
We had quart jars for adults and half pints for….the half pints.
If you know me, then you know the sweets table is my favorite!
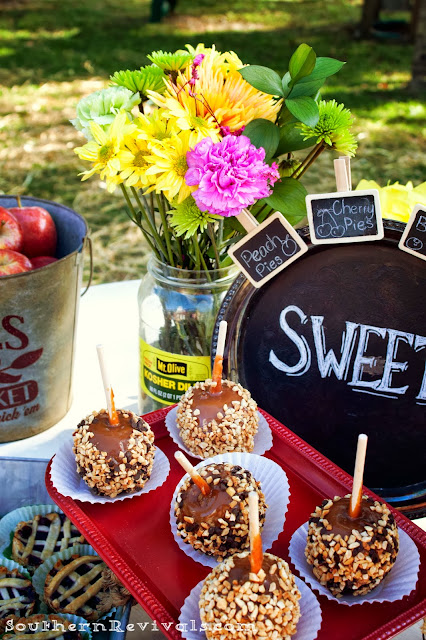
I used an old silver platter and painted it with chalkboard paint. I used a chalk maker to write ‘Sweets’ on it. Then I clipped some miniature chalkboards around the platter with each of the different types of pies written on them. Caramel apples. YUM!
Peach pie, cherry pie, blueberry pie and even pumpkin pie…
I was kind of surprised by this but the pies were my (and everyone else’s) favorite part! I made each one by hand.
I used the rolled refrigerated dough and canned pie filling, placed each pie into a muffin top pan and cut the lattice strips to place over each pie. An egg wash before going in the oven and sprinkling of Turbanado sugar fresh out of the over – perfection!
Yes the sweets table was a bit hit. It deservers just another look, no?
And did I mention, each little pie fit perfectly into your hand? Most guests tested this at least twice!
For those desiring something sweet but not wanting to over do it, we offered fresh apples in this adorable bucket that I just happened across at TJ Maxx and I couldn’t resist.
This Dr. Pepper crate has been around since I was little and I have no idea where it actually originated from. It was the perfect place to store our Candy Corn Cotton Candy party favors.
The little wooden wagon I scored from a junk store years ago when I was preparing for an art show. It was once used as a Beanie Baby store display. It has ‘I {heart} Beanies’ on the other side. For the party we used it to store the adult party favors – fresh eggs from our chickens.
Can’t remember where I got this little metal wagon but years ago it held my business cards at my art shows.
Fresh flower bouquets in large dill pickle jars…because I can’t toss out glass jars to save my life. And because it’s cute!
Found some clearance fabric from Walmart and made some pennant banners to decorate our tent.
I just pinned them onto a string of jute with clothes pins for a simple yet fun decoration.
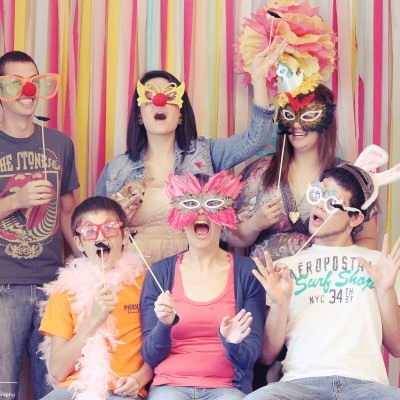
From the first party where I offered a photo booth, A Carnival 1st Birthday Party , our family can’t go without one now.
Believe it or not, having some fun photo props gets even the shiest party guest in on the photo fun.
See! Even Ol’ Daisy is game for a picture or two.
I used a chippy old door {that will eventually be the door to my studio – if I ever get around to hanging it} as our photo backdrop and bale of hay as the seat.
Birthday Boy with Big Brother
We scattered a bale of hay {or two} all over the backyard. It wasn’t a ton of fun to clean up but it added a ton of country fair fun to the party atmosphere.
Can’t do a party without a piñata!
Daddy lends a helping hand.
This is the part where I should tell you that I do not fancy myself a cake maker. Having said that, I’m pretty pleased with how my little tractor lover’s cake turned out!
No one in my family can tolerate fondant so I am always at the mercy of buttercream. And let me tell you, I am no pro at getting that stuff super smooth but it tastes pretty darn good.
I cheated and used black fondant to cover the cake board with a tire pattern. That way no one had to eat it and it more than made up for my bulging bottom layer. My brother, the auto shop owner approved!
Outr top haystack layer was vanilla, with a tractor on top…
and the bottom grassy field layer was chocolate, per our new 3 yr old’s insistence.
And let me tell you, this baby loves him some tractors – with or without frosting on the tires!
For more DIY birthday party ideas, please visit my Carnival 1st Birthday Party, A Sweets Celebration – 1st Birthday Party and a DIY Minecraft Birthday Party.






[…] Country Fair Birthday Party […]