This shop has been compensated by Collective Bias, Inc. and its advertiser. All opinions are mine alone. #TSCCats #CollectiveBias | DIY Cat Tree
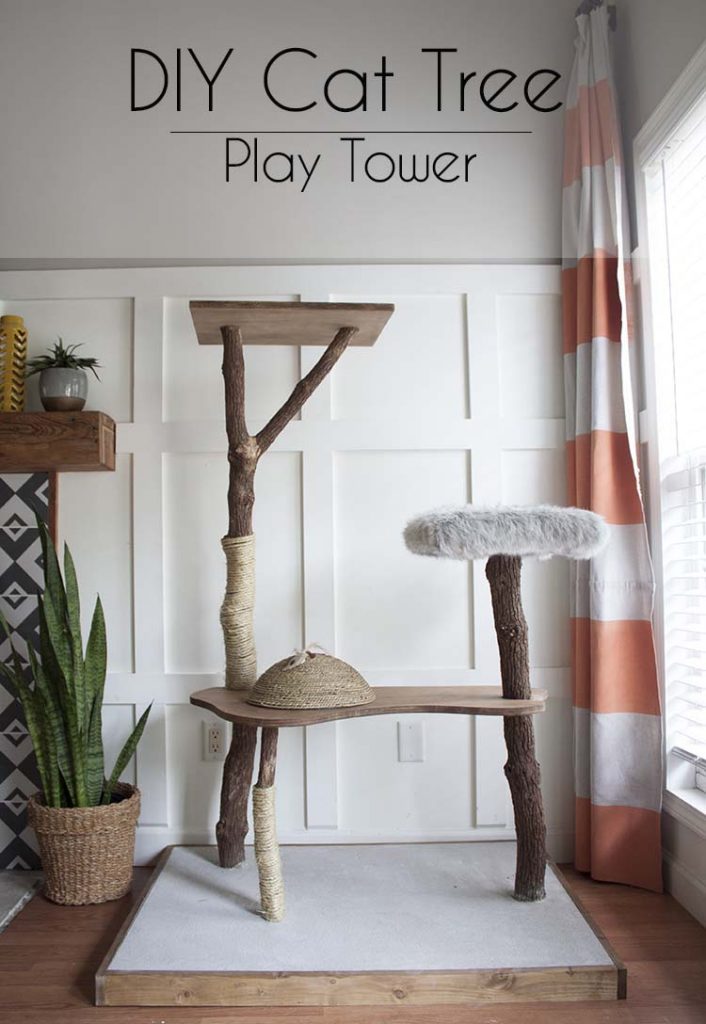
My friend Brittany made the most amazing DIY Cat Tree and when I saw it, I knew we eventually had to have one, too.
And I guess I figured while tiling/remodeling the kitchen and installing the new flooring in the rest of the house, was the best time.
I mean, there’s no better time than when you’re adding the finishing touches to the rest of your house to occupy your cats with their own tree. That way they aren’t digging their claws into your favorite pouf or scratching at your newly built bed.
It’s no secret that I find myself in our local Tractor Supply on the reg. I mean, you’ve seen our Fancy Farmhouse Chicken Coop! They don’t even have to ask me whether I’m a member of the Neighbor’s Club anymore.
We have 19 chickens, two cats, and a dog. With all those mouths to feed it’s nice to be able to find everything I need all in once place. They even have the cutest farmhouse decor!
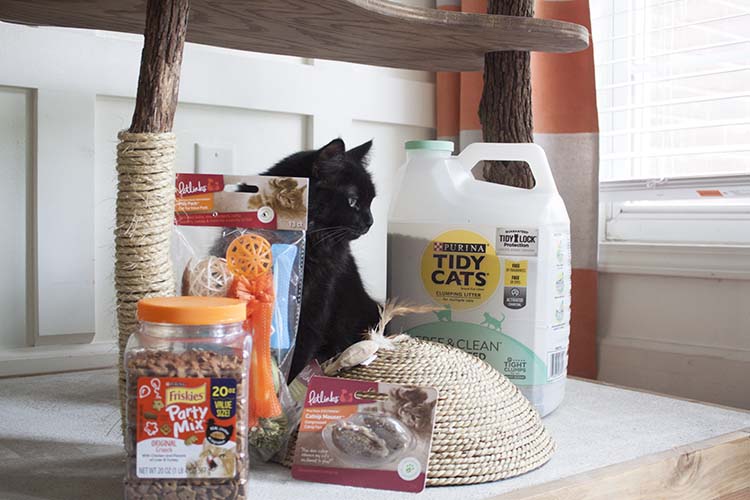
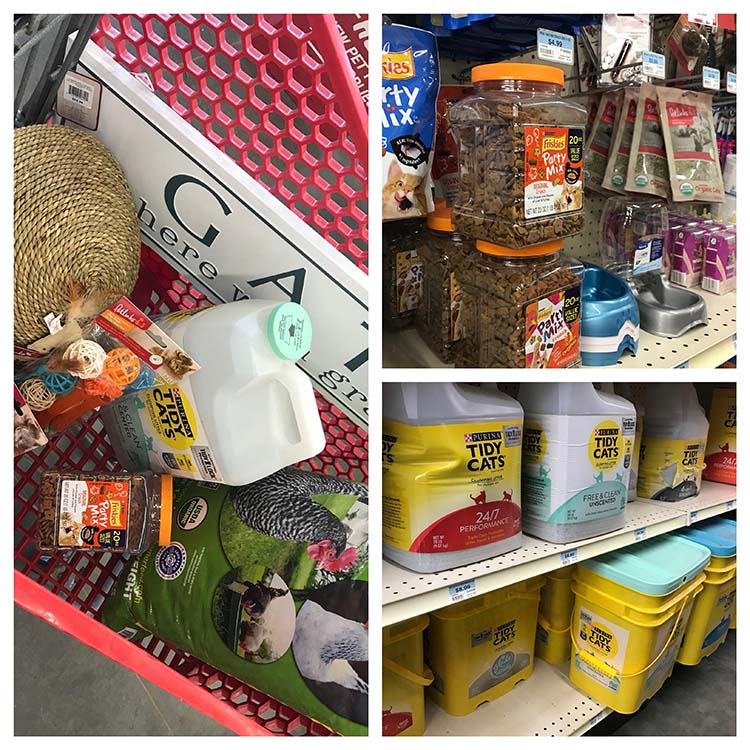
On my latest trip to get chicken food, I also got the dog’s food, the cat’s food, litter, and some cat treats and toys. Tractor Supply has a large selection of Purina® products!
I was able to get our Tidy Cats® Free & CleanTM with TidyLock® Protection Clumping Litter, which I love because it’s unscented and free of fragrances and dyes but it still locks away odors.
And Friskies® Party Mix® Crunch Original Cat Treats which the cats love because they have real chicken as the first ingredient and I like them because they’re low calorie. Not for me, for the cats. Of course.
I also got a huge roll of jute to use on our new cat tree. Most everything else we already had on hand, with a few exceptions.
DIY Cat Tree – How-to
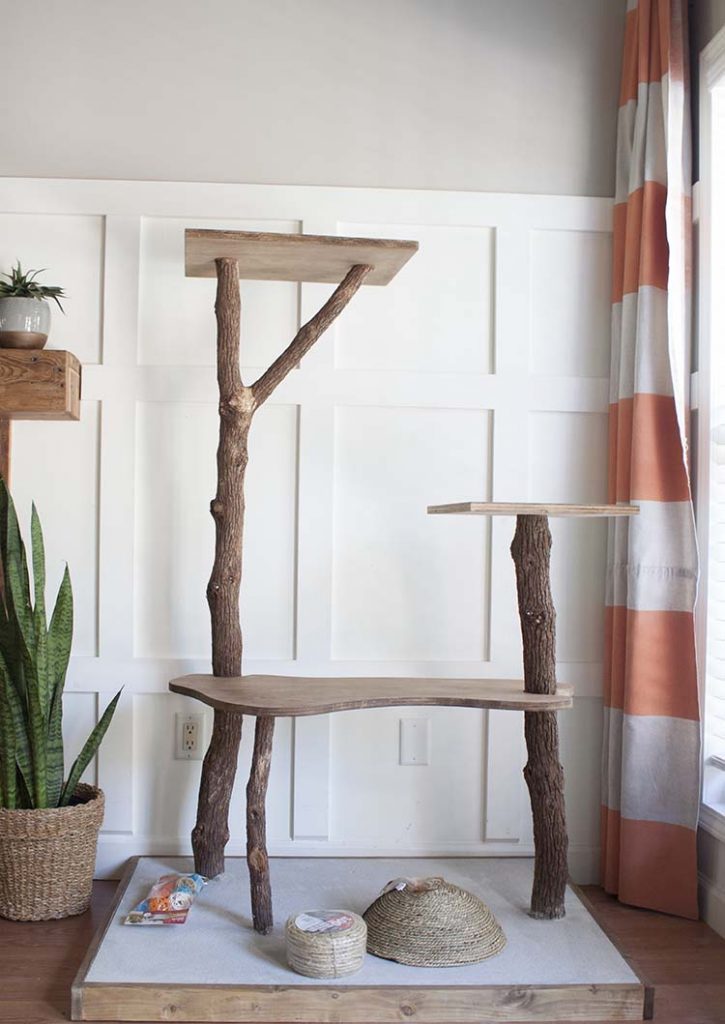
You will need…
- Plywood for base and platforms (ours is 32 x 40)
- 1xs for base trim, we used 1x2s
- 80lb bag concrete (we used just under two bags) *
- Real branches
- Screws
- Wood glue
- Stain
- Sealer
- Hot glue gun, hot glue
- Staple gun
- Jute rope *
- Faux fur (padding, if desired) *
- Table saw for cutting plywood
- Miter saw
- Jigsaw – if you doing a platform without straight edges
- Nail gun
- Belt sander – used to get the tops the branches flat
- Sandpaper – to sand any rough edges
Step #1 – Make the Base
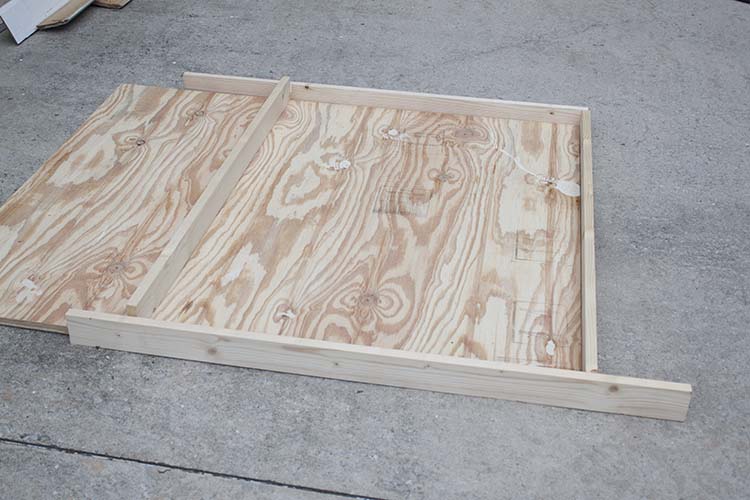
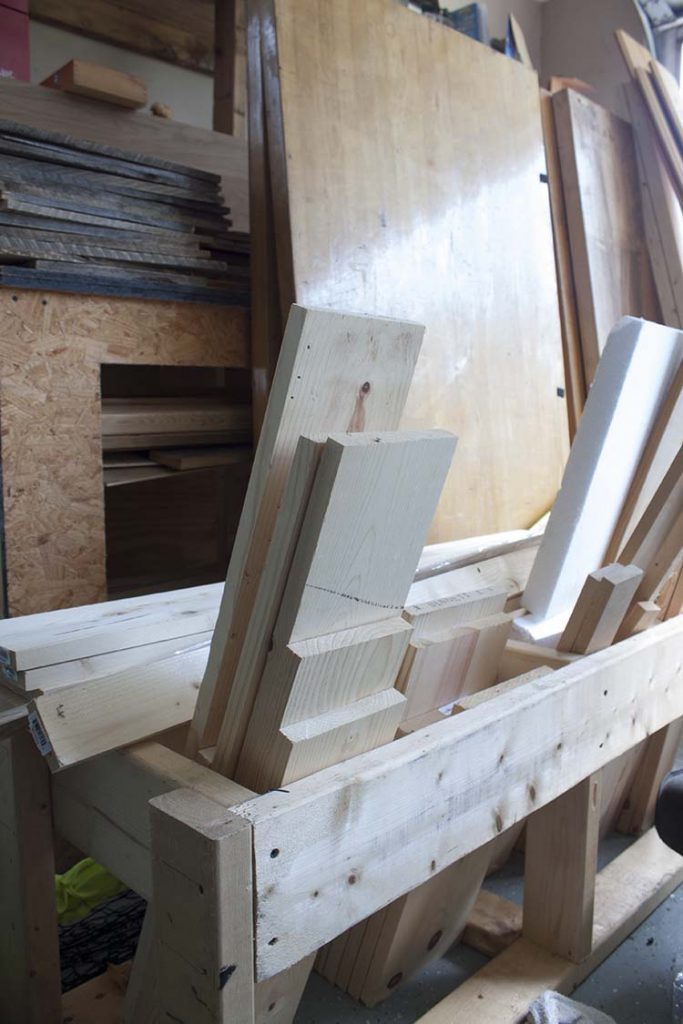
We had everything except the jute rope, faux fur, and enough concrete to complete the project on hand so we started by raiding our scrap wood stash.
I chose lesser grade plywood for the base since it wouldn’t be seen. We laid out our 1xs to get a visual and then decided on the size from there.
For no other reason than it looked good to us, we went with a 32 x 40″ platform. First, we cut the plywood to size and 1xs to fit, attached them with brad nails and wood glue to the plywood – leaving a lip to hold in all that concrete!
Step #2 – Fit branches – Plan Platforms
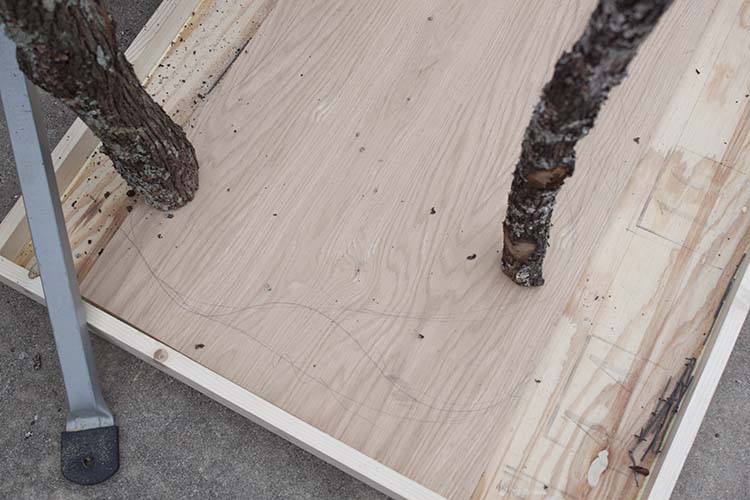
Living way out in the sticks as we do, real branches aren’t hard to come by. And as it happens, a spring storm brought down THREE of our oak trees earlier this year so I knew exactly where I was getting the branches for our DIY cat tree.
Before we screwed the branches down onto the base, we placed another, nicer grade plywood – since it would show, underneath the branches to get an idea of what we wanted our first platform to look like. I wanted it to have a very organic look but still provide stability. We traced some rounded edges onto the plywood until we got the look we wanted.
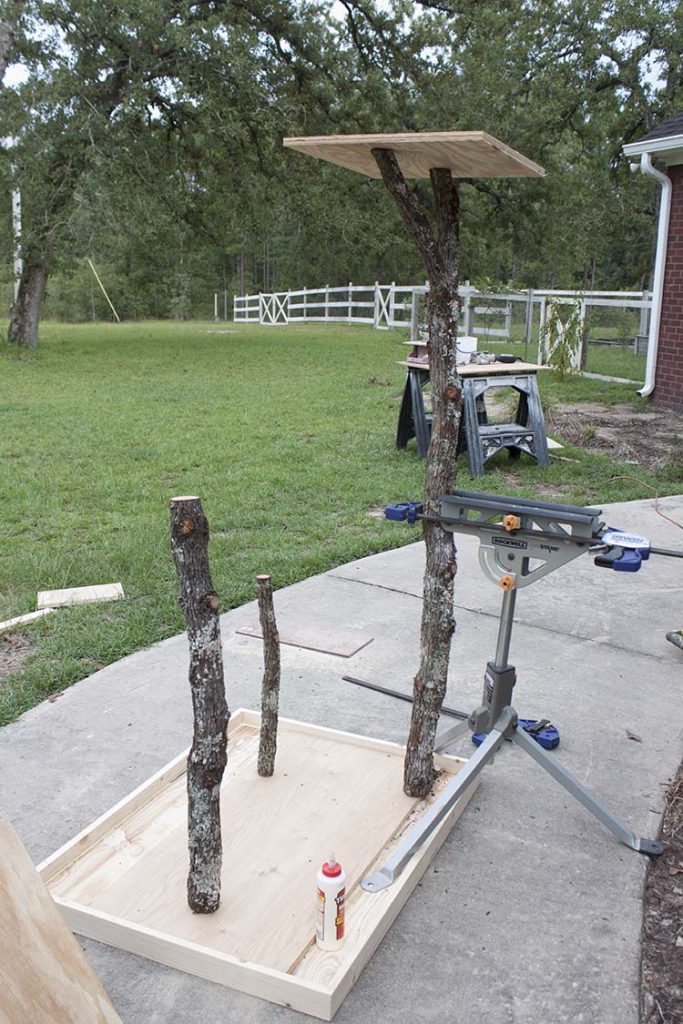
With the help of some special tools and gravity, we stood up the branches to determine placement and, from there, how we wanted to each platform. Once we were pleased with the layout, we used the jigsaw to cut the first platform – since it has all those curves – and our table saw to cut the other two rectangular platforms.
After that, we secured each branch to the plywood base with screws from underneath and it was ready for concrete.
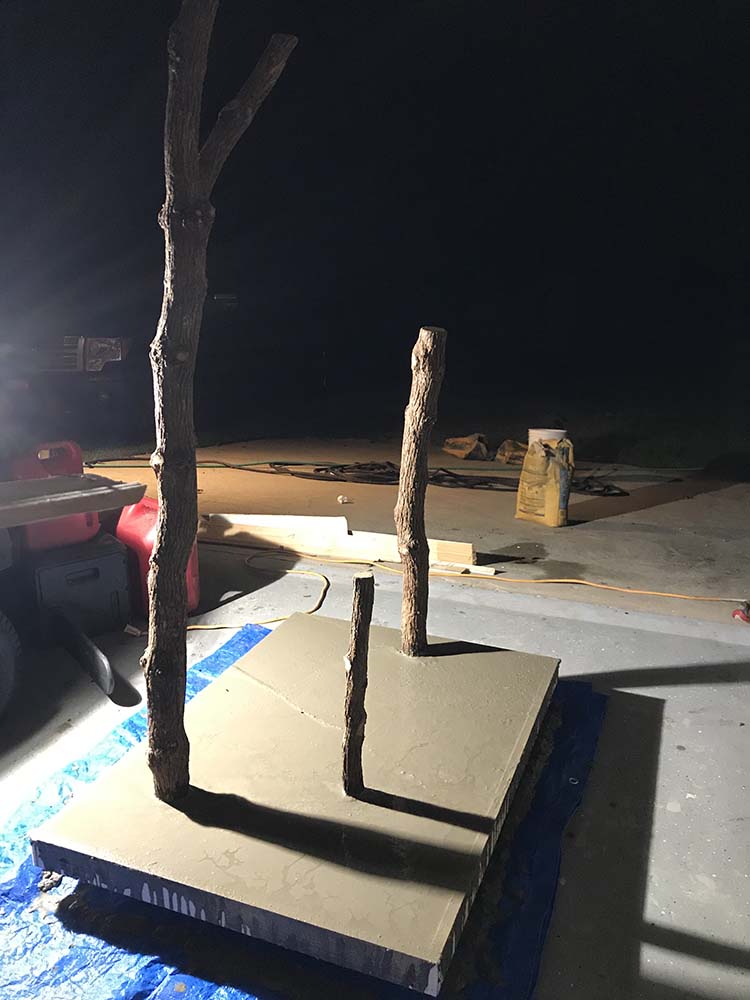
A brief lecture on concrete…
Let’s pause here and talk about all this concrete for a sec. Since we were already laying tile in the kitchen I thought it would be an amazing idea if we tiled the base, too. Plus, it meant I didn’t have to buy concrete.
But my husband insisted that our giant cat need stability. So he got 120 lbs worth of it and now I can’t pick either one of them up! If you consider going with concrete like we did, just keep this in mind!
Step #3 – Pour concrete base
We used just under two bags of 80 lb concrete, mixed them one bag at a time, and poured them directly into the base and around the branches. As the concrete began to set we smoothed it out with the side of a 2 x 4 and let it dry for 24-hours.
Once the concrete was dry, I sanded and stained the 1xs along the base for a finished look
Step #4 – Attach platforms
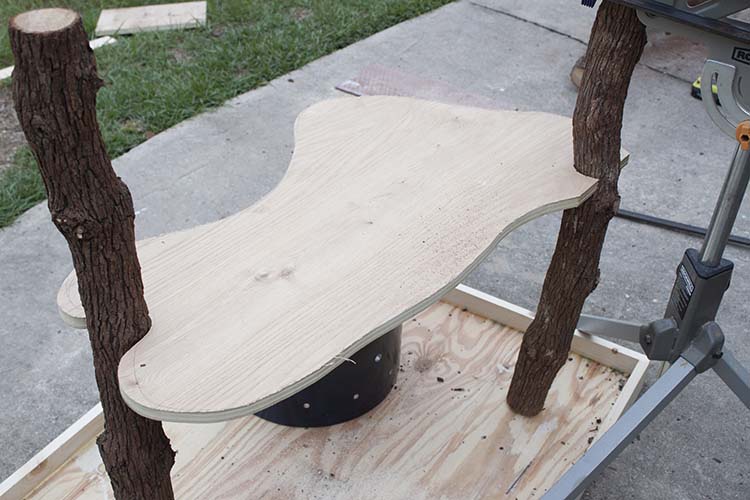
Something we didn’t do but wish we had was put on our first stabilizing platform before the concrete hardened. It would have been a lot easier to get it on had we done that.
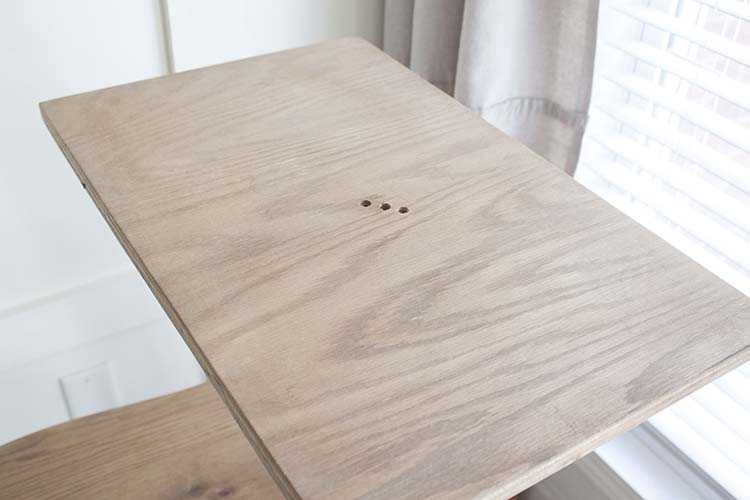
Instead, I stained and sealed all the platforms while the concrete hardened. We attached these to the braches with screws and wood glue.
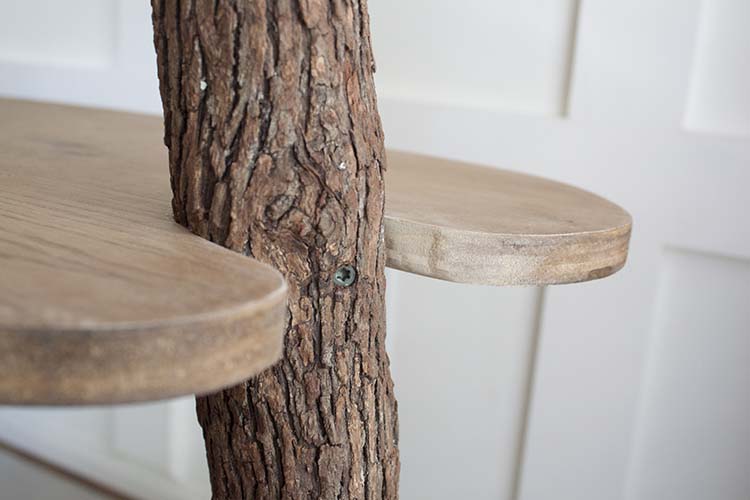
Straight down into the branches from the top of the rectangular platforms and from the side for the curvy bits on our fist platform.
Step #5 – Make scratching posts
Since our cats are indoor cats one of the reasons I wanted a cat tree play tower was to encourage more activity. Paired with their favorite cat treats, fortified with essential vitamins and minerals, including taurine, I feel like ensuring their good health for many years to come.
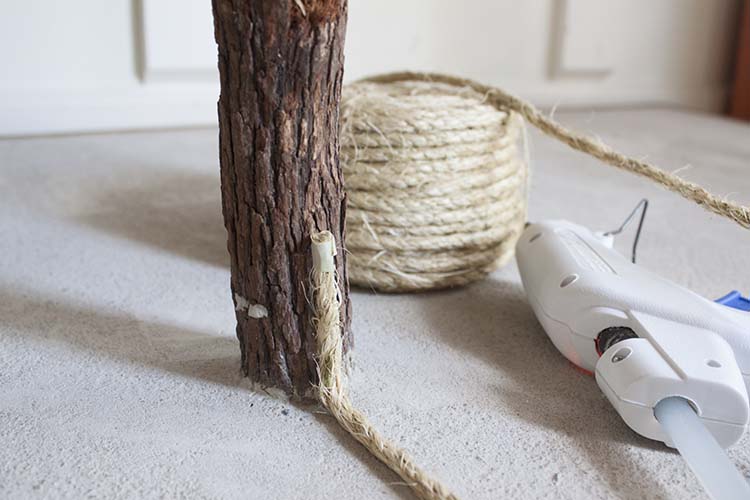
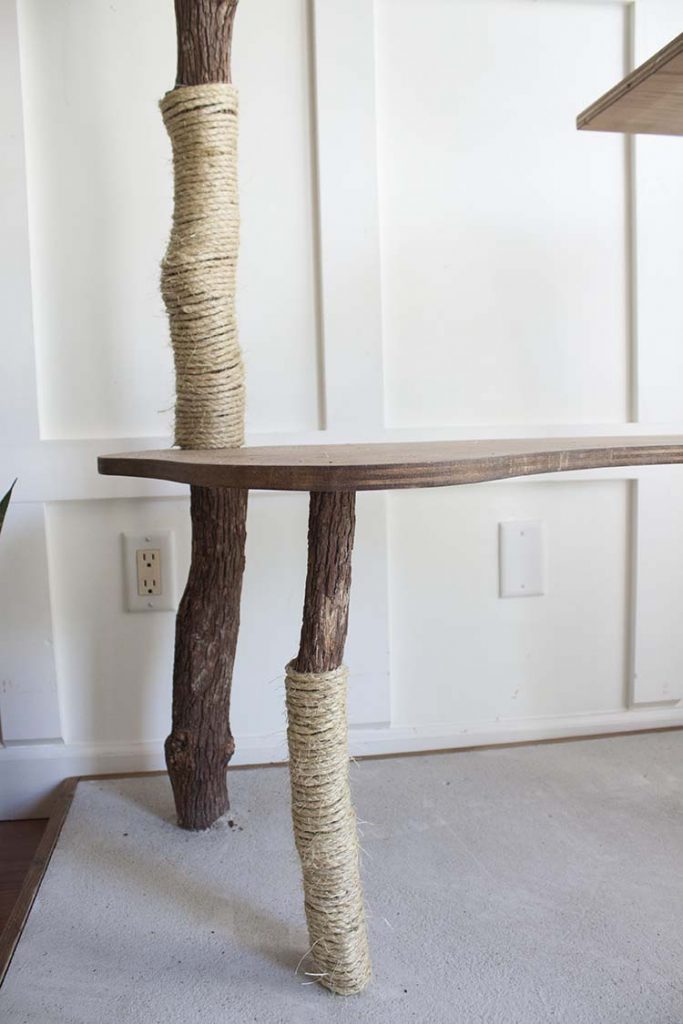
To create their scratching posts, I used the jute rope to make the scratching posts with hot glue to attach it.
Step #6 – Decorate platforms
I had a different idea for this platform. I painted a wooden drum shell that my child brought home from band class and planned to use it as a little nook the cats could get in to. But, in the end, it just didn’t have the look I was going for.
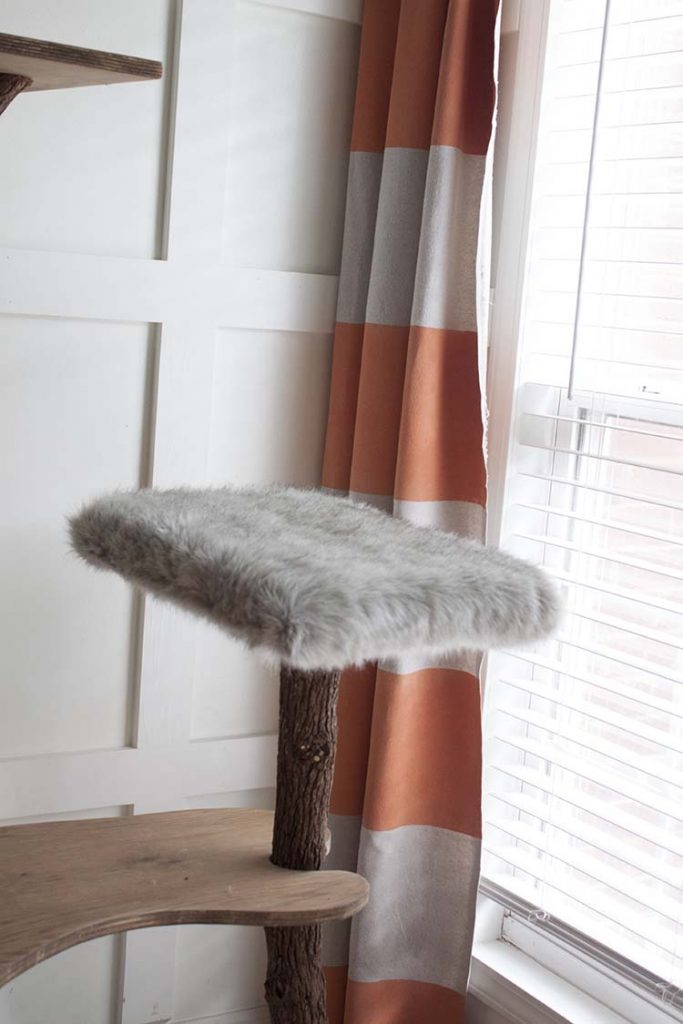
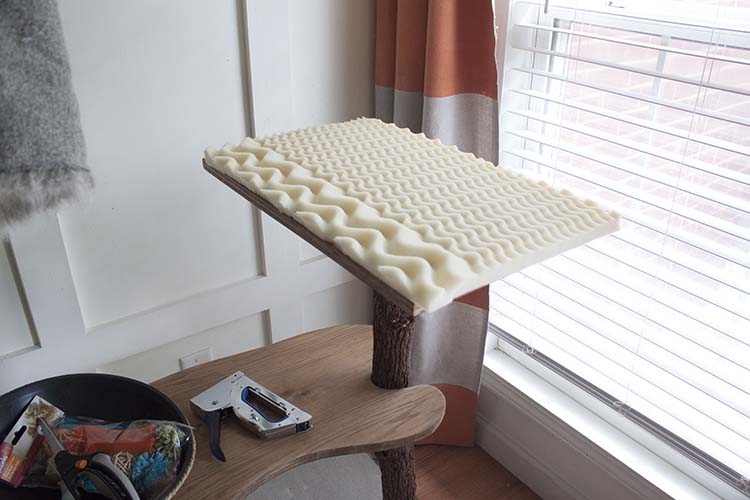
So instead I just added some cushion, cut from a twin mattress topper no longer in use and covered it with faux fur. It is without a doubt their favorite place.
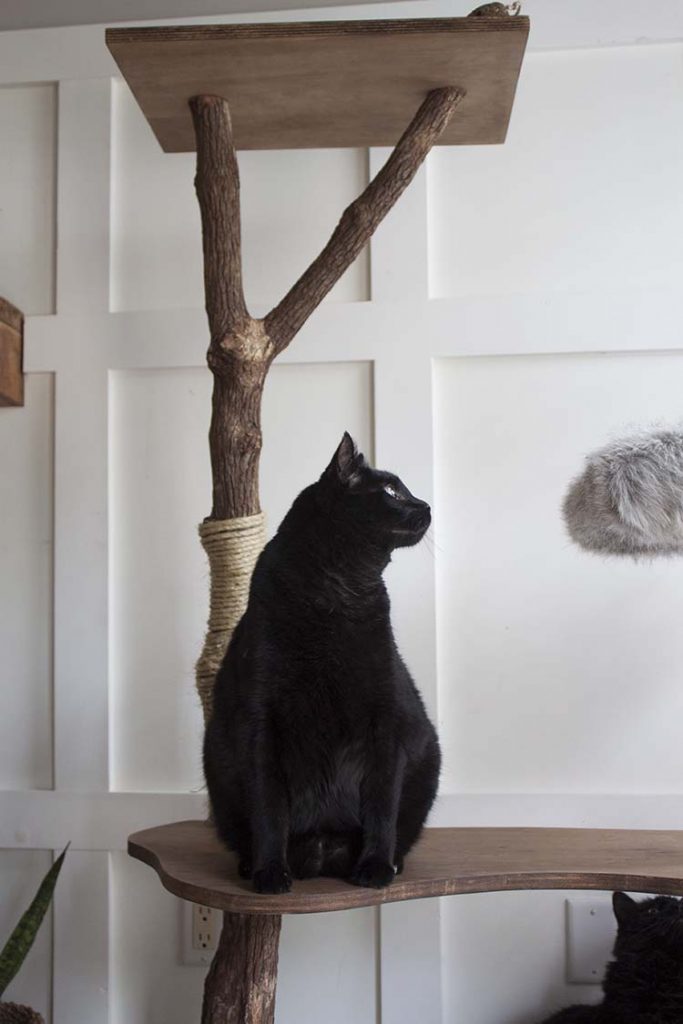
Since I changed my plan to use the drum I might cut down that top branch some. It’s higher than I planned without that extra bit for them to jump from. Nothing they can’t easily reach, just an aesthetics thing really.
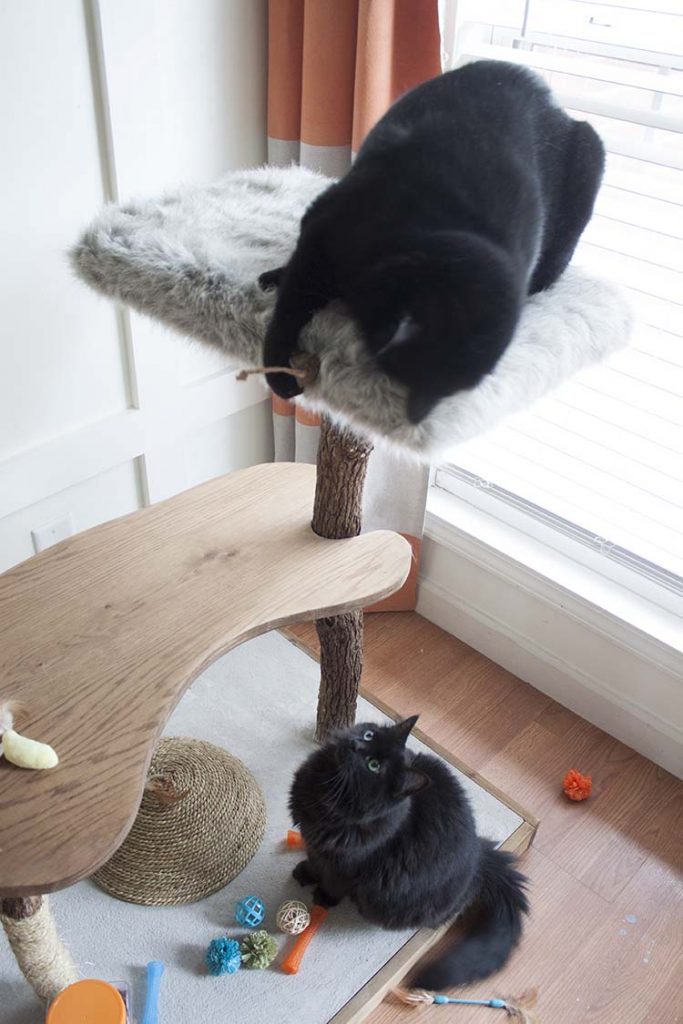
I don’t know what I’ll do for the top platform but, honestly, I don’t even think they care right now.
My thoughts are already on how to create a beautiful litter box cover to go along with my already 100% dust-free litter. This is the way my mind works! Thank you, next.
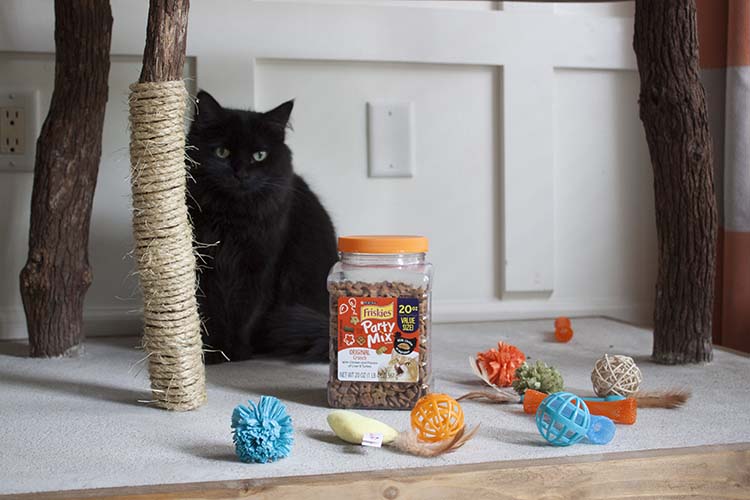
And even though my DIY cat tree didn’t go exactly according to plan, I’m pretty excited about having put it together for around $20.00 out of pocket. And the cats like it almost as much as their Purina® Friskies® Party Mix® Crunch Original Cat Treats!
What’s your favorite way to spoil your cat?




Omg this cat tower is so wonderful and so easy to make. I have two cats, I would love to make one for them but my room is so small because we are living in a two bedroom apartment right now. I think the one you have built can fit easily in the patio space we have some shade over there and our cats usually play outside during day time. thank you for sharing the tutorial
I am so happy to hear this, Sherry! If you do decide to make one, I’d love to see the end result! Thank you!
Hi! I’m considering making my own tree. Did you dry your branches out first? Did you seal them with anything?
Hi Rebecca, the branches were dried out but we did not seal them. The cats have enjoyed scratching away the bark!