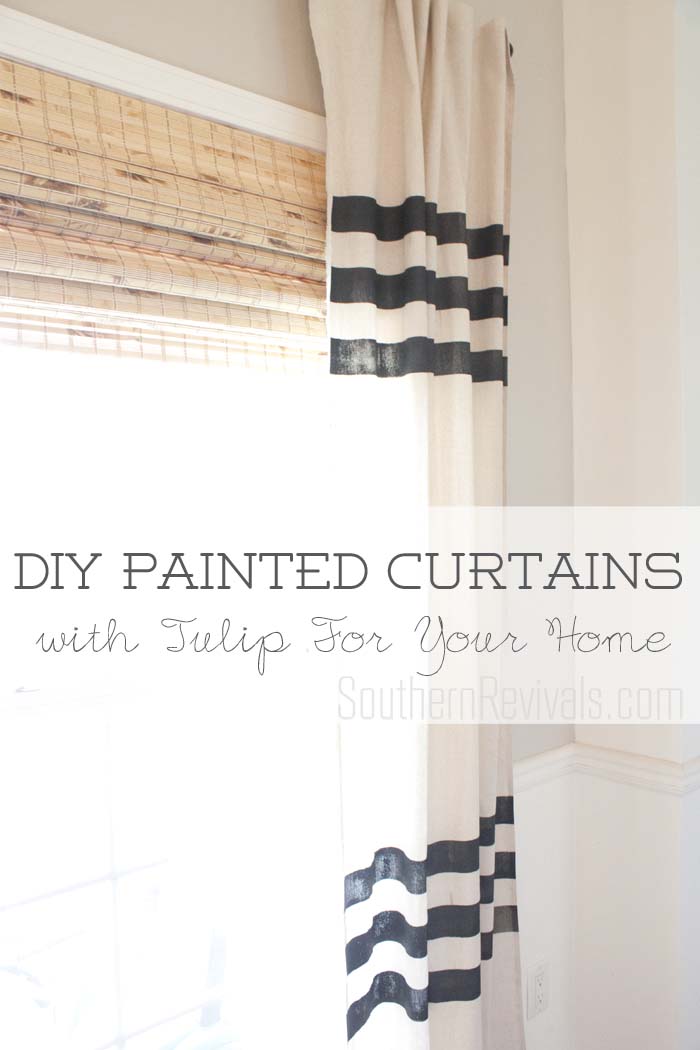
This post is a sponsored post done on behalf of Blueprint Social with I Love to Create. All opinions, projects and ideas are my own.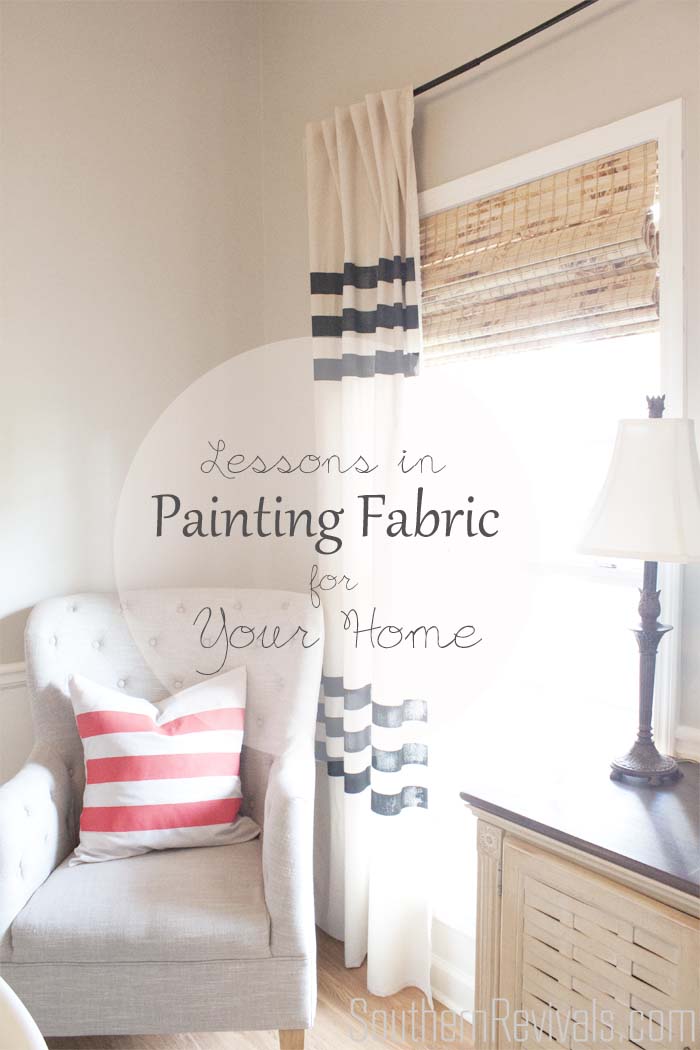 If you know anything about me it’s that I love to paint things. That and there’s not really anything I’m afraid to paint. Especially when that thing would otherwise cost me money I don’t have. That means anything from walls to furniture to fabric! Today I am excited to share with you some lessons on painting fabric with Tulip® for Your Home.
Supplies:
Tulip® for Your Home products are available at your local Hobby Lobby or JoAnn’s stores
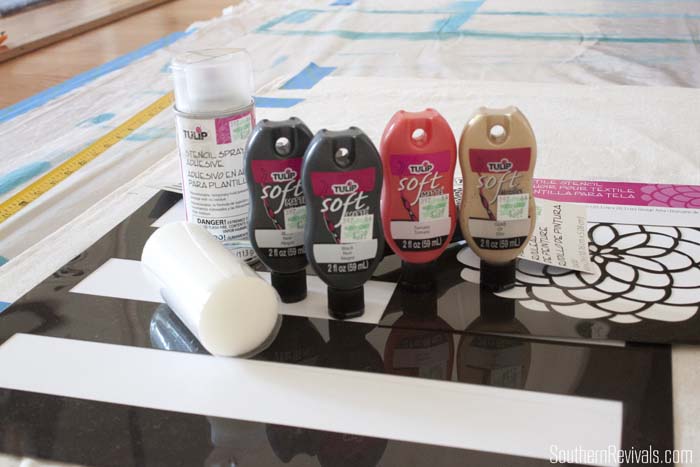
- Tulip® stencils of your choice – I chose the 14×14 stripes and the 8″ Zinnia
- Tulip® Soft Fabric Paints (I used black, gold and tomato)
- Stencil Spray
- Roller
- Fabric – I used a leftover piece of drop cloth from another project for my pillow, a scrap of black fabric for my napkin and I sewed the curtains from Osnaburg fabric (because I’m too cheap to buy linen and no one can really tell the difference anyway!)
- Drop cloth
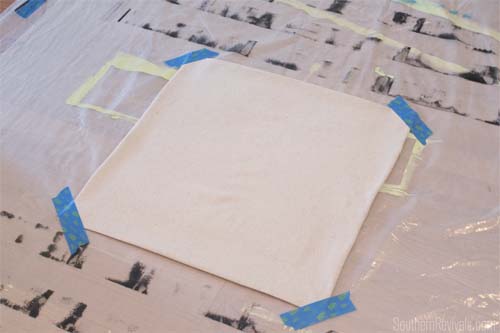
- Painter’s tape for securing fabric and drop cloth
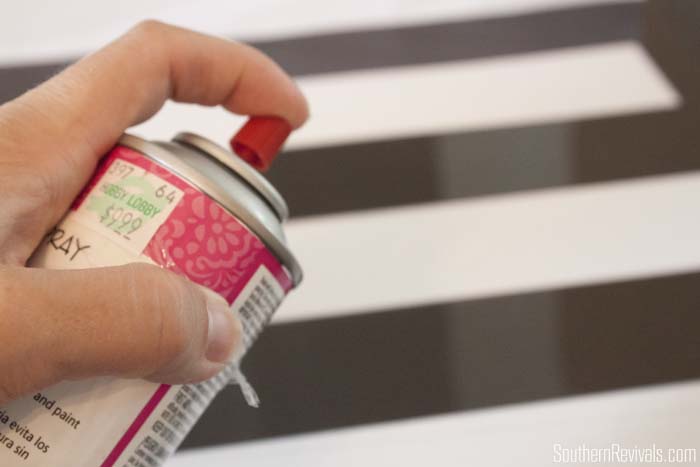 Thoroughly shake your adhesive spray can. Ensure that when it sprays out it does so evenly. If what comes out looks a bit like silly string you haven’t shaken it up enough. Lightly spray the matte side of your stencil.
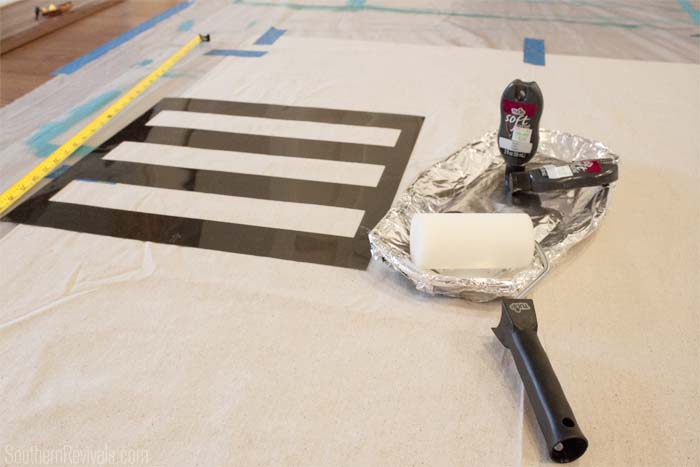 Firmly press your stencil down on your fabric. These stencils are great because they pretty much center themselves plus the pattern is repeatable.
Once your stencil is in place place your paints on a roller tray and get started.
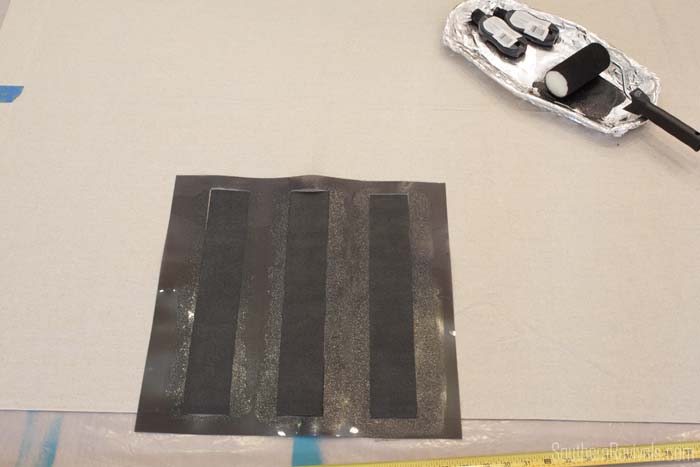 How many coats you apply is up to you. I found one coat to be the perfect amount for my project but if you want fuller coverage you can apply additional coats.
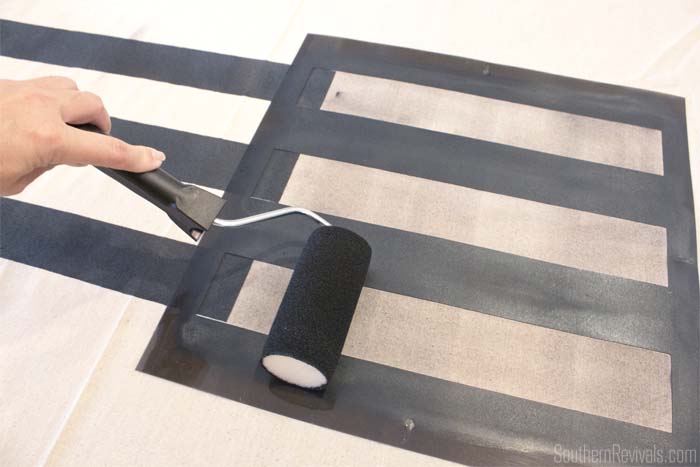 It isn’t necessary to spray your stencil with adhesive each time. It will be completely re-positionable for several times before reapplication is necessary.
TIP: On the first pass I was able to smooth the stencil down on the fabric with my hands but once I applied paint doing so meant getting paint on my hands and risking getting it somewhere on the fabric that I didn’t want it. So, for each additional pass I simply used the roller (prior to loading it with more paint) to smooth and place the stencil.
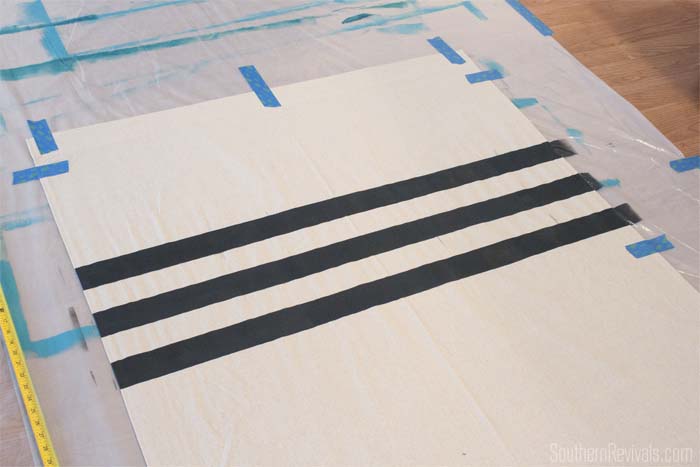 I was able to complete my whole first row of stripes before rinsing the stencil. I mostly wanted to rinse the paint from it to make sure I didn’t get any accidental transfer when starting my second row. Once my stencil was rinsed completely I simply repeated my first steps and started on my second row.
TIP: When using stencils, and painting fabric in general, a drier roller is your friend. Loading too much paint leads to bleeding. Less is more. Apply in coats to achieve coverage instead of trying to cover all at once.
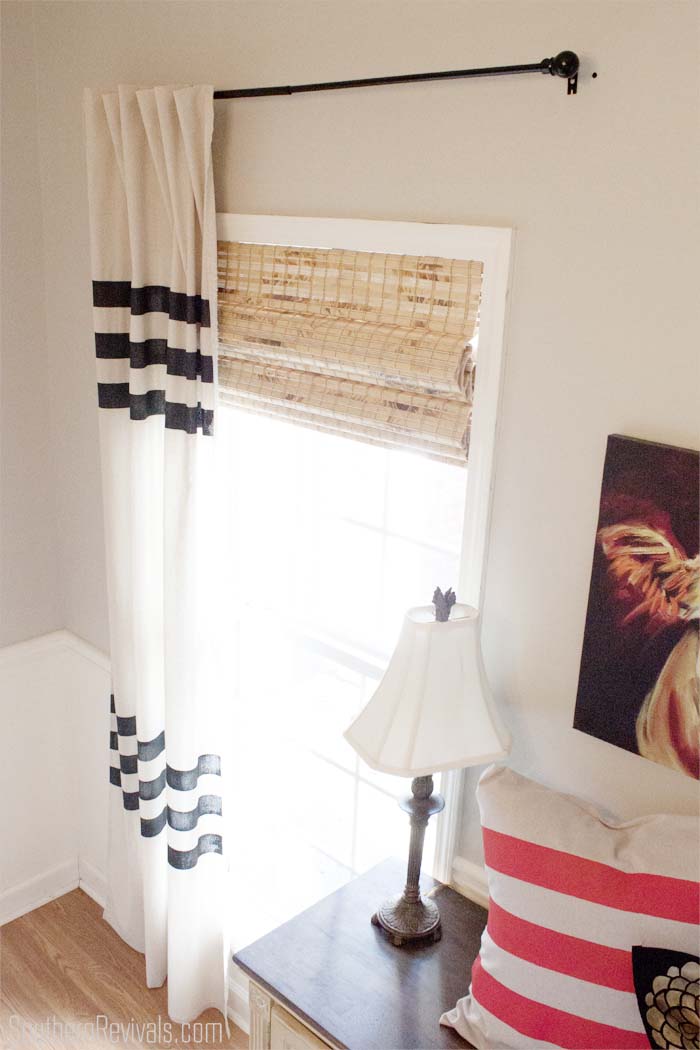 I am crazy about how these turned out! It only took about an hour before they were dry and ready to hang. I painted both panels in under and hour and had a exponentially better looking dining room in under 2 hours!
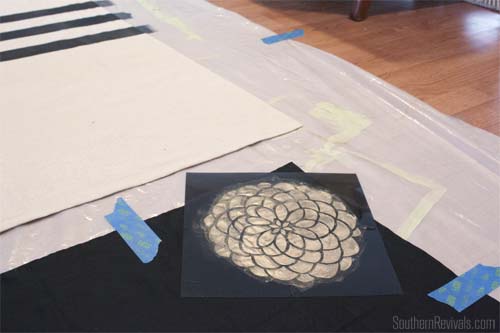 I decided I wanted to do some fancy little napkins for my newly updated space as well. I followed the same instructions as for the curtains above. And while I waited for my last curtain panel to dry I used the gold to create this gorgeous napkin.
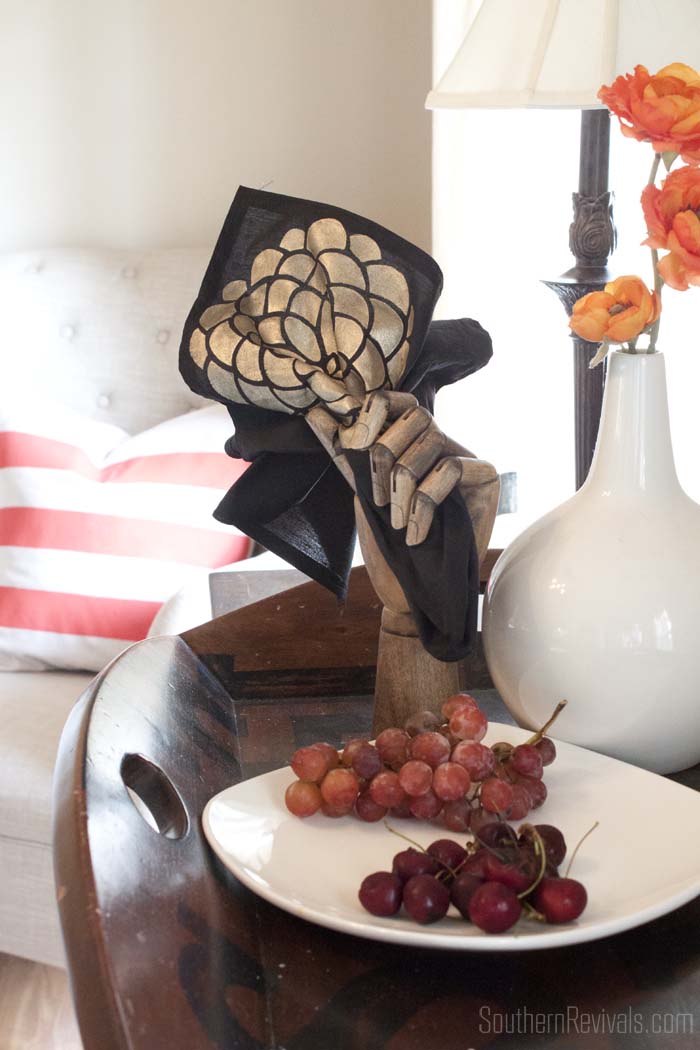 Super, super easy to do and a great way to
 get rid of actually use that fabric you’ve been hoarding. Plus, this paint is totally washable!
As an after thought I decided, since I am obsessed with stripes that I had to have a pillow, too.
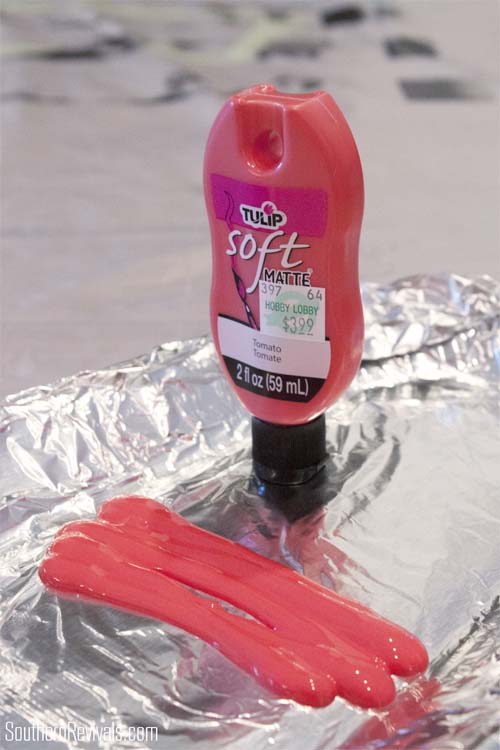 I had purchased this gorgeous orange-y red color called tomato though I wasn’t sure at the time what I was going to make with it. I just knew I loved it.
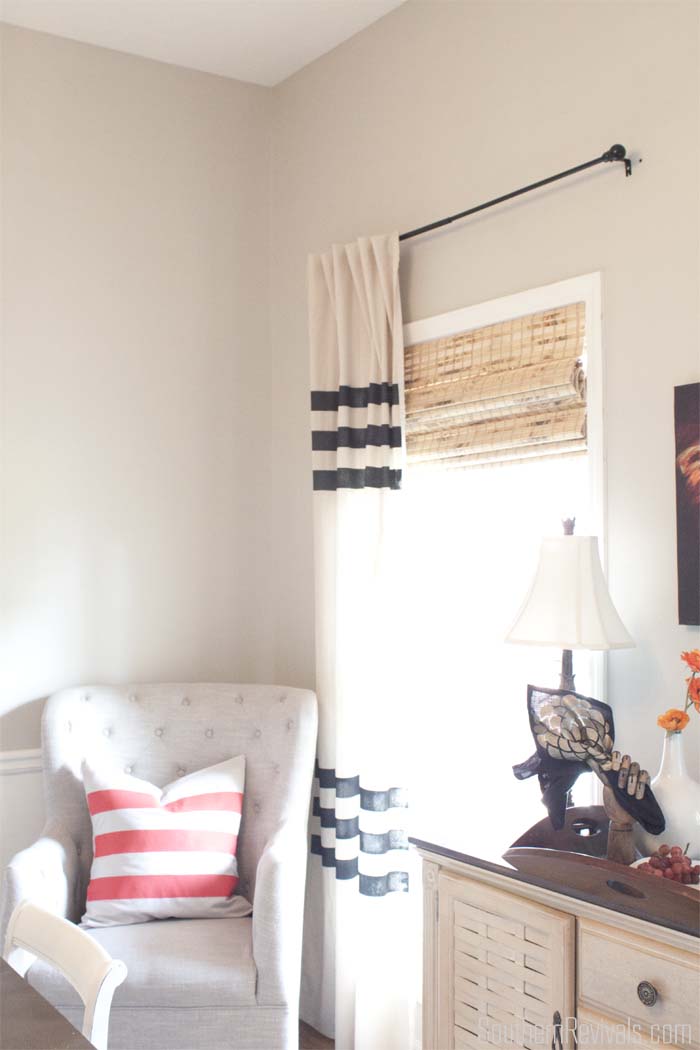 I really like it when I listen to that inner voice even though she usually doesn’t make sense at the time. That chick almost always knows what she’s talking about!
For additional projects please visit:
- Facebook: https://www.facebook.com/lovetocreate
- Twitter: https://twitter.com/ilovetocreate
- Pinterest: http://www.pinterest.com/ilovetocreate/

Thank you
You’re welcome!
Your project looks so great!! I love that wooden hand holding the napkin! I can’t wait to see the rest of the projects!
Kim
Thanks so much Kim!
Hi – where did you get that cool hand that’s holding the napkin? Thanks!
Actually, I sell them. You can find them here, if interested: http://southernrevivals.bigcartel.com/product/wooden-jointed-poseable-vintage-style-hands
Only one left in stock. Thanks!