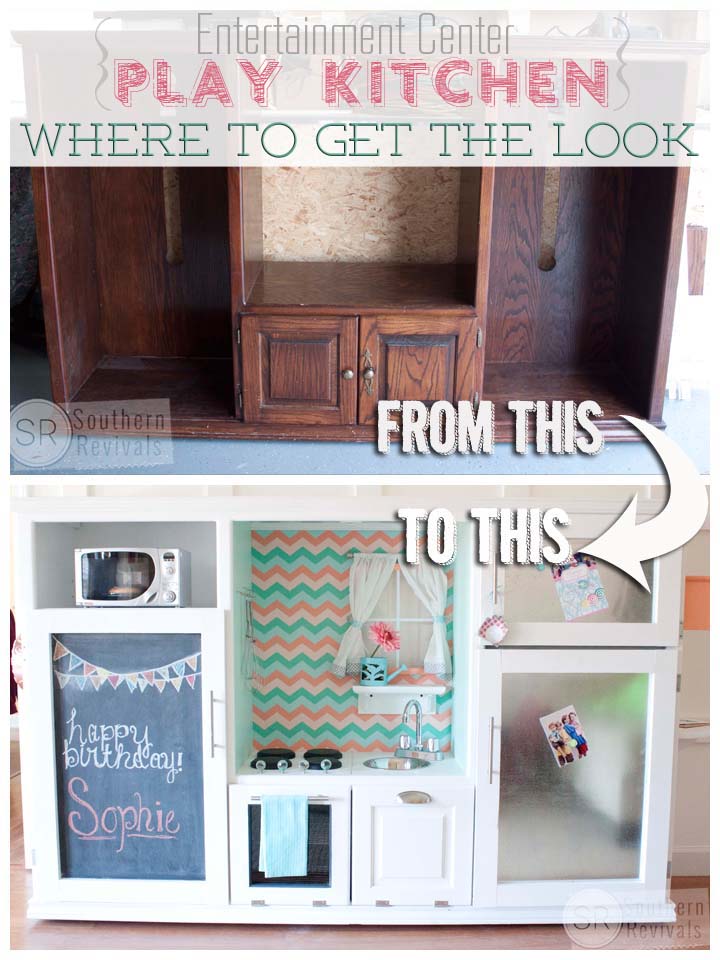
 Today I’m sharing with you where we got it all for our Vintage Entertainment System Turned Play Kitchen that I recently completed for my niece. This post contains my Amazon affiliate links for a couple of the items I purchased there. Please let me know if you have any questions.
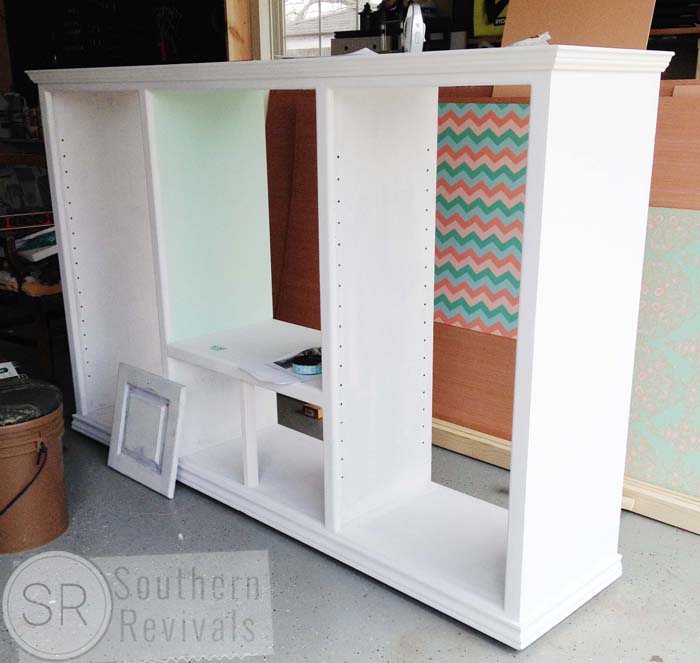
The first thing we did was replace the back of the cabinet itself. We used a 1/4 plywood by RevolutionPly that we got from Lowe’s. It’s just over $15 a sheet, comes pre primed and is made from 100% sustainable resources and has no VOCs. I also use this plywood for the pantry and refrigerator shelves and to build out the doors for the fridge and pantry. I use this plywood for many of my projects.
I used the shelves that originally came with the unit to sit the microwave on and to separate the the fridge and freezer sections. The original shelves came with shelf pins and there were already holes drilled in both sections for more shelves so I purchased two additional packs of shelf pins to sit the shelves we made on.
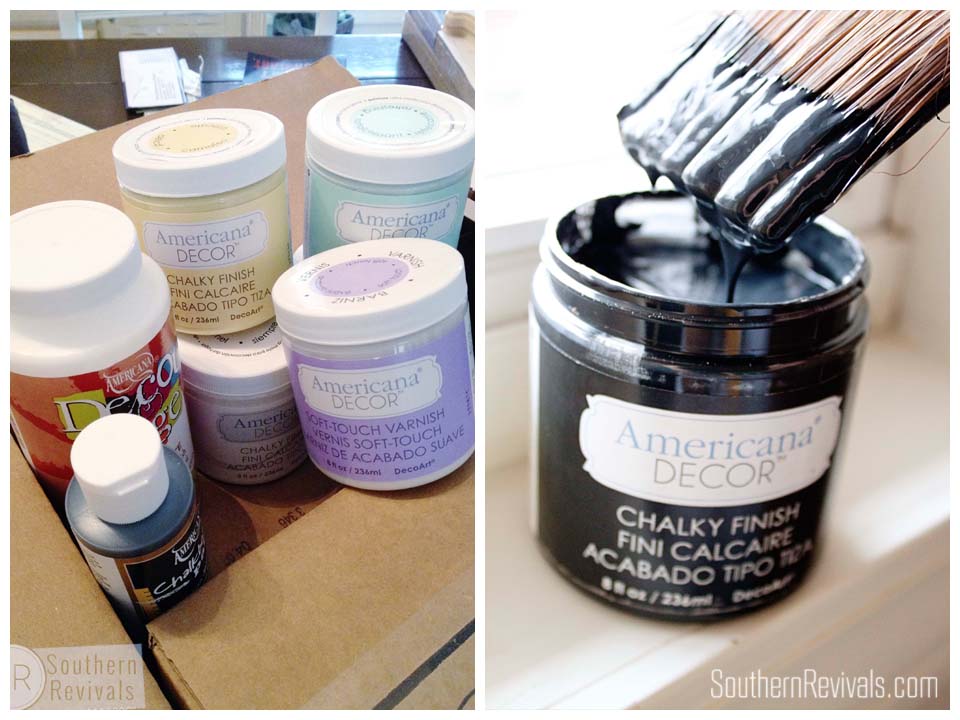
I cannot say enough good things about this paint – DecoArt Americana Decor Chalky Finish Paint! It goes on smooth as butter with no sanding and priming for most surfaces and the coverage is amazing. Plus they have a full product line that includes stain blocker, varnishes and waxes. Not to mention gorgeous colors. I used Smitten (coral), Refreshing (green), Carbon (black), Relic (charcoal) and Everlasting (white).
I also used the stain blocker and Soft-Touch Varnish. I also used the DecoArt Americana brand Chalkboard Paint and DecoPage. The Chalky Finish Paint Line is available at your local Home Depot and Michaels stores. You can find other Americana products at you local craft supply stores.
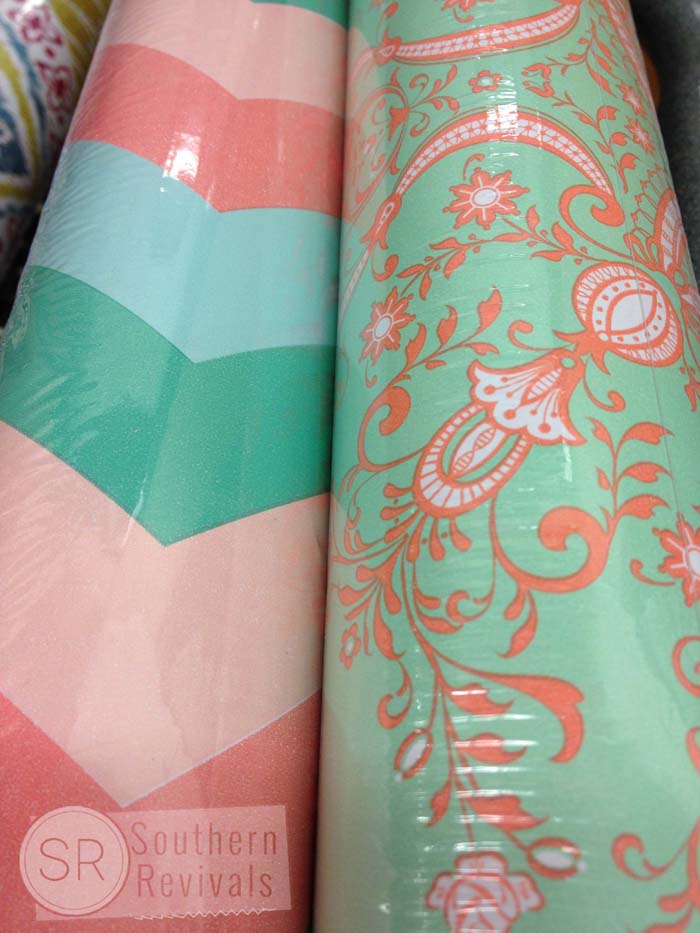
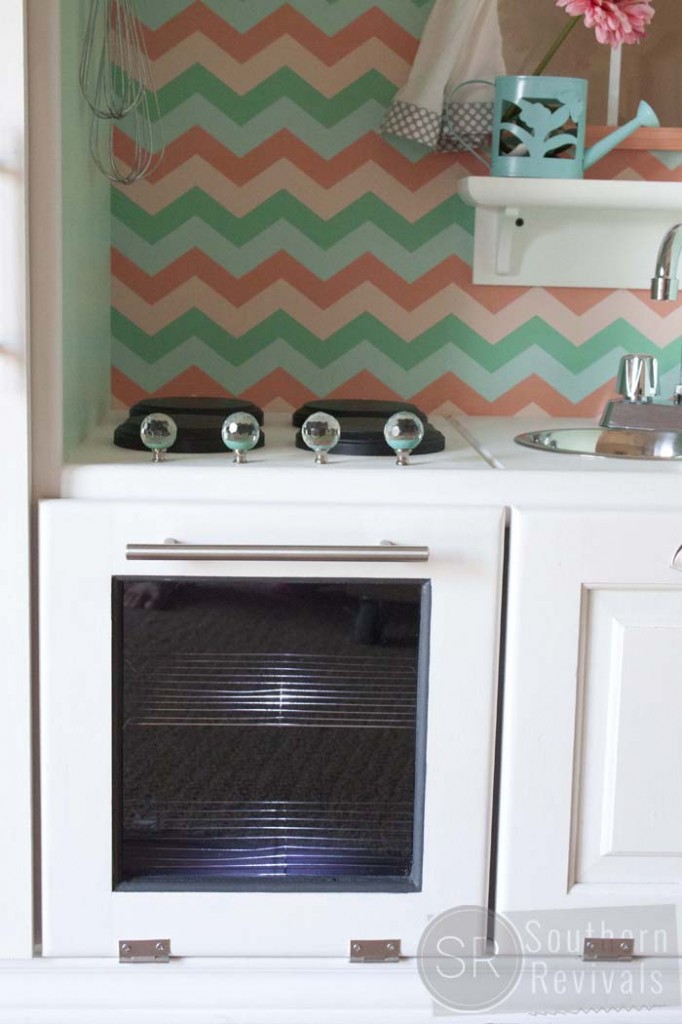
I am a sucker for wrapping paper. And I don’t always use it for wrapping presents. I find some of the best wrapping paper at TJ Maxx. The chevron on the left I used for this kitchen and the floral on the right I used for the matching Chest of Drawers turned Play Wardrobe.
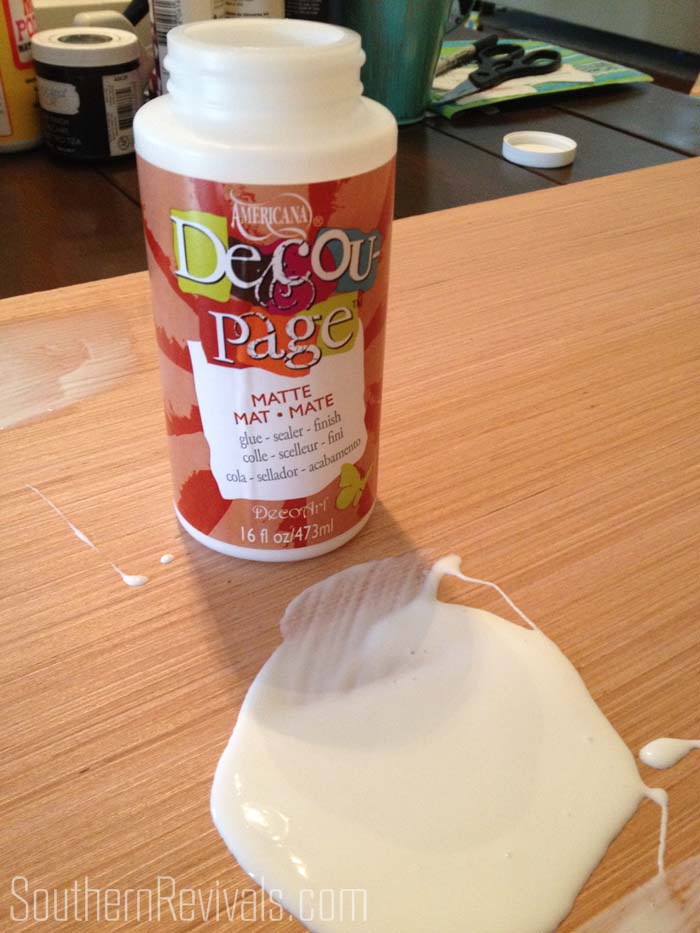
I used DecoPage to attach the wrapping paper to the plywood backing. Apply a generous amount and even it out with a paint brush. A good rule of thumb is if you can just barely see the white once the DecoPage is smoothed onto the surface, you should have just enough. Then lay your paper over it and smooth out the bubbles.
The trick is to get the right amount of DecoPage on so that you are able to smooth the bubbles out. If you’ve applied too much it will continue to bubble even after you’ve smoothed them out because of the amount of moisture trapped under the paper. If this happens just continue to smooth it out as it is drying.
Once it’s completely dry, apply and additional coat or two over the top of the paper for protection. Sometimes this process will help to smooth out any bubbles left behind just be careful not to rub to hard when applying over the top of your paper or it could tear.
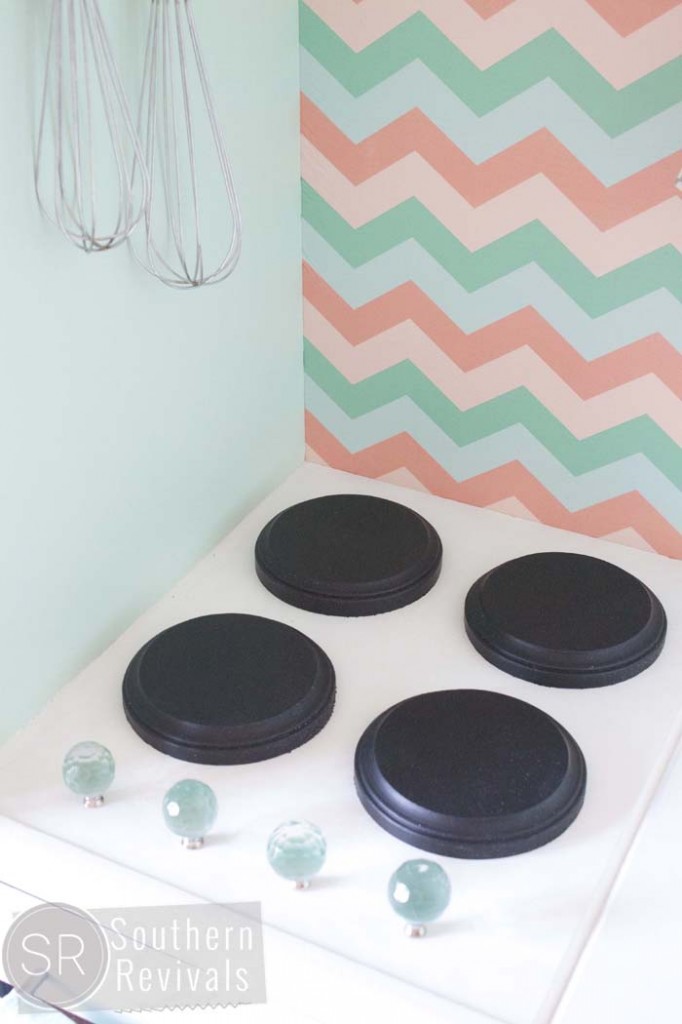
The burners are made from round wooden plaques. I found these at Micheals (because that’s where I happened to be when I decided what I would use) but you can also get these pre cut plaques at most any craft supply store. The crystal stove knobs I found in the knobs and pulls section of Hobby Lobby.
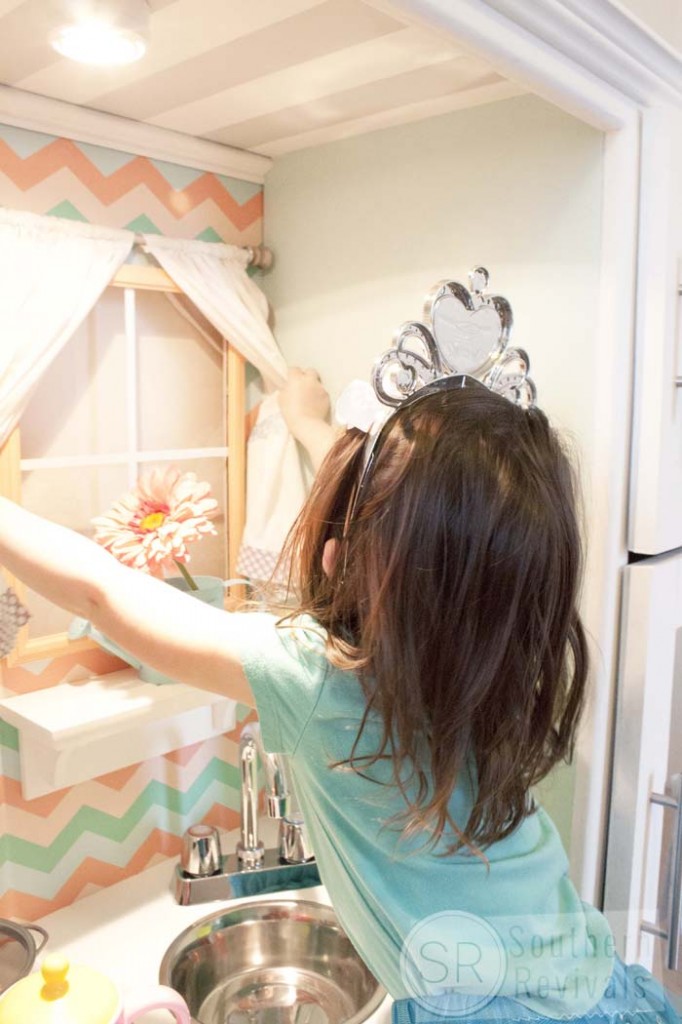
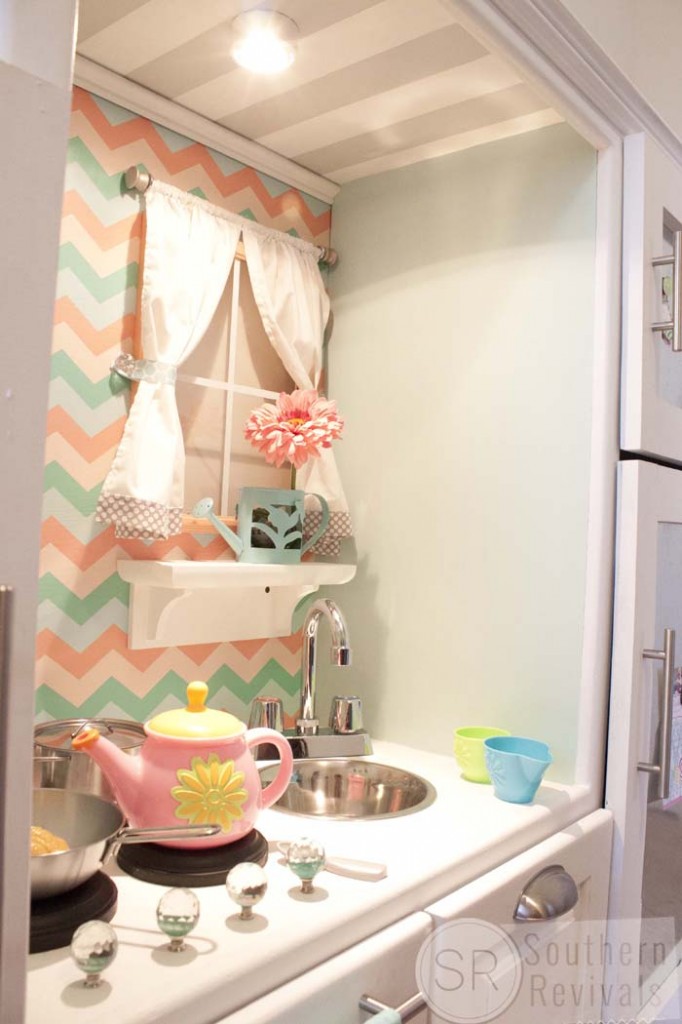
I used a simple wooden frame that I also got from Hobby Lobby as the window. We simply cut out a section in the back and attached the window. We used reinforcements on the back since the plywood is only 1/4″ thick for anything we hung on there, like the window and the shelf.
I painted the frame of the window to match and used strips of vinyl to create the window sections. I also got material for the curtains from Hobby Lobby. I used a dowel and finials to create a curtain rod and spray painted it with a brushed nickel to match the other nickle elements in the kitchen. I already had these things on hand but they are readily available.
I hung the curtain from eye hooks that are screwed into the backing and reinforced from the back to make them secure. I also replaced the frame’s glass with plexiglass from Lowe’s for safety. Also, they were kind enough to cut it to the perfect dimensions for me.
This is probably one of my favorite parts of the kitchen. It looks so realistic to me! Plus it’s a cheap look to recreate. I used cookie drying racks as the oven racks. Two for a dollar at the Dollar Tree. I also got the oven and fridge lights from the Dollar Tree for a buck each. They’re LED push light so they won’t get hot and won’t drain the batteries as quickly. They are self adhesive but we chose to permanently attach them with screws.
I cut out the inside of the existing cabinet door and replaced it with plexiglass, also from Lowe’s. They cut it to fit for me. Otherwise you will need special tools for cutting plexiglass to prevent it from shattering.
I used an under counter light kit for the kitchen light. I had hoped to do a little chandelier or other fancy fixture here but went with this to save time. And also because I realized doing much of anything else would cost head room in the kitchen. This one stays tucked up and out of the way which is good because lights get hot. The cord runs out of the top of the cabinet and down the back so that only Momm & Daddy have access. Plus, I think it looks like modern recessed lighting so in the end I was glad I went with this. I got this under cabinet light kit from Lowe’s.
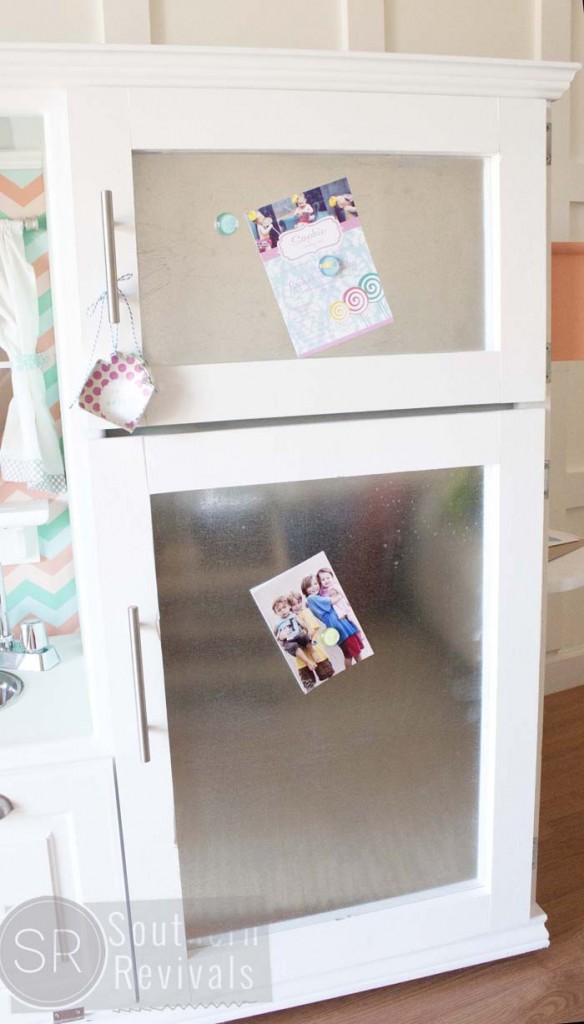
My original plan was for the fridge to be white but magnetic. After using about half a quart of magnetic paint and realizing it was never going to work I gave up. I have used that stuff twice now with no success. Never again. In the end I wound up going with some metal sheeting that I got from Lowe’s and loved the “stainless steel” version so much better!
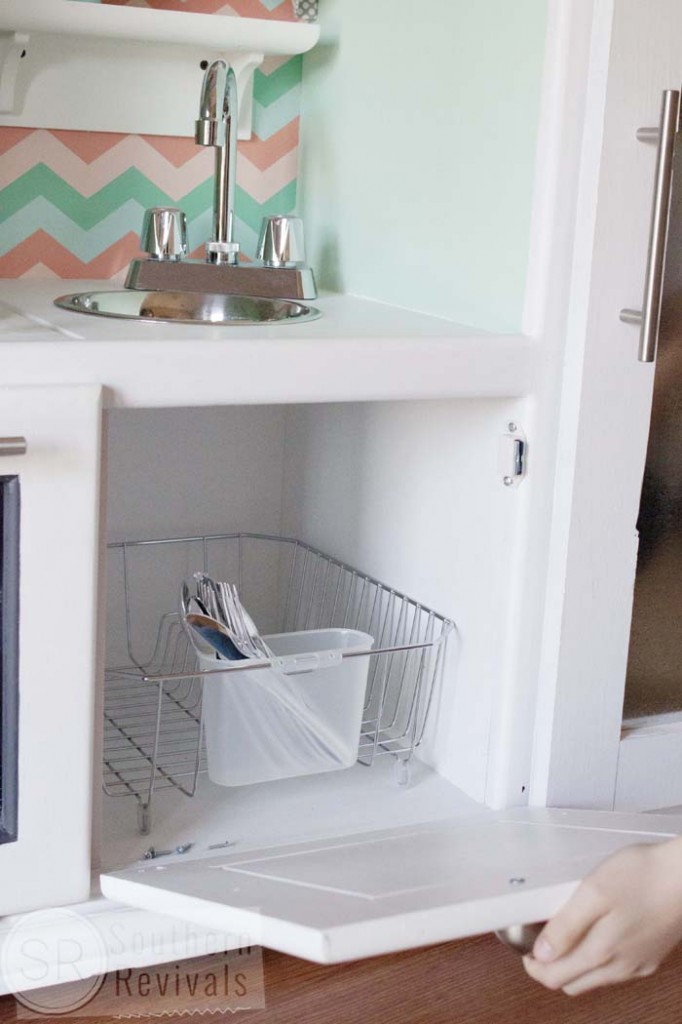
The “dishwasher” is a dish drying rack I got from Walmart.
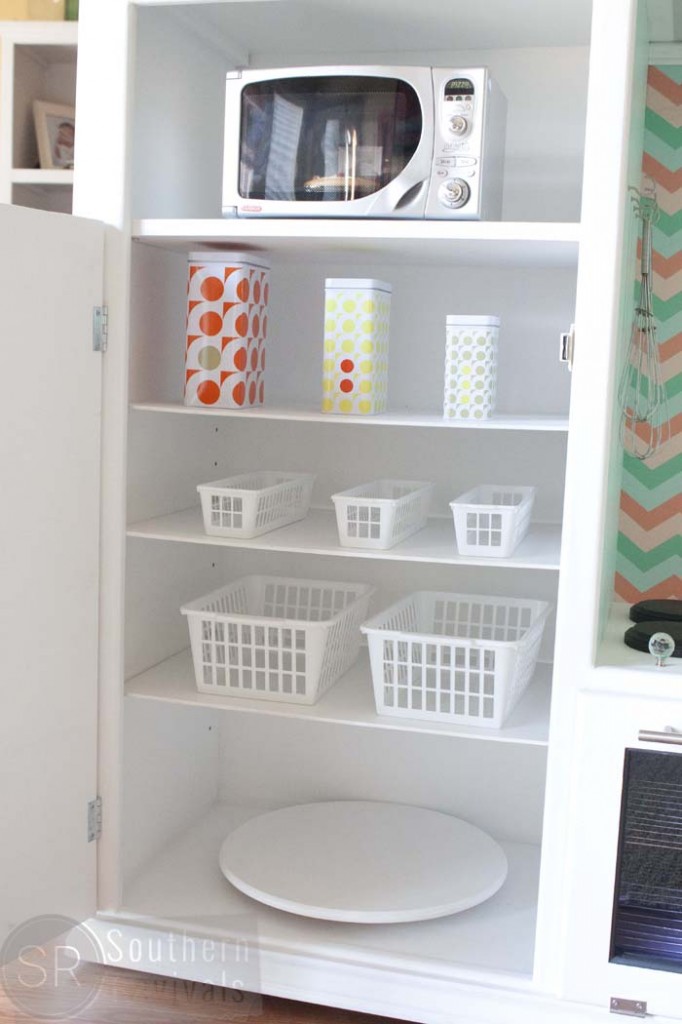
I got the unfinished lazy susan from IKEA, painted it to match and permanently affixed it to the bottom shelf. I got the baskets and containers for the pantry and fridge at various dollar stores and thrift store.
The handles for the freezer, fridge, pantry, oven and dishwasher were all purchased at Home Depot. The various hinges and magnetic cabinet closures were purchased from Lowe’s. I had the dishwasher handle engraved with her initials at a local trophy shop. Visit the original post, here, for a detailed closeup.
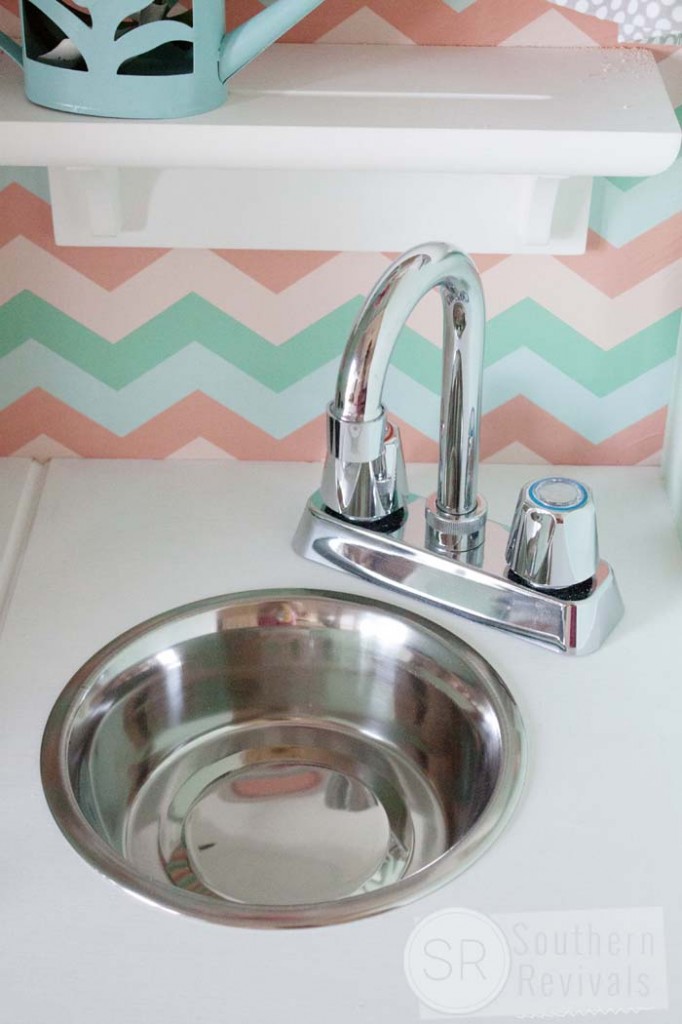
The bowl for the sink is a dog bowl that I got from Fred’s. I had search for a more rounded version, like a stainless steel mixing bowl but couldn’t find one in time. Just the other day I found a hammed copper one at TJ Maxx that I shared on Facebook and I absolutely would’ve have used that if I had to do it over again. And it was just $2 more than the dog bowl!
The adorable Pfister Two Handle Bar Tap Faucet in Polished Chrome. It was the perfect fit and at just over $25 it was the least expensive one I found. I liked the idea of using a bar tap style faucet since the goose-style neck allows plenty of room for washing pretend dishes!
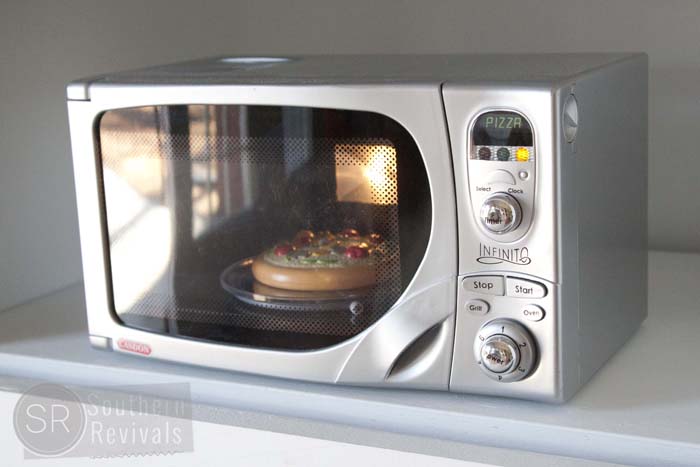
And the realistic Casdon Electronic Microwave is the cherry on top! It matches the kitchen perfectly and has real working lights and sounds. It also comes with play food.
There you have it! The cost is probably more than most that you can buy but this one will last a lifetime and then some. Not to mention the memories made are priceless. Will you be DIYing a play kitchen of your own?
Approximate Materials Cost for this project: $500
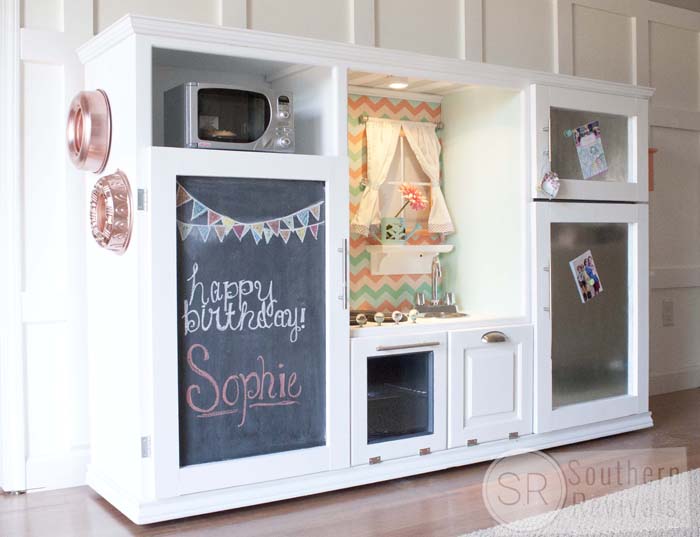 For additional photos & details be sure to check out the original post here



This is just fabulous! Makes me wish my grand daughters were still this small. Hint maybe if you make this again, or for others, try sourcing that faucet at Habitat For Humanity. I haven’t been there yet but my d-i-l has been getting quite a lot of things for their house from them Excellent quality and prices.
Thank you! And I couldn’t agree more! I was unable to find a second hand faucet, even at our Habitat store, but I can often find great stuff there. I would definitely recommend starting there or a thrift store for many of these components.
This is fantastic! My dad made me one back in the 70’s, not nearly as fancy, but no one else had one!
I was wondering where you bought the cabinet doors? I have an oak tv cabinet that I’m making into a pantry. I’m adding doors where the tv would be placed and I like the simplicity of the ones you used.
Thanks so much!
My dad built me an outdoor playhouse and I still have it! LOL We built those doors using plywood and 1 x 2s. Very simple but still really cute. Thank you!
We’re in the process of building a play kitchen for our 2 year old grand daughter. The configuration is a little different because of the unit we started with, but I liked and used so many of your ideas. We couldn’t find the chevron paper so I stenciled it instead. The color scheme is the same as her Mommy’s kitchen, blue-green walls, white cabinets, accented with orange accessories. …the paint we used was left over from her’s. I’ll try to post pictures when we’re done.
How exciting! I would LOVE to see it once it’s done!
Did you prime the furniture before using the chalk paint? I have a cabinet that I am about to transform into a play kitchen. It is lighter color than this – typical of a sauder piece of furniture. I am wondering if I need to sand and prime it first.
Hi Susan,
This piece was solid wood so there was no need to prime. If you’re painting pressed wood priming is never a bad idea but it definitely depends on the paint you’ll be using.
I plan to use chalk paint and I am hearing mixed responses. Some say you don’t have to prime, others say you do. It’s confusing, so I am not sure what to do yet.
If it’s pressed wood I usually prime. Like the reason you’re hearing mixed responses is that sometimes it works, sometimes it doesn’t. Even when you prime. I’d also advise that you try it, both ways, in an inconspicuous spot first and see what happens. You’ll know how to proceed from there. Also, be sure to sand lightly. Everywhere. It will save you pain in the long run. Trust me! 😉 Thank you!
BTW, I love how yours turned out.
I absolutely love this!!
We are trying to make something similar for my daughter. We do not have an entertainment center to use, so we are thinking of making it from scratch. I can’t seem to find any blueprints for such a project. Do you by chance have the dimensions of this kitchen completed?
Thank you! I do not have them readily available but I will see what I can do! 😉