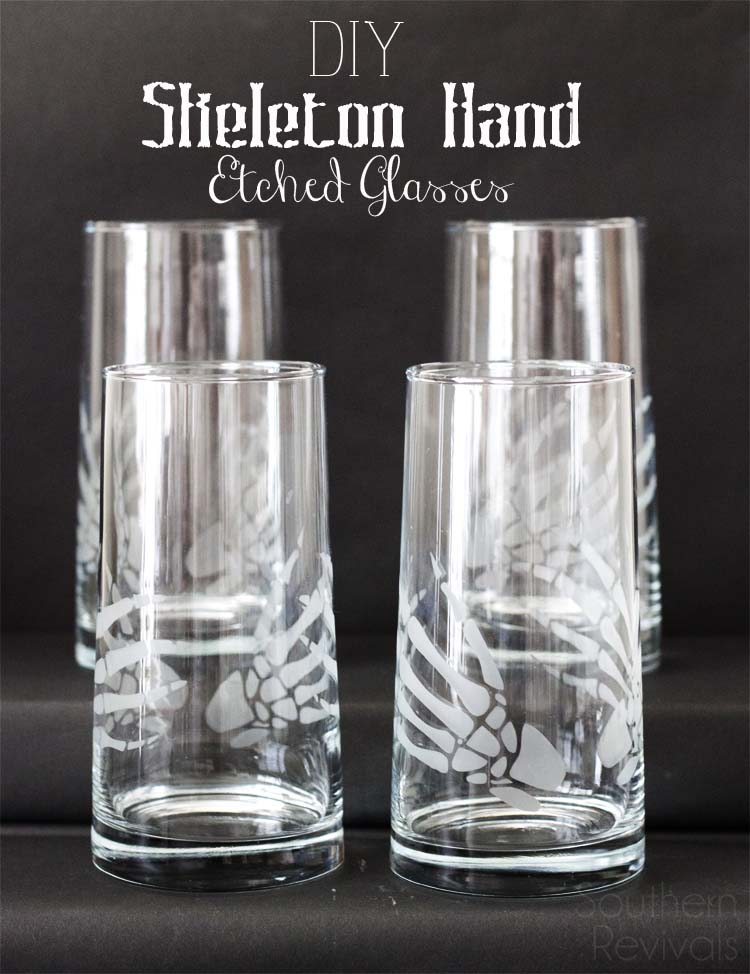
 You’ve seen them. Those skeleton hands holding everything from bras to glasses. And if you’re anything like me you’ve wanted some but you just haven’t taken the plunge yet. The glasses, not the bra. Well, I decided to DIY my own Skeleton Hands Etched Glasses and you can, too! All you need is a half hour plus dry time and you’ve got yourself a set of four brand new skeleton hand glasses all for under $10 bucks!
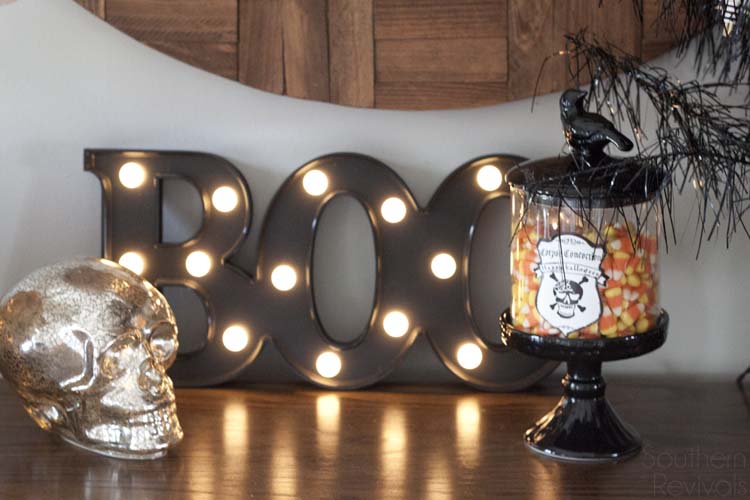 Ever since our first house I’ve been a huge Big Lots fan. I can always count on them to have the best name brands at the best value. Which is great for someone like me who routinely changes her mind. Take the holidays for example. I love to decorate every square inch but I also love to change it up every year. I don’t love spending more than necessary so that’s where Big Lots comes in.
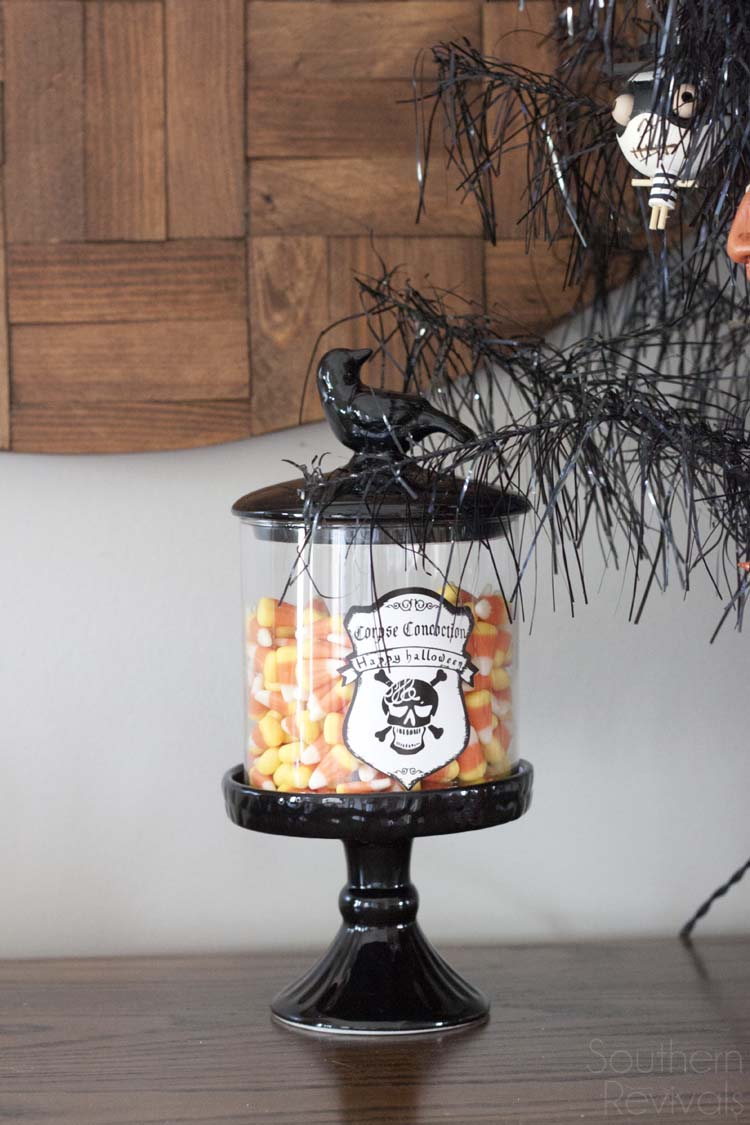 It used to be my husband and I would take “date nights” to Big Lots to pick out things to decorate our house for Halloween. The house that all the kids in area wanted to trick or treat at. These days we have a couple of little Boils that tag along.
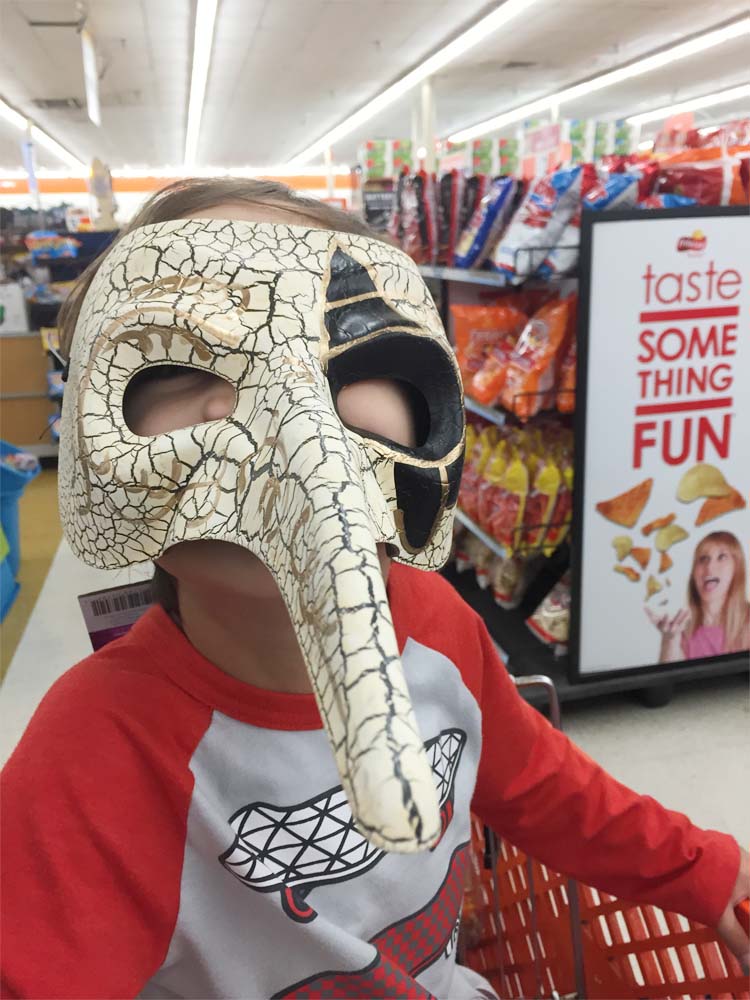 And naturally they have their own ideas on how we should decorate!
DIY Skeleton Hands Etched Glasses
Suppplies:
- Set of Libbey Glasses found at Big Lots
- Adhesive-backed stencil
- Etching cream
- Small brush
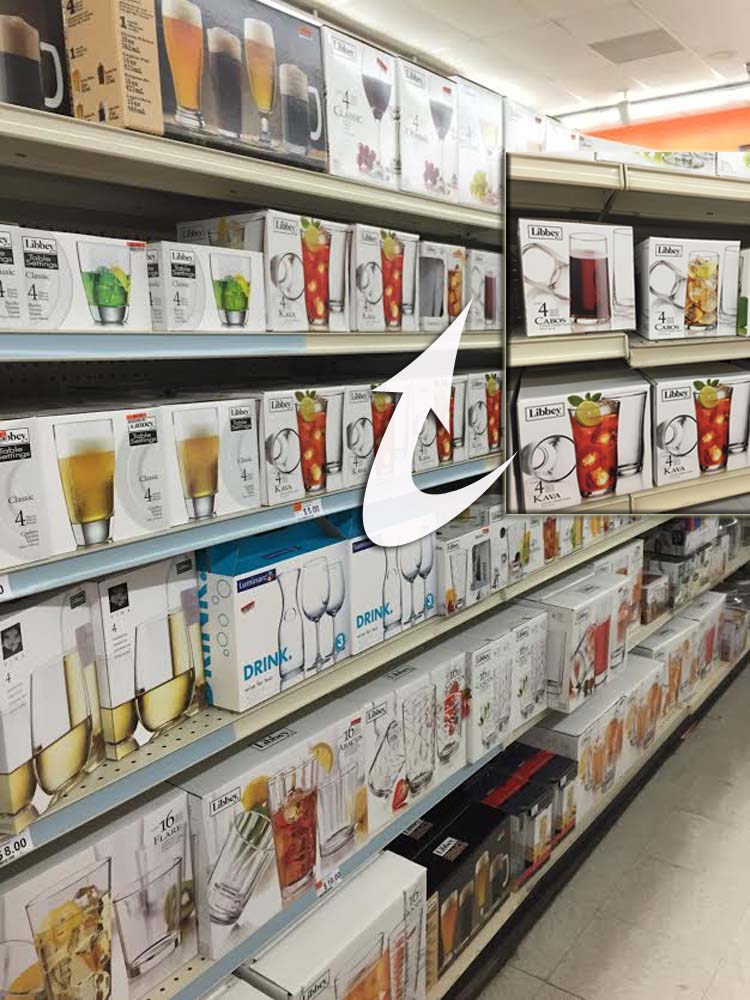
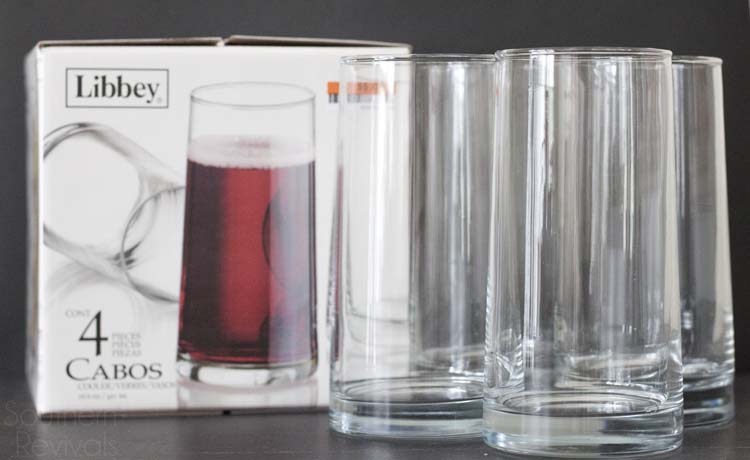 Anytime I’m trying a DIY for the first time I want to a) make sure I didn’t spend a lot if it doesn’t work out and b) make sure it’s made up of quality products if it does! I got this set of 4 Libbey glasses (and I LOVE their shape) for around $5.
When I saw them they immediately brought to mind skeleton hands wrapped around them.
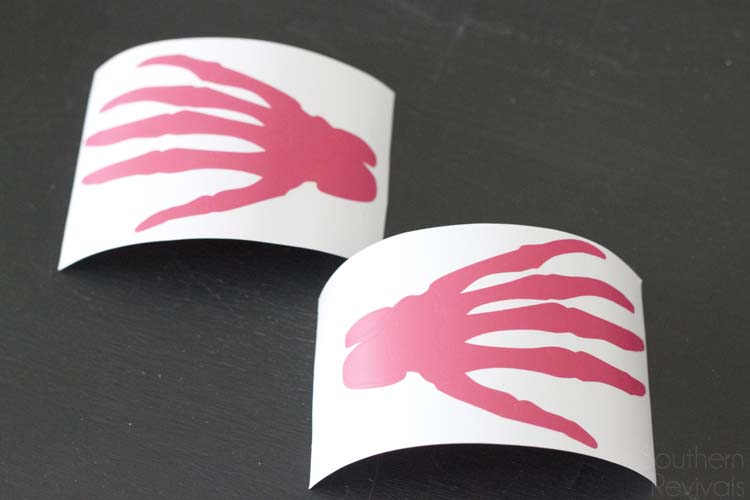 So I used my vinyl cutting machine to create some skeleton hands that were just the perfect size for wrapping around my glasses. You can grab the .SVG file I used to make your own here: Skeleton Hands.SVG. If you don’t have a vinyl cutting machine you can always used an adhesive backed stencil for this project.
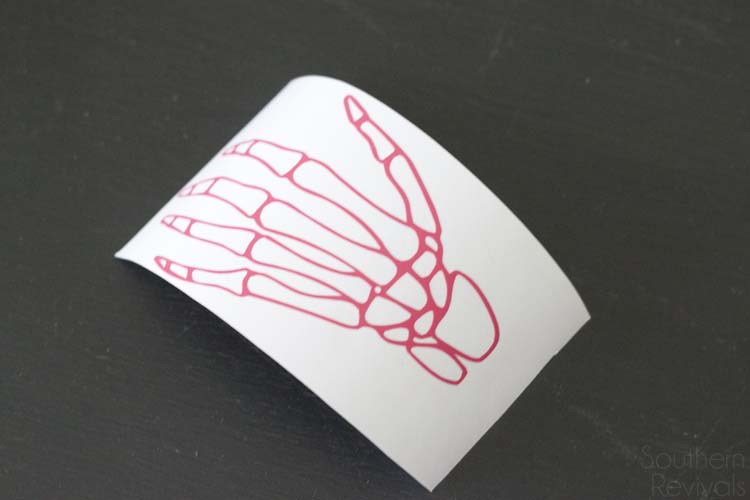 Be sure to weed out the negative space of your vinyl stencil.
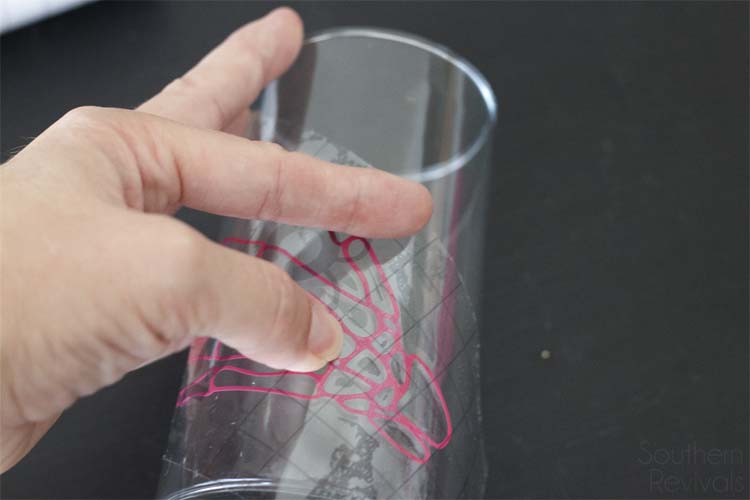 Prior to applying stencil to your glass be sure to wipe clean with alcohol first. If you’re using vinyl you know the importance of using the vinyl transfer material! If not, apply your stencil as you normally would.
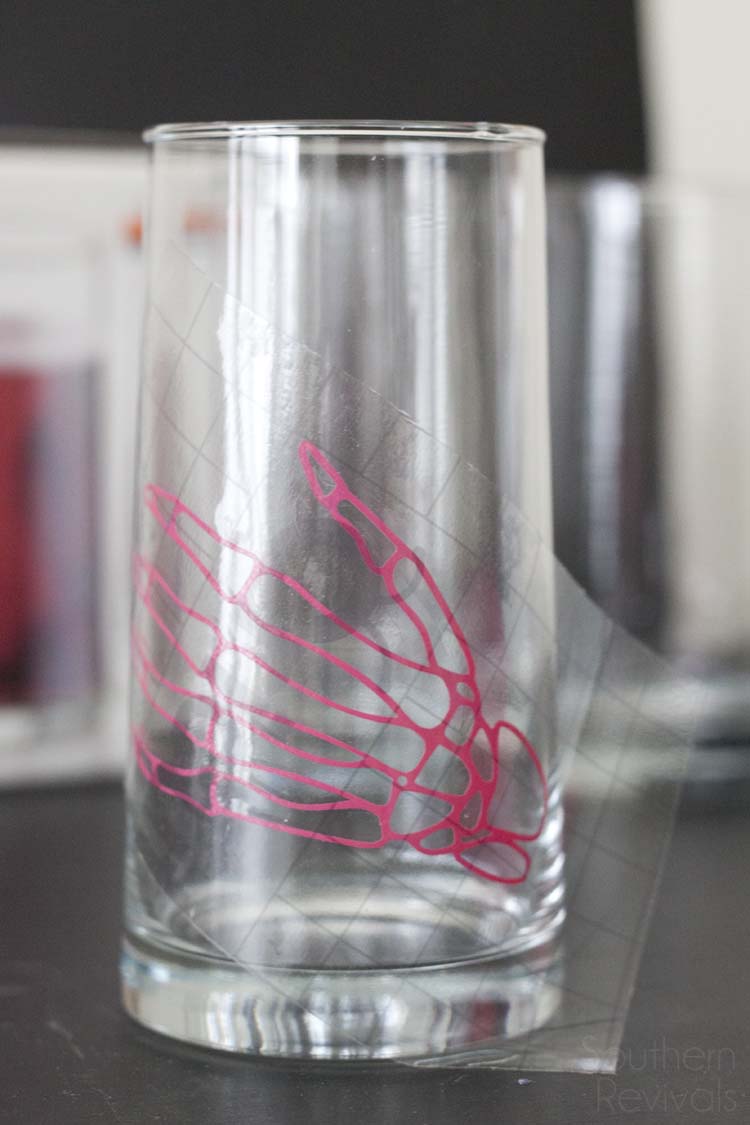 Be certain to smooth down all of the edges.
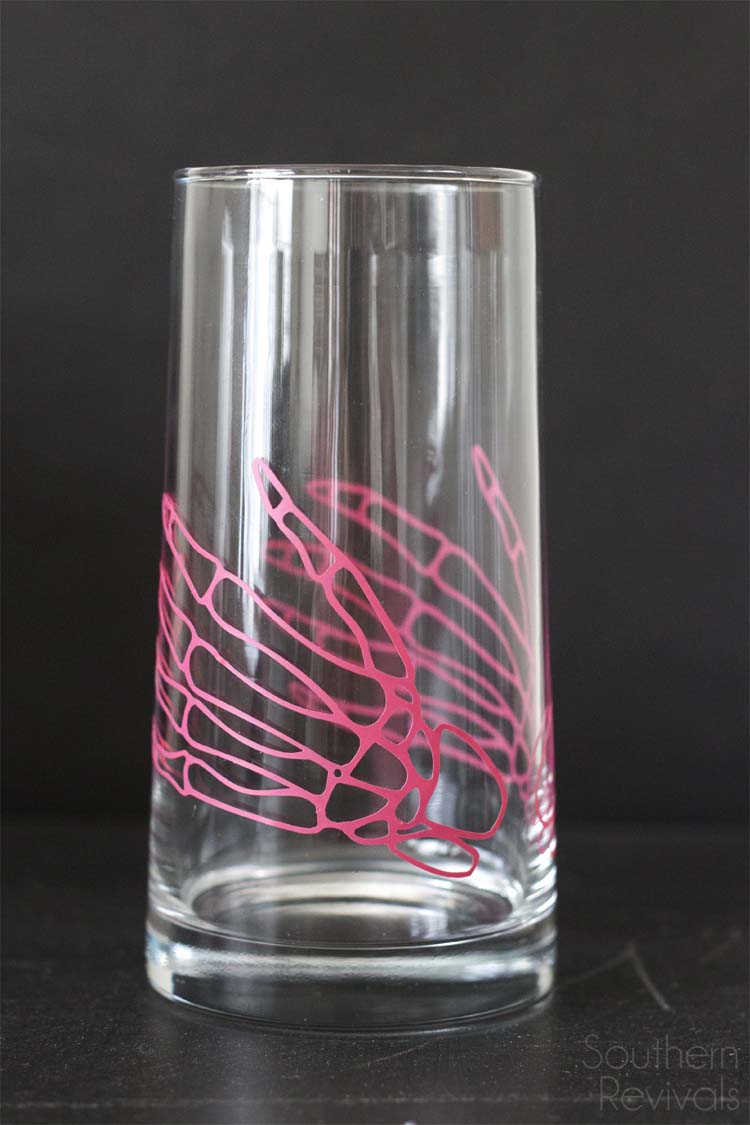 Remove your transfer material (if using). And you’re ready to get started!
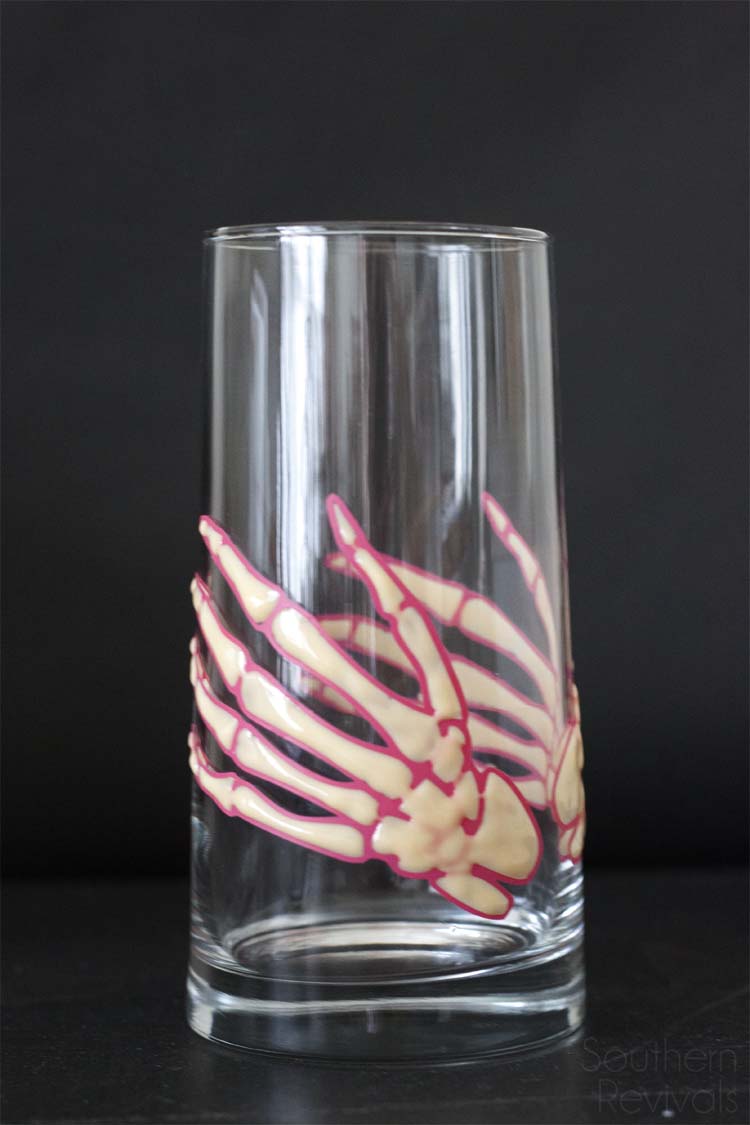 Apply a thick coat of your etching cream and, per manufacturers instructions, allow time for it to do its thing! Mine was done in 15 mins.
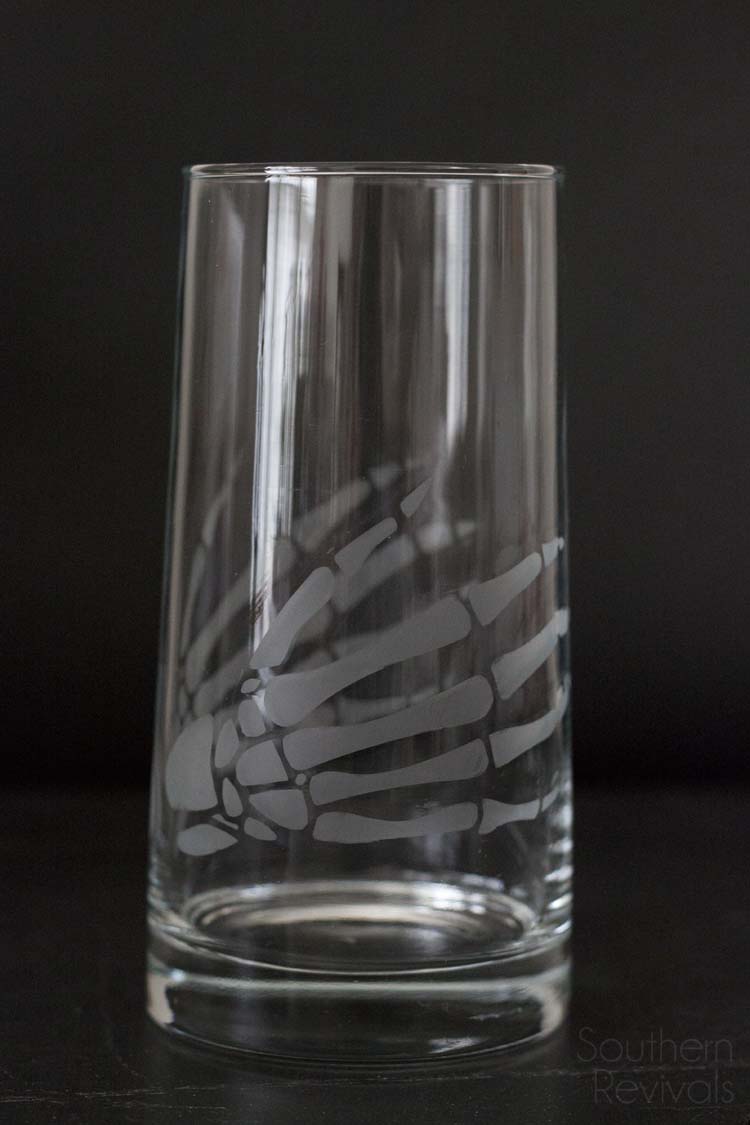 And then…..you’ll have this!! How cool is that!
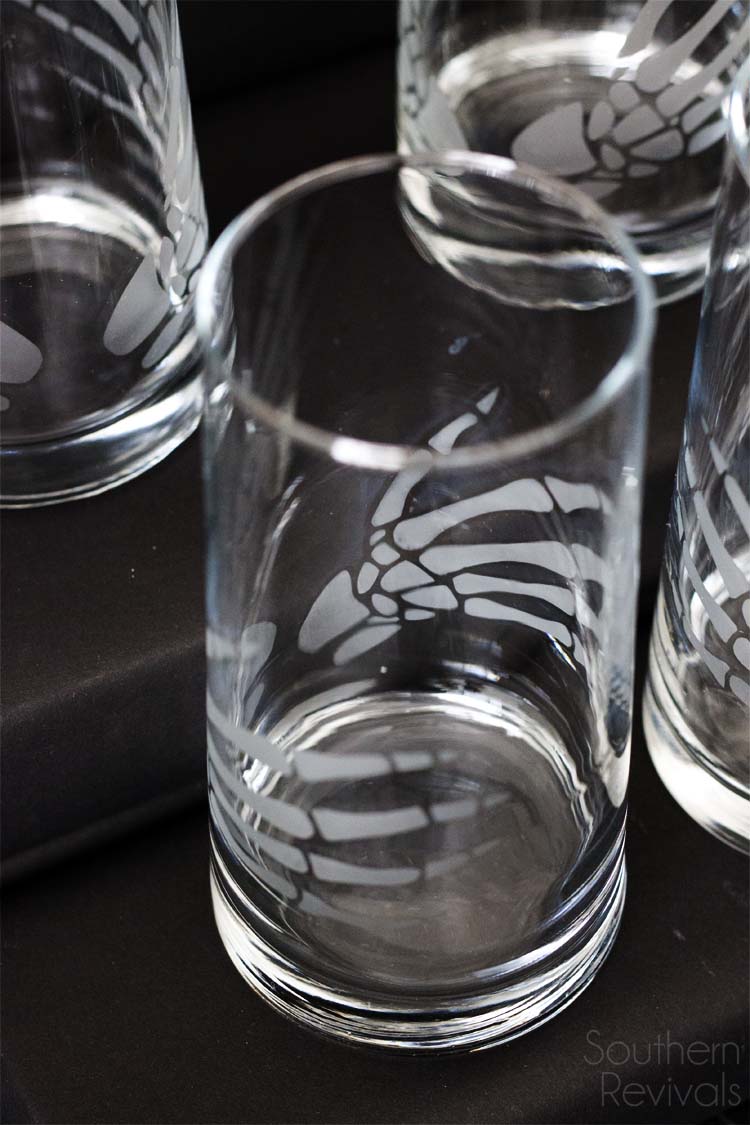 You can have an entire set of spooky skeleton hand glasses this Halloween for under $10! What’s your favorite way to get the cool stuff you want without spending more than you have to?
Check out Big Lots on Twitter, Pinterest and Instragram for more fun ideas and money savings tips like this one. And if you missed the big announcement on my social media channels, I’m excited to announce my collaboration with Big Lots as an Ambassador. That means I’ll be sharing more great finds and ideas with you throughout the rest of the year. I’ll also be sharing what I find on my shopping trips with you on my Facebook, Twitter and Instagram so make sure you’re following along!




[…] DIY Etched Glasses […]