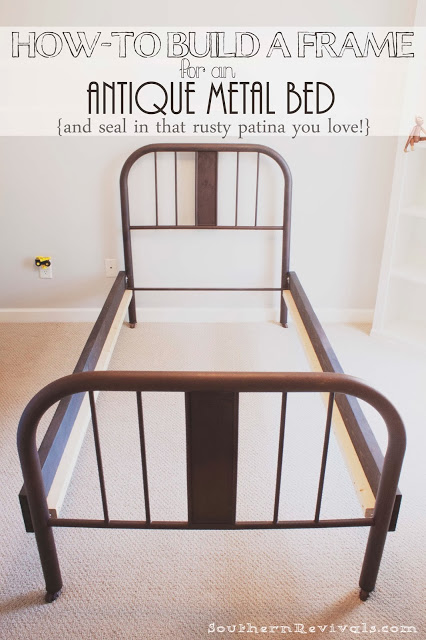
The phrase, ‘They don’t make ’em like they use to’ is typically a nod to the amazing craftsmanship of yesteryear. But if you’ve got something that’s missing some crucial pieces it can be a proclamation of doom. That doesn’t mean you should overlook an antique metal headboard and footboard just because it’s missing its frame. Here’s how we built our own.
This particular project was a special one. Our 3-year-old was making the transition to a big boy bed. He was so excited to help out on the project that he’s slept in it without complaint ever since.
Some days he just runs to his bedroom door to gaze at it lovingly as he exclaims, “Mine big boy bed!”
We started this project by measuring 2 – 2×6’s to fit our twin box springs keeping in mind we wanted the box springs to fit inside the frame.
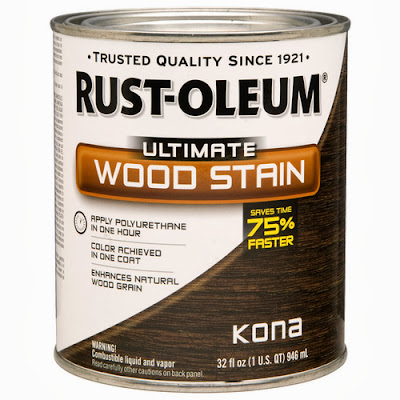
I stained those boards with Rust-Oleum Ultimate Wood Stain in Kona to match the patina of metal bed.
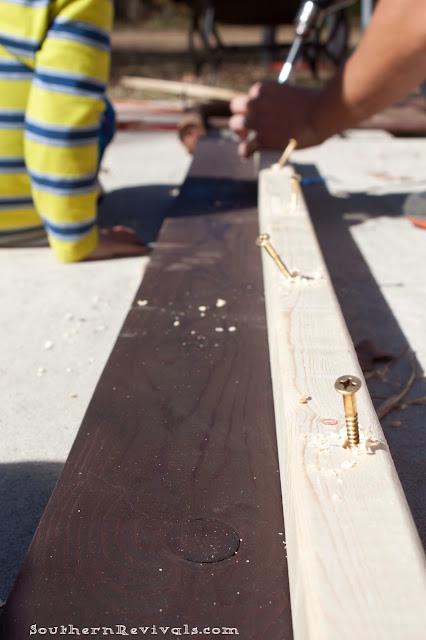
Next, we ripped a 2×4 into 2×2 sections just shy of the length of our 2 x6’s, taking into account the headboard and footboard’s metal brackets. Both the 2×2’s and the metal brackets will sit on the inside of the 2×6’s. {See below}
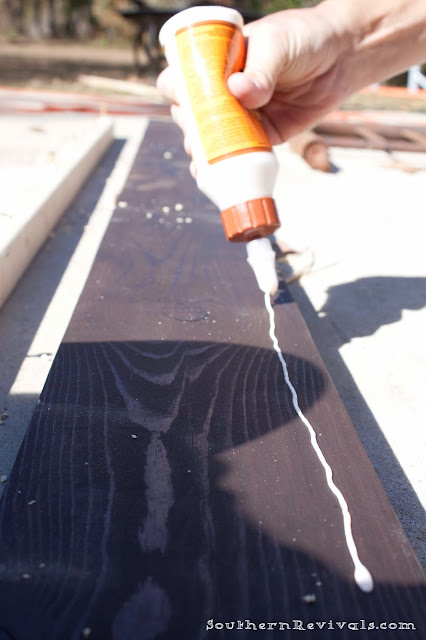
Then we glued and screwed the 2×2’s onto the bottom of the inside of each of the 2×6’s. This will be the lip that our box springs will rest on.
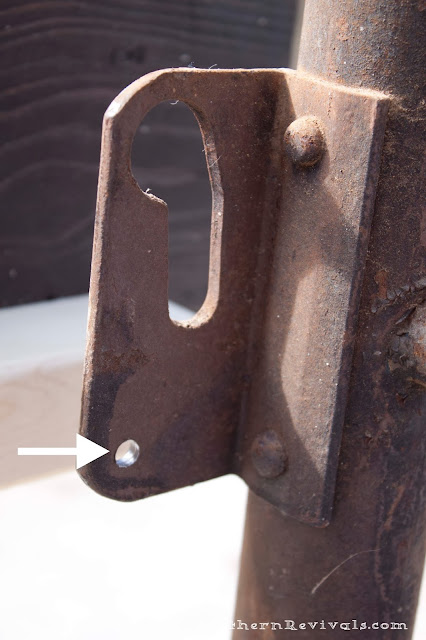
On the headboard and footboard, we drilled an extra hole at the bottom of the bracket for added stability.
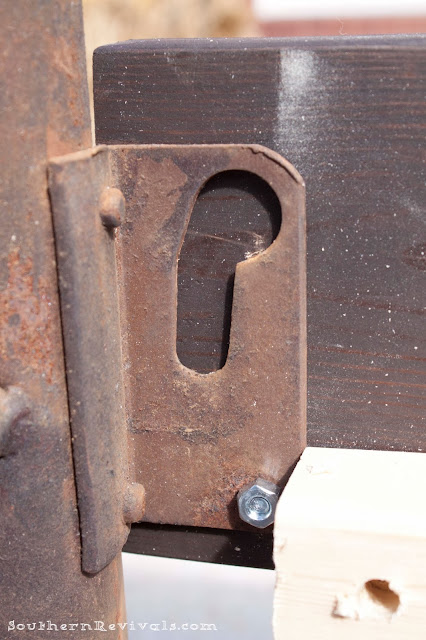
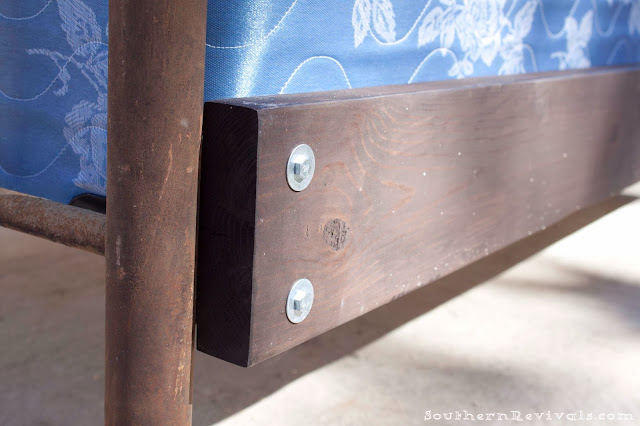
Then we screwed the 2×6’s on to that using lag bolts, washers, and nuts. For the top, in addition to lag bolts, washers and nuts, we also cut 2 – 2×4 metal plates in half. These metal plates come with pre-drilled holes. We placed these metal plates on the inside of our bed at the top of the bracket to stabilize the larger hole.
This is all that you see from the outside of the bed.
I considered spray painting the bolts and washers to match the 2×6’s or oxidizing them to match the rusty patina of the head and foot boards. Then I decided I liked them just like this!
At one point, early on in this project when I first bought the bed, I had planned on painting it. Every color I considered just didn’t seem like the right one. Then I realized, I bought the bed because I loved the rusty patina. Why not keep it?
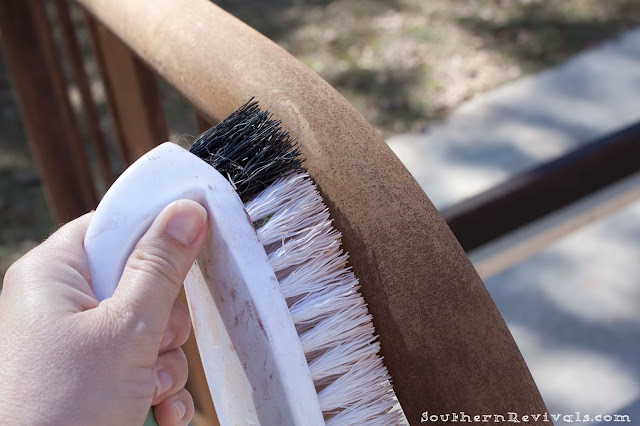
Wiping down rusty metal with a wet cloth is like trying to clean up sugar with honey. It is pointless and it just doesn’t work. Trust me. I tried. Then I just busted out a dry cleaning brush and knocked off as much of the dust as I could, being careful not to remove the patina.
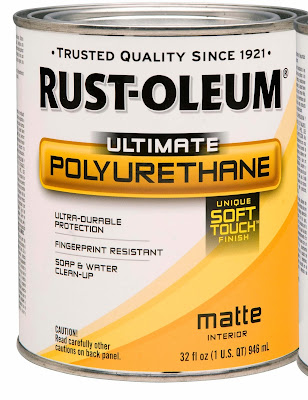
Once I was satisfied, I brushed on Rust-Oleum Soft Touch Polyurethane in Matte . I love how it sealed in that patina and because it’s matte it almost looks as though I’ve done nothing to it. And, since I brushed off all the burly bits before putting the poly on, it’s nice and soft, too!
Here’s the box spring fitted perfectly onto the lip we built on the frame.
And here’s the end result!
Isn’t that a nice yummy finish!
Here’s is a sneak peek of the big boy room reveal to come. So what do you say? Ready to tackle those not-quite-complete antique metal beds?



Leave a Reply